

Alexander Grabovetskiy, woodcarver, School of Woodcarving · Published 2022
Do you carve the hidden parts of a layered wood carving?
Quick answer: Carving the hidden parts of a layered carving is mostly a choice about where to stop. In Maine I lowered one area slightly because it would most likely show, then checked how the second layer would lay. Where a lot gets covered, I said, you don't have to go further. Stems that carry the movement are different.
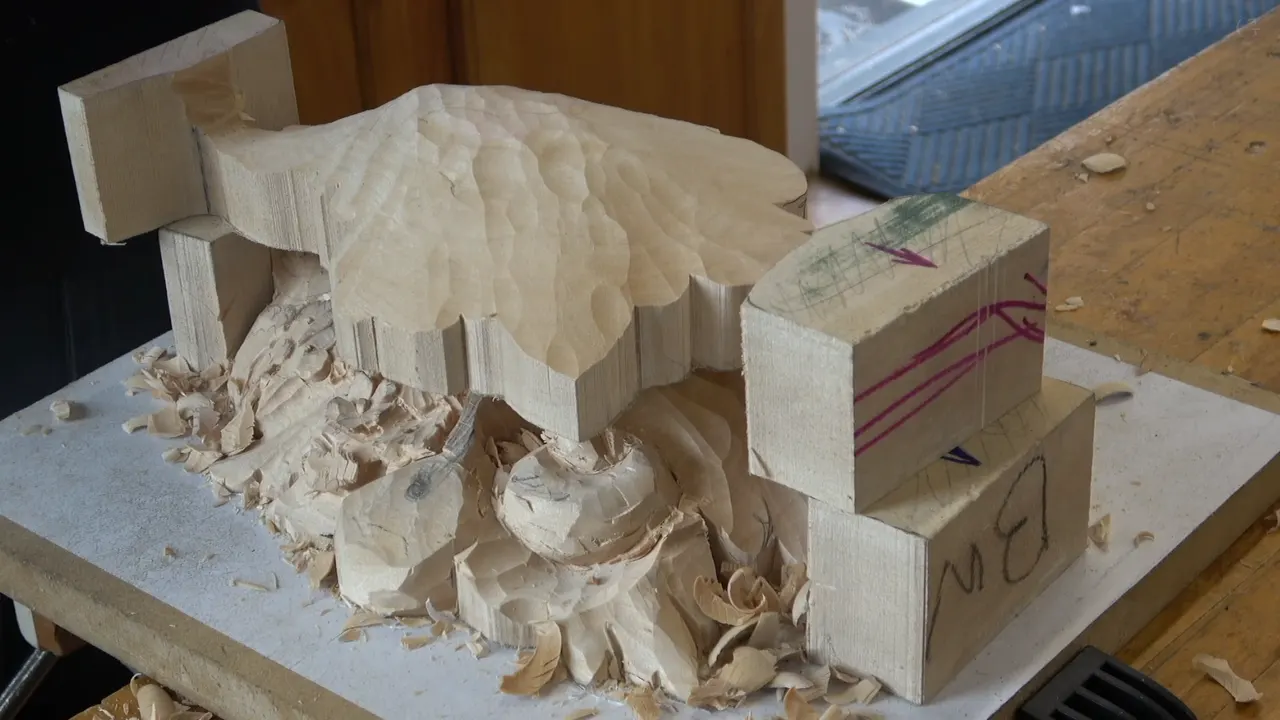
What sits under the top layer of a layered wood carving gets only the work it needs, and often that is not much. On the lower board of my Grinling Gibbons panel, in class 5 in Maine, I brought one spot down a little, since that spot would probably show. The second board went on top for a look. A lot of that stuff will be covered, I said, so there is no need to take it further. This page is about how to carve details in wood when another board will sit right over them.
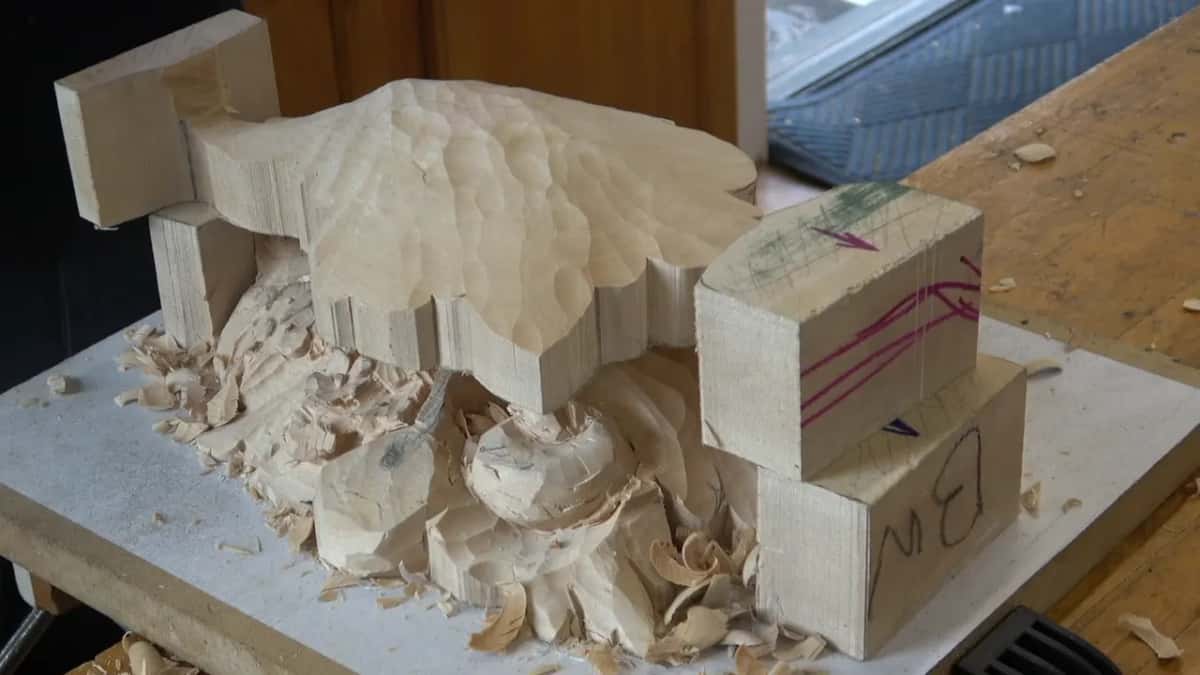
Want your carving hours to go where people will look? Would you like to know which spots can wait? Then here is where I stopped on my Maine panel, and the same choice on a few other pieces of mine.
The covered parts in six lines
- I worked one shape of a pair, and the class got the second one to copy.
- A 10 mm number 9 excavated the area first, and after it a 14 mm number 7 made the convex.
- One spot came down a little, since it would probably show.
- The top board went on for a look.
- Going through, where wood gets covered, is your call.
- Any stem that carries a beautiful movement still has work to do.
What did I carve on the lower layer in Maine?
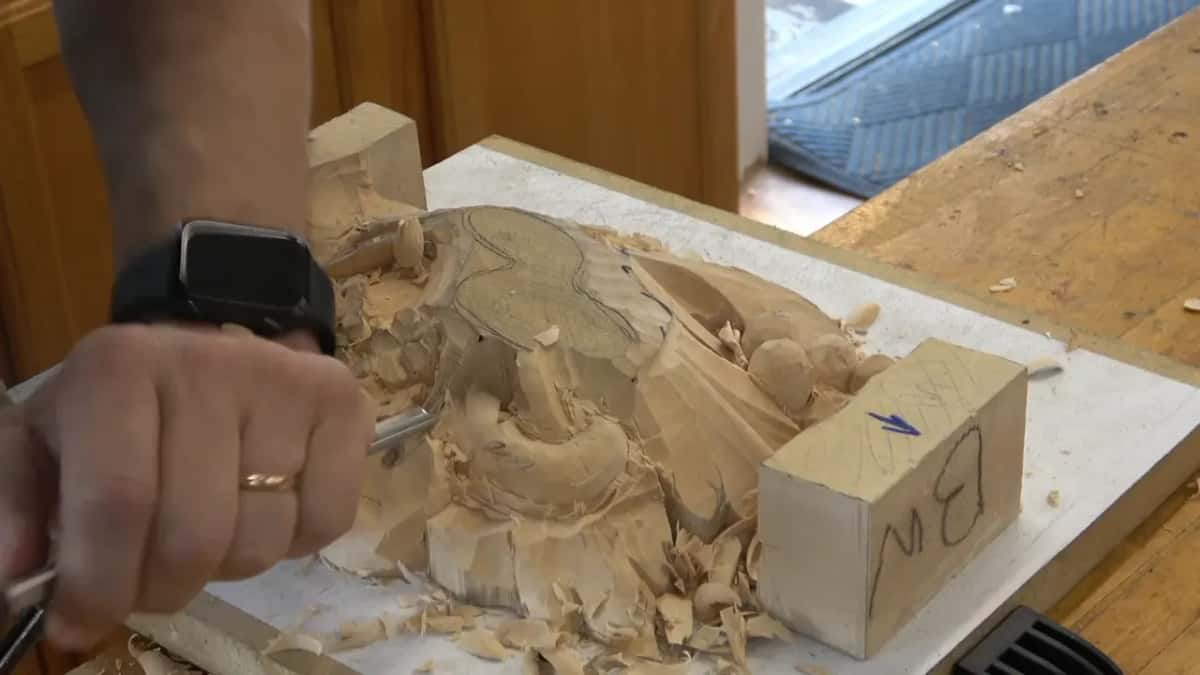
Two middle stems. The second video of class 5 has me showing one stem, then another one going somewhere right there. They wrap around, I said, and create, you know, like a movement.

I only worked one of the pair. I'm not showing you both of them, I told the class, I'm working just on one. That way you see what happens, and then you jump on the second one and create exactly the same thing.

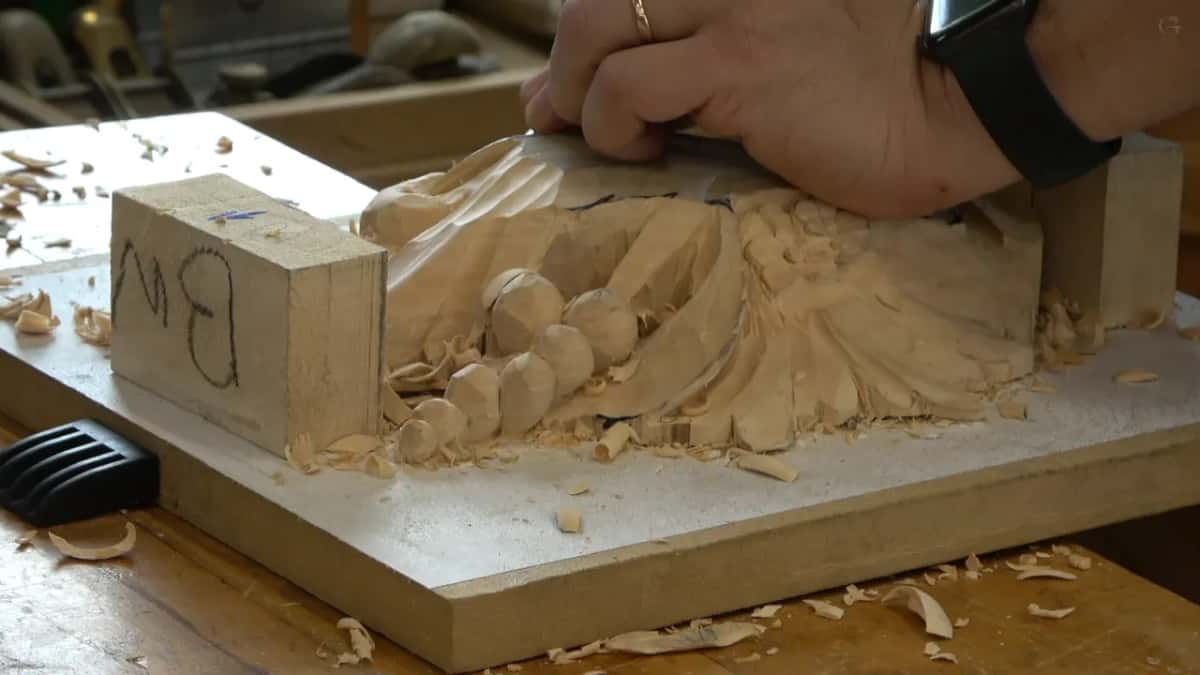
The tools came in a plain order. First a number 9 at 10 millimeters (about 3/8 inch) went in to excavate that area. After it came a number 7 at 14 millimeters (about 9/16 inch), and with that one I created the convex. It was supposed to go all around.

One warning came early, while I rounded the shape. Don't press it too hard. A little later I pointed at a spot where there would be a step, because I didn't want to destroy that stem.

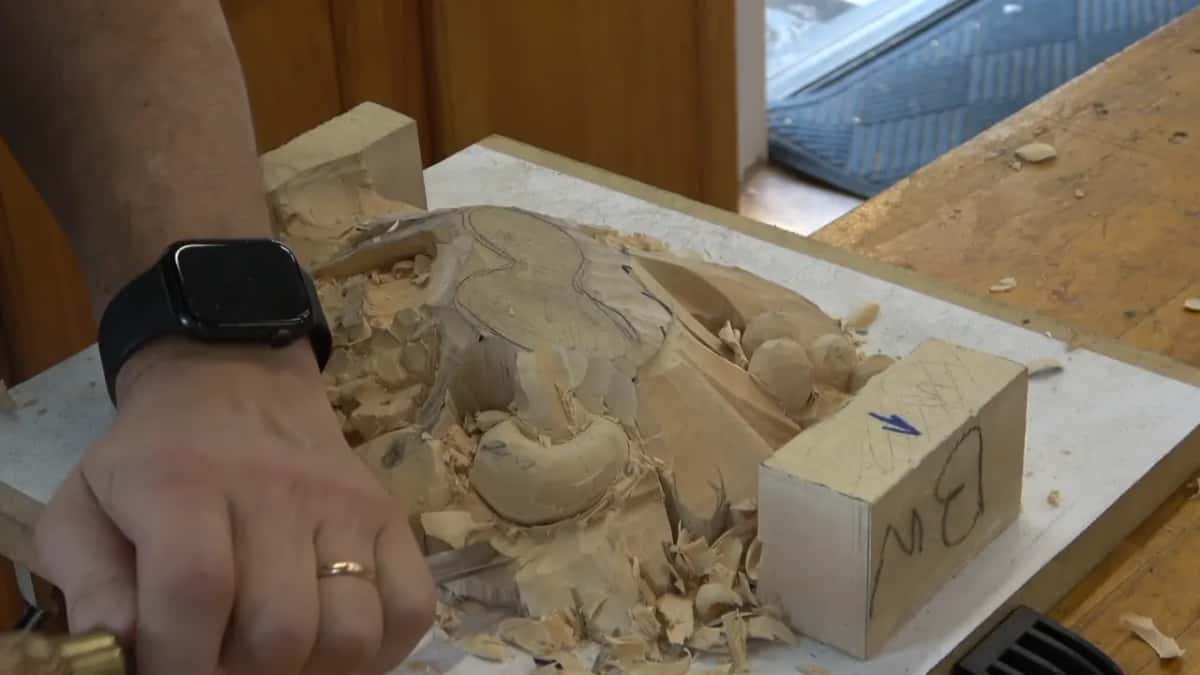
Next, a light cleanup with the same number 7, and that spot went a little lower, since there was some extra stuff going on there.
How do you know which part of the lower layer will show?
You put the upper one on and you look. Before going any further on that lower piece, I said I needed to bring this area down slightly, because most likely it would be visible. Most likely. That was the word. And it wasn't final yet, I added, because everything goes together a little later.
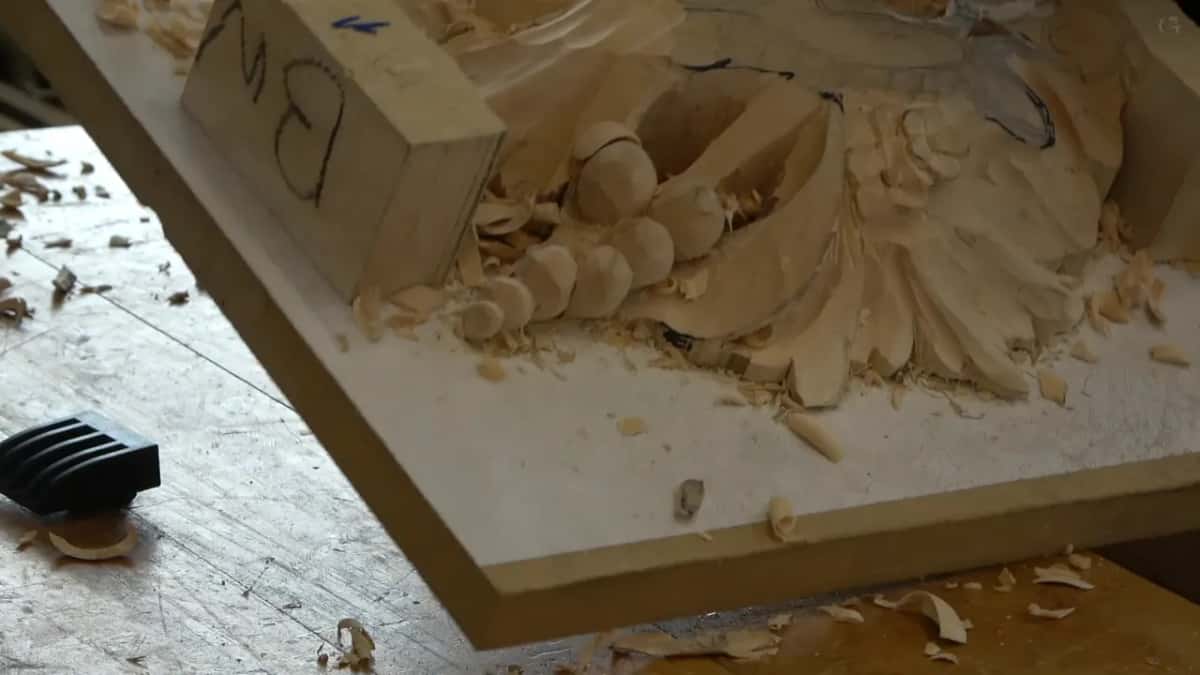
Then the check. If you look from the side, I said, and I set the second layer down over the first, to see how it would lay. The upper block, red marks on its handle, sat right over the round shapes I had just carved. What stays open from that angle is what gets the work. It looked like I was okay, and the top piece came off again.
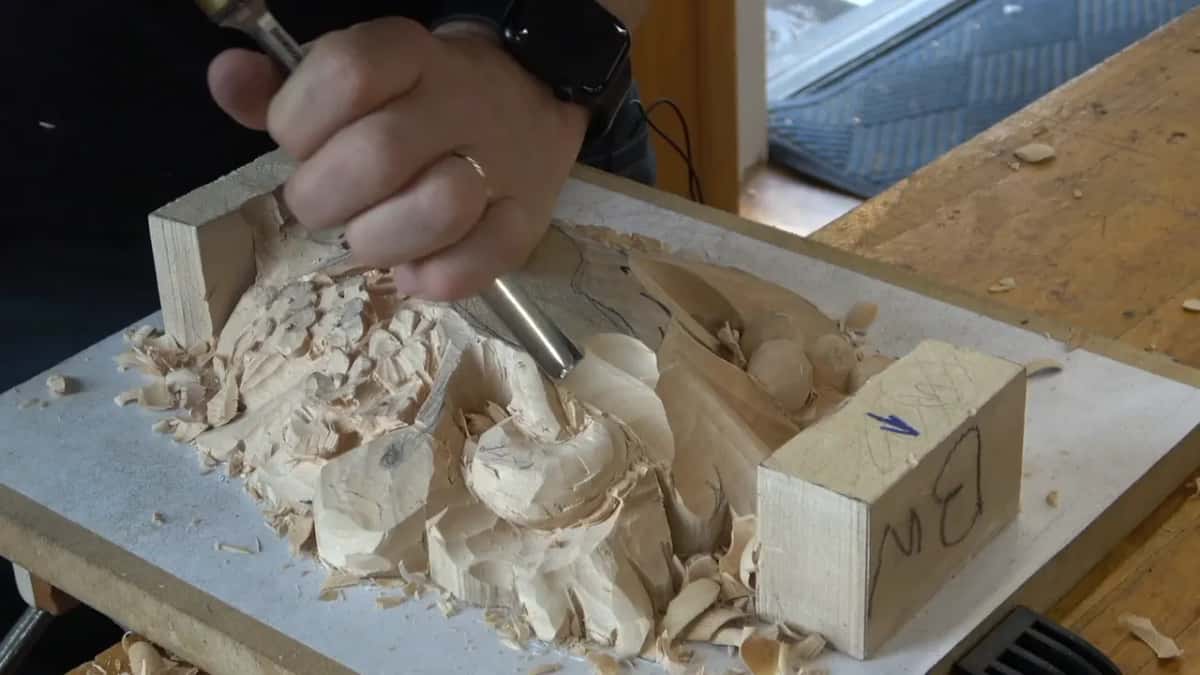
The two boards get glued later in the course, with wood glue, so this was a dry check.
Do you need to go through where it gets covered?
You don't. In that same video I picked up a number 11, 3 millimeters (an eighth of an inch), and went at the stem on its side, the start of an undercut. You could take it to the extreme, I said, and make it airborne if you like it airborne. Then came the other half of that thought. Much of it gets covered, so there's no real need.
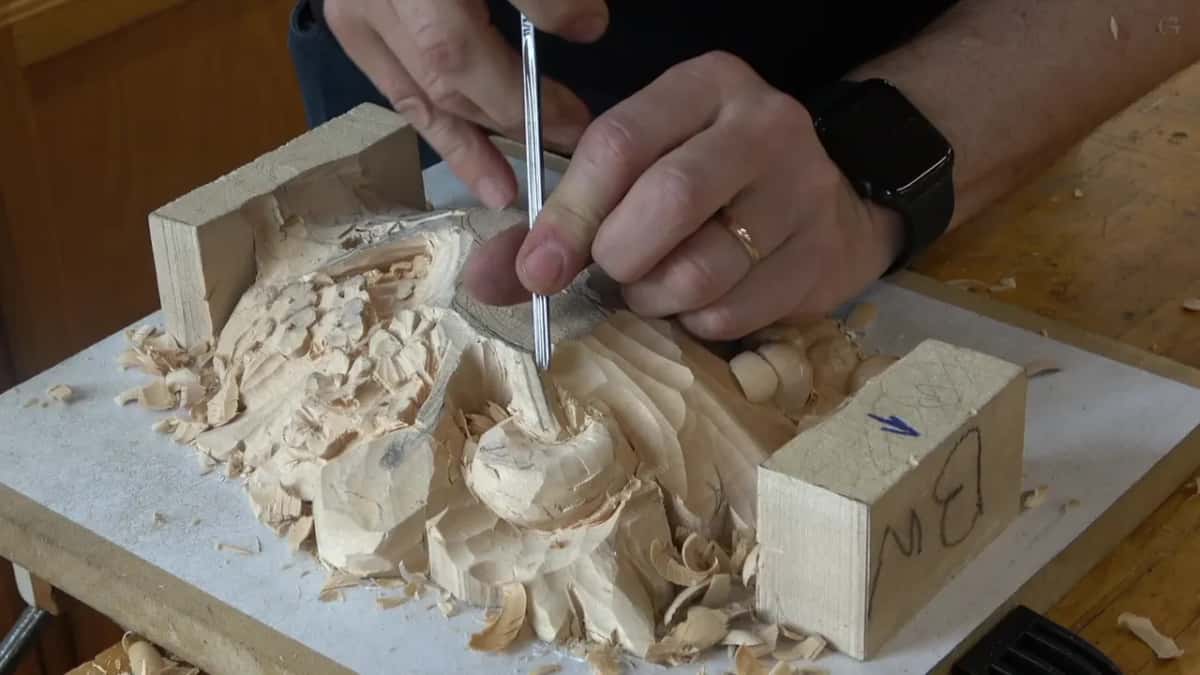
Movement is the exception. Plan a really beautiful movement, and those stems have to do the job. So I went in from one side and did exactly the same from the opposite side, and I took my time. I told them I didn't want to rush that movement.

Maybe you'll see the line right there, I said, and a moment later, it's not there yet, because it's not all the way through. Seconds after that I was asking the room if they could see that hole. The stem, its sizes and the flute of the tool are on the class 5 page, so here I'll stay on the choice itself.
How is a covered spot different from a small one that shows?
Covered means more wood sits on top of it once the boards go together. Small means tiny, but out in the open. Those are two different questions in wood carving.
On my grape onlay, lesson 13, I asked myself out loud whether to take it to the extreme. I don't know, should I or should not, maybe, probably. I'm going to do something like that right now, I said, and it was about a few small stems running between the grapes. Multiple spots like that would be a wonderful idea. When you introduce those connecting things, I said a little later, make sure you just follow the overall flow. A stem like that sits on the face of the onlay.
The underside of a Byzantine leaf is a third case, in lesson 5 of that course. Nobody will ever see it, I told that class. But it creates beautiful shadow casting. That one is about light.
Under the second layer of a Gibbons panel, the wood is covered by more wood. That is the wood I said you can leave alone.
What did I leave plain on the Venice Room panels?
Detail, mostly. In workshop 62 of the Venice Room I turned the light off so you could see the shadow much better, the shadow that was popping one piece out. That shadow was the one I was after, dividing that piece from the rest. I'd still work a little bit right there, I said, but off camera. The flower would cover most of it, so there was no need for too much detail. Anyway, I said, it's covered forever.
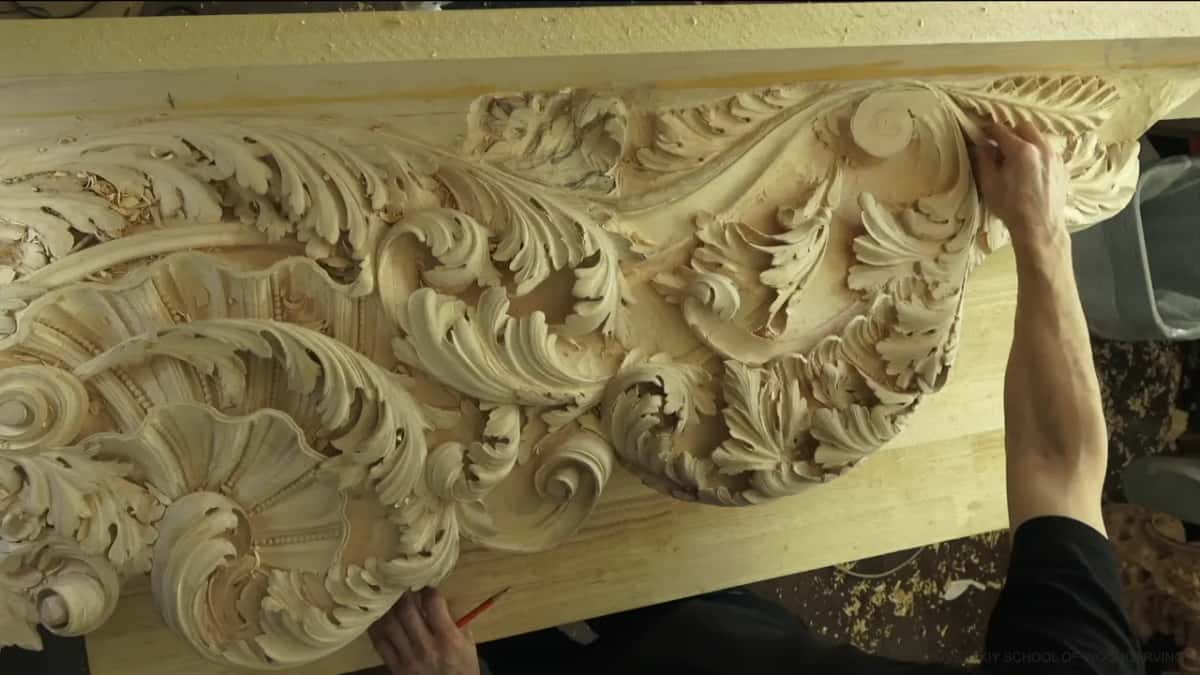
Workshop 65 had the same choice with an undercut. With a number 11 I excavated one, two, and said the 1 millimeter (about 0.04 in) would give me even better shadow. Maybe I could actually undercut a little bit, I said, which I don't need to, because the flowers will cover it. I have to be wise. I really have to be wise, or I spend too much time where there's no need.

Even a spot nobody will see can ask a question. Workshop 67 had one: does this part go underneath that line, or the opposite? That is a big question, I said. Not too big. It won't be visible at all, but that's a question I have to answer no matter what. I took it below the line for a better twist inside, with a spoon gouge.
A few videos later in that workshop, going really deep wasn't needed, for the reason I said too many times maybe, since that area would not be visible at all. A wall still got its undercut, with a number one double bevel, my better choice there, I thought.
Sometimes I just admit it on camera. During workshop 79, about some flutes I was going to need, I said most of it would be hidden. I even don't know why I use those flutes. Maybe I should eliminate them. But I guess it's all right, I said.
Where do the hours you save go instead?
To the middle of the piece, and to whatever people look at. In workshop 72 I said one section was really important, because it would sit at the center, pretty much, of the composition, and people would see it a lot more than the sides. Well, everything will be visible, I said, but still, people look at the center, and everything is supposed to be really looking good.
A spot that shows only a little still gets something. On workshop 76 I had a really deep excavation, maybe about a quarter inch in (about 6 mm). Little cleanup, I said, since it will be visible, not as much, but still. And it cast a beautiful shadow already, though you couldn't see much of it from where the camera stood.
Then the one in between. That Venice Room work goes up on a ceiling, so people see it from below. For one hole in workshop 73, I said it would not show from the bottom, only from the ceiling side. So just deep enough, but not to the extreme. I could, I said, but I really don't need to. A little cleaning inside, and it was already giving me a beautiful shadow.
Why not carve every hidden spot anyway?
Let me tell you a story. Right after that undercut in workshop 65, I said, if you would ask, how about Riemenschneider? I have mentioned multiple times that he was working even on the backside and made it to perfection. People will not be able to see it, he would just say. But God will. And that's true.
Tilman Riemenschneider was a German woodcarver and sculptor, working from 1483 on, as his Wikipedia page tells it.
But we live in a different century right now, I went on, and people expect everything done pretty quick. I don't have the luxury of what they had in the 15th century. Back then, I said, they had to move to the location of the project, and they could spend years in just one location.
How to carve details in wood that sticks out from underneath
Give it care, just not all of it. That workshop 65 panel was not going to be complicated, I said, because the flowers would cover some of it. So I really don't have to worry about too much. But still, it has to be nice. Somewhat nice. Because it will be sticking out from underneath.
In the next breath I said I won't do anything right here in this section, because underneath, there's no reason. All I needed there was a couple of movements. Three pipes to fix, this pipe, this pipe and that pipe, and for those the simple way is the back bent, just go all the way. After that came a deeper concave on one side, with a 3 millimeter number 11 (1/8 in), attacked from the right position.
Does the movement still matter where nobody will see it?
It does, and I said so while I was drawing. On the furniture panel design, lesson 5, lots of that ends up hidden behind the main idea, I said. But I want to establish the feel, like everything grows from this point, my focal point of the inner part. In the next video it came again. Lots of that stuff would be hidden underneath the flowers, but I still want to make sure you can still feel it. Feel the movements.
Lesson 9 of that design course said it once more, while I developed the background of the panel. Some of the stuff will be covered with those flowers, but I would like to develop just overall feel.
Back on the Gibbons panel, in class 13, a stem ran right underneath another part. You won't see it, I said, but on another side of this stem I'll create another darker spot. It sounds weird, I said. That little thing would float completely in the air. I know it'll be fragile, I said, but it gives me beautiful shadow. Painters call that pull between light and dark chiaroscuro.
Which tools worked near the covered parts?
| Tool in my hand | What it did near a covered part | Which piece |
|---|---|---|
| A number nine | excavated the area, 10 mm (3/8 in) | Gibbons, class 5 |
| Seven, 14 mm | just over 1/2 inch, made the convex | the same panel |
| Eleven, 3 mm | an eighth inch, went along the stem | Maine, class 5 |
| A number eleven | excavated one, two, then skipped the undercut | Venice Room 65 |
| A double bevel | number one, undercut the wall right there | Venice Room 67 |
| The back bent | fixed three pipes, the simple way there | workshop 65 again |
Where does this part sit in the Gibbons course?
Still on the lower layer. The panel is two pieces of 2 inch stock (about 51 mm) for the carved layers, and one piece of 1 inch (about 25 mm) for the background, a layered relief. Class 4 came before this video, and class 6 comes next. The whole course, eighteen classes on one design plus a final assessment, starts on the course page.
If you would like to carve that panel with me, stems and covered corners and all, every class is open with tuition.
How it's done
- Rough the form first. Excavate the area using a number 9 at 10 mm (3/8 in), then make the convex using a number 7 at 14 mm (just over 1/2 in). Work one shape, and copy it on the second.
- Keep a step by the stem. Leave a step there and go easy on the pressure, so that stem survives.
- Lower what will show. Take one area a little lower where you expect it to be seen. Nothing is final yet.
- Set the top board on. Put the second layer over the first and look at it sideways before you carve on.
- Pick the stems that carry movement. Going through is optional under covered wood. A stem that carries the movement gets a 3 mm (1/8 in) number 11 from one side, then from the other, slowly.
Frequently asked questions
How do I tell which part of a lower layer will show?
Lay the upper piece on and look at it sideways. On my Maine panel I first lowered one part a little, since I expected it to show. Nothing was final at that point, I said, because the layers go together a little later. With the top board sitting there, it looked like I was okay.
Should a covered stem go right through?
Only when it carries the movement. In Maine I said you could make it airborne if you like, but there's no real need, since so much of that area gets covered. When you plan a really beautiful movement, those stems have to do the job.
Is leaving hidden wood plain just being lazy?
Riemenschneider took even the unseen side to perfection, and I have said so many times. People will not see it, but God will, and that's true. Still, we live in a different century, everything is expected pretty quick, and I don't have the luxury carvers had back then.
What to carve next