

Alexander Grabovetskiy, woodcarver, School of Woodcarving · Published 2022
How do you make a carved flower look like it is folding?
Quick answer: A folding look on a carved flower is a concave dug where the petal turns, so a shadow sits inside that turn. On one Gibbons flower in Maine I made it with a 10 mm (about 3/8 in) number 9, and planned the next pass the opposite way. On my chamomile rosette it ran deeper near the center.
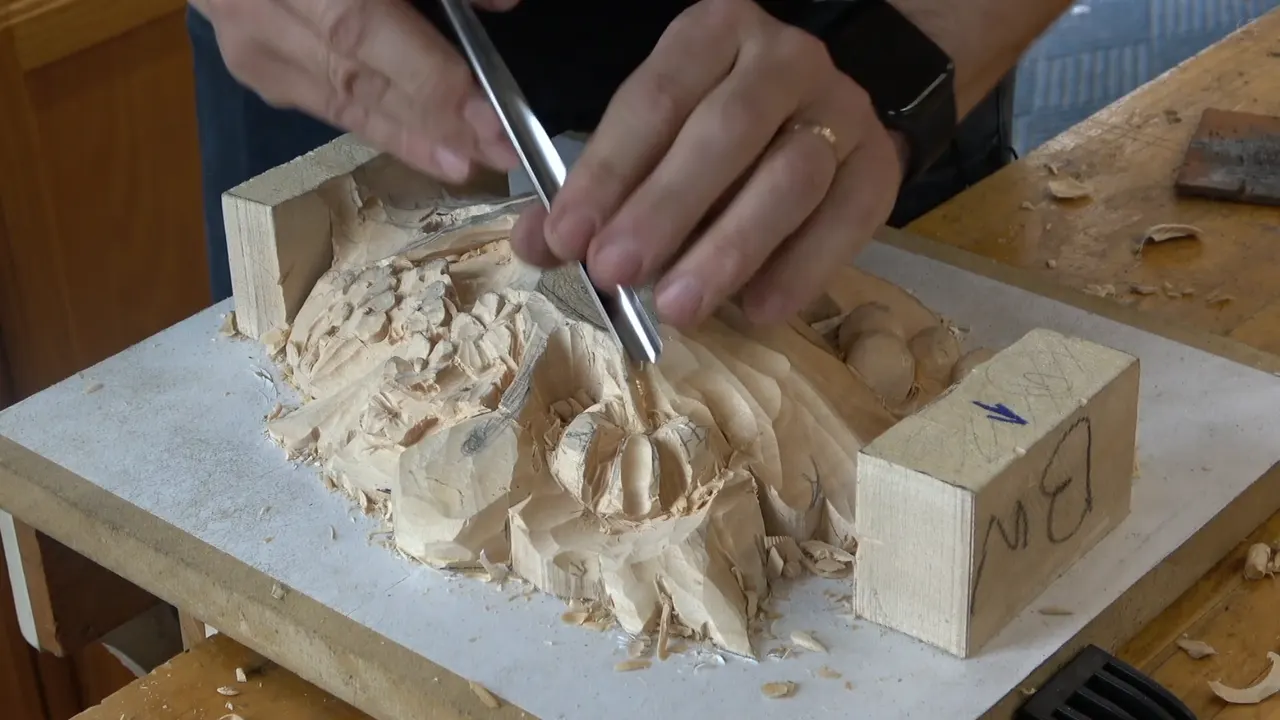
A fold on carved flower petals is one concave dug in where the petal turns over, so a shadow sits right in the turn and the petal seems to bend. I carved one in the third video of Maine class 5, on a flower of the Grinling Gibbons relief we copied in Maine. The same word comes up again on my rosettes, on Venice Room shells and on a corbel, so this page starts with the Maine flower and then goes to the others.

Ever carved a petal and watched it lie there on the board like a pressed leaf? Wanted it to turn over at the edge, the way a real one does? On my pieces that turn came from a concave in the right spot, and the shadow it throws.
Below is the flower from Maine, why I followed the original on it, the tools I used for the fold on other pieces, and where I stopped before it got too extreme.
The fold in six lines
- A fold is a concave set at the turn of a petal, and it makes a shadow.
- The Maine flower got a 10 mm (roughly 0.39 in) number 9, run one way first, with the reverse planned next.
- The chamomile rosette took it deepest by the dome.
- I leaned the gouge on the Venice Room shells instead of pushing it straight down.
- Tools get small, roughly 1/16 inch (near 1.6 mm).
- I exaggerated it in Maine, and stopped short of extreme on a rosette.
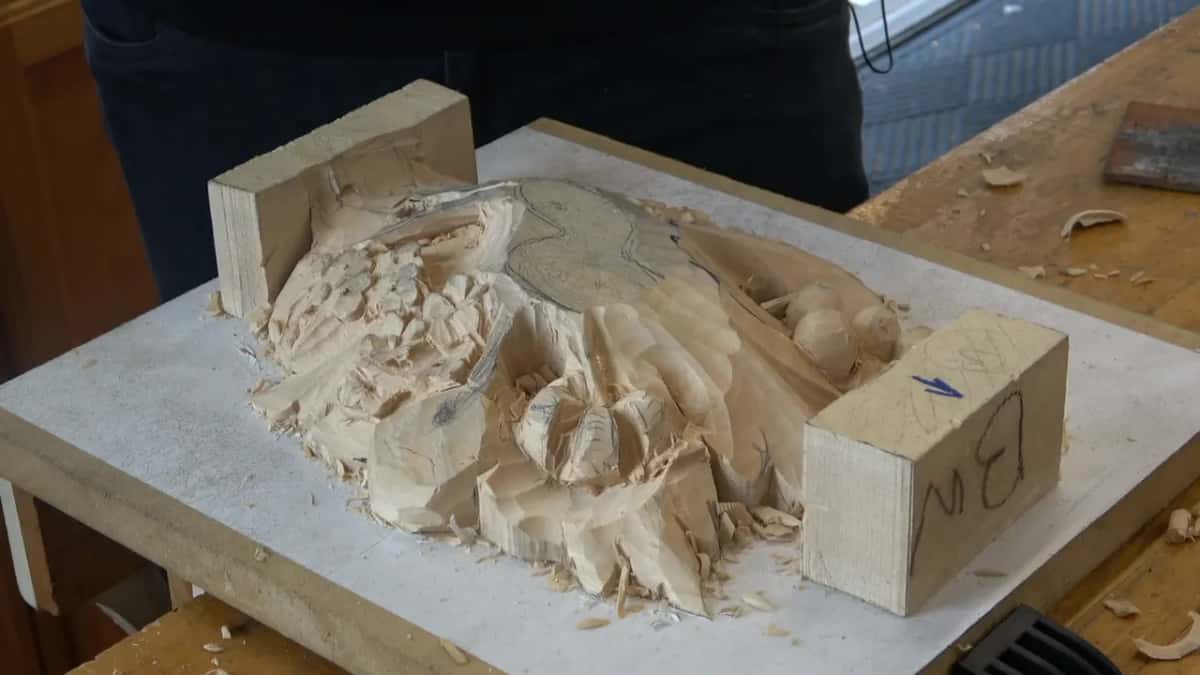
What did the fold look like on the Gibbons flower in Maine?
The first half of that video was shadow around the flowers and some work underneath them. Then, seven and a half minutes in, I said now let's work on the inside right here, and pointed at one flower.
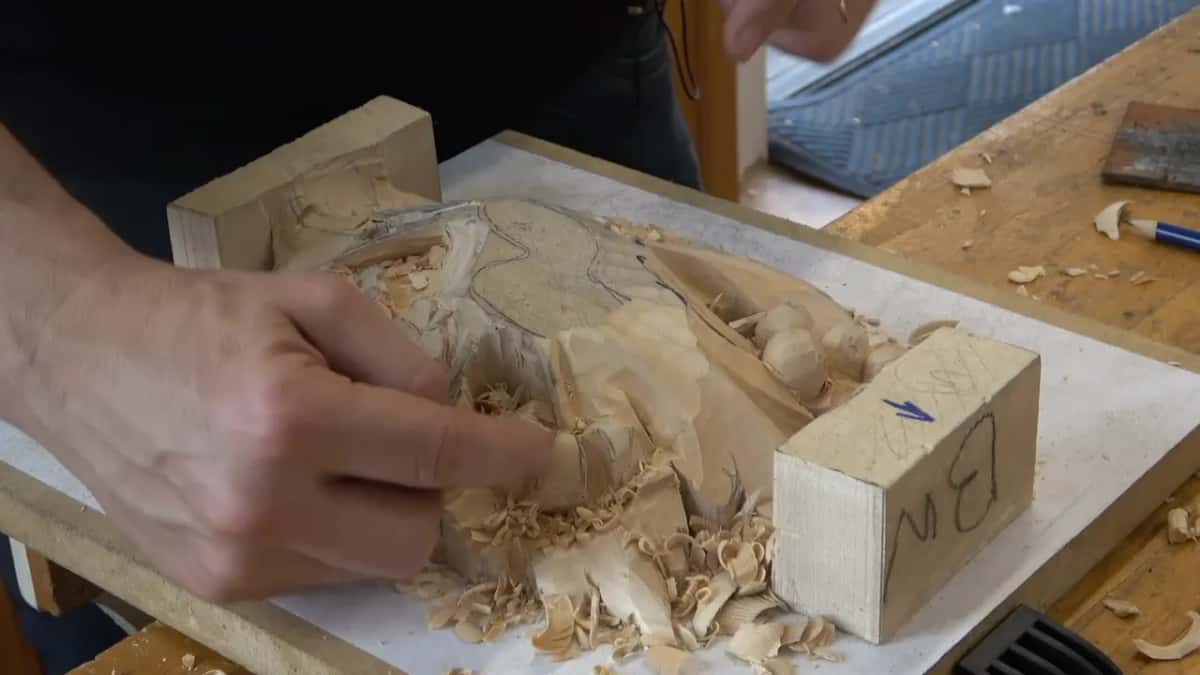
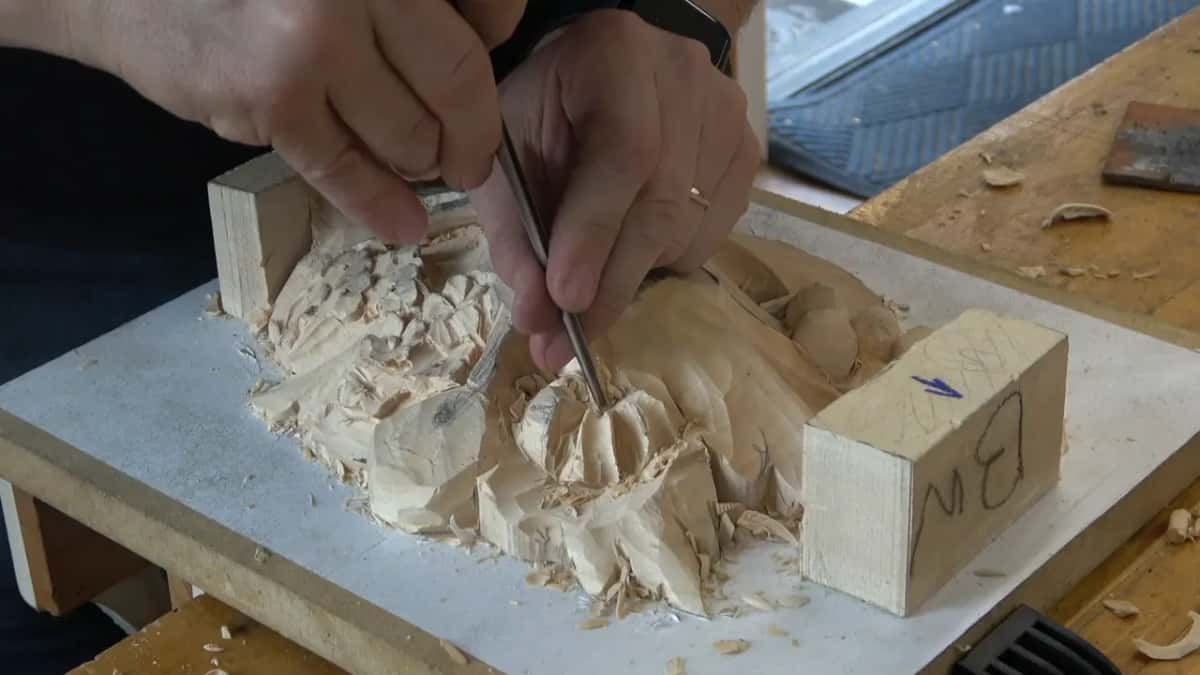
On this side, I told the class, there is going to be a concave. I looked at the original piece first. The main one went in with a number 9, 10 mm (about 3/8 in), and I took it all the way along. The next one I could do in the opposite direction, I said, probably with that same tool.

After that I said it plainly. I'm just exaggerating that. And I told the room I was not sure I was the biggest fan of it, but that is how it is supposed to look.

Right after that came the line this whole page hangs on. It is going to look like it is folding, I said.
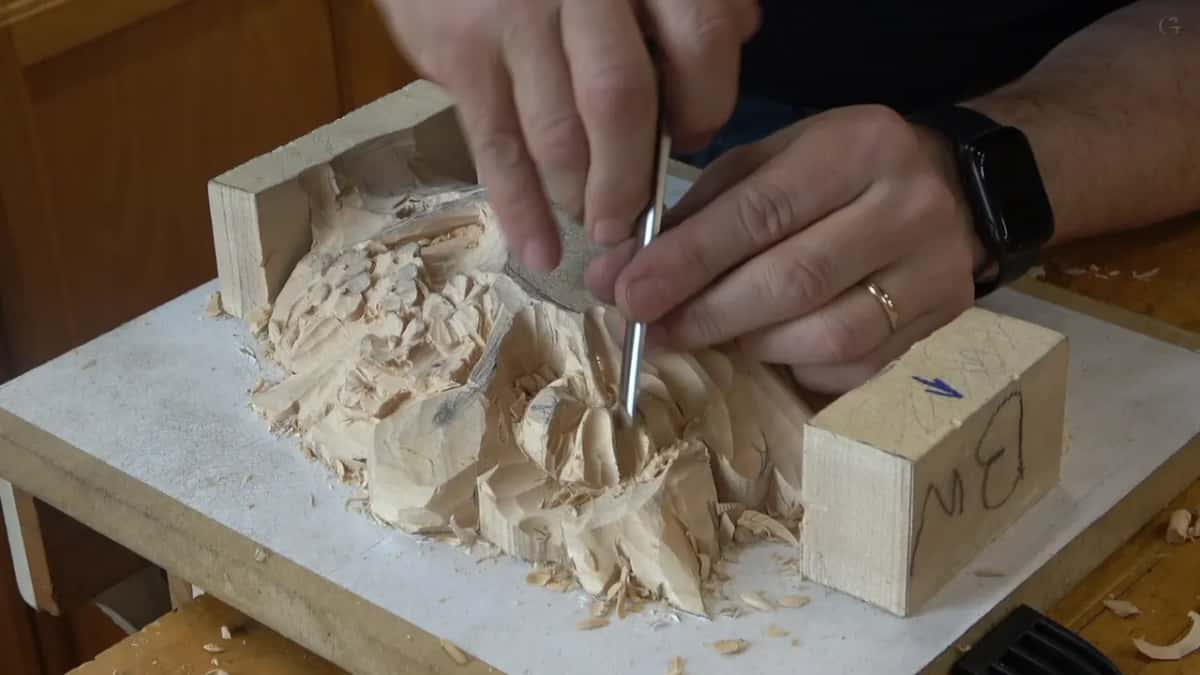
There is a lot of classroom talk in that video, so watch the hands more than you listen. The gouge goes in on one side first.
Why follow the original if you are not a fan of the shape?
We were carving his design in Maine, not one of mine. Before the gouge touched that flower I looked at the original, and it shows the turn that way. So I carved the fold, even while I said out loud that I had my doubts.
How much of his design we kept, and what we made simpler because of our tools, is a bigger story, and it starts back in class 1. This flower is one small case of keeping it.
Where does a fold come from on a real flower?
From the way petals grow. In class 12 of the same course I was working on another flower at home, and I said I would like a smaller concave right inside the center of that petal, maybe 1/16 of an inch (about 1.59 mm). And I explained why. In nature, those petals start growing all folded like this, and as each one grows outward it just opens up. Right in the middle of those spots there is a concave. Not all flowers, but a lot.
Does that really matter on a carving? I think it gives a little more natural look if I follow that rule. And this flower is going to look much better.
On a furniture panel, lesson 29 I put the same thing another way. A flower in a pod condition is kind of wrapped around, and when it unfolds, pretty much all the unfolding happens in the same direction. Later in that lesson I exposed a small section and brought that part down underneath a line, just to follow the logic of unfolding.
Botanists have their own word for how the parts of a flower sit inside the bud before it opens. They call it aestivation. You do not need the word to carve, and you can look it up.
For the Venetian Flowers Rosette, lesson 3, I wanted a couple of concaves on the side, for even deeper shadows. A real flower has some kind of folding motion closer to its center, I said, and carving that gives me extra shadow and extra play on the petal.
How deep does the concave go on carved flower petals?
Deeper toward the center, lighter toward the edge. That is how it went on the Chamomile and Bow Rosette, lesson 4. Each petal got its concave on the inside, in the middle of the petal, and the closer it came to the future dome, the deeper I took it. Out at the edge there was a lot less concave left.
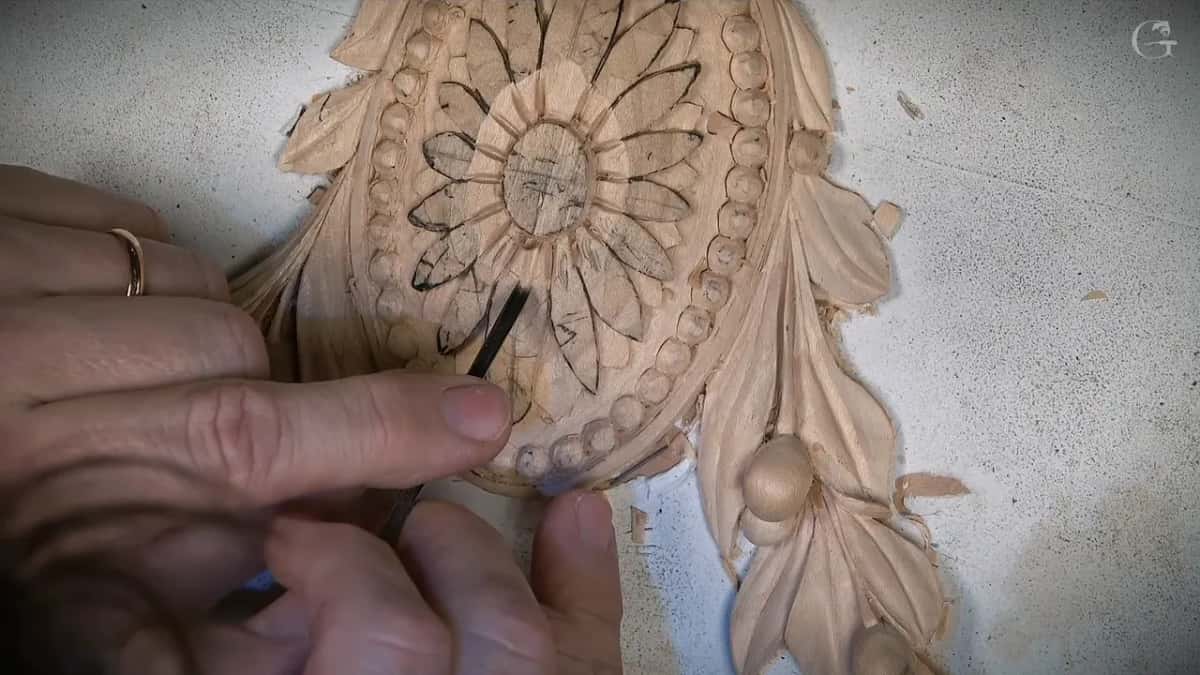
Picture it as a folding spot, I said there, because it gives a really nice movement. The tool was a 2 mm (about 5/64 in) number 11, a narrow gouge, and it let me work from my left side and from my right side on those chamomile petals.
A shell in Venice Room workshop 145 followed the same idea. Closer to the molding the concave stayed a lot shallower, and at the other side it went much deeper. Even so, I said I did not want it too deep at the end.
Why lean the gouge instead of going straight down?
On that shell I called them somewhat folding concave cuts, and then I explained what I meant. I'm not going to place the tool straight down. I lean it, and that gives the folding effect. The gouge was a 10 mm (close to 3/8 of an inch) number 11, set probably right on the line and leaned toward the left.
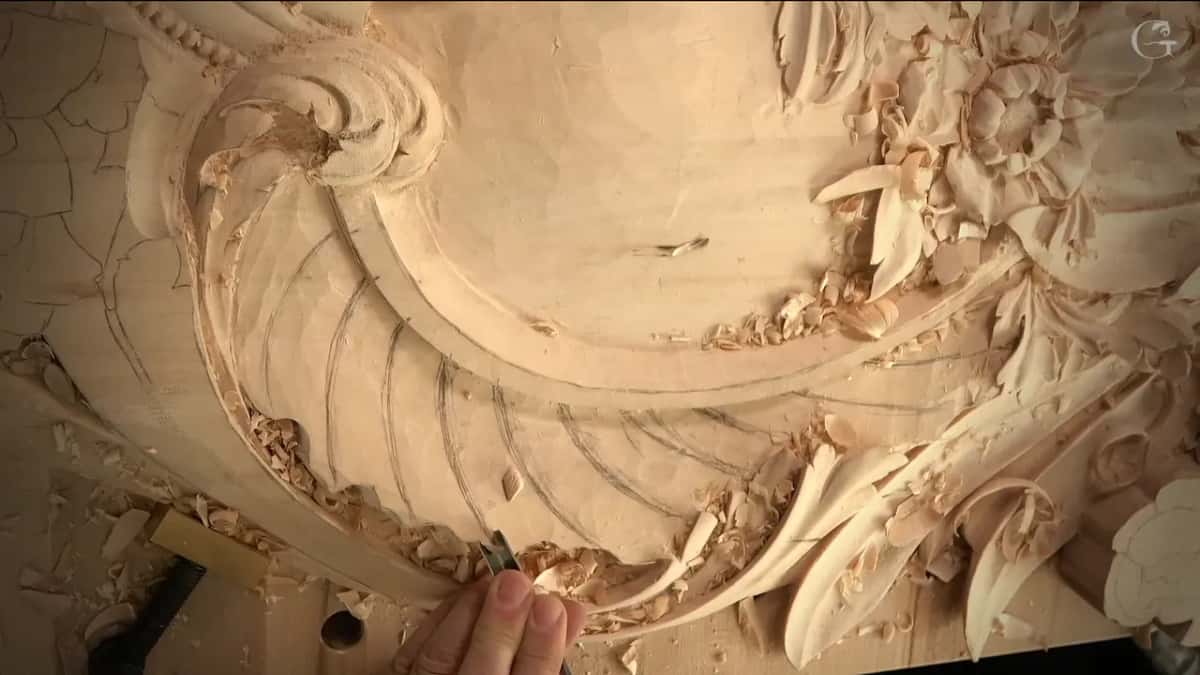
It felt like it was fighting me. To get more depth I had to chop one of the sides first, or that same tool would not give me a deeper concave. I took an upside down number 3 for it, found I could use it the normal way too, and attacked from one side because of the grain.
Then I needed much more depth, because I really wanted to see that folding effect. A smaller number 11, 7 mm (about 9/32 in), went in after it, and I said I would probably persuade it with the mallet. You already should see that shadow casting, I said, really, really nice shadow casting. After that I wanted a back bent instead of a flat, to blend even deeper, maybe a sweep number 2.
Workshop 146 had more of it. Not too deep, I said, I don't want to overdo it, and it was already giving me a beautiful shadow. Then a 5 mm (roughly 3/16 in) for a slightly deeper shadow and a more convincing folding effect, still leaning toward my left. See how deep that shadow is? I think it's awesome.
Which way does the flute point for a fold?
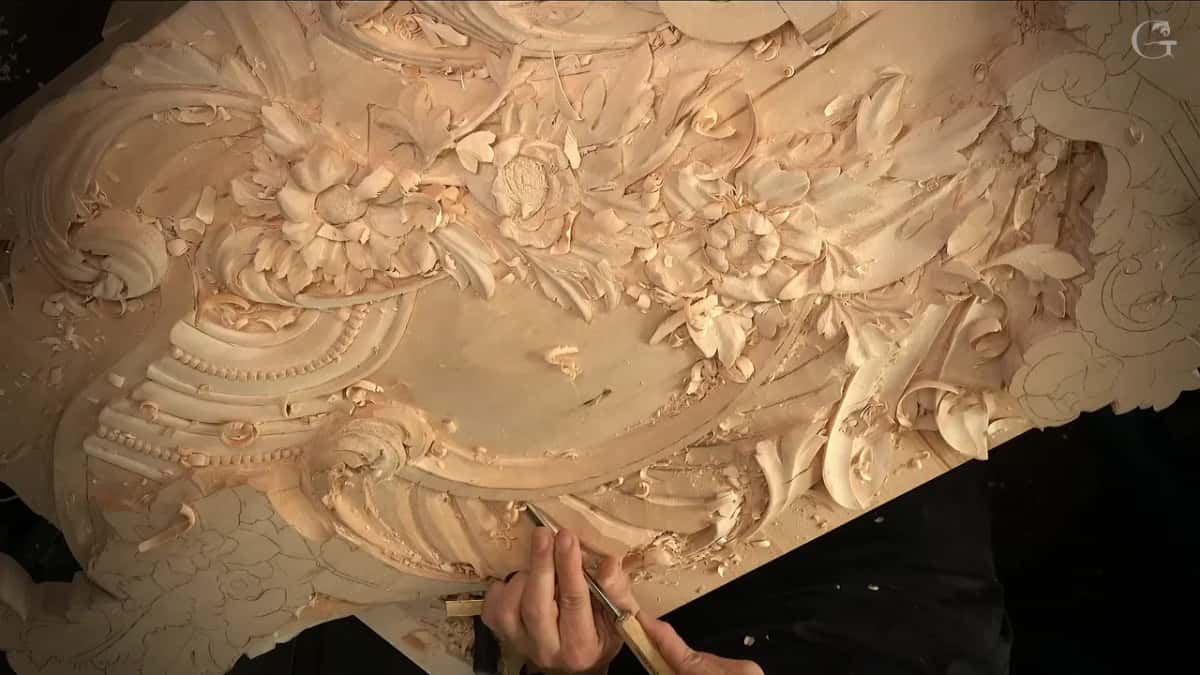
Past twelve o'clock, toward two. That came up on a corbel in the Venice Room, workshop 91. I wanted a fold going back, almost, because otherwise it would not look as nice. So my cut pointed almost under that line, close to an undercut.
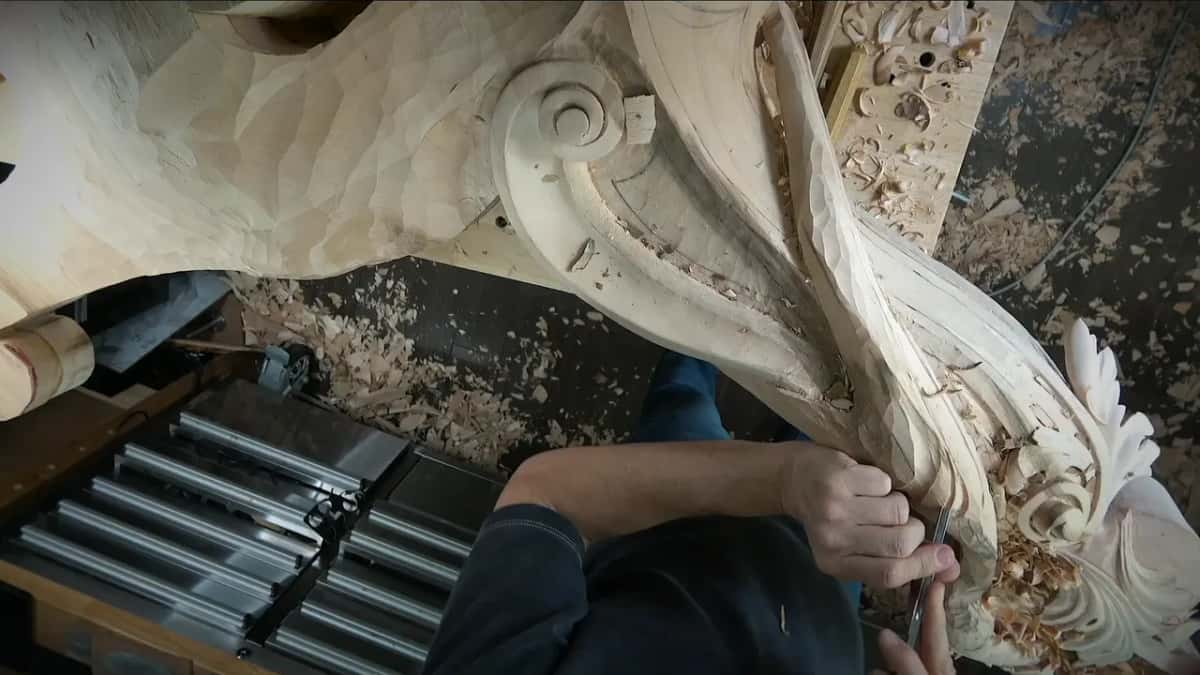
If the flute is up, like twelve o'clock, I set my cut at about two o'clock or so, carefully. It still blends with the surface, only more undercut. That way, I said, it would look like folding.
Earlier on that corbel I made a couple more short concaves with a smaller number 11, 5 mm (0.2 in), for the illusion that it folds that way. Before any of it, the number 9 there needed sharpening. The wood was dark, which means mushy, so the tool had to be super sharp.
Workshop 91 had more of these. One was a transitional concave going folding in, and I did it first with the small tool, a short one. Near that spot the wood was really abrasive, and my tools got dull. Between two other concaves I put one more going the other direction, for a folding motion, and then needed a bigger tool just to blend it in.
At another spot I wanted the edge to kind of disappear from underneath. Not disappear, I corrected myself, but feel like it's folding from underneath. It changes the overall feel, how it feels.
Does a leaf fold the same way?
It did, in my Venice Room lessons, more than once. In workshop 77 I said, if you look at it like this, it looks almost like one single leaf. It has a rib, I said, but it is a leaf folding like that, almost like a boat. The small details and separations come later, from that shape, and you could carve an acanthus leaf like that if you wish.
A lesson before, in workshop 76, I had to take out a whole section as waste. Those were going to be folding leaves, going from inside and opening up. I called it a really interesting project.
Way back in workshop 16 I started with a number 8, maybe a 9, and got a boat-looking shape first. Later on I have to dig underneath, I said, because it has to be folding like that, and that is the whole idea of it.
Which tools made the folds?
Here is each piece with the tool I named for the fold, as I said it in that lesson.
| Piece | Tool | Result |
|---|---|---|
| Maine Gibbons flower | A 10 mm (0.4 in) number 9 | There and back |
| Venetian flowers rosette | Roughly 1/16 in (1.59 mm), number 8 | Almost folding motion |
| Chamomile rosette petals | 2 mm (5/64 inch) eleven, both sides | Deeper near dome |
| Venice Room shell | 10 mm (3/8 inch) eleven, leaned left | Folding effect wanted |
| Venice Room corbel | Short concaves, 5 mm (0.2 in) eleven | Illusion of folding |
| Floral and molding | Number 9, one eighth inch, three millimeters | Brought backward slightly |
| Workshop 146 panel | Five millimeters (3/16 inch), leaned toward left | More convincing fold |
The sizes go small fast. With the Venetian flowers on that rosette I took a really small, tiny tool, a number 8 of about 1/16 of an inch (1.6 mm). Its preliminary cut gave me almost a folding motion, and extra shadow. That's what I'm after. The floral panel took a number 9 of one eighth of an inch, three millimeters, brought backward a little bit.
Can a fold be too much?
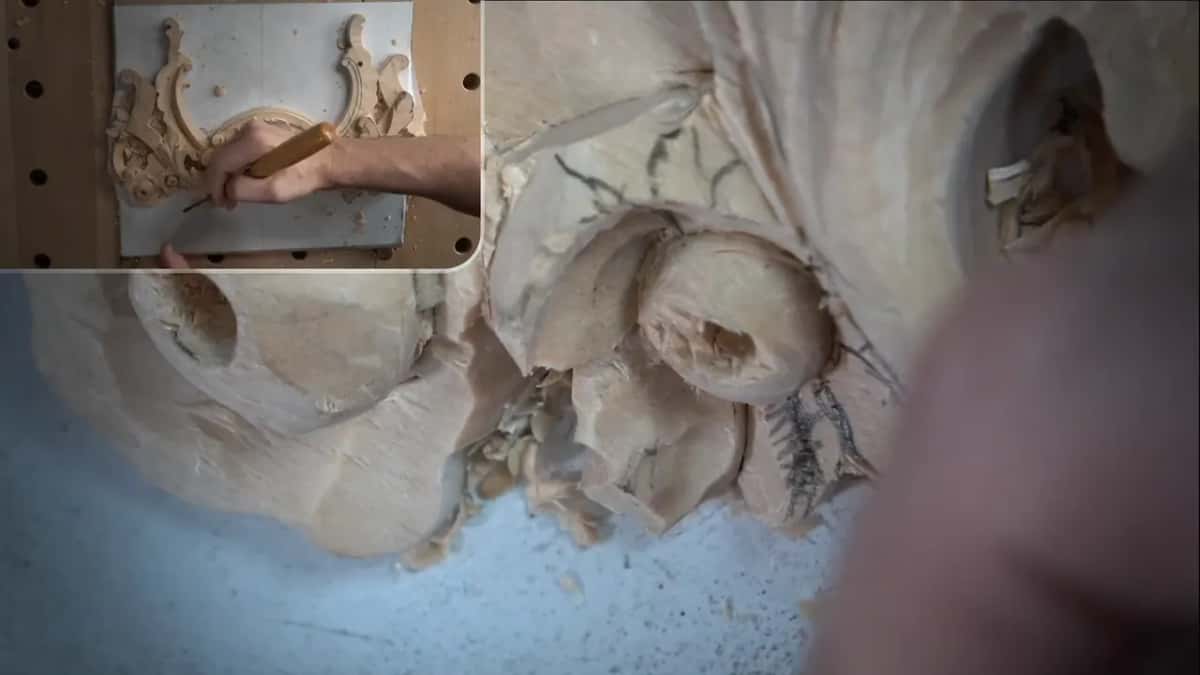
In Maine I said straight out that I was exaggerating it, and I kept going. On the Venetian rosette I stopped myself. That's enough, I said, I don't want to be too extreme. But you could see it was already casting a beautiful shadow, in my opinion.
In the video just before that one I went the other way. I can exaggerate that, I said, and get inside those concaves with even deeper ones, a smaller size. For that I picked a number 11 spoon gouge, maybe 2 mm (about 0.08 inch). It kind of blocked the light source, and a couple of spots were already giving me a shadow. Then take your time, refine everything, blend everything.
Sometimes I go big on purpose. In workshop 114 of the Venice Room I said why don't I exaggerate that right away? I took the chance to get one of the deep ones, kind of a folding one, right underneath. That part was raised, so the opposite side was supposed to go lower, and that would look more appealing, I would say. A number 7 came next. That whole video opened with me saying I am going to do extreme concaves and convexes, because it gives almost a life look, and I had a 20 mm (roughly 3/4 in) tool in my hand.

Why is a fold so hard to see in a video?
On the floral and molding panel, lesson 7 I brought one concave backward a little and said it creates almost a folding motion. Again, you don't really see it, unfortunately. But it does look really good.
Maine had the same trouble a couple of minutes before that flower. With my tool at about one o'clock, it did not show well on the camera, so I tried it another way and asked the class to tell me if they could see it. Even where it does not show on camera, I told them, you should be able to understand.
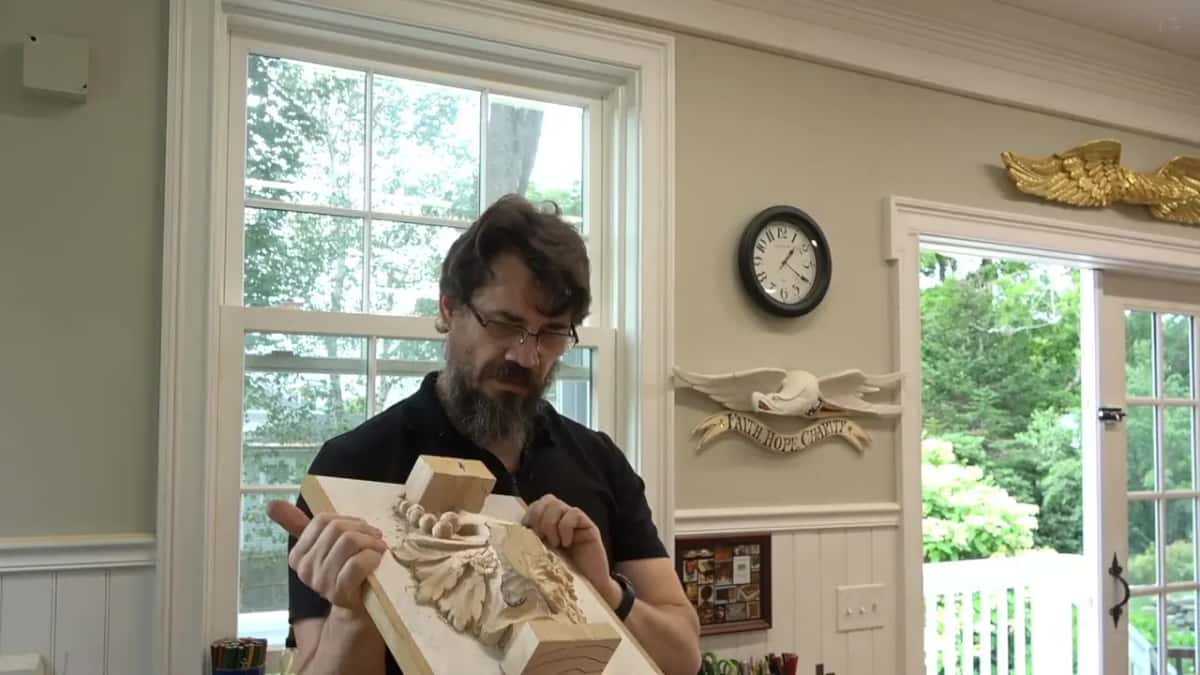
At the end of the flower I said let me show how it looks, and held the panel up and let the room look.
Where does the fold sit in class 5?
It came last in that video. Before it, I went around the flowers using a number 11, 3 mm (1/8 in), without forcing. Later classes come back to it. In class 9 I said I want to see waviness overall and no straight lines, and said I can create an extra concave on one side of a leaf, going toward the center. Class 8 is about which way the petals overlap.
After the flower we did not have too much time left. I hope it's gonna help, I said, and then the video goes quiet for about five minutes of carving, with one check on whether everybody was doing okay. If you want that flower on your bench too, every class of the course is open with tuition, and the Grinling Gibbons course page lays out all eighteen.
How it's done
- Check the original. In Maine I studied the old piece before the flower got its first concave.
- Sink the main concave. A 10 mm (three eighths of an inch) number 9 went in on this side of the flower, along its full length.
- Come from the opposite direction. I planned the reverse way for the second pass, probably with the same gouge.
- Lean the gouge. The shells got a gouge leaned to my left instead of set straight down, and the corbel a flute turned near two o'clock.
- Go deeper near the center. Each chamomile concave sank more by the dome and stayed lighter toward the rim. The Venetian rosette is where I held back.
Frequently asked questions
What gouge made the fold on the Maine flower?
Mine was a 10 mm number 9, a hair over 3/8 inch wide. It ran the full length of that first concave. For the second pass I planned the reverse direction, and said that probably the same gouge would do it. That flower came in the third video of class 5.
Where should the concave be deepest?
Close to the flower's center. My chamomile rosette had each concave get deeper as it neared the future dome, and the rim kept a lot less of it. A 2 mm (0.08 in) number 11 did that work, coming in from my left side and from my right.
Do you hold the gouge straight down for a fold?
I leaned it on the Venice Room shell, toward the left, and said I'm not going to place it straight down. A corbel got the flute turned to about two o'clock, so my cut went almost under the line and still blended with the surface.
What to carve next