
Alexander Grabovetskiy, woodcarver, School of Woodcarving · Published 2017
What do you actually need to start wood carving?
Quick answer: Starting wood carving takes one knife, a piece of basswood and something to clamp it down with. A bench is unnecessary, mallets never enter into it, and a rack of gouges can wait years. My own master handed me a blade and nothing else, kept me there a long while, and only then produced a gouge.
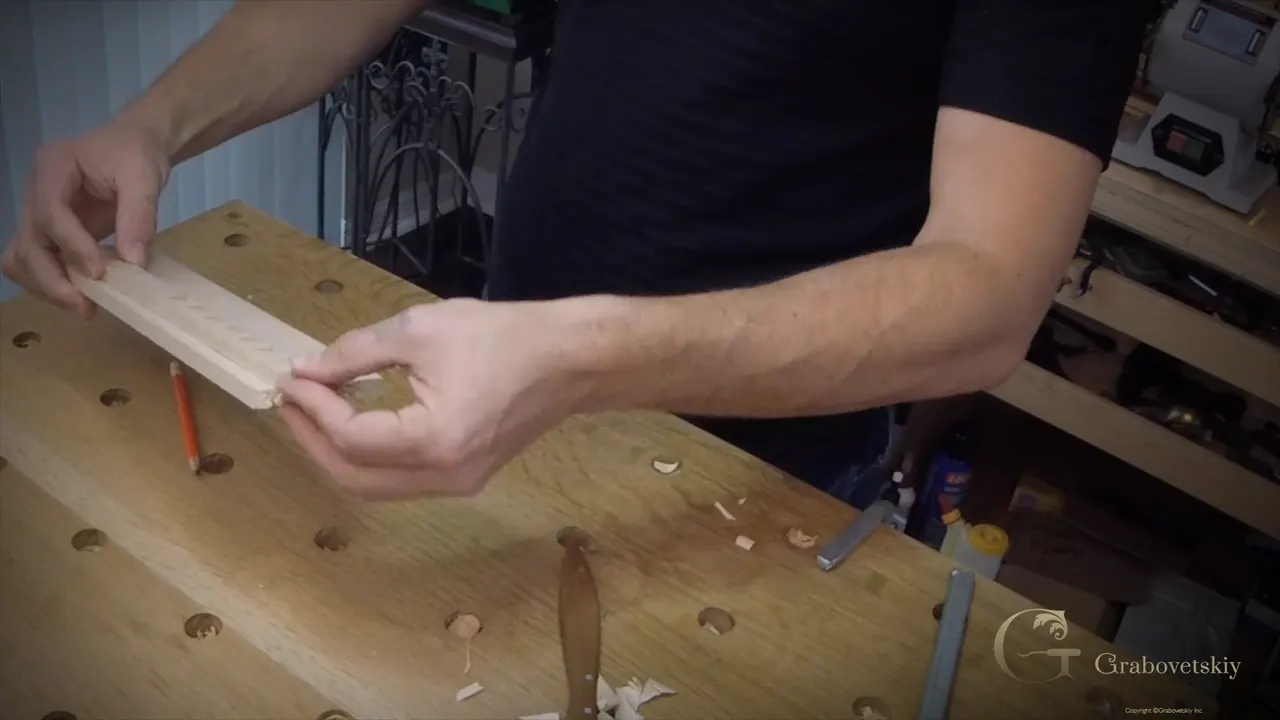
One knife, a block of basswood and a clamp. That is the entire shopping list for a first lesson, and the knife is the only item worth spending real money on. My own master handed me exactly that and nothing else, then kept me on it for a long time before a gouge ever appeared.
People arrive expecting a rack of tools and a workshop, neither of which appears anywhere in this lesson. What exists is a kitchen table, a clamped board and three cuts, repeated until your hands stop guessing how deep they have gone.
Let me say the hard thing first, since it is the reason I teach at all. The richest place on this planet is a cemetery, and it is rich because of talent that went into the ground unused.
Plenty of people lying there could have carved. Something always came first, and then there was no more time. Whether you finish this lesson is genuinely up to you, and nobody else can want it on your behalf.
Key takeaways
- A single blade covers the whole first lesson.
- Buy the good one. Cheap steel is unstable, snaps under ordinary pressure, and teaches a beginner that they are the problem when the tool was.
- Basswood, which Europe knows as lime.
- A kitchen table is a perfectly good bench when no mallet is involved, which is exactly the case with knife work.
- Three angles exist: straight, right, left.
- The exercise is not decoration. Depth control is what it builds, and depth control is the thing every later course rests on.
What does a beginner actually have to buy?
A knife, and my recommendation is a number 12, Swiss made, of the kind sold for chip carving. Not cheap. Worth every penny of it.
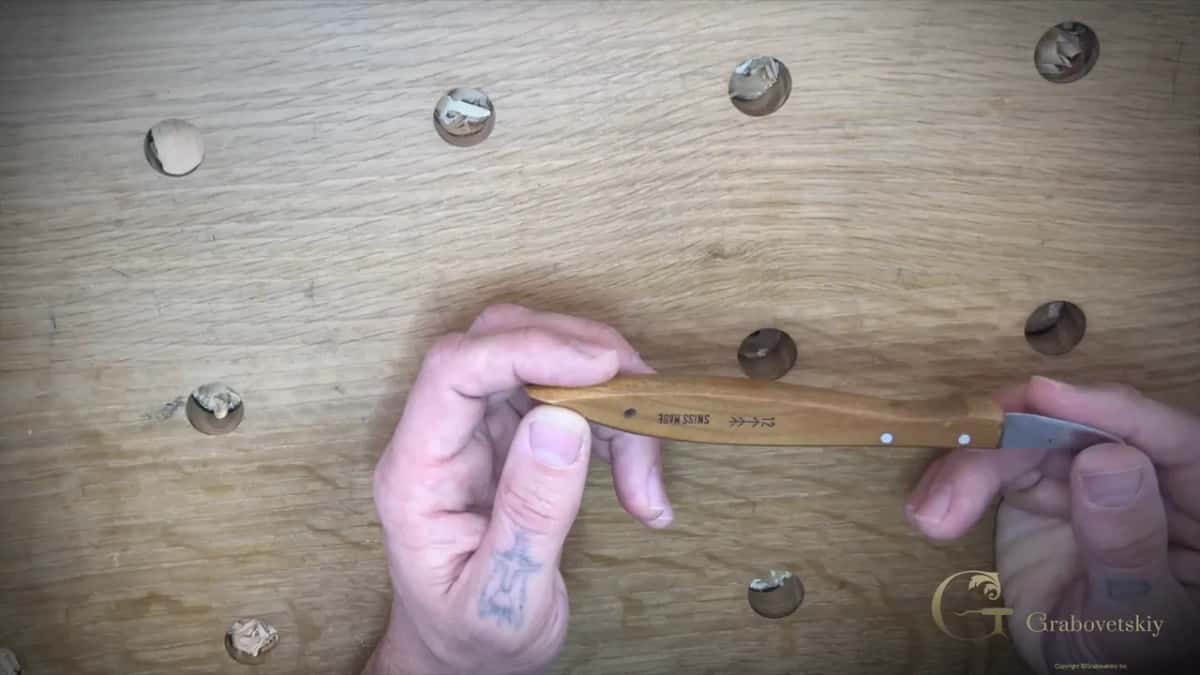
Chip carving proper is a related discipline rather than the same one. Similar, genuinely different, and the knife sold under that name happens to be the right shape for what I teach here.
Mine has sat on my shelf for twenty years and still goes into my hand most working days. One purchase, one lifetime friend, and I mean that in a fairly literal way.
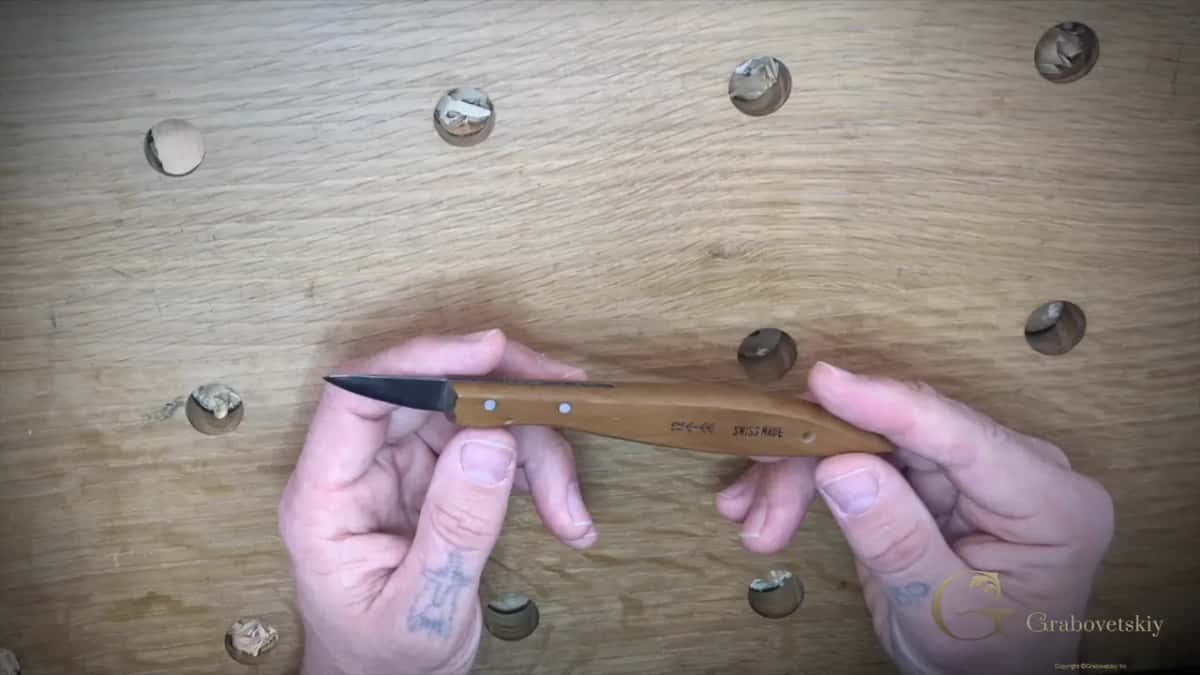
That knife paid my bills. Housing, food, clothes, every one of them came out of work done with a single blade, and I am not speaking about small sums here.
Why one knife and not a set?
My master worked that way, and the method holds up. My master gave me a knife and kept me on it for years before he put a gouge in my hand, and by then I could already see shape in wood.
Behind me on the wall hangs a great many tools. A beginner needs none of them yet, and buying them early mostly produces a drawer of expensive steel and a person who still cannot cut a clean line.
Believe me when I say a single blade covers an enormous amount of ground. People underestimate that constantly, usually while shopping for tools they have no use for yet.
Some call the one blade approach Viking style. That name is not really accurate and I use it loosely, since carving with a single knife predates any Viking by a considerable margin.
People carved this way for a very long time. Work from the eighth, ninth and tenth centuries survives, made by hands that owned a knife and very little else besides.
Picture yourself four thousand years ago with nothing else in the world. A knife is what you have. Everything people made then came out of that limitation, and limitation is an excellent teacher.
Is the cheap knife ever worth it?
Rarely, and here is what you are buying instead. Cheap versions sacrifice the steel, which means the metal is unstable and the blade snaps far more easily than it should.
Mine can break too. Any knife can, given a stupid enough movement, so nothing I say here is an argument that expensive tools are unbreakable.
The difference shows up in how often it happens, and in what a beginner concludes afterwards. Break three cheap blades in a week and you will decide carving is beyond you, when the real fault was sitting in your hand.
What wood should a beginner buy?
Basswood, without hesitation. Soft enough for an inexperienced hand, hard enough to keep hold of the detail you cut into it, a combination not many timbers manage.
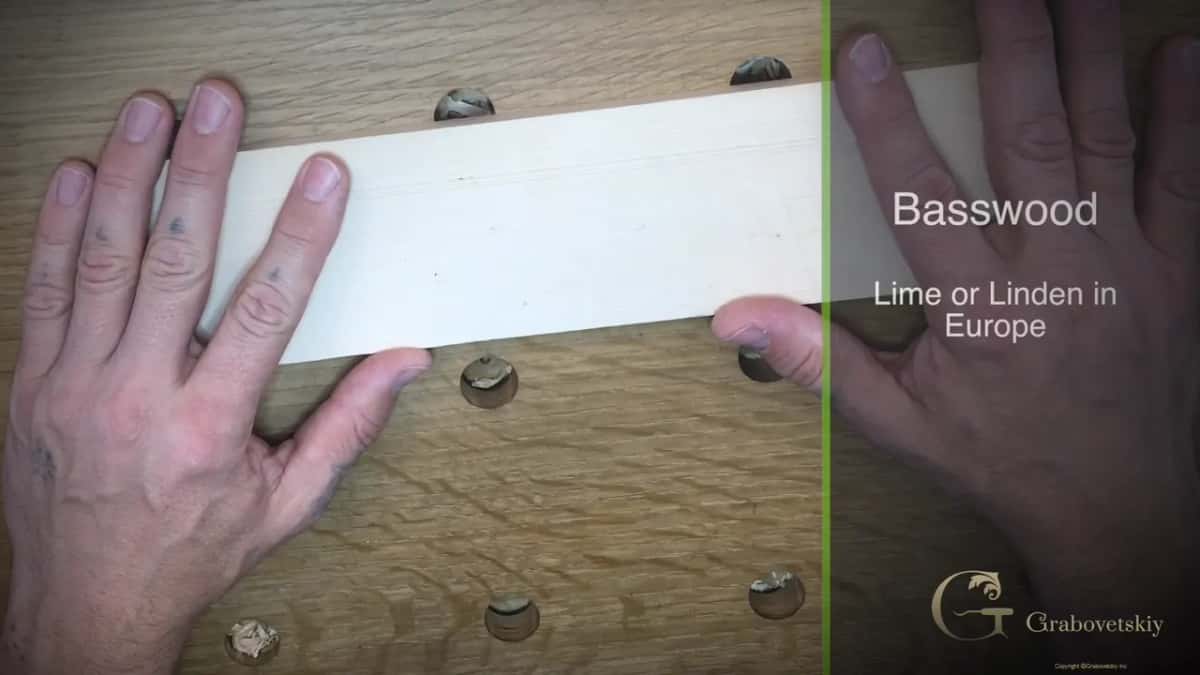
Europe calls the same tree lime or linden, England says lime timber, and where I grew up in Russia everybody calls it lipa. Some cultures know it as the tea tree, since linden flowers brew beautifully.
Almost no figure shows in it. Grain is there, of course, though barely visible, and that absence is exactly what stops a first cut from wandering off somewhere you did not send it.
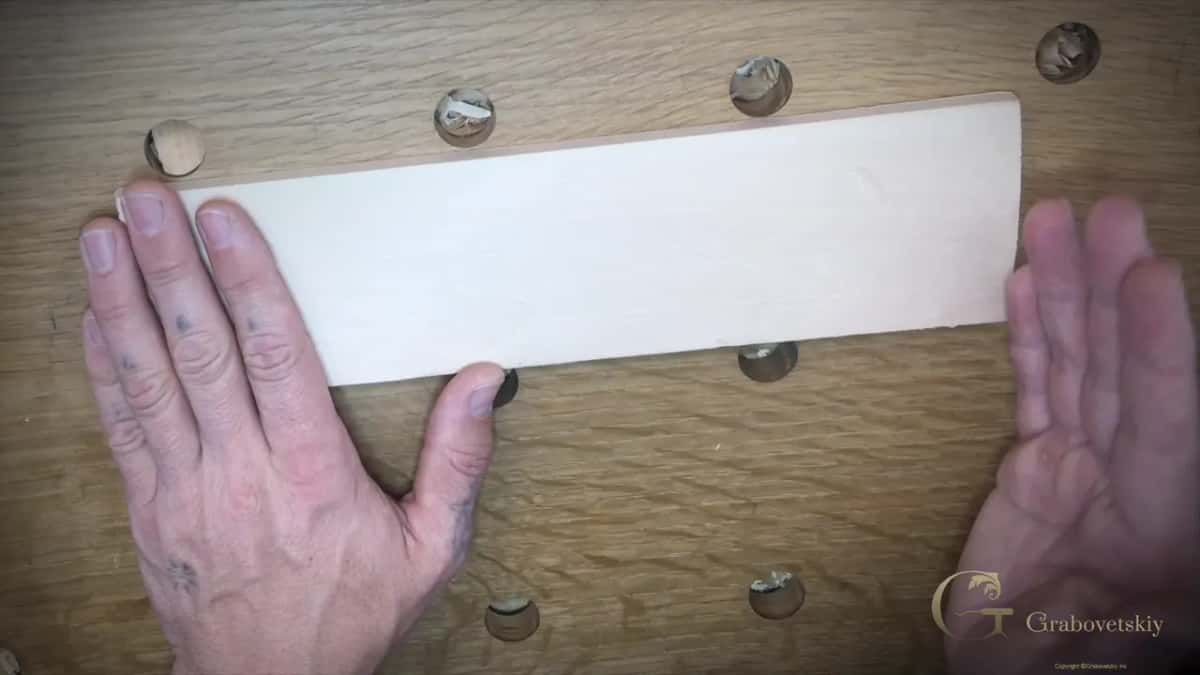
Woodcraft stocks it, and craft shops like Michaels carry small pieces. Buy a very small amount to begin with, since one board goes further than anybody expects.
One more thing about buying it. A link to the exact knife gets posted for students in the United States, so nobody has to guess from a photograph, and the same pattern turns up in most countries now.
Do you need a workshop?
Not for this. Knife work involves no mallet and no heavy movement, so the surface underneath hardly matters, and I have finished whole projects on a kitchen table.
A clamp matters more than the table does. Fix the board down before touching it with a blade, because a piece that shifts under a cut is a piece that will find your other hand.
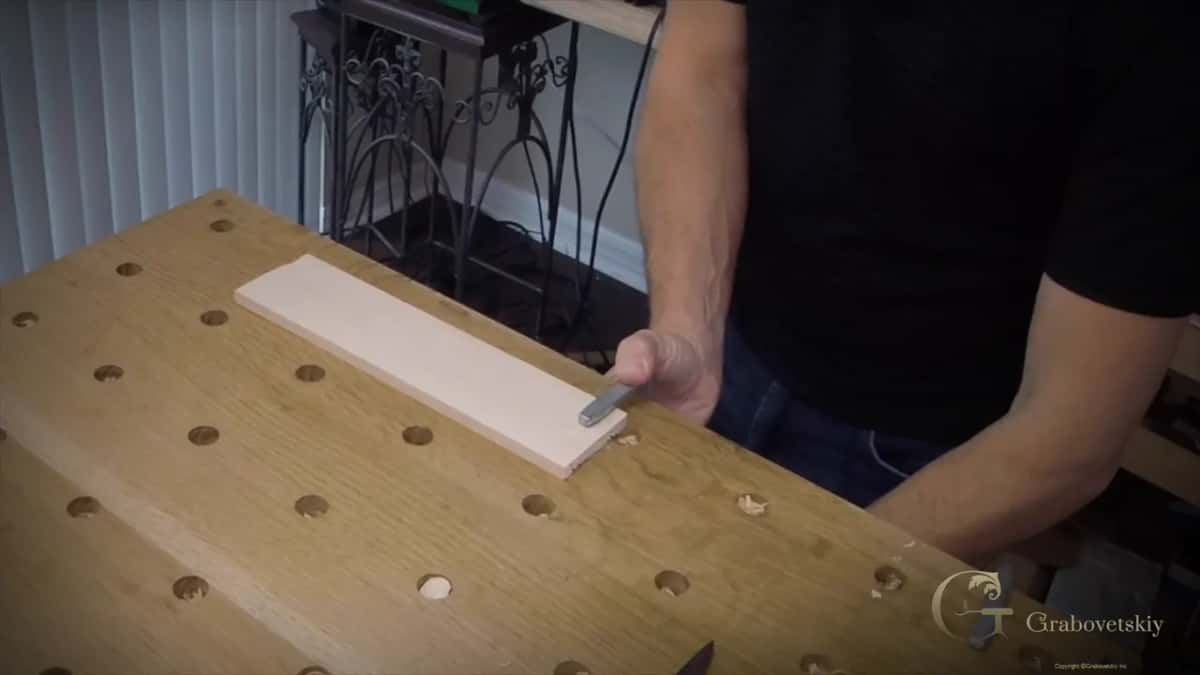
Mine is a simple clamping arrangement, nothing clever about it at all. Pencil, knife, clamp, board, and there is your bench.
What are the three angles?
Straight, then right, then left. Every cut in this lesson is one of those three, and the exercise is three pencil lines drawn across a board so you can practise all of them.
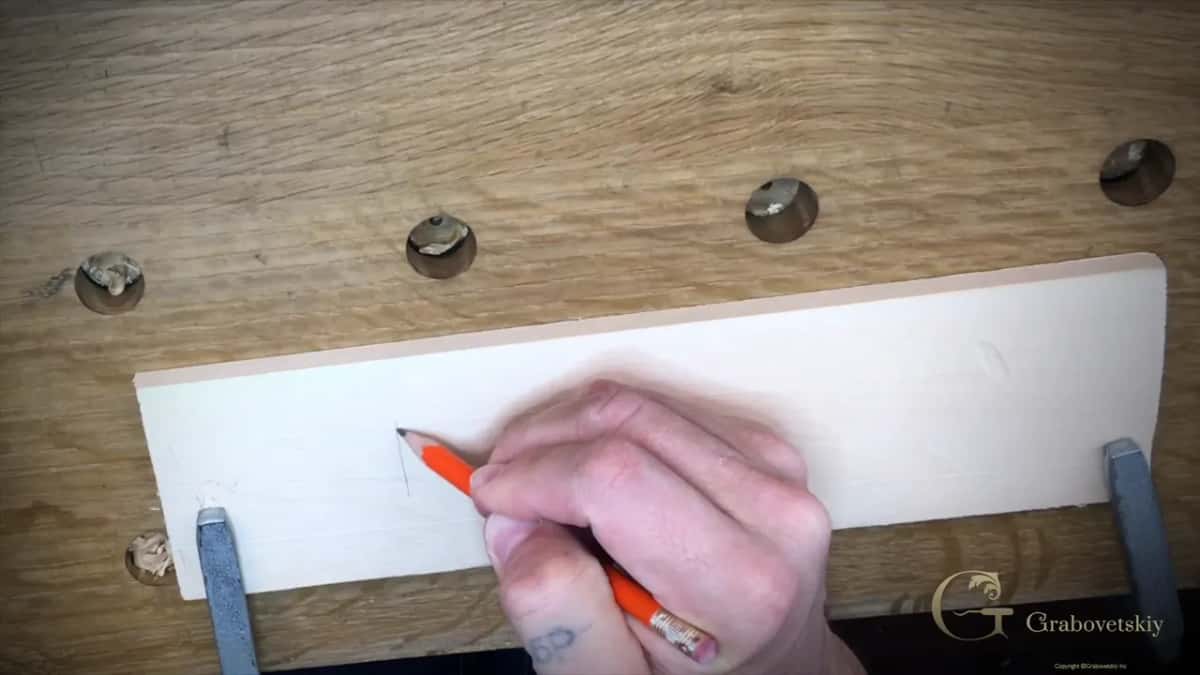
Draw those lines across the grain if you can. Cutting across fibres behaves differently from cutting along them, and this first exercise deliberately puts you on the harder side of that.
Grain direction gets a lesson of its own later. Right now it is enough to know which way it runs and to draw accordingly.
How do you hold the knife?
Locked in the palm for the straight cut. Grip it tight, genuinely tight, put the blade on your pencil mark and pull the whole thing squarely toward your body.
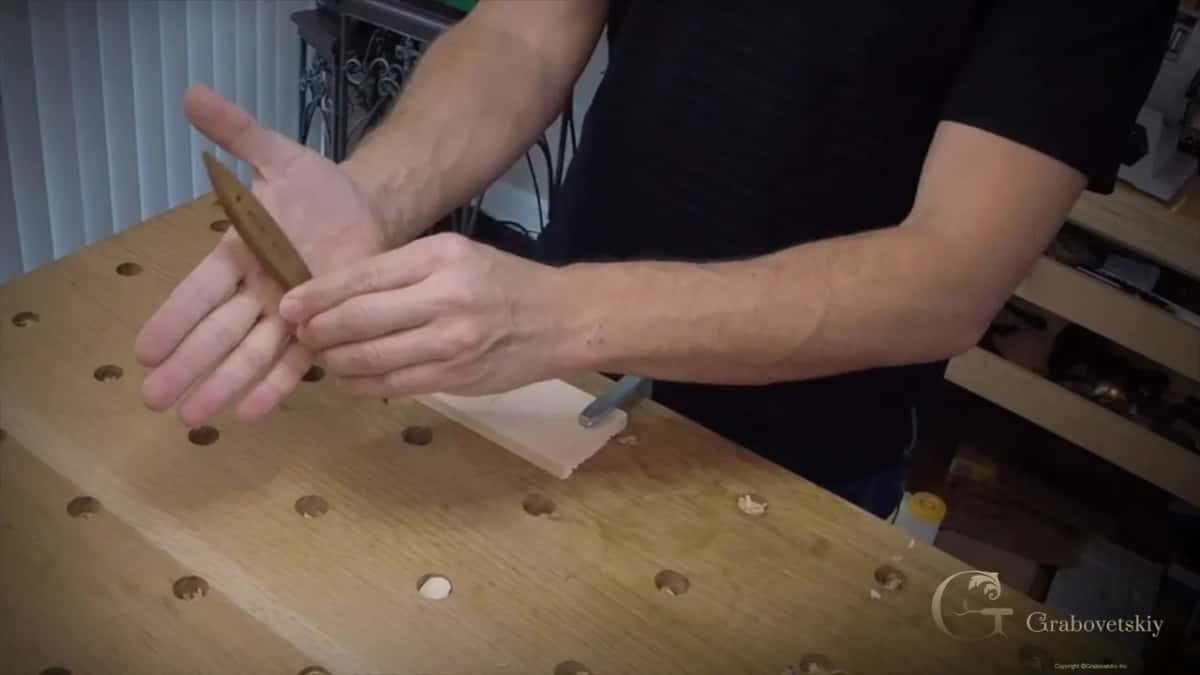
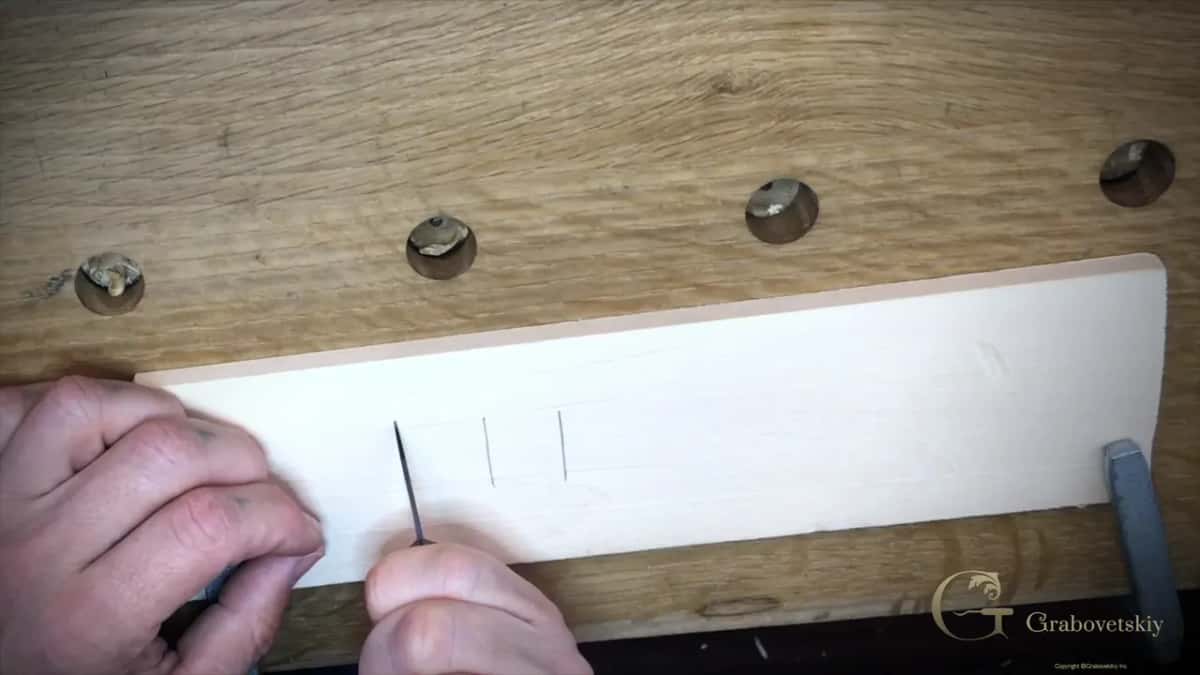
Facing the blade toward yourself sounds alarming and is the controlled way to do it. Your arm pulls, your grip never loosens, and the knife travels a distance your hand decides rather than gravity.
A second grip turns up when the shape gets small. Hold it exactly as you hold a pencil, fingers well forward, and suddenly a leaf the size of a fingernail is workable.
Where does the angled cut begin?
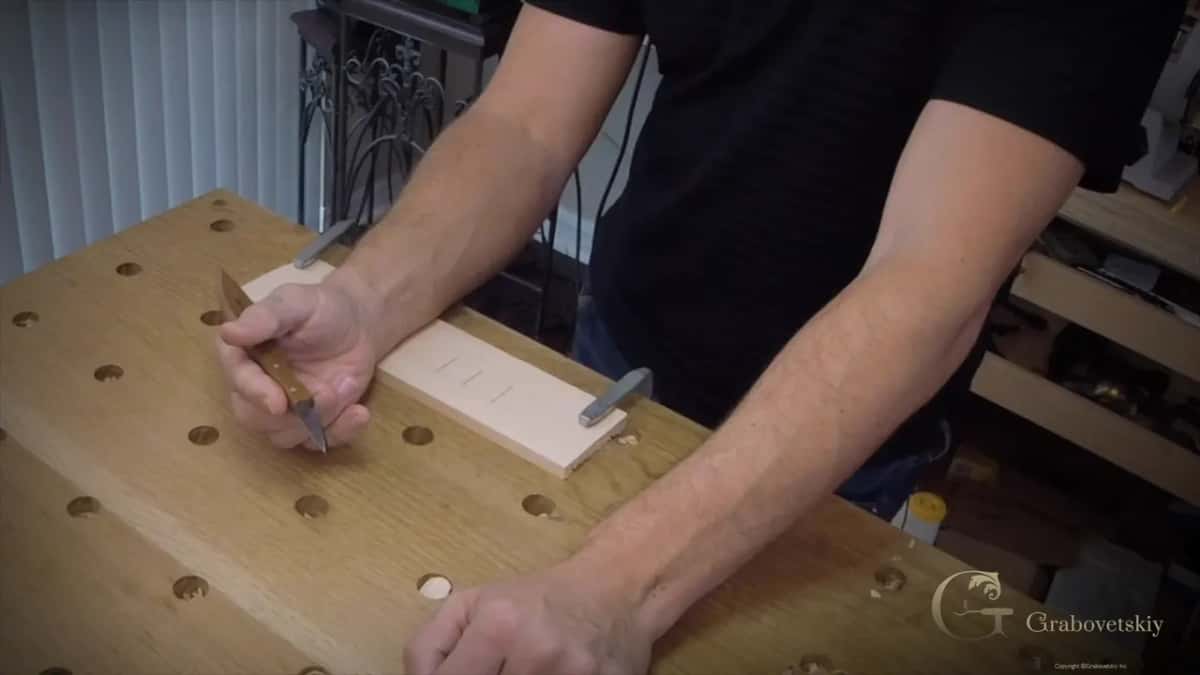
Roughly five millimetres clear of the line, or three sixteenths if you think in inches. Precision is unnecessary here, which is why I call it the arch point instead of giving it a measurement.
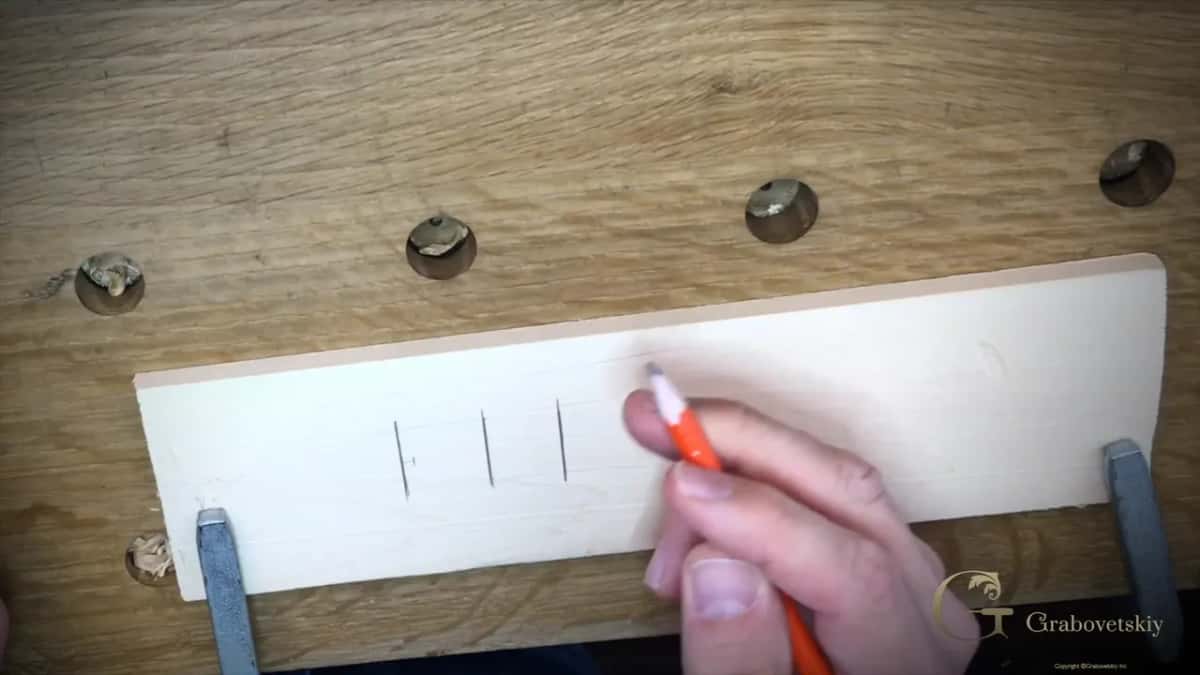
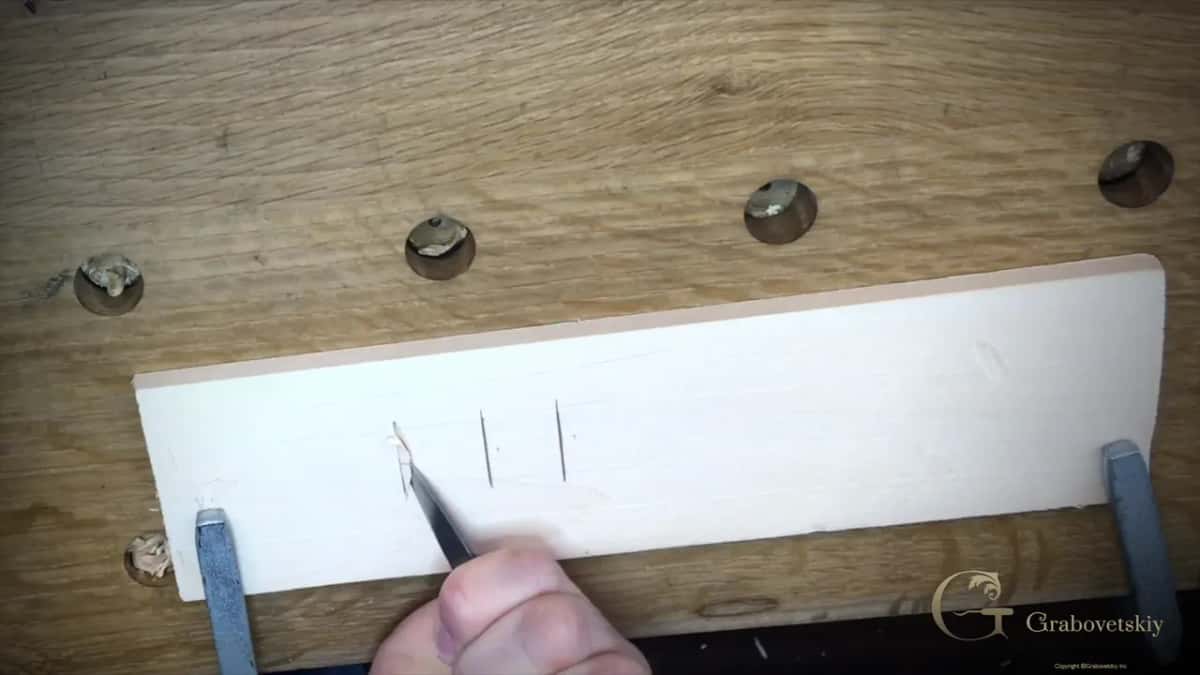
Watch my off hand while that cut runs. One finger presses against the blade and governs how far it travels, and without that finger the knife goes wherever the wood is softest.
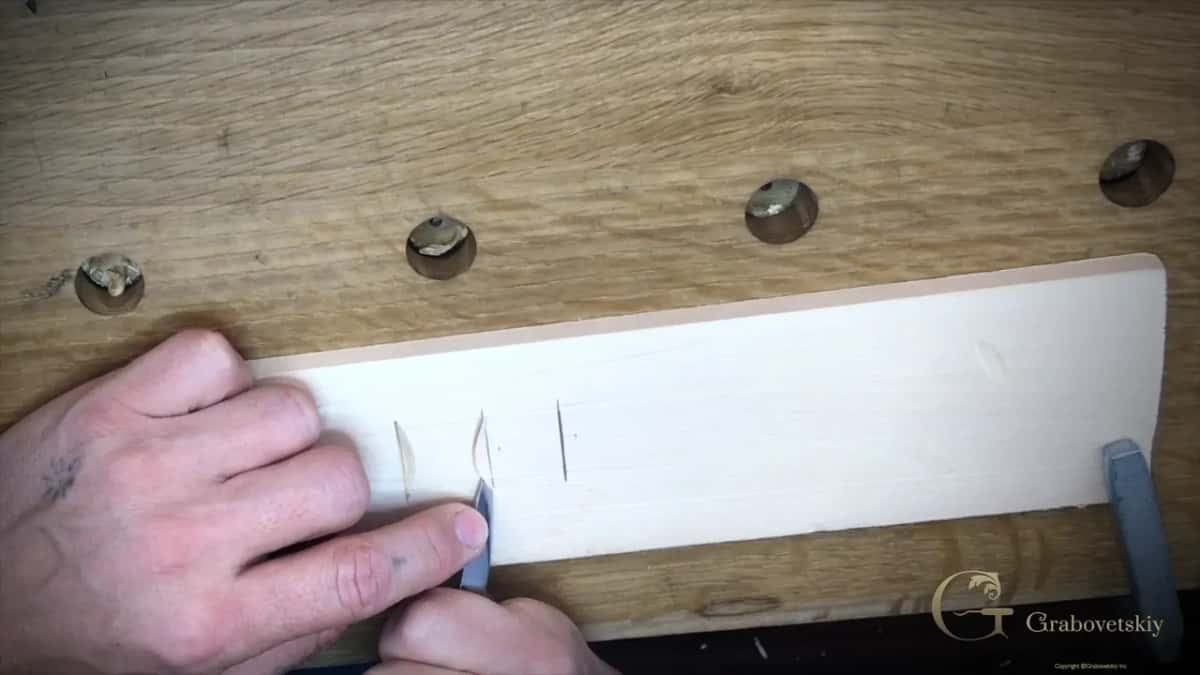
What if the chip will not lift out?
Go back and repeat the straight cut. All three have to meet underneath, and a chip that refuses to release is telling you one of them stopped short.
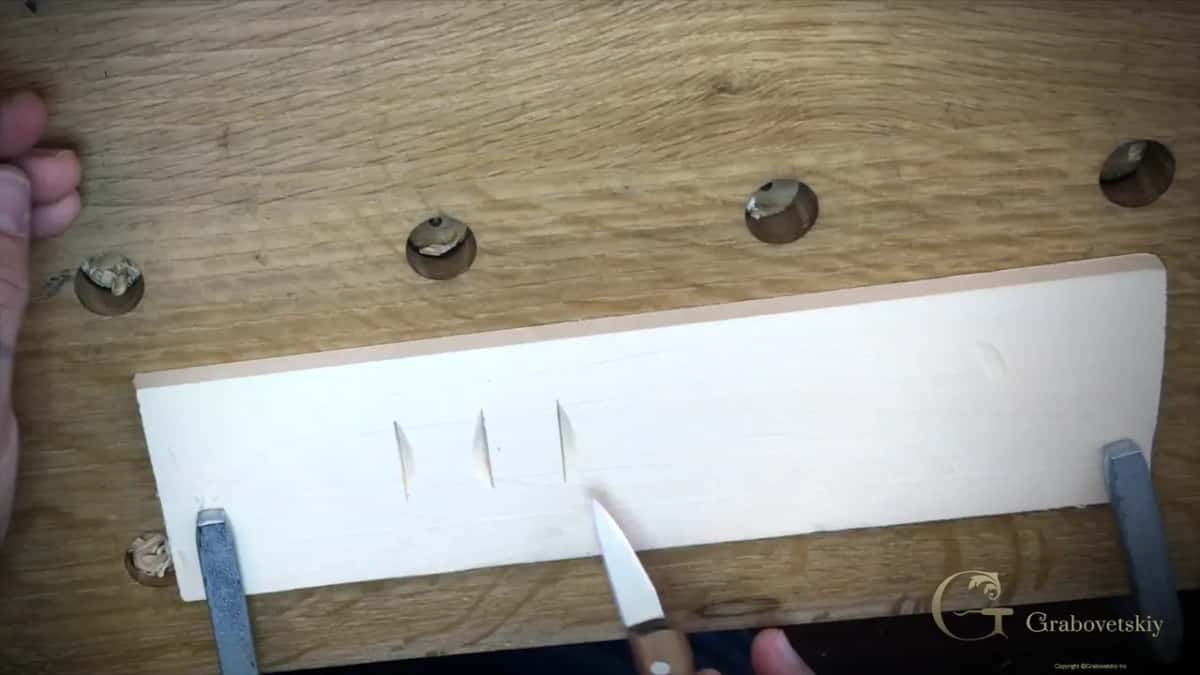
Forcing it tears the surrounding wood and ruins a cut that was nearly right. Re-cutting takes a second and leaves the clean result you were after.
Look at what comes out. A three sided chip with clean walls is the only honest proof that all three cuts arrived at the same depth.
| What you need | What sits on my own bench | Reason |
|---|---|---|
| Knife | A number 12 of Swiss manufacture, chip carving pattern | Stable steel |
| Wood | Basswood | Soft under a beginner hand, and it still keeps an edge on a cut |
| Surface | Kitchen table | No mallet is involved anywhere in knife work |
| Holding | Any simple clamp | A board that shifts mid cut will eventually find your other hand |
| Marking | Pencil | Draw first |
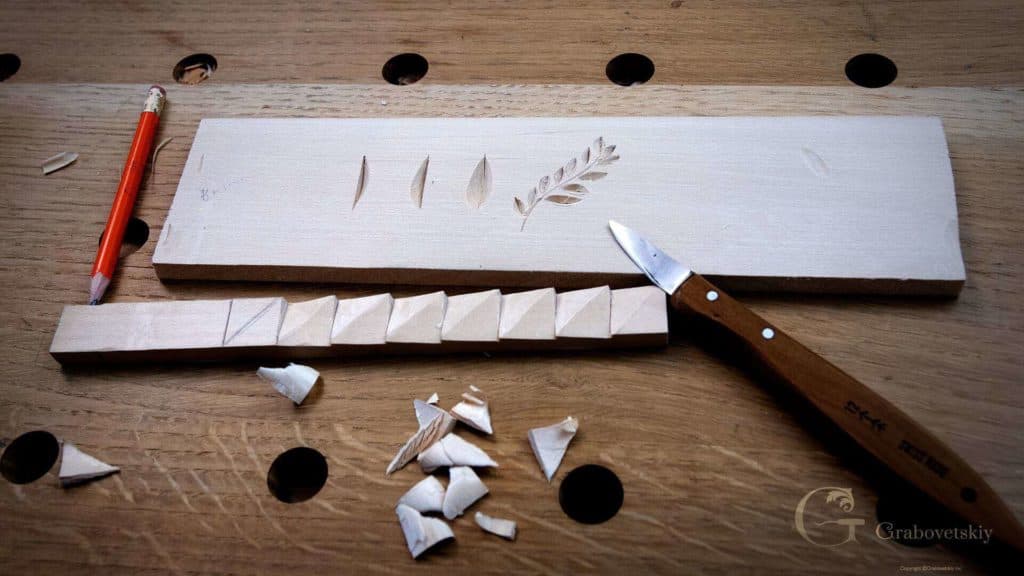
| Practice piece | Strip about 20 mm by 10 mm | Big enough to divide up, small enough to finish in one sitting |
What is this exercise really training?
Depth. Not pattern, not decoration, and certainly not speed. Every one of these cuts teaches your hand how far down a blade has gone without your eyes having to check.
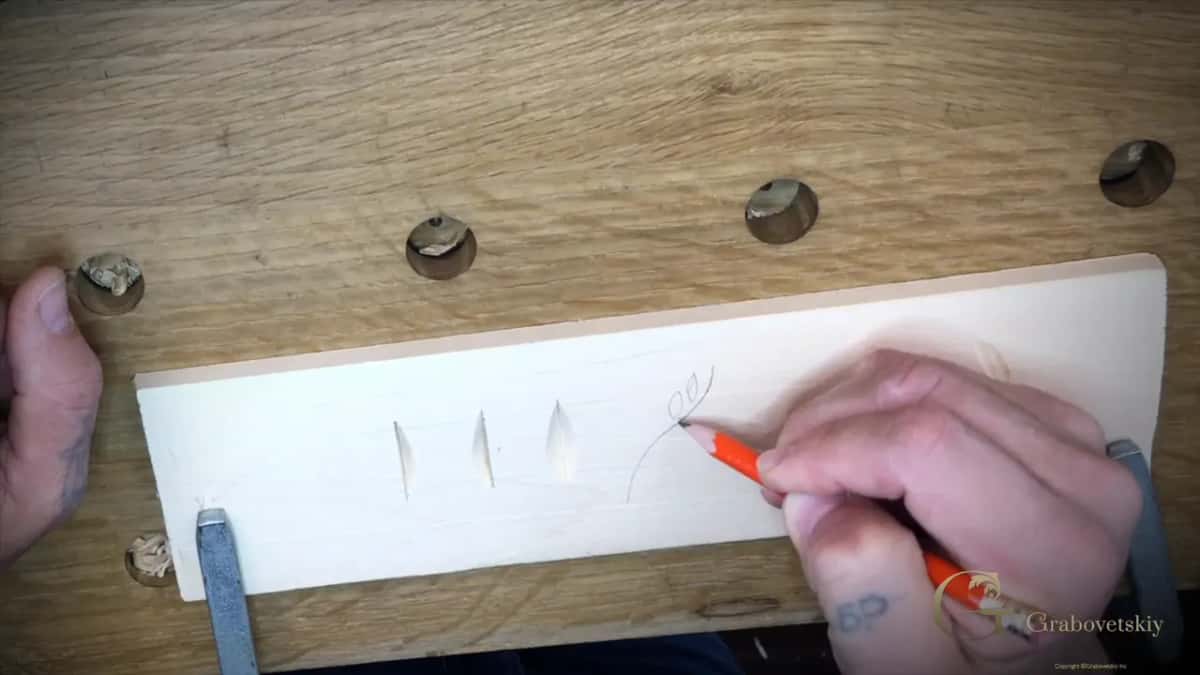
Feel is the word I keep using in this workshop. You are building a sense of how deep to travel and what angle to hold, and no amount of watching video installs it.
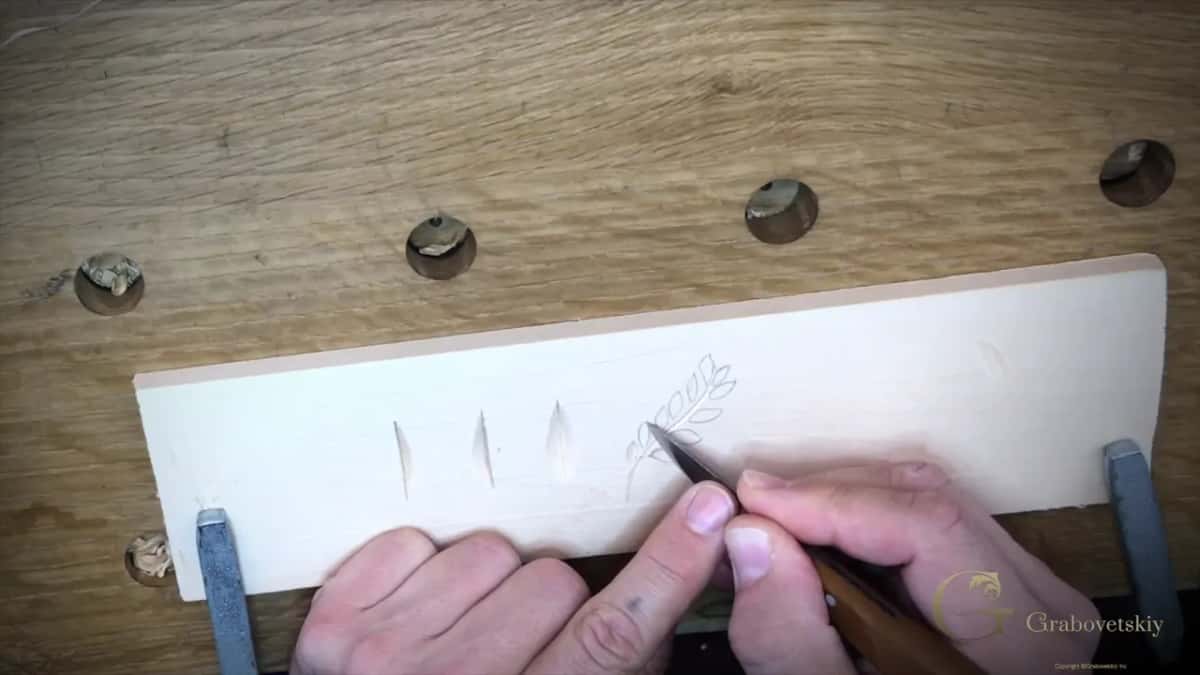
Draw a stem freehand, put a few leaves on it, cut the right side of each one and then the left. Within an afternoon there is something on that board you can honestly call carving.
Nothing about this is quick, and nobody should want it to be. Feel arrives at the speed it arrives, and the students who last are the ones who stopped checking their progress against a calendar.
When does the knife get turned round?
For the molding exercise at the end. Point away from the body this time, which reverses everything taught an hour earlier, and the technique genuinely is different.
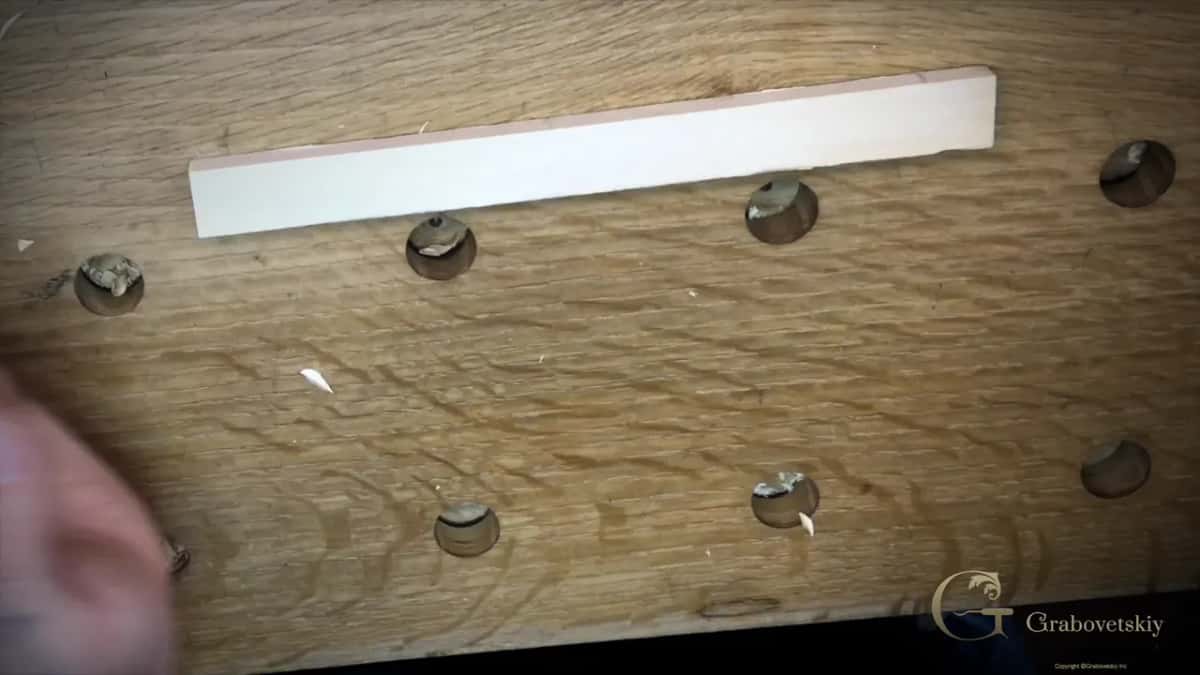
Take a strip about twenty millimetres wide and ten thick. Three quarters of an inch by three eighths, near enough, and nobody is measuring you.
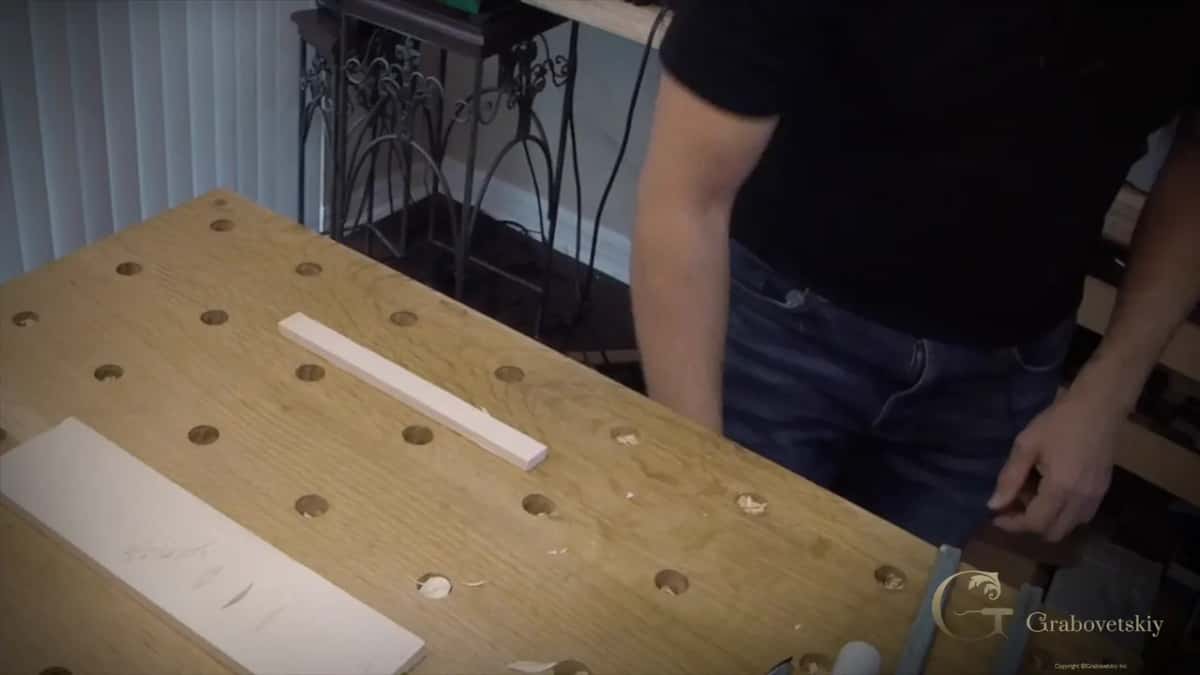
Step off equal spaces down its length, drop a straight cut at ninety degrees on every line, then run a diagonal corner to corner. Two millimetres of depth is plenty.
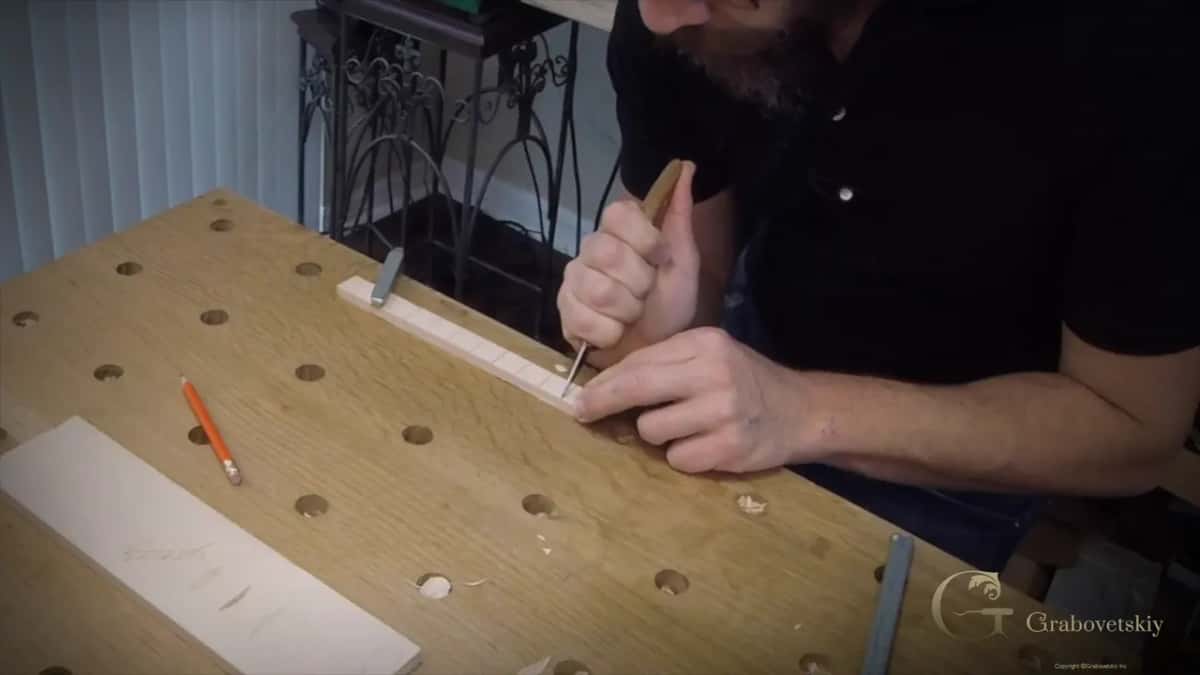
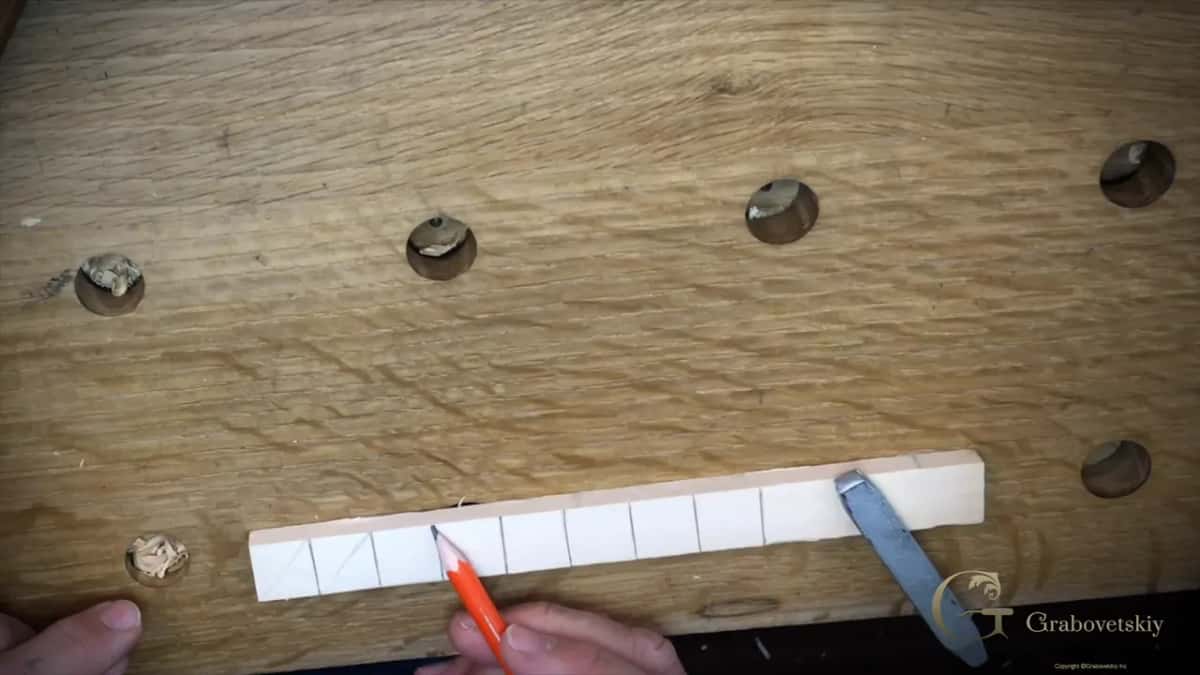
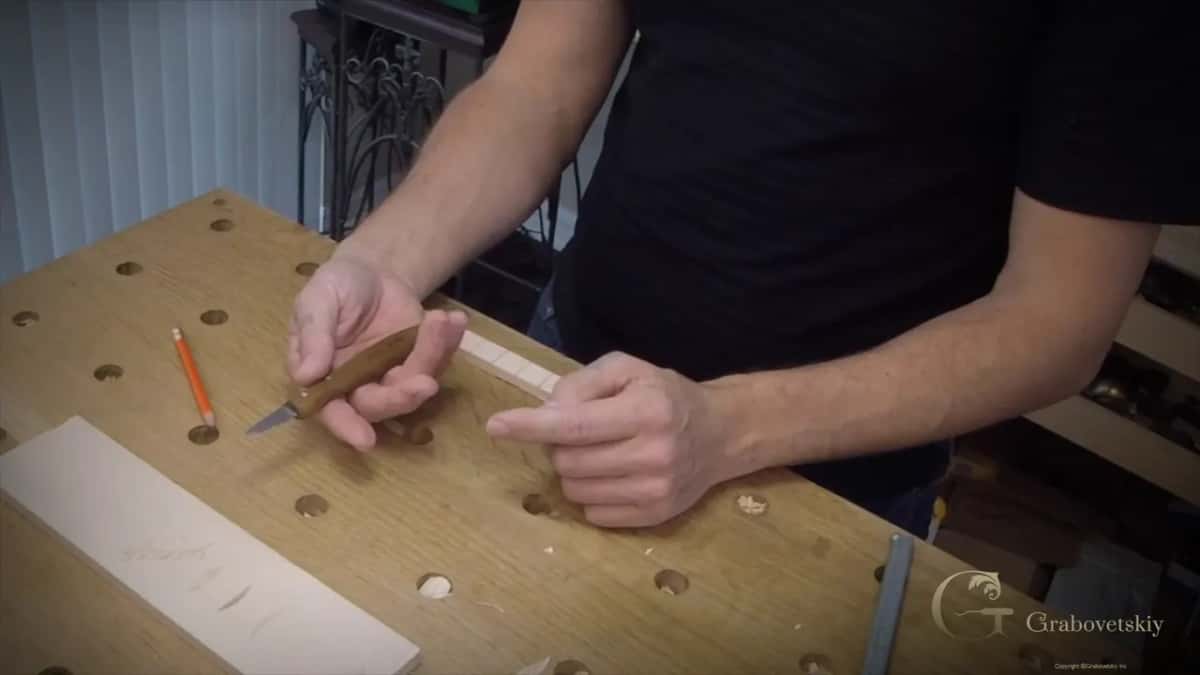
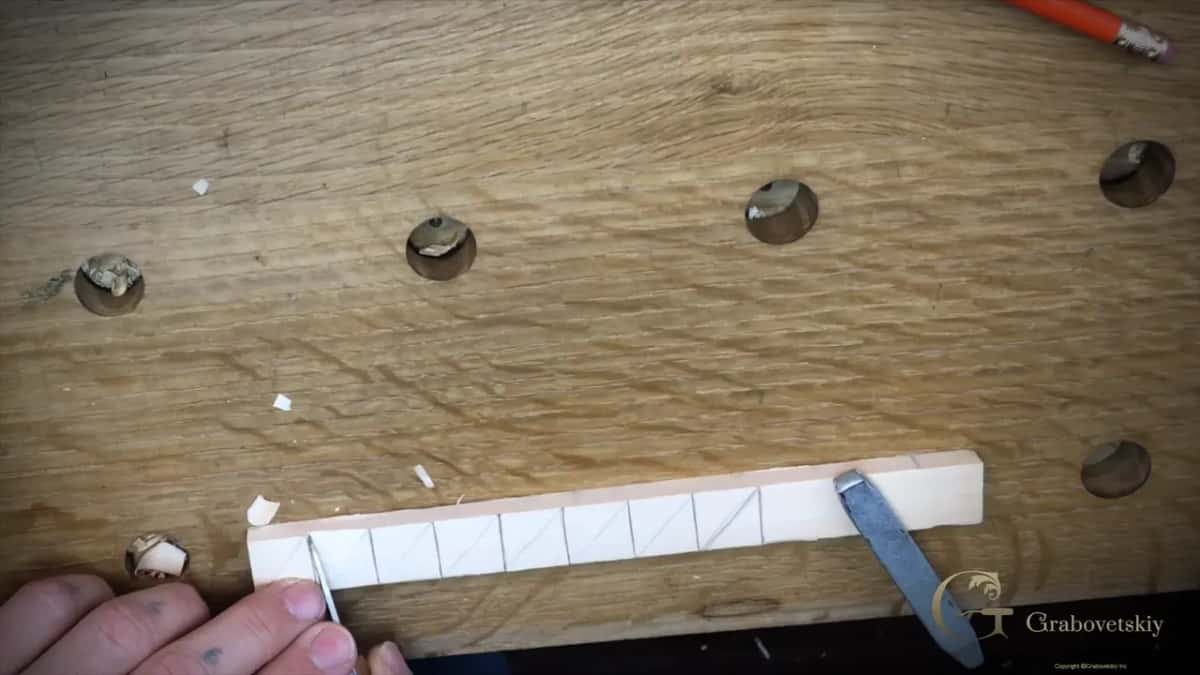
Flip the strip and repeat from the other direction. By the end there is a heap of chips on the table and a length of molding that turns a plain edge into something worth looking at.
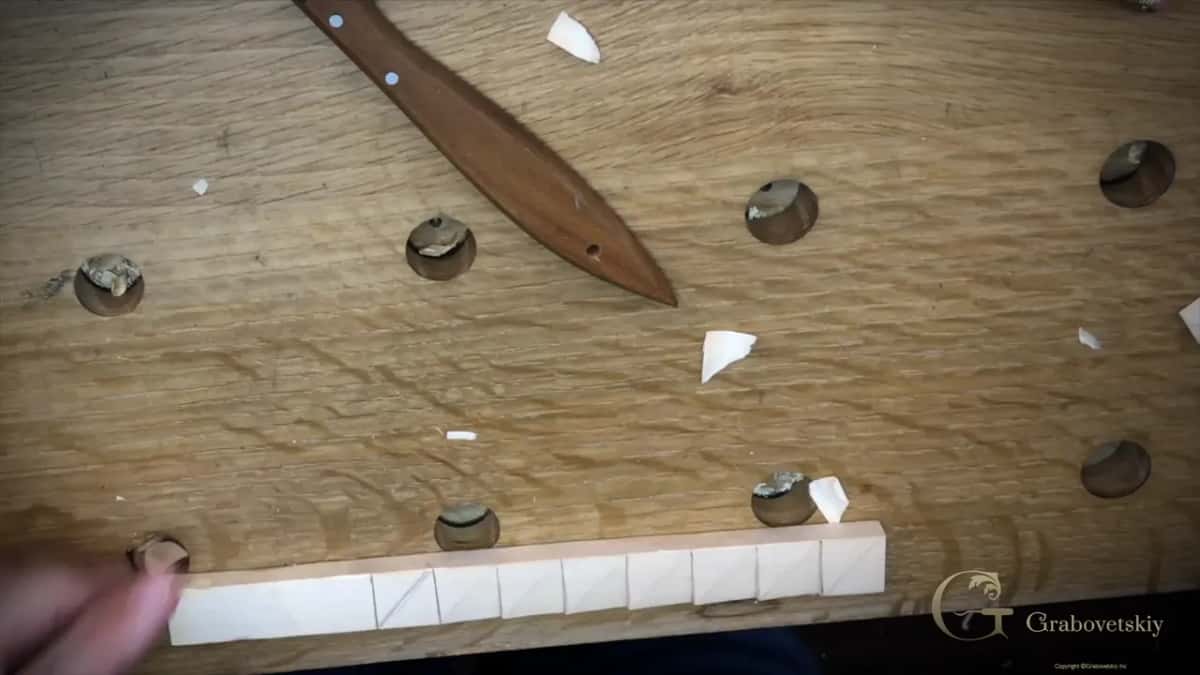
Turn the finished piece slowly under a low light and watch what happens. Shadow and light play across those cuts, and that play is the whole point of relief work, visible here on a practice piece a beginner made in one afternoon.
Carving like this turns up in Greek work and across older European woodcarving generally. You are not doing something modern.
Your finished piece goes into the assessment too. Email me what you make and I will look at it properly, which is something I have done for students since long before any of this was filmed on camera.
Can carving actually earn anything?
Yes, and I want to be precise about the scale, because vague encouragement helps nobody. I am not talking about twenty dollars here, nor a hundred, nor even a thousand.
Tens of thousands is closer to what skilled carving work is worth, and one knife is what earned mine. That is the reason I tell beginners to buy the good blade and stop agonising over what it costs.
None of that arrives in a month. Skill has to exist first, and skill is built by somebody sitting at a table making the same three cuts until they stop thinking about them.
Why does any of this matter?
Young men come to the gym, push dumbbells for one day, then walk to the mirror to see what grew. Nothing grew. Nothing can grow in a day, and expecting otherwise is childish.
Scripture calls the man who built the tabernacle as filled with the spirit of wisdom, knowledge and understanding. Carvers are wise people. I do not say that lightly about my own trade.
Photographs reach me from Australia, New Zealand, Argentina, Holland, Belgium, Denmark, Sweden, Finland and Canada. Send yours once the molding is done. I will tell you honestly where you stand.
First workshop of the course. Workshop two carries the same knife further, and the course itself holds both. From there the beginner course runs sixteen more workshops on a cutting board, and the antique rosette is a sensible first project once a gouge arrives. Gouges get chosen in the tools course, and specifically here, while every edge on this site depends on sharpening. Why ornament moves the way it does belongs to the design course. Further out wait the Greek acanthus, a flower rosette, a floral panel and eventually the Venice Room. Who I am is a shorter watch than any of it.
Three angles, one blade, and an afternoon. Access to the school opens every course above.
How it's done
- Buy one good blade. Number 12, Swiss made, of the chip carving pattern. Cheap copies use unstable steel that breaks under normal pressure and convinces beginners the fault is theirs.
- Get a small piece of basswood. Linden, if you are in Europe. Barely any figure in it, soft under an inexperienced hand, and it still keeps whatever detail you put there.
- Clamp it to whatever table you have. Knife work uses no mallet, so the surface is irrelevant. Movement in the workpiece is what is dangerous, not the height of the bench.
- Draw three lines across the fibres. Pencil first, always. Across rather than along, because the harder direction is where the feel gets built.
- Pull the straight cut into your body. Blade locked in the palm, grip tight, edge turned toward you, travelling ninety degrees down onto the mark.
- Come back at it from either side. Roughly five millimetres out, leaning the blade over, once from the right and once from the left. A clean chip lifting free proves all three arrived together.
Frequently asked questions
How many tools does a beginner need?
Exactly one. My teacher gave me a knife and left me with it for years before a gouge appeared, and buying a full set early tends to produce a drawer of costly steel beside somebody who still cannot cut a straight line.
Which wood is best for a first project?
Basswood, known as lime or linden across Europe and as lipa where I grew up. Hardly any figure to fight, soft under a new hand, and firm enough that detail survives.
Do I need a workbench?
A kitchen table is plenty. Mallets never enter into knife work, so nothing needs absorbing, and I have finished entire projects that way. Clamping the piece down matters far more than what it sits on.