
Alexander Grabovetskiy, woodcarver, School of Woodcarving · Published 2017
What is one knife carving with no background?
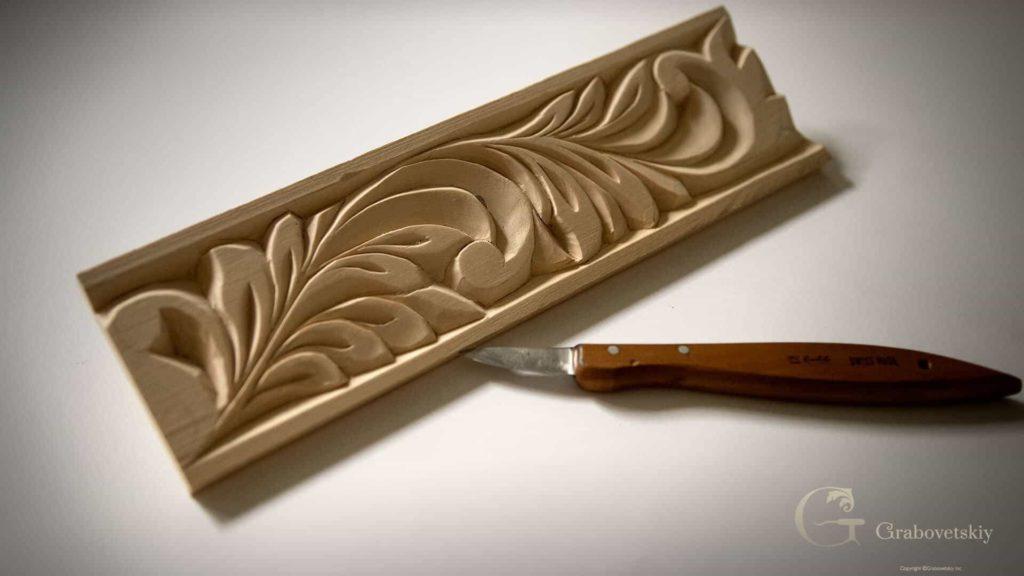
Quick answer: One knife carving is the oldest ornament there is, and it carries no ground behind it. Leaves keep the original face of the board while the wood beside them is removed, and every shadow comes from two angled cuts meeting under the surface. No gouge, no mallet, nothing punched down flat.
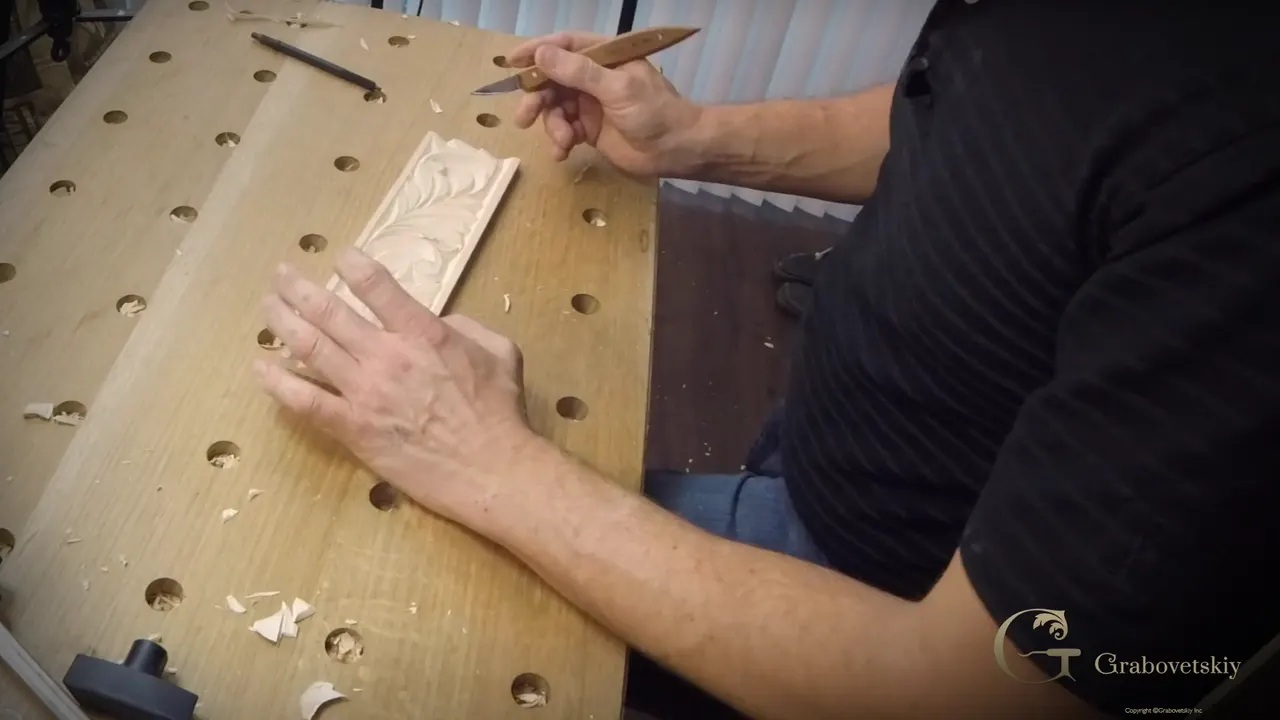
Everything except the leaf gets cut away. In the first workshop the leaf was the hollow and the board stayed put around it. Turn that inside out and the leaf keeps the original surface while the wood beside it goes, which is the whole difference between these two afternoons.
Same knife. Same board, other face. Nothing new arrives in your hand today, and I mean that as encouragement rather than a shortage.
You would be amazed how much comes off a plank with one blade. Ancient carvers had nothing else, and what they left behind on churches and cabinets across Europe was not made with a workshop full of steel.
Key takeaways
- The leaf stays high and the wood around it goes.
- Draw two boundary lines first, a quarter inch then an eighth, and forbid the design from crossing either of them for any reason at all.
- Cut downhill with the fibres.
- Your other hand lives behind the blade, never in front of it, even when you are only steadying the work.
- A chip that will not release is telling you a cut stopped short.
- There is no ground here, no background, nothing punched down, and that absence is what separates this from every other kind of carving people will compare it to.
What actually changes from the first workshop?
Which part of the wood survives. Last time the leaves went into the board like little boats and the surface around them stayed untouched.
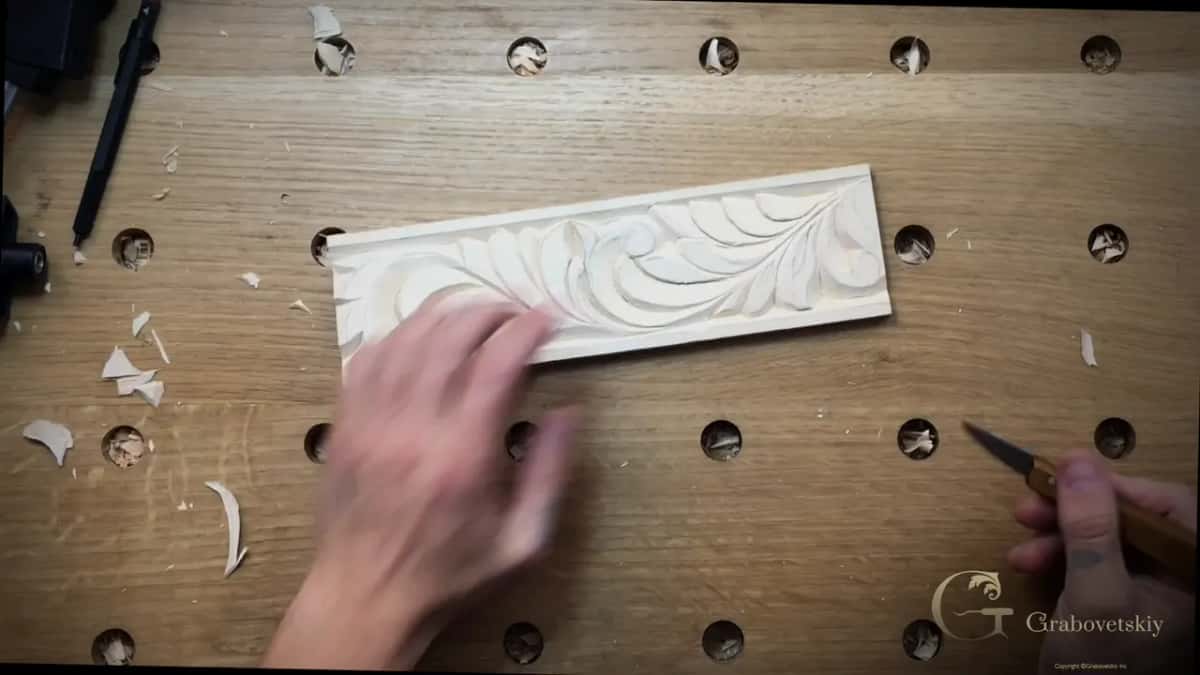
Now the opposite happens. Leaves keep the flat original face, and my knife removes the material beside them, so the ornament stands up out of a plank rather than sinking into one.
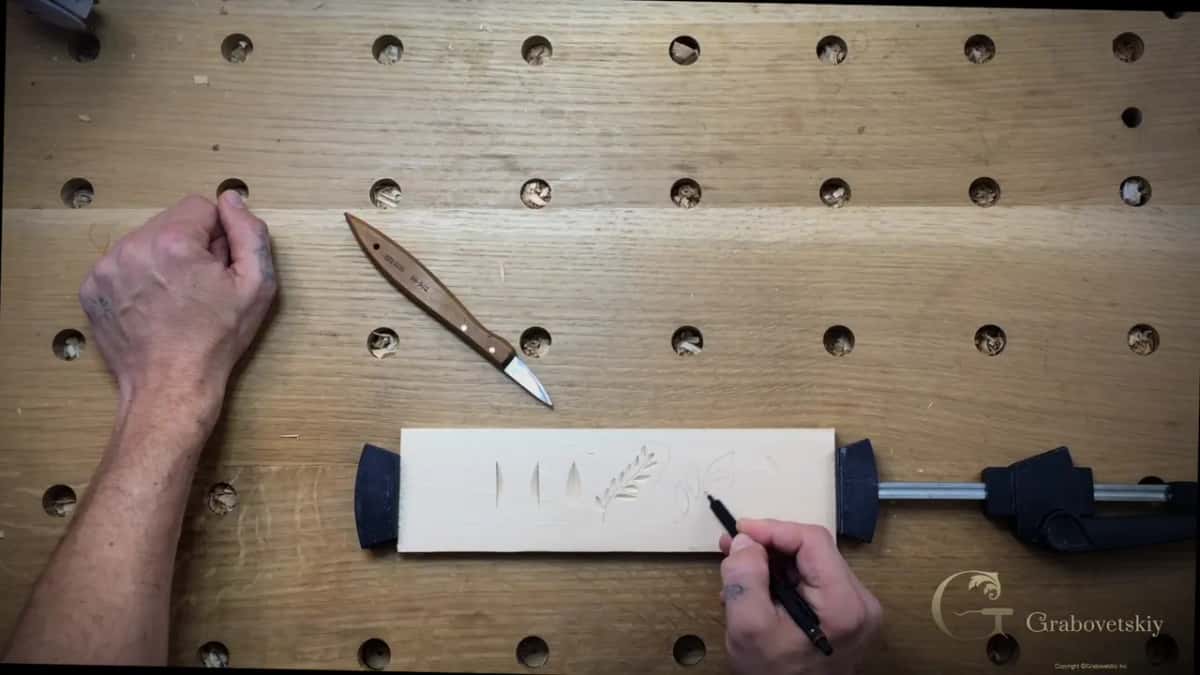
Practise on something too big before touching the real design. Oversized leaves along a simple S line let the hand learn the movement while a mistake still costs nothing at all.
Depth is what you are training, not shape. Every one of these cuts teaches your hand how far down the blade has travelled, and that knowledge is what the next ten courses quietly assume you already carry.
Grip is unchanged, and there are still two of them. Locked in the palm, or held exactly like a pencil, whichever suits the size of the shape in front of you.
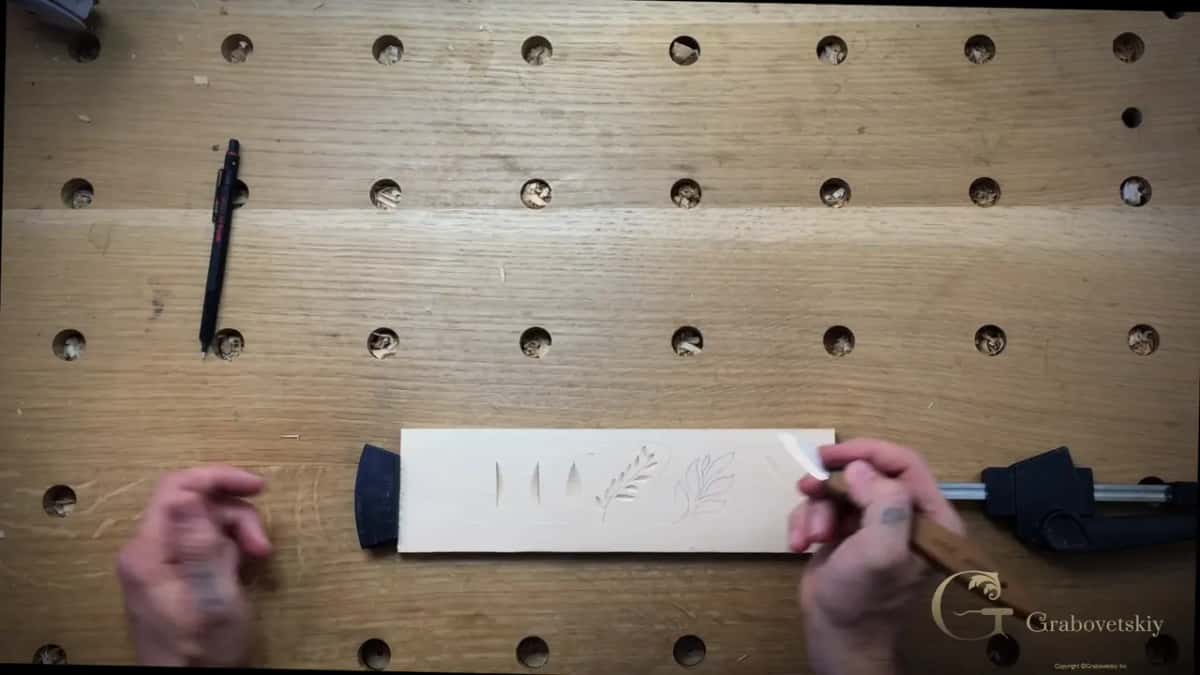
How many cuts is this really?
Two, for most of the afternoon. Right hand angle, left hand angle, over and over, and a third arrives only near the end.
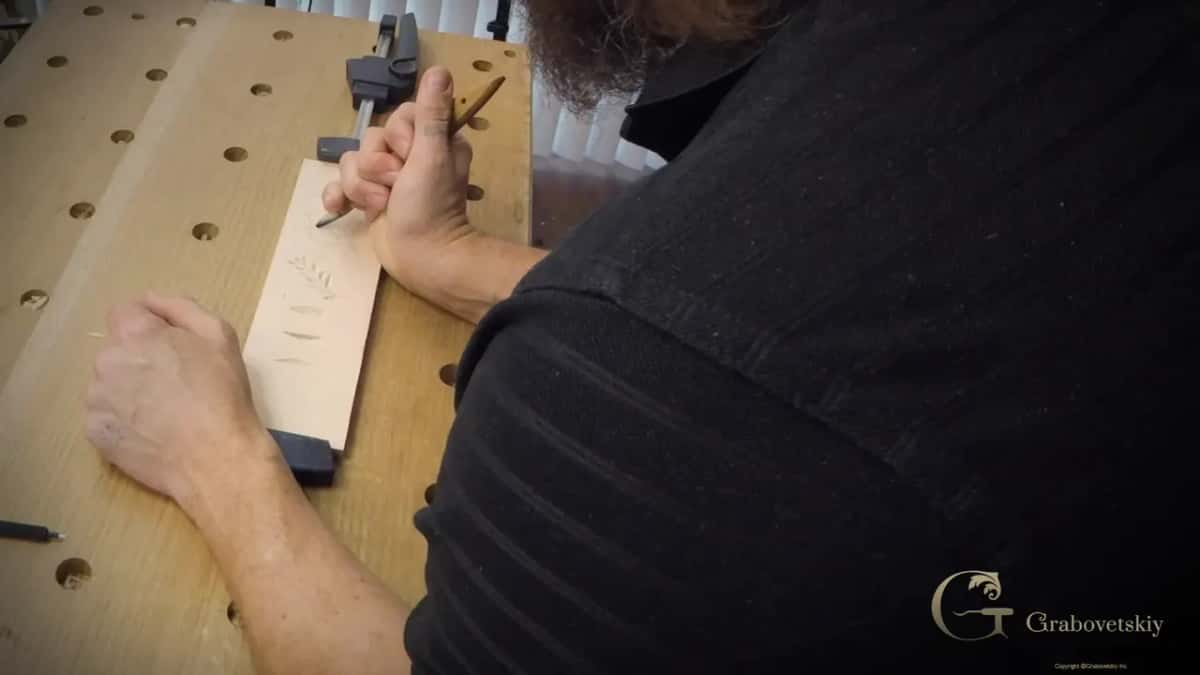
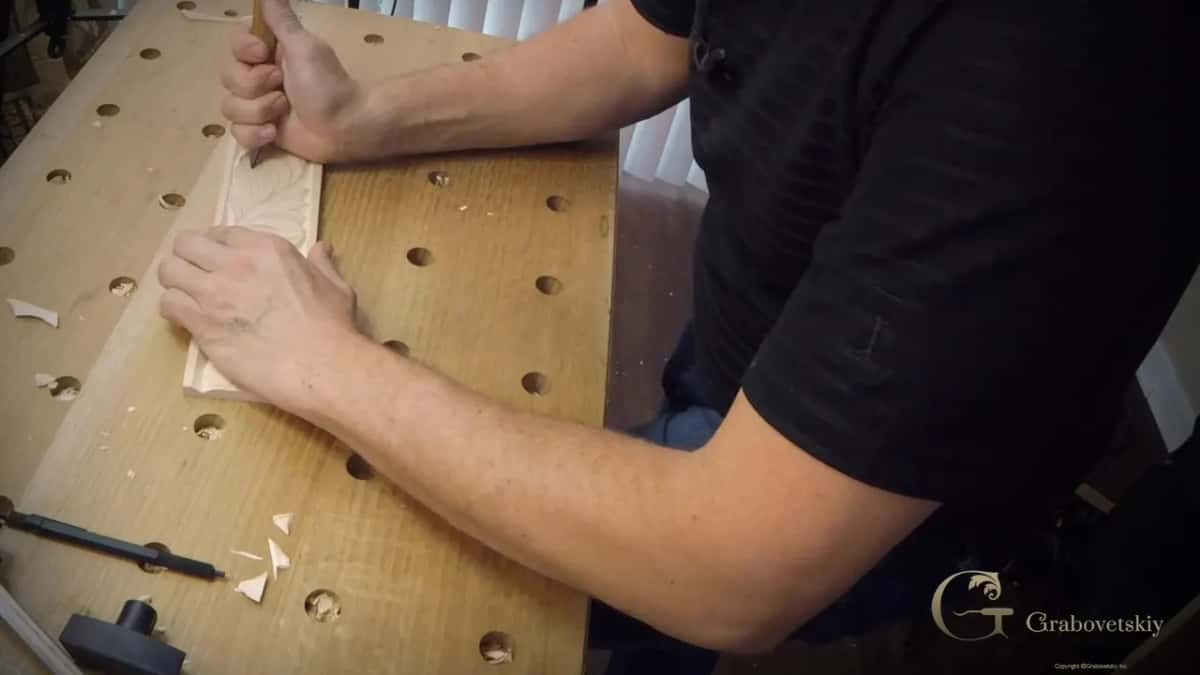
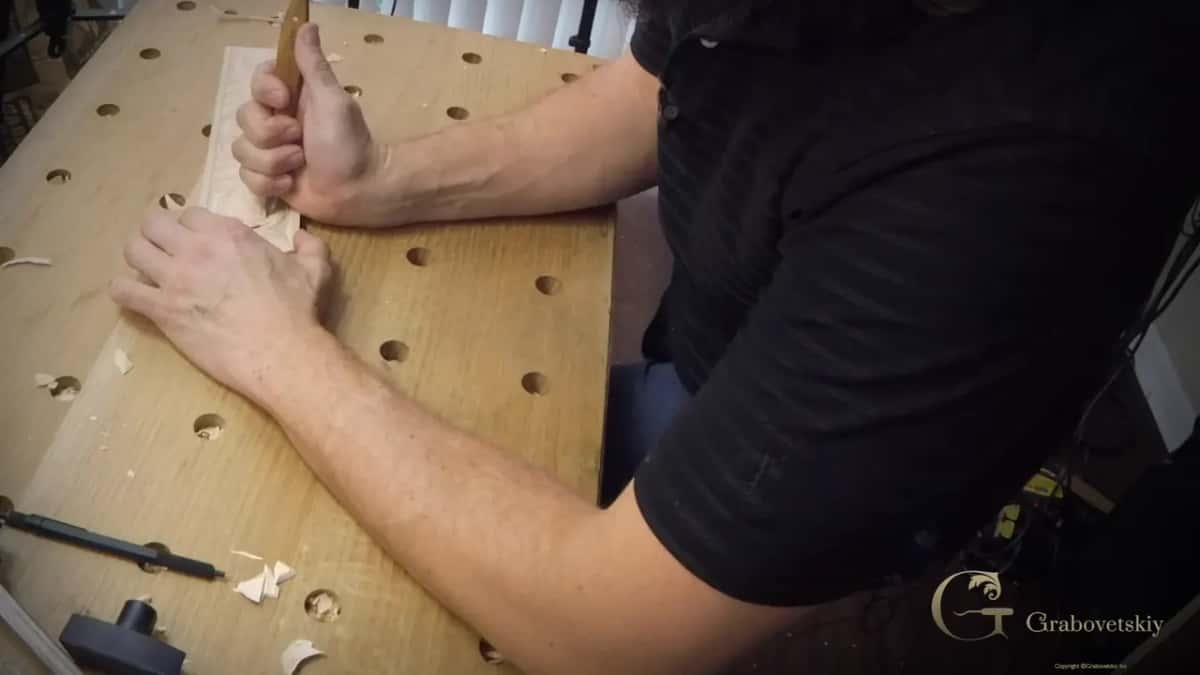
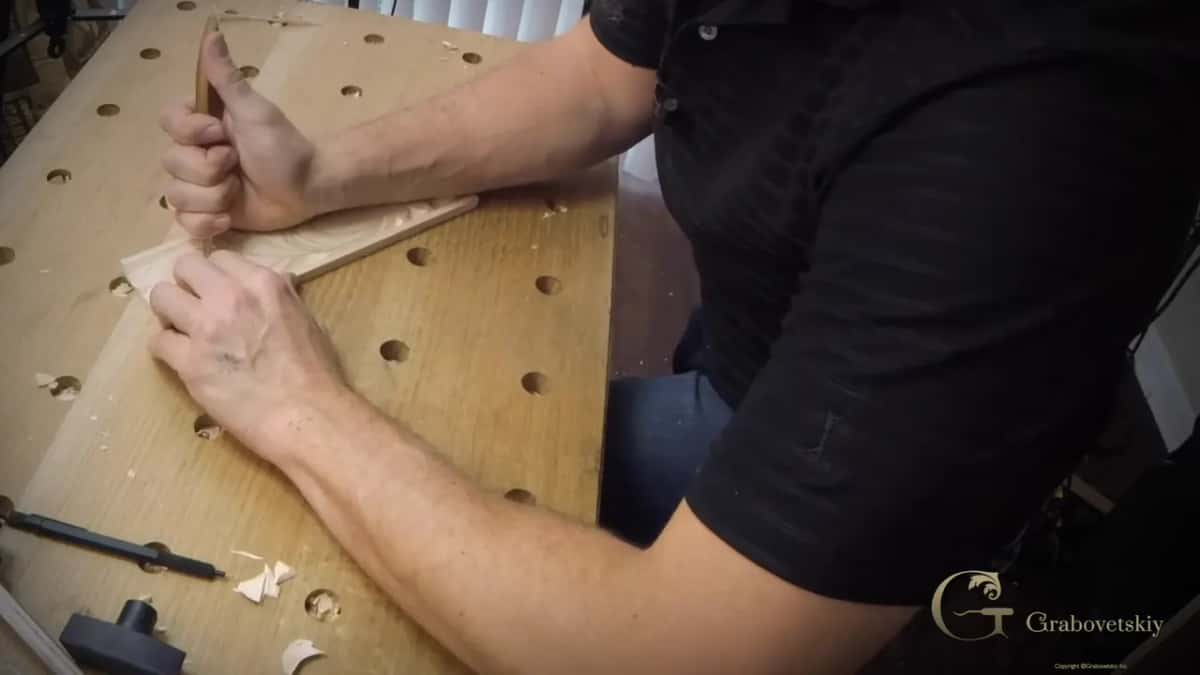
Angle the blade, put it on the drawn line, cut. Then walk round, or spin the work, and take the matching angle from the far side.
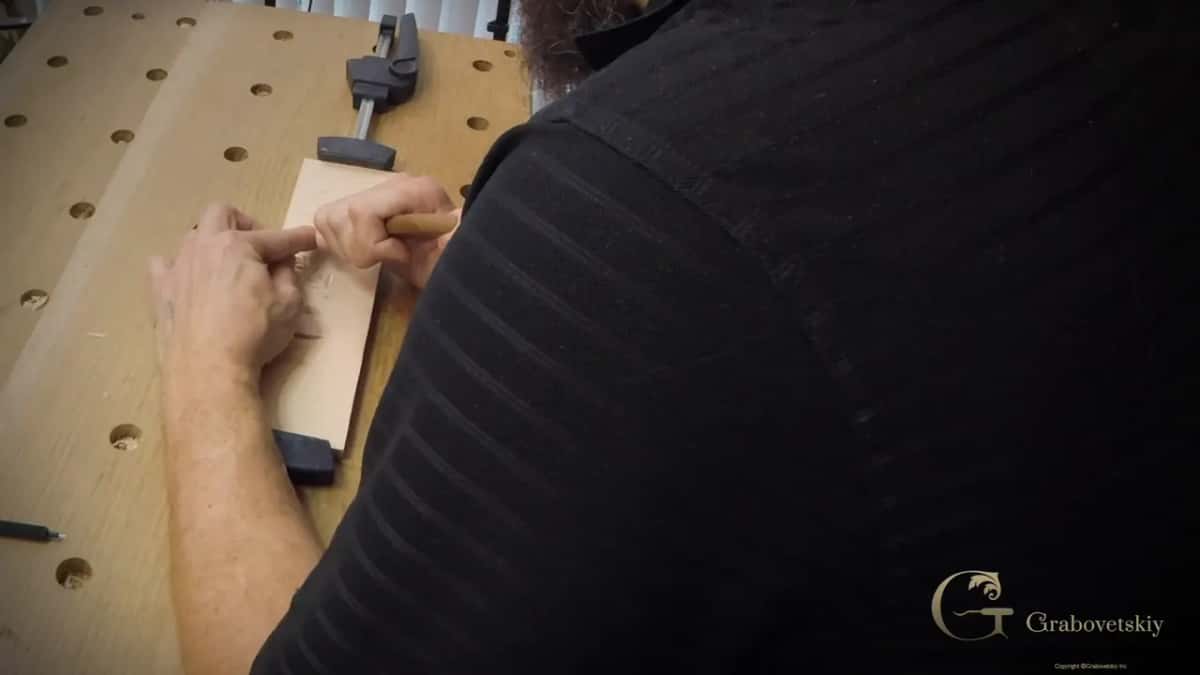
Where the pair meets down in the wood, you get a clean edge and a chip that lifts out unaided. Repeat that a few hundred times and you have the entire mechanism.
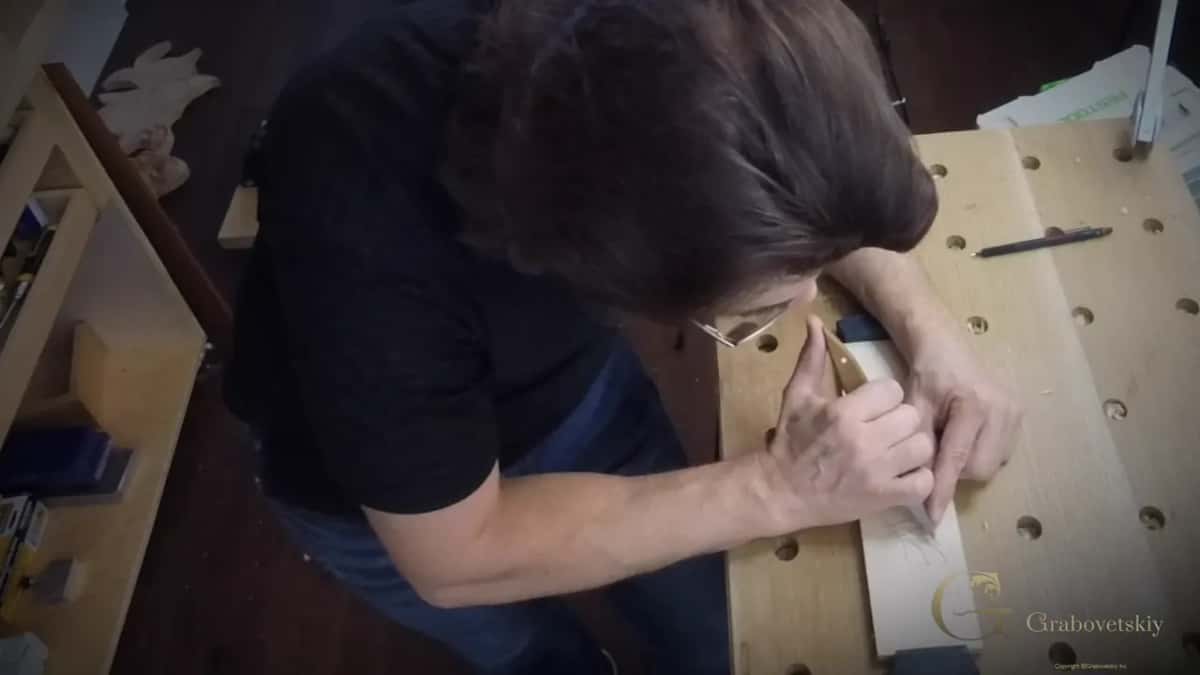
Toward the centre, always. Working outward tears the fibres where you least want them torn.
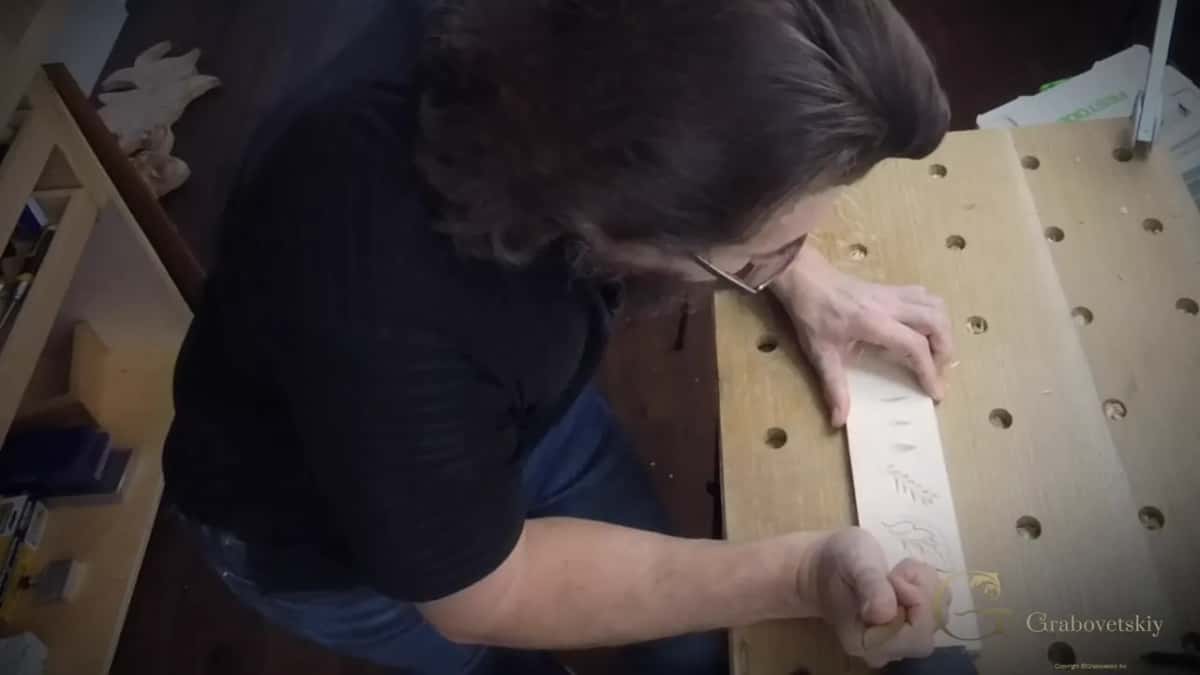
I missed a side on camera and caught it a moment later. Left that in, because a carver who never misses one is a carver nobody should believe.
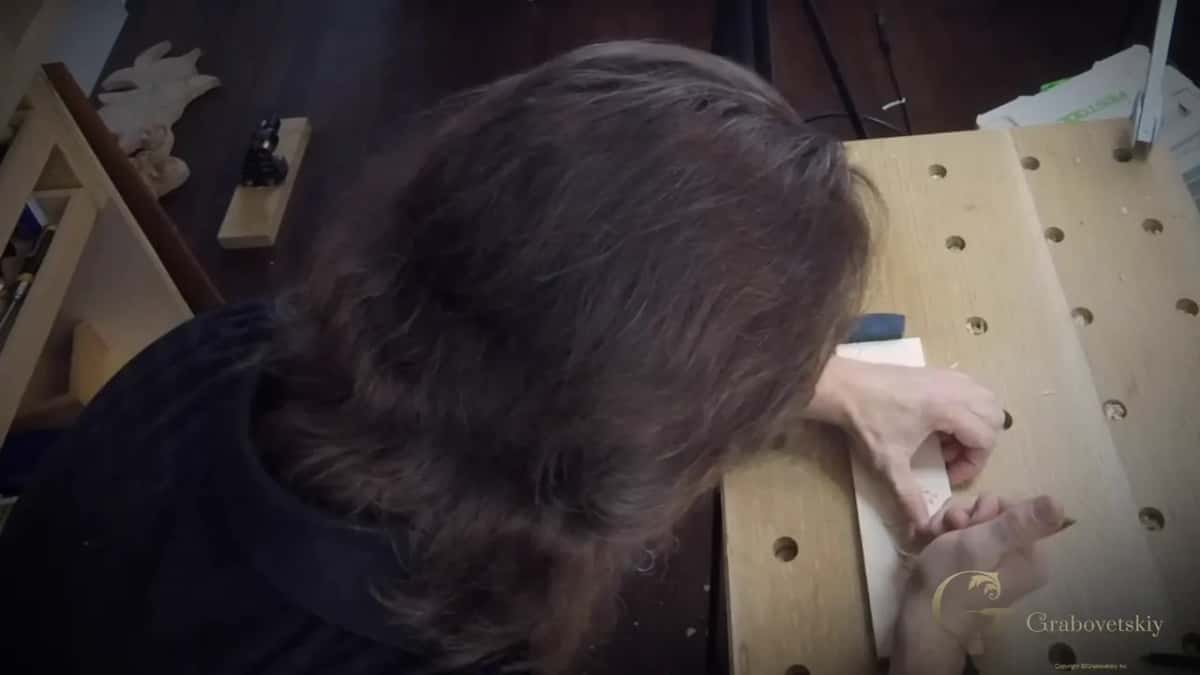
What do you draw before any of it?
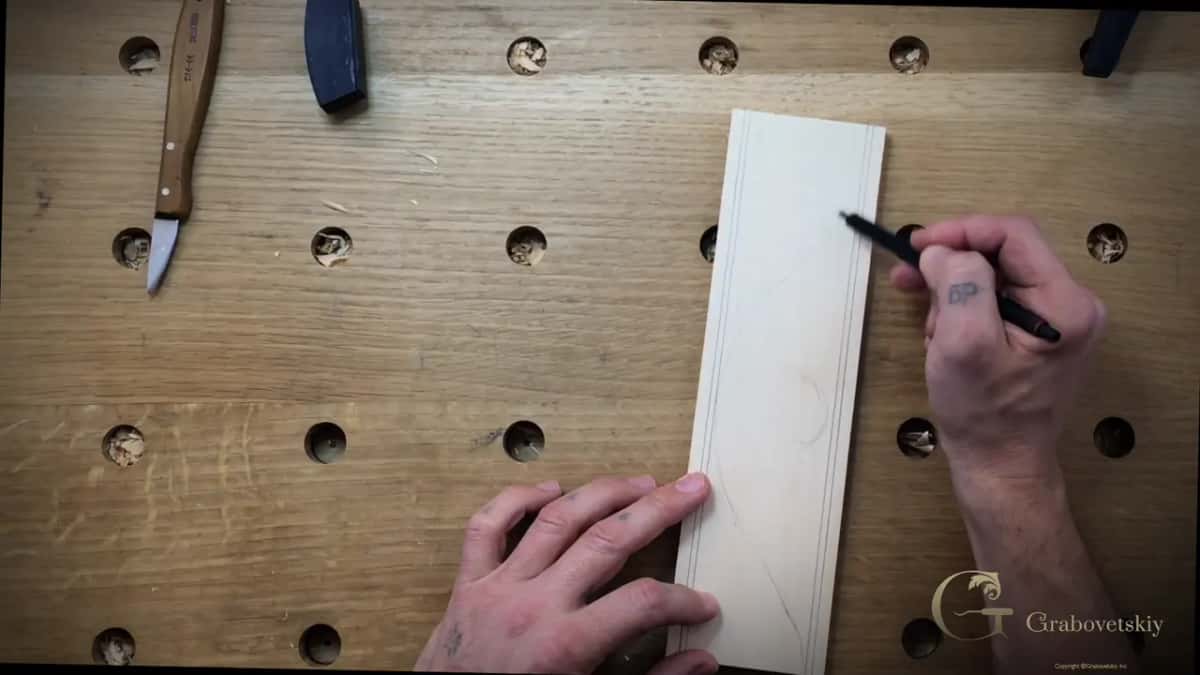
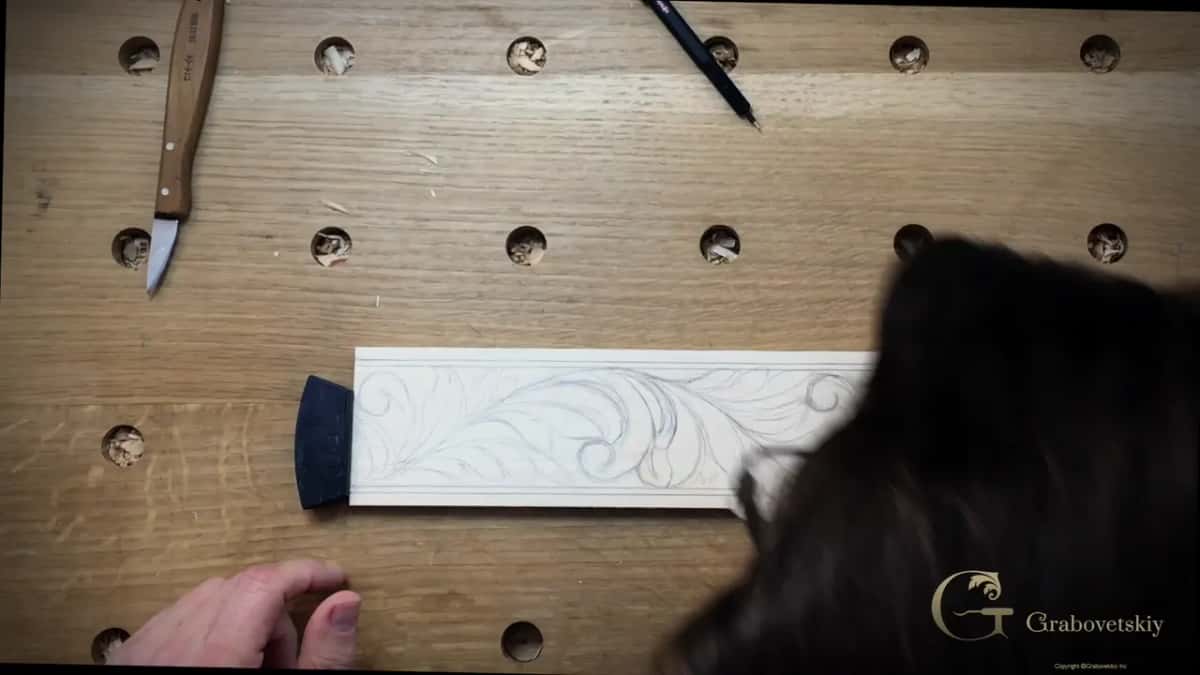
Two lines along the border, and then a rule about them. A quarter inch in from the edge, and a second line an eighth of an inch inside the first.
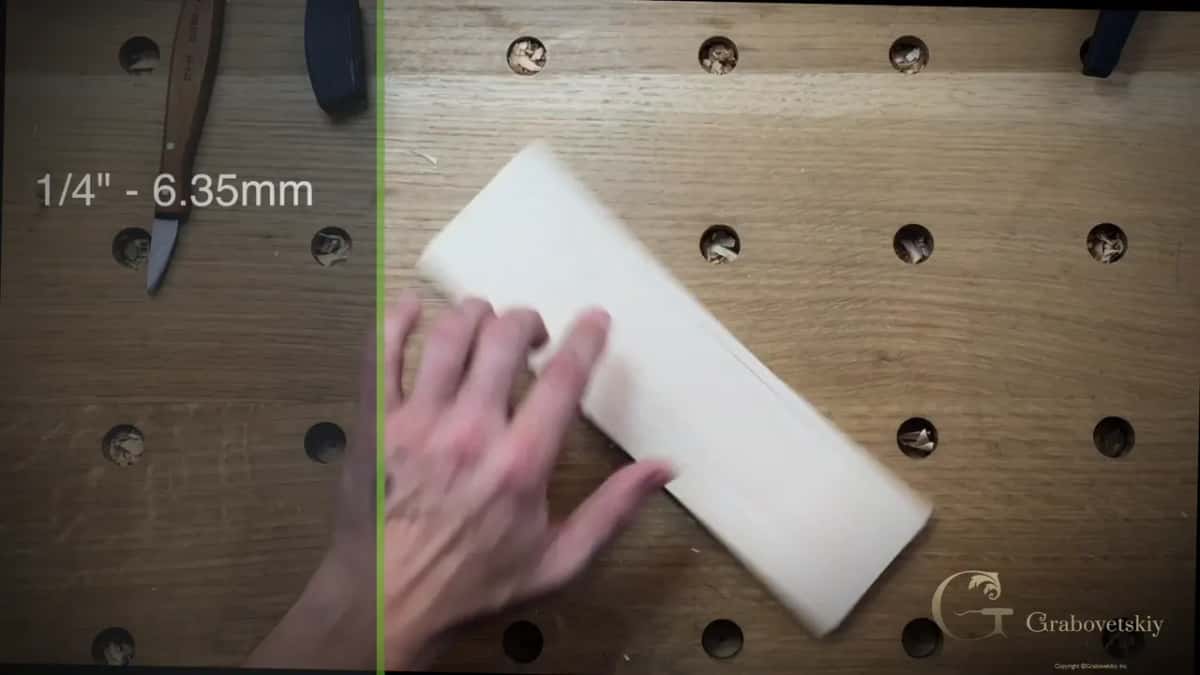
No part of the design crosses those. My leafage can twist wherever it likes inside that frame and it never once steps over, which is what gives the finished band its edge.
Then I draw. Directly on the wood, inventing as the pencil moves, with no pattern and nothing measured.
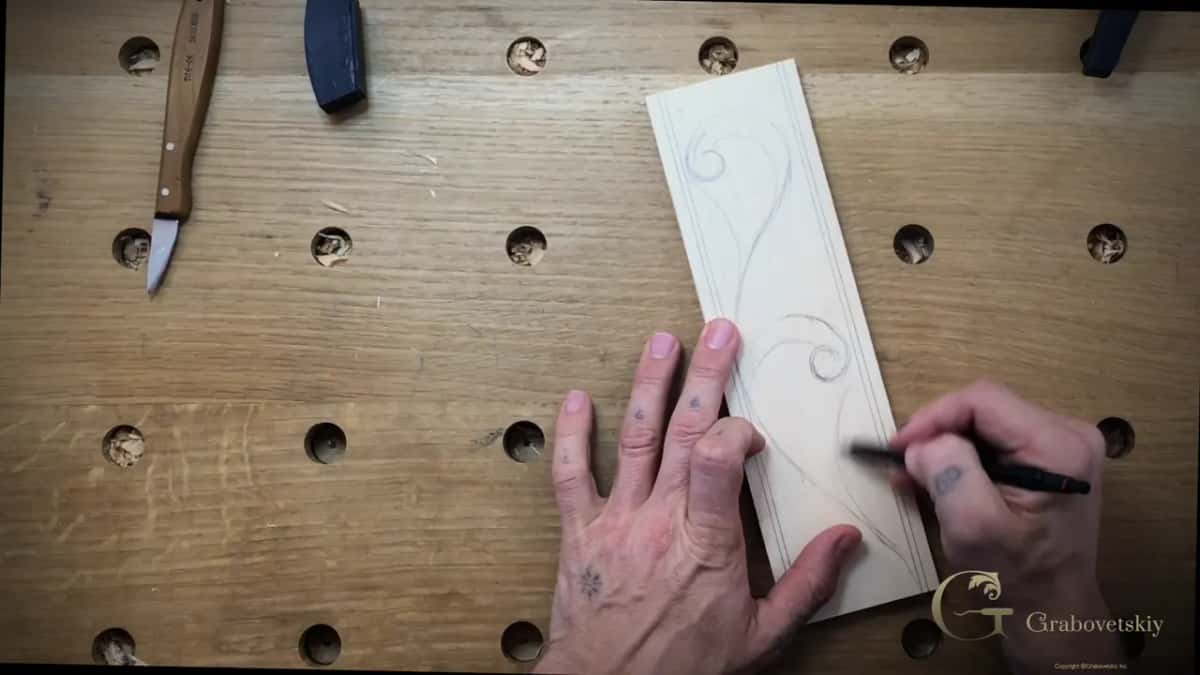
A swirl, a leaf beside it, another swirl. People later called this kind of thing a volute style, though it is not a true volute, and it is certainly not acanthus, which is Greek and Roman before it ever became European.
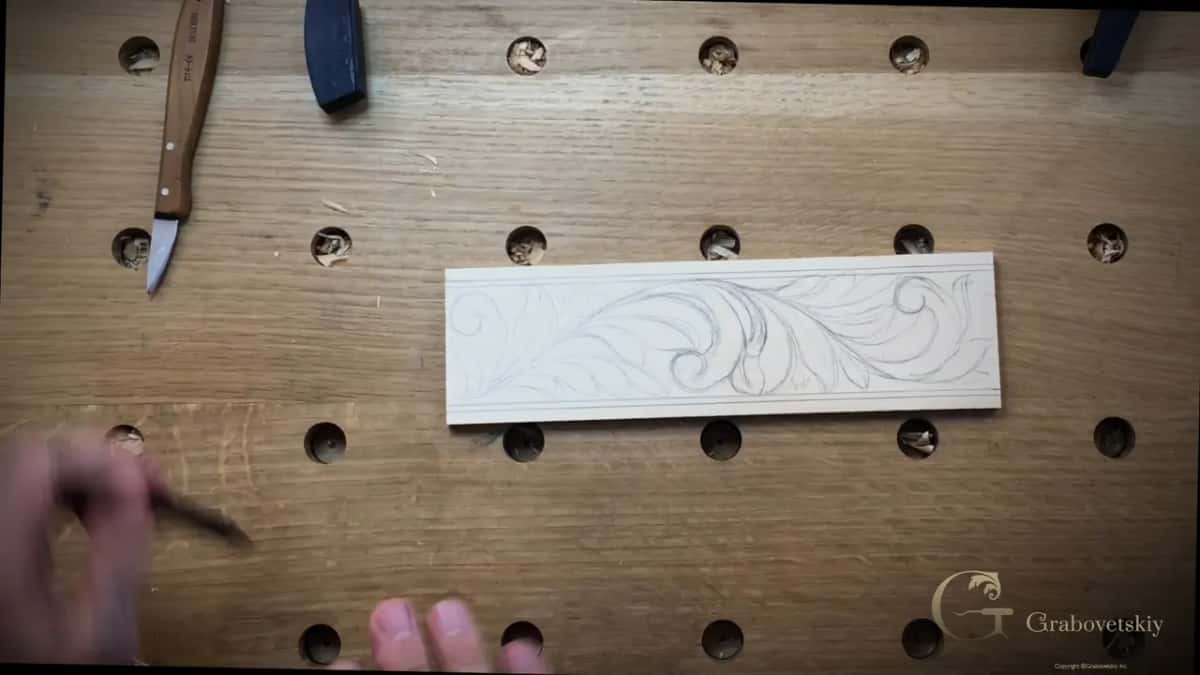
This particular ornament is old and it is common. Walk through the older parts of almost any European country and some version of it turns up on doors, on chests, along beams and across church screens, drawn by somebody who never wrote down what they were doing.
Mine owes nothing to a specific example. I am making it up as the pencil moves, which is exactly how the originals came about, one carver at a time with a rough idea and a straight edge to stay inside.
Which way does the knife travel?
Downhill with the grain. I promised this in the first workshop and here it is: if the fibres run one way, start at the top of your line and follow it down.
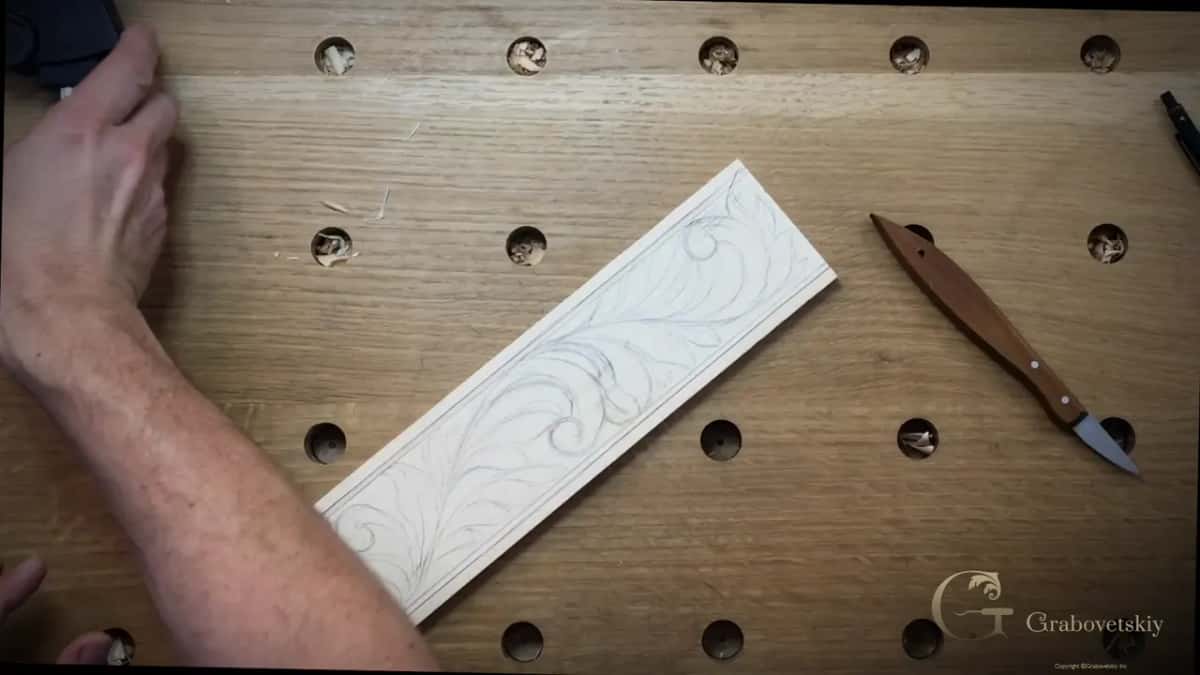
Against the grain is possible and unpleasant. Everything gets harder, the surface tears, and you will blame yourself for something the wood was doing.
Low is the other half of it. Lower than feels right, the blade almost lying on the surface, and then along the line.
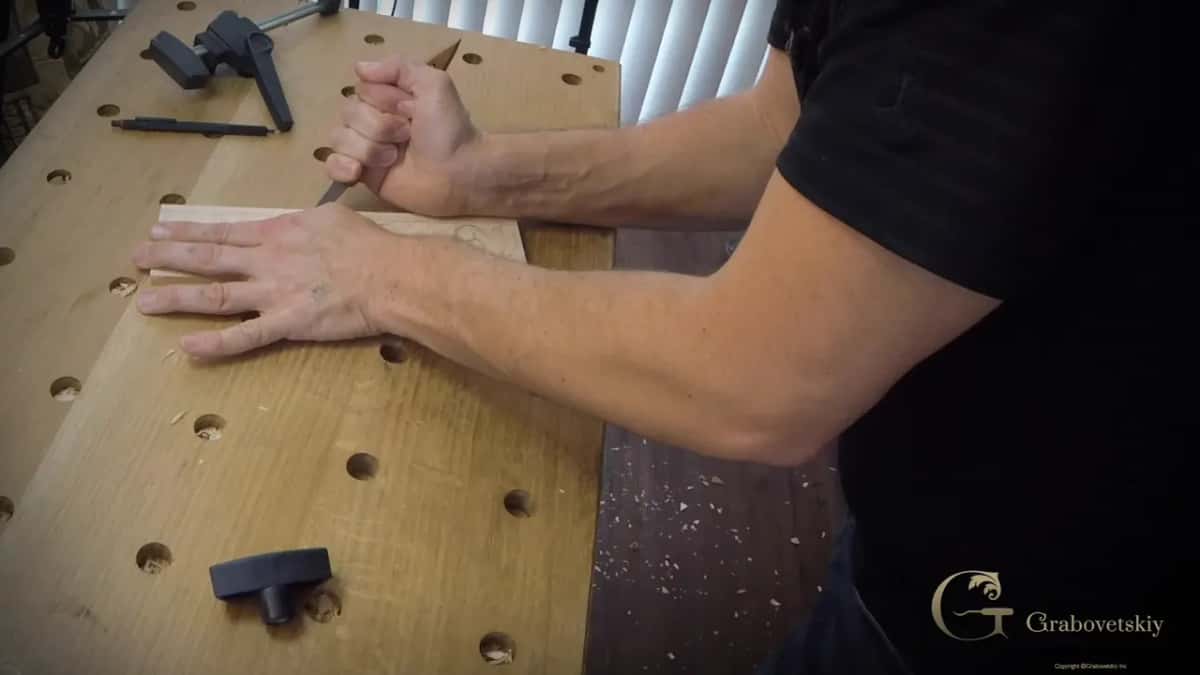
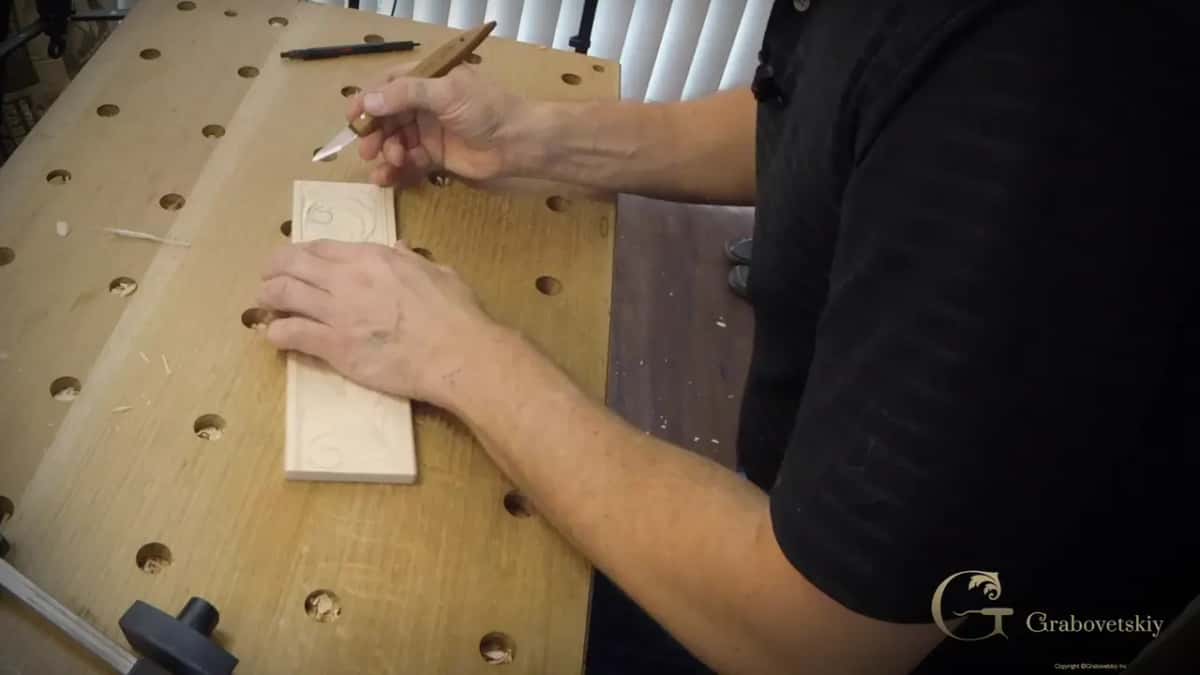
Where does your other hand go?
Behind the blade. Never in front of it, not for a second, not even when you are only holding the piece steady.
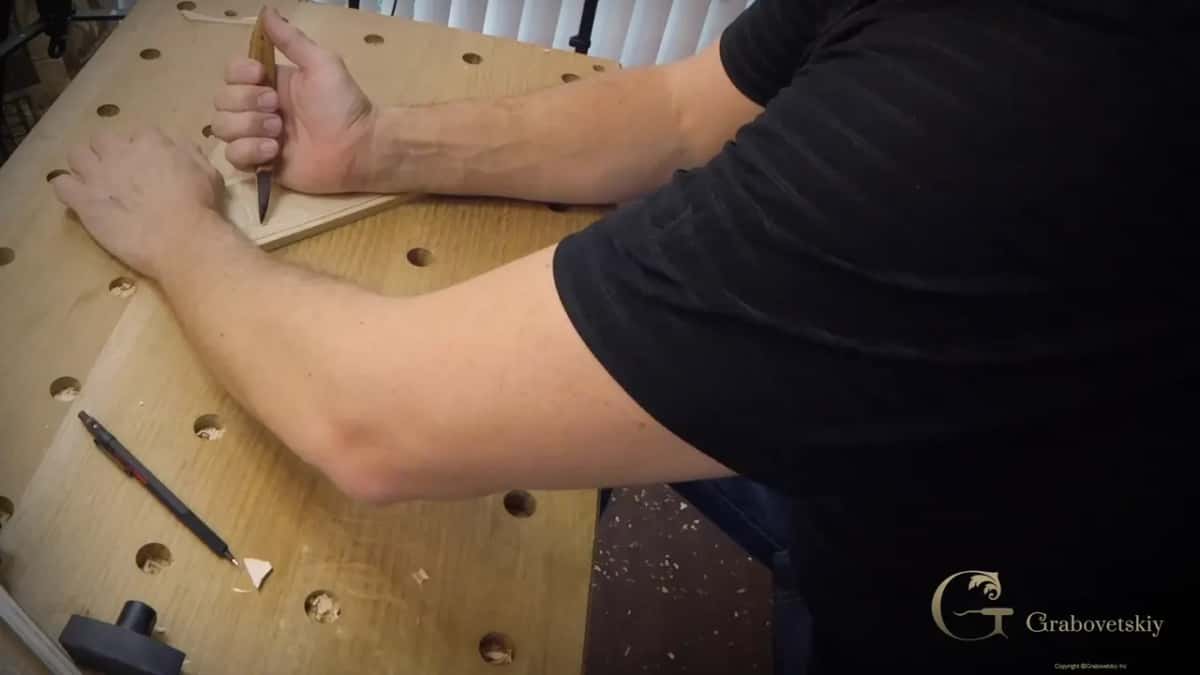
One safety rule gets stated outright in this whole workshop, and it is that one. Everything else about a knife is judgement; this one is not negotiable.
Fasten the board if you can. I name a simple clamp and then carve the next stretch freehand, which is honest rather than exemplary.
What if the chip will not come out?
Leave it and re-cut. Forcing a stubborn chip tears the wood beside it and turns a small problem into a repair.
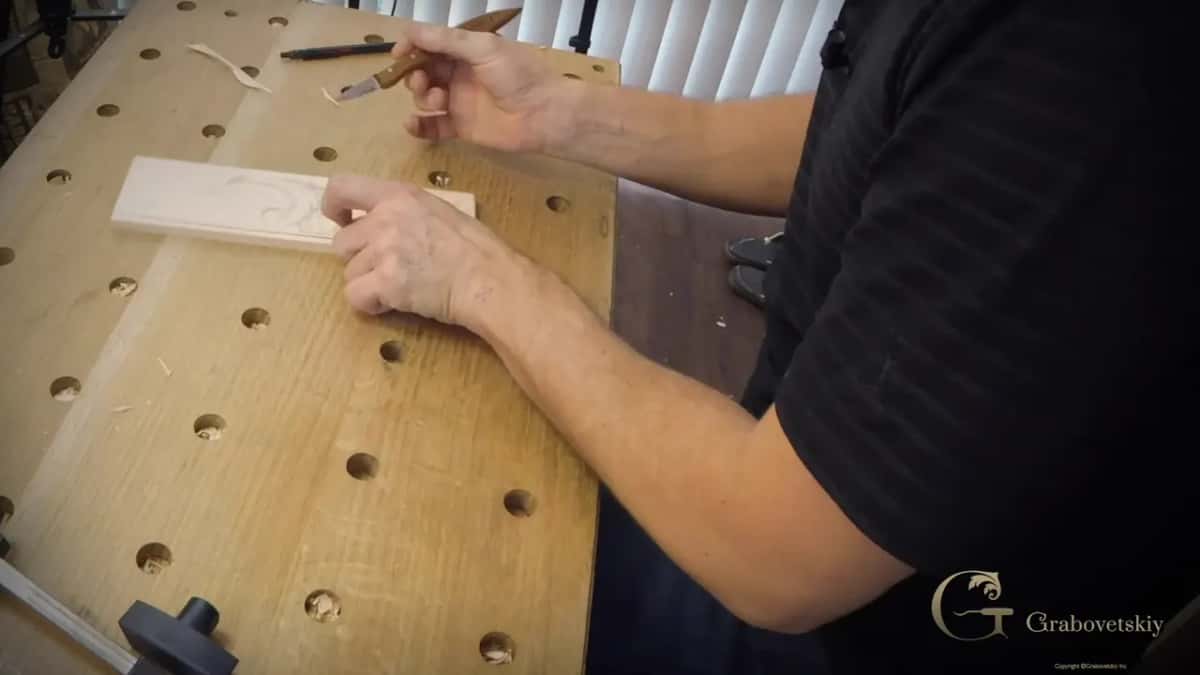
Repeat the same cut you already made. Somewhere along it the blade did not reach the depth of its partner, and one more pass fixes what levering never will.
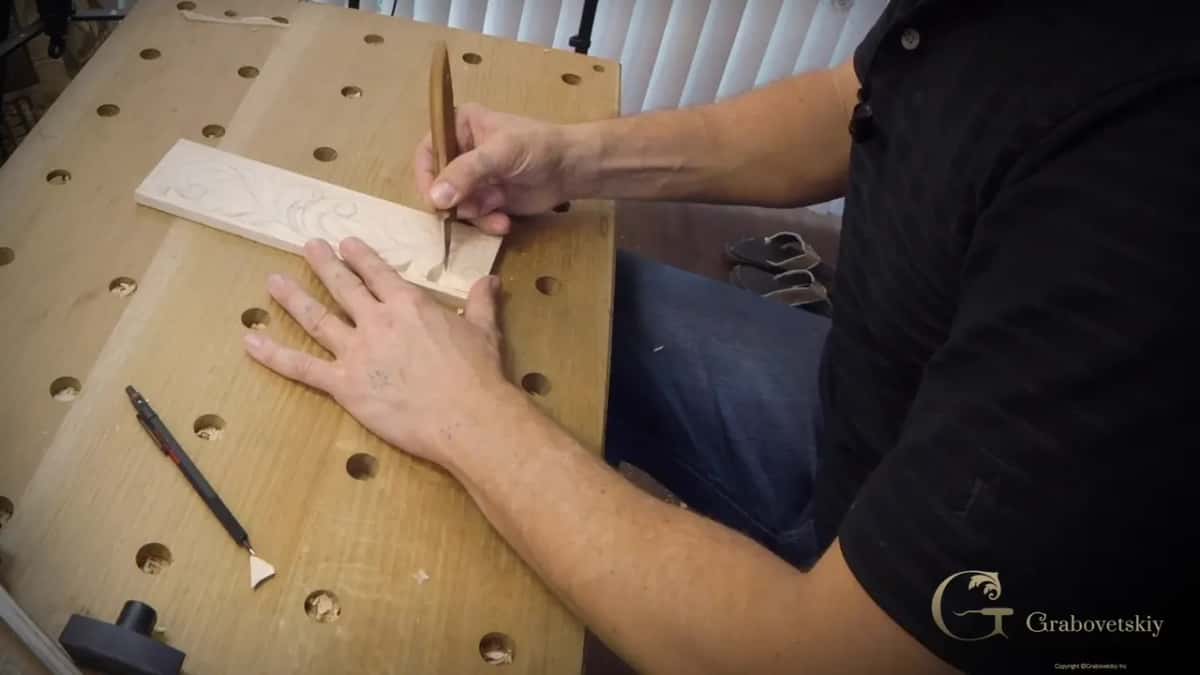
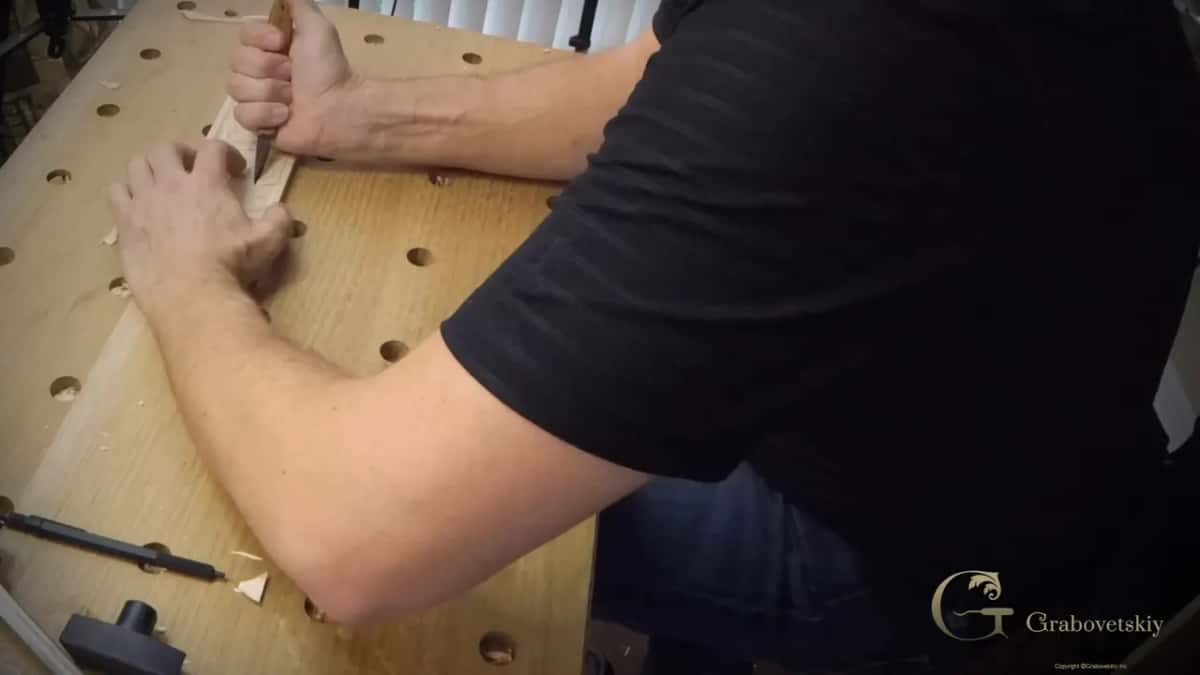
When does the third cut arrive?
Late, and it changes the look of everything. Drop a vertical stop cut where two leaves pass one another, then bring a very low cut in against it.
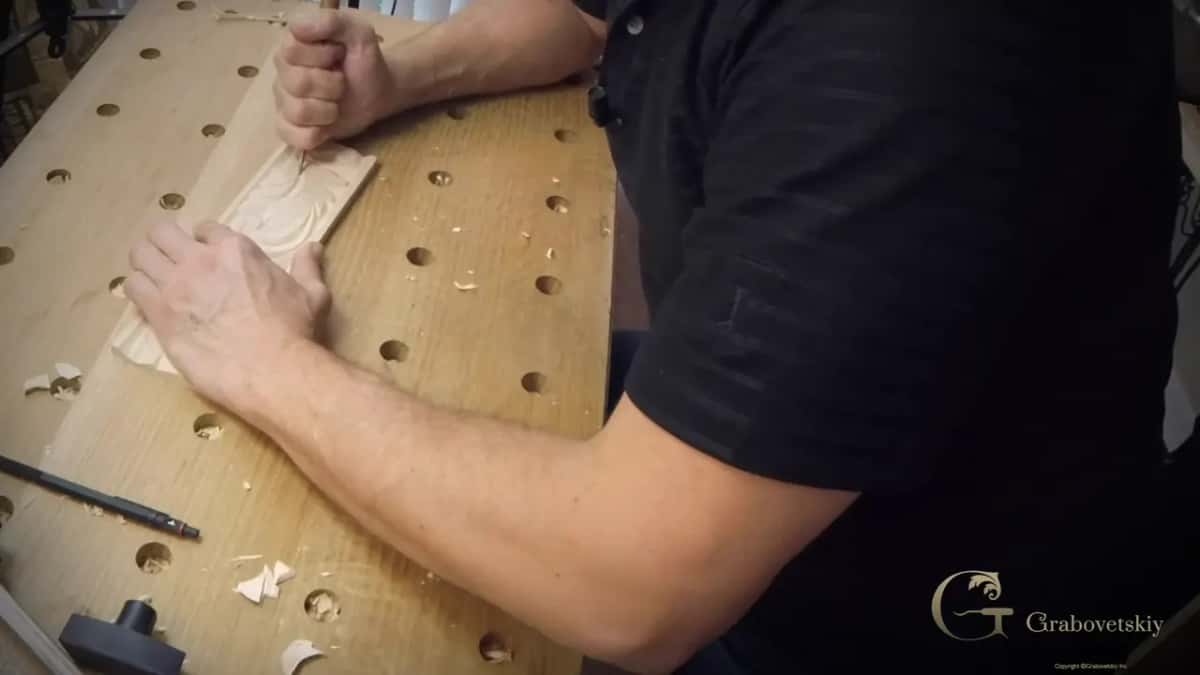
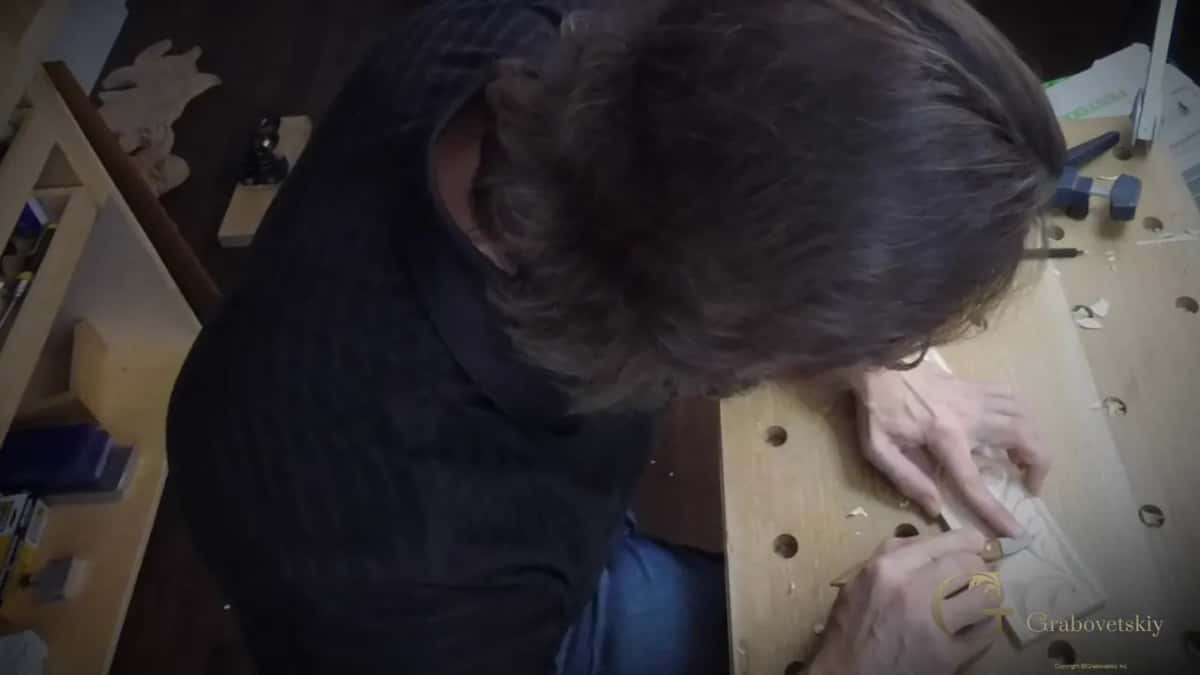
Shadow is what the pairing buys. Hold the board up and the difference between a scratched line and a carved one is suddenly obvious across a room.
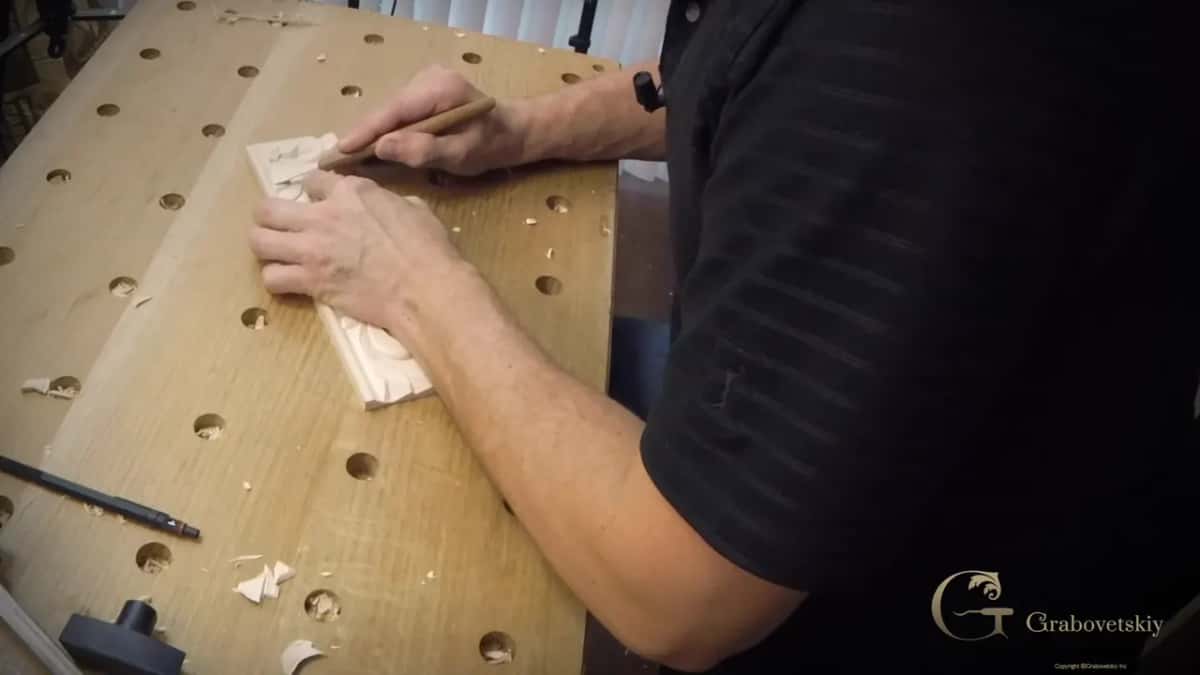
Right angle, left angle, straight down. Three cuts, and that is the complete vocabulary of everything on this board.
| Cut | What it does to the wood | When |
|---|---|---|
| Right hand angle | Takes one wall of the groove and nothing else | First pass on every single line you have drawn |
| Left angle | Takes the second wall, and the chip comes away on its own | Second pass, working from the far side of the board |
| Straight down | Stops the cut dead where it stands | Where leaves overlap, never earlier |
| A very low pass brought in against that vertical | Makes the shadow | Straight after the vertical, while it is still fresh in the hand |
| Vee groove | Decorates, and nothing more than that | Last of all, once the whole design has been outlined and the chips blown off it |
Is this relief carving or chip carving?
Neither one. People reach for both names and both are wrong, which matters less for pride than for understanding what you are doing.
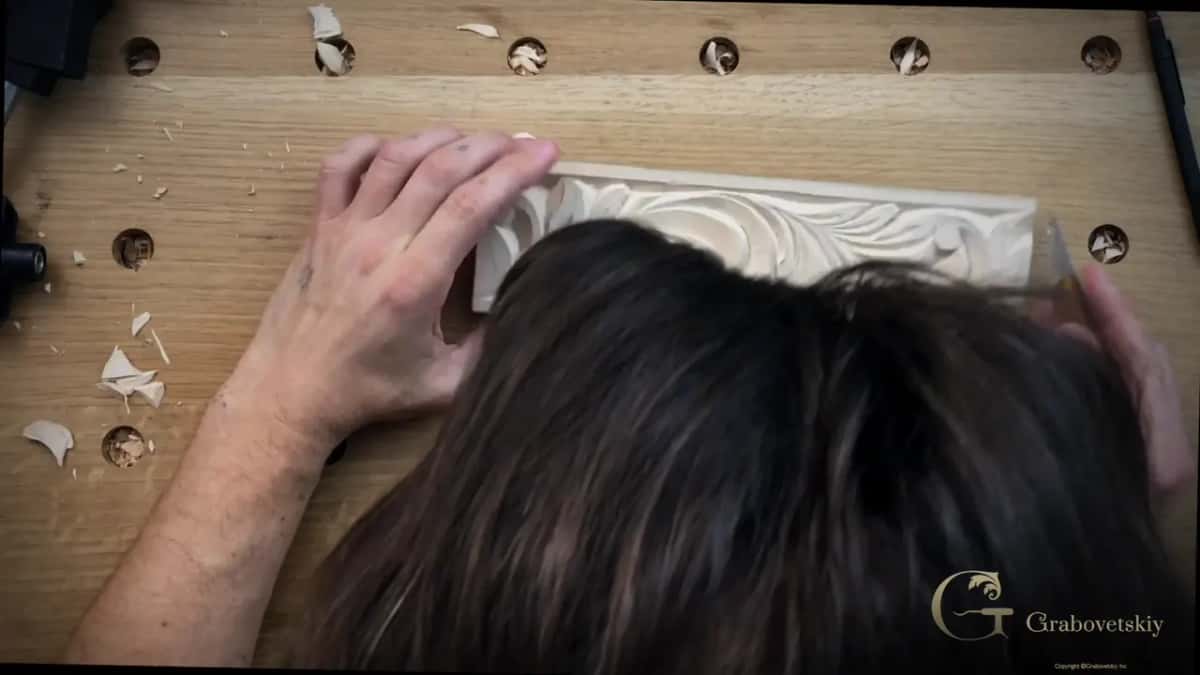
Relief carving has a ground. Look at this board and there is no ground anywhere, nothing lowered flat behind the ornament, nothing textured, nothing punched.
Chip carving is a related discipline with its own geometry. This is older than either, and it is the form a person reaches when a knife is the only thing they own.
Seventh and eighth century work looks like this. Some call it Viking style, which is not really accurate, because Danish, Norwegian, German and Slavic carvers were all doing the same thing at the same time.
What is the vee for?
Beauty, and nothing else. With the whole design outlined, a small vee groove goes down the middle of each leaf, and old work carries them for the same reason.
No punches. Ancient work has none, and putting a punched texture into a board like this drags it into a century it does not belong to.
Do I have to invent the design myself?
Only if you want to. Mine gets drawn on camera with nothing prepared, because watching a design arrive teaches more than watching somebody trace one.
A scaled picture goes up with the workshop for anybody who would rather not. Print it at size, transfer it, carve it, and come back to inventing once your hand trusts itself.
Either road ends in the same place. What matters at this stage is the cutting, and a borrowed pattern costs you nothing you were going to learn today.
Rotate the work as often as the design asks. Walking round the bench is free, and the alternative is a cut fighting the fibres for no better reason than laziness about moving your feet.
Would anybody call this cheap carving?
Some people say so, and they are wrong about it. Cheap usually means quick, and quick here is a feature of a technique that was refined over centuries rather than a corner somebody cut.
I like how it looks. Said plainly, as an opinion and not a sales line, by somebody who spends most of his working life on pieces that take a hundred times longer.
For a beginner it is better than good. Manage a clean band of this and you have done something a great many people with full tool rolls cannot.
Where does a band like this go?
Almost anywhere with a straight edge. Furniture skirts, the sides of a coffered ceiling, a jewellery box, window casings, picture frames, and molding by the mile.
Speed is the real surprise here. Count the surface old workshops covered and you assume years; in practice a running leafage band moves faster than any other kind of ornament I know.
Stand in front of old work sometime and count the carved area. Years, you think, looking at a wall of it, and the honest answer is that those workshops moved far quicker than anybody now assumes, because this technique is quick in the hand.
It is also a workout. You will sweat doing this, which nobody mentions in the books, and by the end of an afternoon your forearm knows exactly what it has been doing.
Nobody owns this either. Germans were doing it, so were Slavs, so were the Scandinavians, and what survives is European in the widest sense instead of the property of one country with good marketing.
How deep do these cuts go?
Deeper than the practice ones, and further than a beginner expects. A shallow groove reads as a scratch from two paces; the same line taken properly down reads as carving.
Nothing measures that for you. The blade finds the depth, the chip confirms it, and your hand files the sensation away for next time.
Blow the dust off and look along the surface rather than down at it. Raking light shows you instantly which passes went deep enough and which ones you rushed.
What if the first one is bad?
Buy another board. The worst outcome available to you here is a few dollars of basswood and an afternoon, and that is not a real risk by any measure.
Two thousand years ago a knife was the whole of it. No catalogue, no roll of gouges, nothing to save up for, and people still covered buildings in ornament. That constraint is worth sitting inside for an afternoon.
What this exercise builds is a hand that feels depth in three dimensions without looking. There is an invisible line inside the wood where my two cuts have to meet, and after enough repetitions you simply know where it runs.
Some in England would look at a man holding only a knife and tell him he is not a carver at all. You saw what came off this board. We carved it.
The potential is already in you. Whether it comes out is the part nobody else can do on your behalf.
Second workshop of two, and the course is finished. Workshop one buys the knife and cuts the first chips, and the course holds both halves. Carry on into the beginner course, where sixteen more workshops build a cutting board, starting with the board itself and workshop four. A gouge finally arrives in the tools course, chosen here, and no edge cuts like this one without sharpening. Why ornament moves as it does belongs to the design course. The leaf that is NOT in this lesson waits in the Byzantine acanthus and the Greek one, a first real project sits in the antique rosette, and who I am takes ten minutes.
Three cuts, one knife, and miles of molding ahead of you. Access to the school opens every course above.
How it's done
- Rule two lines down the edge. A quarter inch in, then an eighth inside that. Whatever you draw afterwards stays within them, and the band gets its edge from that rule alone.
- Draw the leafage straight onto the wood. Swirl, leaf, swirl. No pattern is needed and nothing wants measuring, because free flowing work is supposed to look invented rather than printed.
- Take the first wall downhill. Blade low, almost flat on the board, travelling with the fibres from the top of a line toward the bottom of it.
- Take the second wall from the other side. Spin the work and cut the matching angle. Where the pair meets below the face of the board, a chip lifts away by itself.
- Never lever a stuck chip. Re-cut instead. One of your two passes fell short somewhere, and prying it out tears wood you will then have to hide.
- Add the stop cut last. Vertical, dropped where two leaves pass one another, and then a very low pass brought in against it. That pairing is where the shadow comes from.
Frequently asked questions
Do I need new tools for this workshop?
Not one. The same knife from the first session does everything here, and no gouge appears at any point. Reuse the practice board too, just turned over to its unused face.
Which way should I cut along the grain?
Downhill, following the fibres from the top of a line toward the bottom. Against them is possible and it tears, and beginners nearly always blame themselves for what the wood was doing.
Where should my free hand be?
Behind the edge at all times, including when it is only steadying the piece. That is the one rule in this lesson that allows no judgement calls.