

Alexander Grabovetskiy, woodcarver, School of Woodcarving · Published 2021
Can you carve a convex without a back bent gouge?
Quick answer: Carving a convex with no back bent is something I said you can do, on one leaf of my Venetian rosette. A back bent of almost any kind works, I said, but you can start with a concave cut from a 7 mm number 11 and blend the sides, or take a normal number 3 and use its edge.
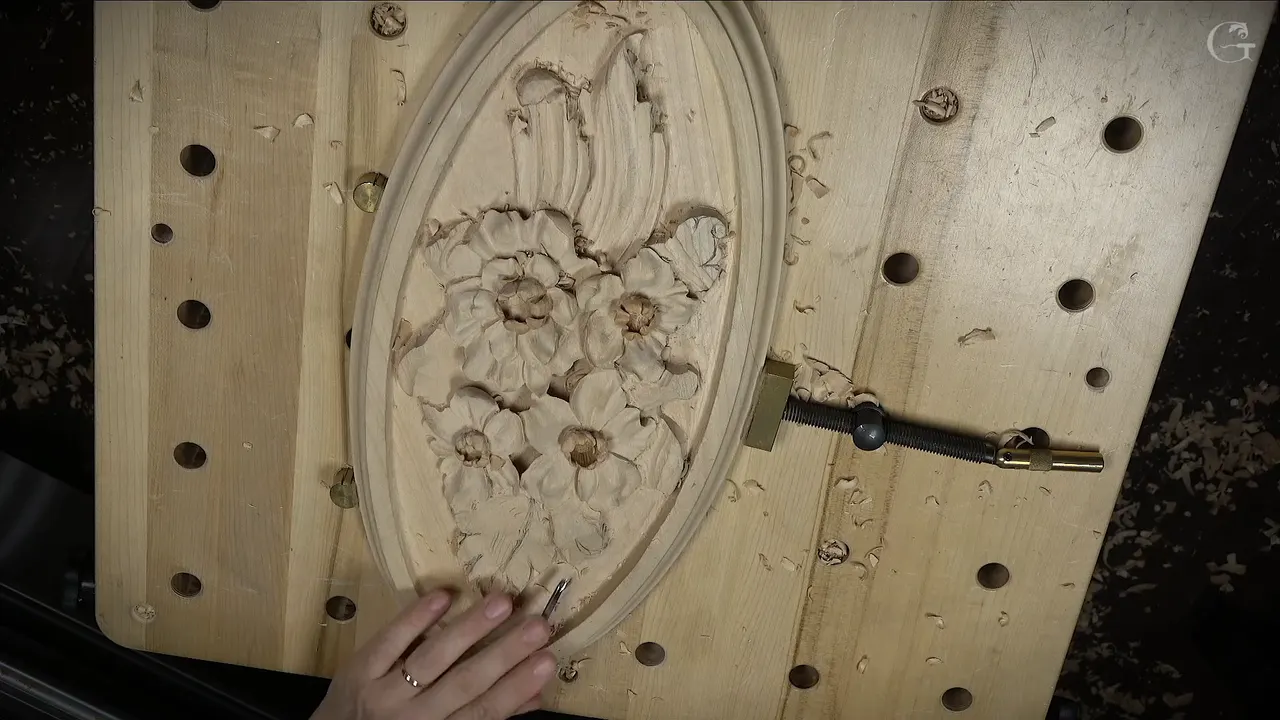
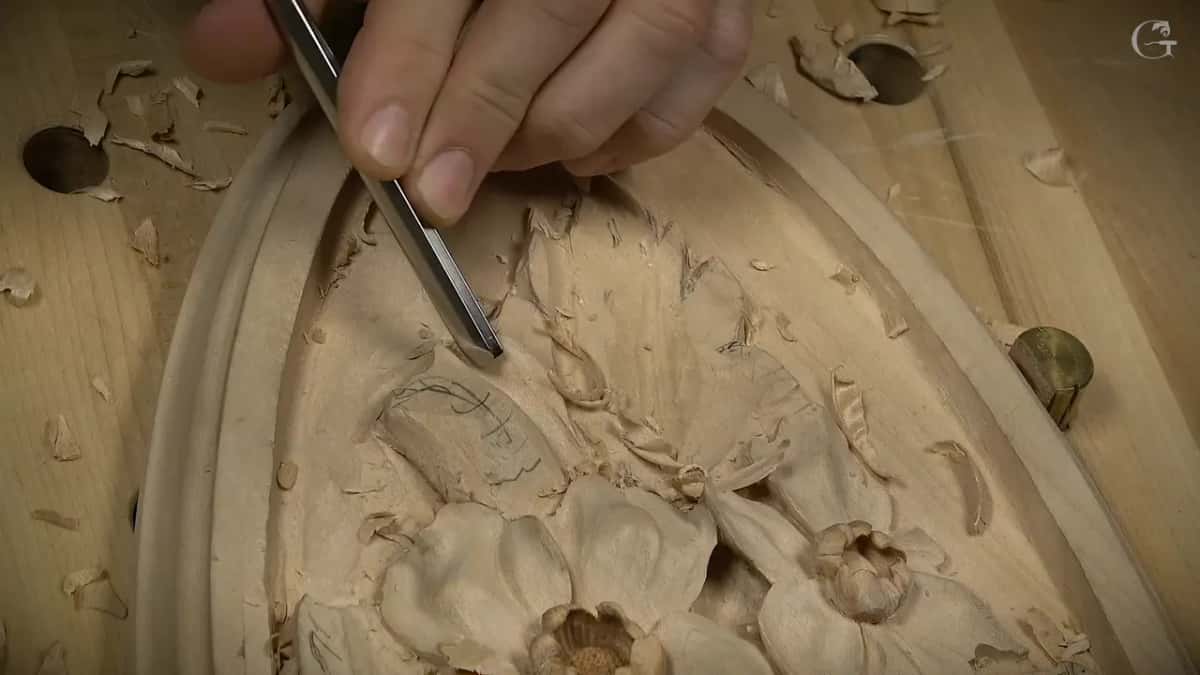
Carving a convex without a back bent gouge is something I said you can do, over one leaf of my Venetian rosette. I did pick up a back bent on it, one I had used earlier. Almost any would do, I said. Then came two more ways that skip the bent tool. One starts with a concave cut from a number 11 of 7 mm, a little over 1/4 inch, and blends the sides after it. The other is a plain number 3, worked on its edge.
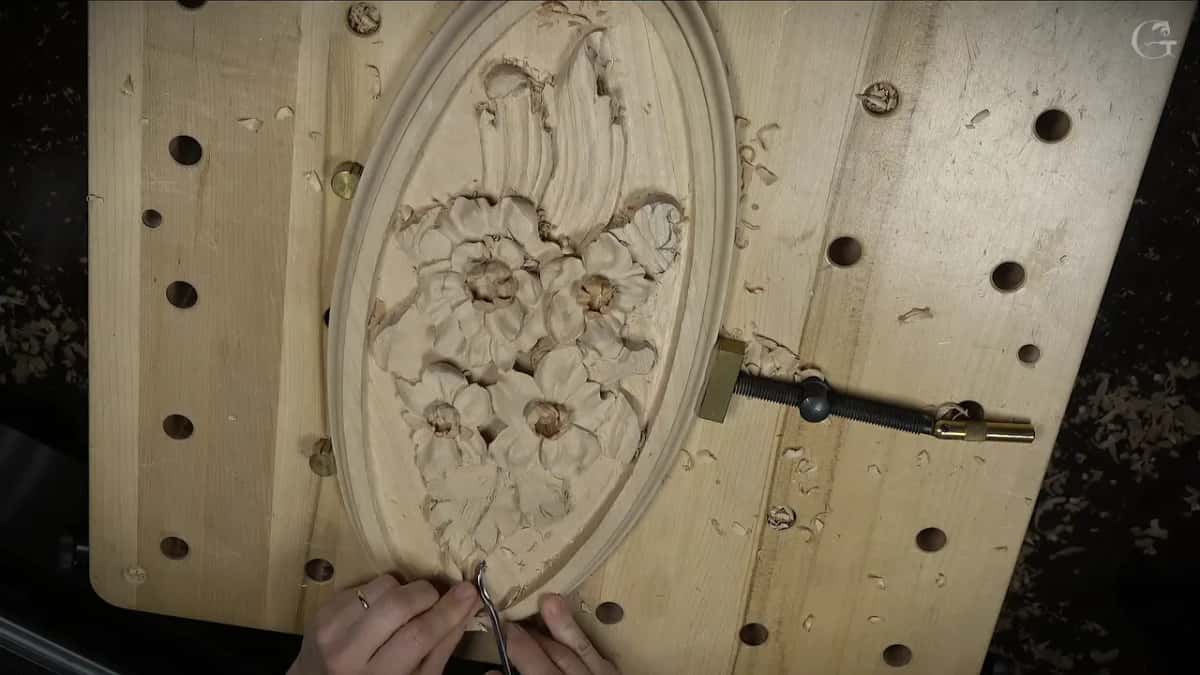
This video is the first part of lesson 5 of Venetian Flowers Rosette. The panel is an oval rosette of relief carving for my Venice Room, a bouquet with plain leaves around it. One leaf needed a round middle. Two simple buds took the rest of the video, and the lesson page follows them, so this page stays with the leaf.
Does your leaf need a middle that rises? Do you want it round and soft, and not flat? Then reach for the tools already in your hand, the way I said you could on this leaf.
Below are the three ways I named. After them come the back bents I picked up on other pieces, and the spots where nothing else would reach.
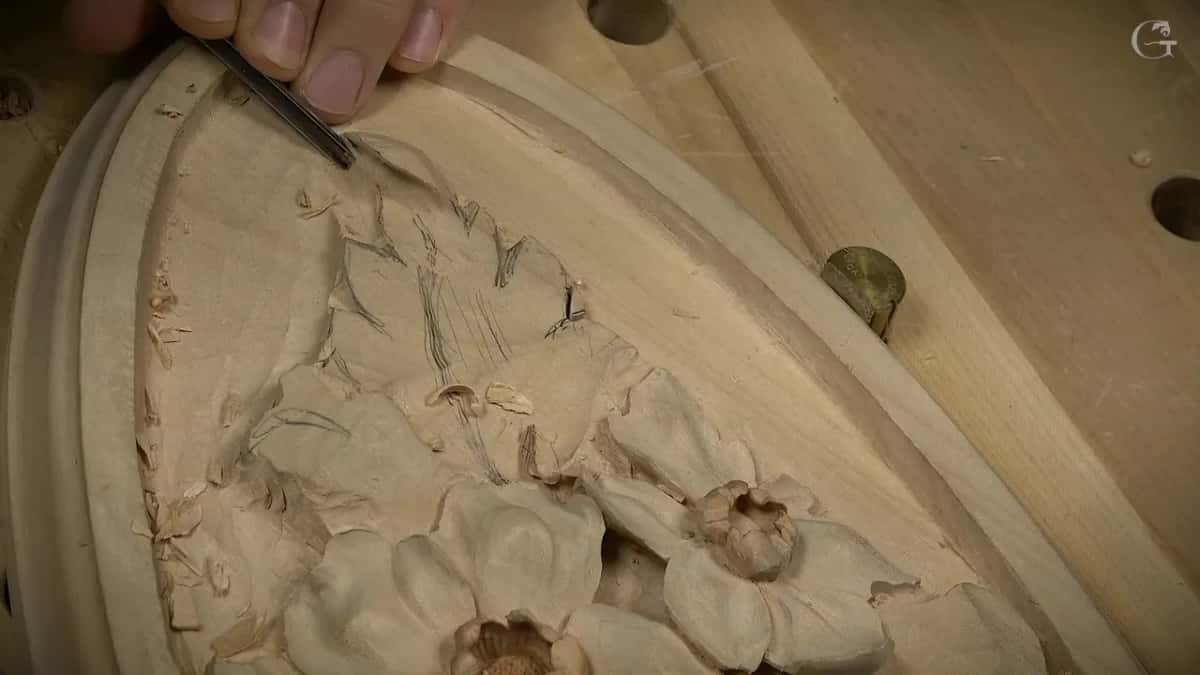
One convex, three ways in
- My back bent came first, angled from both sides.
- A concave cut can open the shape instead, I said, and then I made one with the 7 mm number 11.
- After that, I just blended the sides.
- Even a number 3 with no bend works, on its edge, if you go slowly.
- Where part of the carving is in the way, a back bent reaches spots a normal tool cannot.
Is a back bent a must for a convex?
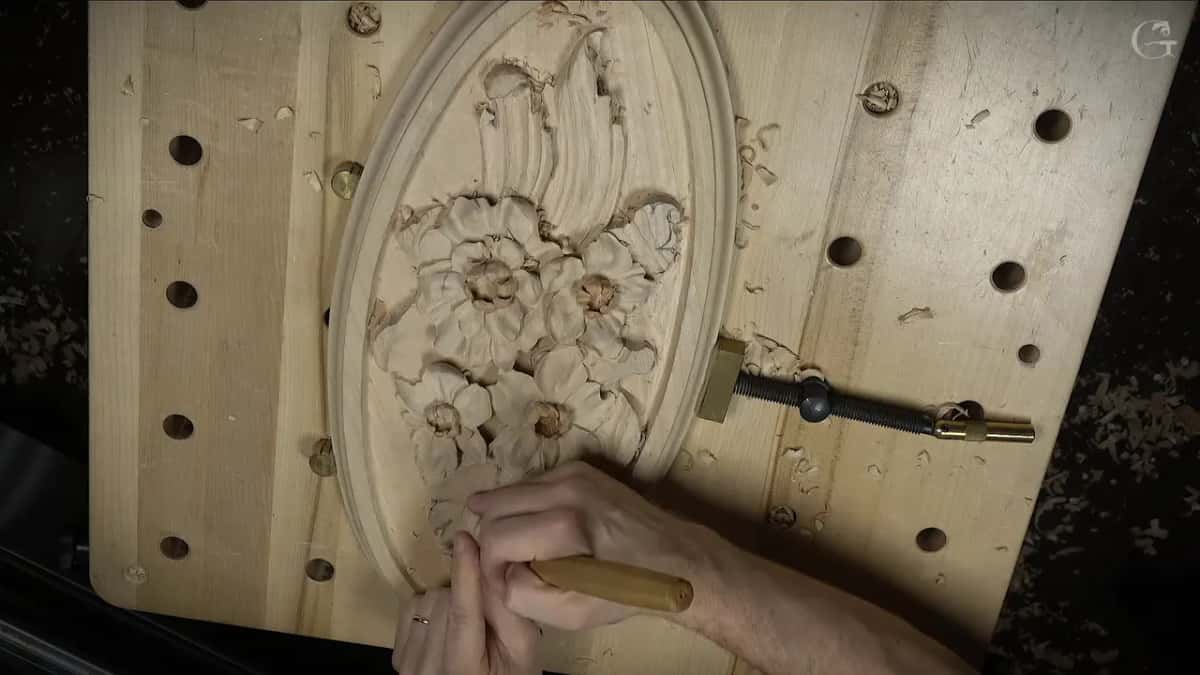
On this leaf, no, and I said so twice. The first time was just before the concave cut, when I told you that if you feel more comfortable, you don't really have to start with the back bent. You can always start with the concave cut.

About a minute and a half later it came again. Even some kind of flatter tool will work, I said, and it doesn't have to be a back bent. So over this one leaf I told you a straight gouge would do. I named which ones, too.
What did this leaf need in the middle?
A bulge. On the inside I wanted a convex, like a bulging area, and in this case I thought it would look much better than concave.
Before that, a triangle came out. Right away I cleaned up my boundaries, so I could see exactly where it was supposed to land. The leaves on this panel are plain on purpose. The course page explains why, and the short answer is that they hold the flowers up.
Which back bent did I use on the leaf?
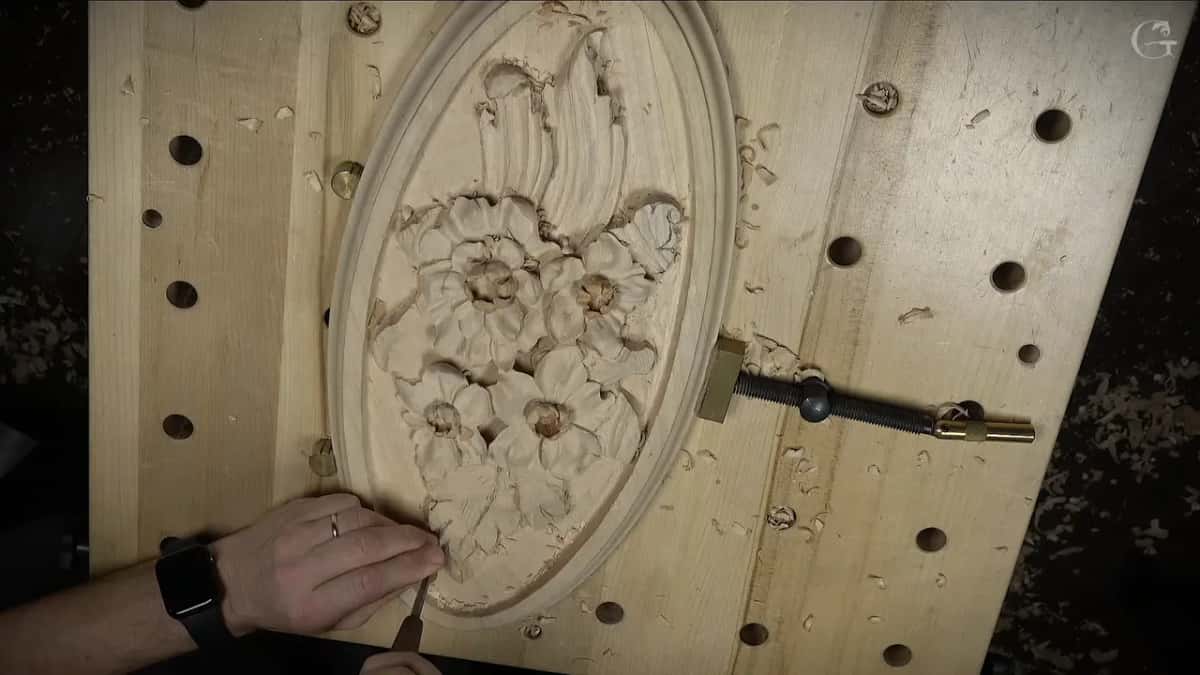
The one from before. I could use pretty much any back bent in this case, I said. It's just to work my way in. Like a flatter one, maybe a number 3 or so, is still going to work. And I angled it from two sides.
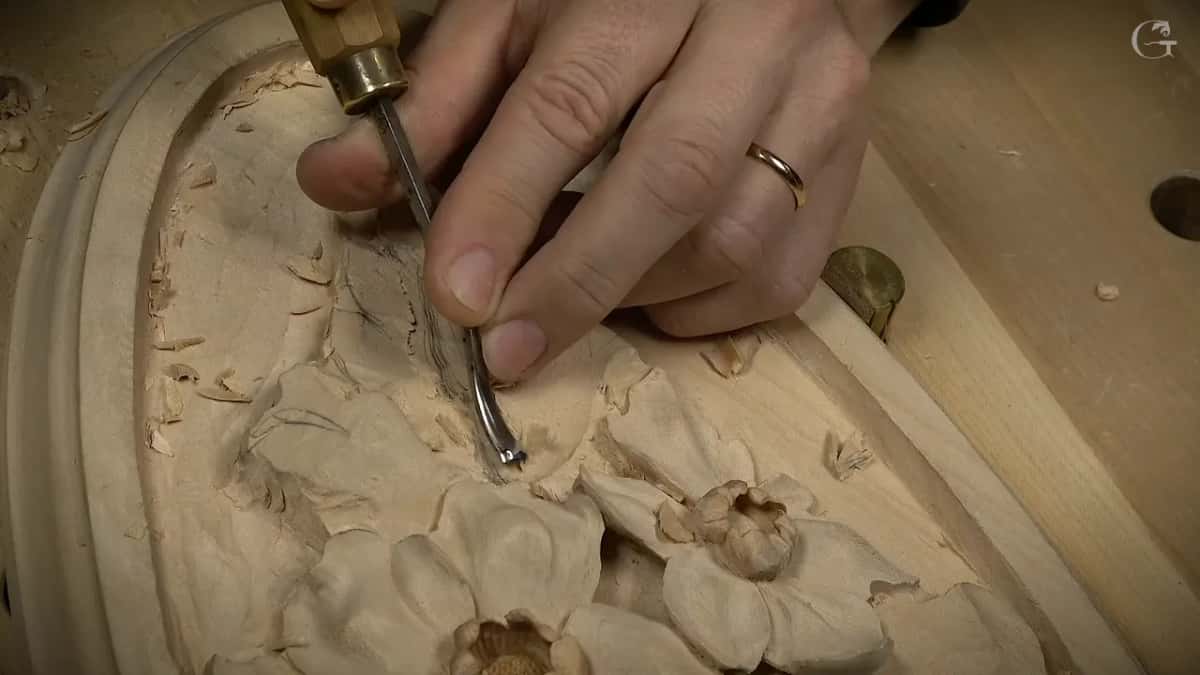
I have said the same thing in the Venice Room more than once. A part needed rounding in workshop 160, and that time I had to use a back bent, though a number 7 wasn't a must and a number 5 or so might do. A little later I checked for a bigger back bent, and I had one. For something like that, I told you, you really don't need the bigger one. All you have to have is just pretty much any one, and you work your way in.
In workshop 73 I held a number 5 back bent, half an inch (13 mm). It was going to be a skew, I said. Right away, no need for a skew. Don't panic. Any back bent will work.
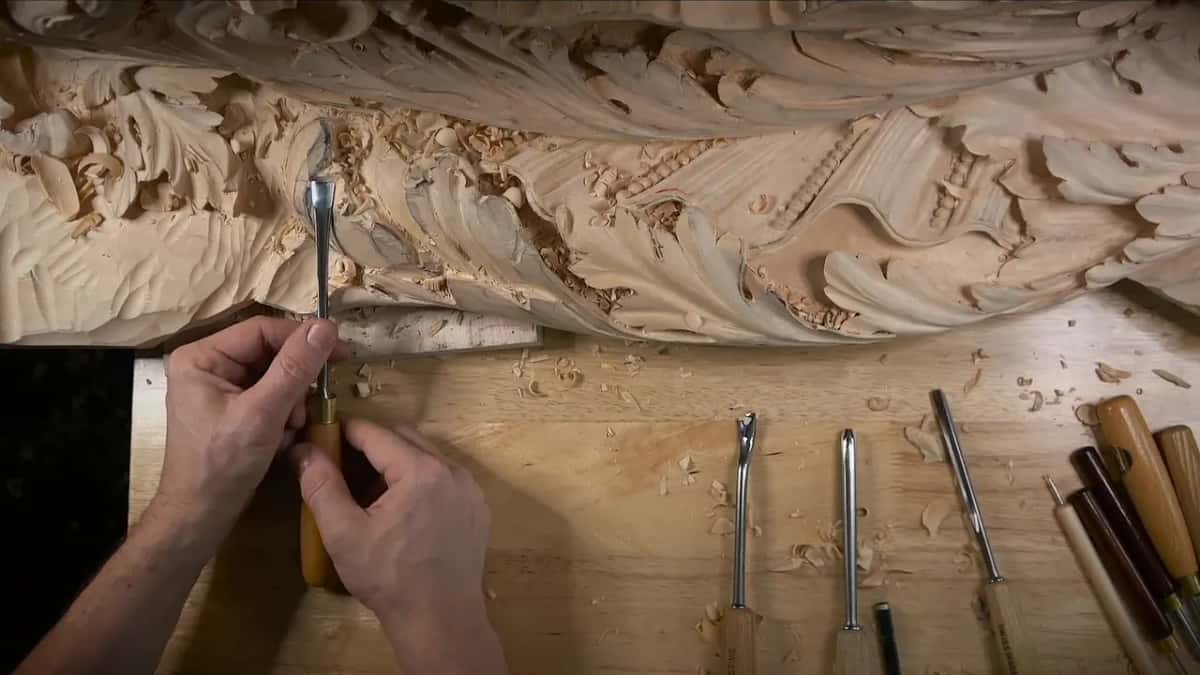
How did the concave cut start the shape?
The cut opened it, and the blending followed. I picked up the number 11 again, the 7 mm one, and started the concave cut on the leaf. Then all I did was pretty much blend both sides. You should be able to catch the overall shape, I said. So that's pretty much the idea, I said, and I left the cleaning for later, because it would be exactly the same idea as on the other side.

That route is for anyone who feels more comfortable not starting with the back bent. Nothing in this video calls it better or worse than the bent tool.
How does a plain number 3 round a convex?
Slowly, on its edge. If you have just a normal number 3, I said over this leaf, you just take your time and use the edge of it, just like that, and make that convex.

There was a ridge to blend in workshop 65, and I didn't need it. The back bent, I said, or I could actually use just a straight tool here. My number 3 there was 12 mm, about half an inch.
It gives me a lot more dimension, I said there, a lot more three dimensional feel. I could leave it like it is. It still looks beautiful, but I think it's going to look much more beautiful this way.
I was working against the grain and said that was okay, my tool being super sharp and still leaving a good finish, though I still had to be careful how I worked. I said I would stop at one point and round from there, and that I could hit a little with the edge of the same tool. It's still possible to do it with just a gouge.

Back in lesson 3 of this rosette, on a flower, I had said something close. I don't have to use a back bent there. A small spoon gouge, a flatter one like a number 3, can blend it the normal way if you have one, I said.
And in workshop 74 I said I could use just a normal tool. But I do have back bents, and in that case they help me a lot. I just knocked that ridge down. The whole process there was the same one I used on the Hashemi flowers, I said. And I don't want to make a perfect shape, because that never happens in nature, and it won't look good if it's too perfect.
When is a back bent the only gouge that reaches?
When something on the carving is in your way. On one of my Hashemi flowers I reached for a number 5 back bent to blend and get rid of a ridge. I gave the reason, too. Something was on my way, and with the gooseneck I could get to areas I would not reach with the normal tool.

A moment later I broke an edge. That I should not do, I said. We have to be really careful, and it's hard to be really careful when I'm just talking. Next I worked from the opposite direction, with the same bent tool.
On another flower in that course, a straight tool would be on my way on one side. Maybe a small one could still get in, but some areas I just absolutely can't reach, and the back bent let me go even deeper inside. And tools, I said, absolutely must be sharp.

There was a spot like that in workshop 73 too. With the normal tool I can hit only this section right here, I said, so a back bent is my solution. Of course I could also move toward myself on that section, and that would help me too. But I don't think I need it.
For the whole story of that tool, the back bent lesson in the tools course covers what the bend does past a high spot. On my rosette leaf I named straight tools as well, the number 11 and the number 3.
Is a straight gouge as clean as a back bent?
Not always, and workshop 68 shows the middle ground. Maybe I didn't even need a back bent there, I said, since I could use a straight tool and the spot was accessible for me, and maybe a number 5 would give a really beautiful convex.
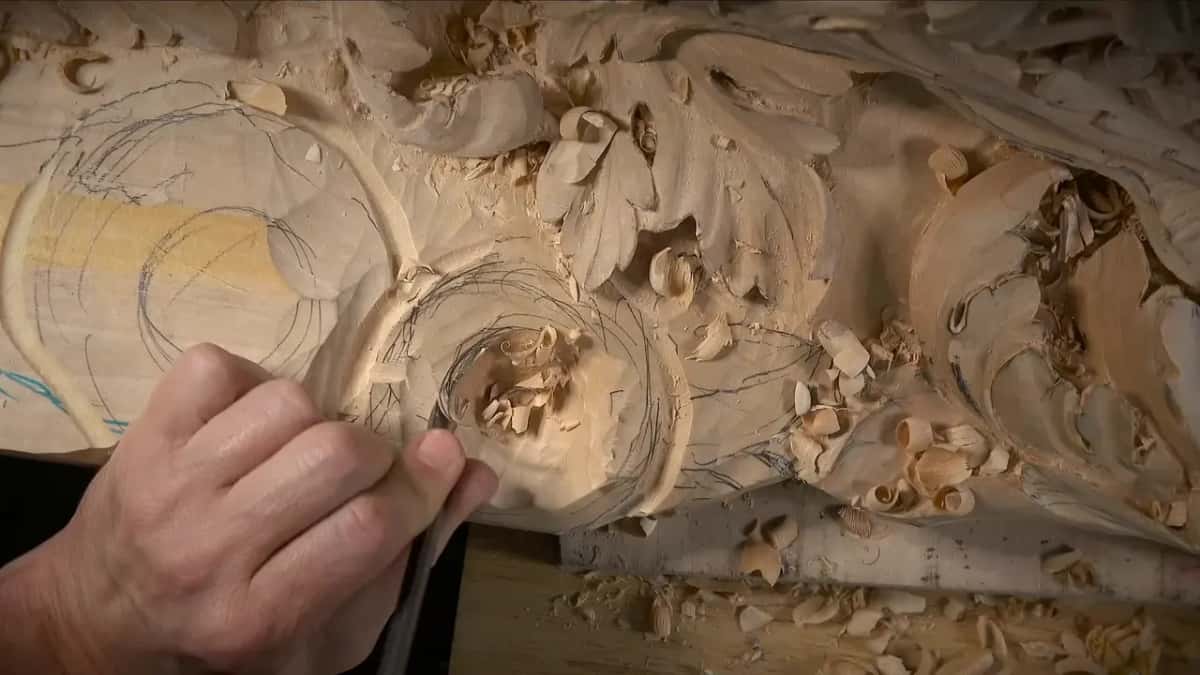
Then I changed my mind. It's still not convenient with a straight tool, I said, and it still has a limitation. So I went with the bent number 5 instead, and it gave a much cleaner surface.
Three ways to the convex, and other back bents
| Tool I named | What it did, or would do, there | Where used | What I said about it there |
|---|---|---|---|
| Back bent, mine | Went in first on the bulging middle | This leaf | just to work my way in |
| Eleven, 7 mm | Opened the shape on a concave cut | Same leaf | if you feel more comfortable there |
| Regular number 3 | Rounds the middle on its edge, slowly | Leaf again | even some flatter tool will work |
| Number 3, 12mm | Blended a ridge I did not need | Workshop 65 | or just a straight tool here |
| Five, back bent | Reached past a part in my way | Hashemi flower | normal tool would not get there |
| Skewed 5, 13mm | Blended and made the convex move there | Workshop 71 | all it takes, a back bent |
The top three rows all come from this one leaf. The rest come from other pieces, where I said what I picked up and why.
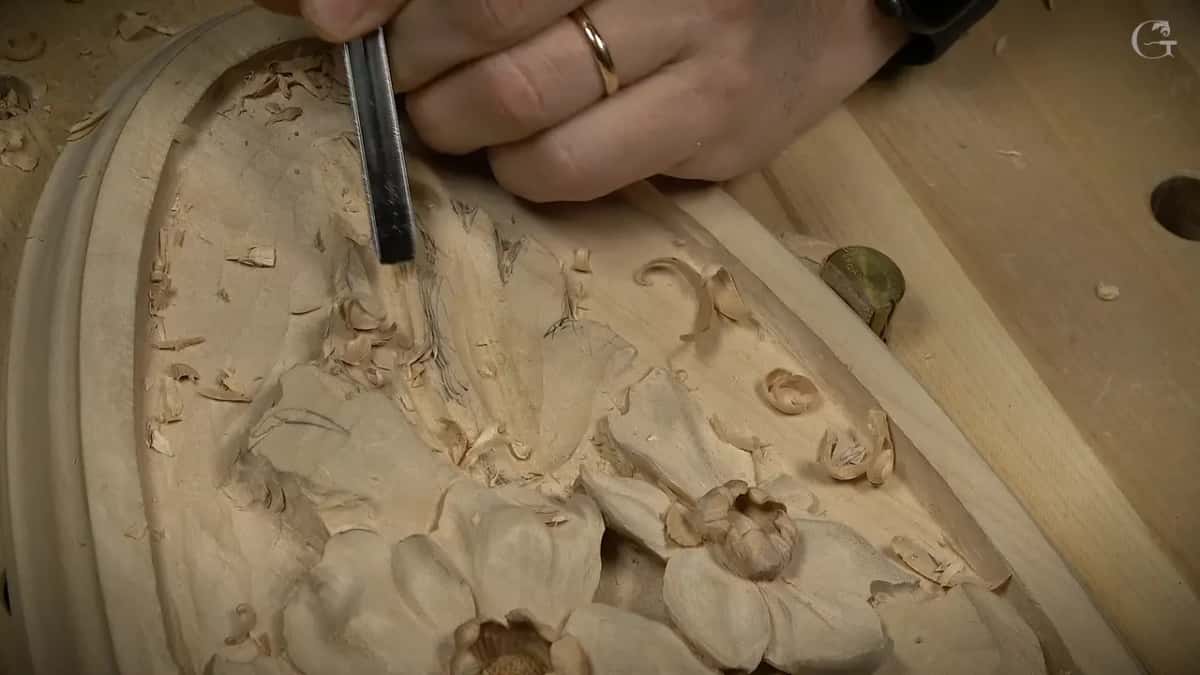
Which back bents did I take on other pieces?
Small ones, and nearly flat. During workshop 63 I wanted just the feel of a convex on a ridge, a starting convex. The back bent was a number 3, a quarter inch, 6 mm, and I said not to pay attention to the zero after the 3, it's just a number 3 sweep. Little by little, and I had to pay attention to the grain of the wood, what it does. Later in workshop 74, a number 3 back bent was marked like a 30, a kind of interesting way to mark, I said. Back in workshop 63, a little bigger one seemed right next. A number 5 of 3/8 inch (10 mm), I said, would give a little better convex.
On a pipe in workshop 128 I wanted to come at it from above too, because it didn't look smooth. There it was 6 mm and a number 3 sweep, almost flat, to blend that convex. In workshop 71, I said, all it took was a back bent. A skewed number 5 of 13 mm, like a 1/2 inch, was the one to blend and make that convex move.
And in workshop 70 a number 3 back bent of 10 mm went over a side I wanted really nice and smooth. Just before that I said I was really happy with the overall feel. It goes right underneath, and it still blends nicely. For some reason the back bent gave me a little resistance, and I think I need to sharpen it again, I said.
How do you keep the high spot when you round it?
Mark it, and leave it alone. Before I started to round in workshop 160, I said I had to go carefully. I can make a mistake. I checked a number 7 first, to see if I would be safe, and it looked like I was.
Then I marked the center line, which I did not want to touch. That is going to be my high spot, I said. I don't want to touch it with the tool. Carefully, little by little, I started to round the convex from there.
I had to keep a distance right there, too. That spot was the start of my fillet, and that part would stay straight. Since I was already on that level, I said, I was safe to round from that area, and later on I could go straight down and be in perfect shape.
What else happens in this part of lesson 5?
It opens with a number 17 of 3 mm and some undercutting. That was preliminary undercutting, I said, not the final one, and I wasn't going to do the final undercutting on camera, so there is no reason to show it to you. I was really happy with what I had done right there. It gives me a really good motion, I said.
Then came the leaf with its convex, and a plan to clean it later, put a couple of stripes on it, and keep the details few. Two simple buds follow, and the lesson page tells that part.
A round middle on your own leaf
One Venetian leaf, three ways to bulge it, and two of them start without a bent tool. All three came up over the same piece of wood carving.
Have you got a leaf roughed out and flat in the middle? Would you like it to rise? Then come and carve it with me. Tuition and Access sit on one plan page, and the whole rosette course is in there, lesson 5 included.
How it's done
- Clean the boundary first. Take the triangle out, then clean up your boundaries so you can see exactly where the shape will land.
- Pick a back bent you have. Use the one you already have.
- Angle it twice. Angle the back bent from two sides of the bulge, the way I did on my leaf.
- Or begin on a concave cut. If that feels more comfortable, skip the back bent. I used a number 11 of 7 mm to start mine.
- Blend after the cut. After the concave cut, just blend the sides until the overall shape shows.
- Round it with a plain 3. No bent tool at all? Take a straight number 3, go slowly, and use the edge of it.
Frequently asked questions
What kind of back bent works on a leaf like this?
Nearly any, I said over this leaf, and I picked up the one I had already been using there. In the Venice Room I told you a number 5 need not be skewed, and in a later workshop that you don't need a bigger one either.
Can a regular number 3 gouge round a convex?
Over my rosette leaf I said the 3 without a bend will do it, if you go slowly and work its edge. For one Venice Room ridge I said a straight tool could do the job, and then named a number 3 of 12 mm, about 1/2 inch.
When is a straight gouge not enough?
When some part is in its way. On a Hashemi flower my bent number 5 got to areas a normal tool could not, thanks to the gooseneck. In my Venice Room, a straight tool could hit only one section of a panel, so the bent one was my solution.
What to carve next