
Alexander Grabovetskiy, woodcarver, School of Woodcarving · Published 2021
How do you divide an oval border into equal spaces for carving?
Quick answer: Dividing an oval border is, on my Venetian rosette, halving with calipers. I opened them by eye to about half the gap between two spots, reached to the rim from each spot, and marked between. One setting did both sides, and only the last division was eyeballed. Spacing came to about 1 1/4 in (32 mm).
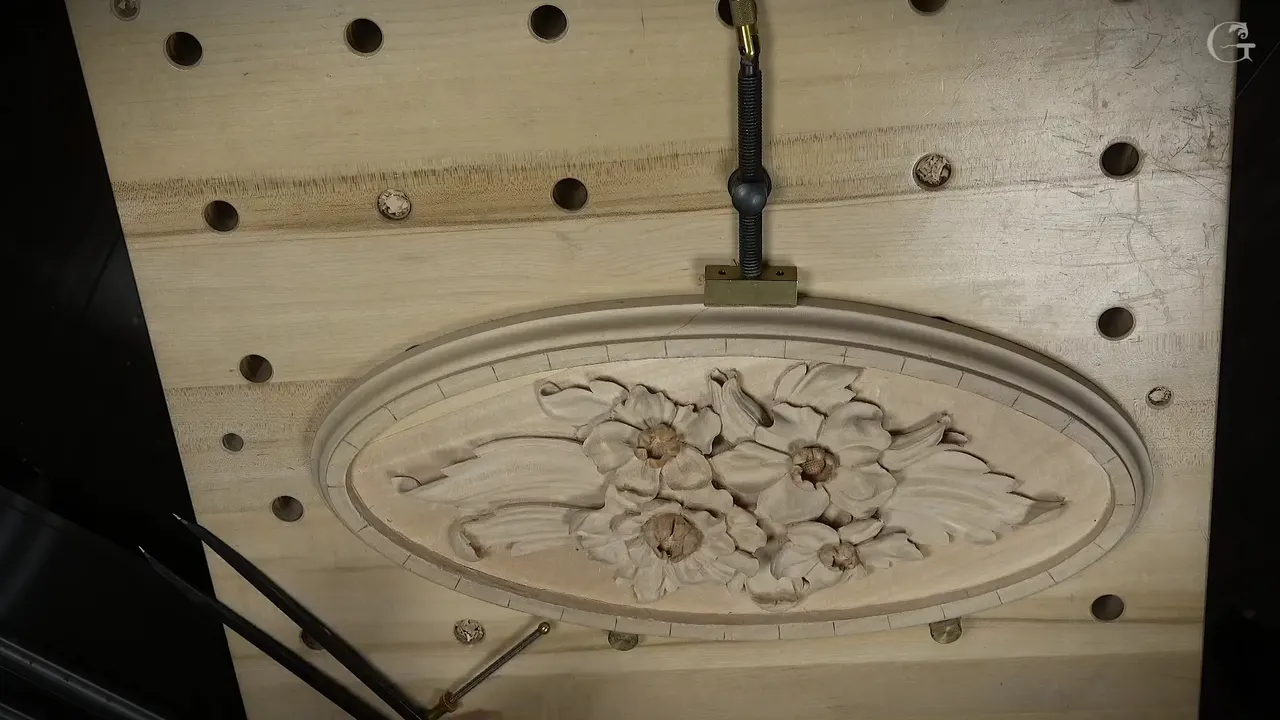
Dividing an oval border on my Venetian rosette was halving, done with calipers and finished by eye. I set the points to about half the space between two spots and reached out to the rim from each spot. My mark went in the middle of the two. I halved again, and again, until the spacing sat near my target. That is how I split an oval into equal parts, near enough. No ruler for the divisions.
This video is the third part of lesson 5 of Venetian Flowers Rosette. The flowers were done by then. Today, I said, is for the border, an authentic border, what they used back then. Some of you would like to carve moldings, I said, maybe a picture frame for a piece of art, as a project on its own. To make it traditional, to make it classical, you really have to add some movement, some carving.
Have you got a curved rim that needs a row of carved shapes? Do you want them spaced evenly round it? Then start the way I did, with two spots and your calipers.
Below are my moves on the oval, the calipers I like for the job, and what I said about spacing marks on a plate, in the Venice Room and on a flower.
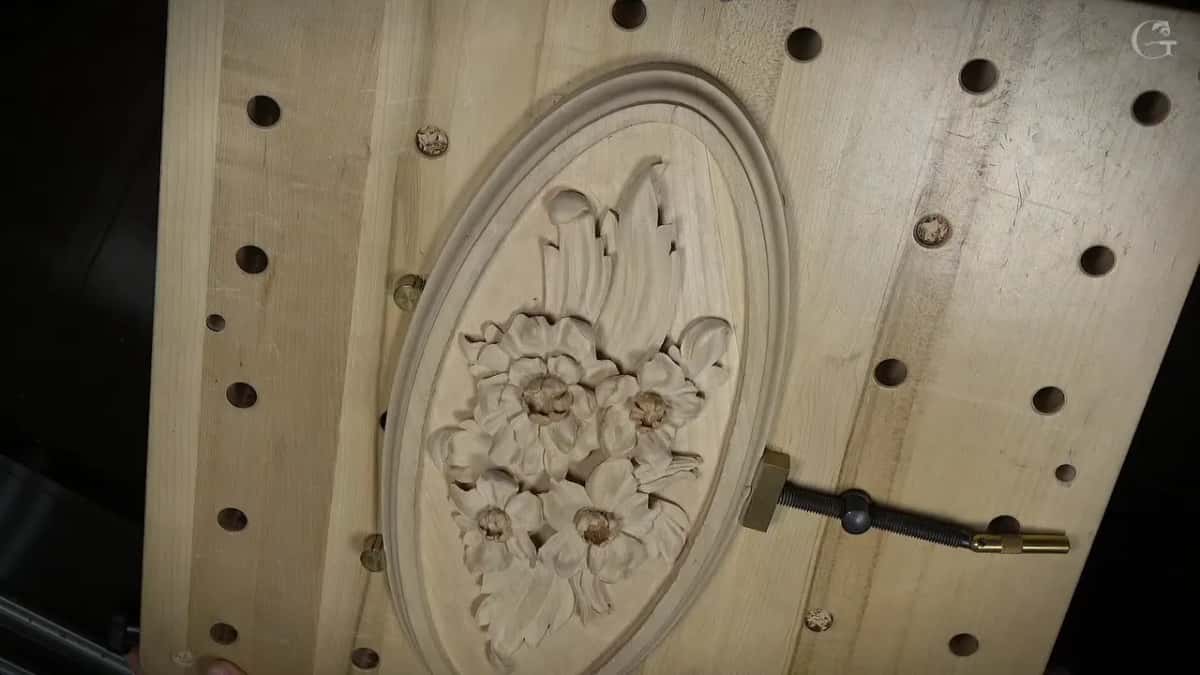
My oval, halved in six lines
- Stepping a ruler along the rim would have left me no idea where the far end lands.
- A rough middle line came first, marked at two spots.
- Caliper points sat on two spots.
- Each spot sent a leg out to the rim, and I marked between.
- One setting served both sides of the oval.
- Only the last division went by eye, and the spacing measured roughly an inch and a quarter (32 mm).
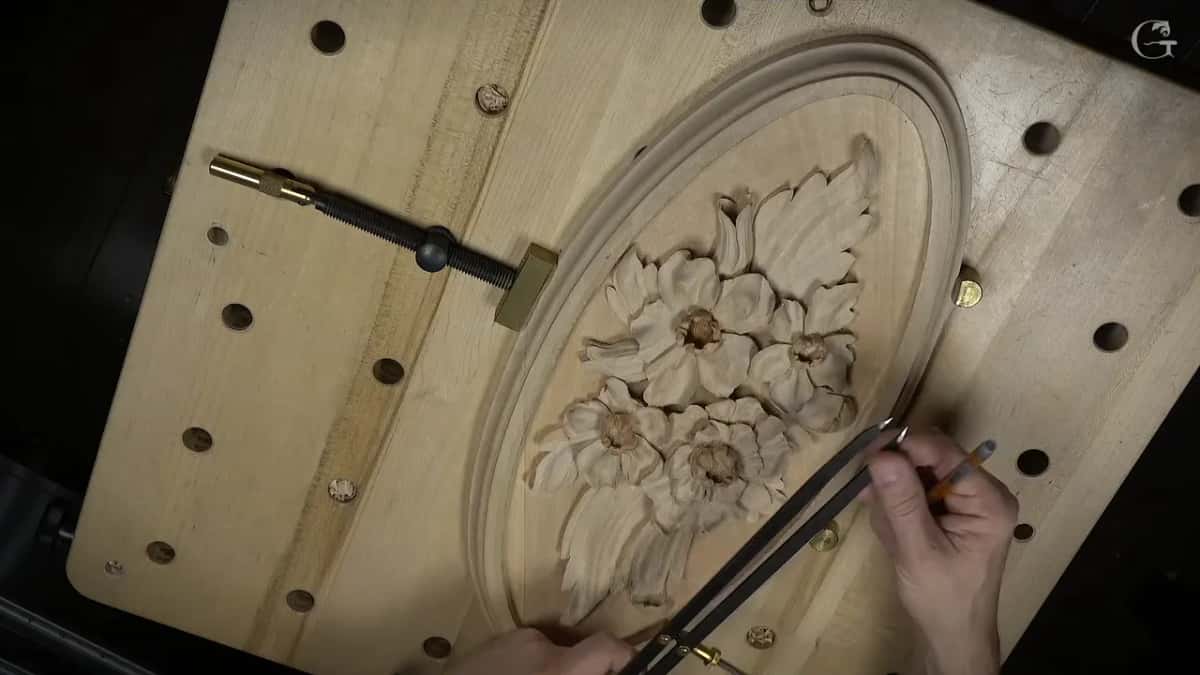
Why not mark an oval border with a ruler?
A ruler would leave me guessing. I can't just calculate it, I said. It's going to be really hard to calculate by the inches how many inches I have to make each division, and quite frankly there's no need, absolutely no need.
I knew roughly what I wanted, about an inch (25 mm) of space between those movements. I'm not sure you see that, I said to the camera. I doubt. But if I take a ruler and divide that inch by inch, I have no idea what I'm going to end up with on the other end. There are other ways to space marks on a curve, and on camera I used this one.
Rulers do get a turn at my bench. In workshop 79 of the Venice Room, on a heavy piece, I ruled a line at 90 degrees to my base off camera and marked it in one inch increments, one, two, three and so on. I did the same on the other side. Point to point, I said. That's really easy, one of the easy ways to transfer in 3D. That block was so heavy I couldn't move it around, so I said I'd probably use more than one way on it. I didn't film that transfer work, because I'd have my head in the camera the whole time, and it's not even an interesting process, I said.
Where does the first division go?
On a middle line, found roughly. The best way, I said, is to find the middle line approximately, about the center between whatever sides you want to measure. I don't really have to be perfect. Just a couple of spots, and from those I start my divisions.
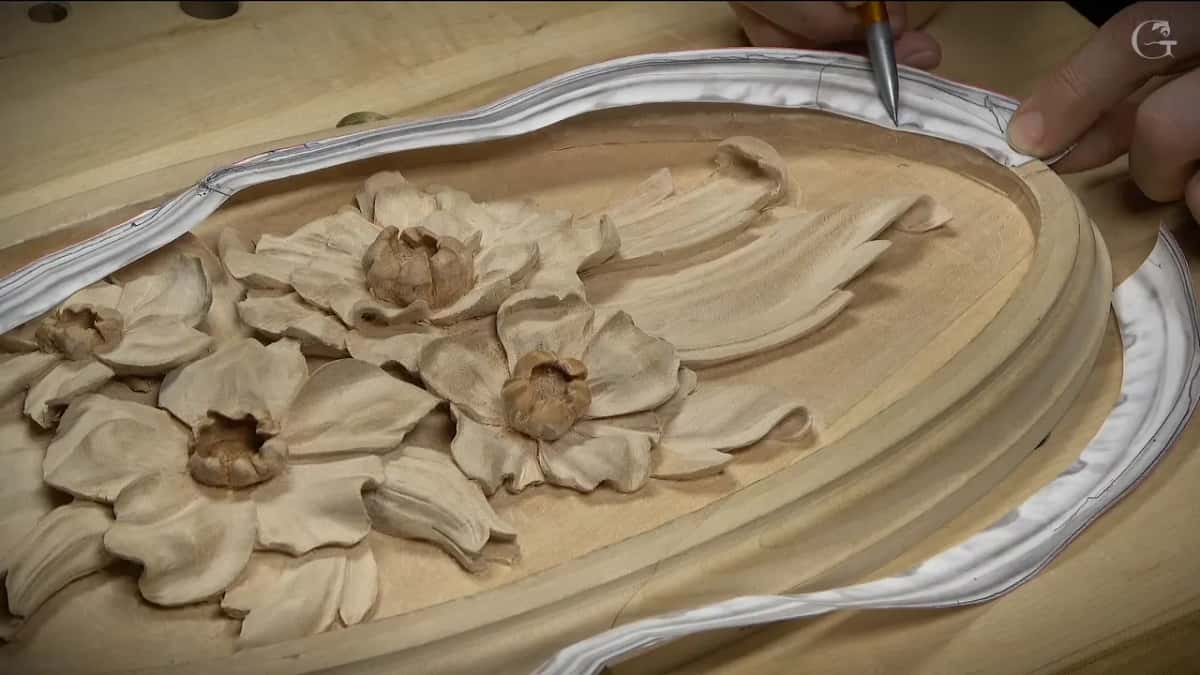
Before any of that I showed what the divisions were for. Some kind of movement going all around, I said, all the way round the oval. I hope you can see it. There are multiple ways, multiple ideas you can develop, and online archives have a catalog showing pretty much all types of moldings.
Even the oval itself went on by eye, the old ancient way. It's probably the most ancient way to lay out that kind of oval, I said. That was back in lesson 1. The divisions got calipers.
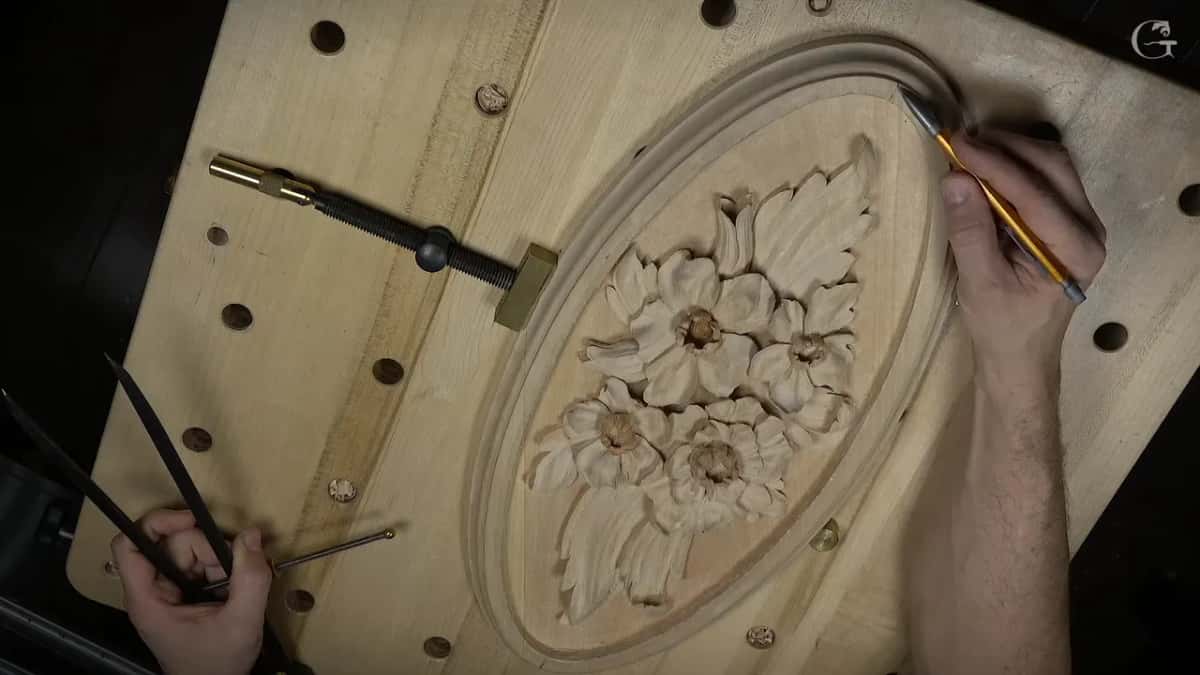
How to divide an oval into equal parts with calipers
Halve the gap, then halve each half. I took a point on one side and a point on the other side. I had to find about halfway between those two points, then halfway between this point and that point, and so on, until I was pretty close to what I wanted.
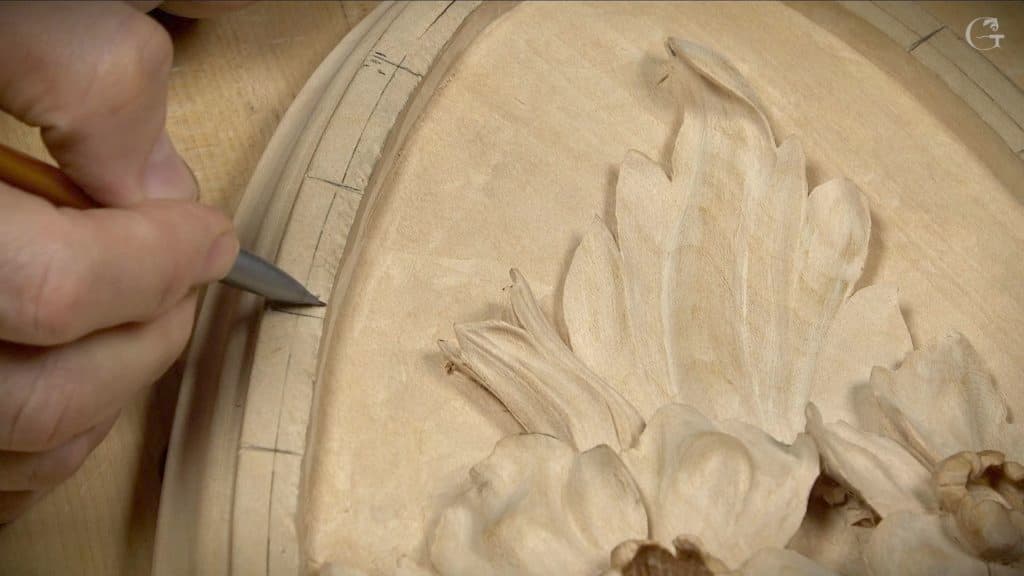
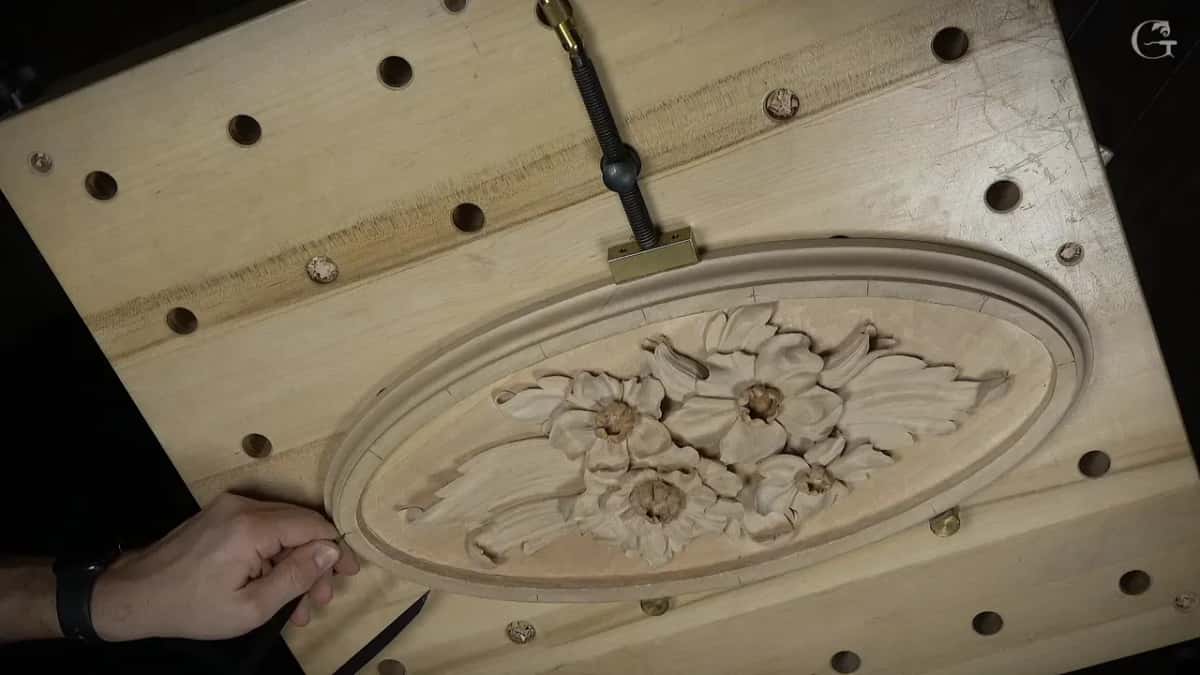
Here is the move itself, on my rim. I eyeballed the calipers open to roughly half and told the camera that is not the true center. One point sat on the first spot. The other went to the edge, and I hunted for the word. Rim, I should say, I said, and then I found it: perimeter. I set it to the point, and again. I got really close to what I had right there. So I put the line.
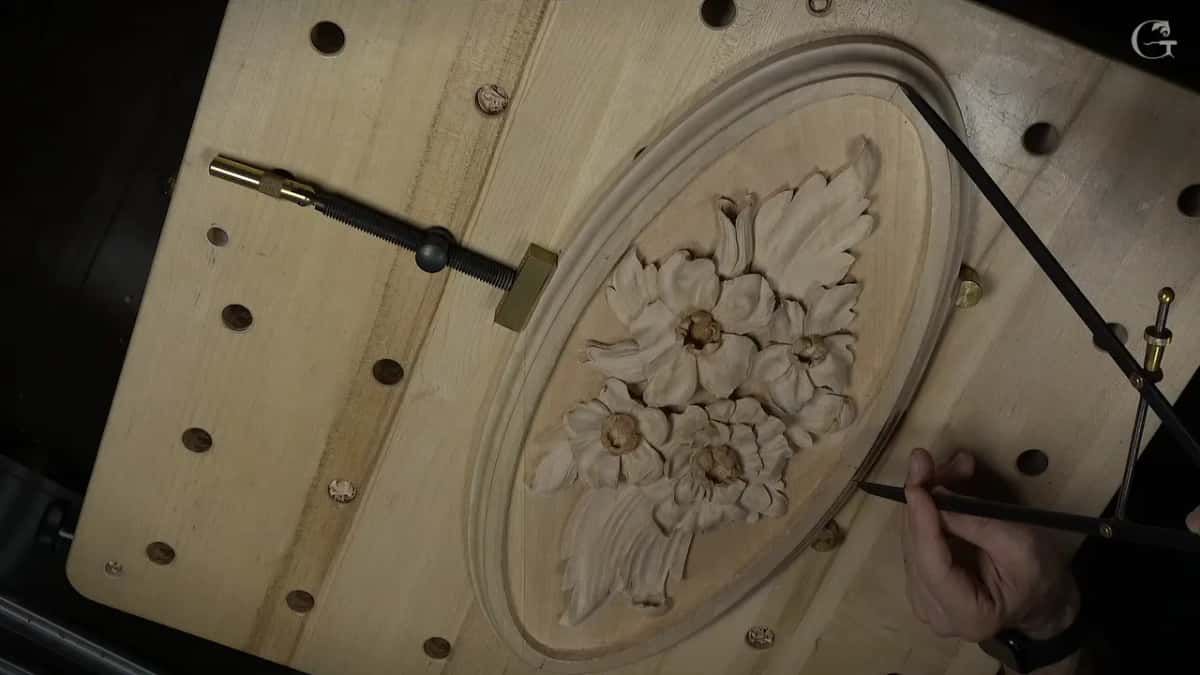
With the same distance I hit my second point and got to the outside perimeter right there. Two marks now sat on the rim, and I said I hope you're able to catch those two points. Right now it's easy for me to place a mark right between. Here you go. That is my center.
Why keep the calipers at one setting?
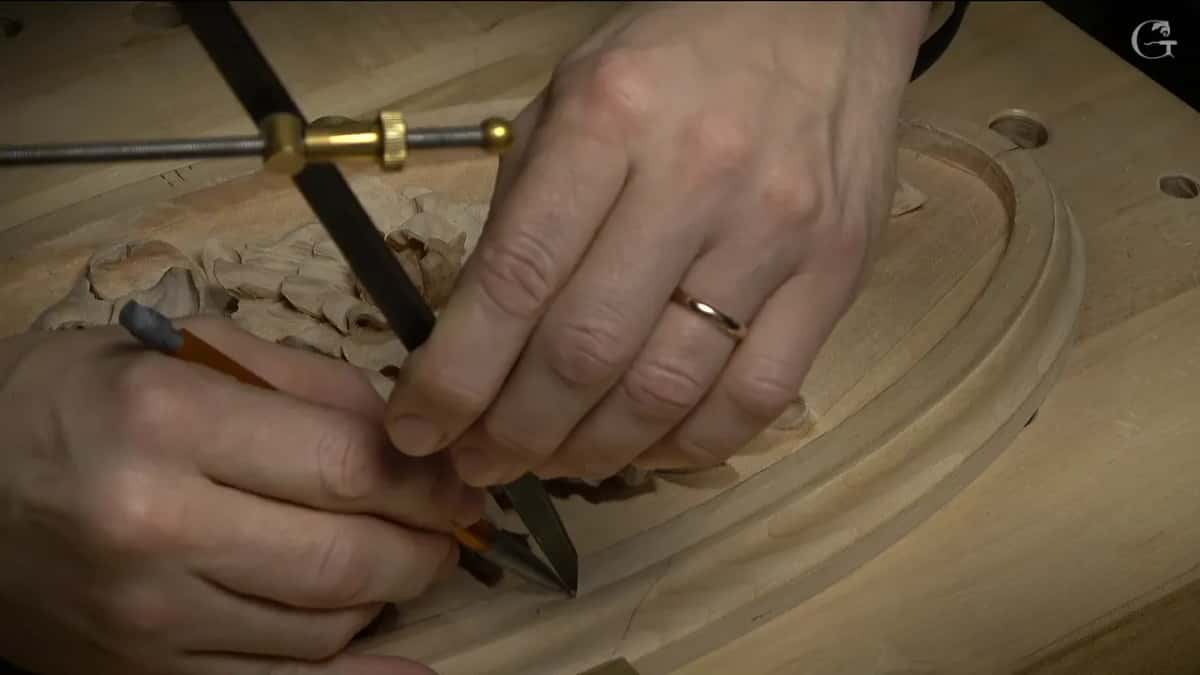
One opening of the tool served the far side as well as the near one. The same idea on another side, I said. I'm not going to change the measurements. Down went one spot, and I said I hope I was close. And yes, I was really close.
That was the second spot. And so on and so on, I said. The video runs quiet for about half a minute after that. I gave no reason for keeping the setting beyond that one line, so I won't make one up for you here. What you see on the rim is the result.
What happens at the last division?
My eye takes over. Now I'd just divide the last probable division, I said. Between sections. Just eyeball it, approximately. Not sure if you see that or not, I added. Hope you do.
I'm actually really close, I said, even just eyeballing it. Then I measured roughly and got about an inch and a quarter (32 mm) between those two spots, where I had planned on roughly one inch. After that I checked my original drawing, to see if I was close enough or not.
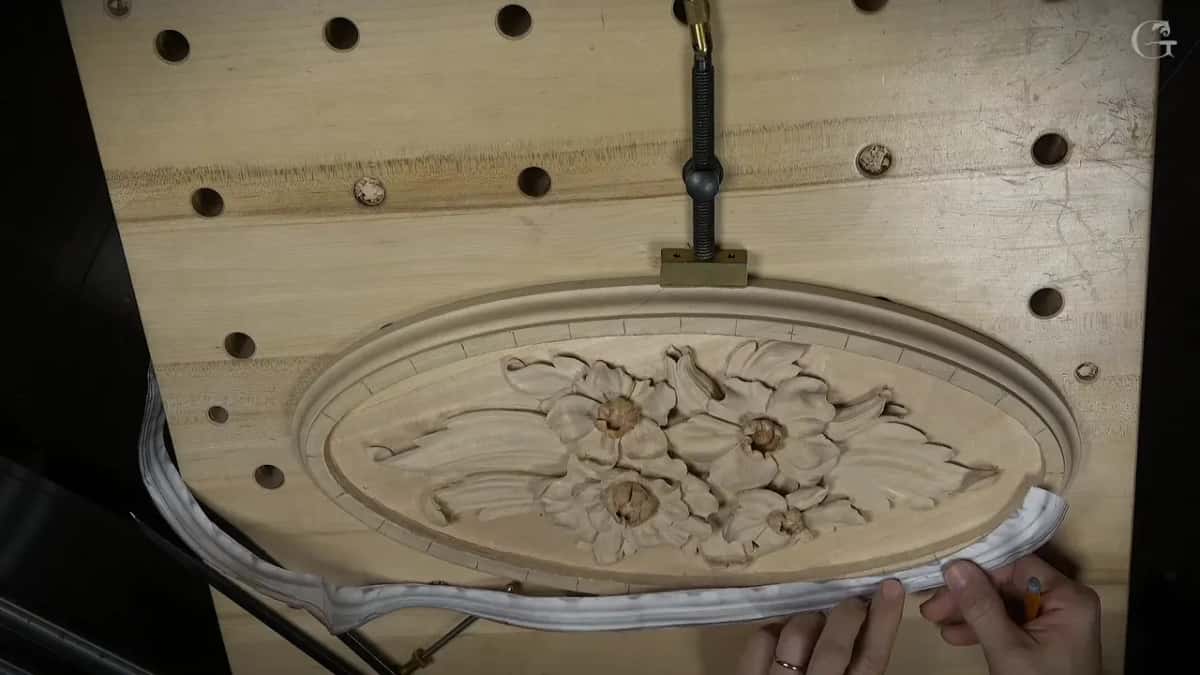
It looks like I am, I said, pretty close, spot to spot and a middle part. It's not always the case, though. Close enough.
Which calipers work best for dividing a border?
Any pair will do the job. Absolutely no problem to use different calipers, I said. One I showed was screw based. You open it up, screw it, measure it and use it. I really like my other pair, though, because of the quick release mechanism. It releases really quickly. I can quickly set it and refine my measurement.
Every second counts, I said. Sometimes the turning and twisting of normal calipers just bugs me, it takes too long. With the screw pair I have to spend a few more seconds. It's not a big deal, don't get me wrong. But I still like to use a quick release.
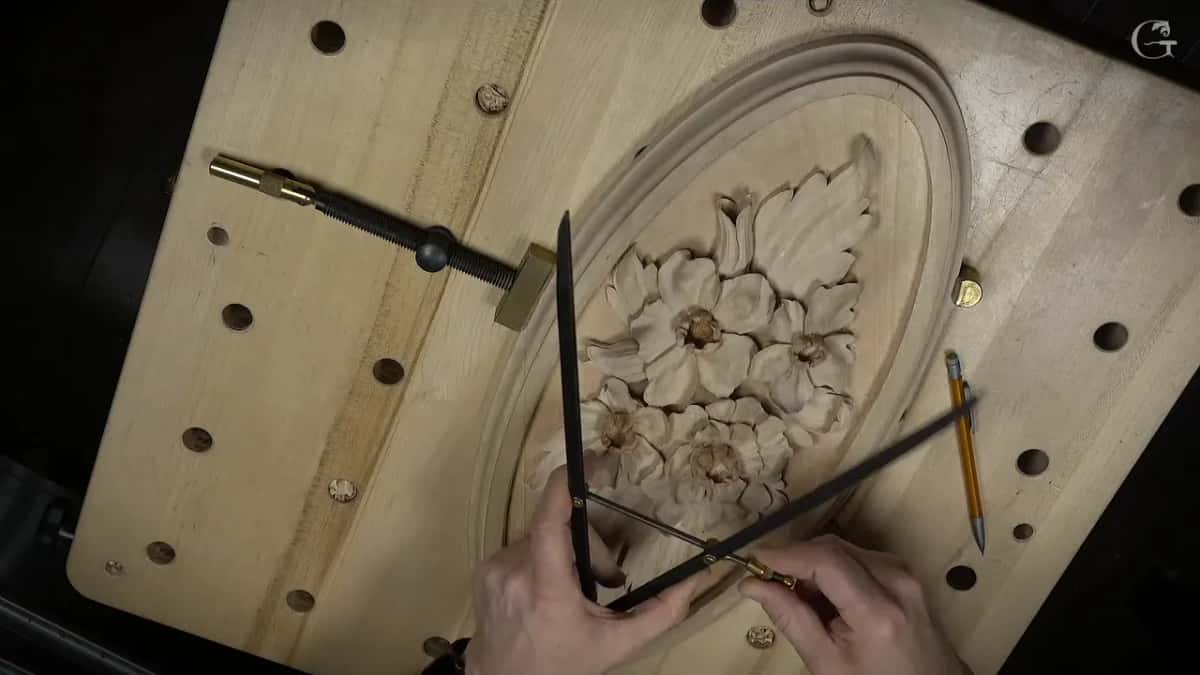
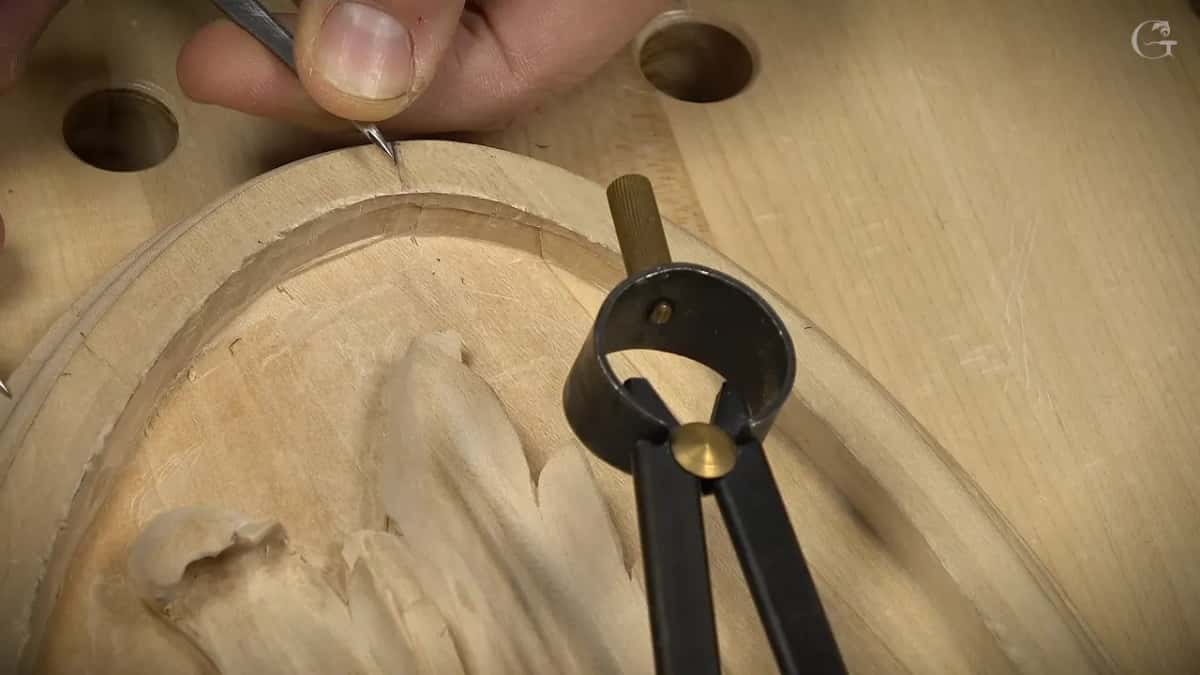
I've got multiple sets of calipers, and the first thing I do is sharpen my points. A really, really sharp point lets me place it right on a small dot, and that is really important for me. Even on the huge ones, you can see I sharpened my point. You really don't need to, I said, but I think it's a good idea.
The quick release pair on my butterfly plate had no really sharp point on it, and I said I thought it would be okay that way. I stayed away a millimeter or so from the edge, just in case I wasn't perfectly in the center.
Size can stop you, too. The first Venice Room workshop had a big shell, and there I said that normally you would just measure the distance using calipers. Got only 12 inches (305 mm), I said, since I don't have that big a caliper. But I don't think I'm going to need it now. And in workshop 141 my calipers were too big to fit, so I eyeballed a golden ratio line instead, taking the space edge to edge, dividing it by 10, and moving about six parts out of 10.
How many divisions should a carved border get?
Around my plate with butterflies I was ready to work on the border and thought about how it was supposed to look. I could divide that in eight parts, I said, or in seven, but I made a decision to divide it into six. I had played with that first, which is why you can see multiple marks. I think six is going to flow much better, I said, then added I hope so.
I wasn't going to overcomplicate it. Calipers and six parts. It doesn't have to be perfect, I said, twice. It looked like I was right almost on a mark. I double checked, because I could mess up, and then said I'd subdivide that approximately in half.
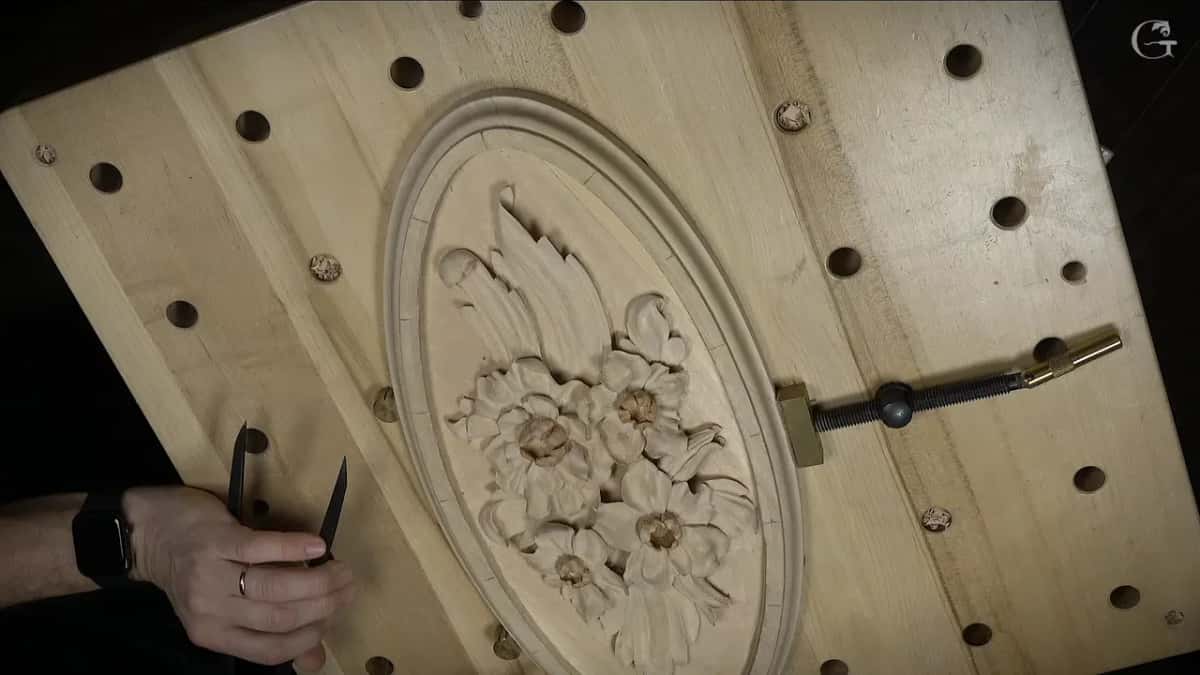
That band I kept simple on purpose. I don't want to overwhelm with my border, I said, or take the eye out of the main development. I also had to stay about one sixteenth of an inch (1.5 mm) away from the lines, because I really needed that V groove.
On the oval rosette I named no number of parts at all, only a spacing, roughly an inch. I kept halving until I was pretty close to it.
A flower is the other kind of division. In Hashemi Flowers I divided one flower in five petals, approximately five. You can divide in seven if you wish, I said, or eight. The petals there are semi same, I said, not the same, just approximately, like drawing a flower on a piece of paper. Later in that course I said I like to be really close to nature. Not the absolute truth, I went on, but as far as I know, petal counts come close to the Fibonacci number.
What comes after the division marks?
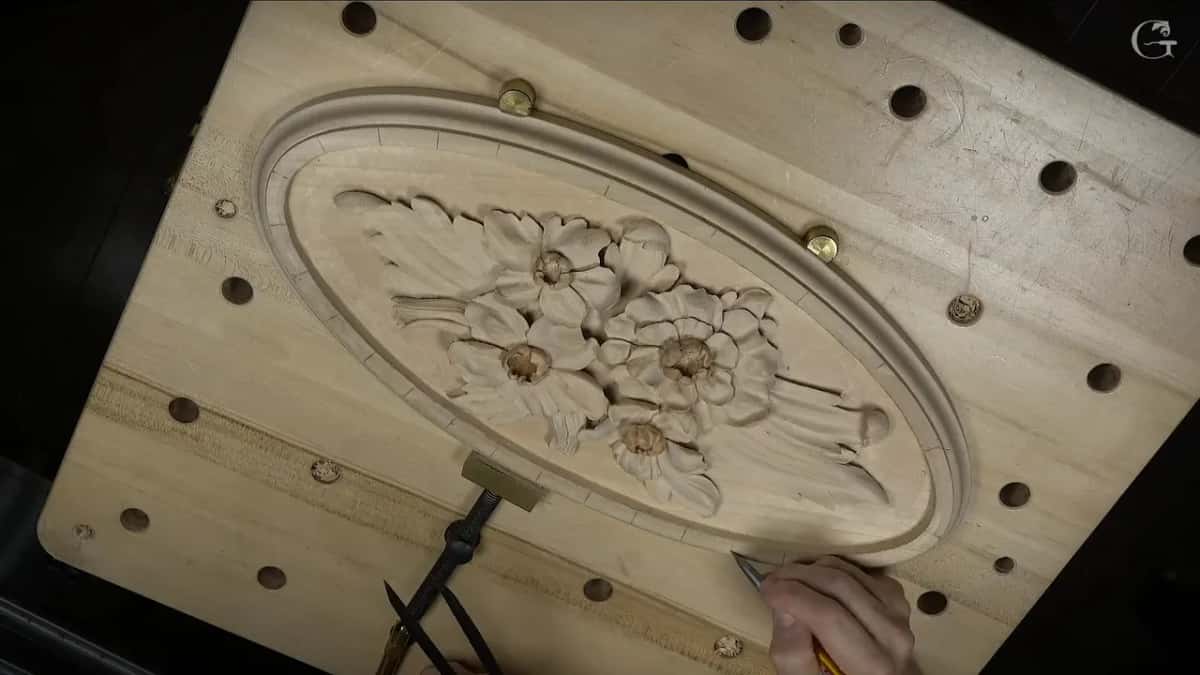
Chops, once one more line goes on round the rim. My next step, I said, was to establish where I would end up with each chop. The molding was going to have chops like this, I said.
My router had helped there, because I didn't have enough depth, and I had cleaned it really nicely. I was still able to detect where the line was. I would say it's about five millimeters in this space, I said, 3/16 of an inch, maybe a little less, like four and a half. Doesn't really matter. It's a good spot for me.
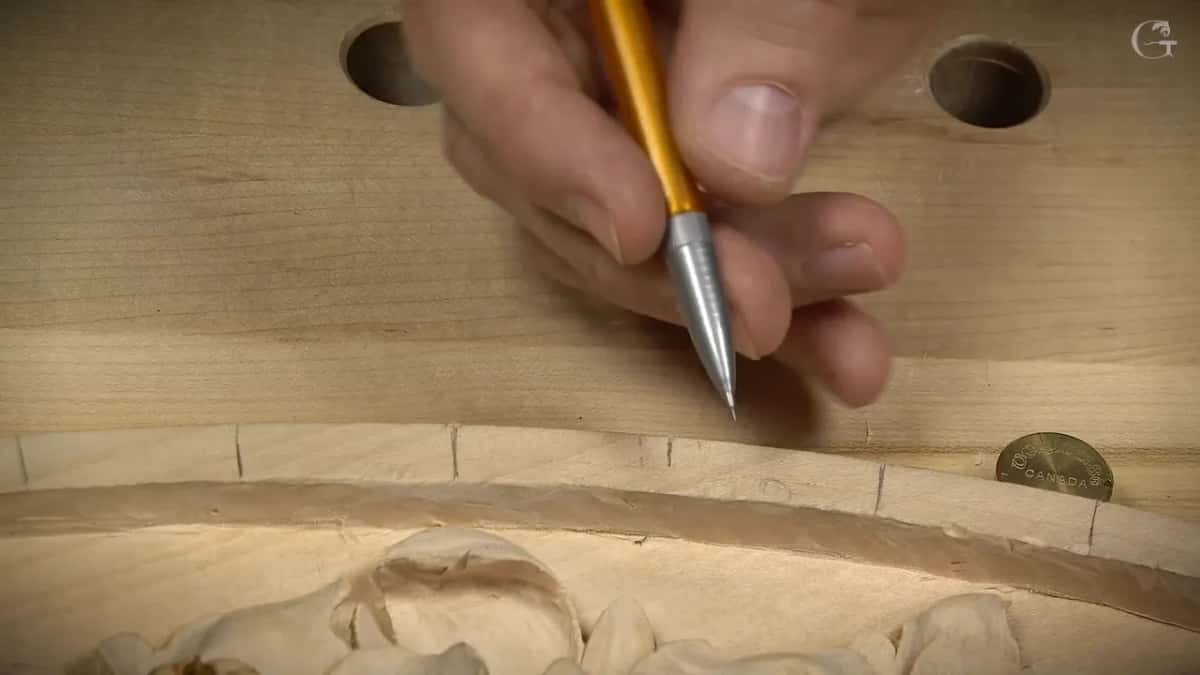
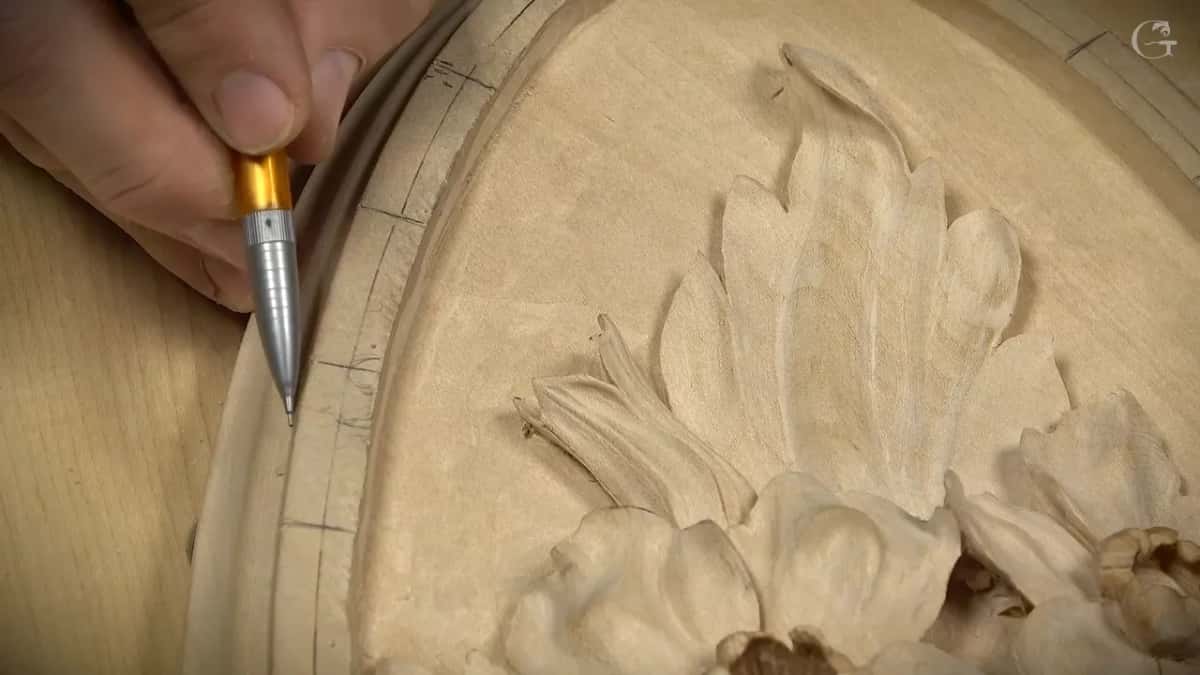
Let me draw that around, I said. That line was an indication, I said, of how each chop would go. The part I would round later needed a fillet on both sides, not a true radius, but somewhat.
Chopping came next, and I said it would not go all the way to the background. The background gets an undercut later on, for extra shadow underneath, so about two thirds of the way down was plenty, I said. How the border got its movement after that is lesson 6, and the whole course is on the course page.
Each step of the halving, with my words
| Step on rim | What I did there, in my words | Tool used | What I said to the camera |
|---|---|---|---|
| Rough middle line | Found the center between the sides, approximately | Calipers, eye | Just a couple spots, from that |
| First caliper setting | Opened them to about half, by eye | Caliper points | So that's not the true center |
| Reach the rim | One point on spot, one to perimeter | Unchanged calipers | Set that to the point. Again. |
| Second spot, same | Same distance, second point out to perimeter | Unchanged setting | Get to the outside perimeter there |
| Mark between them | Placed one mark right between the two | By eye | Easy for me to mark between |
| Other side next | Did the same without changing the measurements | Same calipers | And yes, I was really close |
| Last division left | Divided between the sections and eyeballed it | My eye | Really close with even just eyeballing |
| Measure and check | One and a quarter, checked on drawing | Rough measure | Not always the case, but close |
Read down the last column. Hardly a word of it claims to be exact, and the spacing still landed near my drawing.
Can you halve a border on your own bench?
You can, with whatever calipers you own, screw or quick release. I did it on an oval with the flowers already carved in the middle, and my eye only took over at the last division.
Is there a frame or a rim waiting on your bench? Is there a set of calipers in a drawer? Then halve it with me. Tuition and Access sit on one plan page, and the whole of lesson 5 is in there.
How it's done
- Find a rough middle. Locate the middle line between your sides approximately. Two spots on it will do, and perfect is not needed.
- Open the calipers by eye. Spread them to roughly half the gap you are splitting, judged by eye. Mine sat off true center, and I went on.
- Reach the rim. Rest one leg on the first spot and the other at the perimeter. Mark it.
- Repeat off the second spot. Keep the same distance and repeat, this time off the second spot. Mark again.
- Mark between. Pencil a dot halfway along the gap those marks leave.
- Halve the rest. Without changing the setting, do the other side. Keep halving until the spaces look near your plan.
- Eyeball the last one. Split the final space by eye, measure it roughly, and lay your original drawing beside it.
Frequently asked questions
Can a ruler step around an oval border?
A ruler walked along my rosette one inch at a time would have given me no idea where I would end up on the other end. Working out each division in inches is really hard, I said on camera, and there was absolutely no need for it. Halving with calipers got me close.
Do the caliper points need to be sharp?
Sharp ones, on my rosette. Sharpening the points is the first thing I do, I said, so a point sits right on a small dot, even on the huge ones. You really don't need to, I said. On the plate with butterflies, my quick release pair was not really sharp, and I stayed about a millimeter off the edge.
How close to equal did my divisions come?
Near enough for me. One inch, roughly, was what I had in mind, and the spacing measured 1 1/4 inches (32 mm). Laid against my original drawing, it sat close, spot to spot and the middle part, and I called it close enough.
What to carve next