
July 24, 2026
By Alexander Grabovetskiy — Master Woodcarver · Founder, School of Wood Carving · 10 min read
Who teaches Grinling Gibbons style wood carving?
How I teach Grinling Gibbons style wood carving
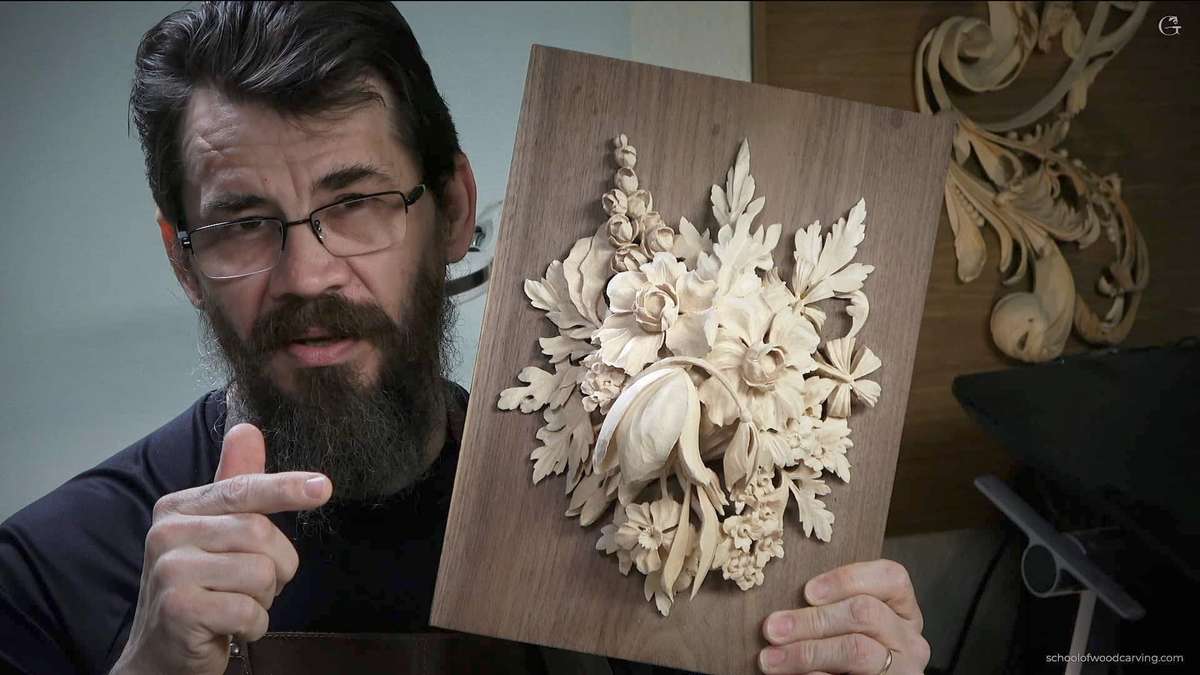
I teach Grinling Gibbons style wood carving in carving school, and I want to be straight with you about what this work asks of a person. Plenty of people can carve a simple flower in an afternoon. This is different. My name is Alexander Grabovetskiy, and when you come to my bench, we work the old way, with hand tools, real wood, and the patience to do it right.
Who teaches Grinling Gibbons style wood carving?
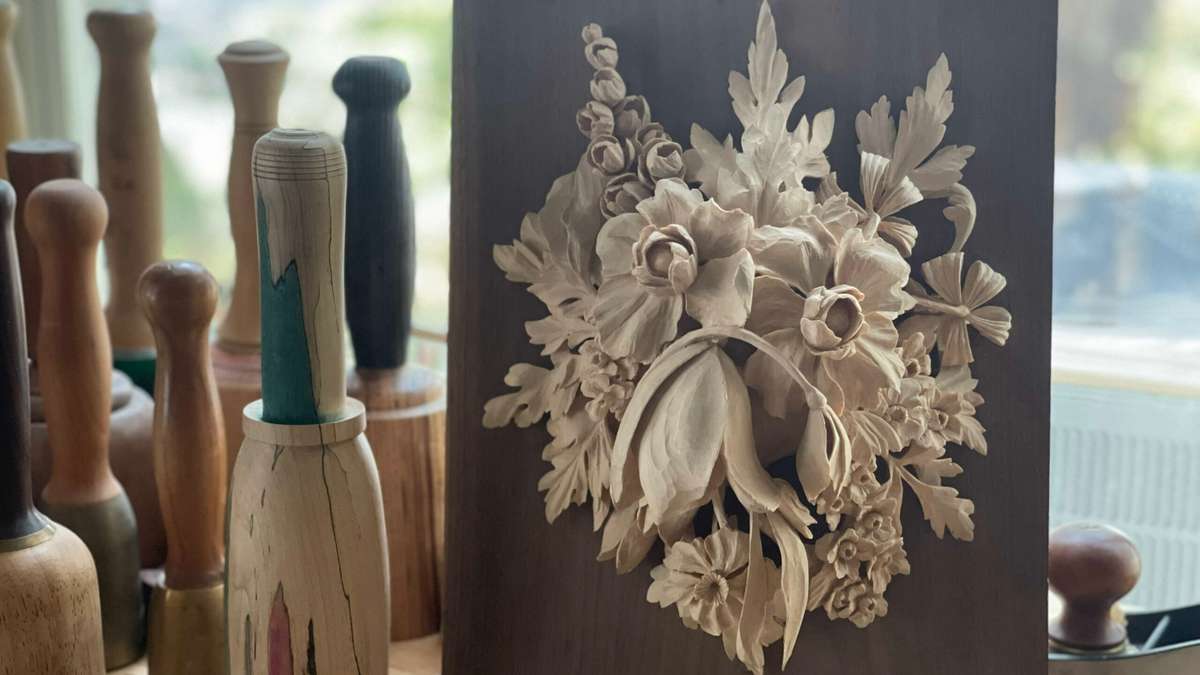
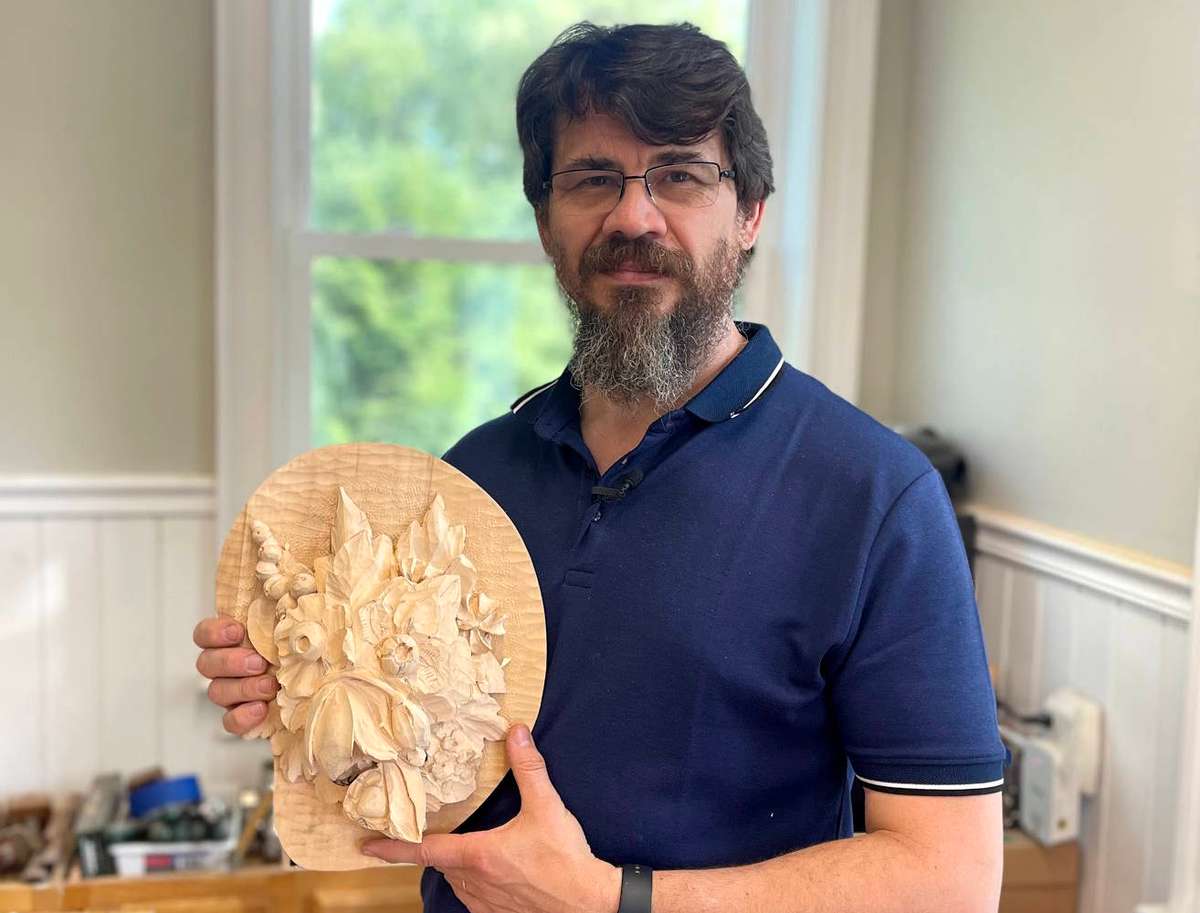
I do, in my own carving school, and some of my own work is carved in this style. Studying Gibbons took me years, and I want to pass what I found to you.
You don't need to be a professional to start. Bring your willingness to work. That counts for more than any experience you carry in the door, and I mean that from the bottom of my heart, because I have watched raw beginners outwork talented men who thought they already knew it all.
No machine does this work for us. You hold a gouge and a mallet, you sweat, and you make mistakes that teach your hands what a clean cut never will. We face the hard parts together. That's how you learn.
What is Grinling Gibbons style wood carving?
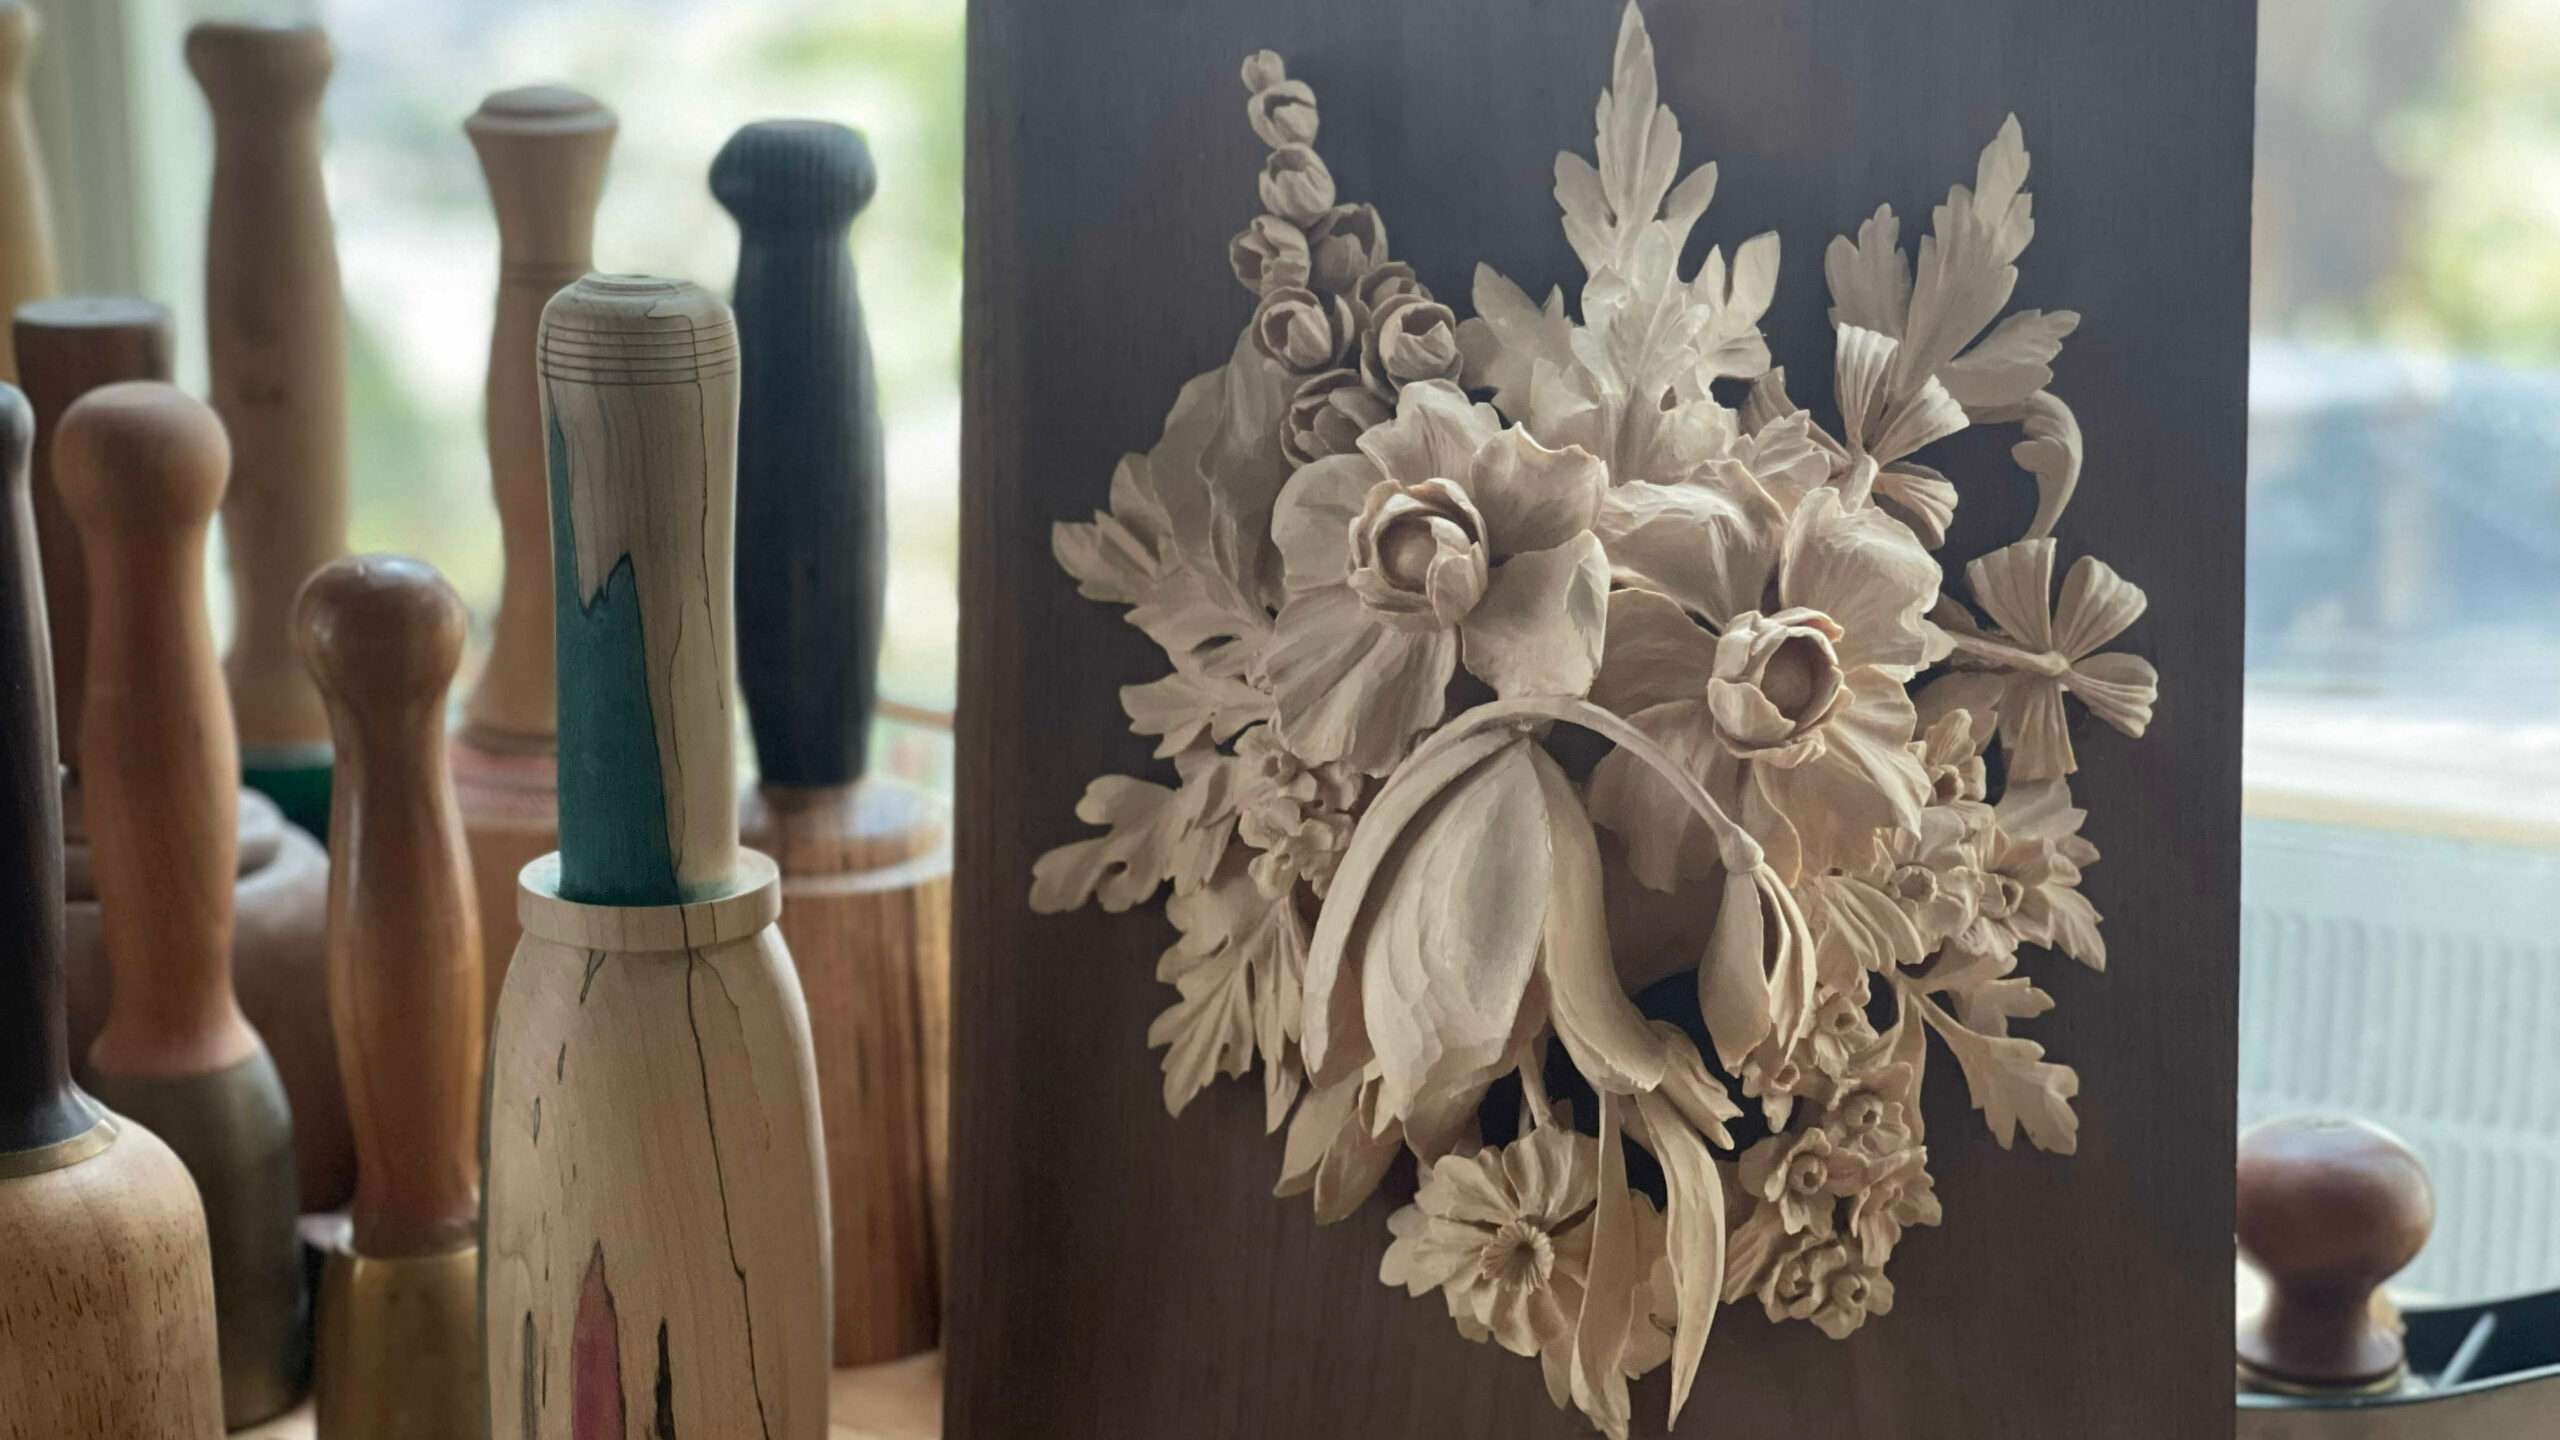
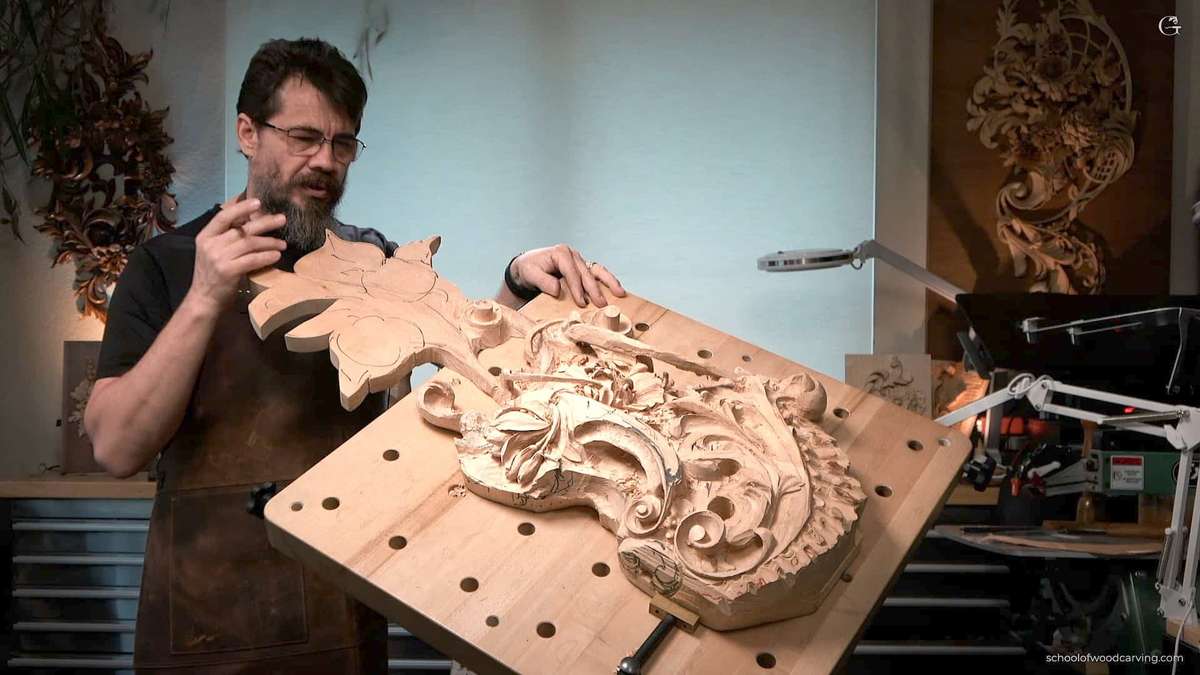
Grinling Gibbons style means high relief carving with deep undercutting and detail so lifelike the leaves seem to move. It's not flat work. The design pops out at you, and when you see it in person. The light hits those deep cuts and the shadows do their work, you almost want to reach out and touch it.
Gibbons himself was a master carver in England in the 1600s. His pieces are famous for their depth and fine detail, and he carved wood so thin it looked like lace. He worked mostly in limewood. We carve american basswood same wood just different continent. It behaves close to the same under a gouge, cutting clean and holding fine detail without a fight.
You have to think in 3D here. Plan the cuts before the mallet moves, because once wood comes off, it never goes back on, and no glue or filler will hide a bad decision in high relief. You can't just chop away at the block. Slice, and take the mass off with care.
The background drops away and the design stands proud, so the shadows do half the talking. That's why people stop in front of this work and stare.
Why is there no CNC for this style?
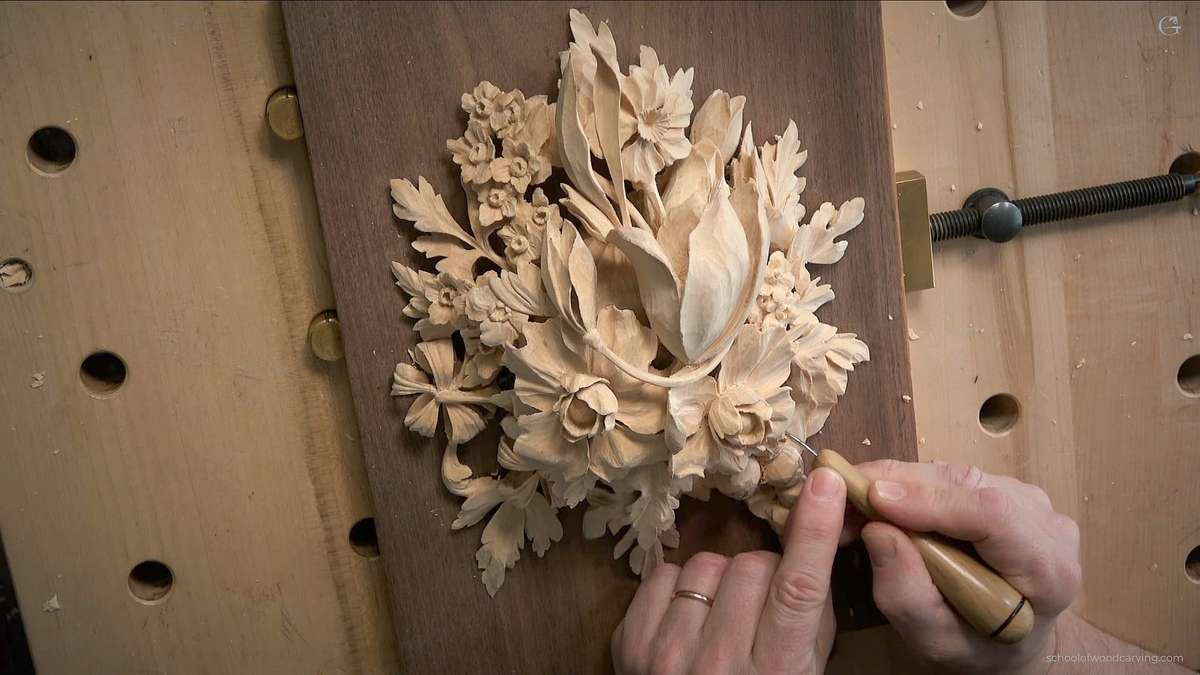
There is no CNC yet invented to do that type of carving. A machine can't feel the grain. When the wood fights back, and it will, a router just keeps following its path, while a carver stops, reads the cut, turns the piece, and comes in from a better angle with a different tool.
You have to think and calculate in the head how deep to go. You decide where to undercut and how extreme. I am personally "Extremist undercutter" A cnc program follows a path. We follow the wood, and that's the whole difference between a machine and a carver standing at a bench with thirty years of cuts behind his hands. Although, to be fair fair, there are some robotic arm cnc machines made for the world of medicine capable of doing some extreme undercutting and get to some places that used to be done only by human hand. But we are talking about couple of millions of Dollars with American president on the paper. We are normal woodworkers and most likely don't want to spend millions for just undercutting. we can do it ourselves.
You decide where to undercut and how extreme. I am personally Extremist undercutter
Wood is alive. It moves, the grain runs where it wants, and a spinning bit would tear the fibers and snap the thin parts long before the piece was done. So we teach the hand way, the Way of THE MASTERS of the past. The same tools, same thoughts process, time investment. the only difference between you and the carver in the past, who is better. You learn the feel right through the handle, and after a while your hands know what the wood will do before the tool ever touches it.
What are the key Grinling Gibbons carving techniques?
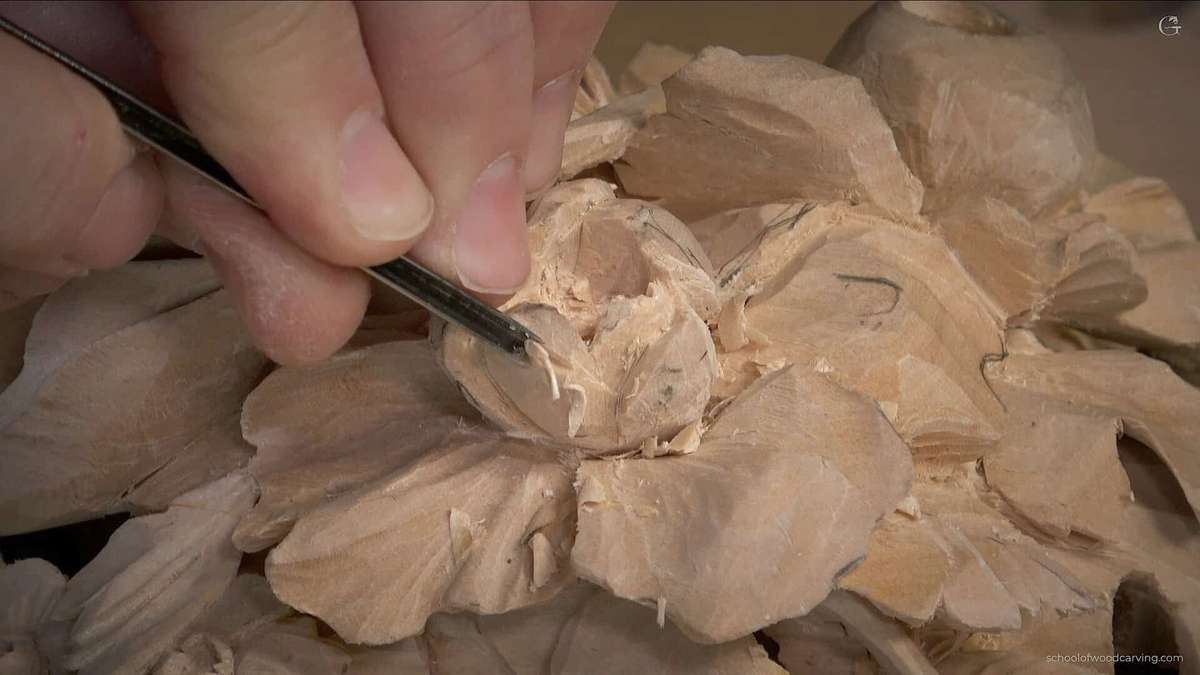
Deep undercutting, layering, and true-to-life texture carry this style. You're not scratching the surface. You dig in, and you keep digging until the leaf stands free and the shadow underneath it tells the eye that this thing is real. And Grinling was the one who introduced Layering technique in the carving.
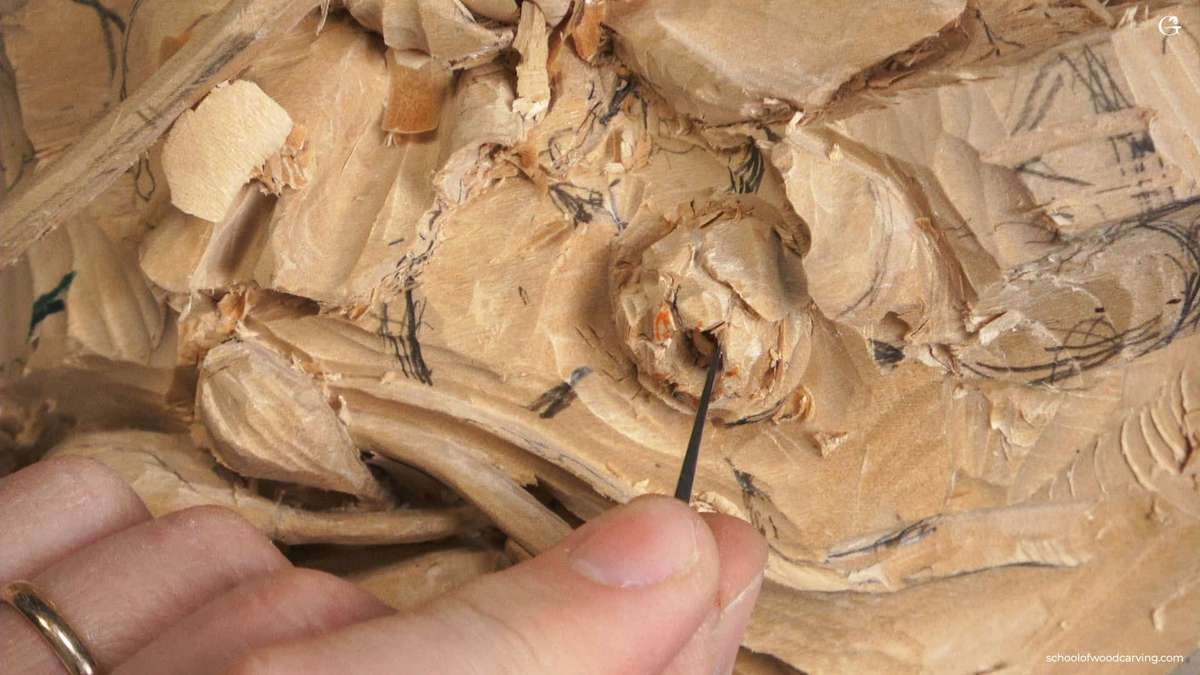
Undercutting means you cut under the leaf until it looks like it floats free of the background. That cut makes shadow. Shadow gives depth, and depth is what fools the eye into believing the leaf is alive, even when the person looking at it knows full well it's only wood.
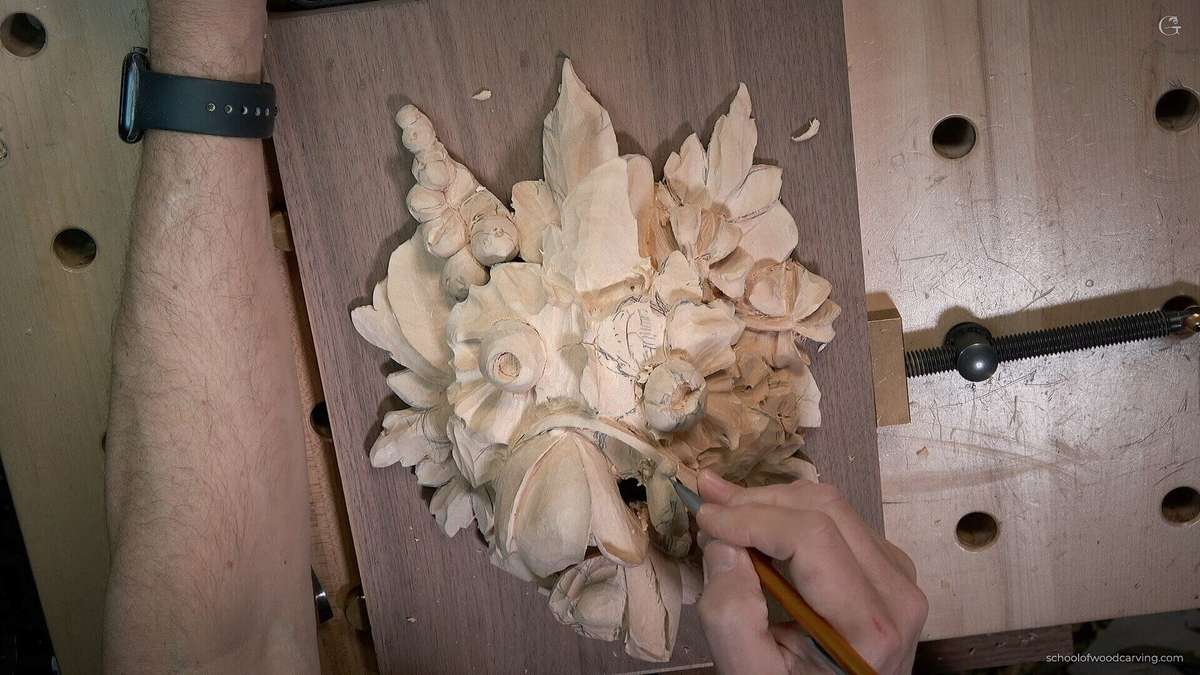
Layering is a puzzle. One leaf rides over another, so you carve the back one first and the front one after, and you set that order before the first chip falls.
Texture matters too. A living leaf has veins and ragged edges. The V-tool cuts the veins, and a gouge shapes the curve of the leaf so it rolls and turns like a real one you picked up off the ground and held in your hand on a cold morning.
Here is a plain look at the four moves we lean on most.
Technique | What it does | Tool used |
|---|---|---|
Deep undercutting | Makes shadow and depth dancing | Gouge, skew |
Layering | Overlaps parts for a true 3D effect | Gouge, U-tool |
Veining | Cuts lifelike detail into leaves | U-tool veiner #11 |
Piercing | Opens holes so light travels through and casts caustic | Gouges |
Practice them slow. They come.
How do you carve acanthus leaves in this style?
Personally, I don't think Grinling Gibbons was the best acanthus leaf carver, not apealing to my eye. HIs acanthus often look more like Italian parsley to me.
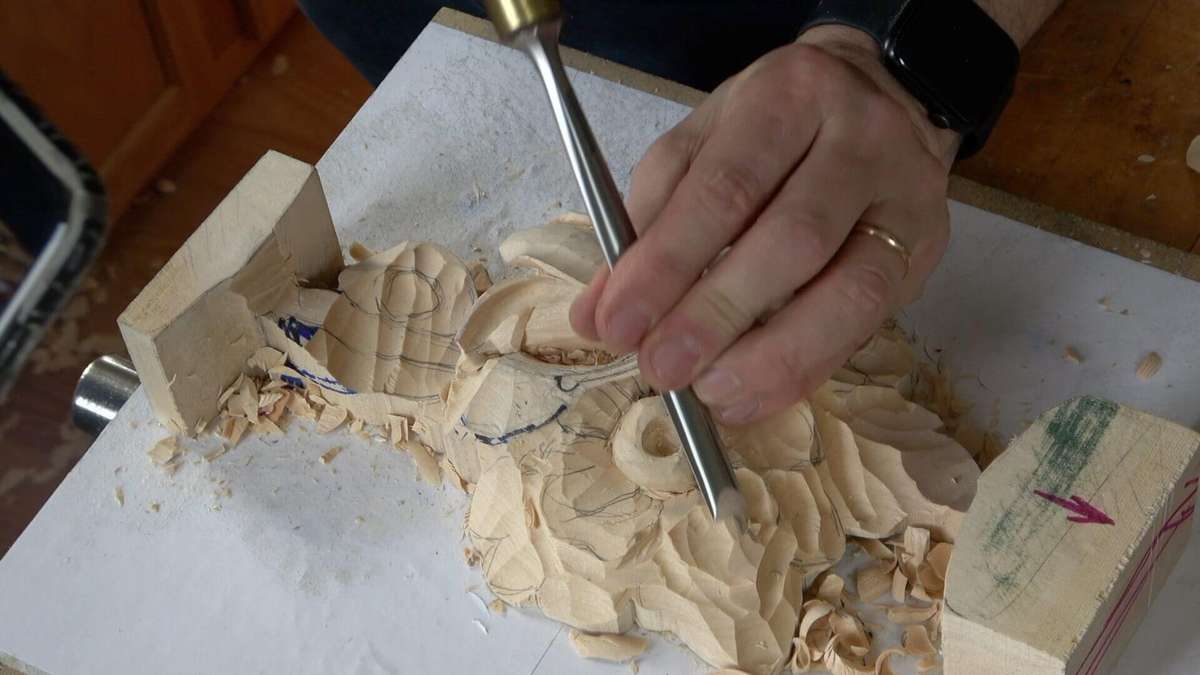
To carve an acanthus leaf in the Grinling Gibbons style. Make it deep and bold so it stands out from the background. This is not the flat, shallow kind of carving you often see on furniture.
Books on acanthus is a very good source. What you see on a furniture style acanthus, a low relief acanthus, there's going to be stripes. That's a different technique. Not what we do here, because we are after something deeper and more alive than a surface pattern.
By the way, in furniture carving, people who like to use acanthus leaves in their pieces, if it's a low relief carving, those tool makes from the veiner are actually one of the techniques to make it read more three-dimensional. We go further. Our leaf stands off the background like it's growing out of it, and when the light moves across the piece the shadows shift the way they would in a real garden.
Watch the grain the whole time or just use a very sharp tools to brake the rule. Cut against it and the fibers tear. Slice with it and the cut comes off clean and bright. After a while you find a rhythm of it. Not a music rhythm, a work rhythm.
What tools do you need for Grinling Gibbons carving?
You need a range of gouges, a U-tool Veiner #11, a skew, may a mallet, and a strop, and the exact list depends on the project in front of you. The tools change from one piece to the next.
But on another hand, like on a bigger project, like the Grinling Gibbons course, it's almost impossible to create a list, because by the time we're going to finish carving that big piece, Grinling Gibbons-style carving, the tools I'm going to use, the list is going to be tremendously long.
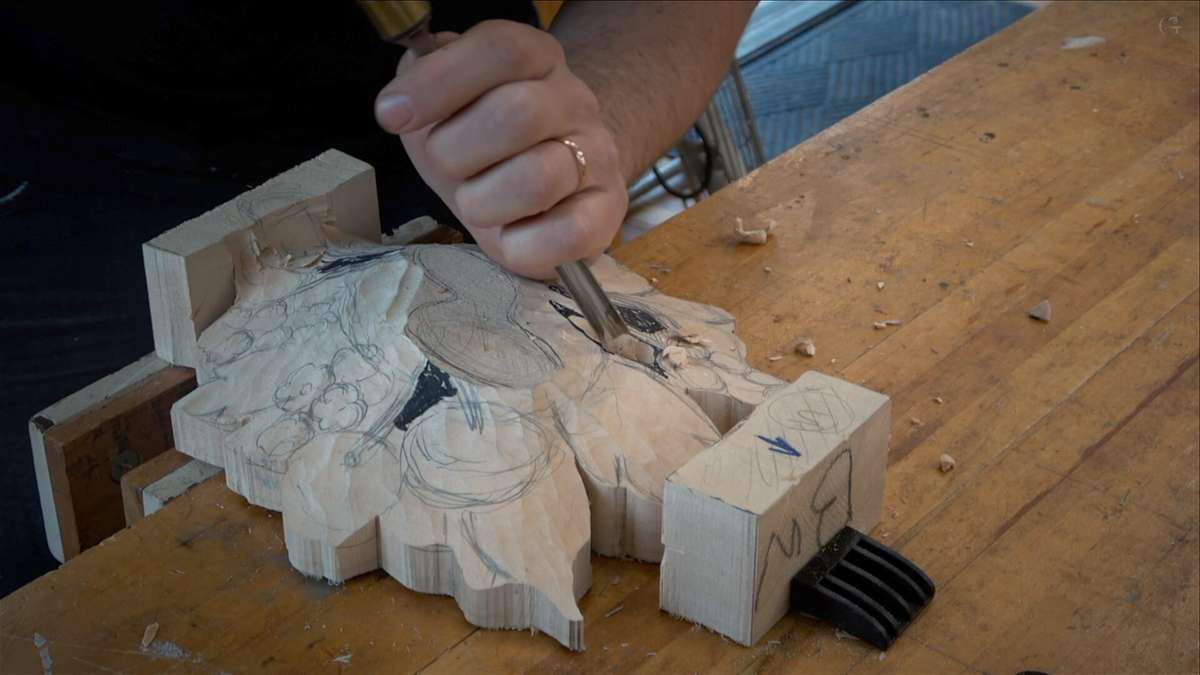
Start with a #7 gouge. Add a V-tool and a skew, then a mallet, and keep a strop on the bench so every edge stays sharp while you work.
Sharpening is the hardest part of this whole craft. A dull tool is dangerous, because it slips and tears the wood instead of slicing it, and it will bite your hand just as fast as it bites the grain. Keep your edges sharp.
Is Grinling Gibbons style good for beginners?
Yes, a beginner can learn this style, but you need patience with yourself. You'll learn a lot along the way if you stick with it and keep your tools sharp.
We start with how to hold the tool and how to sharpen it, and the complex work comes later. Start small.
Be real with yourself. Are you willing to put in the time, and to ruin a few pieces on the way? My grandfather put my first chisel in my hand when I was six, and I took it straight to a brick to carve a face. The tool was ruined. But the passion was born right there anyway, and it has never left me in all the years since.
We have students of every age in my classes. Some are young, some are old, and it doesn't matter one bit, because the wood doesn't care how old you are and neither do I. What matters is your attitude.
What wood should you use for this style?
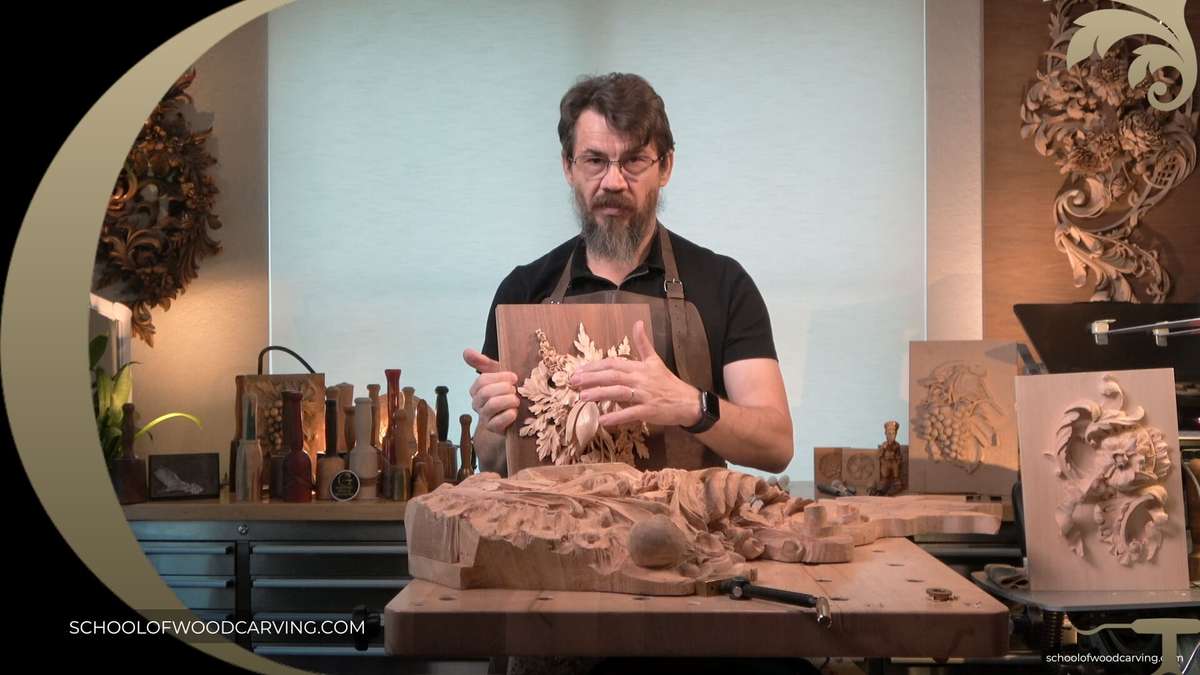
Use basswood known in Europe as limewood. They carve clean and hold fine detail, and they don't fight you much.
Gibbons used limewood, which is close kin to lindenwood. Soft and even, with no wild grain pattern to pull your gouge off line.
Mahogany works too. My great-grandfather was a cabinetmaker who worked mahogany in the Chippendale style, so I have a soft spot for that wood, but it's harder to carve and it costs more. Start with basswood. It cuts clean, it forgives a beginner's mistakes, and it holds the fine detail this style demands without crumbling under the gouge.
Stay away from construction lumber. A 2x4 is junk for carving, full of knots, and it crushes under the gouge and leaves you with nothing but frustration and a pile of torn fibers that no amount of sanding will ever fix. Buy good wood.
How long does it take to learn?
Years, if you mean getting good. The basics come in a few weeks, and then you keep building from there for as long as you keep showing up to the bench.
Make your first cut today anyway.
Sharpening takes the longest to learn, and it matters the most. If you can't sharpen, you can't carve.
There's no rush in any of this. When I carve I put on Mozart or Bach, and I listen to the gouge slicing through the grain. That sound is a good feeling, and it keeps you coming back to the bench day after day, even when your hands are tired and the piece is fighting you.
Frequently asked questions
Who is Grinling Gibbons?
Grinling Gibbons was a master wood carver in England in the 1600s. He's famous for high relief carvings of fruit, flowers, and leaves cut so thin they look like lace.
What does high relief mean in wood carving?
High relief means the design stands far out from the background, almost like sculpture in the round. It throws deep shadows and gives the work real depth.
Do I need to be an artist to learn this?
You don't have to be an artist. Willingness to learn is enough. We show you the design skills and the carving skills, and you put in the practice, because nobody was born knowing how to hold a gouge and every master carver started exactly where you are standing right now.
Which wood is best for beginners?
Basswood is the best wood for a beginner. It's soft and cheap, and it carves clean.
How do I start learning?
Come to the School of Wood Carving. We have courses for beginners and a full Grinling Gibbons course for the big work. Your tuition opens access to all of it. Shall we carve?
Filed under
- acanthus leaf carving
- architectural wood carving
- baroque wood carving
- carving class
- carving techniques
- decorative carving
- English baroque
- fine woodwork
- floral wood carving
- fruit and flower carving
- Grinling Gibbons
- hand carving tools
- limewood carving
- master woodcarver
- ornamental carving
- relief carving
- traditional woodwork
- Wood Carving Lessons
- wood sculpture
- woodworking education