
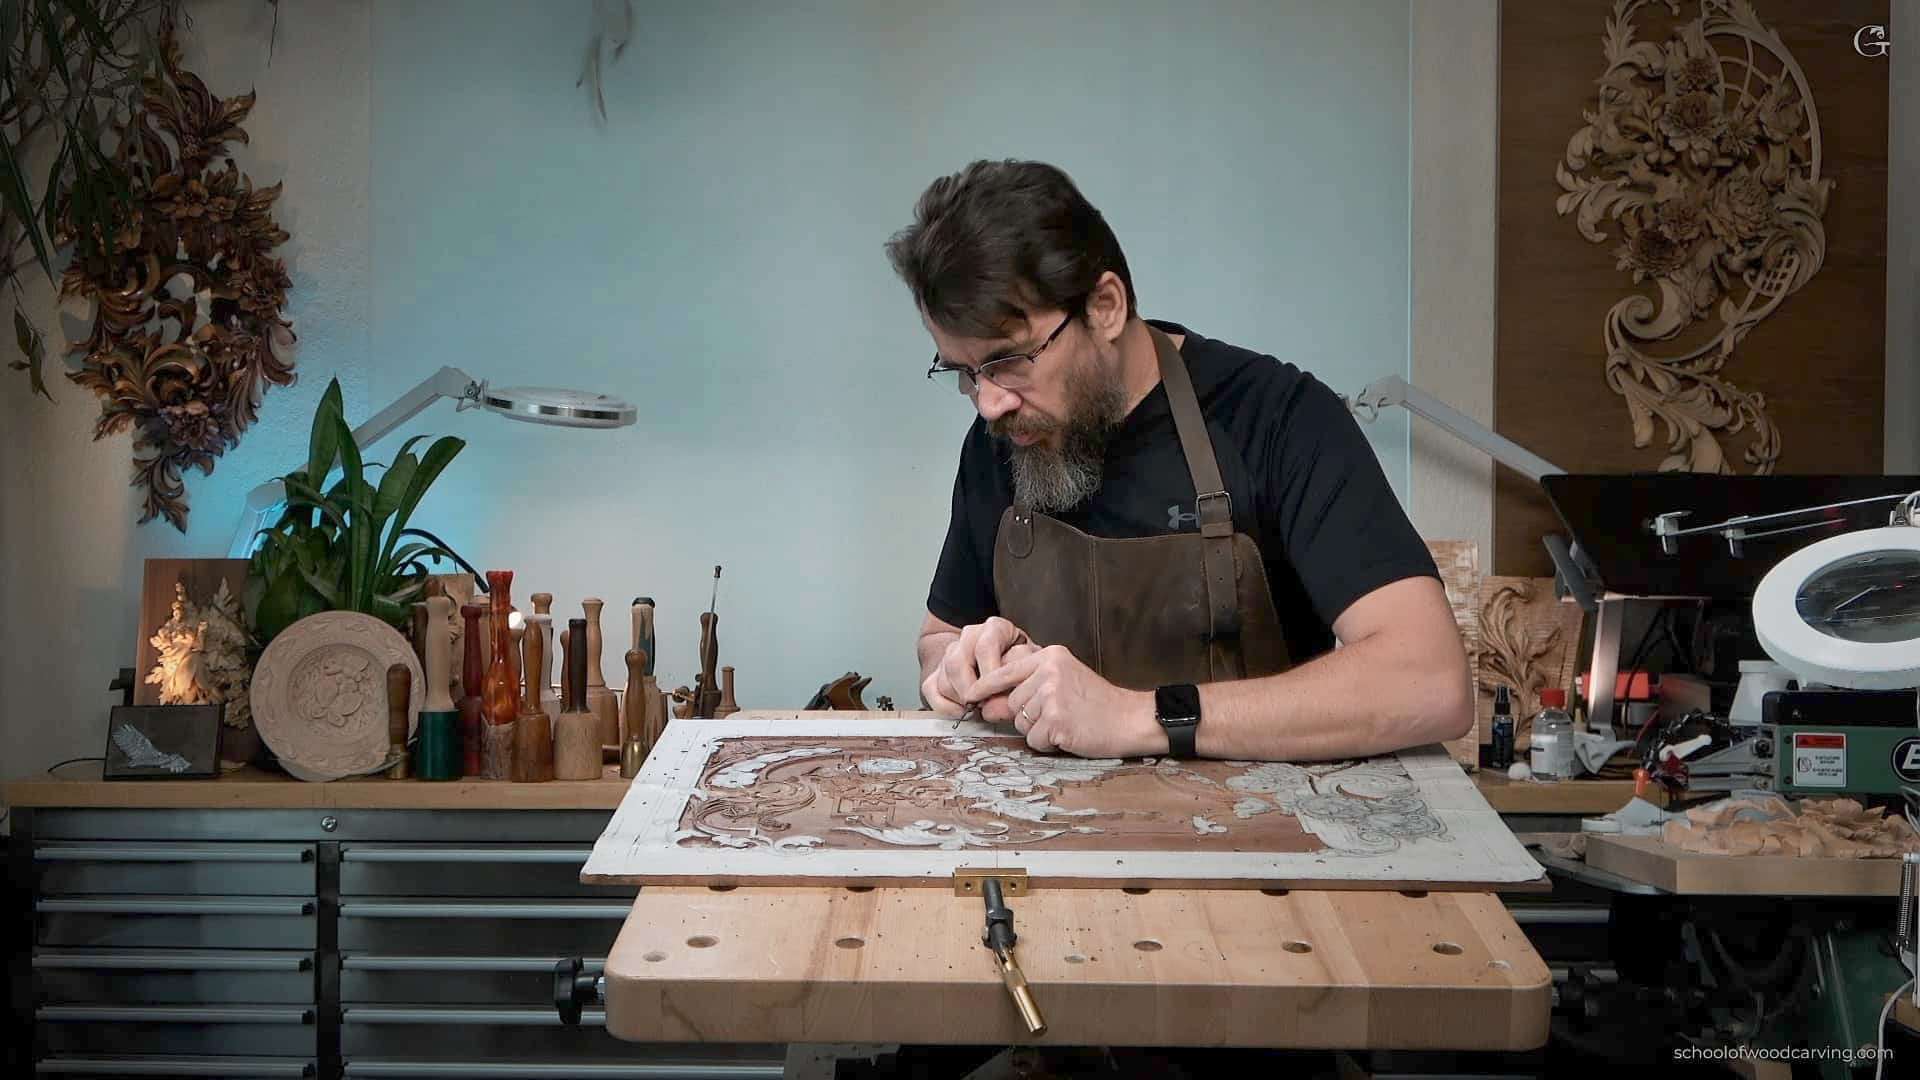
August 10, 2026
By Alexander Grabovetskiy — Master Woodcarver · Founder, School of Wood Carving · 12 min read
Wood Carving for Furniture Makers
By Alexander Grabovetskiy, School of Woodcarving · Updated August 10, 2026
Quick answer: Furniture carving is low relief work: panels, moldings, rosettes, and onlays that rarely go deeper than three eighths of an inch. I have carved for over forty years, and I teach woodworkers to add this work to their own pieces. The craft lives closer to joinery than to sculpture.
You can build a chest of drawers that closes like a bank vault. Then a client asks for a carved shell on the top drawer, and you send the work out, or you talk them out of it. I meet woodworkers like this every year at Marc Adams School of Woodworking, where I teach low relief carving for furniture. Strong hands, sharp planes, dead flat panels. The carving is the one thing missing, and it should not be. My great-grandfather worked mahogany in the Chippendale style, and in that trade carving was never separate work. It was part of building the piece. This page shows you what furniture carving really is and which of your tools already do it. Then I will point you at the first panel.
Key takeaways:
Most of this work is low relief, between an eighth and three eighths deep.
Sharpening comes before carving. A dull gouge tears walnut instead of slicing it.
The router plane already in your till levels a carved background.
Practice the ornament on basswood. Carve the real one in your project wood.
Design comes first. The full size drawing is finished before any carving starts.
What carving does furniture actually need?
Furniture needs shallow relief ornament, and almost never sculpture. Nobody is asking you to carve a lion in the round. The work that shows up on real pieces falls into four families, and all four stay close to the surface.
Kind of carving | Where it lives on a finished piece | How deep | A good first project to try |
|---|---|---|---|
Low relief panel | door panels, headboards, and the lids of chests | 1/8 to 3/8 inch | a Chippendale style panel carved in walnut |
Carved molding ornament | picture frames, cornices, and the edges of tables | usually under 1/4 inch | acanthus running over a simple pine molding |
A round rosette | drawer fronts, stiles, and corner blocks on casework | about 1/4 inch deep | a five petal flower rosette in basswood |
An applied onlay | aprons, crests, and mirror frames of every size | carved separately, then glued | a grape onlay glued onto a rail |
The depth numbers matter more than they look. Shallow work forgives you. At that depth a lost chip is a repair, not a funeral, and a failed design can be planed off and drawn again. I once carved a dining table apron whose deepest point sat under a quarter inch. From across the room that apron still reads rich, and that is what shallow work buys you.
Do I need to be an artist first?
No. This is learned geometry, not born talent. The ornament on a Newport shell or a Philadelphia highboy was laid out by workshop tradesmen with dividers and a compass. Drawing skill helps. Not the gate.
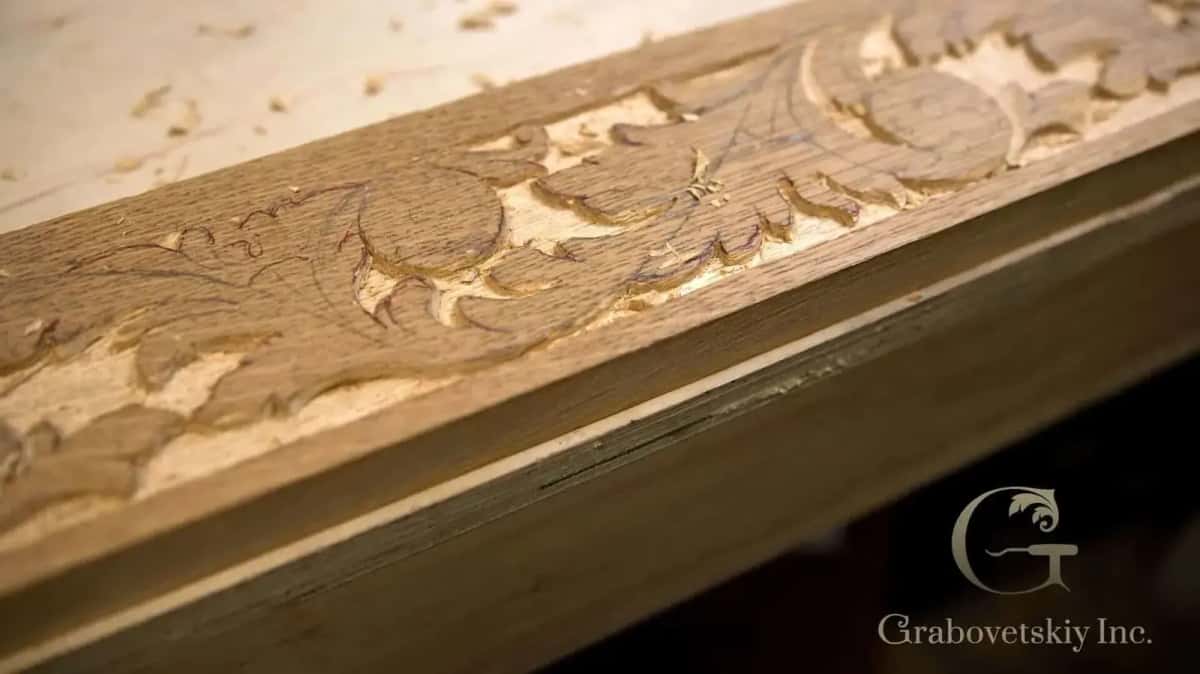
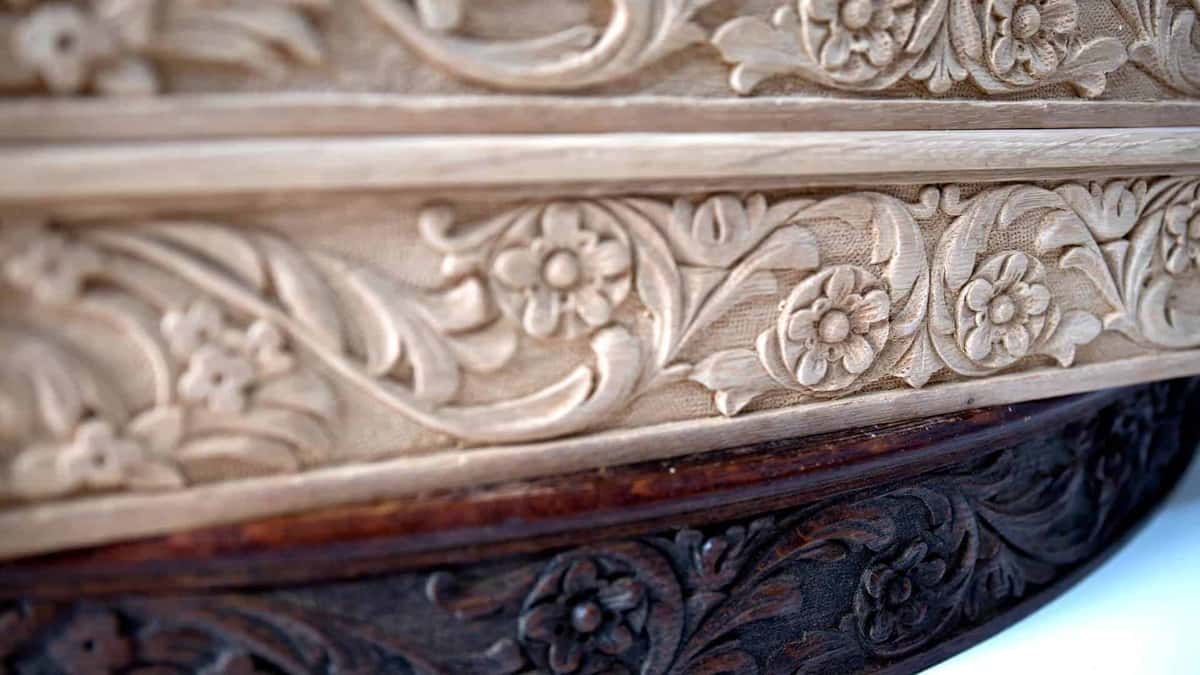
Molding ornament runs under a quarter inch deep and still reads from across the room.
What skills come first?
Sharpening comes first, grain comes second, and ornament waits for both. You already sharpen plane irons better than most carvers I know. A gouge is a different animal, because the edge is a curve, and the inside face needs a slipstone that most woodworking benches have never seen.
Here is how it usually goes wrong. A woodworker buys a boxed set of forty tools, keeps the factory edges, and starts on walnut left over from the project. The curved edges crush instead of slicing, the walnut tears at every turnover, and the set goes on a shelf. The verdict lands on the person. It belongs on the edge.
I start students with two or three gouges, honed until they slice basswood end grain and leave it shiny. A #7 and a #8 will rough out most of a first panel. On one shape the tool runs with the grain on one side and against it on the other, so you learn to feel the fibers push back and to turn the work around instead of pushing harder. I am never pushing hard. Slow passes, and I read the wood the whole way, because the grain tells you where it will tear a stroke before it actually tears.
That discipline is the actual skill. The leaves and shells are downstream of it.
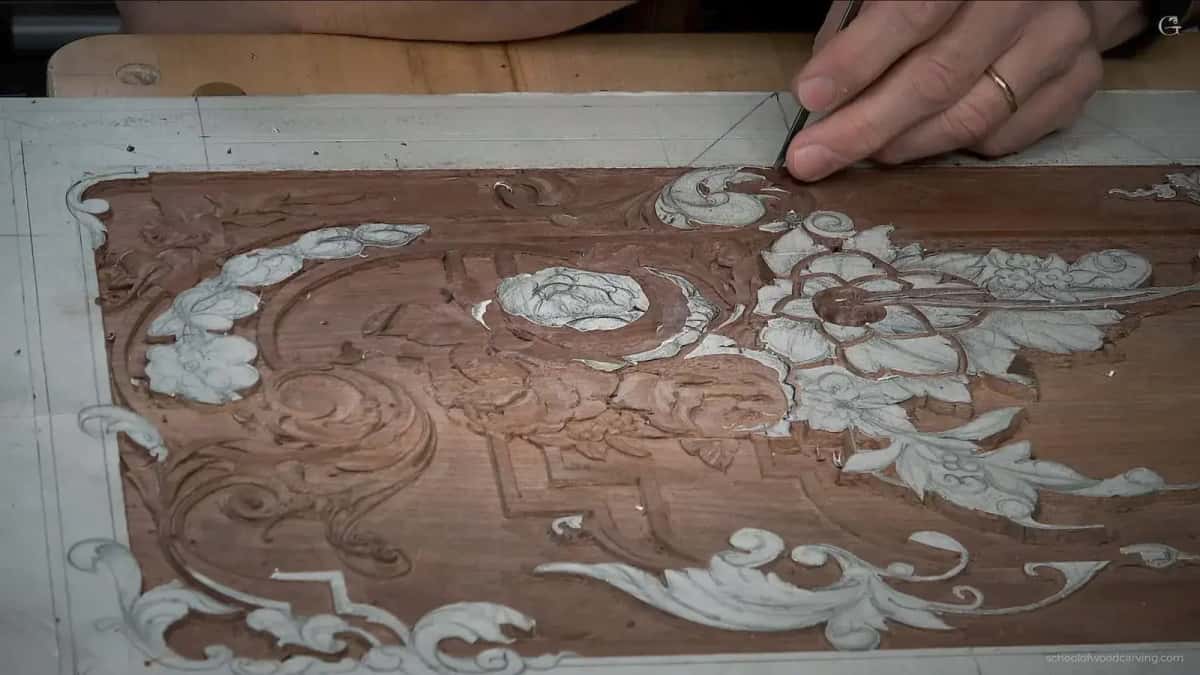
Shallow work forgives you. A lost chip here is a repair, not a funeral.
Which of my tools already carve?
A router plane, and you probably already own one. Most woodworkers assume carving means a wall of new steel. Backwards. The tool that levels a carved background to one even depth is the same one you reach for on hinge gains and tenon cheeks. In the Furniture Panel lessons I take most of the waste out with a gouge, then bring the floor true with it. A good invention for furniture work. I keep several sizes, and the one I love is tiny.
Your mallet carves. So does the marking gauge, which scribes the border, and a card scraper cleans a relief ground faster than sandpaper ever will. Add a holdfast or two, and the bench you already have holds the work better than most carving stands.
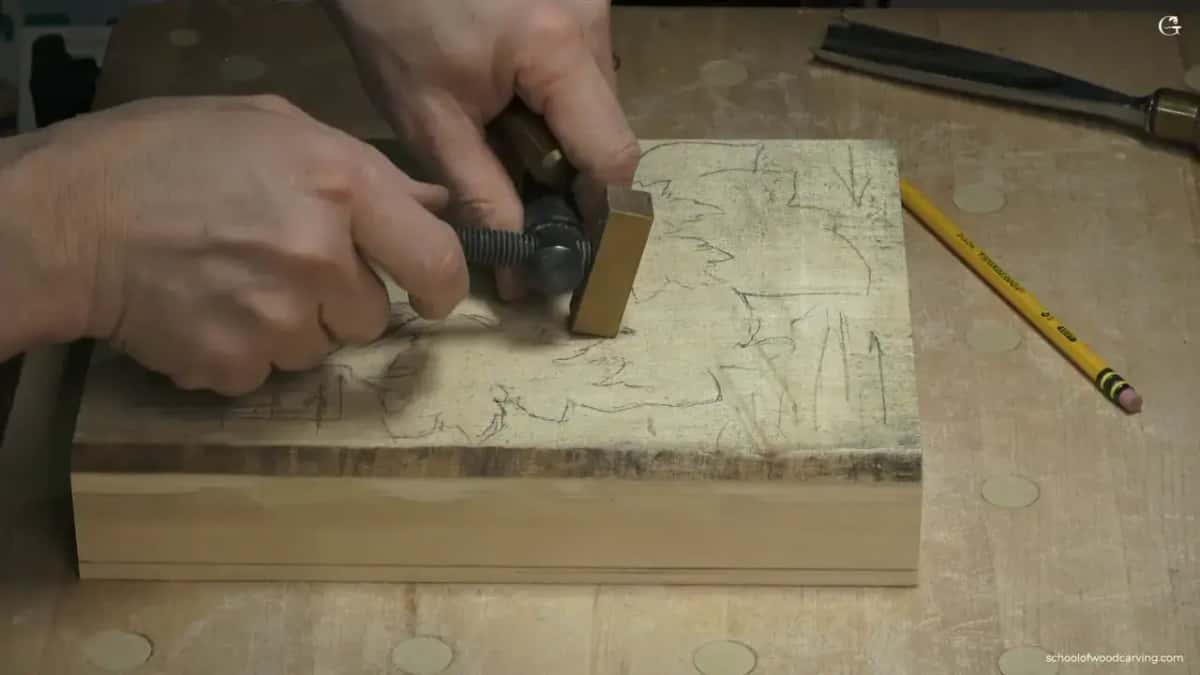
Basswood hides nothing, which is exactly why it is the right wood to rehearse on.
What wood should I practice on when my furniture is walnut?
Practice on American basswood, then carve the real ornament in your project wood. Basswood, the species Tilia americana, is soft, even, and honest. It shows every mistake and forgives every one of them. A practice panel costs a few dollars, which is the cheapest tuition in this trade. Nobody practices scales on a stage.
My own course panel is not basswood, though. Purple walnut. On one commission the whole house was that wood, doors almost three inches thick, and I kept a leftover board with splits running through it, about 10 mm thick. That leftover became the course panel. Walnut carves clean when the edge is right, and so do cherry and mahogany. The wood was never the barrier. The edge was.
One pair of words decides everything here. A routed profile is even everywhere, and even reads dead. A carved surface catches light unevenly, and uneven reads alive. Dead against alive is the whole argument for putting your gouge on furniture.
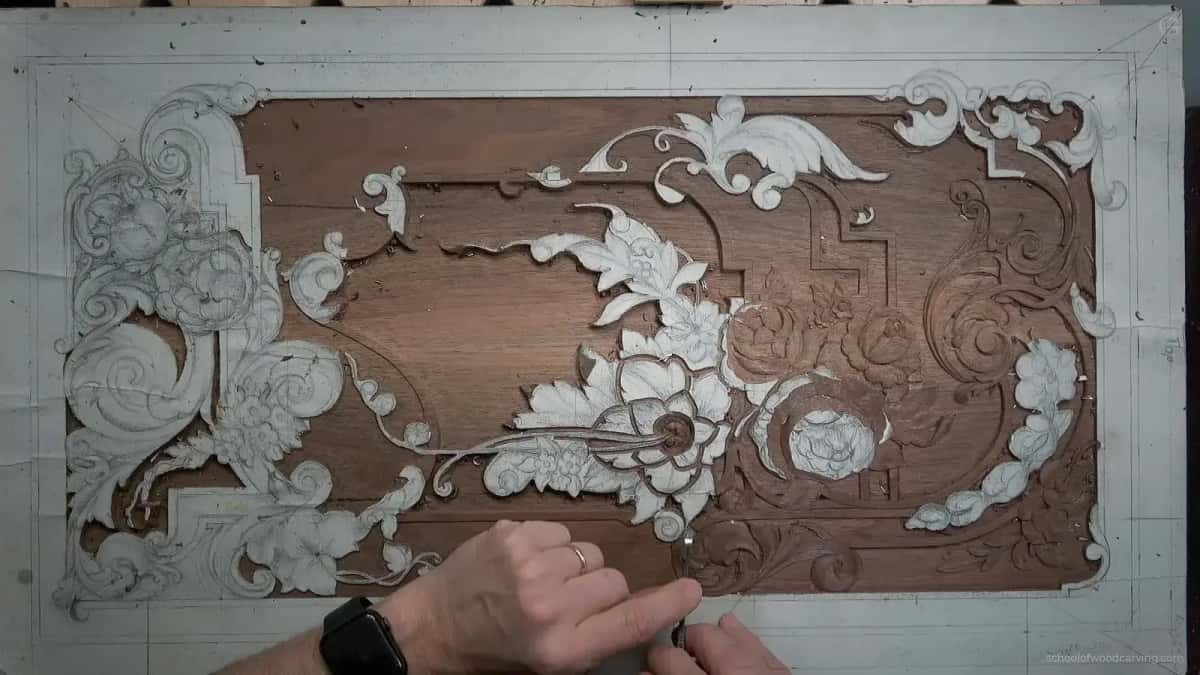
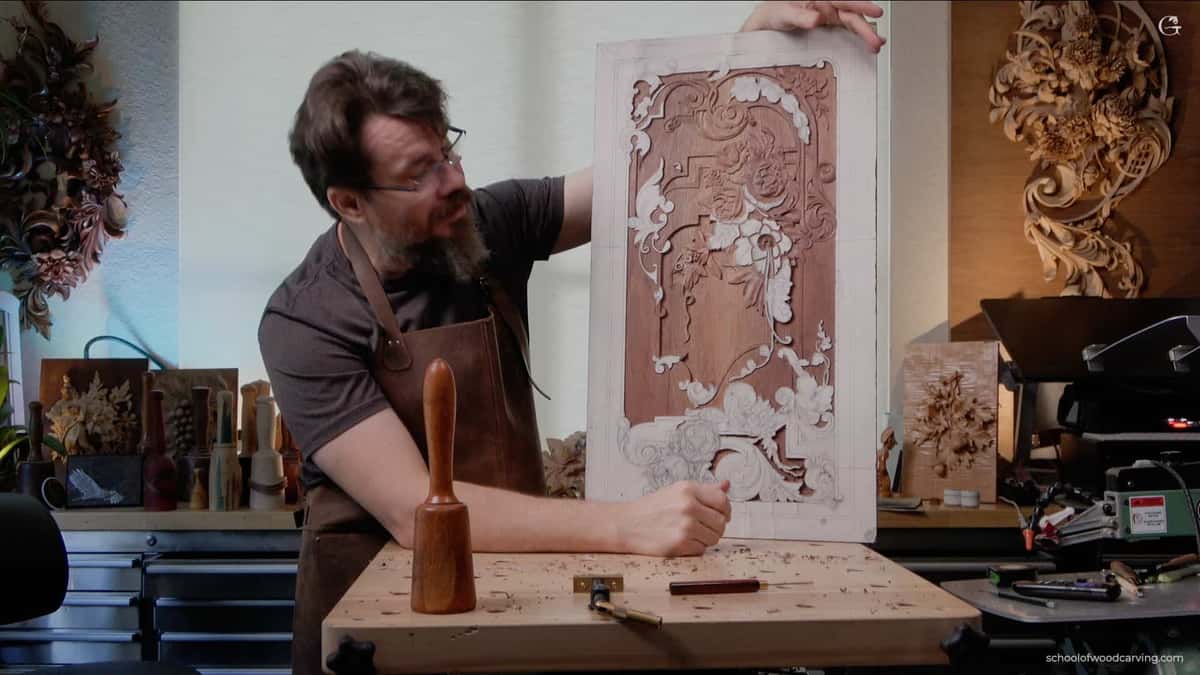
The same panel, drawn on the left and carved on the right.
How do I design carving that fits the piece?
Draw the ornament full size on paper before a gouge touches wood. Design decides the whole panel, and everybody wants to skip it. Some people call the style I teach Chippendale. Not necessarily true, because hundreds of carvers across the 18th and 19th centuries worked in that manner, and each shop drew its own leaves. What they shared was proportion, not a pattern book.
The good news for a furniture maker is that classical layout runs on tools you respect. In By Hand & Eye, George Walker and Jim Tolpin measured historic furniture and found this:
a huge amount of curved layout in hundreds of historic furniture designs used just three sections of circles: one-half, one-fourth and one-sixth.
Dividers and a compass, and every size held as a whole number ratio of the one before it. The full method is written out in my walkthrough on laying out a carving with dividers, and the Furniture Panel design course gives its entire first part to the drawing. Students grumble about it nearly every time. The panel never does.
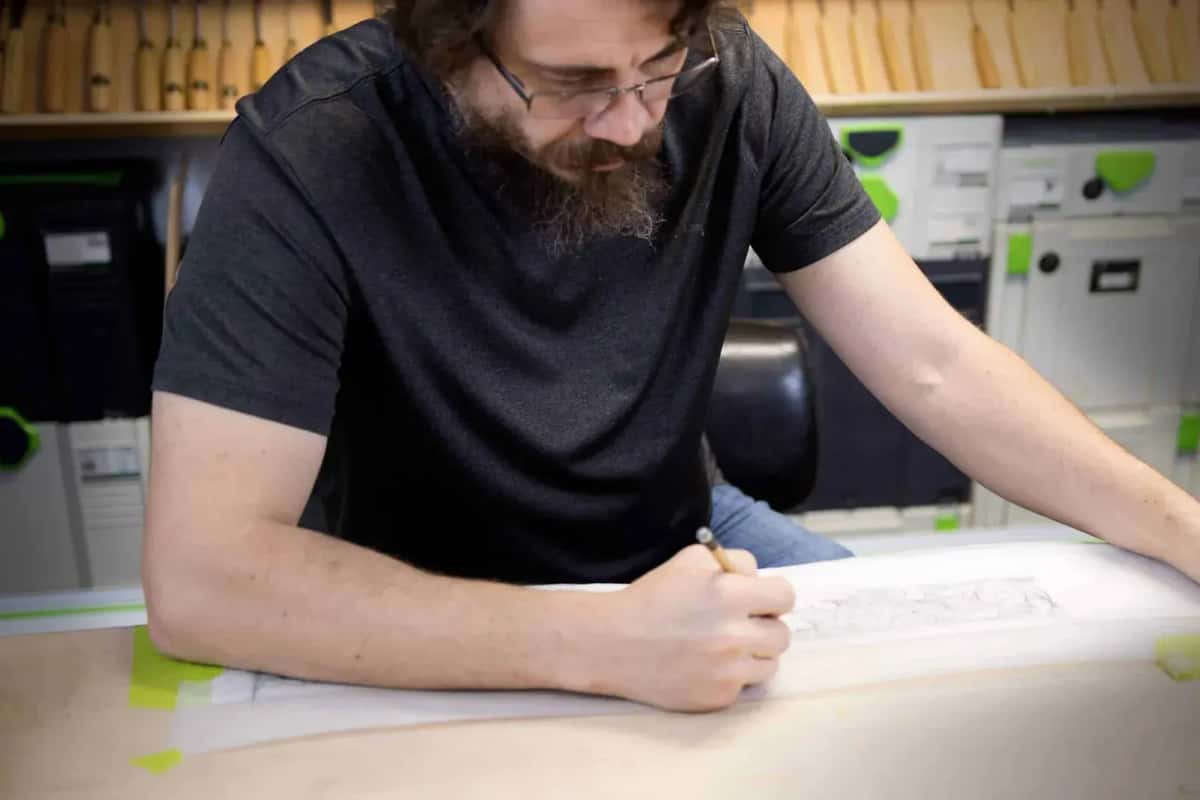
Full size, on paper, and settled long before the first chip comes off.
When does the carving go on the real piece?
Carve the parts before glue up, while every panel still lies flat on the bench. A loose panel takes a holdfast, sits at the height your back likes, and turns to meet the grain. Carved inside an assembled carcase, the same ornament fights you at every pass.
Sometimes the piece is already built, and built long ago. In September 2012 I was commissioned to carve antique doors from 1911, out of a big old house in Pennsylvania. The doors looked like solid mahogany. They were pine wearing a mahogany skin 1/8 inch thick, so the whole relief had to live inside that skin. The carving still reads deep, because shadow does that work, not depth.
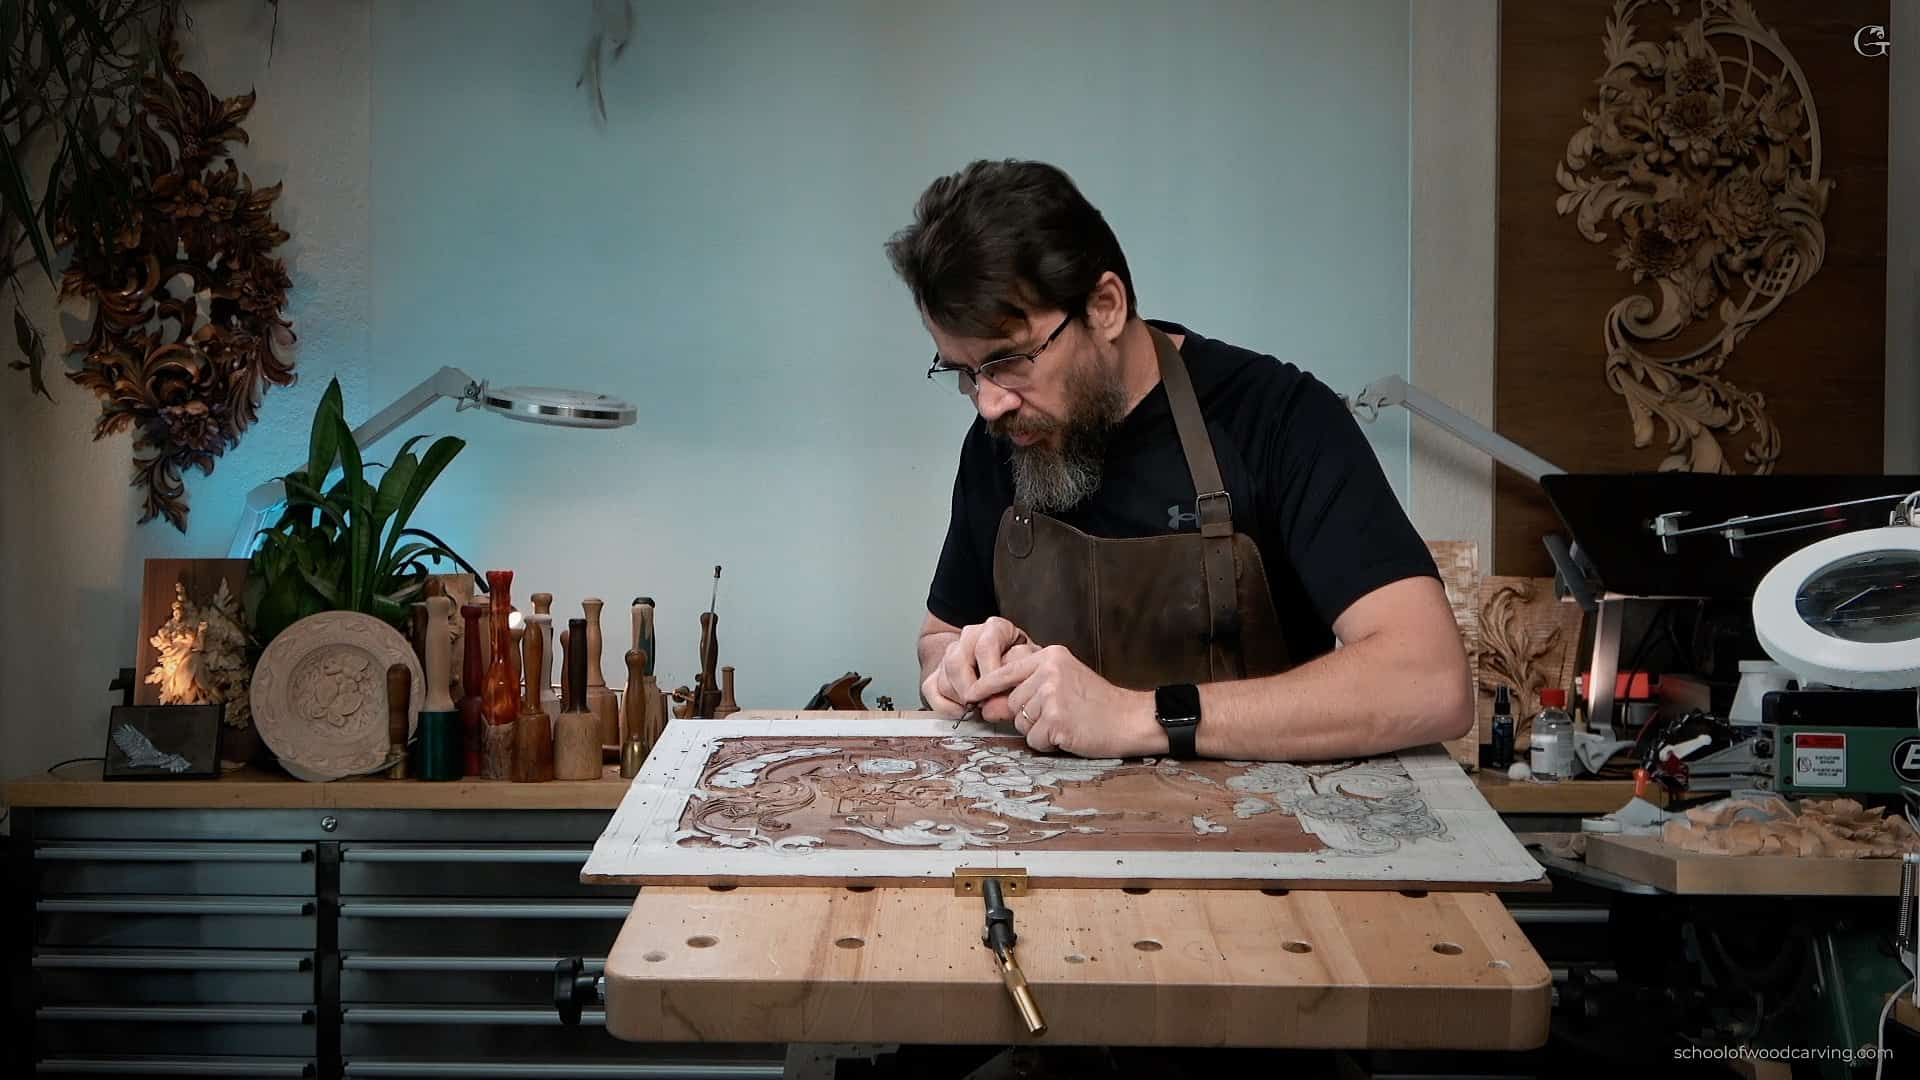
The clip above is that door project. An eighth of relief, reading like a full inch.
Years before that I carved a headboard from black American walnut, four inches of working stock, and there the problem ran the other way. Plenty of depth on offer, and easy to overdo.
Three habits from the shop save more panels than any tool. Leave an inch of waste at each end of a carved rail so the holdfast has somewhere to bite that is not your ornament. Never sand a carved surface, because sandpaper rounds the crisp arris that throws the shadow, and shadow is what people actually see. And finish the carving after the piece is assembled, not before, or the glue squeeze out will find your leaves and sit there like candle wax.
How long before it is good enough for a client?
Give it a year of steady practice before carving goes on work you sell. That answer costs me students, and I would rather say it than sell a shortcut.
A year looks like this in practice. The first month goes to sharpening and to straight practice strokes on scrap, which sounds dull and holds up everything after it. Months two and three, a simple leaf, carved maybe thirty times, until the tool stops surprising you. After that a first real panel, then a rosette, then a molding run where the same motif repeats and any wobble in your hand shows up as a stutter down the length.
Furniture makers move faster than most people here, and there is a reason. You already own sharpening skill, grain sense, and the patience to do a thing well for hours. What you lack is tool control on curved edges, and that comes back quickly with honest repetition.
One warning worth the price of the page. A carving that is nearly right looks worse on fine furniture than no carving at all, because the eye reads the piece as a whole and finds the weak part in a second. Put your early work on your own bench, your own tool cabinet, a box for somebody who loves you. The client comes later.
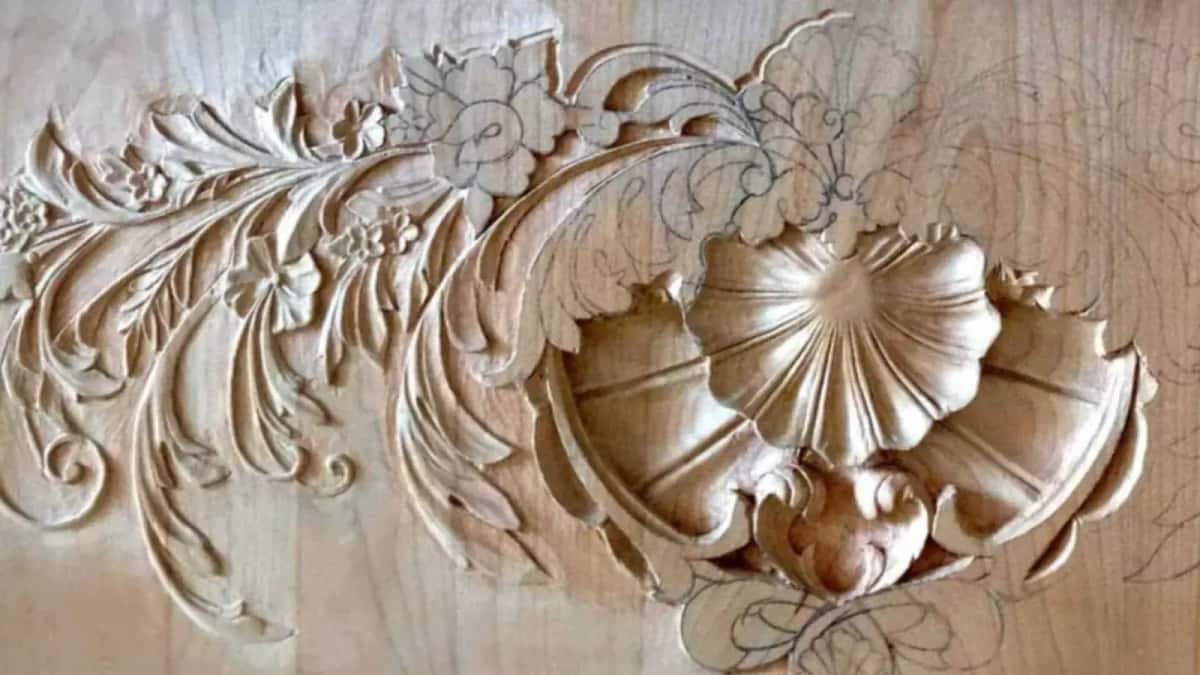
A routed profile is even everywhere, and even reads dead. Carved, the light breaks up.
Where do I start, honestly?
Start with one panel, and stay with it to the last pass. Not a sampler of unrelated exercises. One real piece of furniture ornament, designed, drawn, and carved to the end, because the finishing decisions are where the learning lives.
My Carving Furniture Panel course was filmed exactly that way, start to finish. The walnut board is on the bench in the first lesson, the finished relief in the last, and the design stage comes before either. The furniture carving section of my School of Woodcarving holds the rest: the dining table apron, the rosettes, the grape onlay. Want to stand at the bench with me? I teach low relief carving for furniture at Marc Adams every year.
Can you sharpen a plane iron until it shaves end grain, and read grain direction before you commit a smoother to a board? Then the hard part is already behind you. What is left is learning to think like a gouge, with someone beside you who has cut that leaf a few hundred times.
Frequently asked questions
Can I carve walnut and cherry, or must it be basswood?
You can carve walnut, cherry, and mahogany, and your furniture deserves it. Basswood is for practice, because it is cheap and even, and it shows technique honestly. Once the gouge is properly sharp and you read grain before each pass, project hardwoods carve clean. My course panel is walnut.
How many gouges do I need to start?
Two or three, sharpened properly, will carry a first panel. A #7 and a #8 do the roughing, and a V tool handles the outlines. A boxed set of forty dull tools teaches less than three sharp ones. Add sweeps one at a time, when a specific shape in a specific design asks for them.
Is a router plane cheating in hand carving?
No. Period shops leveled grounds with whatever held one even depth, and that plane does exactly that. I reach for it after the gouge work, and the background comes out flatter than gouge work alone would leave it. The ornament is carved by hand either way.
Is a dedicated carving bench worth it?
No. Your existing bench will do, as long as it does not rack when you lean on it and the top sits near your hip. Workholding matters far more than the bench itself. A holdfast, a couple of bench stops, and a screw clamp will hold most panels, and being able to spin the work to meet the grain beats any carving stand you could buy.
Can I learn furniture carving online?
Yes, if the course shows the whole piece and not a stack of pretty clips. My Furniture Panel courses were filmed in real time, mistakes included, with the design drawings first and the finish last. You watch where the tool enters, how hard it is driven, and how the grain answers. Pause, carve, compare, repeat.