
August 10, 2026 · Updated October 8, 2026
By Alexander Grabovetskiy — Master Woodcarver · Founder, School of Wood Carving · 22 min read
How to carve a replacement that matches an antique
Key Takeaways
- Texture on the sunken ground betrays a replacement faster than the shapes ever will.
- Match the species and the grain direction first. Color is the part you can still fix in one afternoon.
- A leather punch matches a bubbly or stippled antique ground, and a framer's nail ground flat makes one for nothing.
- Old carving was not brown. Gibbons left his limewood unpainted and unvarnished, pale against dark oak panelling.
- Copy the original carver's restraint as well as his design, and skip whatever he skipped.
- Pencil the date on the back of the new piece so the next restorer is not left guessing.
Quick answer: Matching a new carving to an antique is the work of making a replacement read as one piece with the original. Same wood species, same grain direction, same gouge sweeps, same depth, and the same texture on the sunken ground. The big shapes are rarely what gives a new piece away.
A client sent me an order for fifteen rosettes. He did not send the antique. Only a photograph.
Most jobs look like that. Something has come off a chair, or a mantel, or one panel in a run of twelve, and what you have to work from is a picture, or the one survivor still hanging on the other side of the door. You carve for three weeks. Then the new piece goes up beside the old one. And anybody walking into that room sees your piece first.
Forty years at that bench and I still feel it in my stomach. The reason it stands out is almost never the reason people think.
Below is what an appraiser actually looks at, the tool I use for the texture that stops most carvers cold, and why the answer to "how do I make it look old" starts with throwing out the word brown.
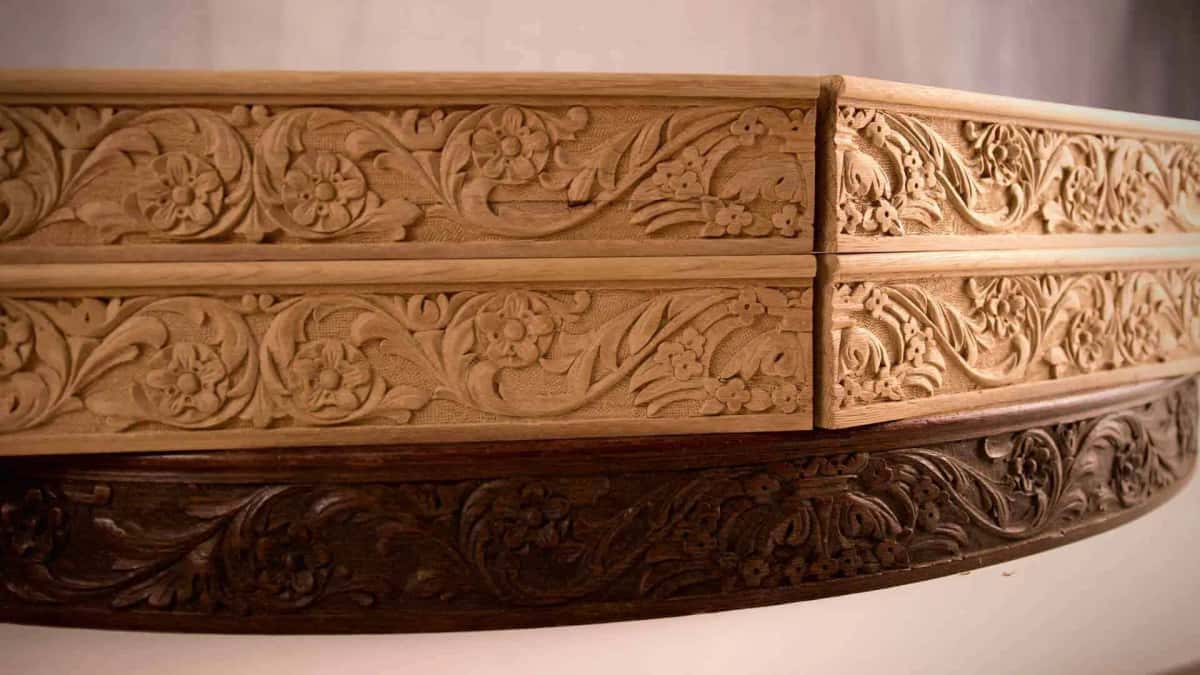
Four new pieces laid straight onto the old table they had to match.
What actually gives a new carving away?
The background does, and the small habits do. Not the big shapes. You can copy an outline perfectly and still lose, because a carver leaves a signature in the parts he does without thinking. How far he pushes an undercut before he stops. Whether he rolls a leaf edge or leaves it square. And what he did to the sunken ground behind it all, the field that almost nobody thinks to look at.
Art historians have leaned on this for a century and a half. Giovanni Morelli started attributing paintings in the 1870s by ears and fingernails instead of faces, because those are the places a painter stops deciding and starts repeating himself. David Esterly, who spent a year re-carving a lost Grinling Gibbons drop at Hampton Court after the fire of 31 March 1986, wrote the same thing about carvers: historians use "such unconscious habits in modeling minor details as a way to identify individual artists."
I can tell you what that looks like from the trade side. A real appraiser holding a Chippendale piece can call it true or fake off the strokes alone. Put two pieces side by side, make them look the same, and the way each one was carved is still different.
So stop copying the picture. Copy the moves.
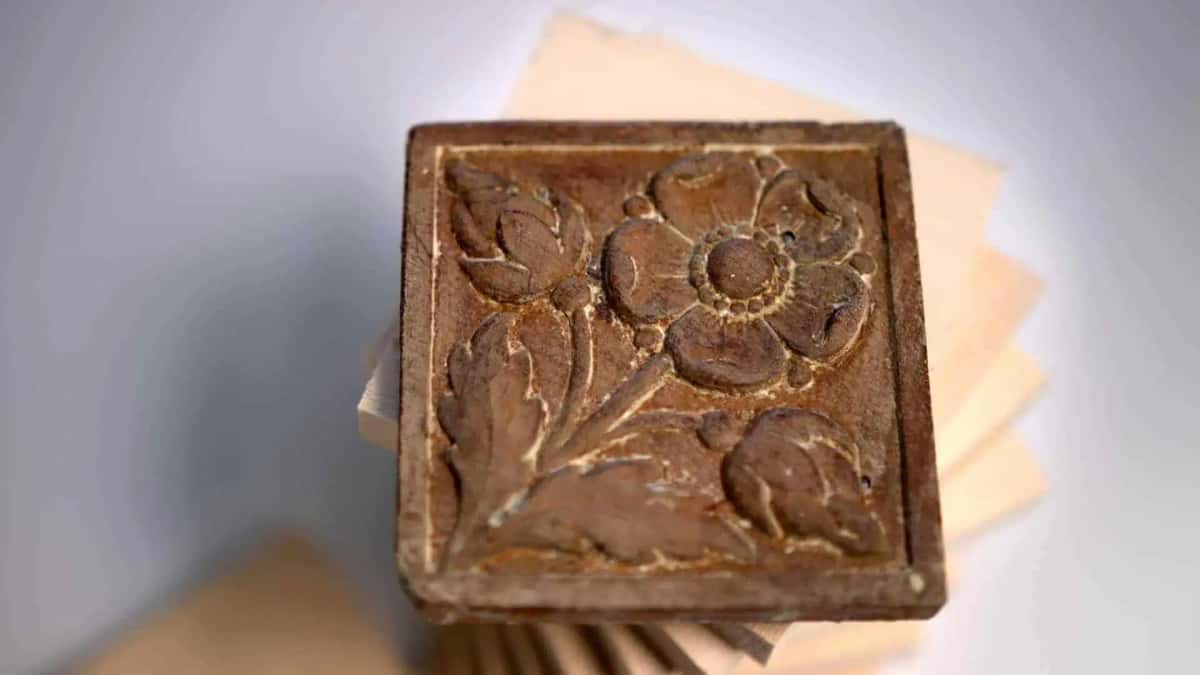
Read the old one before you touch a gouge, and notice the finish is worn off the high spots and nowhere else at all.
How do you copy an ornament off a real antique?
Tape paper over it and take a rubbing with a soft pencil. It is the fastest honest way to get an outline off a piece that you are not allowed to damage, and it costs nothing.
Watch the tape, though. On a dining table apron I matched, the finish was shellac, which told me the piece was a true antique. Green Scotch tape went on instead, because it is lacquer safe. I would not put blue tape on that, not even the mild fourteen day release kind. The pattern is worth nothing if you lift the finish getting it.
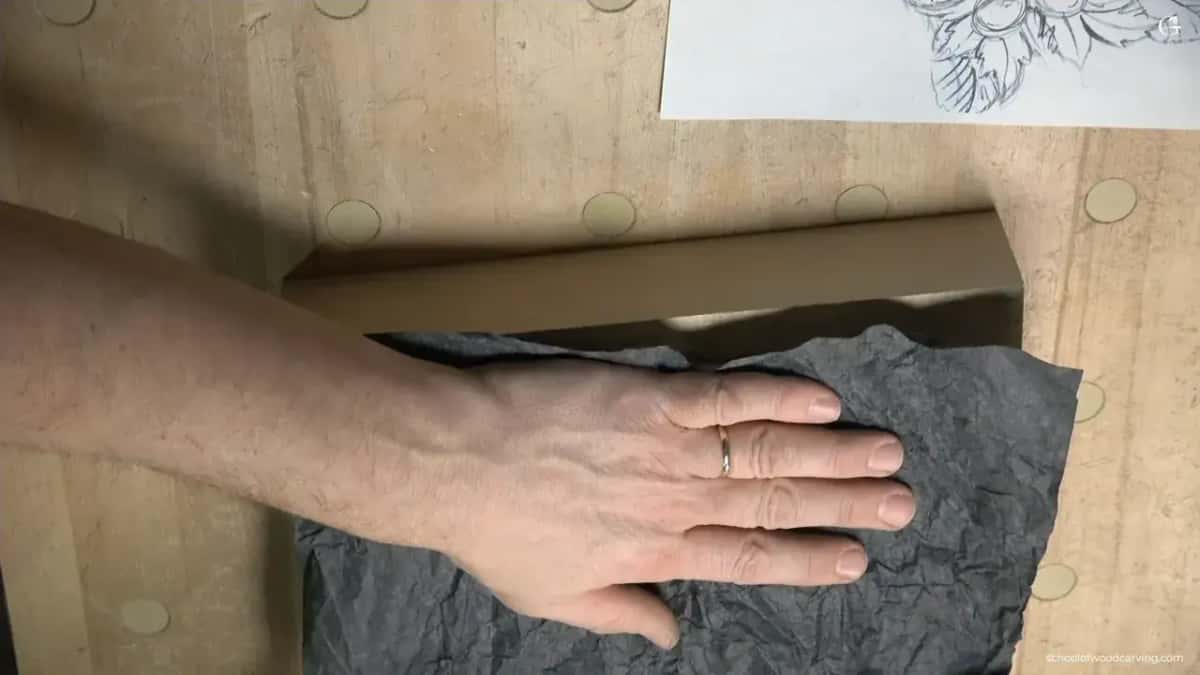
Nobody has improved on it in sixty years.
That trick I learned when I was a child. We would take a coin, lay a piece of paper over it, rub with a pencil, and there was the coin. Fifty years later I am doing the same thing to somebody's table.
The rubbing is not the end of it. I keep the original next to me the whole way through and check against it constantly, even though I have the pattern. Especially then.
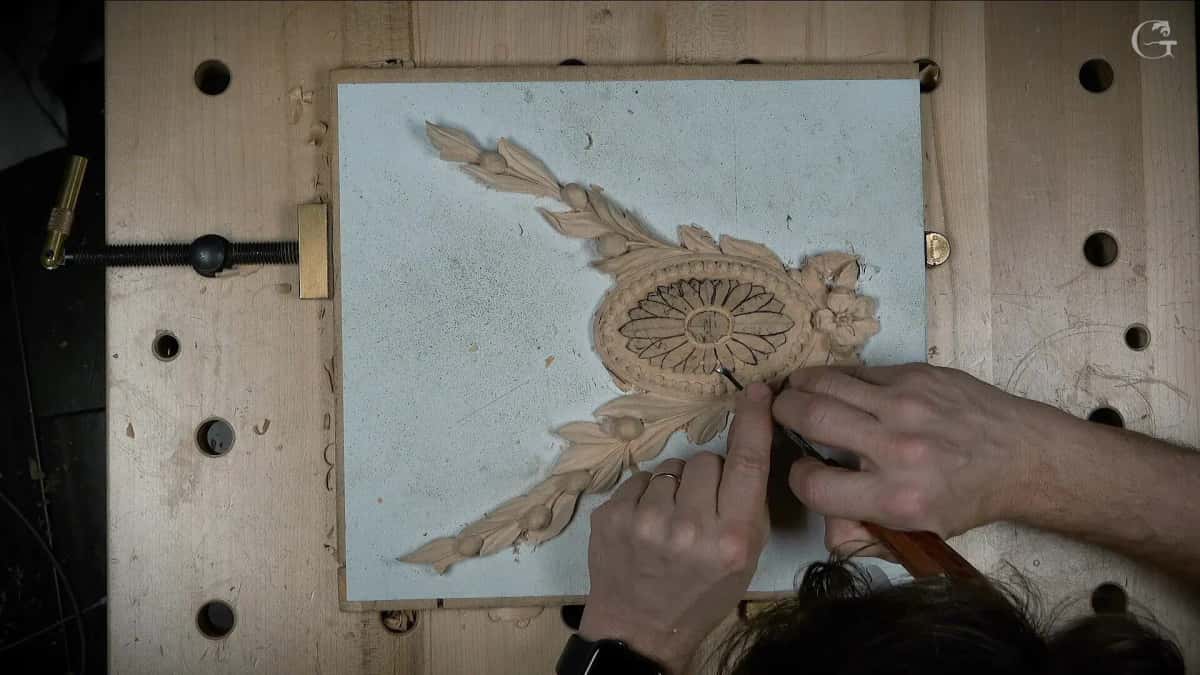
Still redrawing on top of the carving. The pattern is never finished on paper alone.
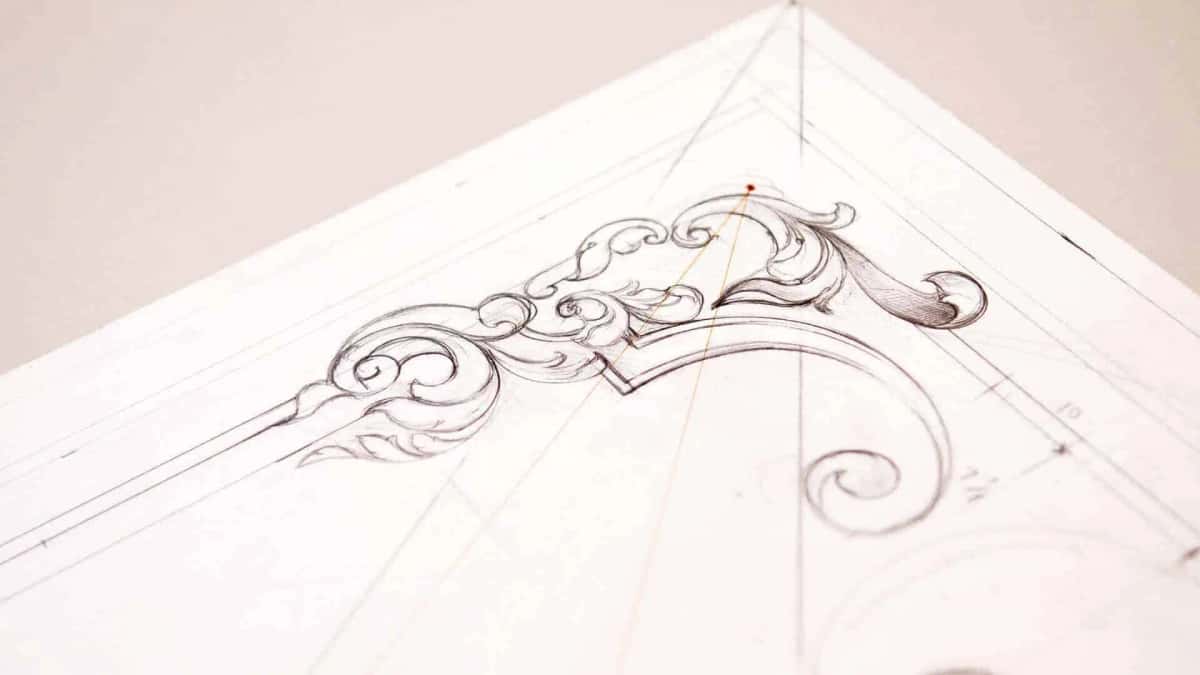
Construction lines stay on the sheet, because they are how you check your copy against the piece it came from.
And you will find things. On that apron I could see all the mistakes the original guy made. Well, I should not say mistakes. It looks like whoever carved it cut some shortcuts. I checked one distance against another with my eye, then with a ruler, though dividers are the older way, and it came out at exactly half an inch between the two points he had been sloppy about.
Three hundred years later, one carver catching another carver cutting corners. Most of this work is exactly that.
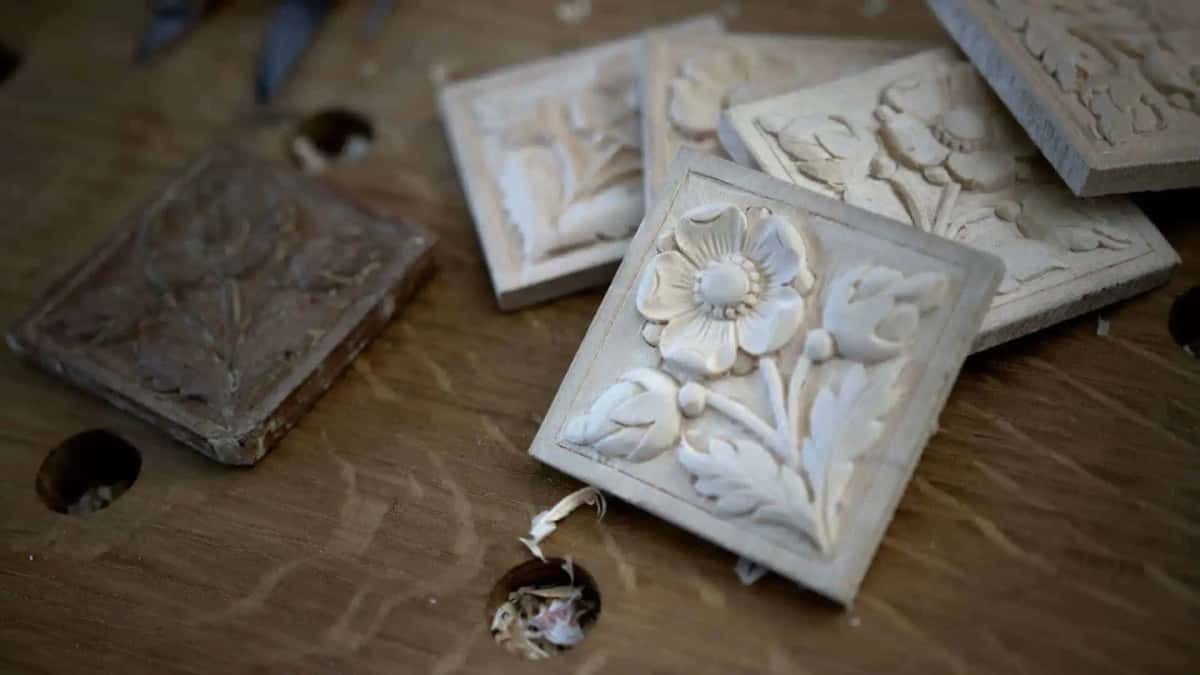
Only the dark tile is old.
What wood should you use to match an antique carving?
Match the species first and the color last. Color you can fix in one afternoon with a rag and some boiled onion husk. Grain you are stuck with for good.
In England the cheap carvings were pine. The expensive ones were oak early on, and after the seventeenth century they were limewood, which Americans call basswood and the botanists call Tilia. Grinling Gibbons brought that idea over from Holland. He called limewood the queen of all woods, and he was right.
Here is the part that surprises people. In old European shops limewood was not filed as a softwood. It was a hardwood. Pine was the softwood. Limewood is soft to carve and still classed hard, and if you go into palaces in England or old German churches and look at fifteenth and sixteenth century work, it is nearly all limewood, and it still looks fresh.
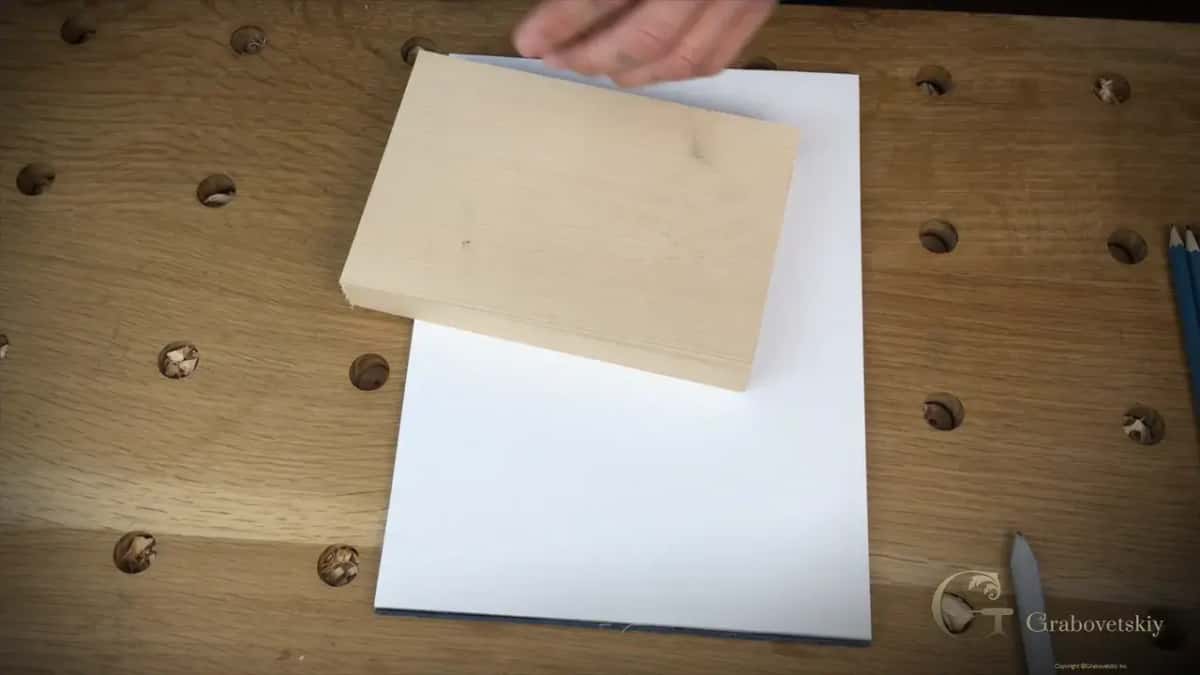
Species gets settled here.
When I buy stock I want quartersawn, or rift cut if I cannot get it. The closer to the center of the tree, the tighter the rings, and the less it moves later. Some boards sit in my shop ten years before I touch them. One stack of French limewood has been sitting there twenty five years, rift cut, flames still showing. Tiger limewood, I call it.
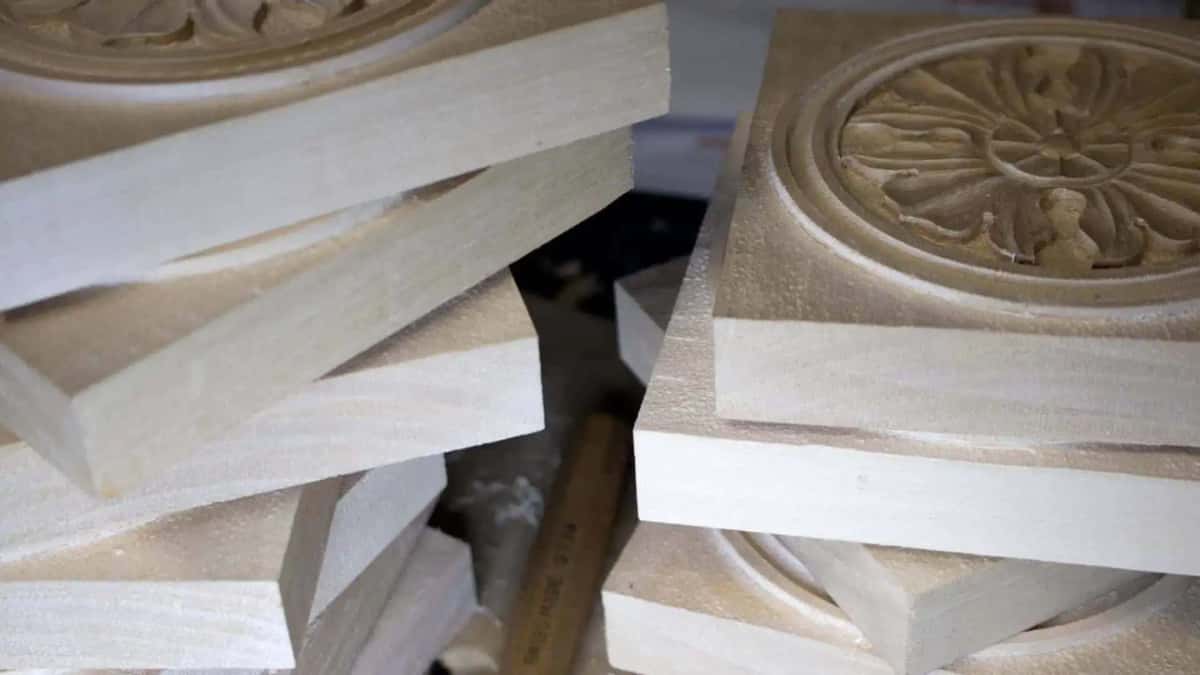
Tight rings near the heart of the tree mean less movement in the piece later on, so I read every sawn end.
What must match | How I check it against the original | Who notices |
|---|---|---|
Species | End grain, pore size, ray flash | Any appraiser worth the fee, in about four seconds |
Grain direction | Follow the fibers out through the thinnest passage in the whole ornament | Nobody. Then it snaps one day |
Depth of relief | Measure the peak, the ground, one middle passage | Anyone in the doorway |
Ground texture | Raking light, the two together | Your client, first thing, before they have said hello |
Tool sweeps | Try sweeps against the old hollow until one disappears into it | Another carver |
Color | Both pieces, outdoors, in daylight | Everybody, forever, in every kind of light there will ever be |
Which way does the grain have to run?
The same way it runs in the original. Every thin part on an old carving is still there because somebody thought about this. A stem, a tendril, one finger of an acanthus leaf. Run the grain across any of those and it breaks the first time the piece gets moved.
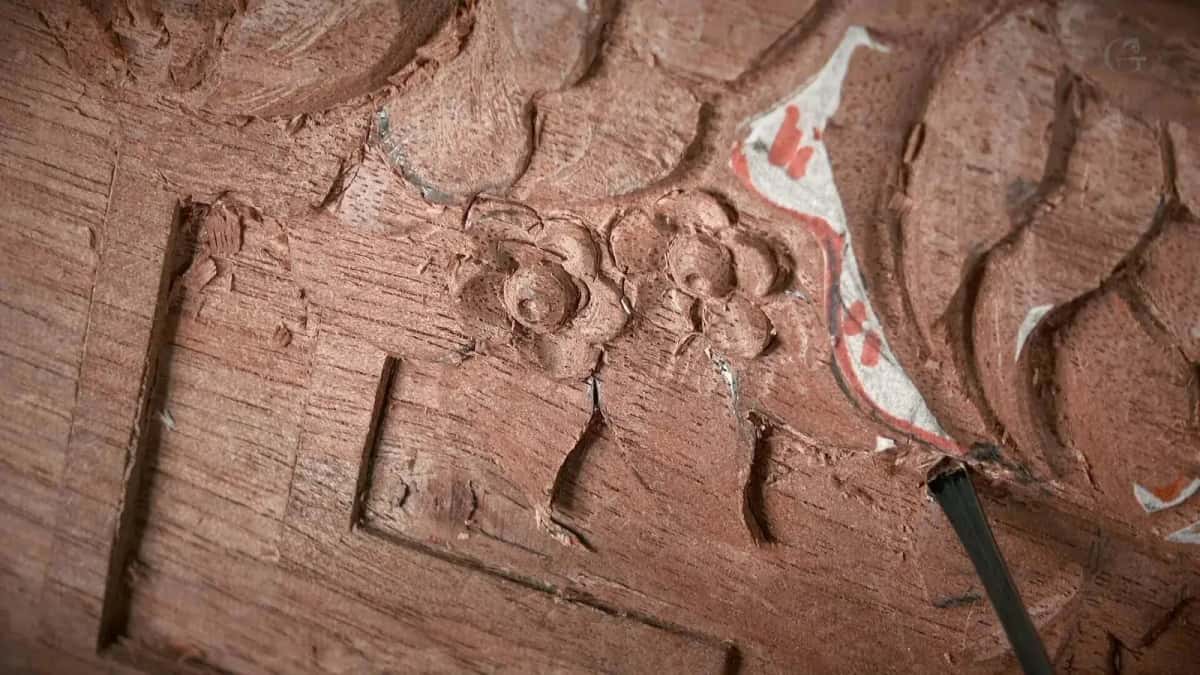
Wrong wood and wrong direction, so the fibers tear instead of slicing away cleanly.
What tool matches a punched background?
With leather punches. That answer is not written down anywhere I could find, and missing it is why most replacements fail.
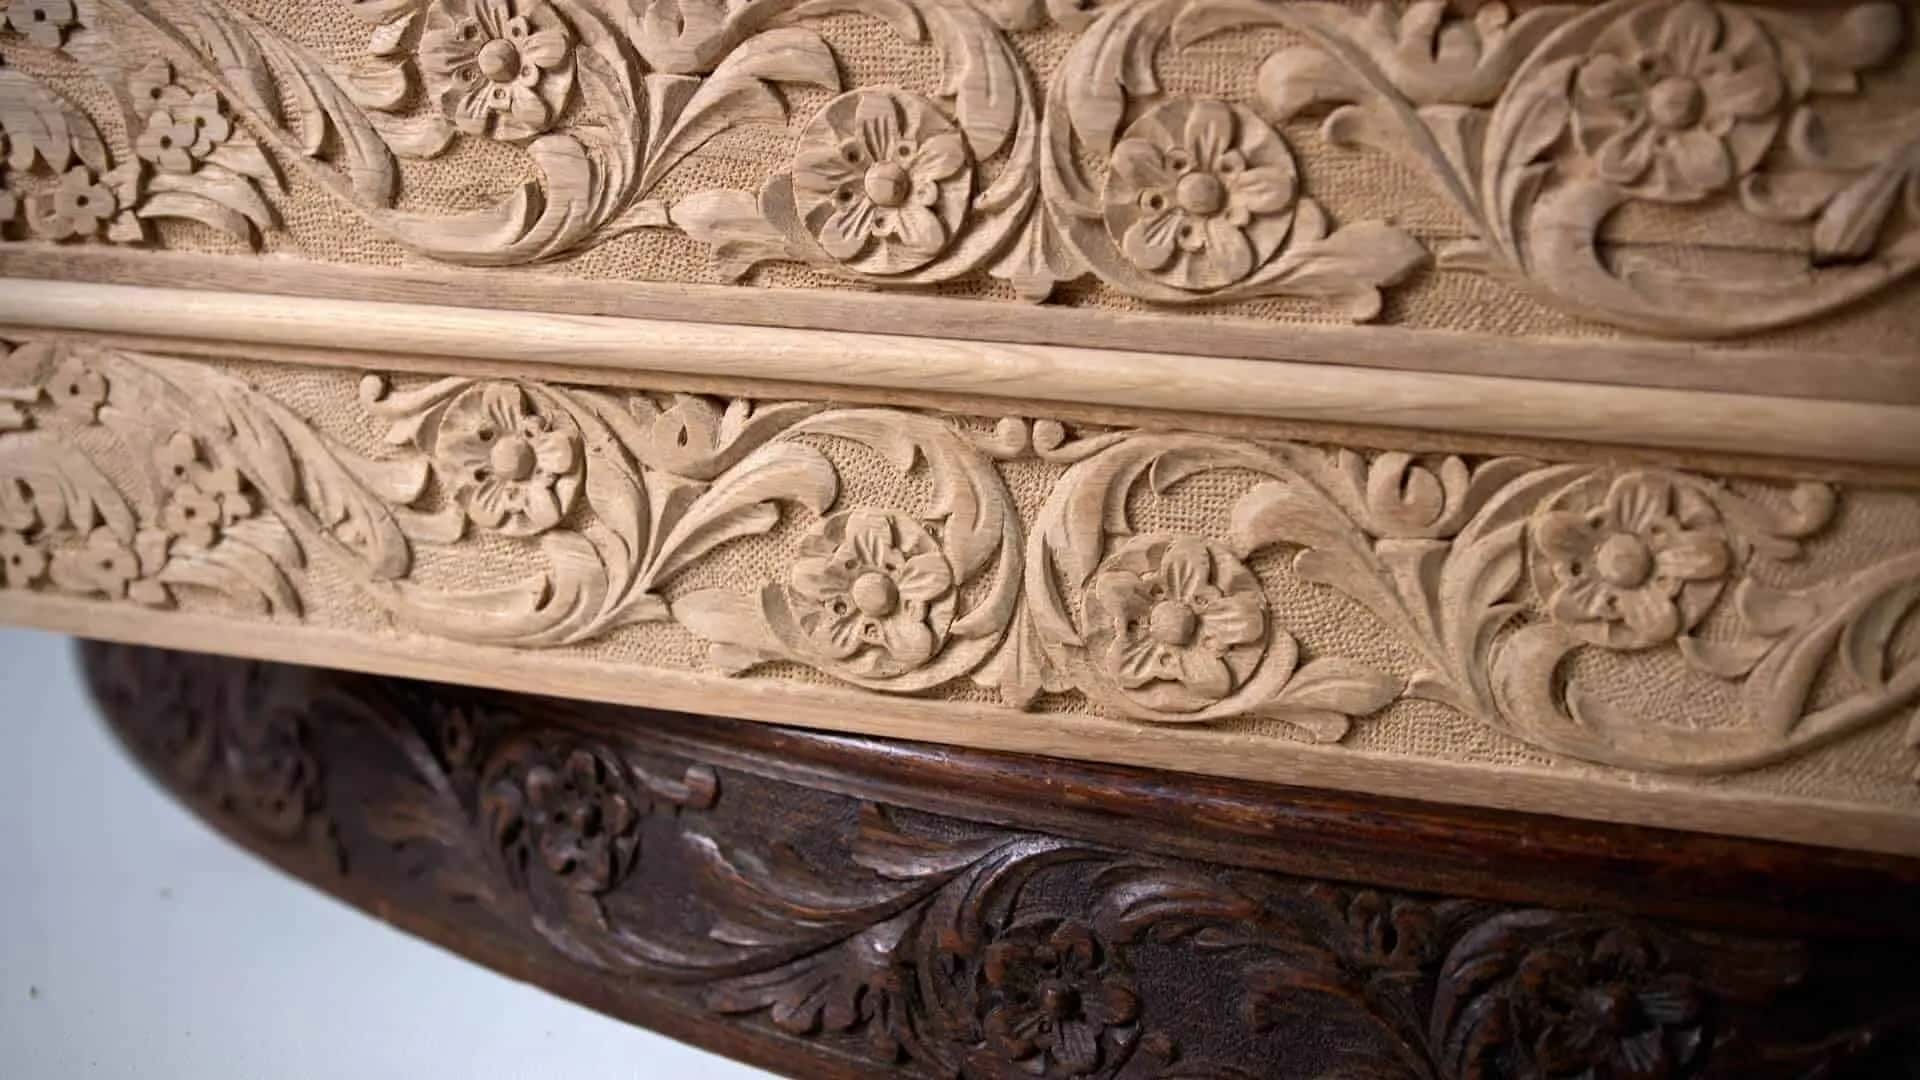
Look at the original picture of those fifteen rosettes and the ground behind the flower has small bubbles all over it. A bubbly background, if you want to call it that, sitting behind a rosette like any other. Those little bubbles stop a lot of carvers cold. My client was worried about it too, because it was the one thing that had to match.
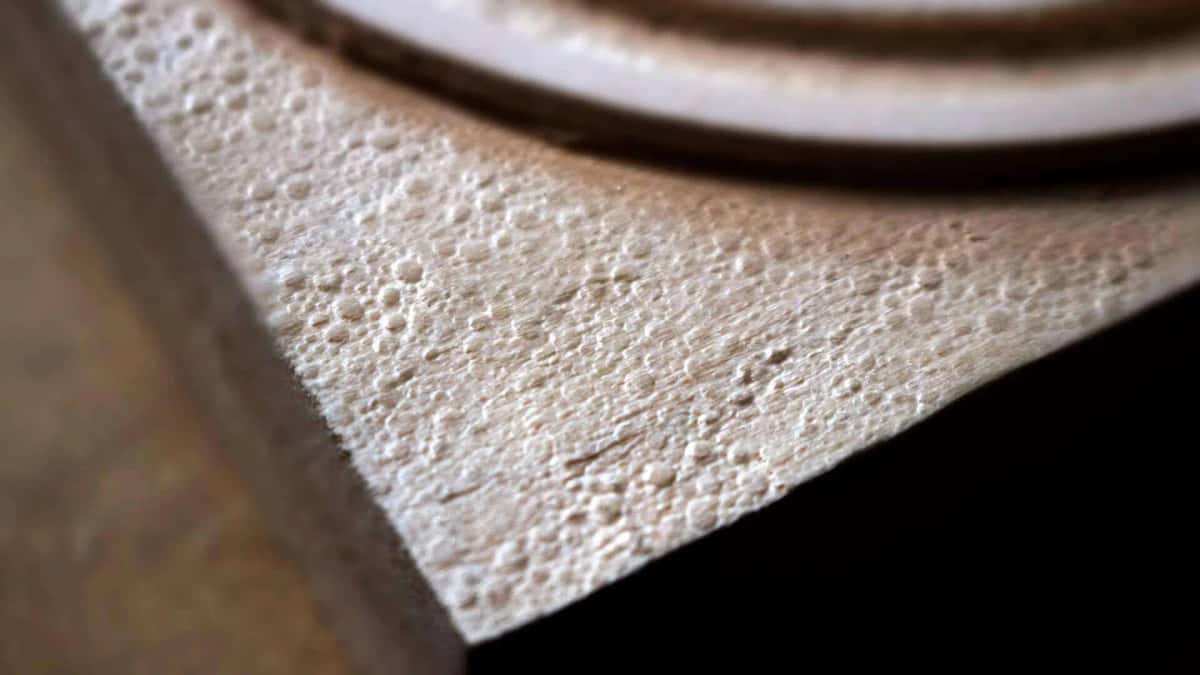
Every one of those little bowls went in with a leather punch, and the whole ground took ten minutes.
When you Google the background tools for wood carving, you are never going to find anything. But on those backgrounds, especially antique ones, the tool never had to come from a carving shop at all. Whatever they could find, they used.
So I went to my leather tools. Leather punches come in sets of three, the largest about half an inch round, the next around three eighths. I found the ones with the right bubbles, tried them on scrap, and they were perfect. They have been on my bench ever since. Search for background punches for leather and they turn up.
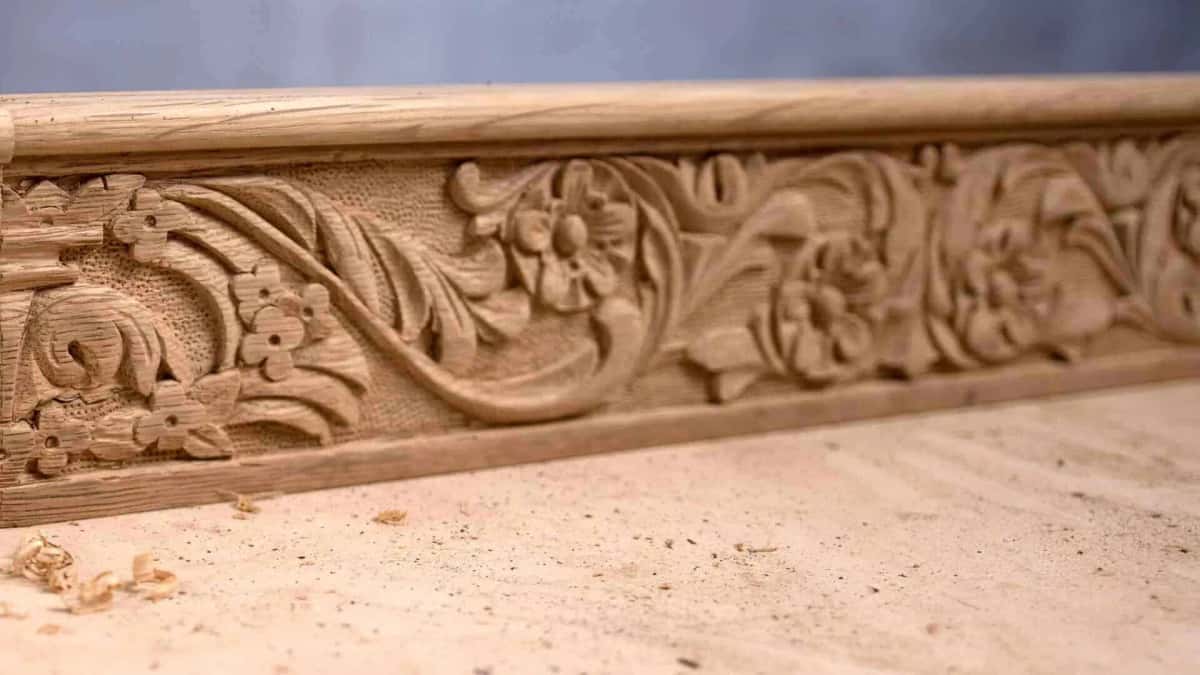
Punched last, once the leaves were finished.
Two small things about the punch. I hit it with a plastic tipped carpenter's mallet, and a hammer works too if you go easy. And grind one down narrow so you can reach the corners.
A proper carving punch set exists too, five pieces from Woodcarvers Supply, three round and one square and one rectangle, around forty to forty five dollars. The main one is 5mm, and the rectangle runs 3mm by 10mm. Henry Taylor makes them in England, though those are not sold in the United States.
If you cannot buy any of it, make one, which is what the old carver did anyway. Take the thickest nail you can find, a framer's nail, grind the end flat, then work a pattern into the face with a triangle file. Now you own a punch.
Punching the whole background of that apron took ten minutes. Maybe fifteen at the outside. The thing that stops people cold is fifteen minutes of work with a tool from a different trade.
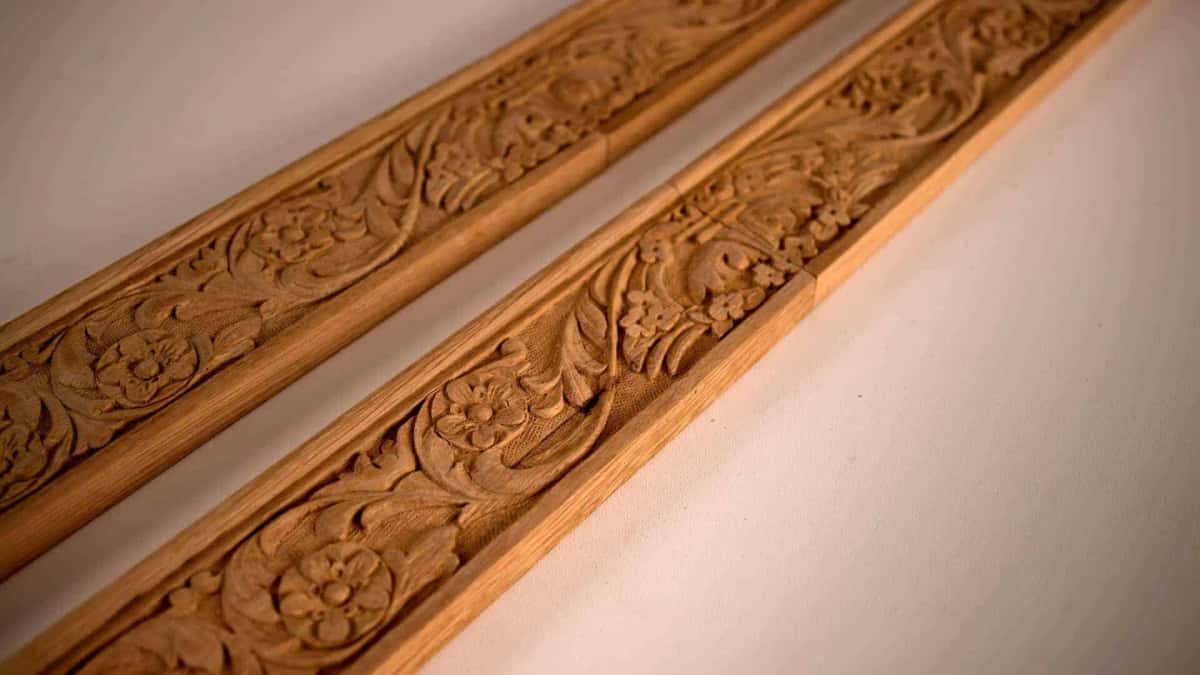
Two of the four lengths I carved for that table, and they have to match each other as closely as they match the antique.
Step 1. Photograph the survivor square on
Camera flat to the face, ruler in the frame. Then a second shot with the light raking across from one side, because only that second shot carries the depth.
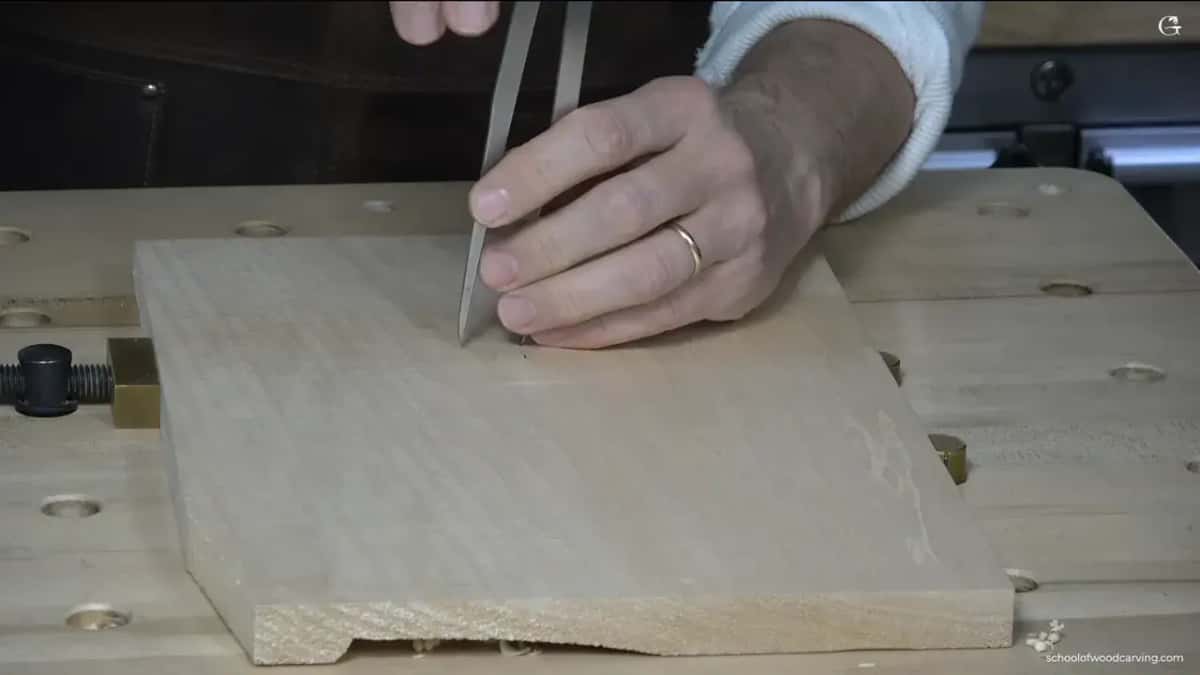
Dividers, never a tape measure.
Step 2. Pull the rubbing
Safe tape, paper, and a soft pencil held almost flat to the sheet. Green tape on a shellac finish.
Step 3. Measure depth in three places
Peak, ground, and one middle passage. Write them down. On those rosettes the ground was exactly an eighth of an inch. I could not see that in the photograph, but any deeper and it would not have looked right.
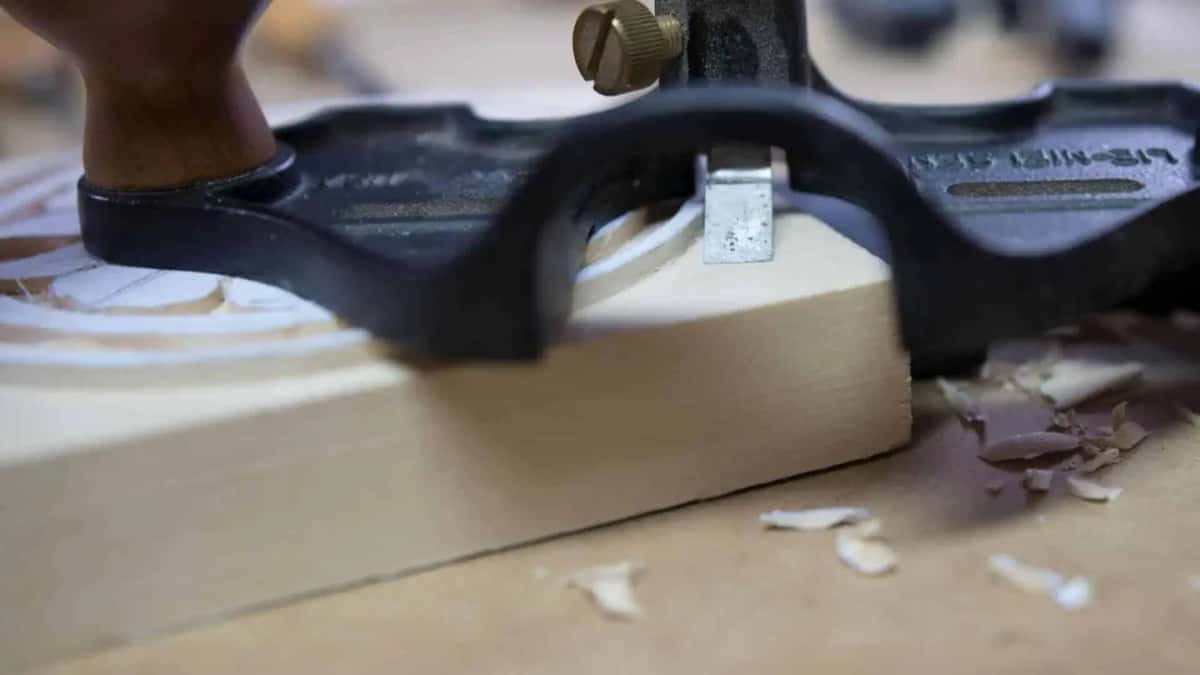
One depth the whole way round a circle, which eyeballing never manages.
Step 4. Mirror the pattern if the ornament is handed
Fold it, trace it, or scan and flip it. Then check it against the survivor before any glue touches anything at all.
Step 5. Glue the paper straight onto the blank
I make copies of my drawing and glue one to each block. For fifteen pieces that beats drawing on bare wood fifteen times, and every one comes out the same.
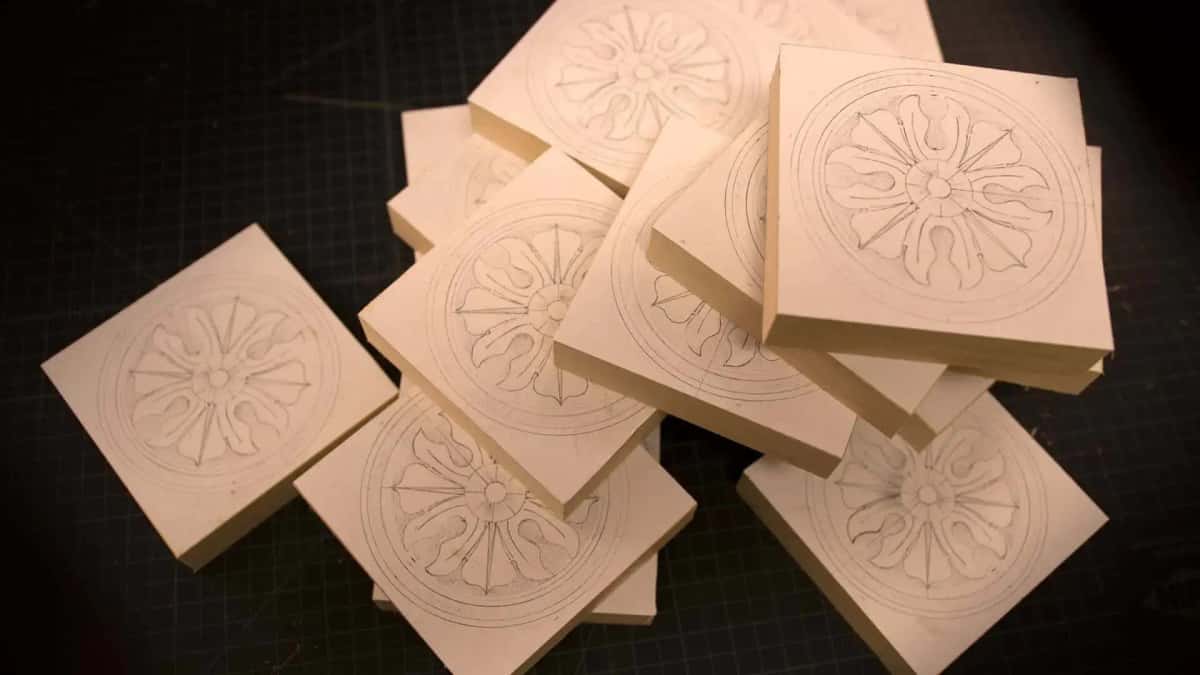
Sixteen blanks, one drawing, and fifteen of them were ordered.
Step 6. Rough it with the sweeps that fit the old hollows
Hold each gouge against the old hollow and watch for the one whose curve disappears into it. That is his tool, or near enough.
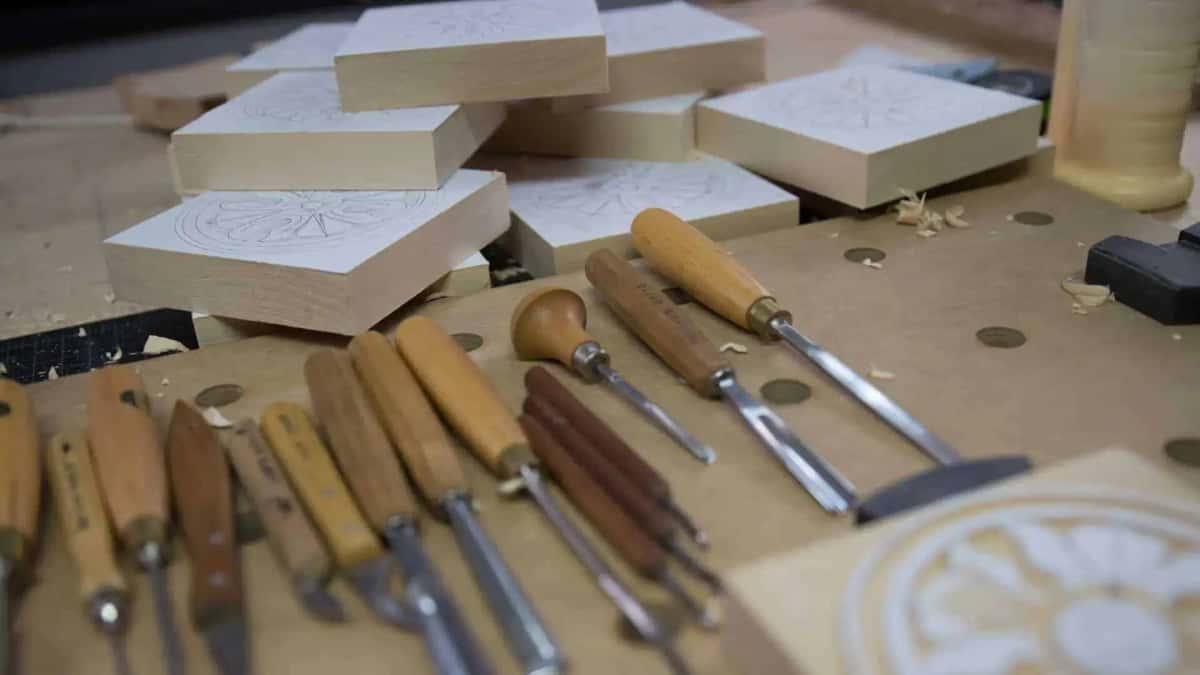
You do not need all of them, only the six that fit the hollows in front of you.
Step 7. Punch the ground last
After the ornament is modeled and before any finish goes near it.
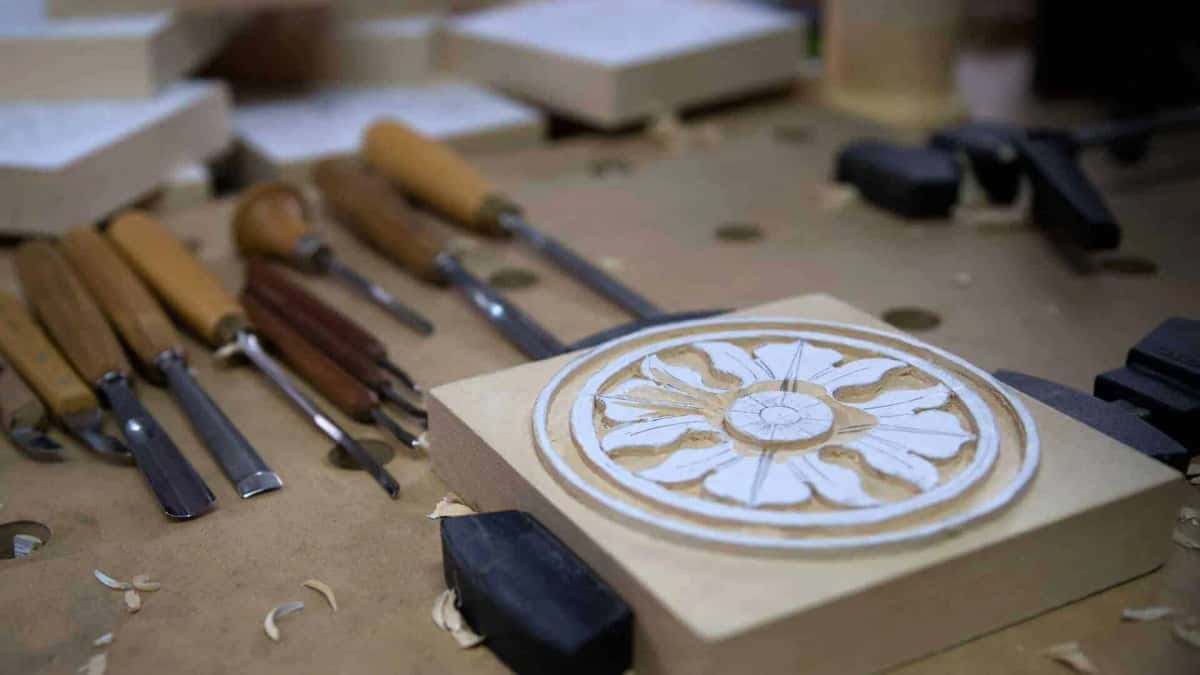
Ground lowered, petals still to model.
Should you sand a carving that has to match an old one?
Probably yes, and I spent years believing the opposite. Some carvers treat sandpaper like an abomination, and for a long stretch of my working life I was one of them.
Then look at Gibbons. His surface is smooth as glass. People assumed for centuries that he never sanded anything. It was the restorers, Esterly among them, who got close enough to see sanding marks on the real thing.
They had no sandpaper. What they used was Dutch rush reed, which grows by the water, and dried reed is worth about 400 grit. So the eighteenth century sanded. Marble carvers two thousand years ago sanded. The Byzantines carved, laid red clay over the work, rubbed it smooth with limestone, and gilded it, and that was more than fifteen hundred years ago.
There was one stage in my life when I cleaned a piece to death. It came out beautiful and it looked like plastic. Nothing about it said carved.
Now I like seeing the facets. They act like the facets on a diamond, catching light from different angles, and the piece changes as you walk past it. No nostalgia in that. It is simply more light reaching your eye.
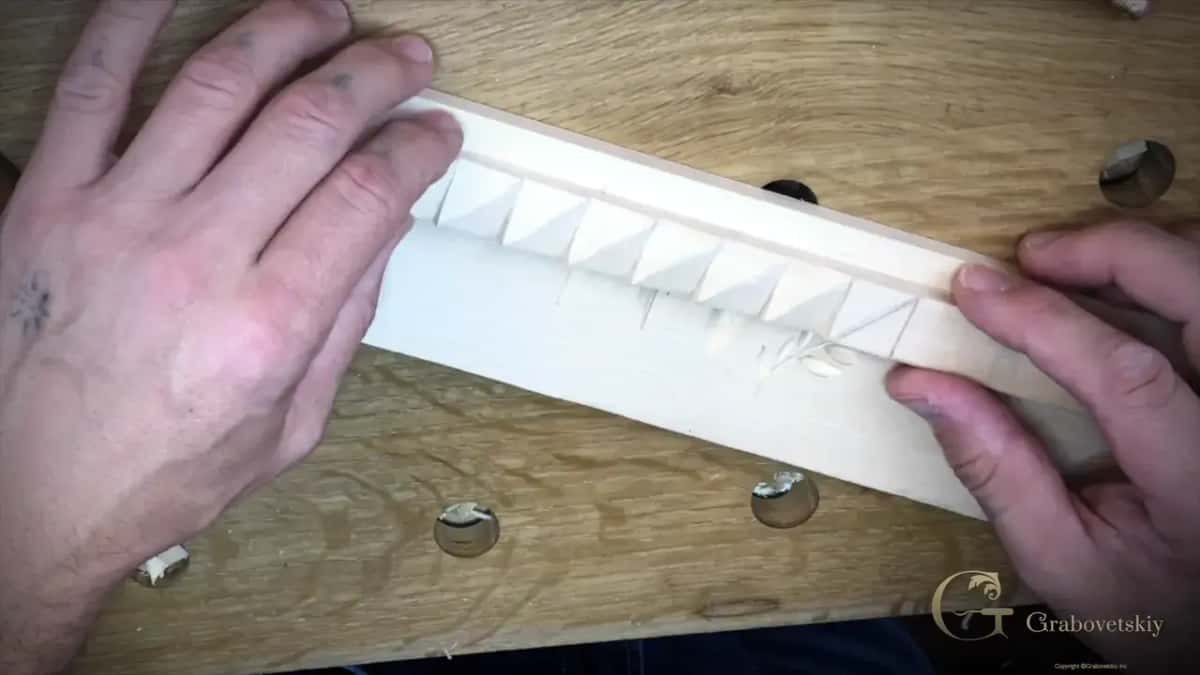
Facets work like the facets on a diamond, and sanding them off drops the piece flat.
Where you land also depends on who is buying. Italian clients want it smooth as marble, not one tool mark anywhere. English and German clients do not want sandpaper near it, because the marks show it is authentic. Both camps think they are the authentic one. I put my opinion in the contract before I sign, and then nobody reads the contract anyway.
For a match, the rule is simple. Put the old surface under a raking light and do whatever it did.
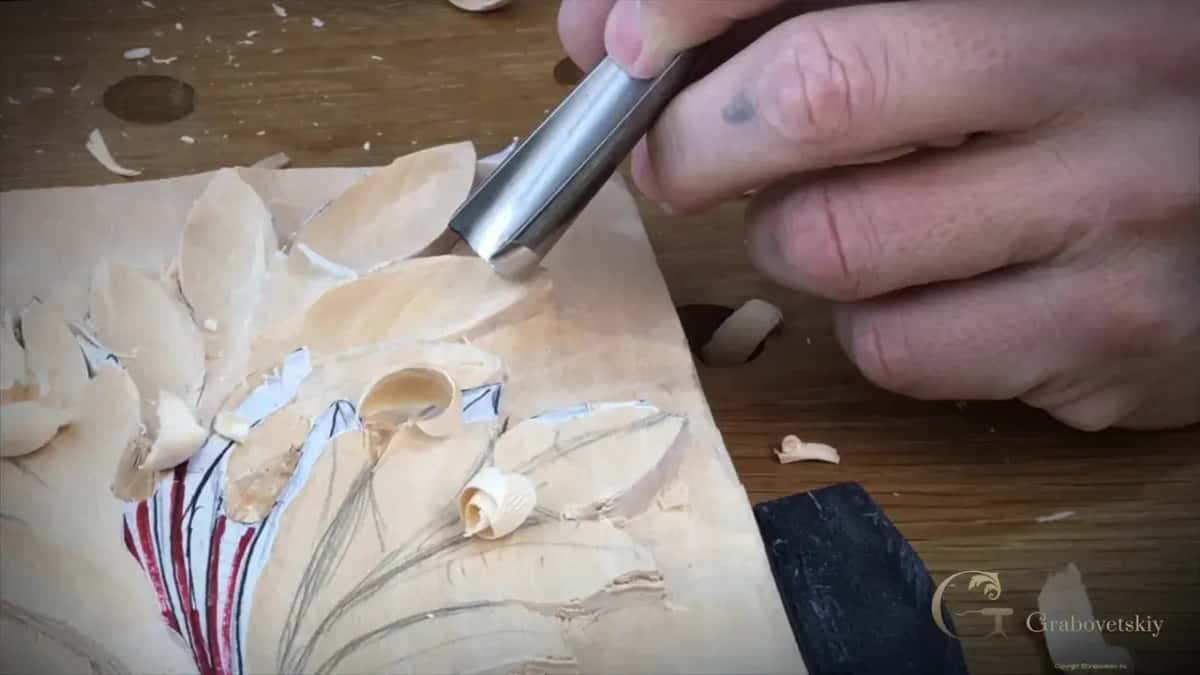
Red and blue pencil, kept on the wood until the last pass, because the layout is the only thing keeping you honest.
How do you make new wood look old?
Stop aiming at brown. That word costs more jobs than any other in this trade.
Gibbons worked in limewood, and the V&A puts it in five words: his carvings were unpainted and unvarnished. Pale. Close to the color of a fresh blank. He was setting light lime against dark oak panelling on purpose, and the contrast was the whole design. When the work at St James's Piccadilly got cleaned, people were startled, because a darkened carving turns into a black hole that swallows light and shows you nothing.
What we read as antique brown is dirt, oxidation, and a flood of Victorian varnish that nobody in 1690 asked for.
Real patina is oxidation. Body oils do most of it, and it does not matter whether you washed your hands. One of my own pieces carries a black spot from students touching it in class, and that is not dirt, that is chemistry.
But patina is more than oxidation, and this is the part worth knowing. Think about how antique furniture actually gets cleaned. Somebody wipes it with a rag. That rag reaches every high spot and never once reaches the bottom of a hollow. Two hundred years of dust and dirt settle down in those cavities and stay there, and by now they belong to the furniture.
So the aged look is a map of where a rag can and cannot go.
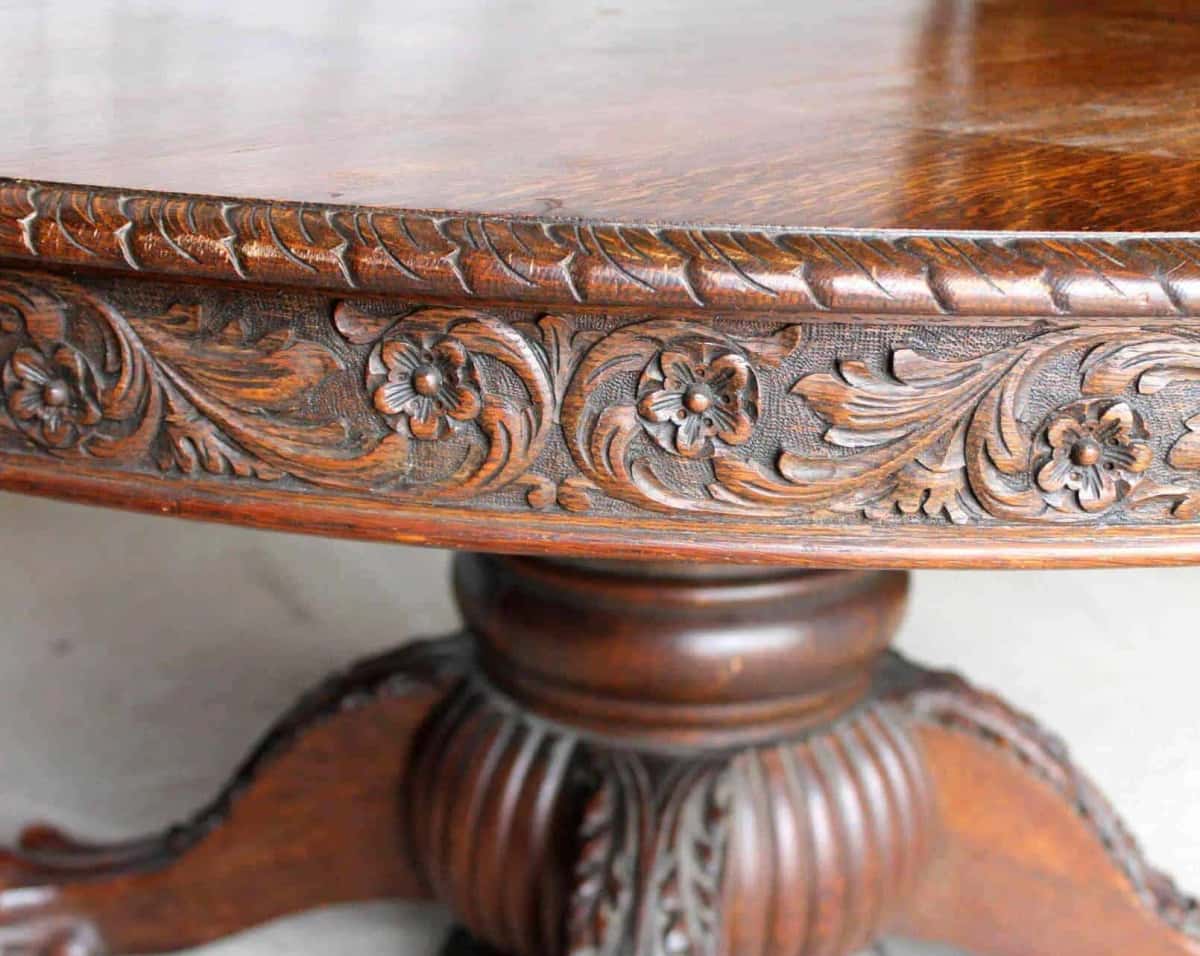
Rags reached the tops for two centuries and never once reached the hollows.
So you are matching three things. The color of the wood underneath. Dirt sitting down in the low places where no rag ever reached. And the shine up top, where hands and cloth have polished it for a century.
I like cooking my own stains for this. Onion husk, walnut shells, pine bark. Wherever there is a color you can pull it out. Store stain lands even, and even is the one thing old work never is.
Punched ground helps you here for free. Crushed fibers take stain darker than the raised work does, so the texture you copied for the match also does half the aging.
Then wax, buffed. Only the high spots take the shine and the low places stay dull, which is exactly what somebody's elbow does over a century.
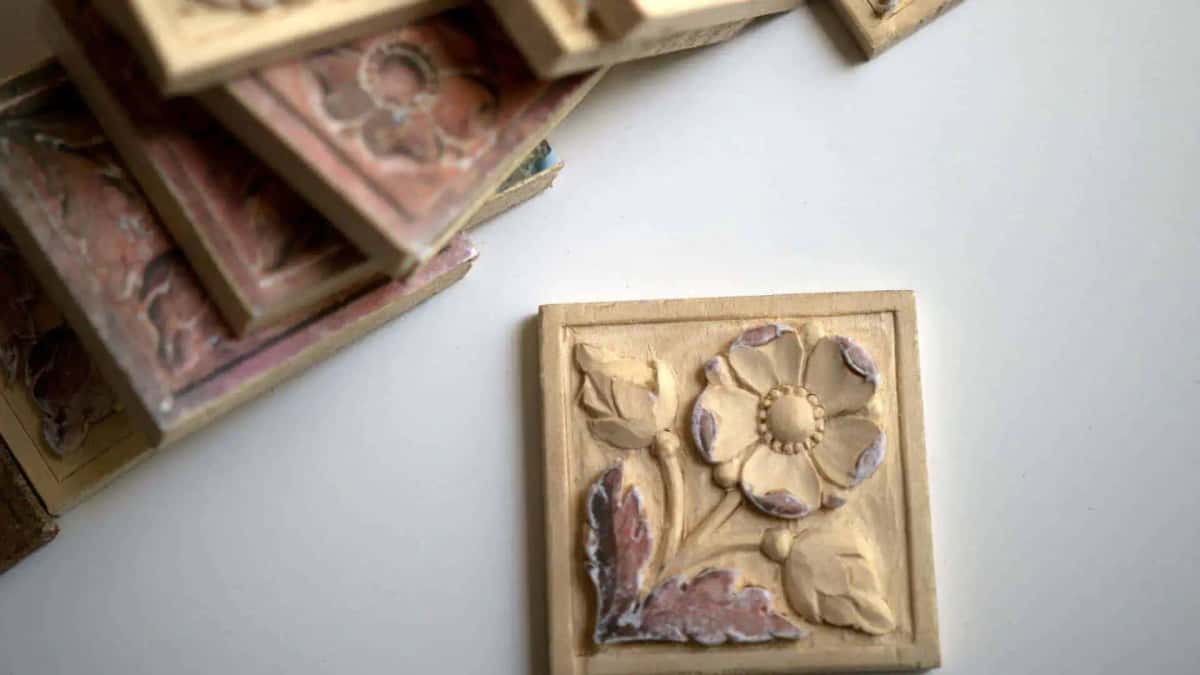
Color is the last thing you fix.
One rule I break at my own cost every time I forget it. Never judge the color under a shop light. Walk both pieces outside.
And go light. Overdoing this is easy, and undoing it is not.
Why does my new carving look flat next to the original?
You did not go deep enough. Nobody does the first time, and I include myself in that.
Old ornament is bolder than it photographs. Thomas Wallis, a Victorian carver in Hull, studied Gibbons at St James's and said the same after standing in front of it. Nothing is delicate. Everything is larger than life, and separate pieces are assembled so that from across a room they read as one bold carving.
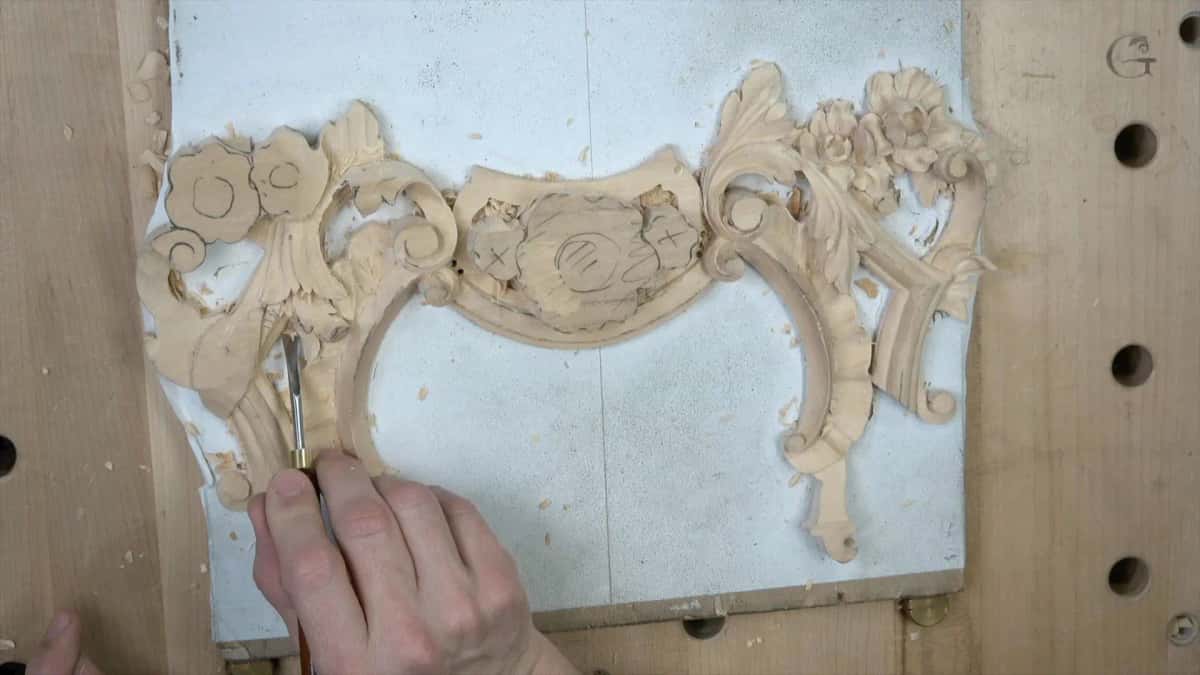
Paint on the ground makes the carving read like a plaster model, which is how I check the shapes.
Esterly had a line about this I think about often. Fifty percent of the effort gets ninety percent of the effect, and if you let yourself stop there, the carving can never succeed.
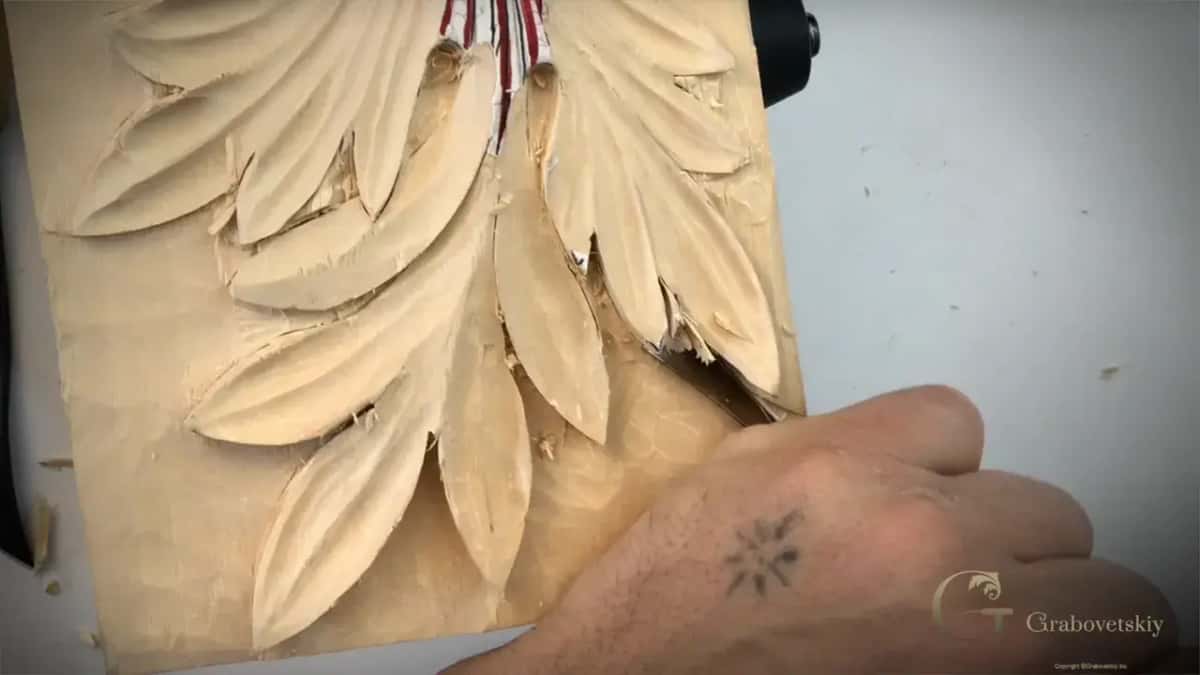
Black in the gaps.
Check your work in raking light, not overhead light. Light coming across a carving from the side defines the forms. Flat frontal light kills them.
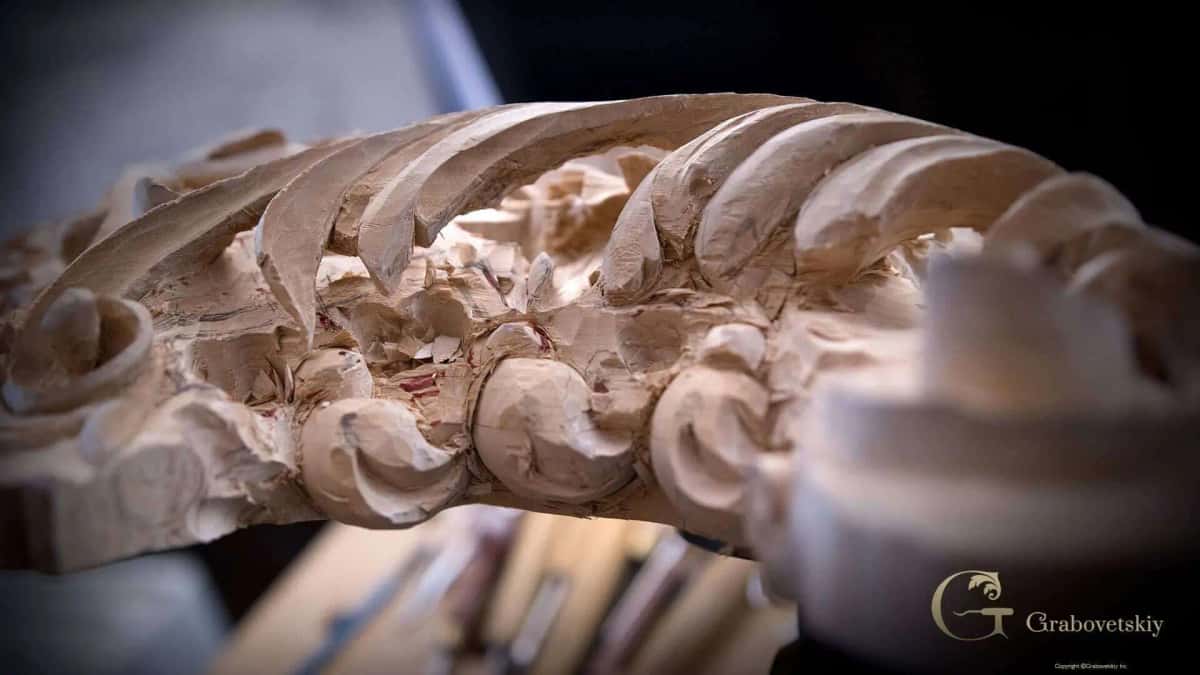
Depth makes shadow, and shadow is what carries a carving across a room.
When do you stop?
You stop where the original carver stopped. My favorite thing in the whole craft, and it runs opposite to what people expect.
When I punched that apron background, I did not chase the punch into the tiniest spots. I could have. Visually you are not going to catch it. And on the original, the original carver did not do that either. So if he did not do that, I am not going to do that too.
Matching an antique is a discipline of restraint rather than effort, the opposite of what nearly every carver assumes walking in. You are not trying to beat the dead man. You are trying to be him on an ordinary Tuesday afternoon with the light going.
If you know about it, you will see it. A guest in that house, looking at the piece as a guest, never catches it. There is your standard. Not invisible to a microscope, which no antique has ever had to survive. Invisible to a guest.
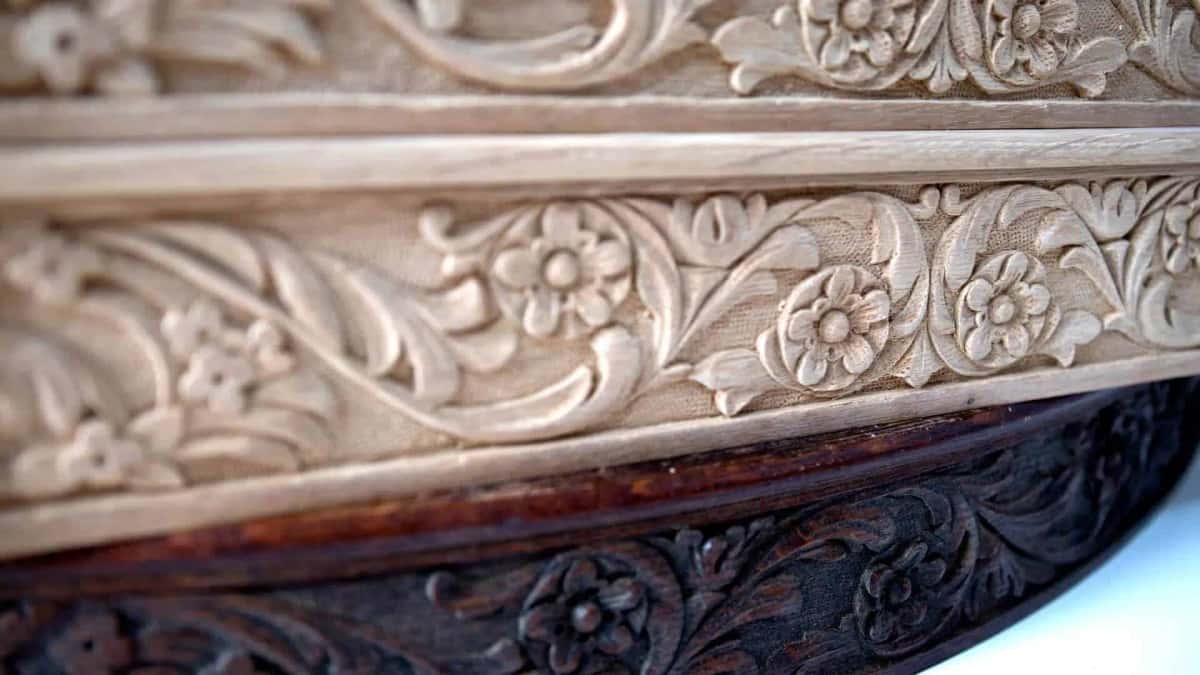
Close enough to compare, and it is the punched grounds rather than the leaves doing most of the matching here.
What happens when the antique is not what you were told?
You find out with a knife, before you have promised anybody anything. A couple in North Carolina had bought two antique doors thirty years earlier, from a mansion whose owner was selling the interior to the highest bidder. They kept the doors in the family that whole time, never installed. Then they built their retirement house and wanted the doors in the wine room, carved.
They told me the doors were solid mahogany. True mahogany, not sapele, not modern mahogany. Or so they had been told when they bought them.
I brought the doors to my shop and tried the raised panels with my knife. The mahogany turned out to be veneer, one eighth thick, laid over yellow pine.
Then came the phone call. Thirty years ago, when they sold you these doors and told you solid mahogany, they probably did not know either. Whoever built the doors cheated. He used yellow pine and laid the veneer on top so it would pass for solid.
Not much depth to work in. I offered them shallow carving, showed them a grapevine design, and they liked it. Both doors went into the wine room. The builder of that house won builder of the year for that one room.
I still do not know where the original mansion was.
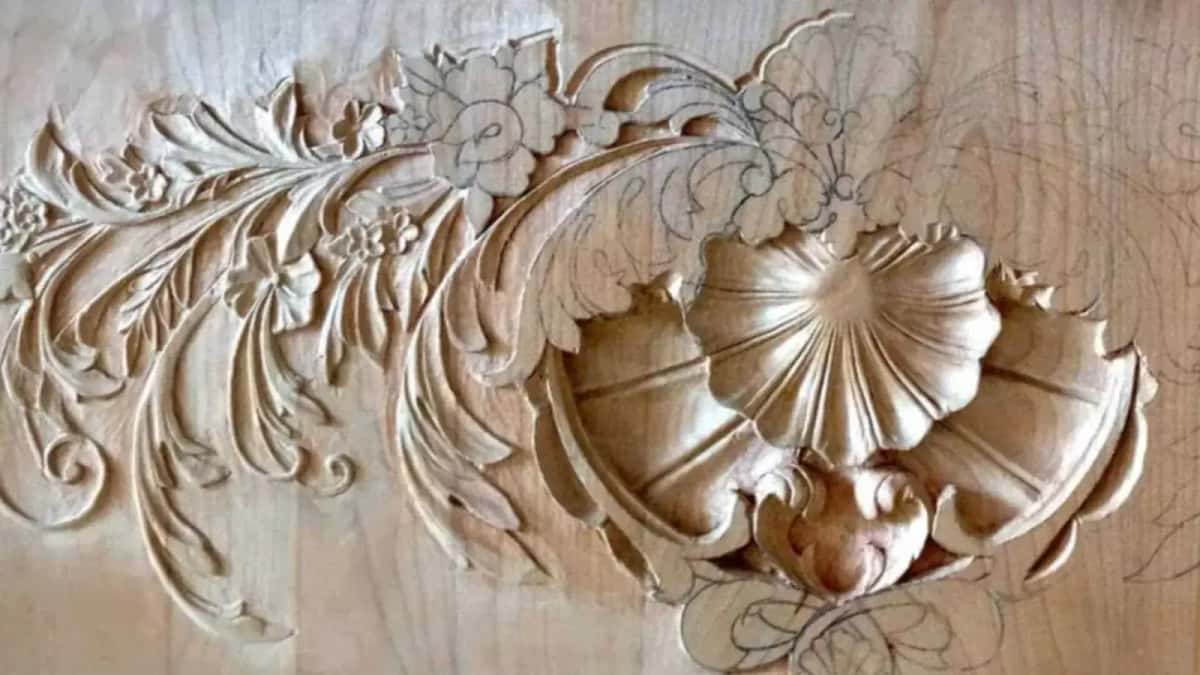
Half cut, half still pencil line.
Does replacing a carved part lower the value of an antique?
A good replacement usually protects value. Bad work destroys it, and so does leaving the gap. A piece with a missing element is already devalued, and the hole keeps working: the frame racks, the joint beside it loosens, and moisture gets into raw wood.
The trade standard is not invisibility for its own sake. Tony Webb, Master Carver at St Paul's Cathedral, described the goal for restoration there this way: you cannot tell the hand of the restorer from the hand of the Master or his assistant.
There is the bar. Webb did not say make it look old. He said make it read like it came out of the same shop.
Value gets destroyed by the other things. Stripping a whole piece so one small repair will blend. Sanding original surfaces flat. Gluing with something nobody can undo later. Hide glue softens with heat and moisture, and the old shops used it for exactly that reason, as good restorers still do.
Mark the new piece on the back in pencil with the date. Nobody sees the back. In eighty years the person taking it apart will thank you.
Can you just buy a carved applique instead?
For a plain moulding run, yes. Nobody needs to carve two hundred feet of egg and dart by hand.
Anything with a face is different. A machine cannot go underneath, and I mean any of them, including the armed ones people keep sending me videos of. It cannot undercut and reach in behind a leaf, and that undercut is exactly where an old carving throws its shadow. Machine work comes out plasticky, the same sweep radius in every hollow, the same depth everywhere.
Esterly was once shown an acanthus panel that had obviously come off a CAD machine and asked to carve a copy of it by hand. He said it would have been easier to raise Lazarus, because the thing had been drained of blood.
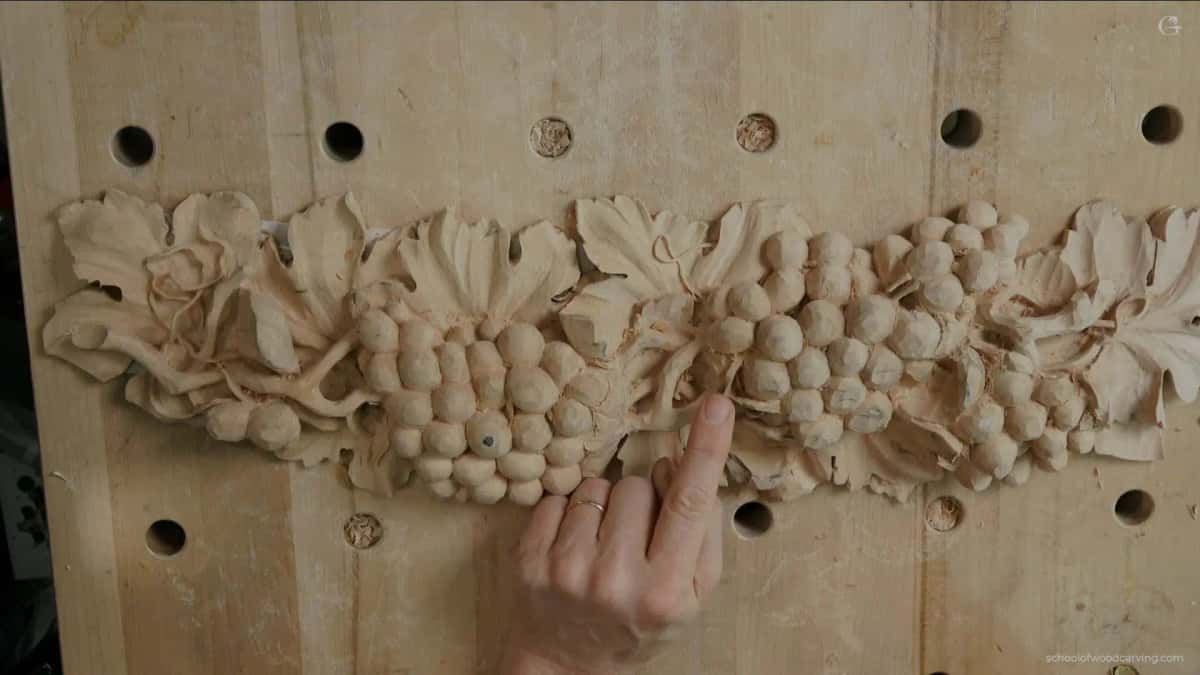
No machine reaches in behind a bunch like that. The shadow underneath is the proof.
Here is the other reason to know this. Carving cannot be made faster. The piece on my bench takes the same hours it took a carver in 1800, or in 1500, or a thousand years back. That alone is why a hand match is possible. The trade did not change.
What is the difference between restoration and conservation?
Restoration brings a piece back to complete, working condition. Conservation stabilizes what survives and slows the decay without adding anything new. The American Institute for Conservation defines restoration as treatment meant to return an object to a known or assumed state, often by adding non-original material. Your new carving is exactly that. A conservator consolidates a crumbling relief and leaves the loss showing. A restorer carves the missing drop.
Both are right, for different objects. A museum piece with documented history usually gets conservation, because the evidence in the object is worth more than its completeness. Put a dining chair in front of me and it gets restoration, because a chair nobody can sit in has stopped being a chair.
Decide which one the piece needs before you pick up a gouge. On something significant that call is not yours alone, and it is the one mistake here that cannot be undone.
Why is Italian not a specification?
Ornament belonged to a town, not to a country. Do not tell me a piece is Italian. Italian is not a specification.
The Venice room I carved had to be authentic to Venice, mid fifteenth century. Not Italy. In that century we are talking about people living in one town, developing their own techniques and their own approach to the design, not just the workmanship. Say acanthus leaf in Milan and in Venice in the same century and you get two different leaves, the same way a Greek leaf is not a Roman one.
You can prove this without leaving America. Walk through a room of furniture the first immigrant joiners built in Pennsylvania, then walk through a Boston room. Same shell design, both by trained hands, back in the 1700s. The two shells look different. Even the way they shaded it, even which side was supposed to be shaded.
Those men worked every day and did not travel far.
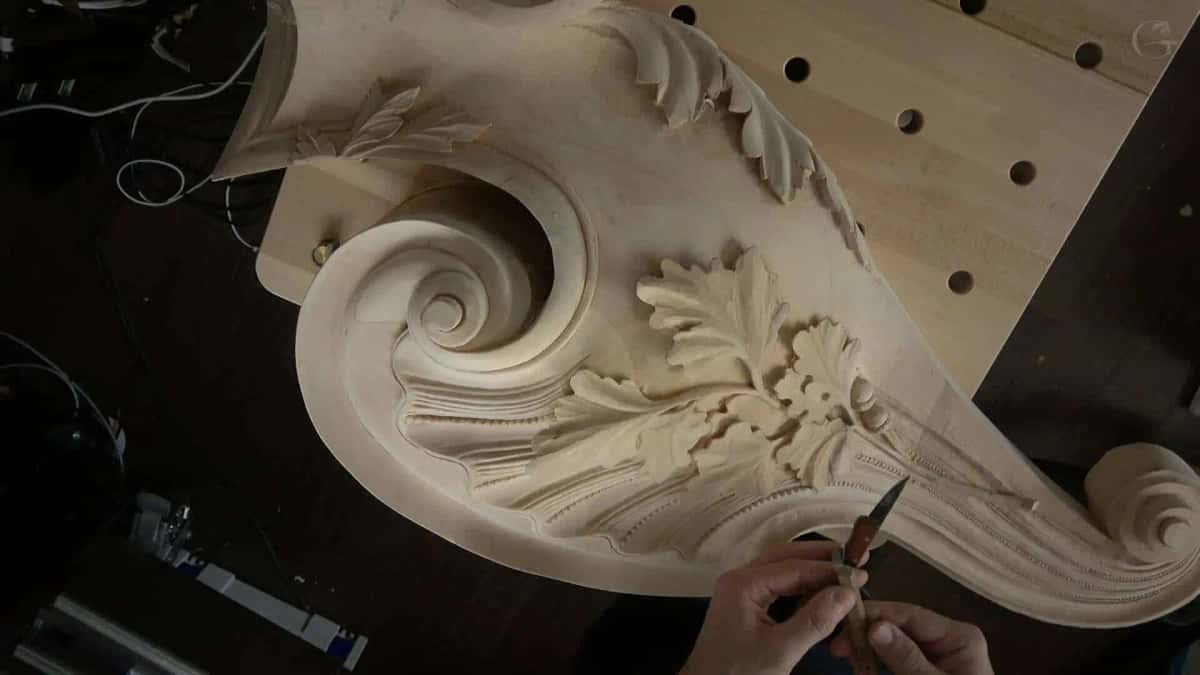
Bead and reel, volute, acanthus. Every element had to be right for one city in one century.
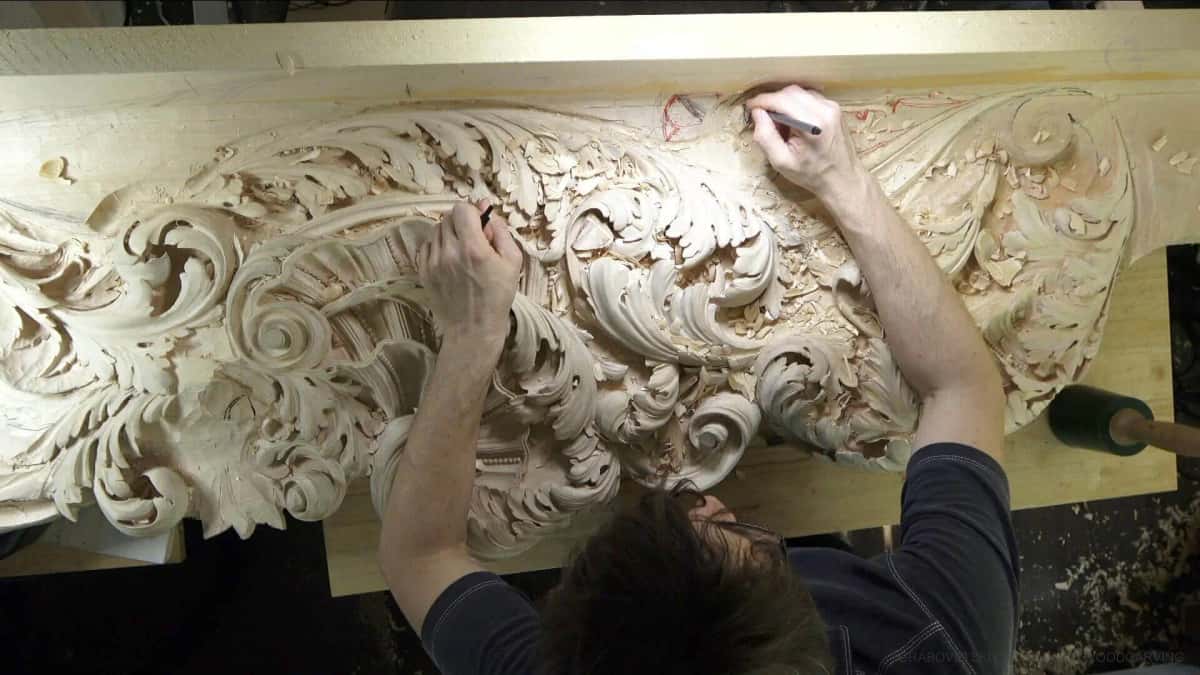
Venice, mid fifteenth century, which is not the same thing as Italian.
Who is telling you this
I have carved for over forty years and I was named International Woodcarver of the Year. Most of my studio work is architectural, which means panelling, mantels, and furniture that has to stand next to work made long before I was born.
The place I learned to make new wood look old was not a shop, though.
I was arrested at eighteen for my faith. In prison I had a 10mm knife I made myself and a small gouge I made out of a nail, and I carved furniture using a staining method from the fifteenth century that made the pieces look like marquetry. A man there sold them to the prison administration. My pay was one boiled potato a day. One potato. I shared it with the other men and we talked about God, and that year I dropped under 80 pounds.
Nobody hands you a book in there. You learn very fast what makes a fresh surface look like it has been in a room for two hundred years, because if it does not, you do not eat.
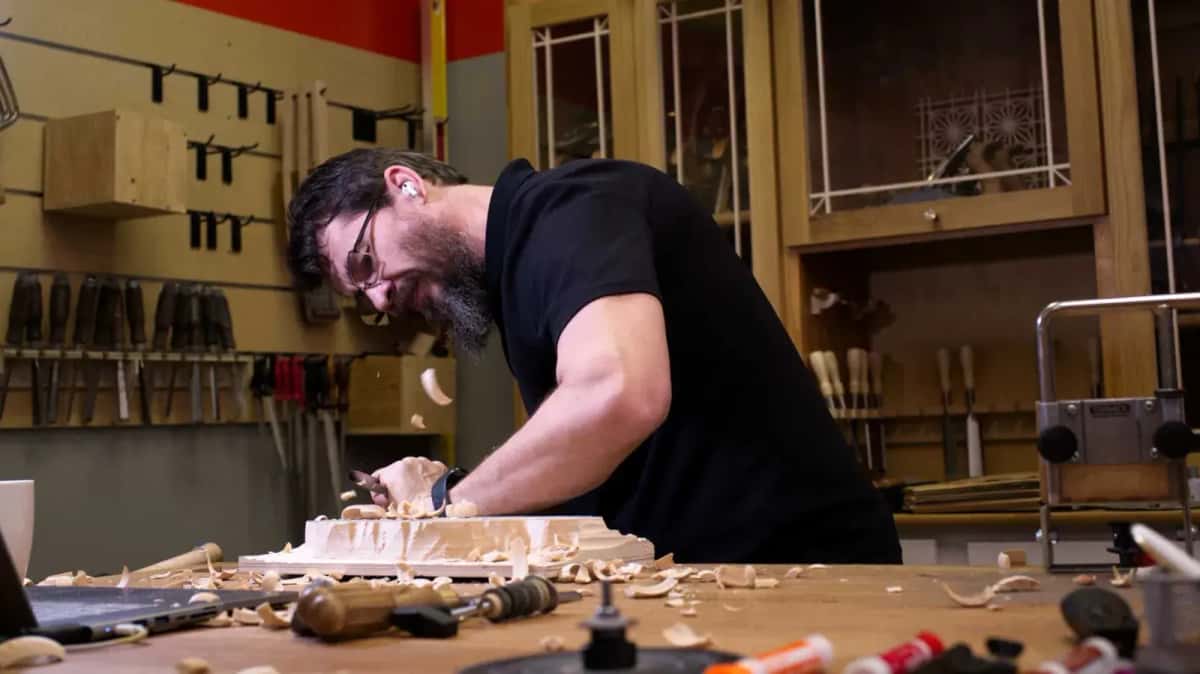
Same bench, same hours the job took in 1720.
Shall we carve?
Do you have a piece at home with something missing out of it? Would you rather carve that replacement yourself than pay four figures to have it done? Are you tired of guessing which gouge the old carver was holding?
Then go find the survivor on that piece and start measuring. Everything above comes after that one move.
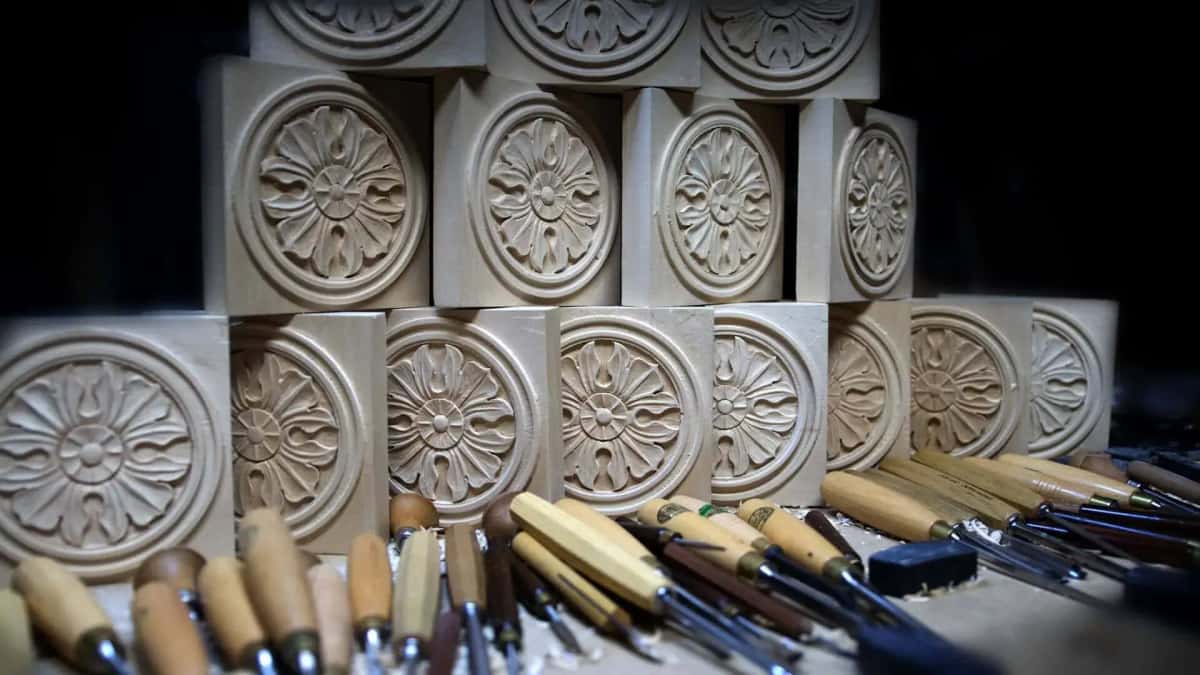
My client sent one photograph and nothing else, and I carved sixteen so that fifteen could ship.
Six workshops walk through this exact problem, matching an antique rosette from nothing but a photograph, every pass in real time. Come and carve it with me.