
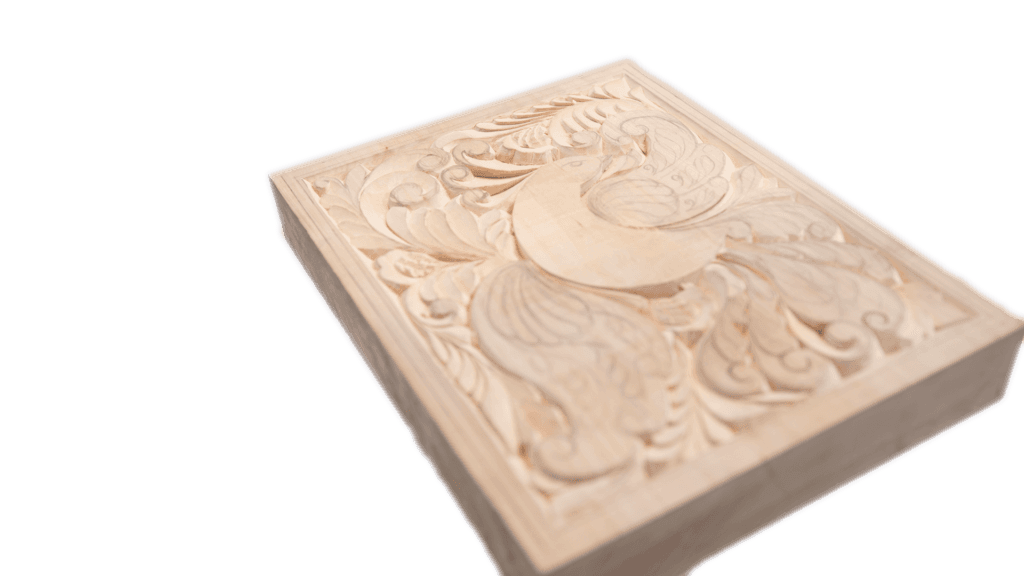
Alexander Grabovetskiy, woodcarver, School of Woodcarving · Published 2018
What did wood carvers use before sandpaper was invented?
Quick answer: Dutch rush is the plant carvers smoothed wood with for centuries. Silica in the stem walls makes it mildly abrasive, it grows wild in any wet ground, and a short piece rubbed straight onto a carving lifts the raised fibre without rounding a single edge. No shop sells it.
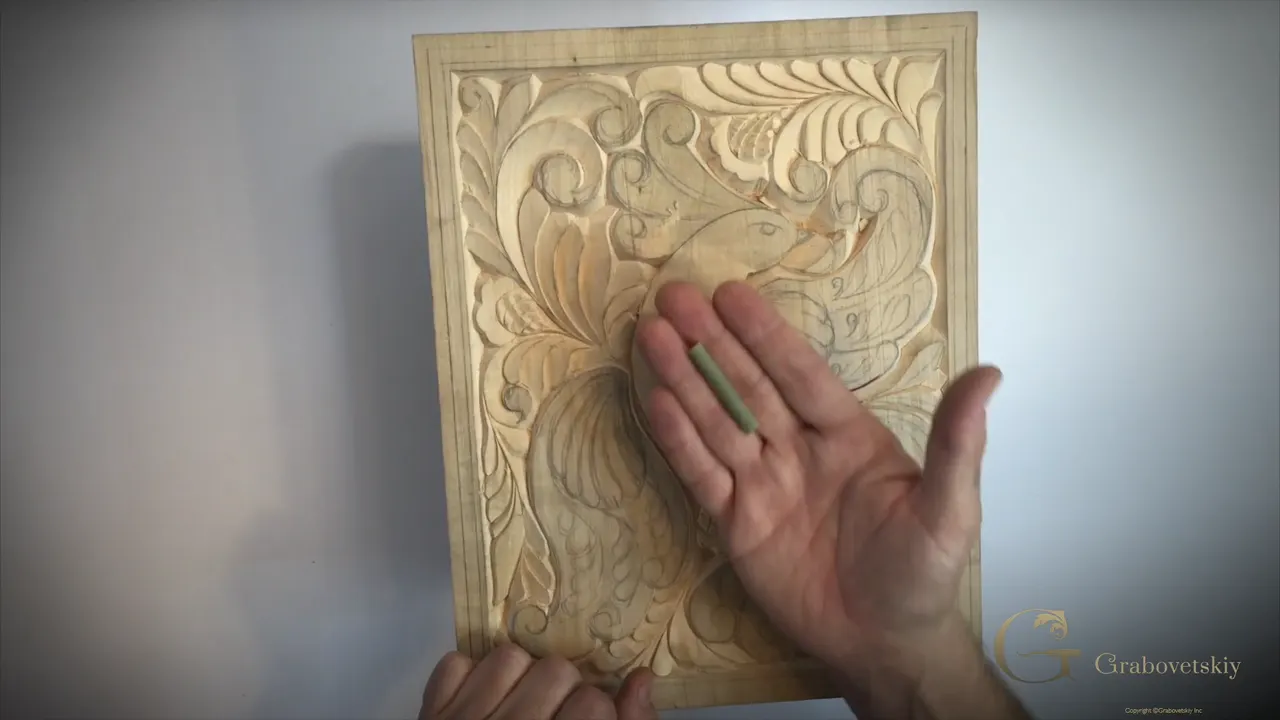
Before anybody sold abrasive paper, carvers reached for a plant. It grows by water, the stems carry enough silica to bite into wood, and one short cut piece is the whole kit. No backing board, no glue, nothing bought from a shop.
Ever wondered what smoothed a three hundred year old panel? Do you know of one abrasive you can pull out of a ditch and use the same afternoon? Look at what sits in a jar on my bench.
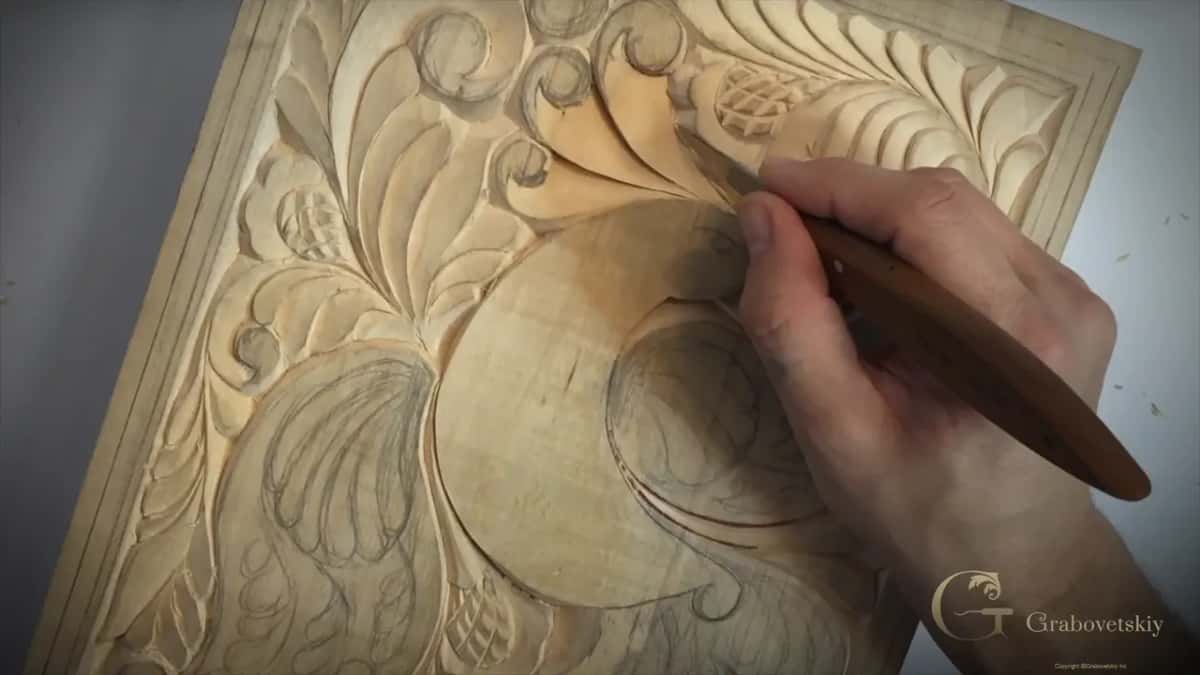
Students ask me about old finishes more than about any other subject, and my answer in an earlier workshop was too short. So this session opens with the real thing in my hand, and then goes back to the board, where the bird itself finally gets started.
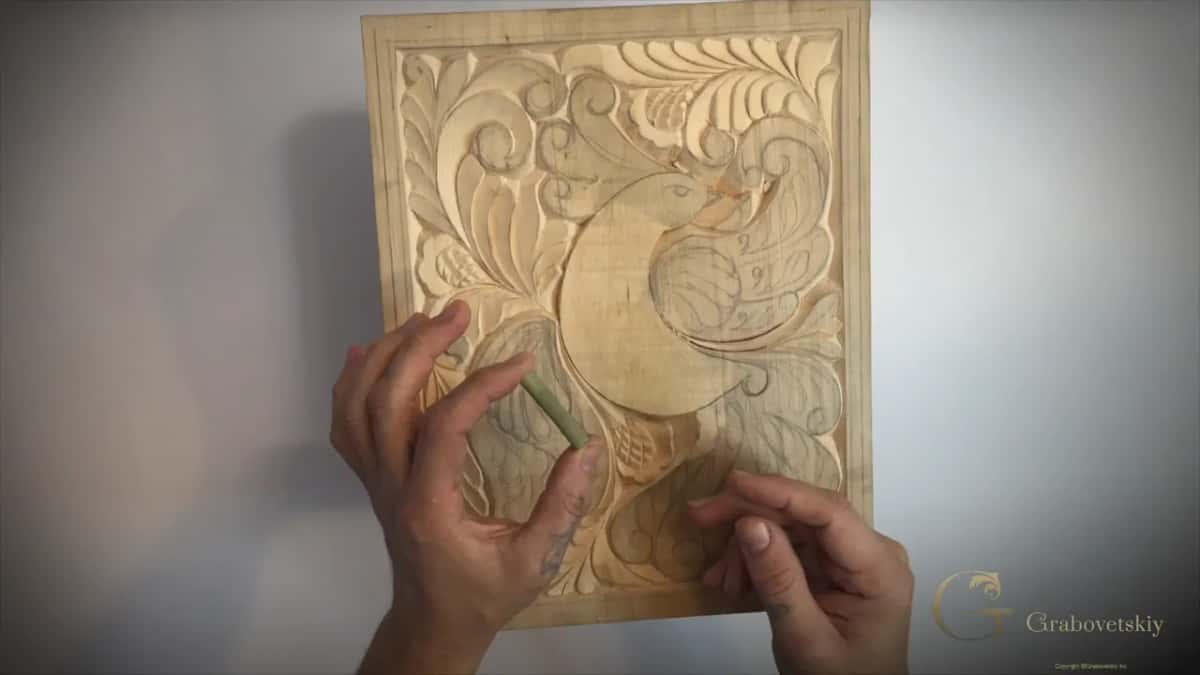
What the old abrasive actually was
- The abrasive is a plant. Look along rivers, swamps and lake margins to find it growing.
- Cut a piece roughly 45 mm long. Use it whole as a tube, or split it flat.
- It bites. You hear it working and it genuinely takes wood off, though far more gently than any modern grit.
- Grinling Gibbons work carries these marks, according to the carver who restored it.
- A small undercut at the point of a V is repaired with a toothpick, of all things.
The plant itself, and where it grows
Green, hollow and jointed, growing anywhere the ground stays wet. Botanists call it Equisetum hyemale, and the walls of those stems hold silica, the same mineral family that manufactured abrasives rely on. Rivers, swamps, the shallow edges of lakes: that is where it grows, and it costs nothing.
Mine is dry, which makes it crack when I split it. Fresher stems stay flexible and split cleanly, and both states work fine on wood. One length lasts a surprisingly long time because you are not pressing hard with it.
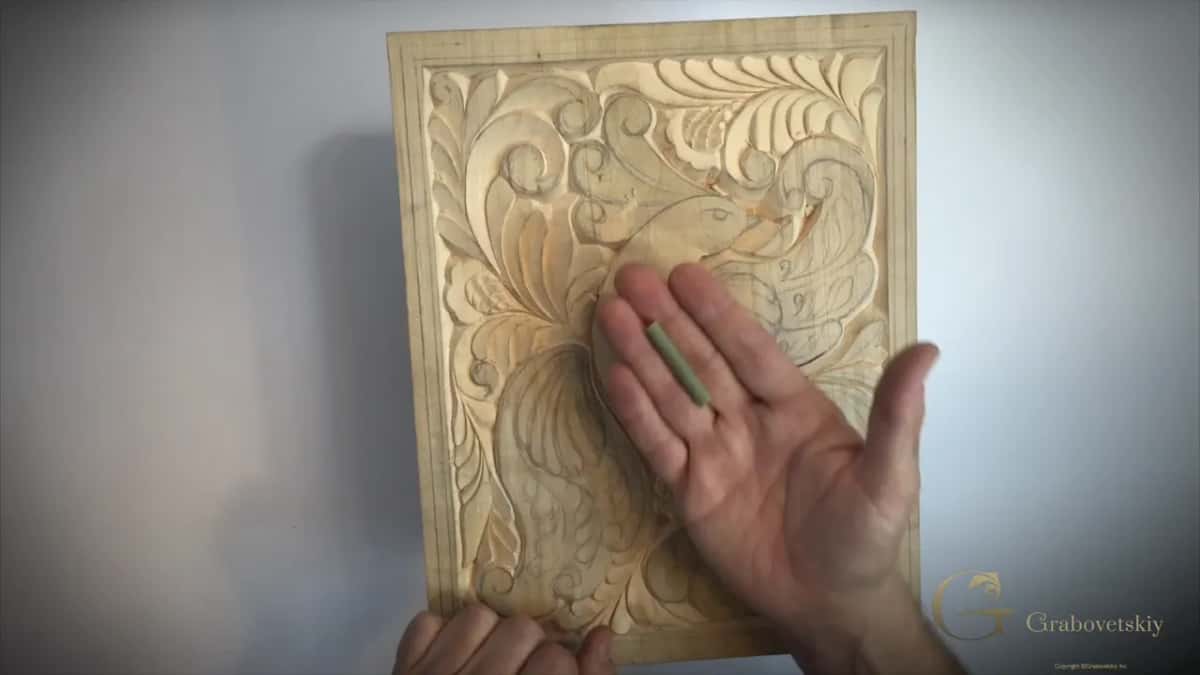
Is it as coarse as sandpaper?
Far finer than anything in your workshop drawer. Do not expect it to behave like 80 grit, or even like 180. What it does is polish rather than shape, taking the raised fibres off a surface without changing the surface itself, which is exactly what carved work wants.
It is still abrasive, though, and you can hear that. Run it across a carved field and there is a dry rasp, and wood dust appears. Anyone who assumes a plant cannot cut wood has not tried one.
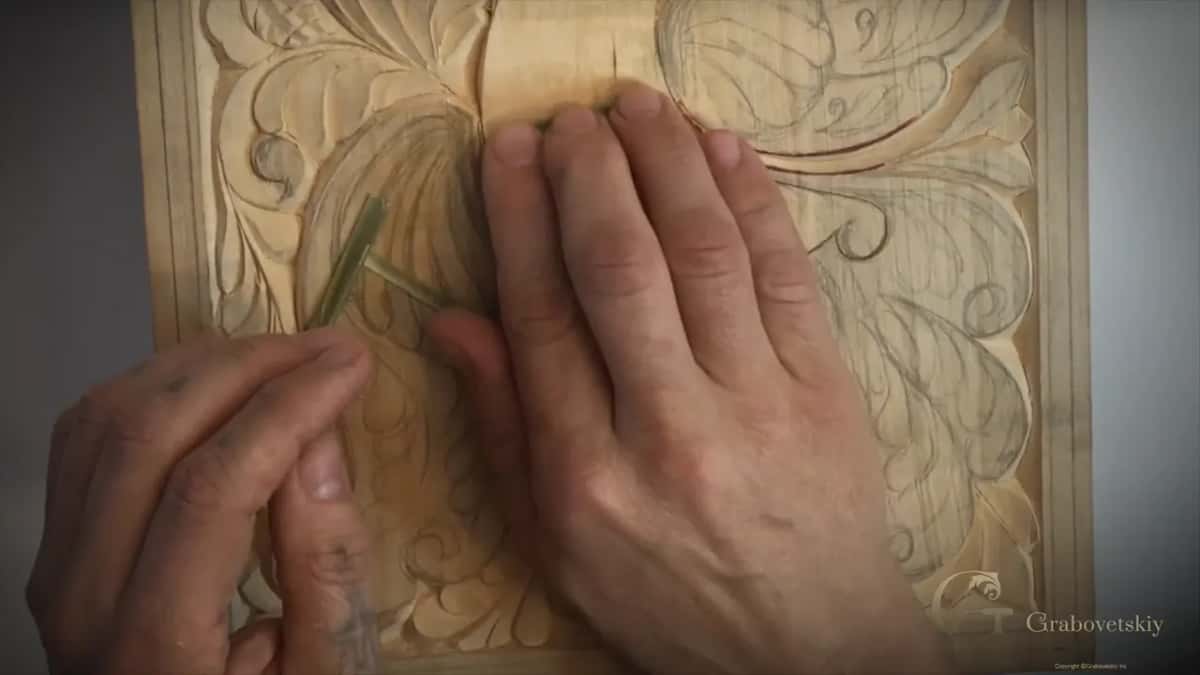
Using it on a carving
Two ways, neither of which needs any preparation at all. Hold the whole tube and rub. That suits tight corners, because a round stem reaches into places a flat sheet never will. Otherwise split a section open, lay the flat inside face against the wood, and work it like a small pad.
Somebody on the internet glues lengths of it onto thick tape and uses that as a sheet, which works nicely. None of it is necessary. A bare piece in bare fingers does the job, and that is how the work in museums was done.
What else stood in for sandpaper?
Another piece of wood, most commonly. Rub a smooth offcut hard across a carved field and the raised fibres flatten and take a low shine, which is burnishing in the strict sense. No dust is made and no edge is rounded, so it beats the reed on broad flat areas.
After that came oil, or wax, and that was the end of it. Traditional wood finishing had very few steps, which is worth remembering when a modern schedule runs to seven. Reed for the corners, wood for the flats, oil over everything.
Does it work on every timber?
Softer species take it best. On lime the reed does real work, and it barely registers on hard maple or oak, which is another quiet reason beginners start where they do. Grain matters as well, since raised fibre is what you are removing, and coarse grain leaves more of it behind.
Shallow relief in a soft timber is the ideal case, which is exactly the work the plant was traditionally used on. Nobody was smoothing oak floorboards with it.
Did famous carvers really use this?
English shops certainly did, and one name is attached to the proof. I remember David Esterly saying that when he restored Grinling Gibbons work he found marks left by this very reed on the originals. Esterly is the carver who rebuilt a lost Gibbons piece after the fire at Hampton Court, so he had the chance to look very closely indeed.
That matters for a beginner because it settles an argument. Fine work at the highest level was smoothed this way, not with abrasive paper, and nobody looking at Gibbons feels anything is missing.
| What you reach for | How much material it removes from the wood | The edges | Where it makes sense to use |
|---|---|---|---|
| Nothing at all | None, and the blade marks stay exactly as carved | Perfectly crisp | Most of this panel, and most old work |
| A length of reed | A very little, taking raised fibre only | Barely touched | Tight corners a finger cannot reach |
| A smooth offcut | Nothing, because it presses fibres flat | Fully intact | Broad flat areas wanting a shine |
| Abrasive paper | A great deal, plus dust in every groove | All rounded off | Furniture flats, never carved work |
Two passes met and left a strange little pit. Now what?
Take a plain toothpick to it. When you carve a V from either side, the two travels stop at very slightly different places, and right at the point you get a small undercut where one edge slipped beneath the other. It is almost impossible to avoid entirely.
Work the toothpick along that meeting point one way, and then back the opposite way, until those two faces finally read as a single surface. Wood against wood, no abrasive, no dust, and the fault disappears. It does not work every single time, and it helps enormously more often than you would expect.
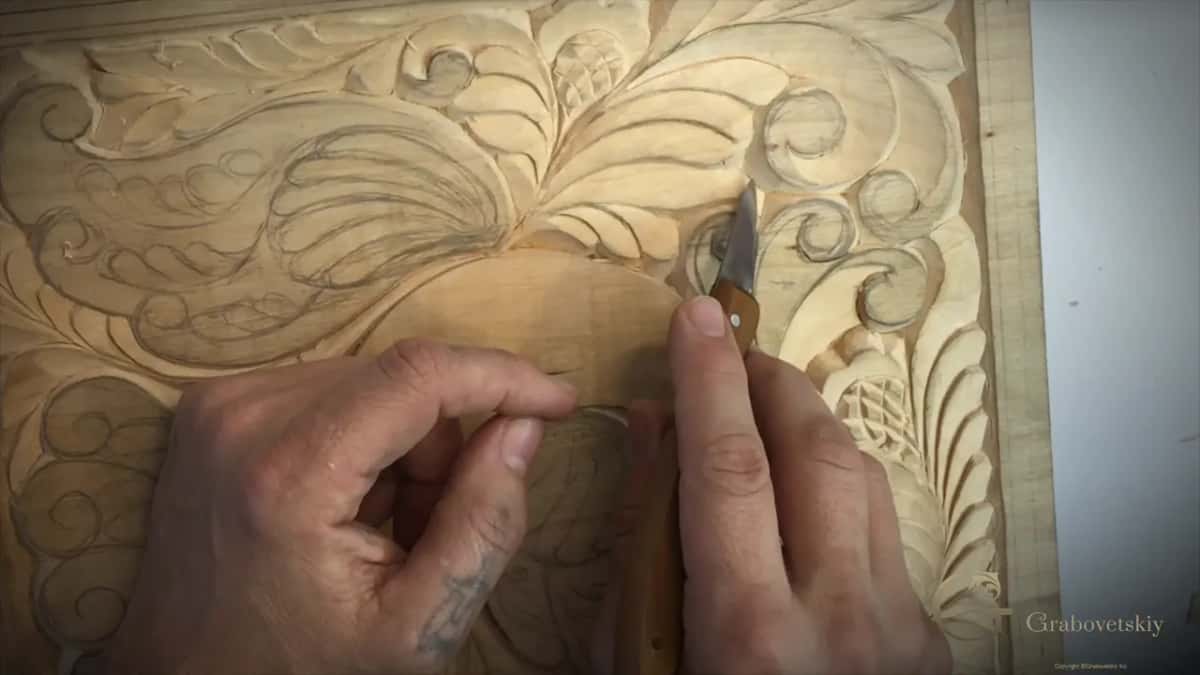
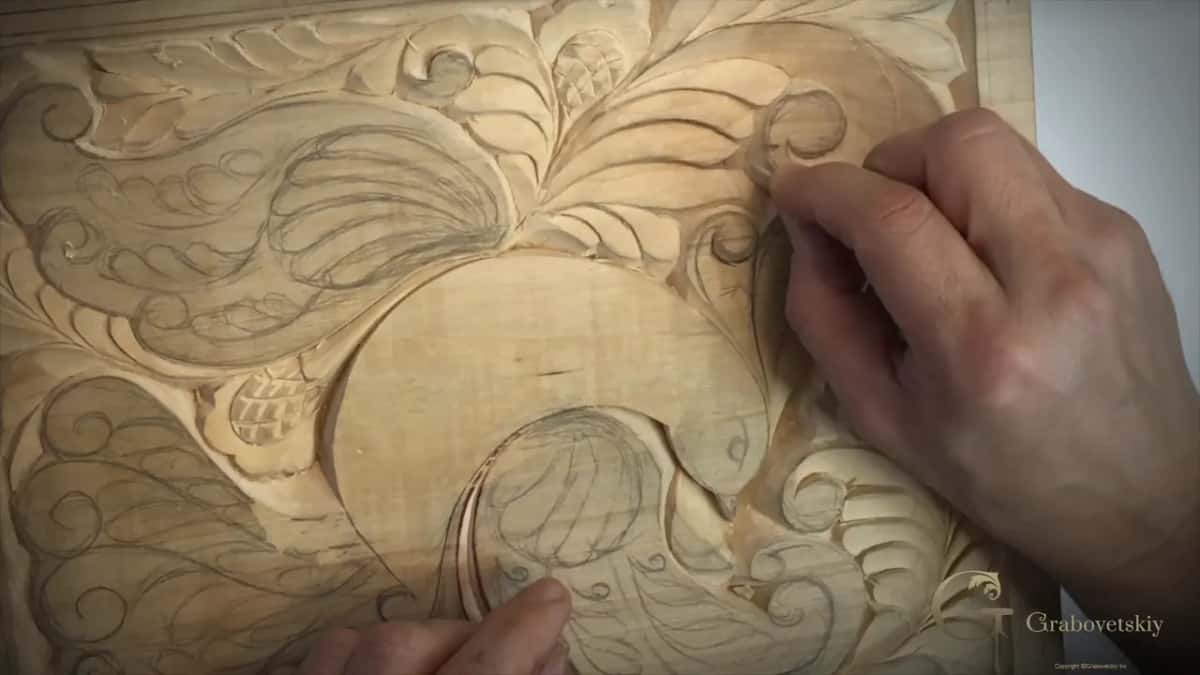
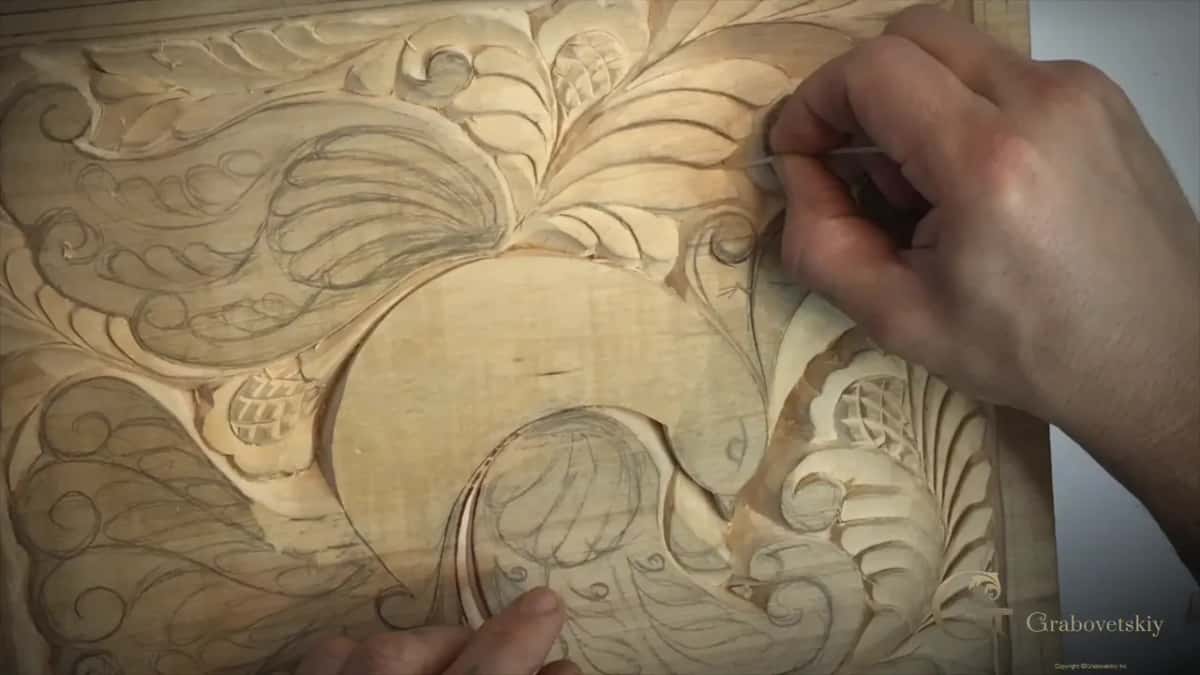
Is every cut really like a brush stroke?
That is exactly how I think about it. A painter chooses each stroke for the mark it leaves rather than for the paint it moves, and a carving travel is the same thing in wood. Shaping is easy: dig and dig and a form appears, covered in facets that mean nothing.
So while I carve I watch what the edge leaves behind rather than what it removes. Start a pass on a very low bevel, lift the handle as it runs, and finish on a sharper one, and the wall carries that change as a deliberate mark. Getting the two halves to join without a step is the only reason for taking several passes instead of one.
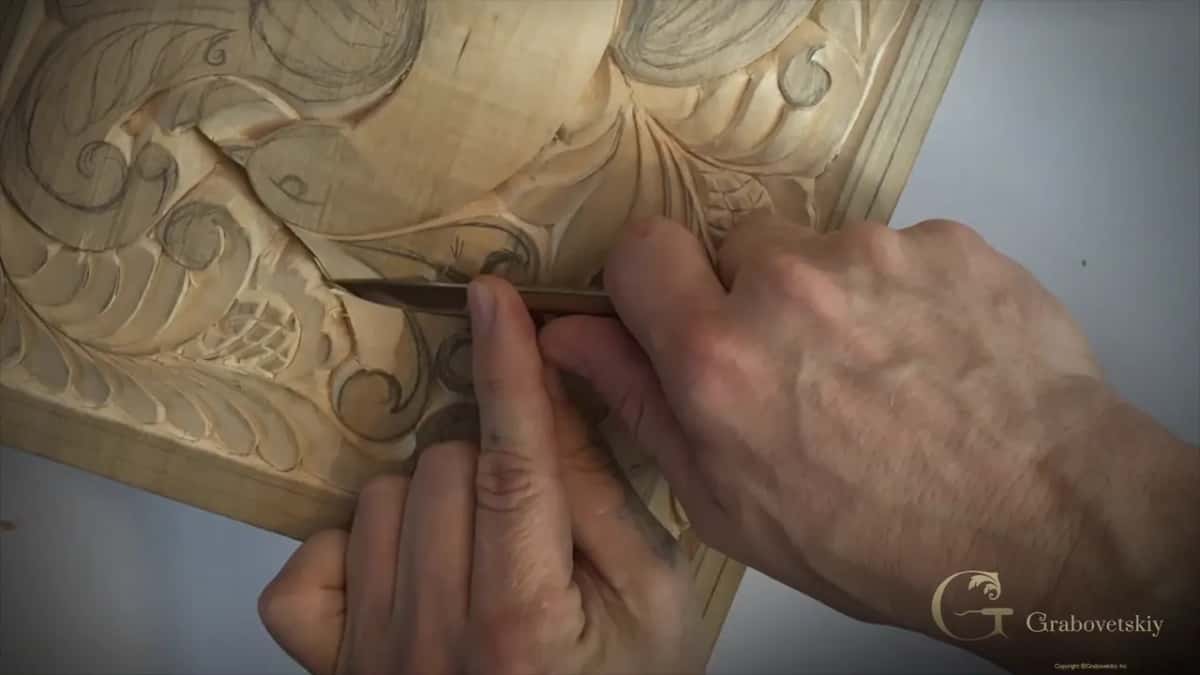
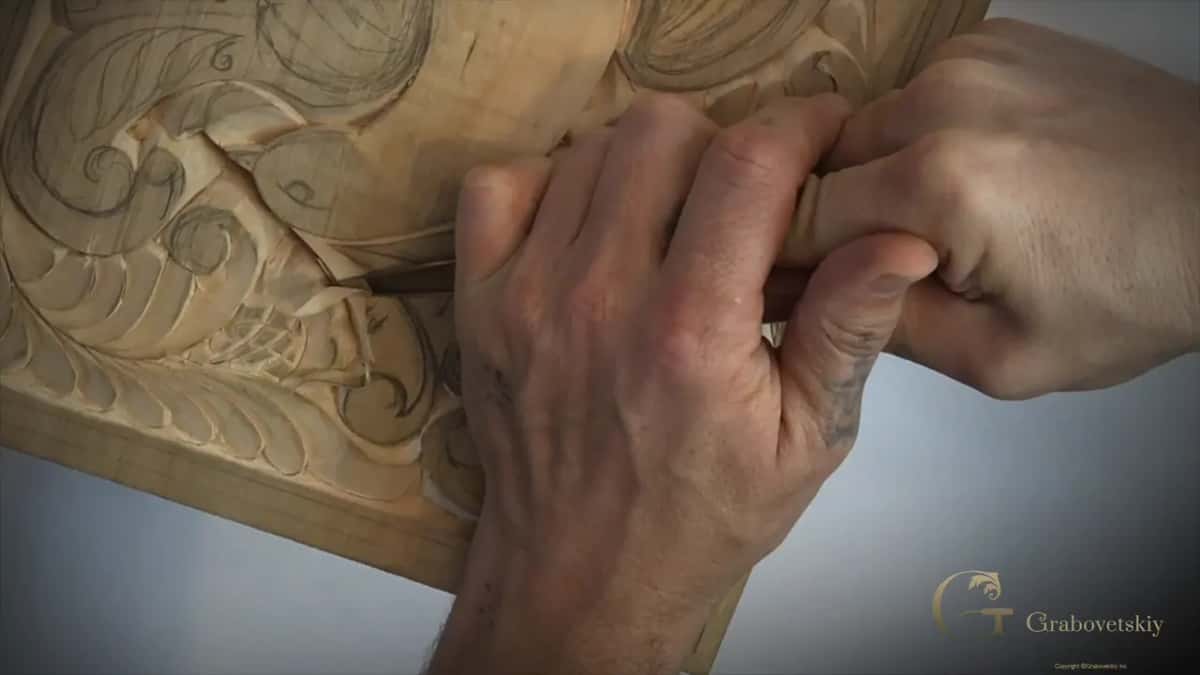
Should a cut be made in one pass or several?
Several, whatever anyone tells you. Some carvers insist a single confident pass is the only correct method. I disagree, and my reason is historical rather than stubborn. Look at the scale of old work, whole church screens and ceilings covered in the same details as this little board.
Nobody removed that volume of wood in single passes. They worked inward in stages, exactly as I am doing, because the arm that could take 6 mm of lime in one travel has never been born. Multiple passes are not a beginner compromise, they are how the work was always done.
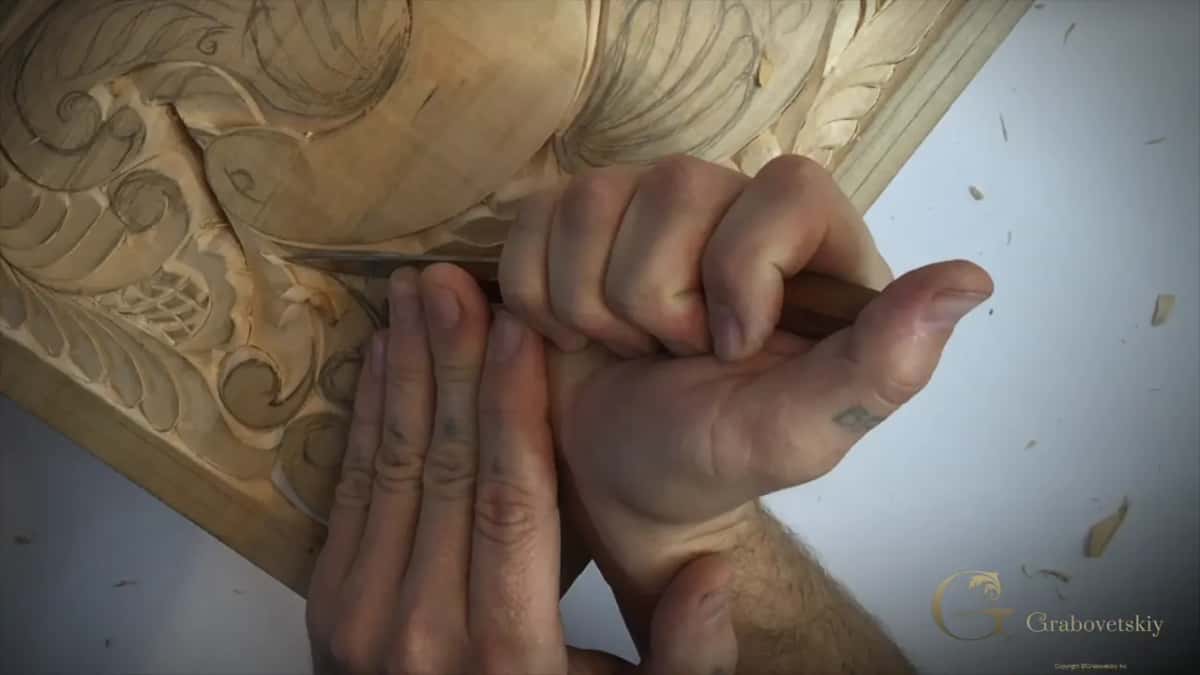
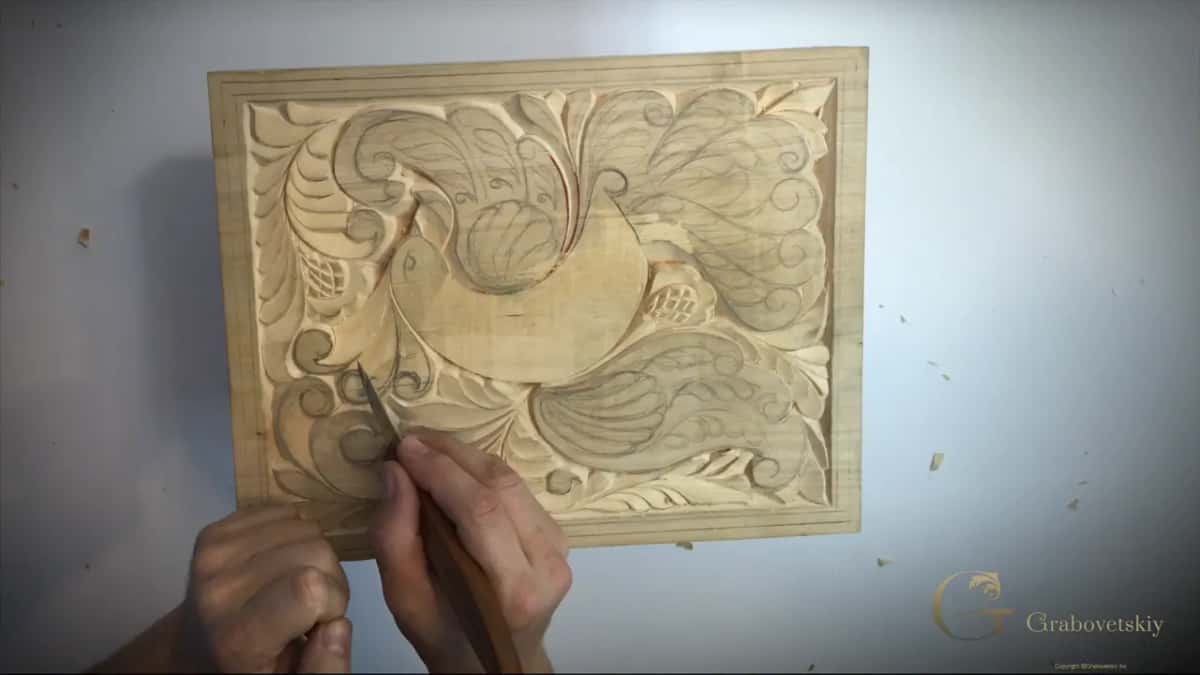
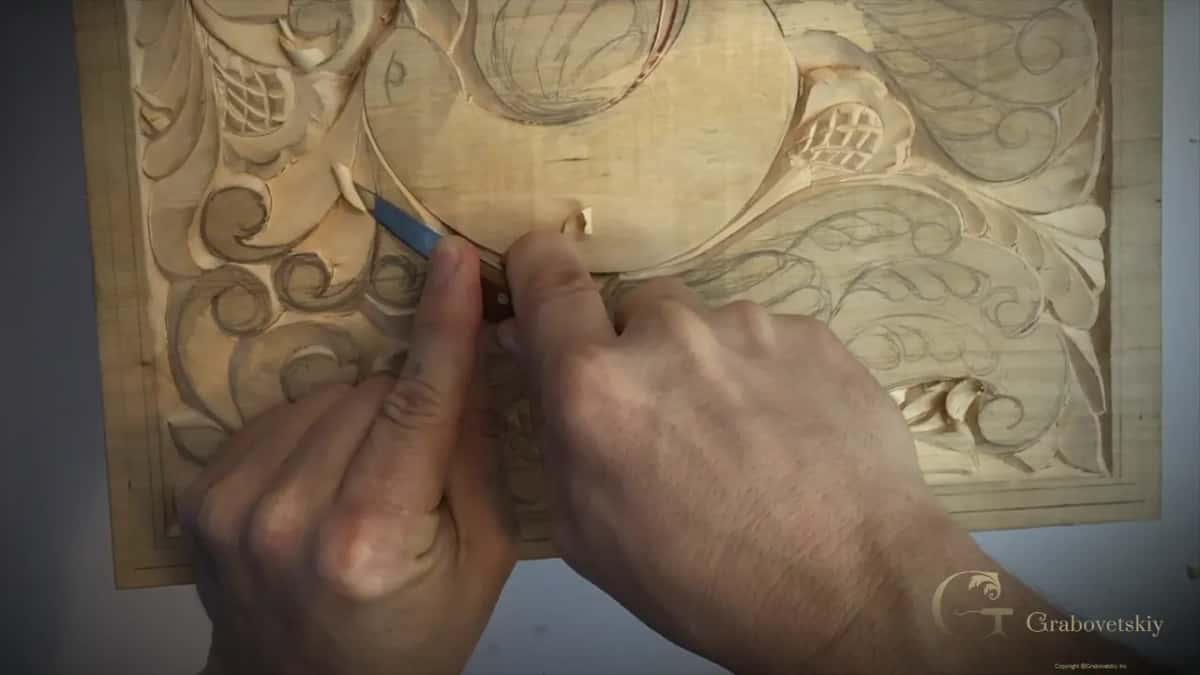
How deep does the bird go?
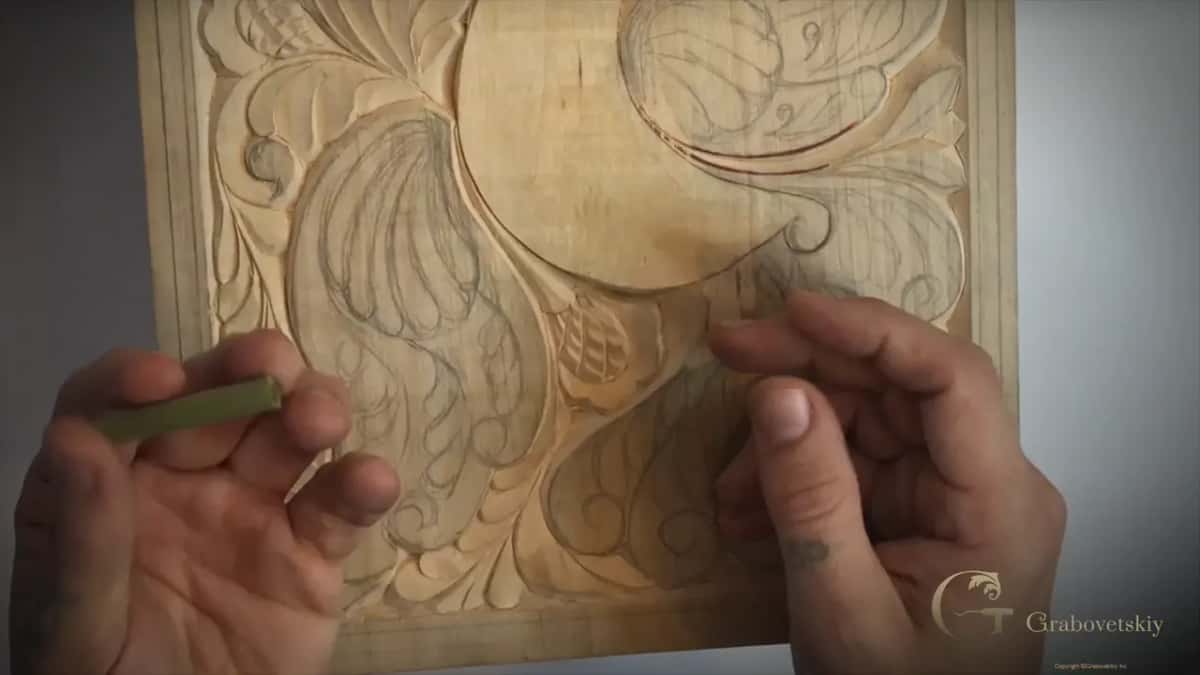
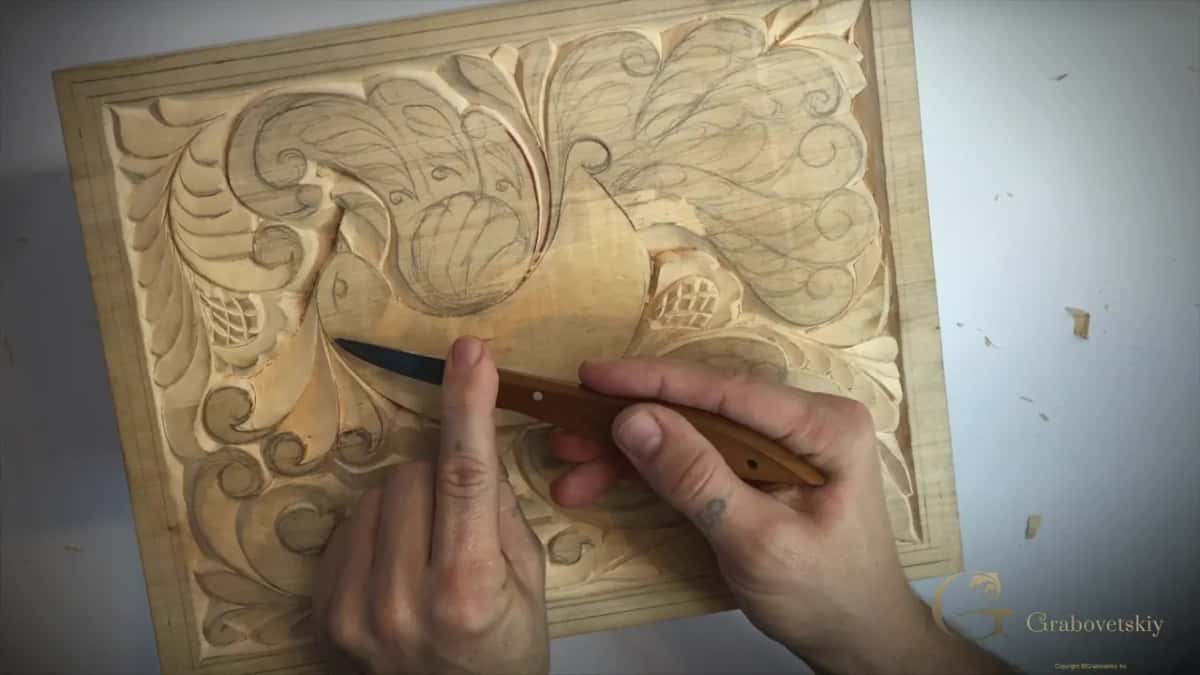
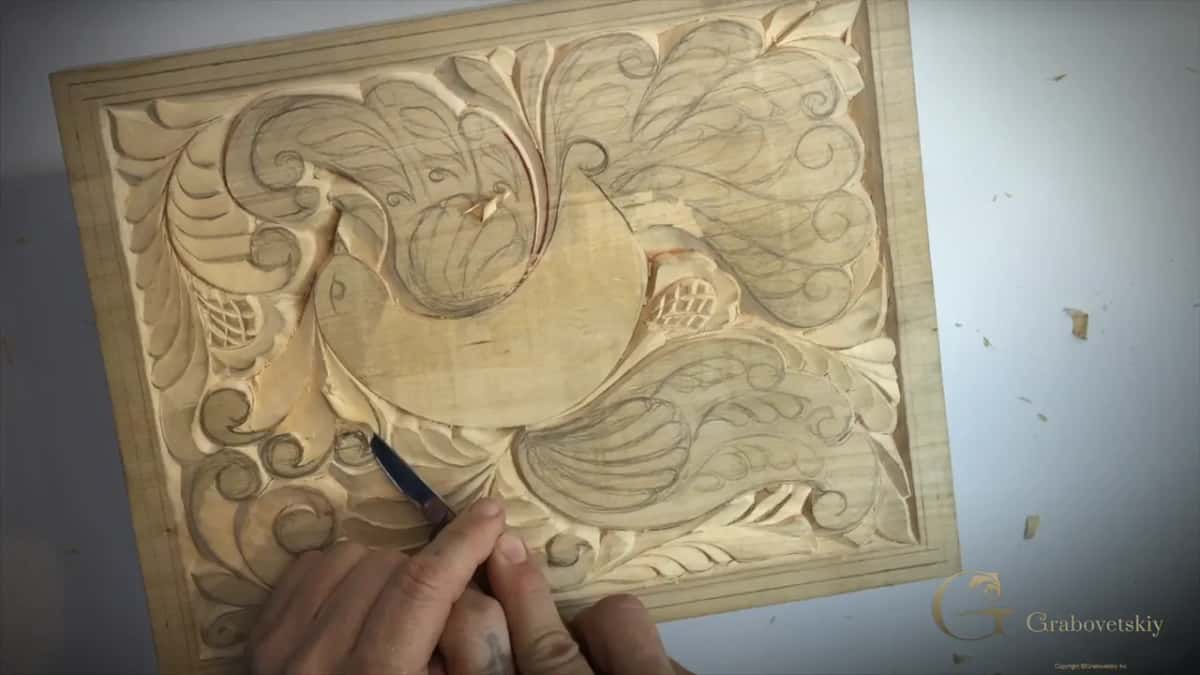
Near 6 mm, measured between the high point and the place the two travels marry together. Deeper than anything else on this panel, and deliberately so, because the bird has to sit above every curl and leaf surrounding it.
Take the corners down to that depth first, then work the middle out to meet them. Doing it the other way round leaves you guessing how far you have gone, and in soft lime that guess usually costs you a millimetre too many.
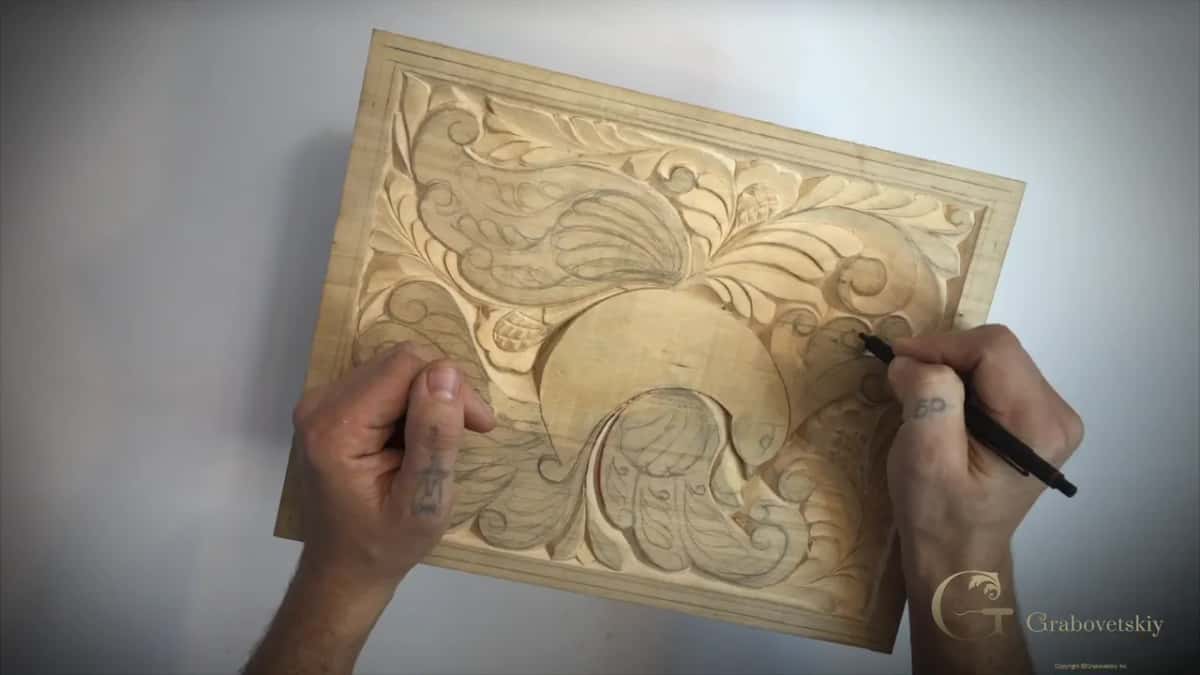
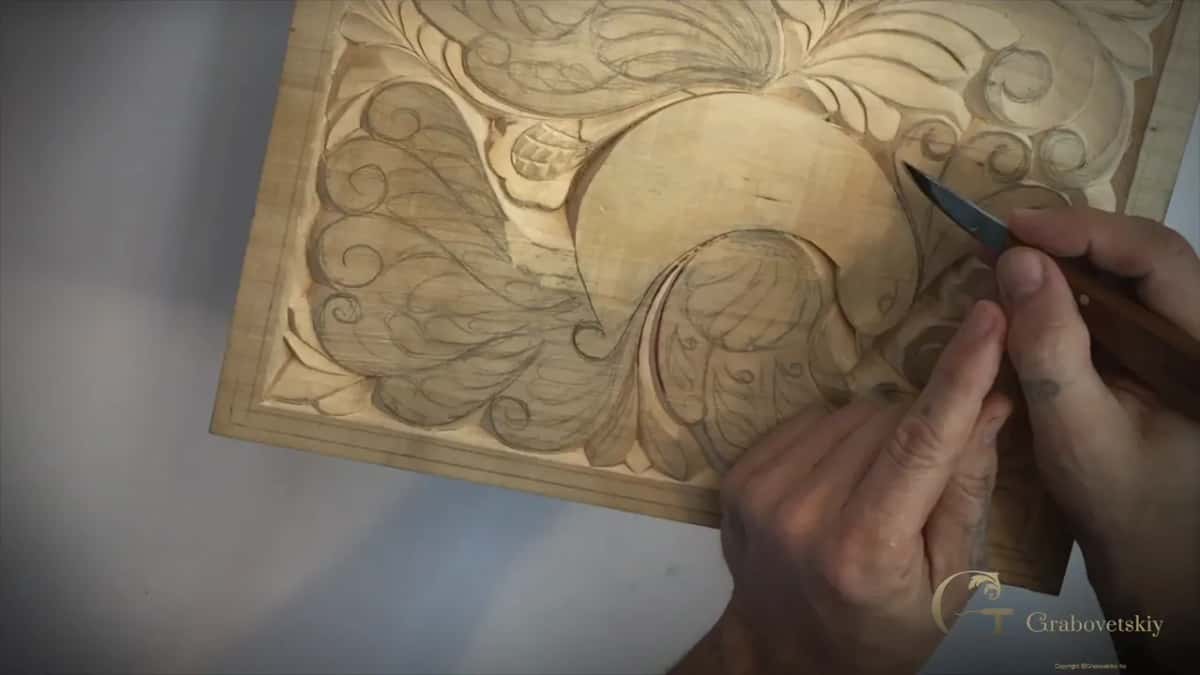
Why is this V not a true V?
One wall is upright and only the other is bevelled. A true V has matching slopes meeting at the bottom, which is right for the ground and wrong beside the bird, because the bird needs the hard shadow an upright wall throws.
So the pass starts with a slight bevel to match the neighbouring wall, then straightens to ninety degrees as it travels. Be careful as that pass finishes. The strip of wood between two close passes is fragile, and leaning on the handle there breaks it.
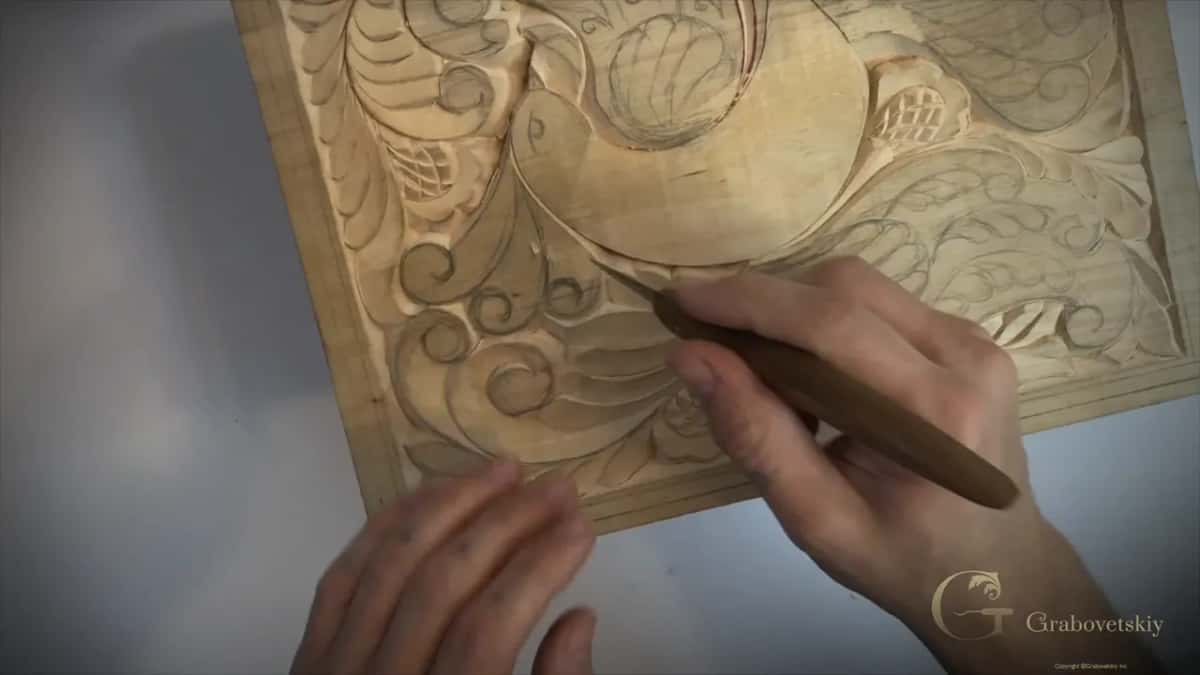
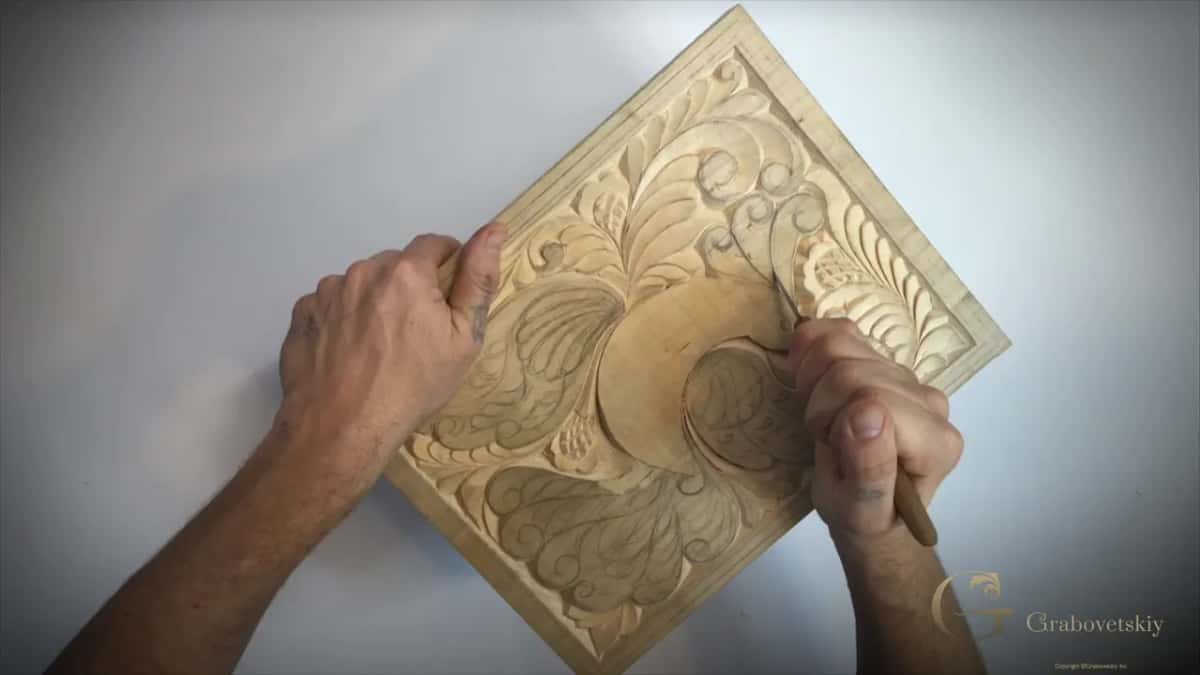
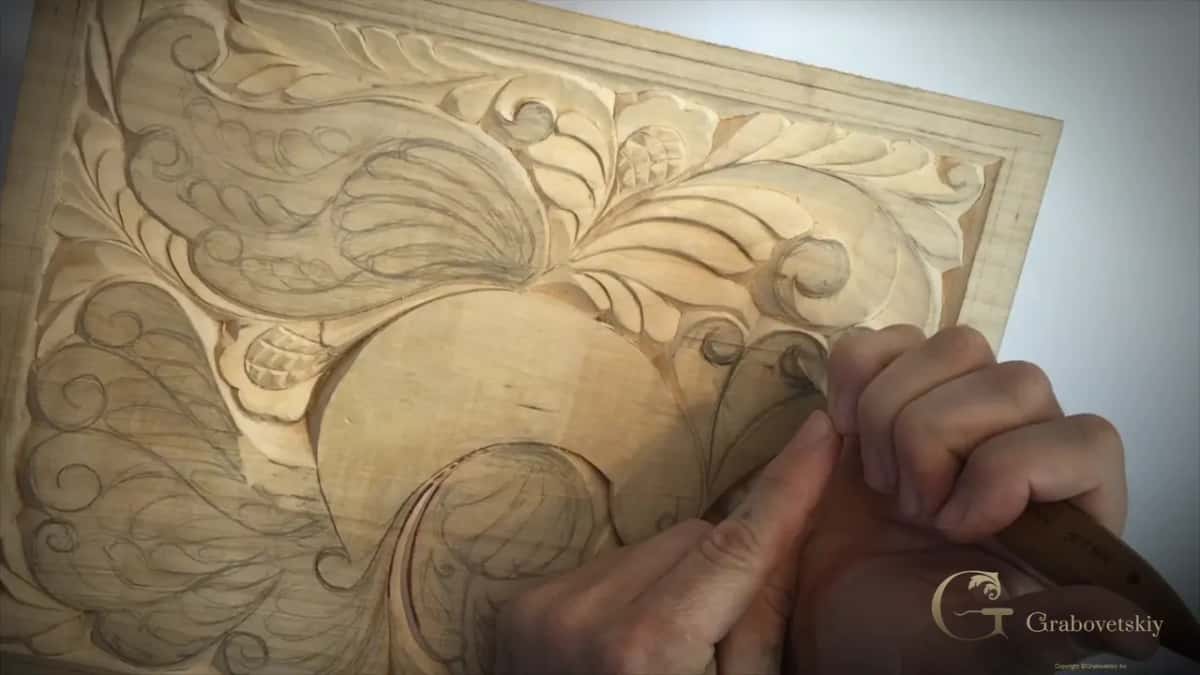
One line has to flow into the next. But how?
Every line must arrive at the main line, and I keep coming back to that rule. Where a curl ends, start the next line from that exact point, carry it across, and let it join the main movement. Do that consistently and the ornament interweaves instead of sitting in pieces.
Two different lines satisfy the rule equally. Follow the original line straight through, or begin at the same point and take the second line instead. Both flow, and which you choose is taste rather than law, which is about as close to a formula as ornament of this kind ever gets.
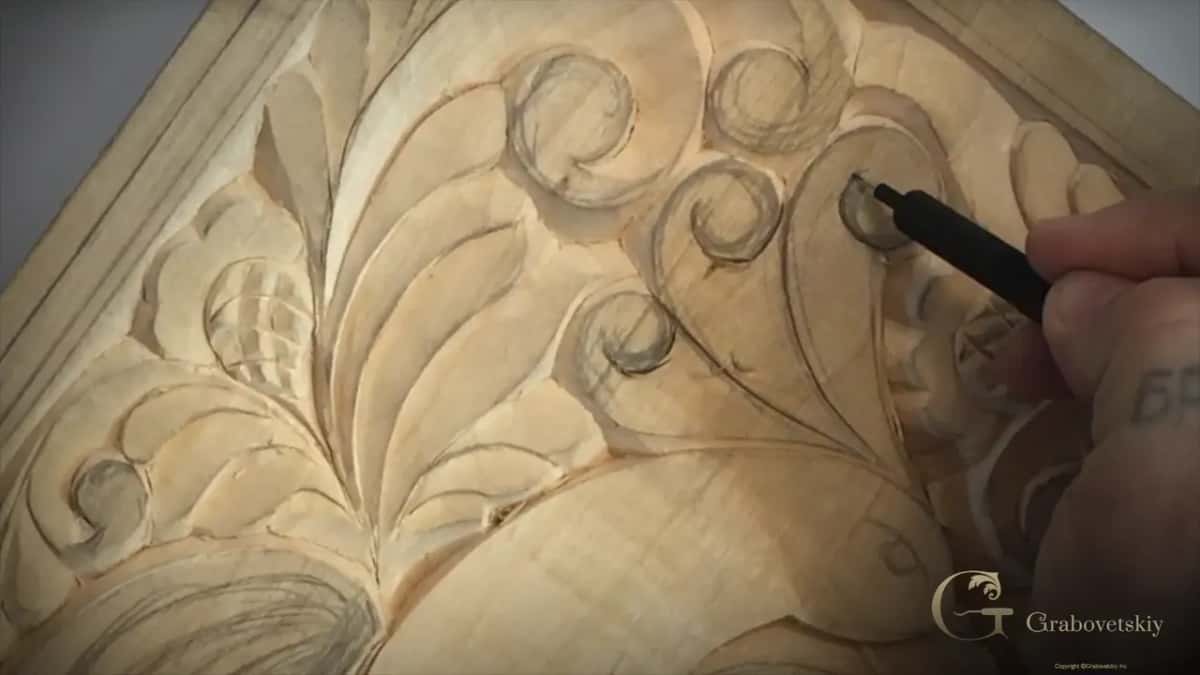
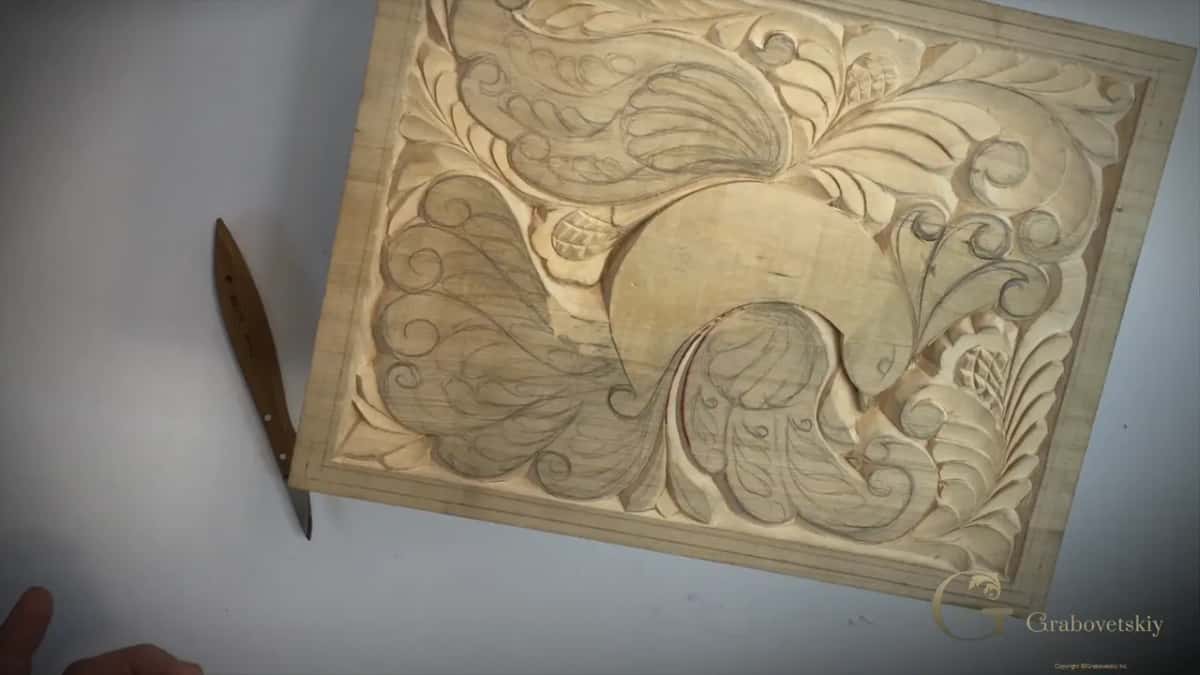
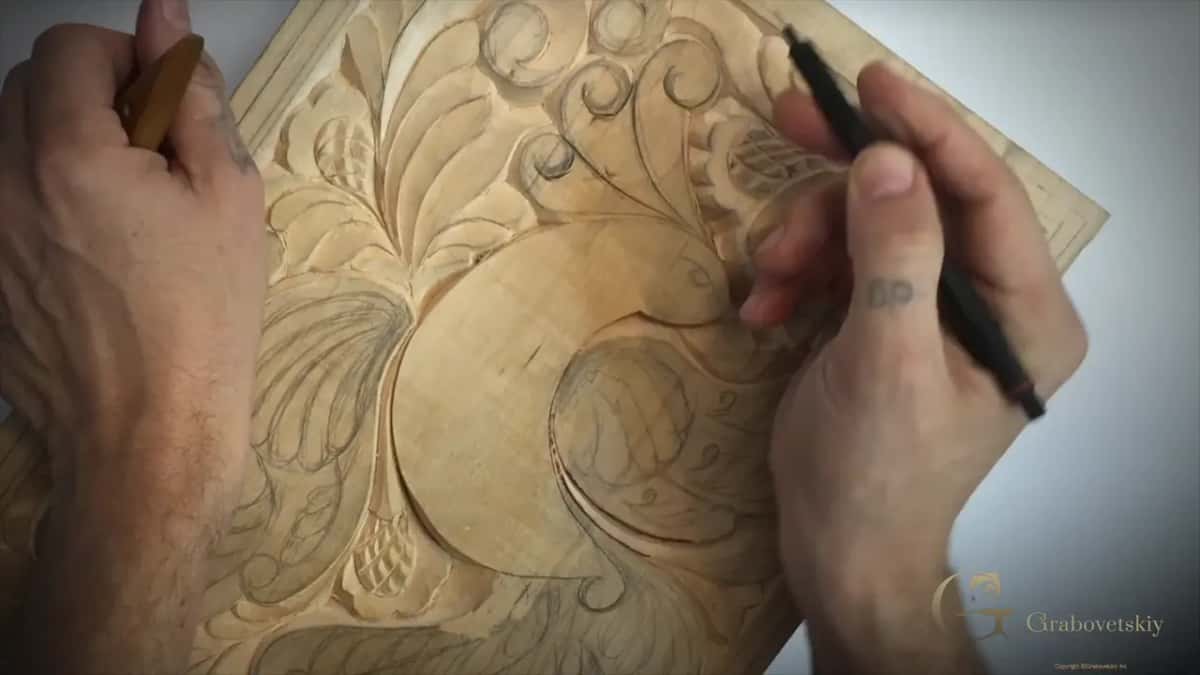
Finding the ridges you cannot see
Move the light, or move the piece. A ridge left where two passes failed to blend is invisible from the angle you carved at and obvious from almost any other, so lift the board, turn it, and let light fall across it from a different direction.
Then fix what shows. The goal is a field so uniform that somebody assumes it was sanded, achieved without sanding anything. Not every ridge will go, and that is all right, but you cannot deal with the ones you never looked for.
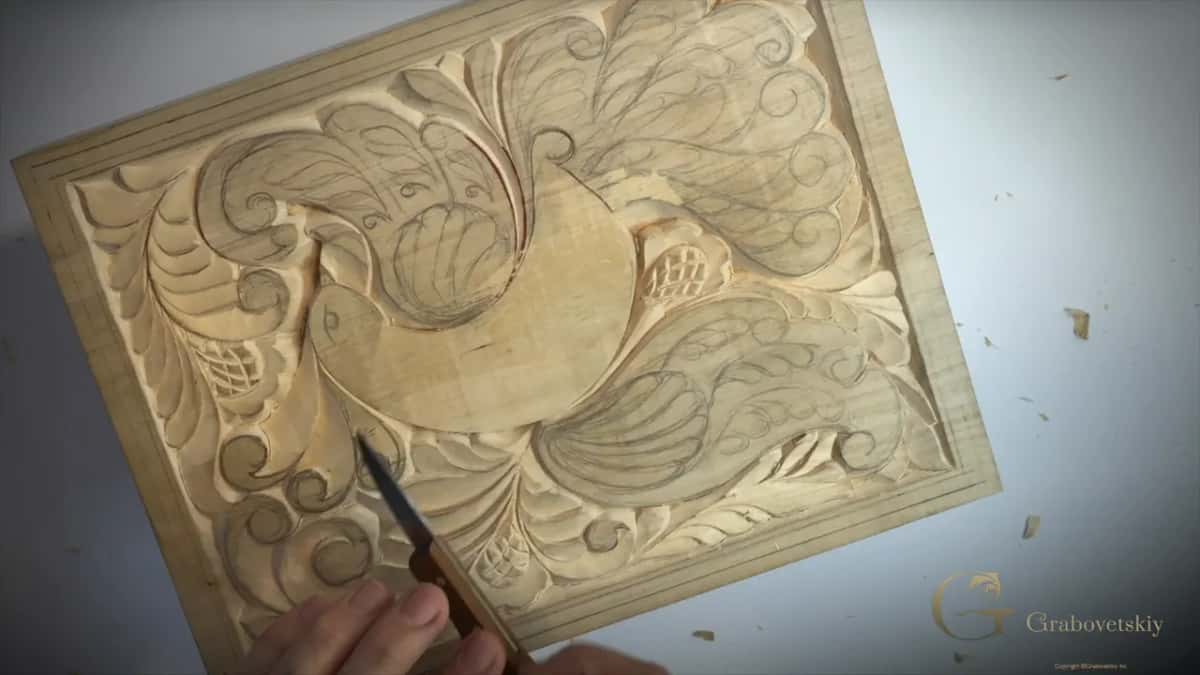
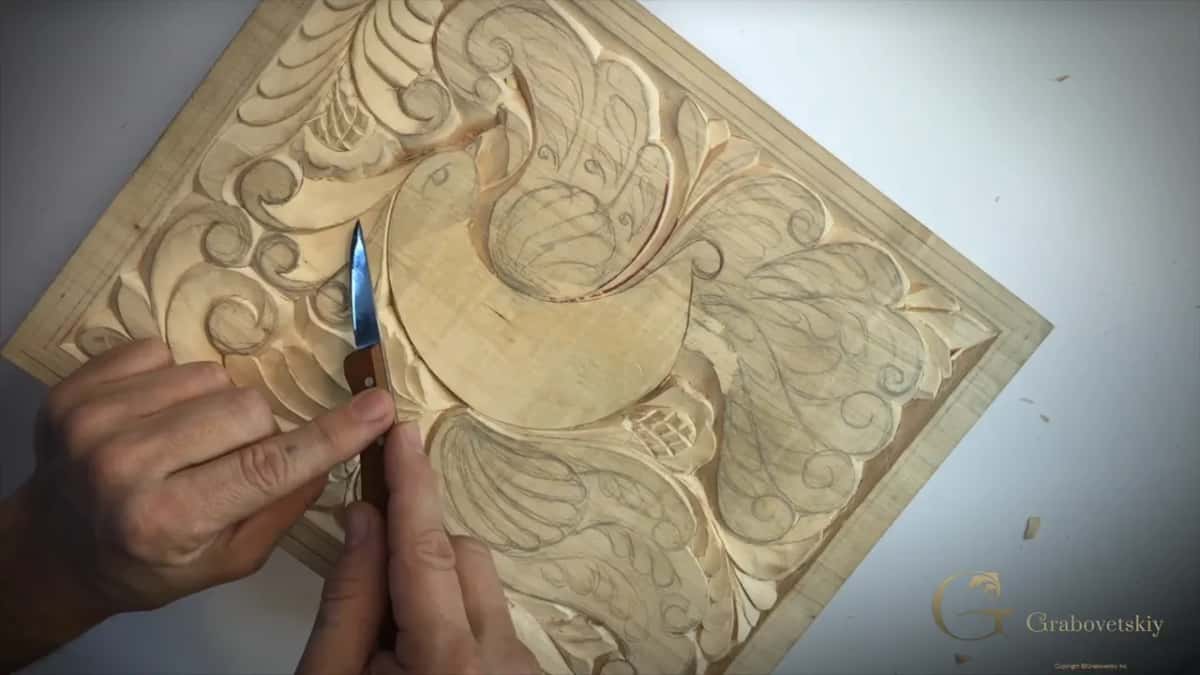
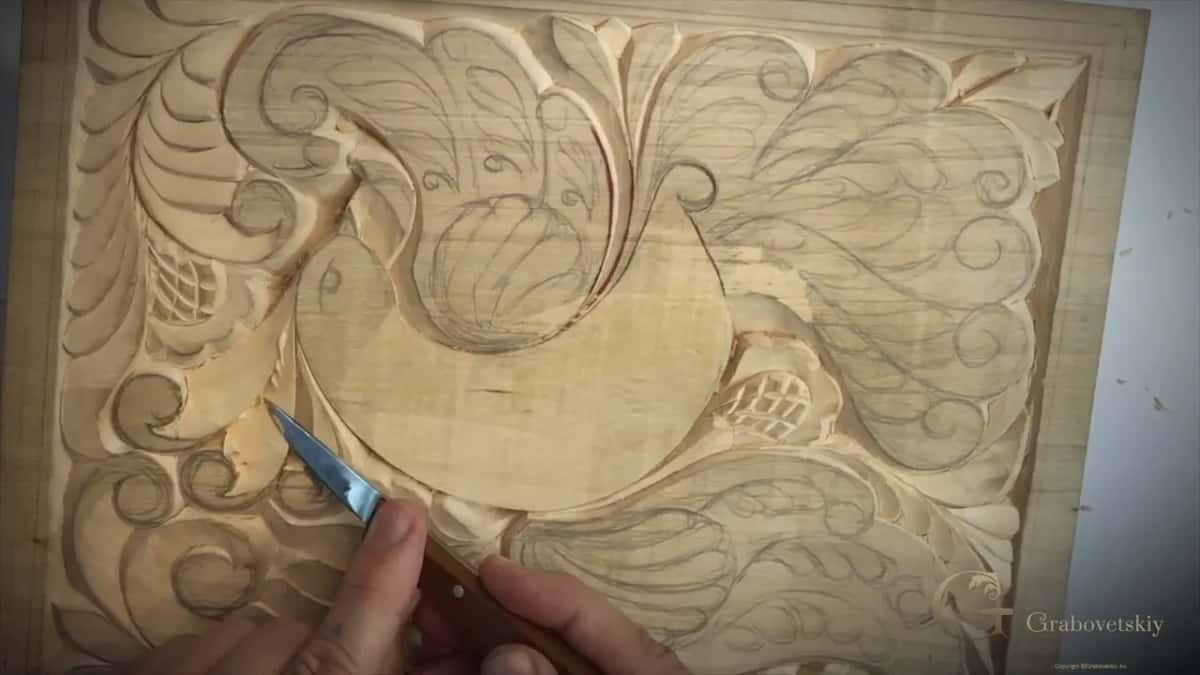
What happens when the carver makes a mistake?
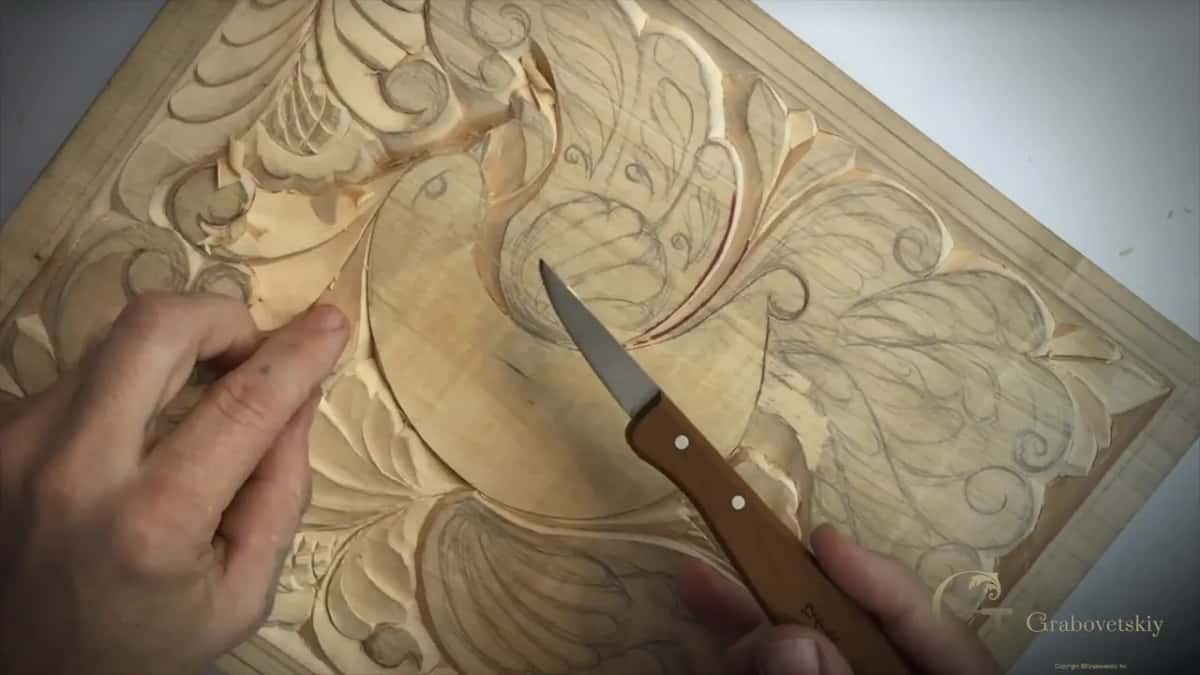
It stays in the video. My edge caught a place it should not have during this session, because I was talking rather than watching, and the ridge it left is on camera along with my opinion of it. A good example of what you should not do, and there is no reason to hide that.
Then comes the repair, which is the useful part. I drop that whole area 6 mm so there is room to work, blend the damage away across several passes, and the panel recovers. Watching somebody recover from an error teaches more than watching a flawless demonstration, and flawless demonstrations are mostly editing anyway.
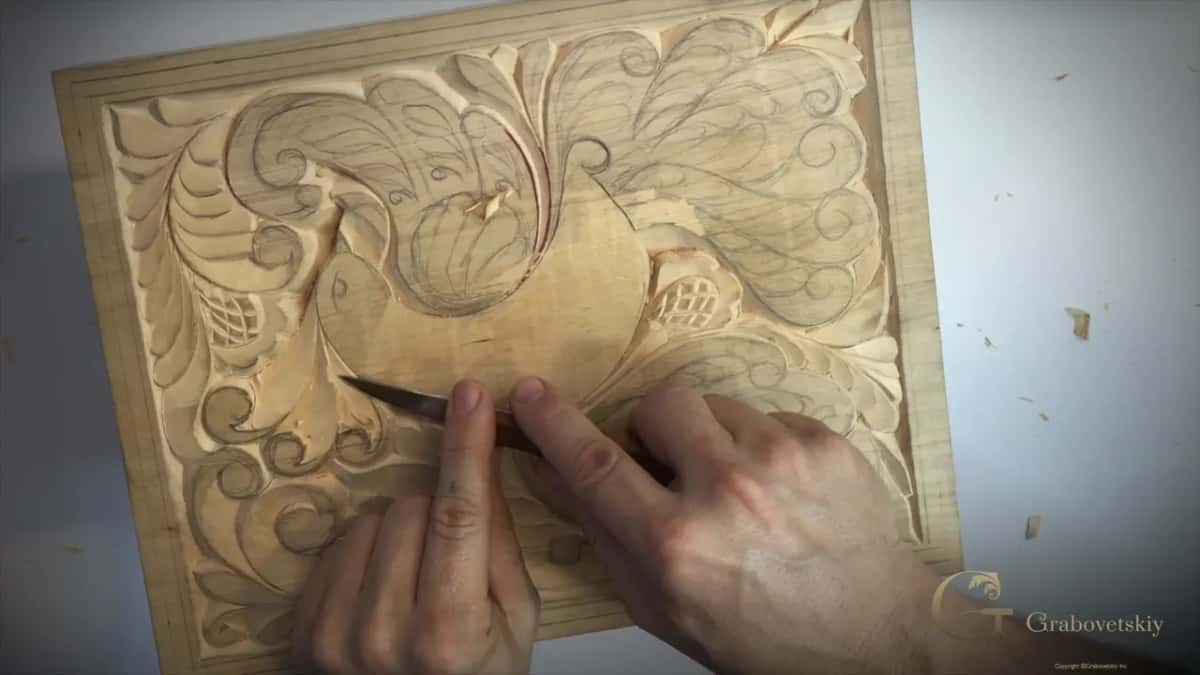
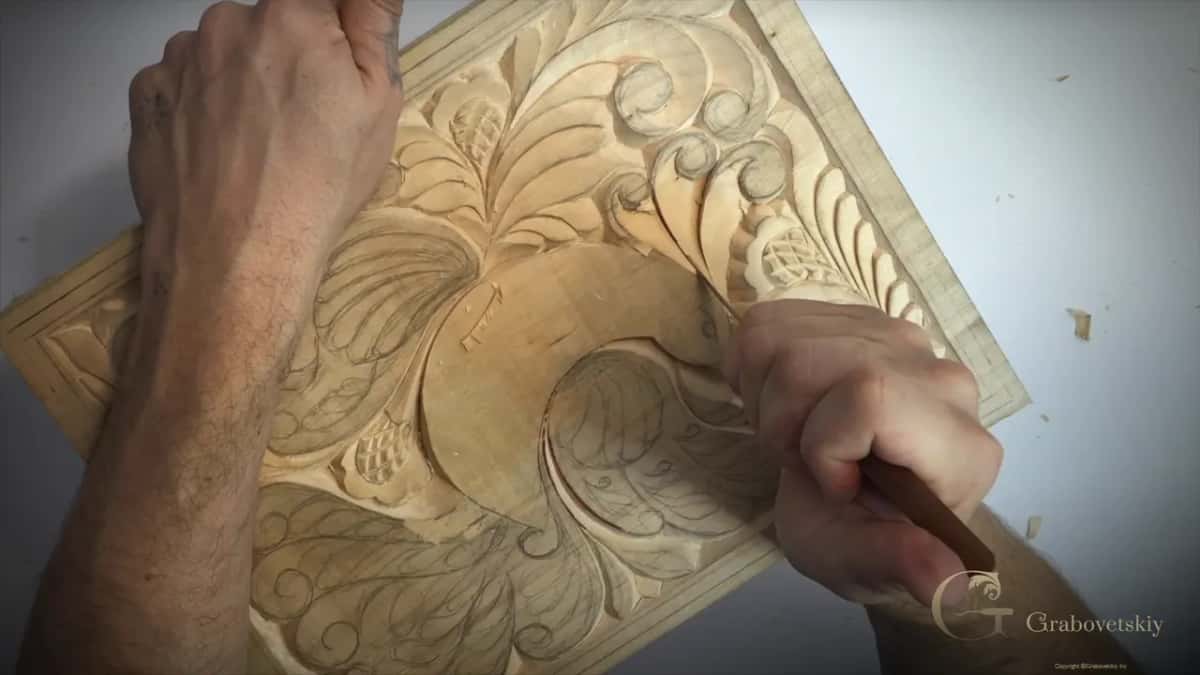
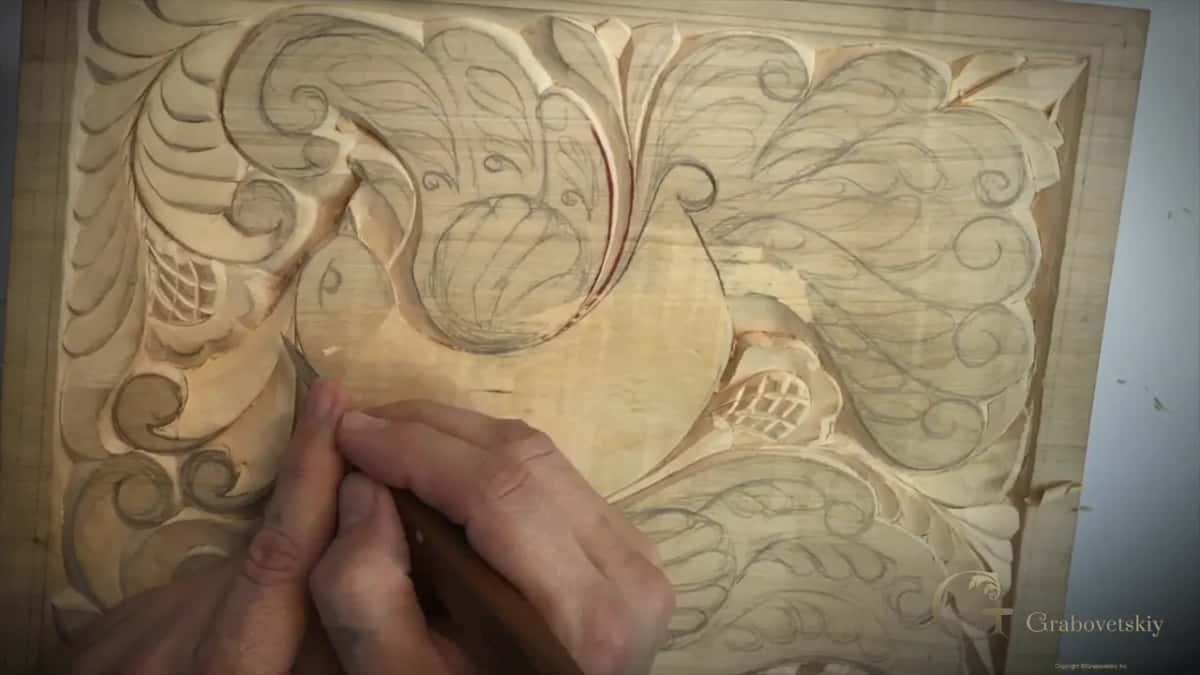
What else keeps a pass under control?
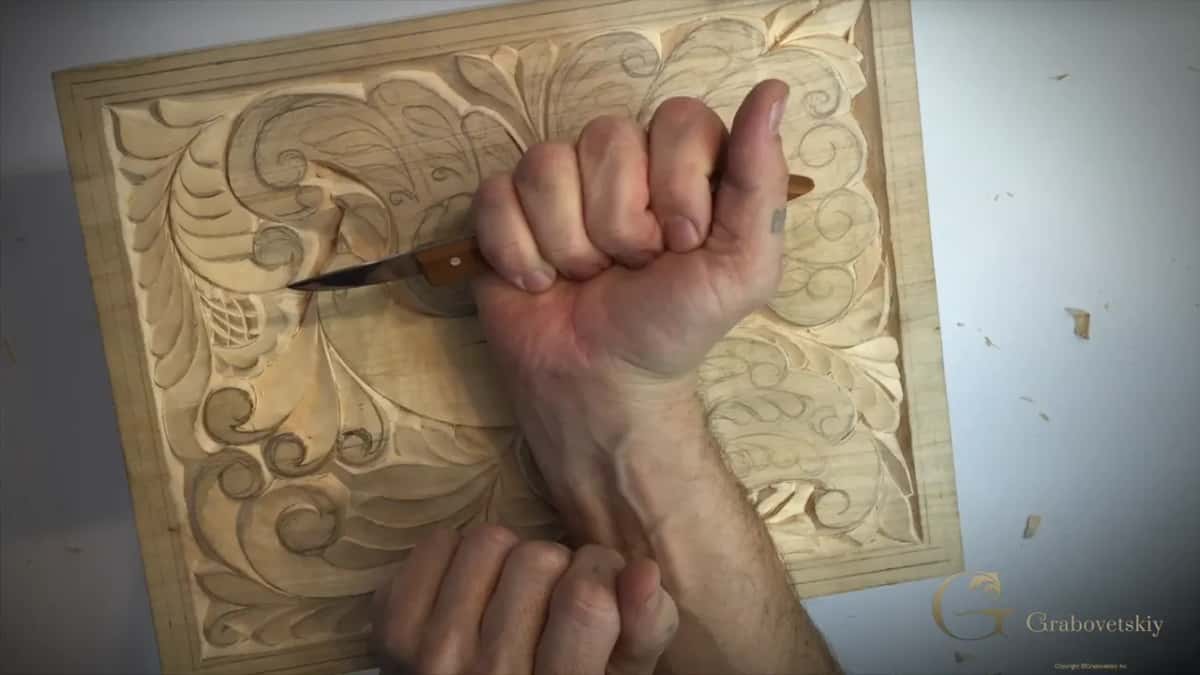
Changing how you hold the knife. A hand resting flat on the board cannot drop the blade any lower, so when I need a very shallow angle I grip from above instead, which puts almost no distance between the edge and the surface. One finger then steers where the pass goes.
Pressure stays near zero throughout. A tiny rotation of the blade as a travel finishes leaves the curl neat. None of this is dramatic, and all of it is the difference between a wall you keep and a wall you spend twenty minutes repairing.
Why not simply sand it and move on?
Try it once on a scrap and you will see for yourself. Paper rounds every crisp edge it touches, and on a panel where the whole effect comes from shadow, rounding those edges takes the picture away. The surface gets smoother and the carving gets worse.
Dust is the second problem, and it is the one nobody warns you about. Abrasive paper fills every groove with a pale powder that no brush removes, and the moment oil goes over the top, those corners stay pale for ever. A reed makes very little dust, and a knife makes chips, which simply fall out.
The bench, and what is left to carve
The panel from Workshop 9, one knife plus a pencil, a toothpick and a piece of reed. The bird is started. Tail and wings are still to come in Workshop 11. If your edge will not free a chip cleanly, the sharpening course comes before any of this.
What to buy sits in the tools course, and why a line must reach the main line is taught properly in principles of design. Every workshop of this project sits in order in the beginner course, inside the school.
Four parts, about thirty six minutes. Part 10.1 holds the reed itself, 10.2 covers flow and the brush stroke, 10.3 has the toothpick repair, and 10.4 shows a mistake and its cure.
There is a plant growing near you that sharpened nothing and smoothed everything. Shall we carve?
How it's done
- Cut a length of stem. Cut roughly 45 mm of it. Fresh stems stay flexible, while dry ones crack when split, and either state works on wood.
- Use it round or split it flat. A whole tube reaches into tight corners that no flat sheet will enter. Split open, the inside face works like a small pad on broader fields.
- Rub lightly, listen to it. Work it across the carved surface with very little pressure. You will hear a dry rasp and see wood dust, which is the silica doing its job.
- Fix a point with a toothpick. Deep in a V, rub a plain toothpick along that low point in both directions until nothing catches a fingernail.
- Take corners to depth first. On the bird, drop the corners to 6 mm, then work the middle outward to meet them instead of guessing your way down.
- Move the light before you stop. Lift the panel, turn it, and let light fall from another direction. Ridges invisible from the carving angle appear at once, and you can still fix them.
Frequently asked questions
What is Dutch rush?
A jointed green stem, Equisetum hyemale, that grows in wet ground. Silica in the stem walls makes it mildly abrasive, and carvers used it on wood long before manufactured abrasives existed.
Is it as coarse as sandpaper?
Nothing like it. Expect something much finer than 180 grit. It lifts raised fibre off a surface rather than reshaping anything, which is what carved work actually needs.
Do you need to glue it to a backing?
No. Hold a bare length in bare fingers. Some people mount strips on thick tape to make a sheet, which works, though the plain stem does the job on its own.
What to carve next