
Alexander Grabovetskiy, woodcarver, School of Woodcarving · Published 2017
Should you sand a wood carving when it is finished?
Quick answer: Sanding a carving like this would ruin it. Every mark the blade leaves is part of the surface you are building, and paper rounds off the crisp edges that make shadow possible. My job is to get those marks agreeing with each other, then stop touching the wood.
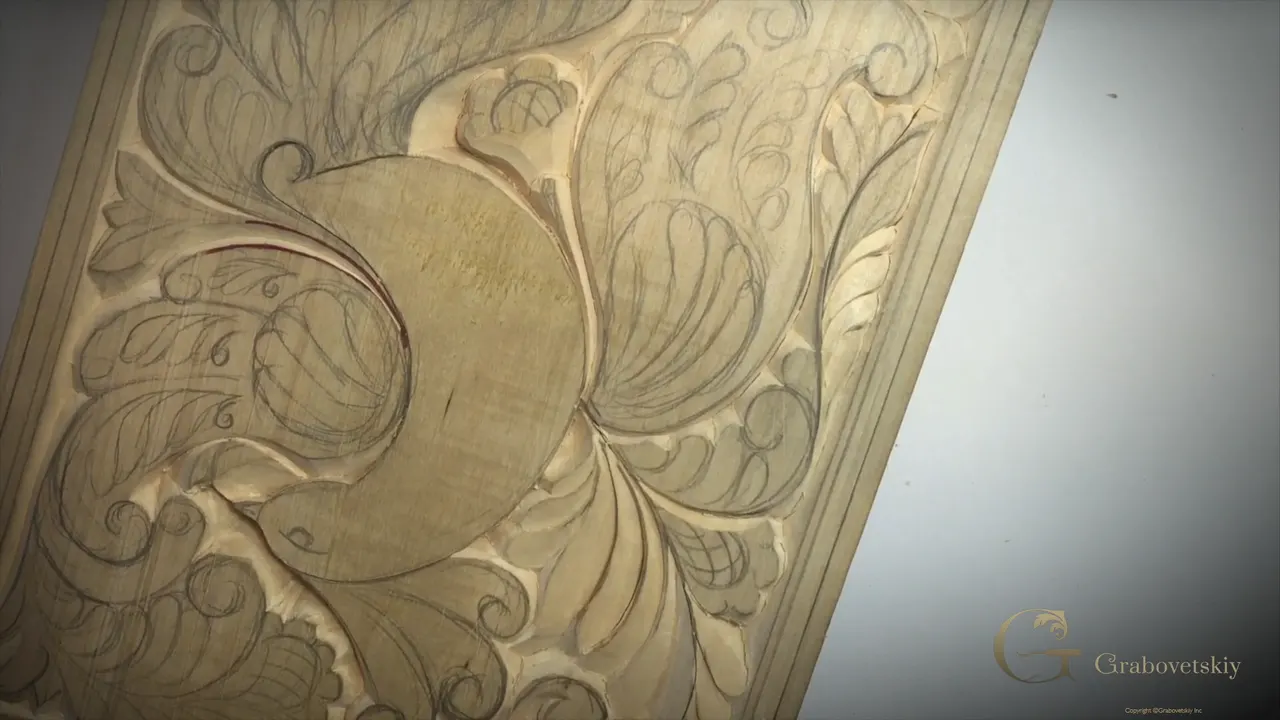
Sanding a carving like this would destroy it. The marks a knife leaves become the surface you are meant to see, and abrasive paper rounds every crisp edge it touches. What I do instead is make the marks agree with one another, then leave the surface exactly as the blade finished it.
Have you been told that a good carving has to feel smooth? Do your own pieces lose their sharpness after you tidy them up? Then put the paper down and read on.
This is the question students ask me more than any other, and the answer surprises most of them. Workshop 8 finishes the details around the flower using one knife still, and somewhere in the middle of it I stop and explain what carvers actually did before abrasives existed. Not what you would guess.
What the surface of a carving is supposed to be
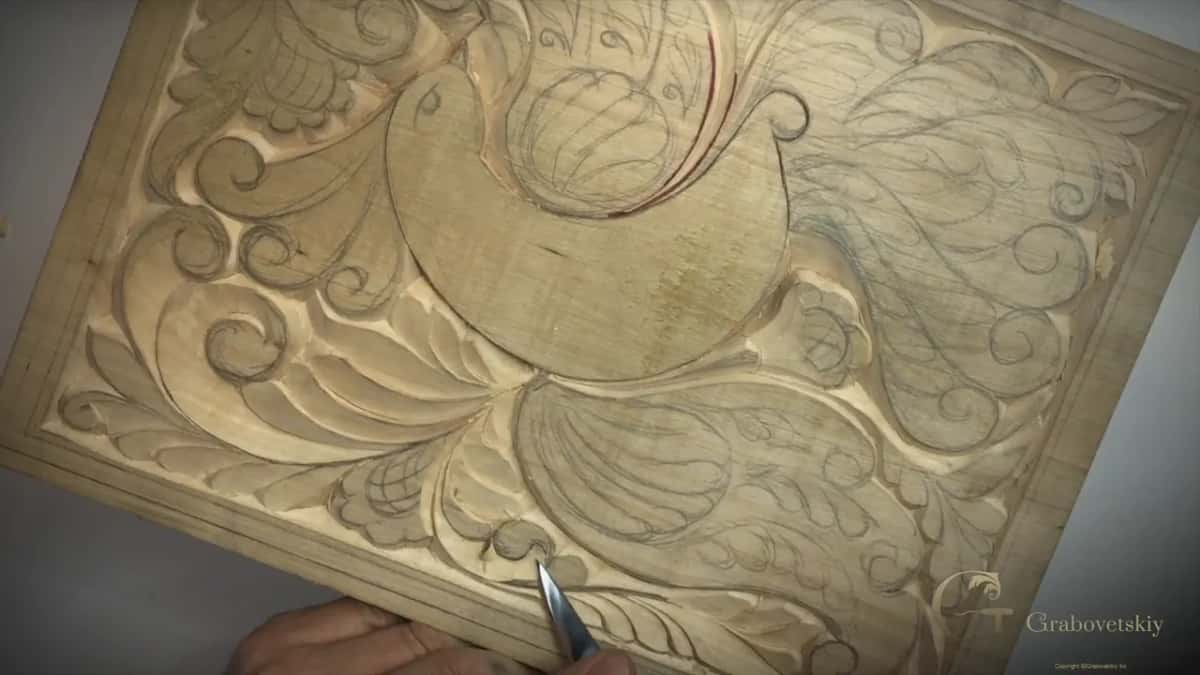
- The marks your blade leaves are texture, not damage. They belong in the finished piece.
- Unified is the word that matters. Marks that agree with each other read as craft; choppy ones read as a mistake.
- A wall carved badly gets no second chance, because nothing later will clean it.
- Old carvers had no abrasive paper. In England they rubbed with a reed, and more often they burnished with another piece of wood.
- Oil went on top, or wax, and that was the entire finish.
Should you sand a wood carving?
Almost never, and certainly not this one. Abrasive paper does two things to carved work, and both are bad. It rounds every sharp edge, which is where the shadow lives, and it fills the grooves with dust that no brush gets out. A panel that took eight evenings loses its whole character in twenty minutes of tidying.
Some carvers do sand, and I know them and respect them. My own view is plain: the piece looks far better when the marks stay on it. Those marks tell whoever picks it up that a person made this by hand, and there is no way to fake that afterwards.
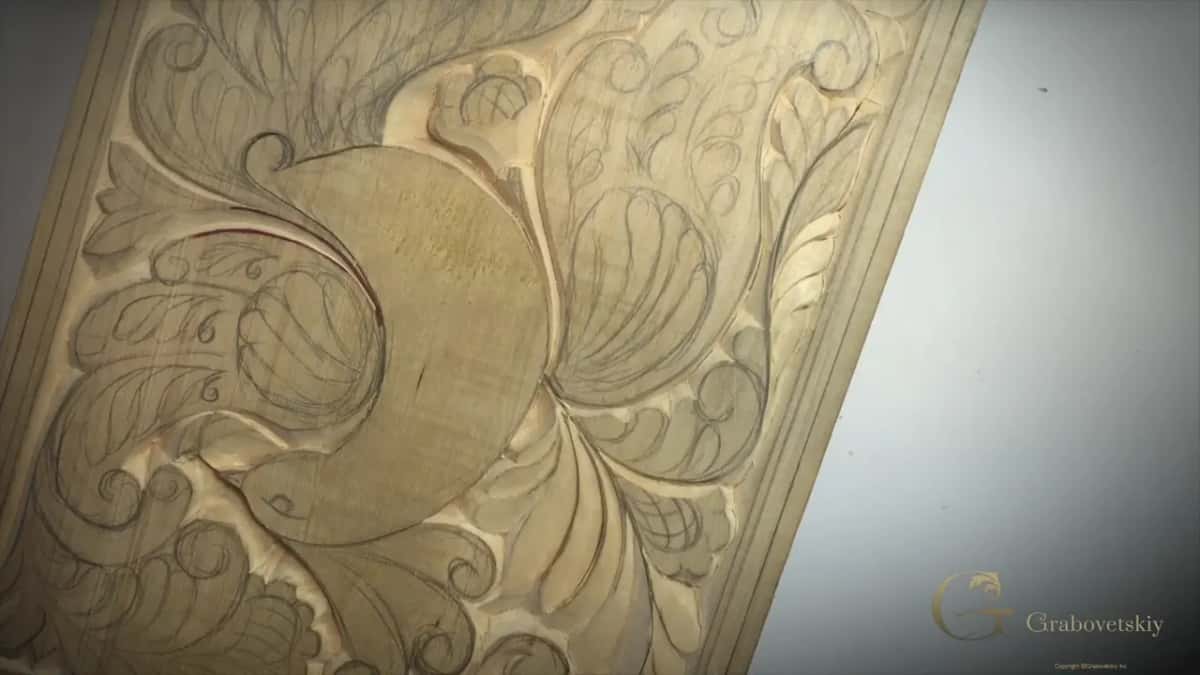
What does a good surface look like then?
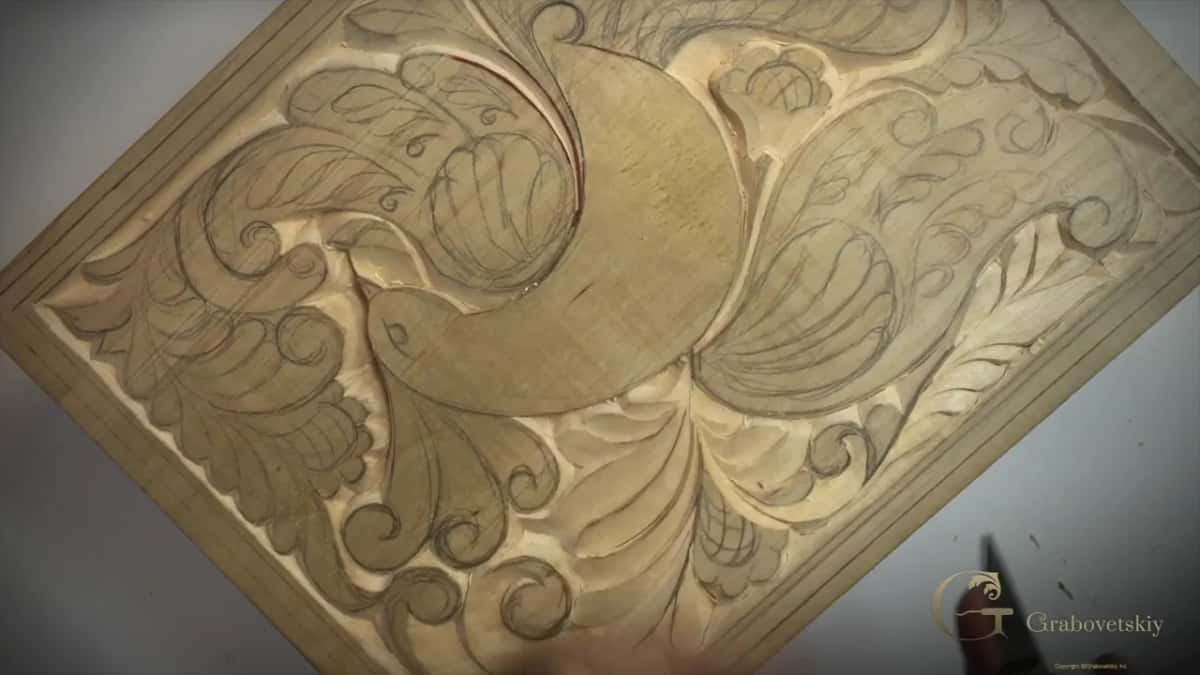
Unified. Every mark running the same way, at the same depth, with the same quality of edge, so the eye reads them as one deliberate texture rather than as a series of accidents. Turn the board in the light and the whole field should change together.
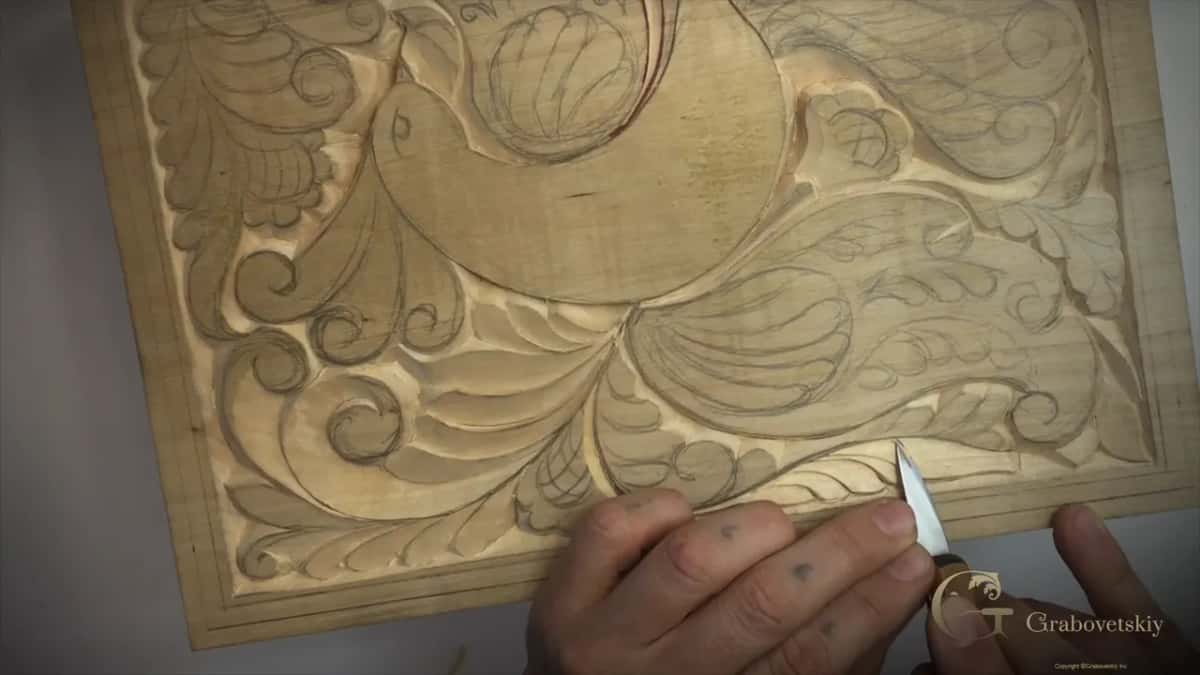
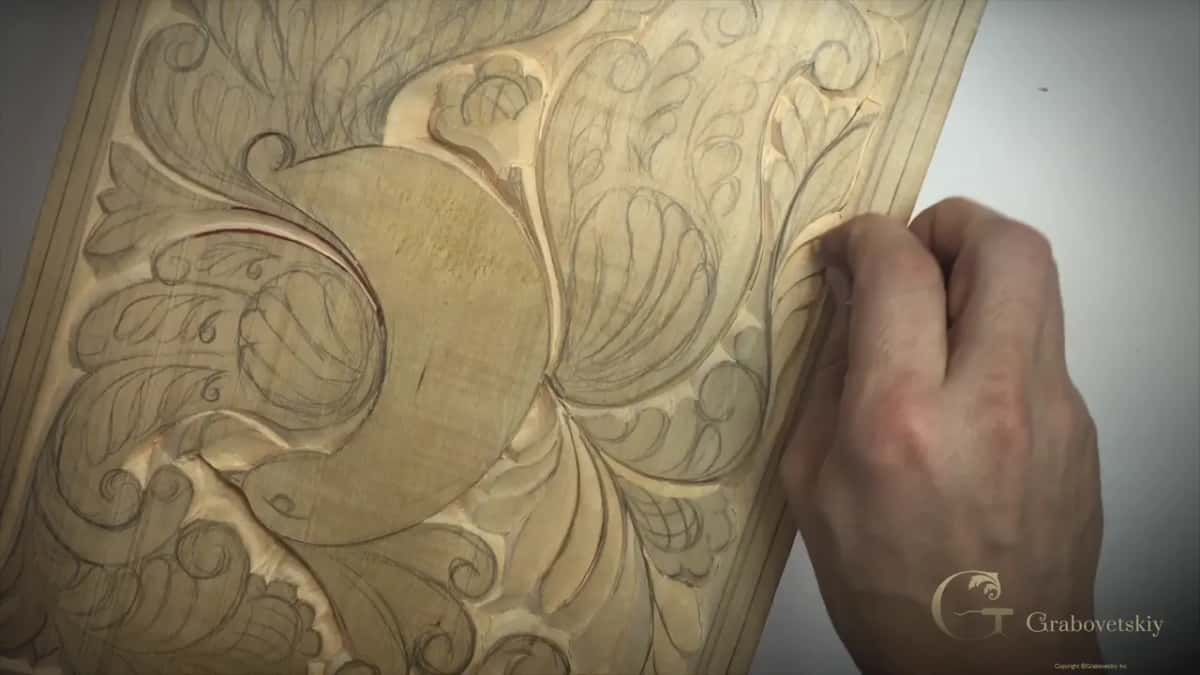
Setting the standard is easy and meeting it is not, as camera shows. Turning the panel in this session shows me marks that do not agree with their neighbours, so I clean them, then leave the area alone. Cleaning here means another travel with the knife at the old angle, never a rub with anything.
How did carvers smooth wood before sandpaper?
Two ways, and the common one is not what people expect. In England they used Dutch rush, a reed carrying enough silica in its stems to work as a mild abrasive, which is real but slow, and it leaves marks of its own rather than the glass surface you get from paper. Most carvers did not bother with it at all.
What they did instead was burnish, using another piece of wood. Rub a smooth scrap hard across the grain of the carving and the fibres lie down and take a shine, which is burnishing in the proper sense of the word. No dust, no rounding of edges, and the result is genuinely smooth. Then oil, or wax, over the top, which is where wood finishing stopped for most of history.
| The approach used | What the carved surface ends up like | The edges | Does it go on this panel |
|---|---|---|---|
| Out of the knife | Faceted, with every blade mark standing right where it fell | Fully crisp | Yes, and it is exactly what I want |
| Burnished with wood | Smooth and a little polished, with no dust | Still sharp | Used right across Europe for many centuries |
| Dutch rush | Lightly smoothed, and it leaves marks | Mostly kept | Rare even then, and slow |
| Sheets of abrasive paper | Even and smooth, with dust packed into every groove | All rounded | No, never on work of this kind |
What is going on the board at the end?
An old method, and honestly I am looking forward to it more than to the carving. The finish planned for this panel is a technique used thousands of years ago in Syria and across the Middle East, and later in Europe as well. It develops colour in the wood rather than sitting on top of it, every ingredient is organic, and the result is safe on a surface that meets food.
All of that is several workshops away, so the surface has to be right long before we get there. A finish will deepen the tone of lime and make every edge more obvious, which rewards clean walls and punishes torn ones. Nothing you pour on afterwards repairs a bad pass.
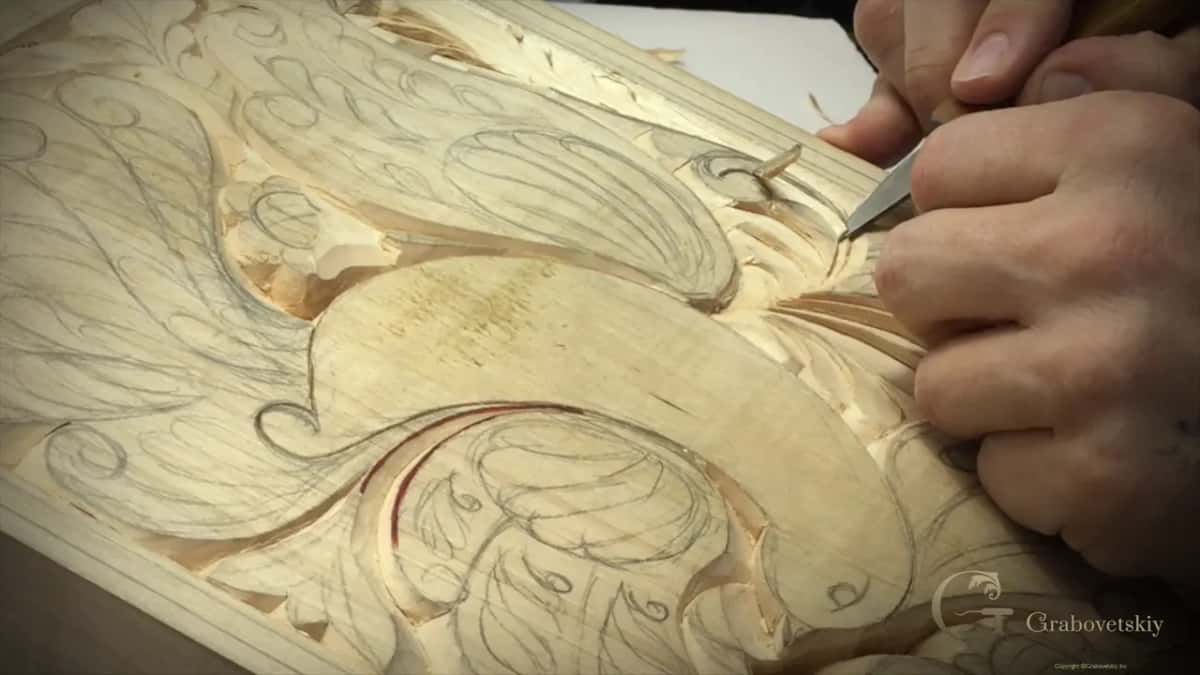
Why is a torn wall so much worse than a rough one?
Torn fibre has nothing left that catches the light. A rough wall still reflects, so it reads as texture and disappears into the field around it. A torn one is a ragged hole where the blade dragged fibres out instead of slicing them, and no amount of later work brings that face back.
That is the real reason this craft treats sharpening as a daily habit rather than an occasional chore. A dull edge tears, a sharp one slices, and in chip carving the difference shows on the finished piece for as long as the piece exists. Nothing about woodcarving punishes a blunt tool more visibly.
What about dust left in the grooves?
Blow it out, then blow again, and do it after every single shape. Every travel leaves crumbs in the bottom of a V, and they sit there quietly until a finish goes on and glues them in place permanently. One breath across the surface after each shape is enough, and it doubles as your test that the walls actually met.
This is another argument against abrasive paper on carved work. Paper makes a fine dust that packs into every corner and refuses to leave, and once linseed oil or beeswax goes over the top, those pale corners are there for good. A knife makes chips, and chips fall out.
Why does one element have to pass under another?
Layers are what stop a flat panel from reading like wallpaper on a wall. Drop one element slightly where it meets its neighbour and your eye instantly reads it as being behind. Repeat that judgement across the whole board and a surface three millimetres deep starts to look like it has real depth in it.
Decide the order first. My small leaves run under the flower, the flower sits above the ground, and every one of those relationships was settled before a blade touched them. Change your mind partway and two elements both end up claiming the top, which is the commonest fault in beginner ornament.
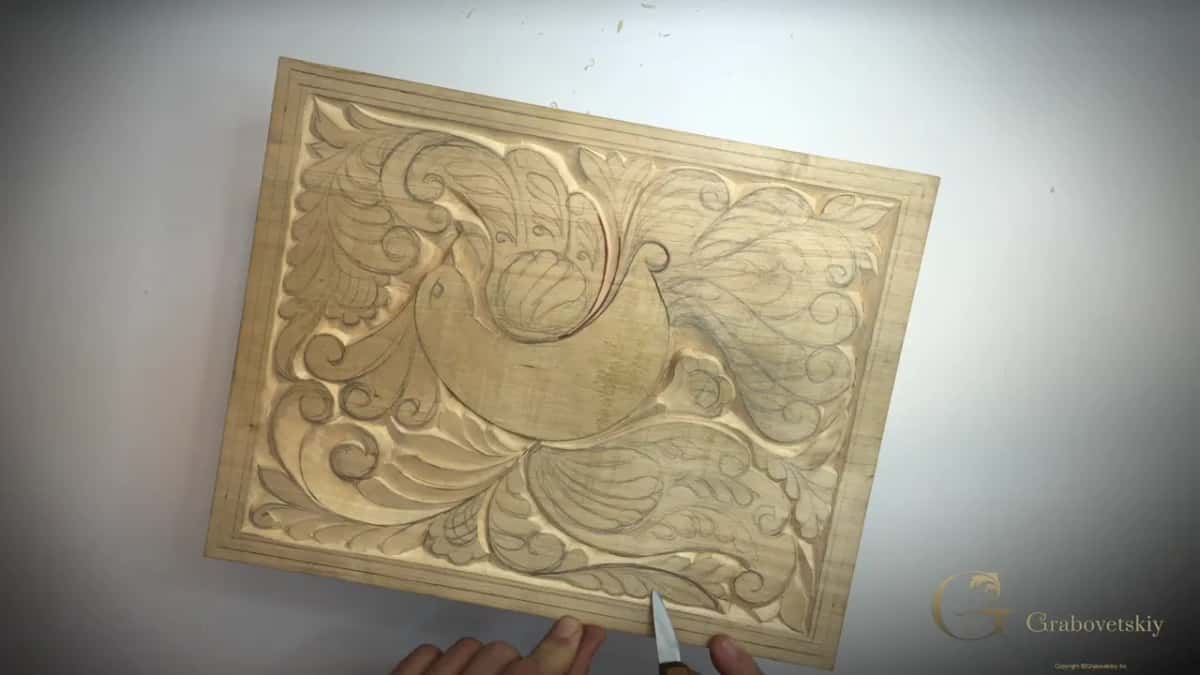
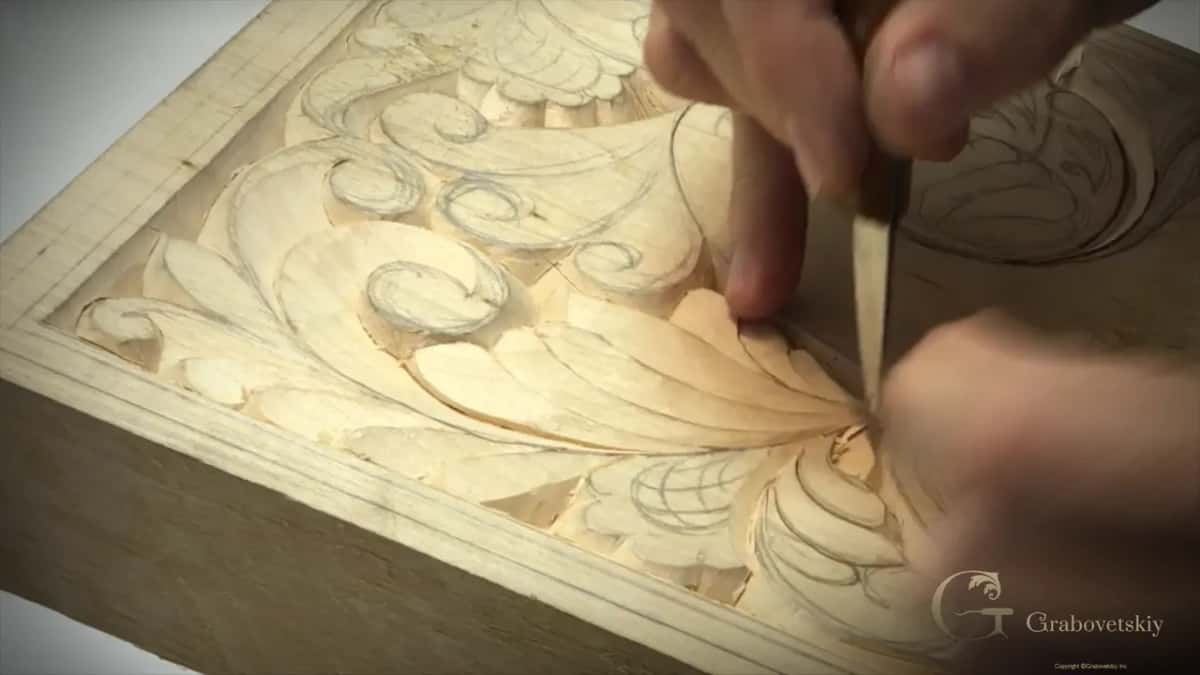
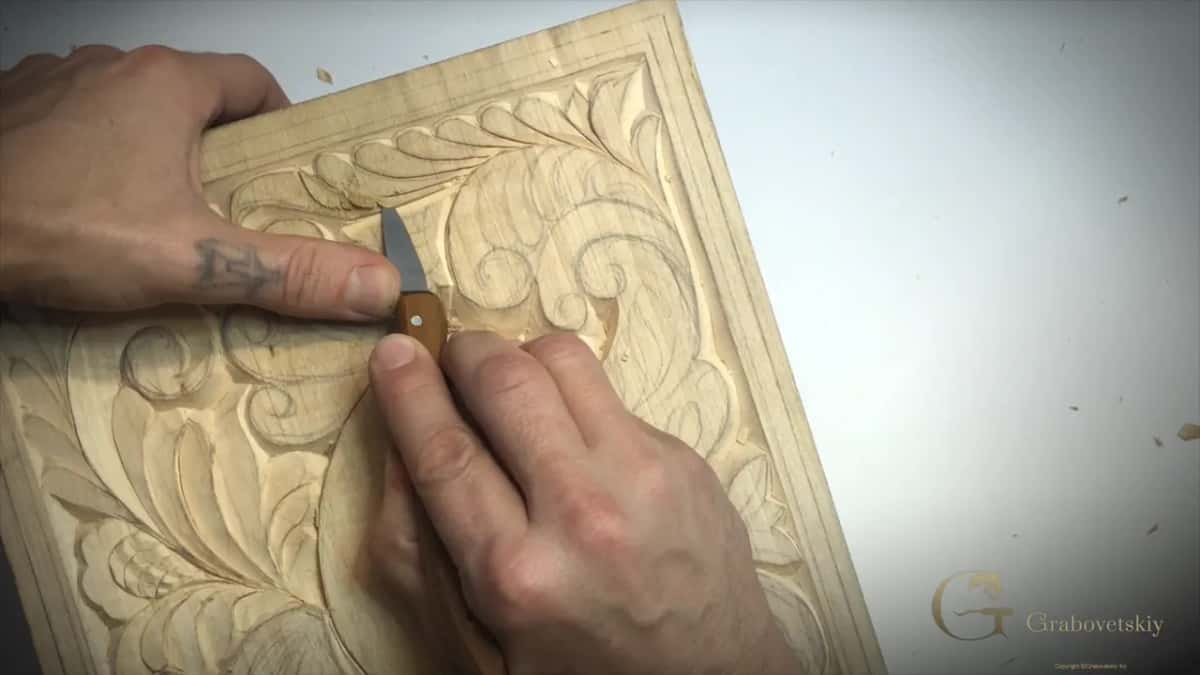
How do you carve a grid into a flower?
One line at a time, and every one of them takes the identical bevel. My flower carries a grid I call the pineapple, although Europeans had never seen a pineapple when this pattern was old, so they were simply drawing a woven texture. Either way the carving is identical.
Place the blade on a drawn line and take the bevel you have been using everywhere else, then come back from the opposite side about three millimetres clear of the first travel, and the two bevel faces meet in a V. Do not dig deep. There is very little wood left under a flower by this stage, and the whole texture is meant to be shallow.
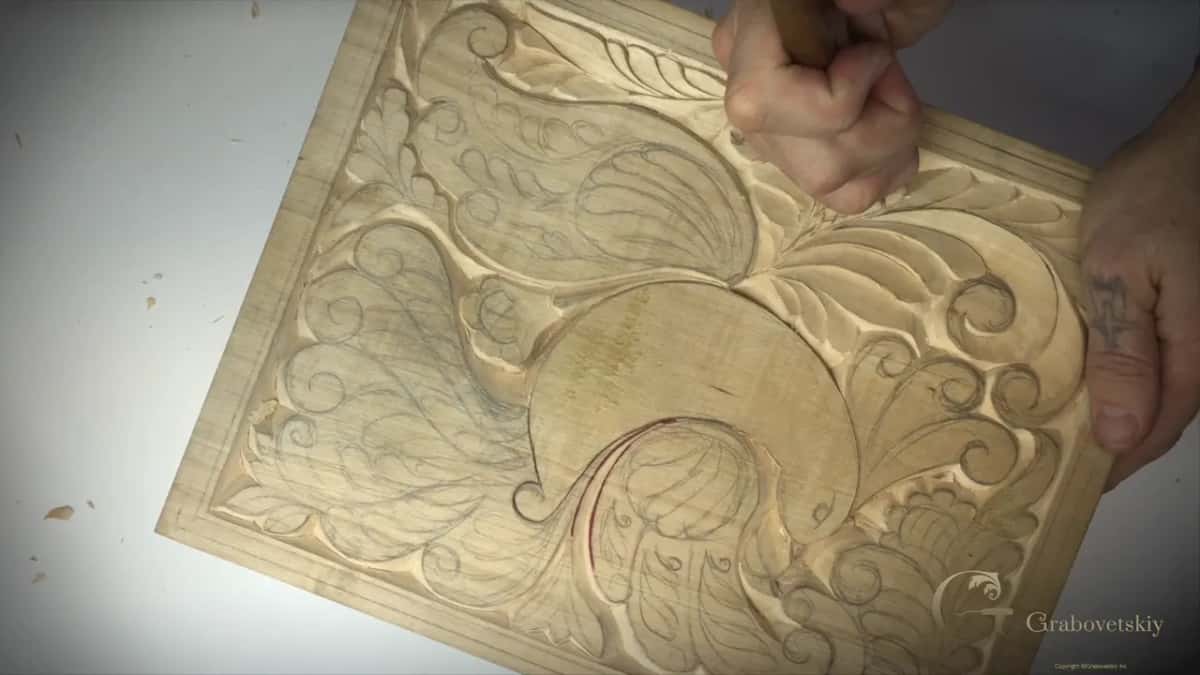
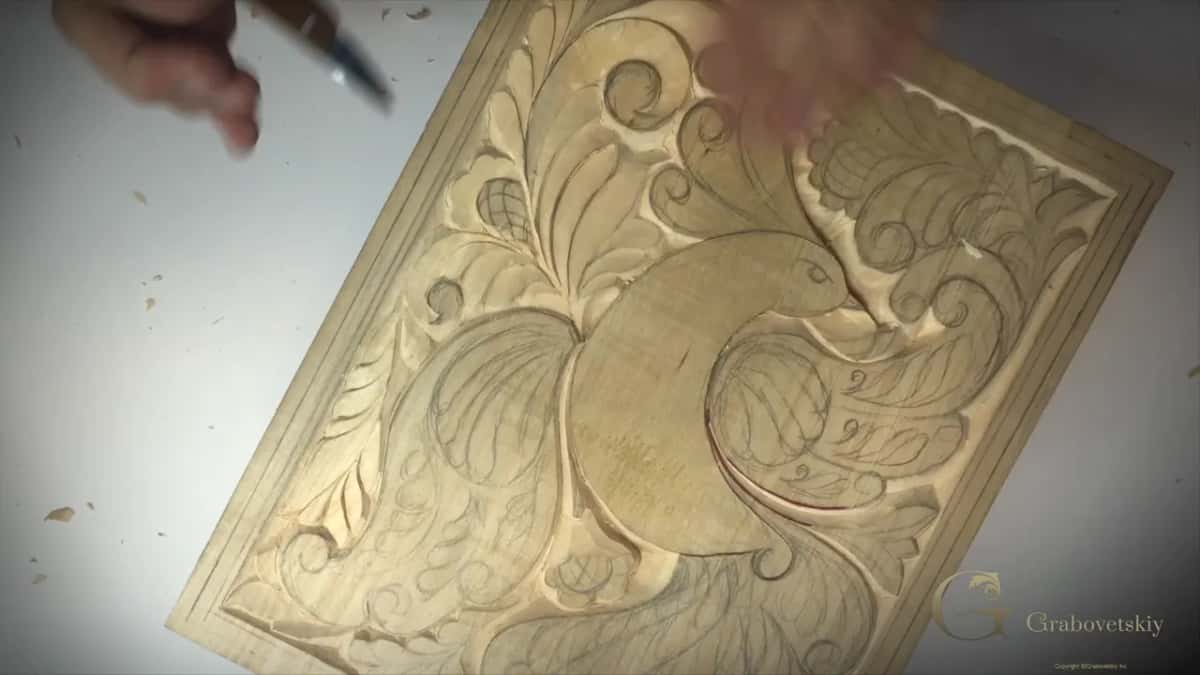
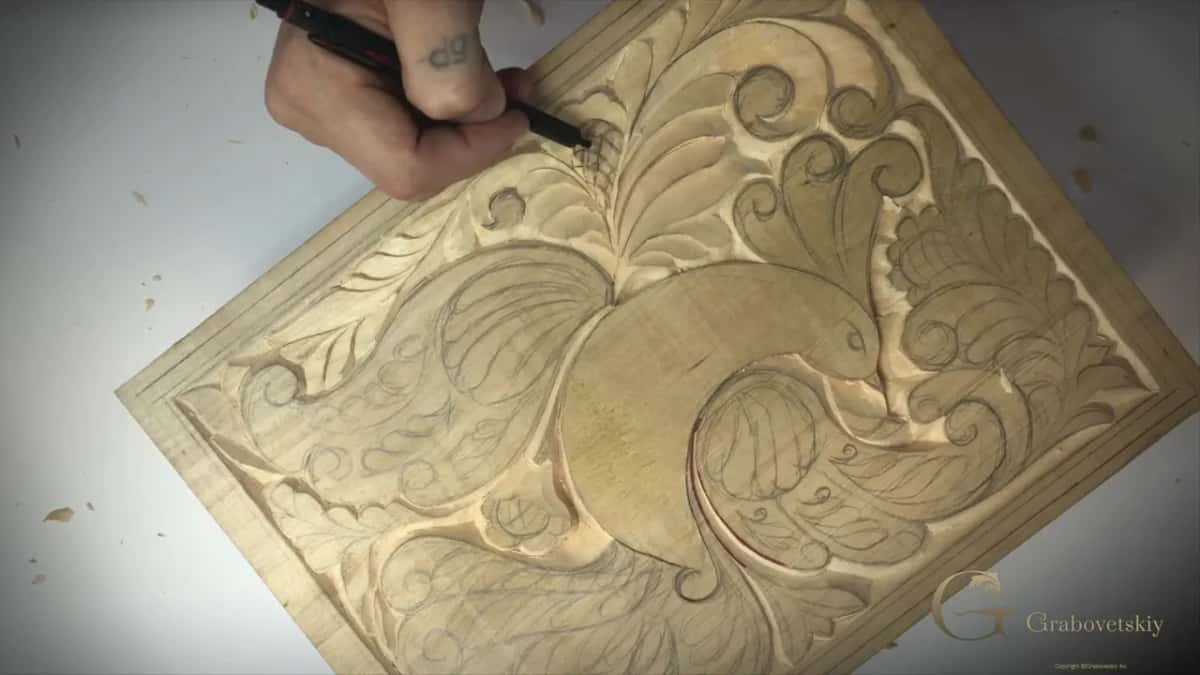
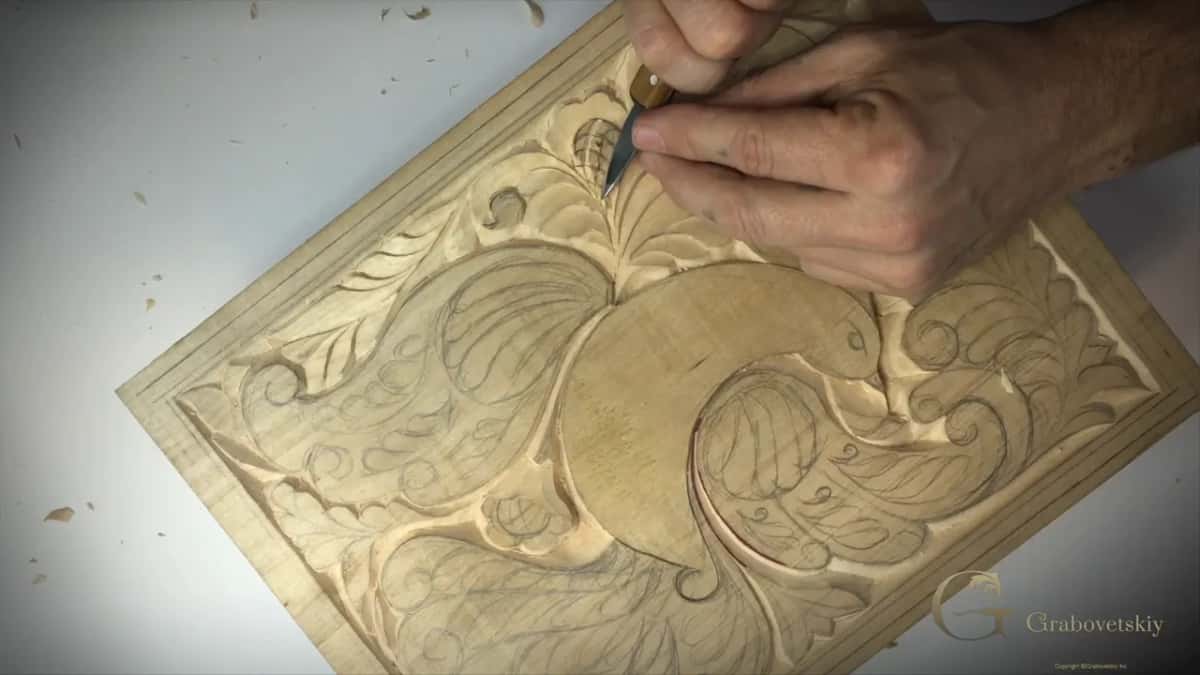
Which way do you travel when the grain turns?
Both ways, from the peak outward. Locate where the grain peaks inside that shape, pull toward yourself down one slope, then push away from yourself down the other. One shape, two travels, and the surface stays clean on both halves.
Pushing is allowed. That surprises people who were told to always pull toward themselves. Direction matters relative to the fibres, never relative to your body. Keep the hand resting on the panel either way and the push is as controlled as the pull.
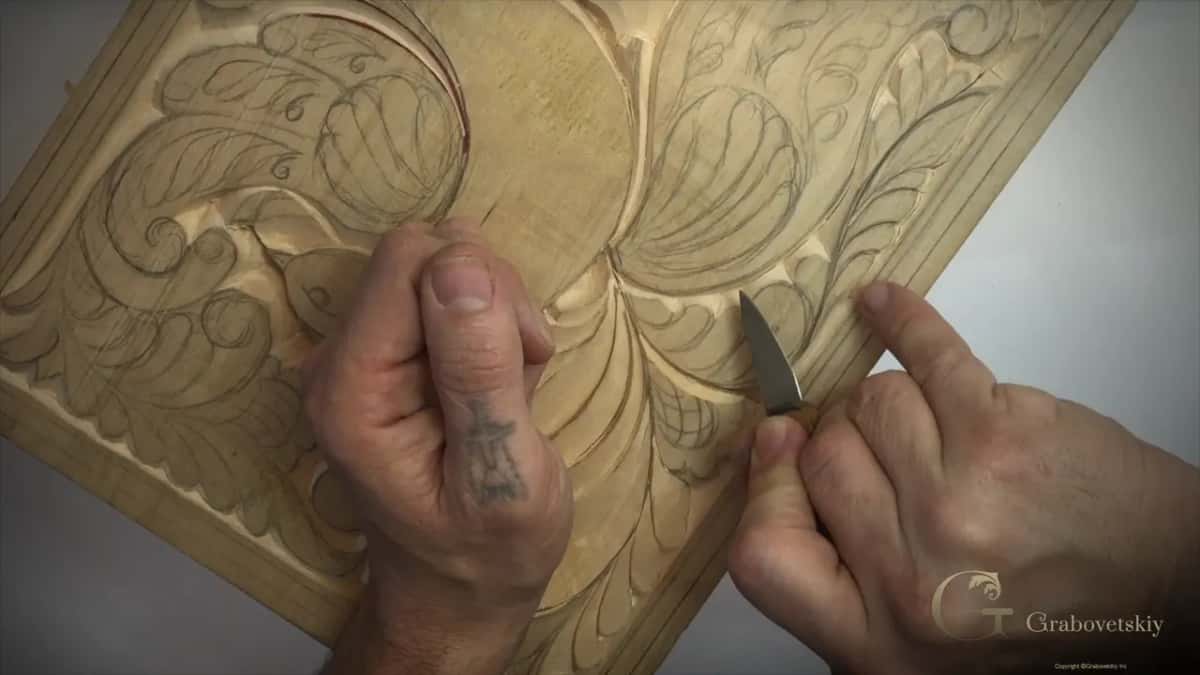
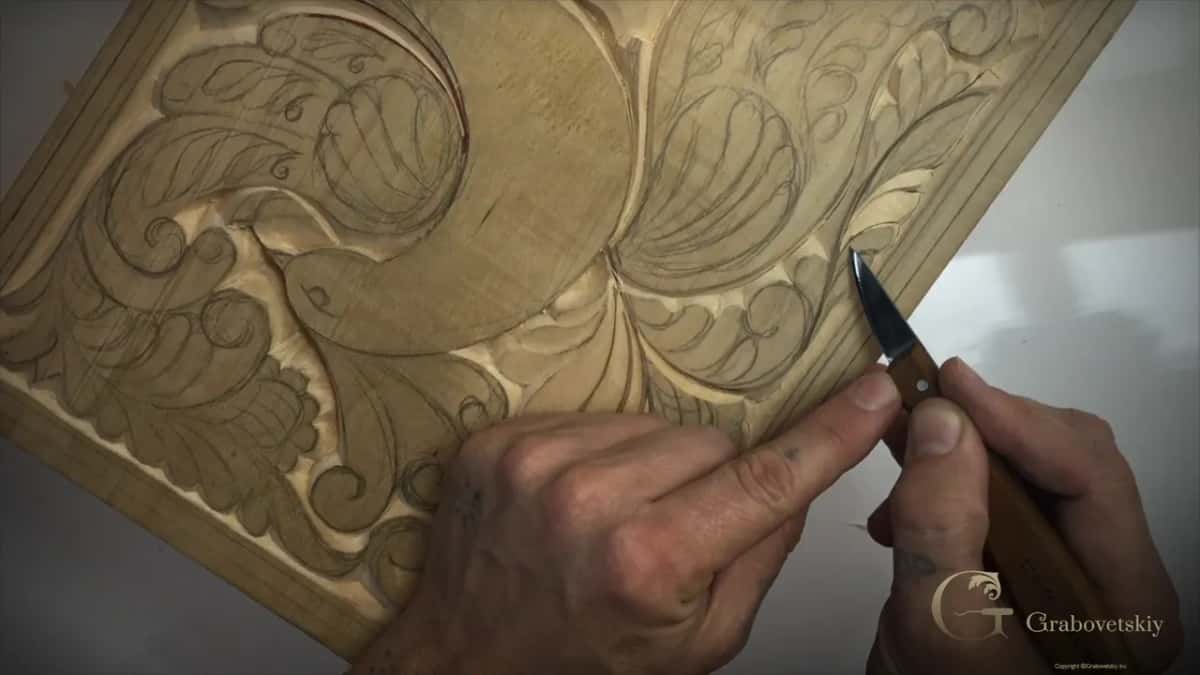
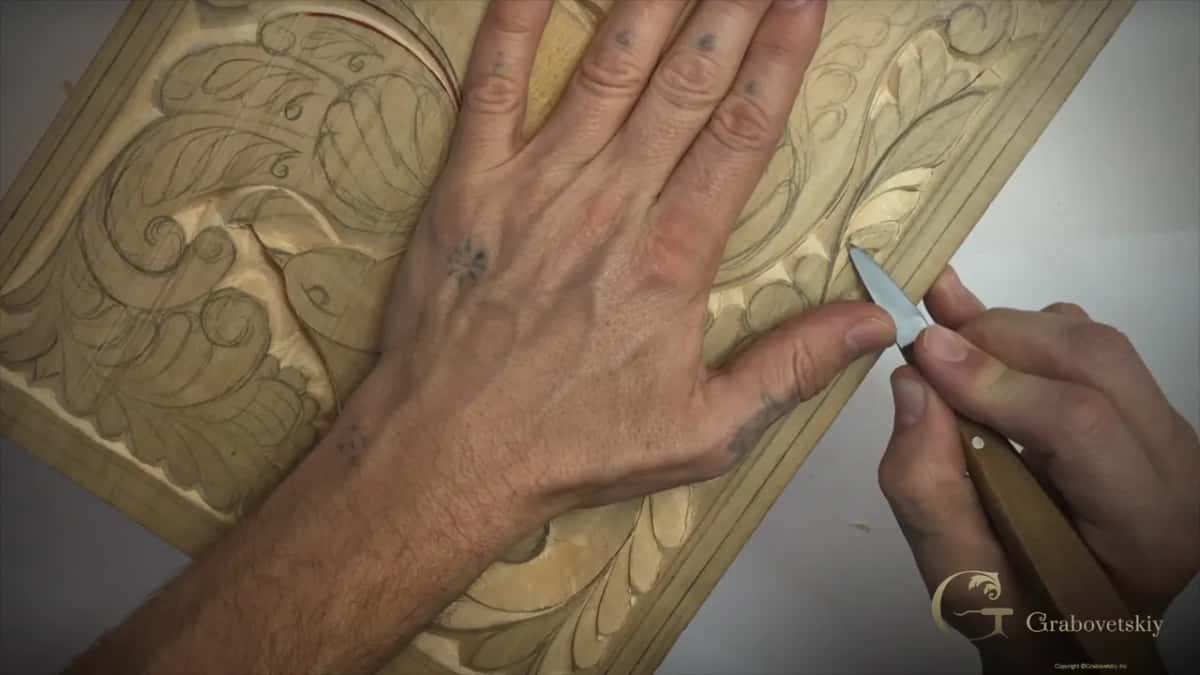
Can one knife really be enough?
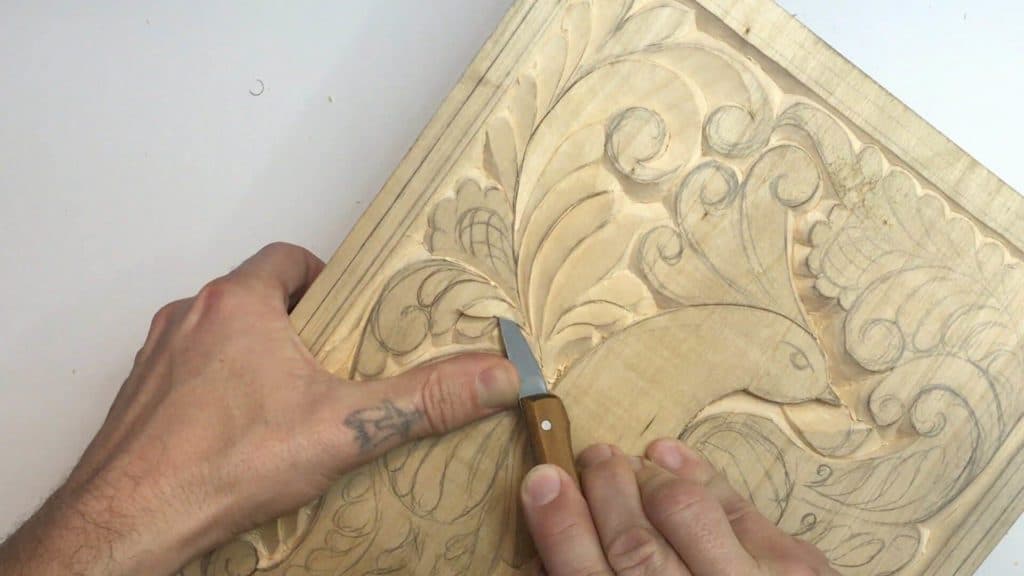
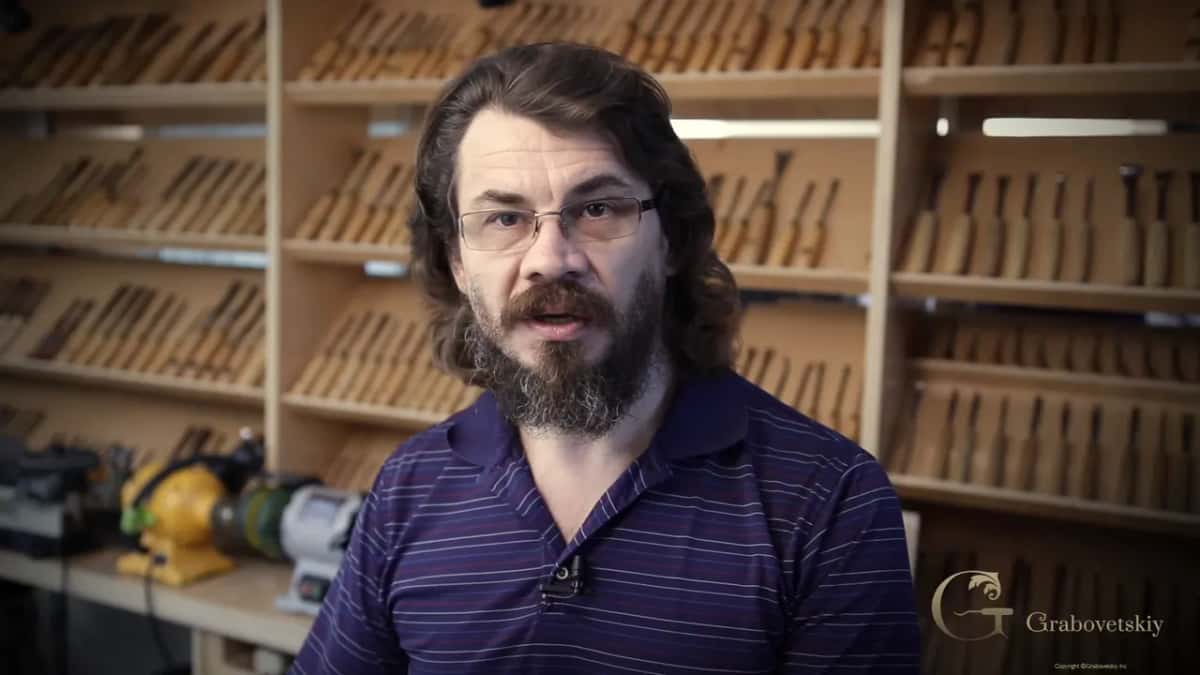
For this style, yes, and that is the point of the project. I own the rack of tools you can see behind me in the videos and I am not using any of it here. A Swiss made number 12 chip carving knife handles every shape on this panel, which is exactly what the old carvers had available to them.
Try it and you find out that limited is not the same as easy. Training your hands with one straight blade is harder than reaching for a gouge that already carries the curve you want, because you have to produce that curve yourself, at a depth you judge by eye. People finish this project with better control than they would have gained from a set of twelve.
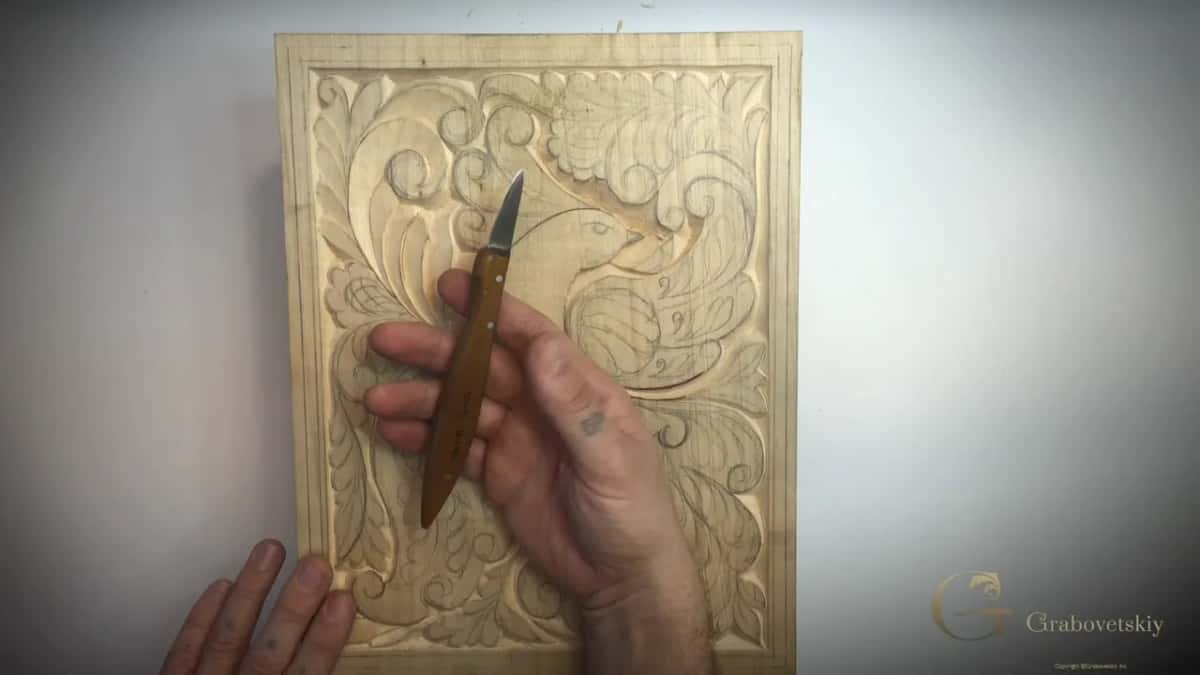
How long does a surface like this stay good?
Centuries, if nobody sands it. Panels carved this way in the ninth and tenth centuries are still crisp in museums, and the reason is that nothing was ever removed from those edges after the carver put his knife down. Wear rounds a surface slowly. Paper does it in an afternoon.
Think about what that means for a board you make this month. Left out of the knife and oiled, it will still read properly when your grandchildren pick it up. Sanded flat, it looks tired within a few years, because the shadows that carried the pattern were taken off before it ever left your bench.
Is flat carving proper carving?
Ask the question honestly and the answer is obvious. Work like this is shallow, and it fills a surface with movement that deep relief cannot match on a panel three millimetres thick. Curls everywhere, which is precisely why the style carries the name it does.
You find the same idea right across Europe, in different traditions with different patterns, and the technique underneath them hardly changes. Calling it lesser because it is not deep misses what it was for. A cutting board, a spoon, a chest lid: none of those want undercut foliage standing proud where it will catch on a sleeve.

What are you actually training here?
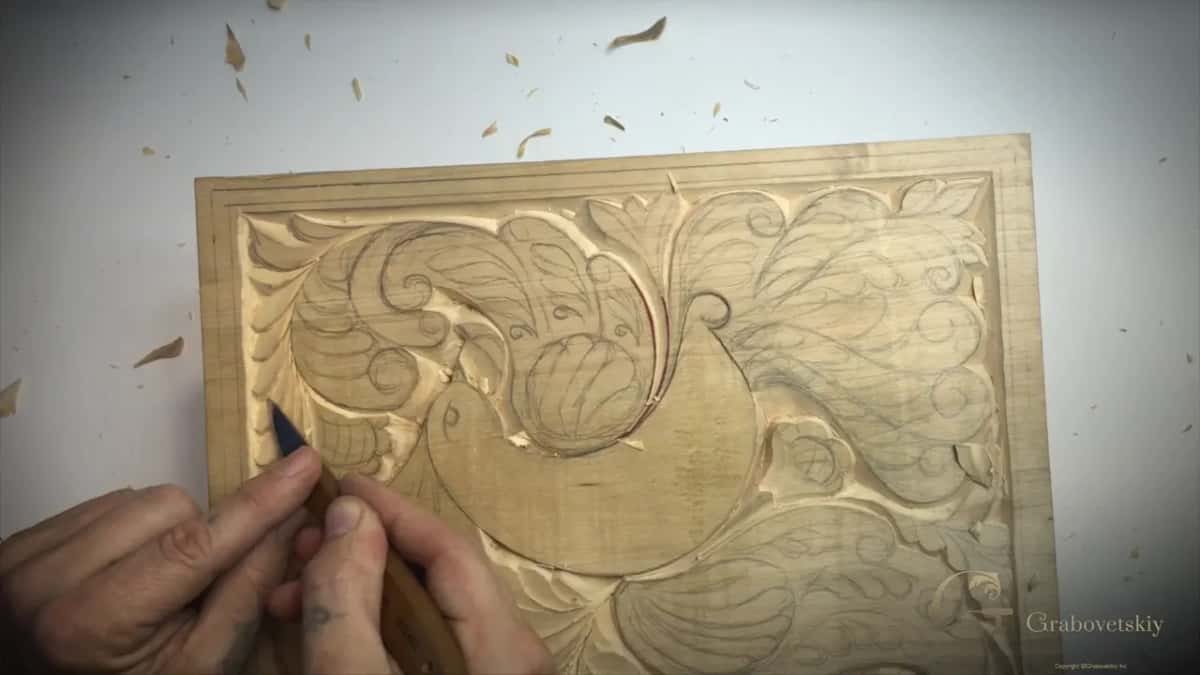
Depth control, and it transfers to everything afterwards. Every travel on this board asks you to decide how far in the edge goes, hold that decision for the length of the shape, and match it on the shape beside it. Do that a few hundred times and your hands pick up a sense of the third dimension that no amount of reading supplies.
Which is why I keep asking students to carve along rather than watch. Watching teaches the sequence. Only the wood teaches the pressure, and pressure is the part nobody can put into words. Send me a photograph of yours when it is done, because I genuinely like seeing them.

Small practical things that save a panel
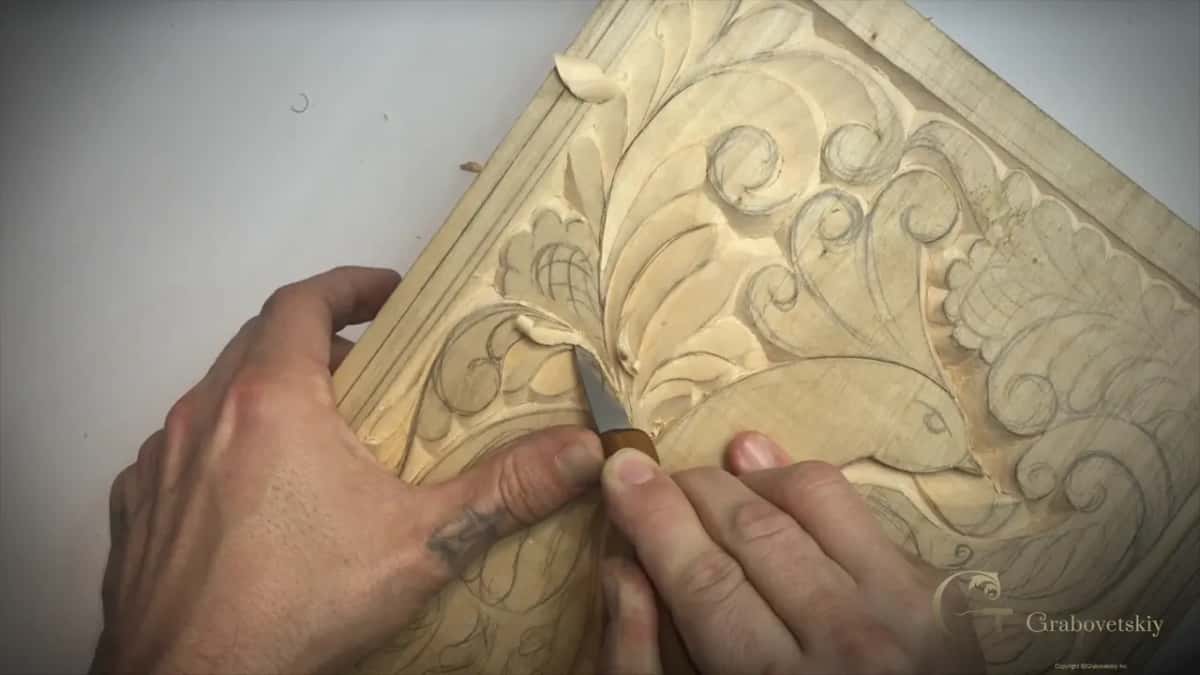
Keep the edge behind the separation line between two elements. Dig past it and you have joined two shapes that were meant to stay apart, which cannot be undone. A thumb pressed on the board beside the blade gives you the control to stop exactly where you meant to.
Redraw whenever a line disappears, and expect that several times. Lower an area further if it still competes with its neighbour, because you can always take more and never put any back. None of this is complicated. All of it is the difference between a board you hang up and a board you quietly put in a drawer.
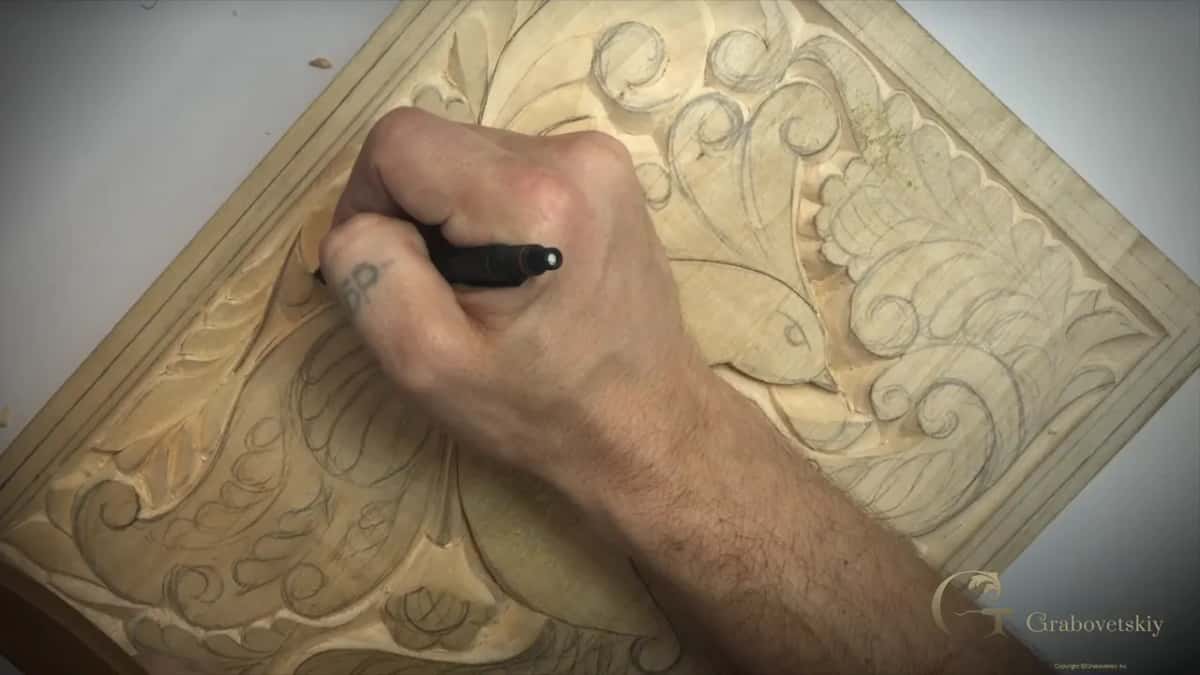
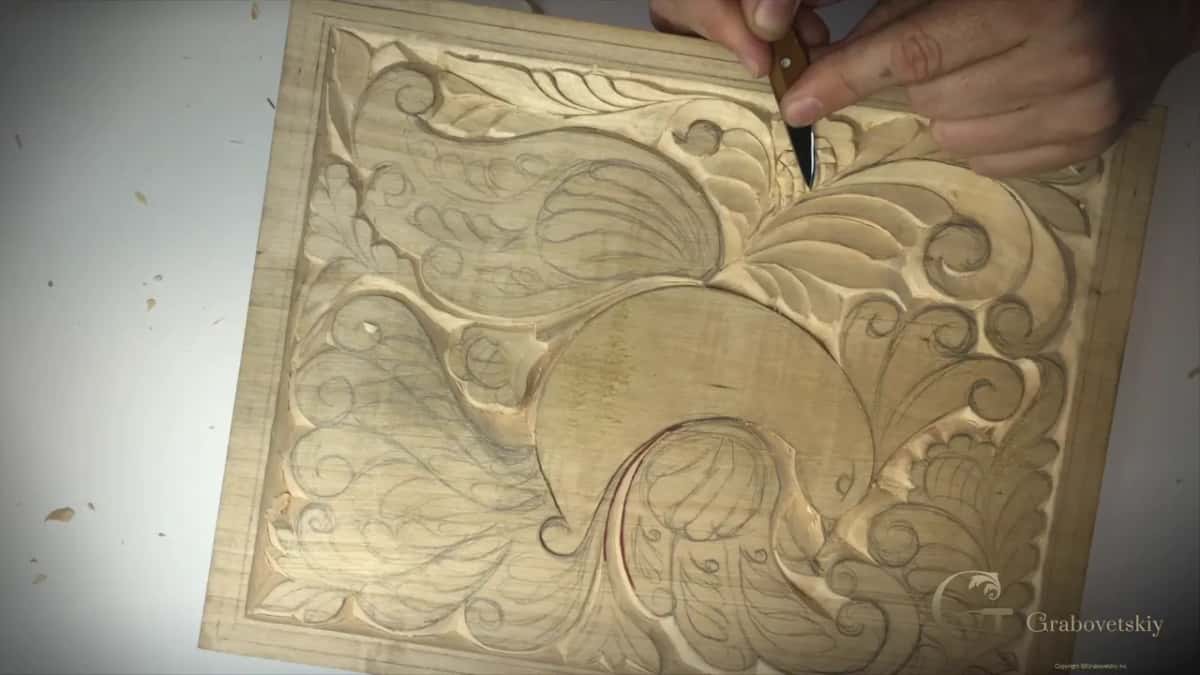
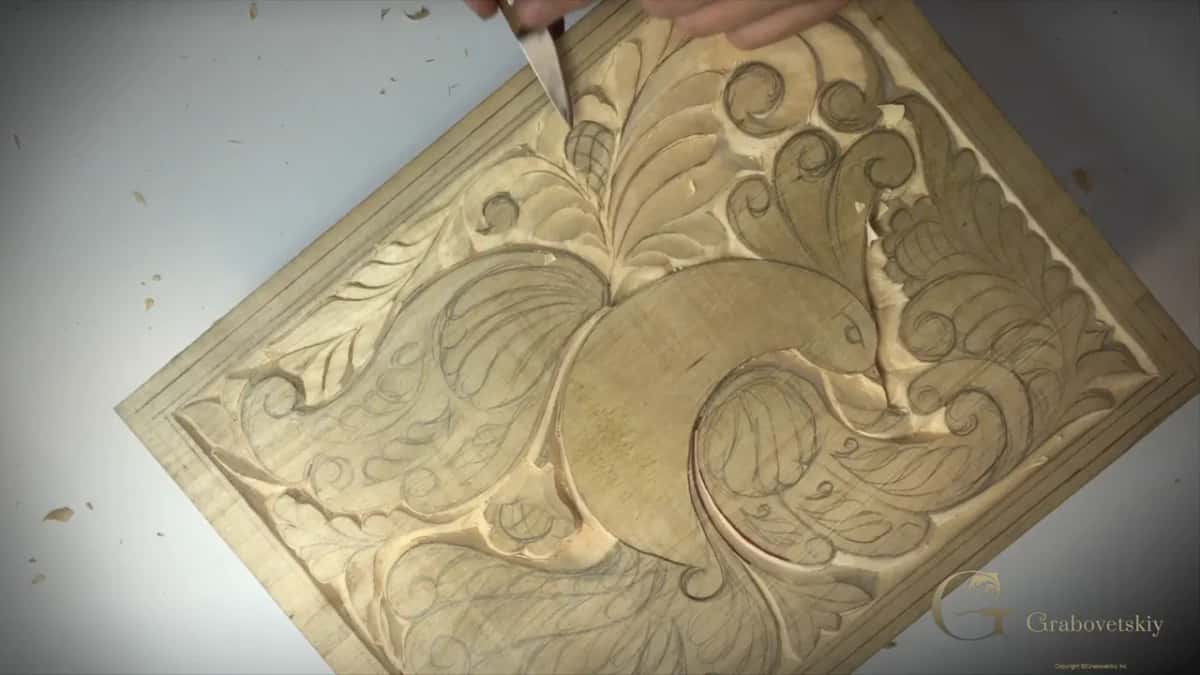
What is on the bench, and what is left?
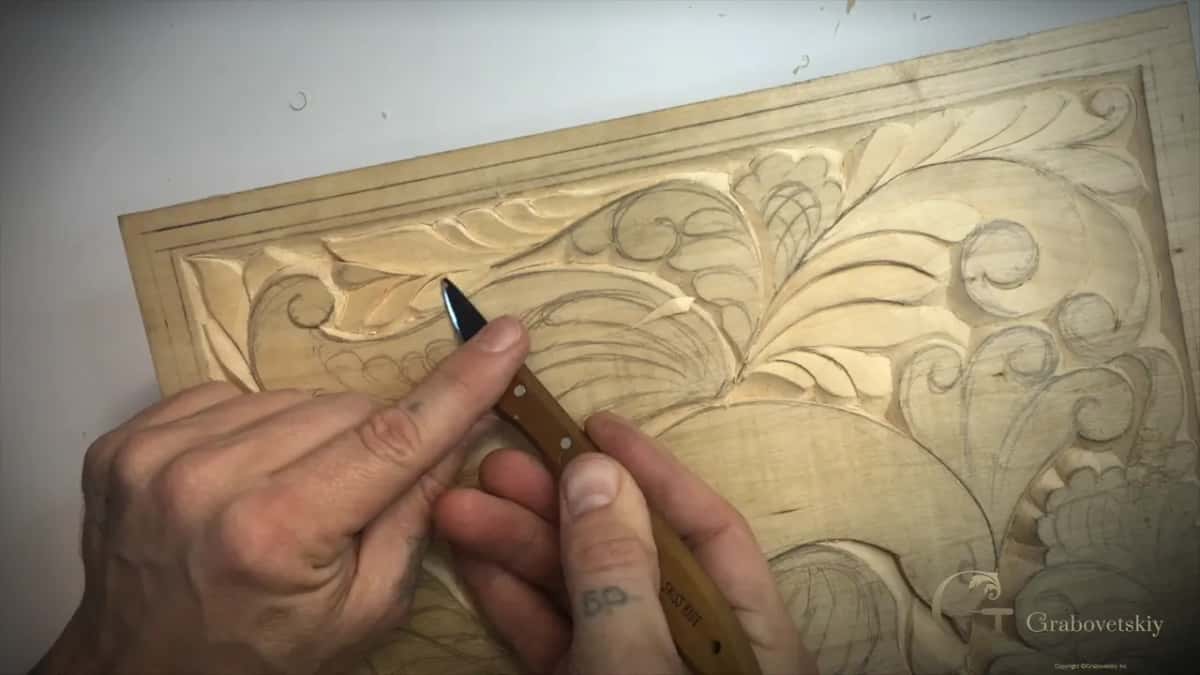
The panel from Workshop 7, one knife, a pencil. Gouges arrive later in this course and the flower will gain from them. The board would stand on its own if I stopped tonight, mind you. A blunt edge makes every rule on this page impossible, so the sharpening course comes first if yours will not free a chip.
Buying questions belong in the tools course, and why one element sits above another is taught properly in principles of design. Everything sits in order inside the school.
Four parts, about thirty two minutes. Part 8.1 covers grain and the old finishes, 8.2 explains why the marks stay, 8.3 carves the pineapple grid, and 8.4 works the last leaves. Before this one came Workshop 6, where the wing was raised above its neighbours.
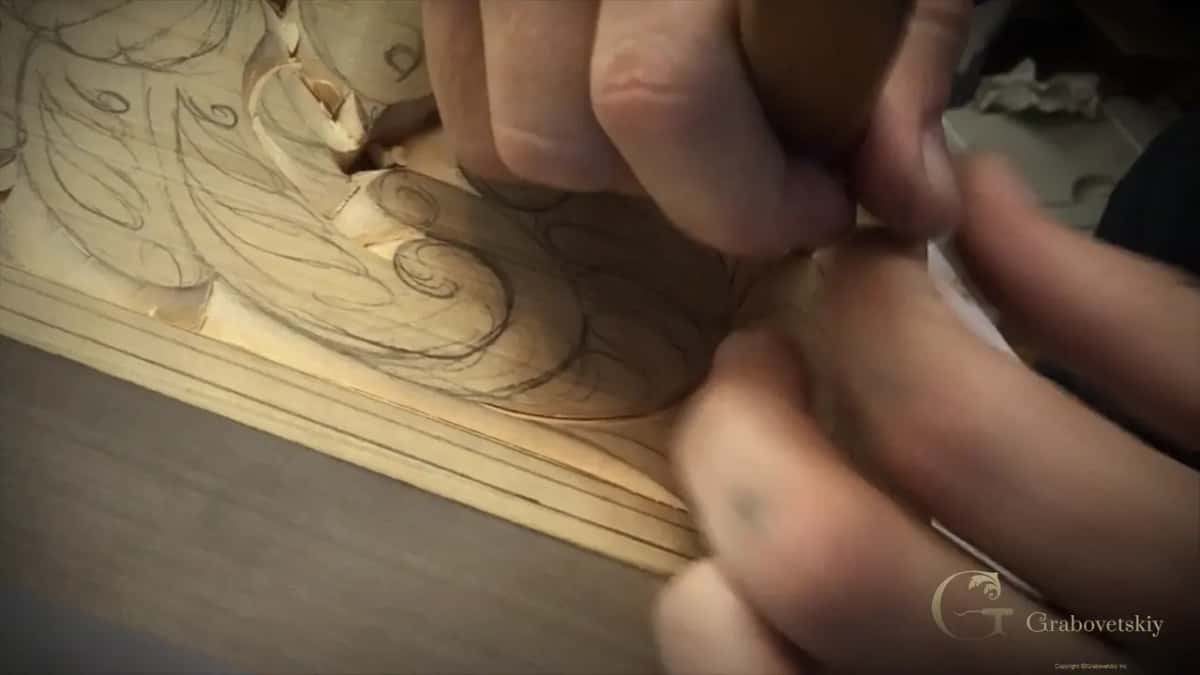
Put the abrasive paper back in the drawer. What would your carving look like if you never reached for it again? Shall we carve?
How it's done
- Clean rather than rub. Where a wall looks ragged, run the blade along it again at the angle you used the first time. Repairs on carved work are always another travel, never abrasive.
- Turn the board in the light. Rotate the panel and look along the surface. Marks that disagree with their neighbours show up instantly from an angle you were not carving at.
- Make the marks agree. Aim for one direction, one depth and one quality of edge across a whole field. Unified work reads as craft, while scattered work reads as an accident.
- Burnish if you want it smoother. Press a smooth offcut against the carved wood and work it firmly over the surface. Fibres flatten, a shine appears, no dust is made, and every edge you carved survives.
- Stay behind the separation line. Never let the edge travel past the boundary between two elements. Two shapes joined by accident cannot be separated again.
- Finish with oil, or with wax. Those two, between them, were the entire finish for most of the history of this craft. Both of them deepen the colour of lime, and neither one hides what the knife did.
Frequently asked questions
Do wood carvers sand their work?
Traditional carvers do not. Blade marks are treated as part of the finished surface, and abrasive paper rounds the sharp edges that create shadow. A few modern carvers sand, which is a choice rather than a standard.
How do you smooth a carving without sandpaper?
Burnish it. Work a smooth offcut firmly over the carved wood until the raised fibres flatten. Wood against wood polishes with no dust at all and leaves your edges intact.
Did old carvers really have nothing at all?
English shops sometimes used a reed with silica in its stems, which smooths a little and leaves traces of its own. Most workshops burnished with wood and went straight to oil.
What to carve next