
Alexander Grabovetskiy, woodcarver, School of Woodcarving · Published 2021
What does a carver mean by a clean canvas?
Quick answer: A clean canvas is the name I use for a shape's main surface once it is cleaned, before concaves, convexes and divisions. My lesson 126 in the Venice Room shows a rasp taking the high spots off a sloped curve, and then an upside-down tool shaving it once more.
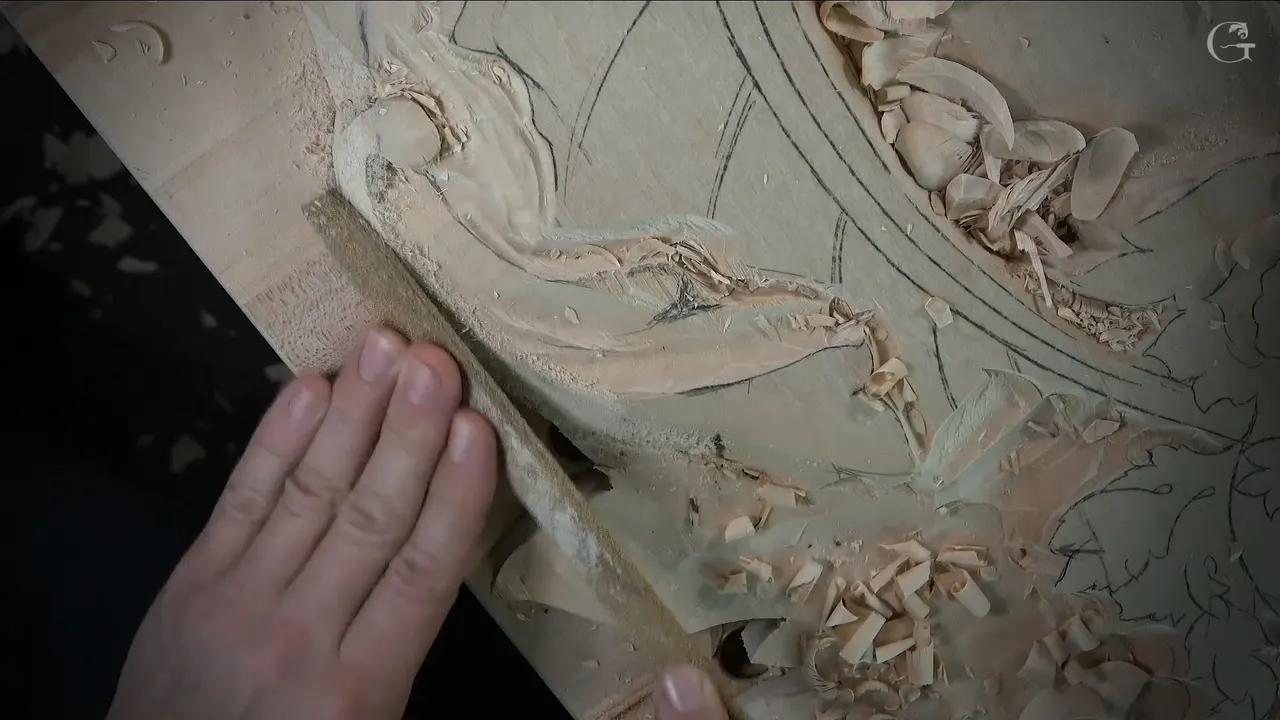
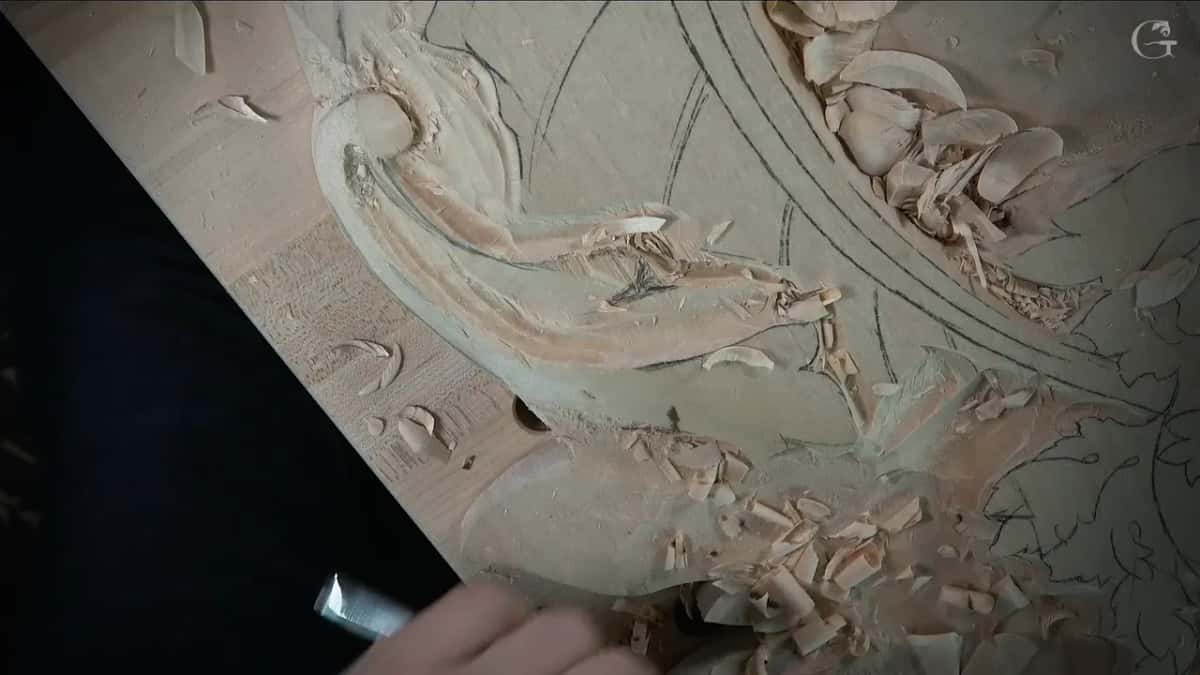
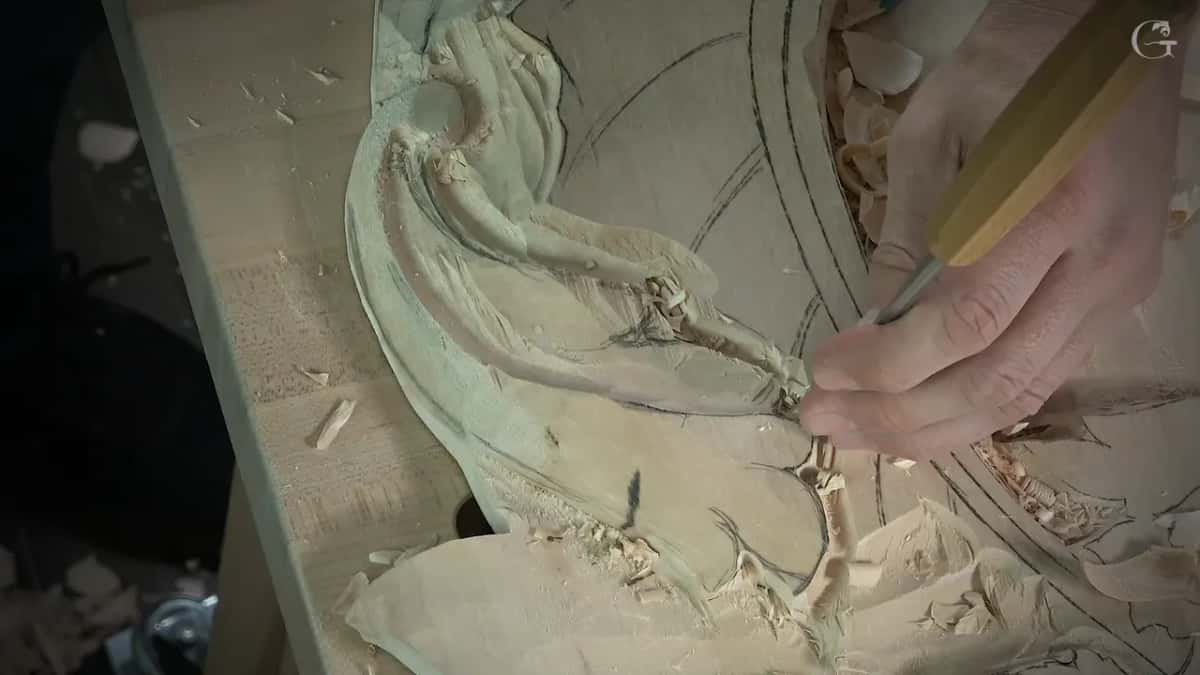
A clean canvas is my word for the main surface of a shape after I clean it, before any concaves, convexes or small divisions go in. In lesson 126 of the Venice Room I sloped a long acanthus leaf down toward a low volute. Later I checked how the long curve felt. The high spots came off with a rasp. It felt good, and I still did not like the look, so I turned a tool upside down and shaved it a little more.
Can a pencil line sit better on smooth wood than on a slope full of ridges? Does a sharp ridge from the last pass grab your eye before the shape does? I clean the canvas first for those two reasons, and below you get lesson 126 first, then my own words about the canvas from ten other lessons, each one linked so you can watch it.
What I mean by the canvas
- Canvas is what I call the main surface of a shape once it is clean and before any detail goes in.
- My rasp did that cleaning in lesson 126, and after it a tool flipped over.
- Other lessons did the same job with a skew, a number 3, a number 5 or a number 7.
- After damage I go back over it, and I call that reestablishing the canvas.
- One lesson says you can skip it.
- My finger finds high and low spots my eye sometimes does not catch.
What did I carve in lesson 126?
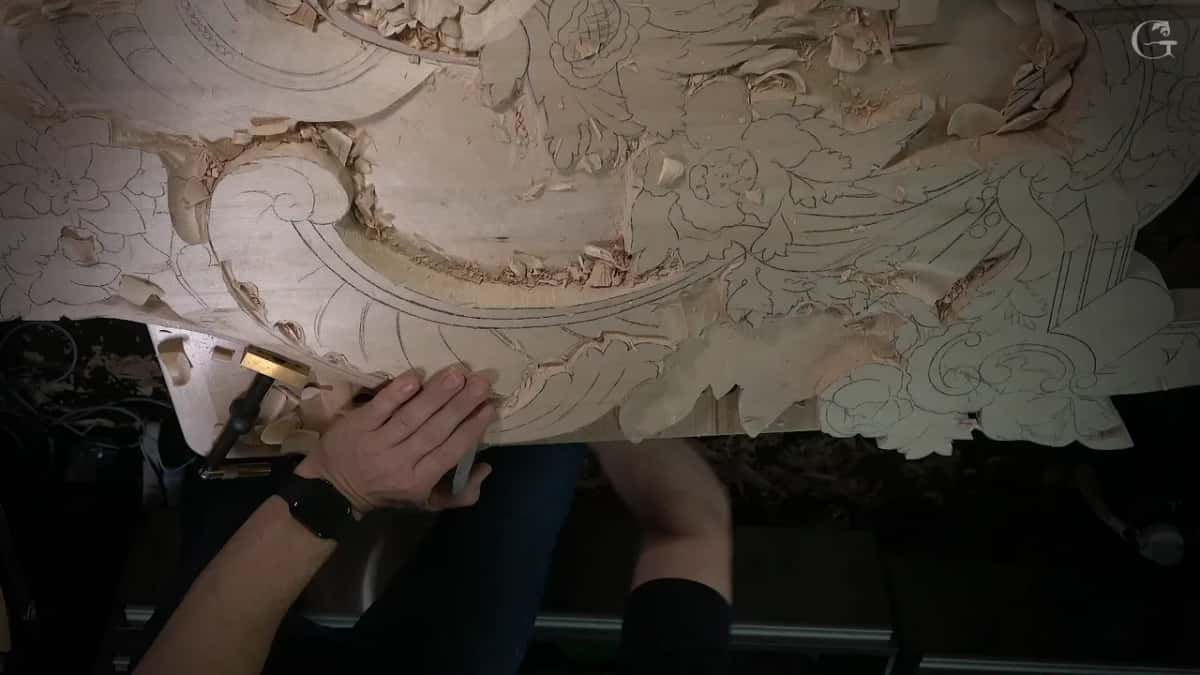
A long leaf that slopes down into a volute. At the start of the first part I said I had lowered my long leaves, and that gave me about the same height I have on the opposite side. After it I would jump either on the shell or on that side, and I did not know which yet. The clamp came off. I didn't need it anymore.
Before any sloping, I went straight down on my first line. My number 3 did it, though I said a number 2 would work too, and a number 5 took the opposite side.
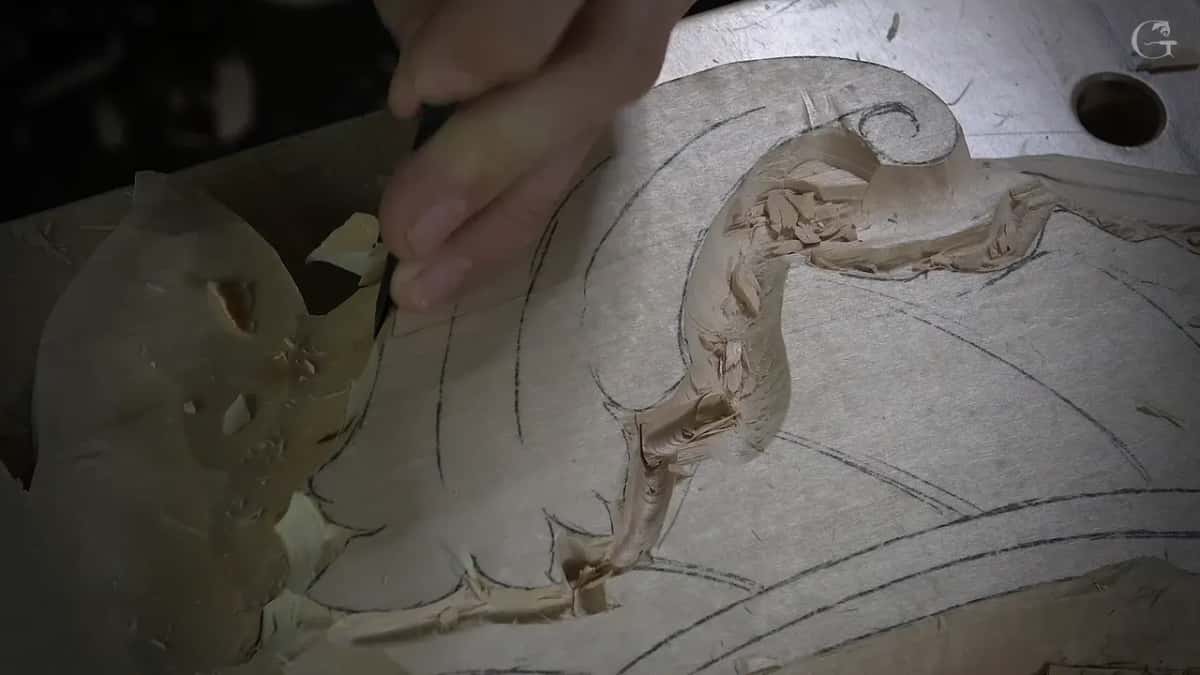
Next I redrew one line and explained what was going to happen on this relief. That part would sit much higher than the inner parts, and much lighter. I also had to lower it almost to the level I pointed at, a little higher than that, because the volute would end up much, much lower.
So I outlined first, because I did not want to lose my line. First a number 7 went straight down, a number 11 of 12 mm, which I called like half an inch, took the wood lower around it, and a 14 mm number 7 (about 9/16 in) pressed straight down again. I told you why on camera. It was only so I would not lose the position of those lines, because once you slope it, everything changes.
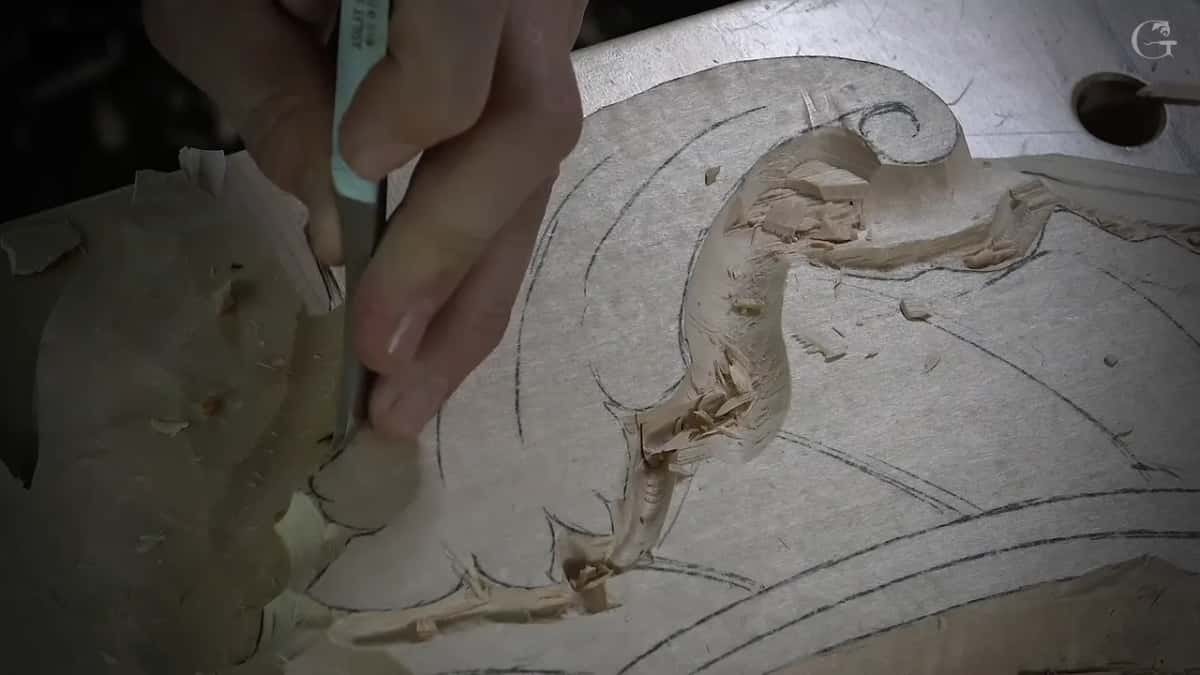
The big number 7 came out next. I called it three inches (about 76 mm), and I started sloping everything. From the highest spot of the line down to the highest spot of my volute I had about a quarter inch, roughly 6 mm. I could slope even more, I said, and make it look like it is really flowing, so I flipped that tool upside down and took the material off that way. Really nice movement.
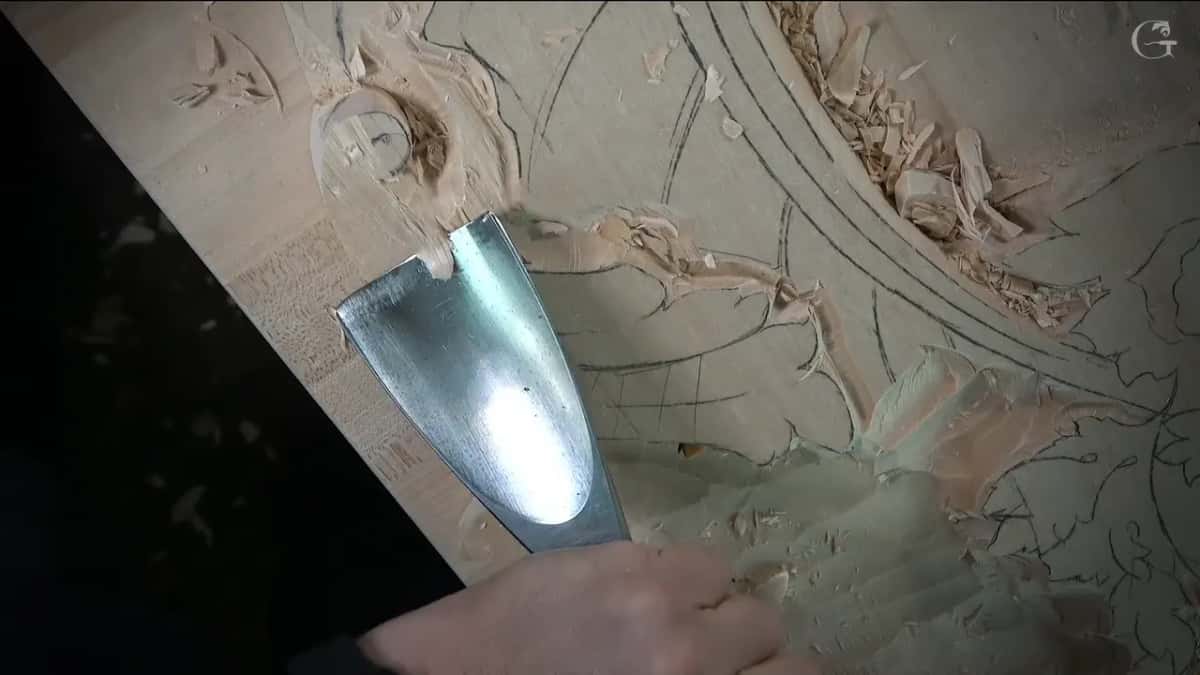
A flatter tool finished the edge, maybe a number 2. I really don't need the heavy stuff on this edge, I said. Everything there is supposed to be light and close to the background, and a plywood background goes behind it anyway. Through all of that I did not lose the position of my volute. A big plus.
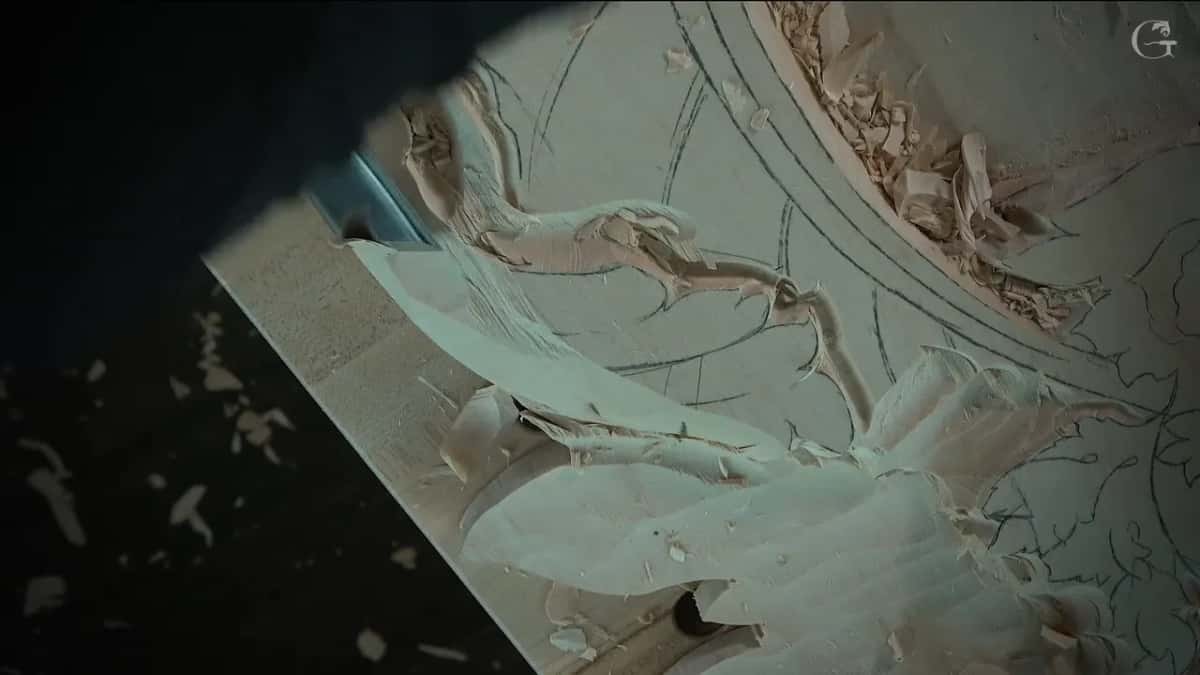
Where does the canvas come in?
In the second part, once the lines were back on. The volute lines came back first. It's not really a high volute, but still a volute, I told you. I started about six millimeters, a quarter inch, in that area and connected the movement. I said it would give me a beautiful, long-looking canvas. The word shows up there first.
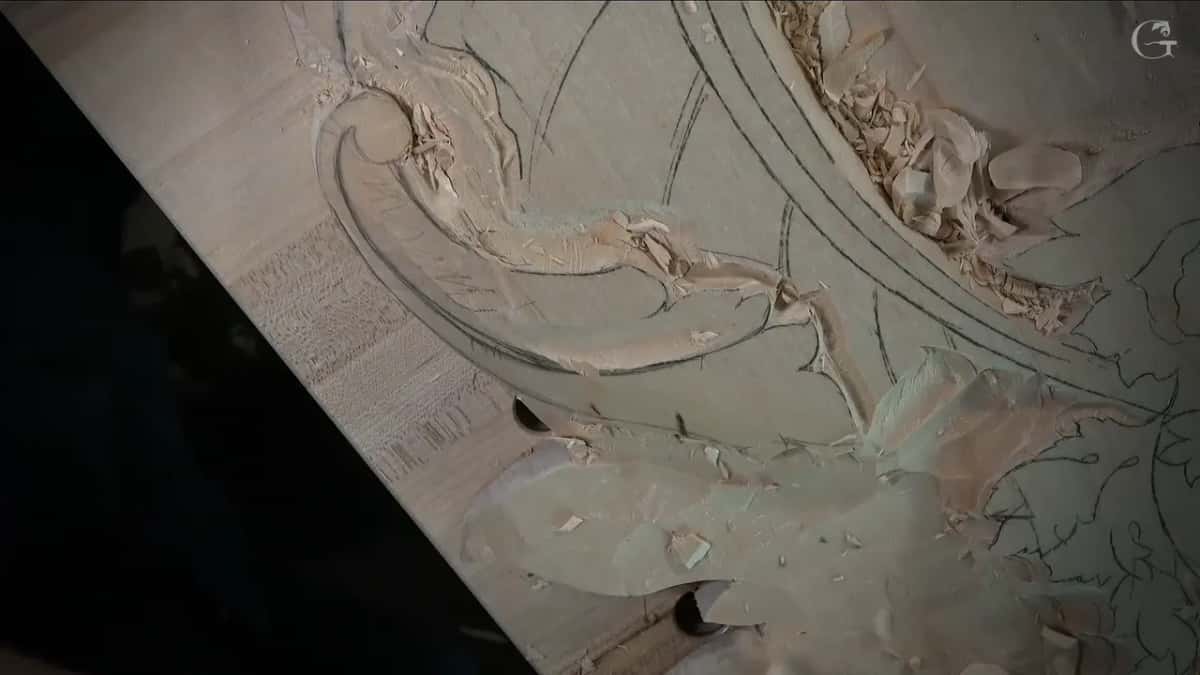
One section needed to go right underneath the first movement. I wanted it really flowing and nice. At one point I said, so that is the wrong one. Then came a 30 mm number 11 (about 1 3/16 in), used carefully, from one position and then another.
Next I widened one part a little and outlined it again on the outside of the line. If that changed things a little, I said, I was okay with it. Around the volute went the 14 mm number 7. Oops. A little bit, and not what I wanted to see.
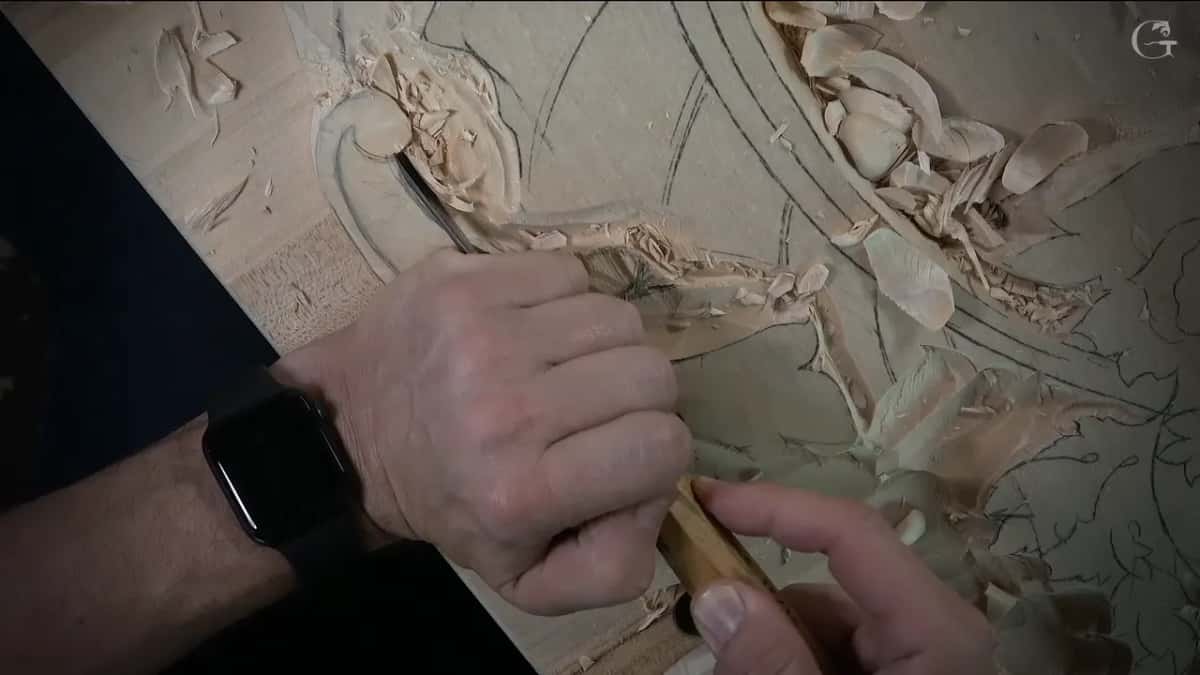
I did not want to go lower than what I had on the other side, because that part had to go below the movement. Near the end of the part I picked a smaller number 11, 10 mm (about 3/8 in), for more detailed, more careful work there, and I would relieve it a little bit, I said.
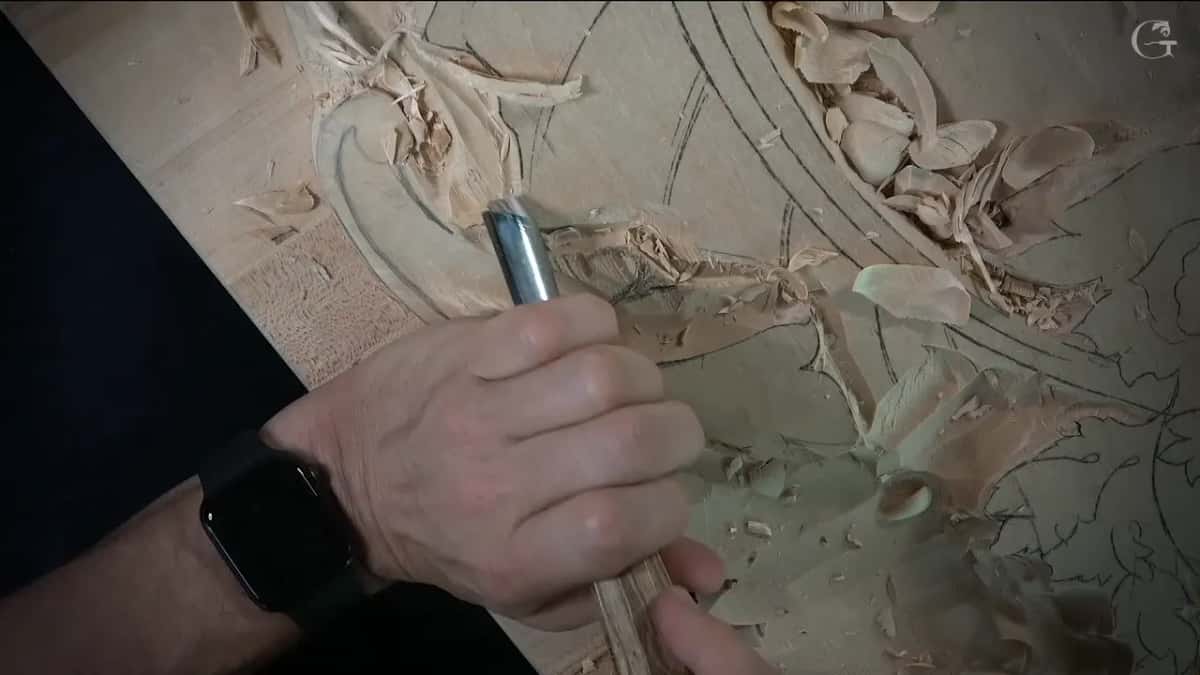
What cleaned the canvas in lesson 126?
A rasp first, and after it a tool turned over that shaved it again. The third part starts slower. A lot more careful movements, I said, and I really needed to check first how it feels.
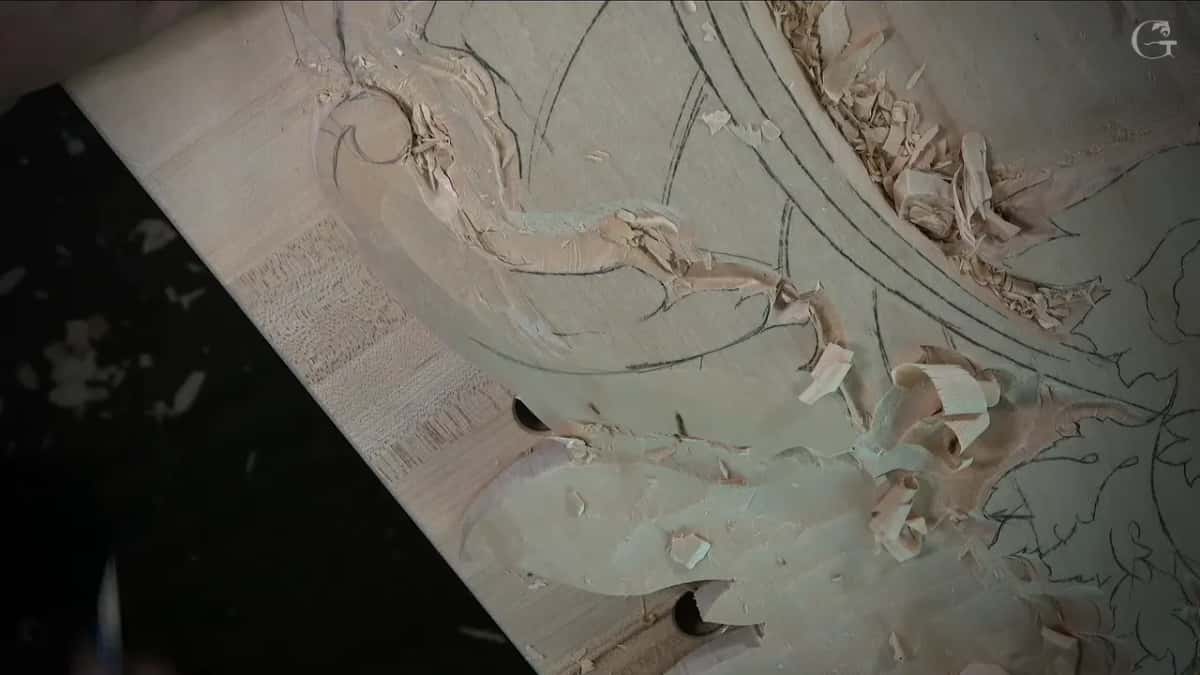
The rasp was there to get those high spots and make the surface really, really good and smooth. Don't really have to, I said, but anyway. Afterward it looked and felt really good. A moment later I said I did not like how it looked, so I hit it with an upside-down tool and shaved it a little bit.
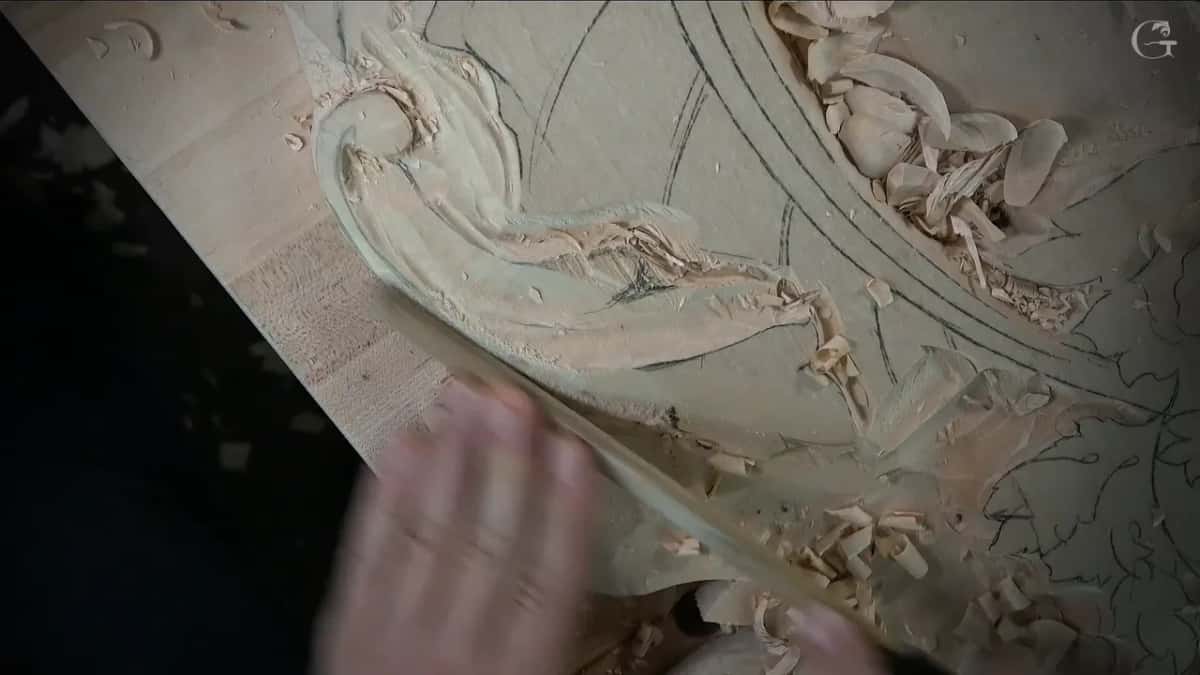
That was not the end yet, because the concaves and convexes still had to come later. A couple of minutes on, the undercut had to wait, I said. I needed to establish the concaves and the convexes on the main surface first, and the undercut underneath would come later on.
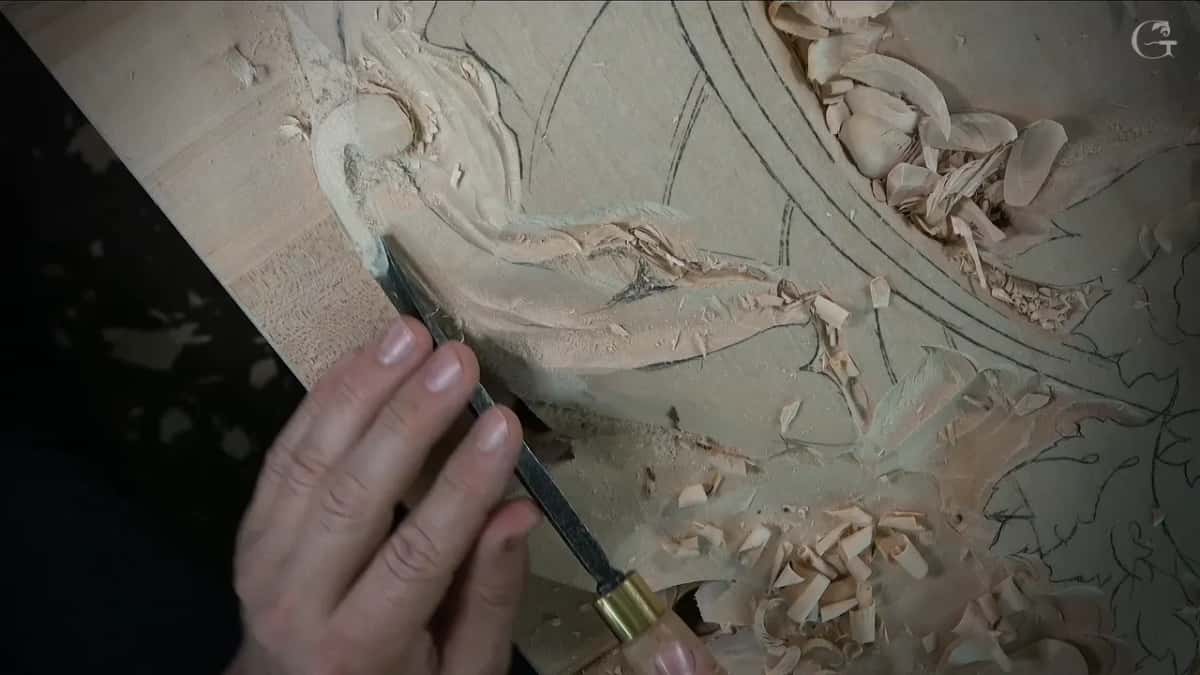
In this one lesson the order is easy to follow. The slope came first, and new lines after it. The high spots came off, and only then did an S line go in. Later in the third part I spoke of the longer canvas, then took a number 7 for an S curvature and a 5 mm number 11 was next, for a small triangle, I said.
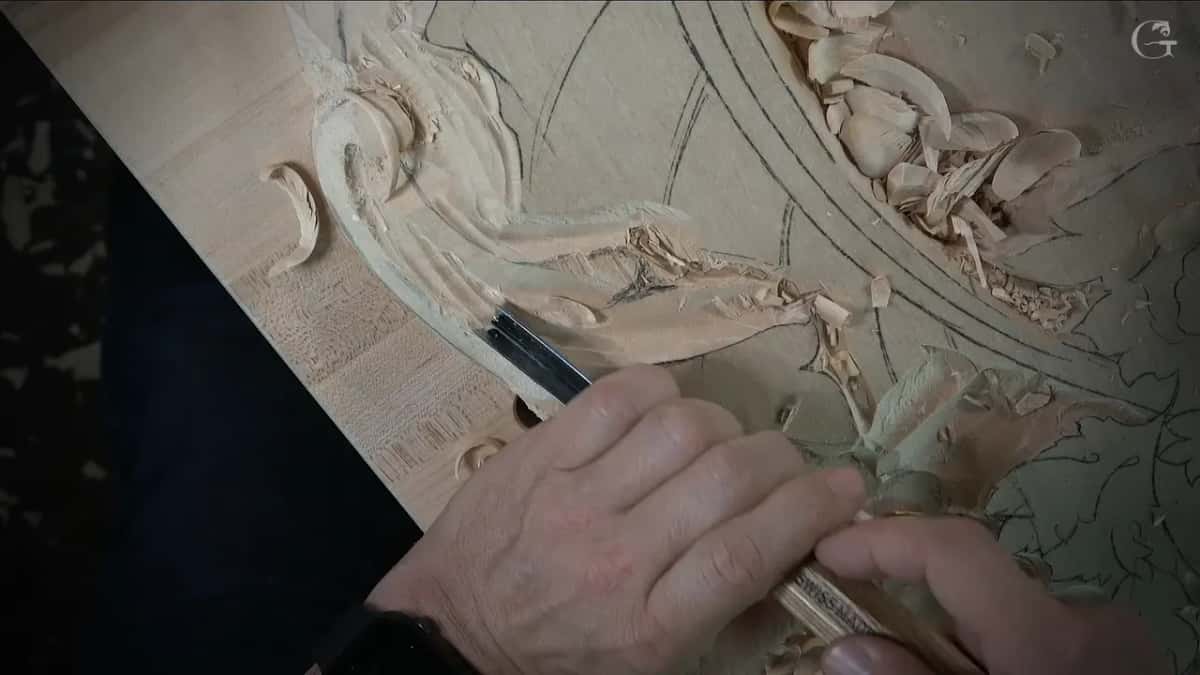
Why clean the surface before the details?
To see what needs doing. In workshop 61 of the Venice Room I used a skew on one side and then did exactly the same on the other. The skew gives me just a clean canvas, I said, a clean surface to work with. Get the surfaces clean and I can develop a lot more, with concaves, convexes and so on still ahead.
Six workshops later I said it another way. Maybe I can use a skew a little bit to clean up and create my canvas, I told you in workshop 67, a clean canvas for me to see much better what's going on. I called it always good practice, because that way you can see exactly what needs to be done. The camera was my challenge that day. It kept getting in my way.
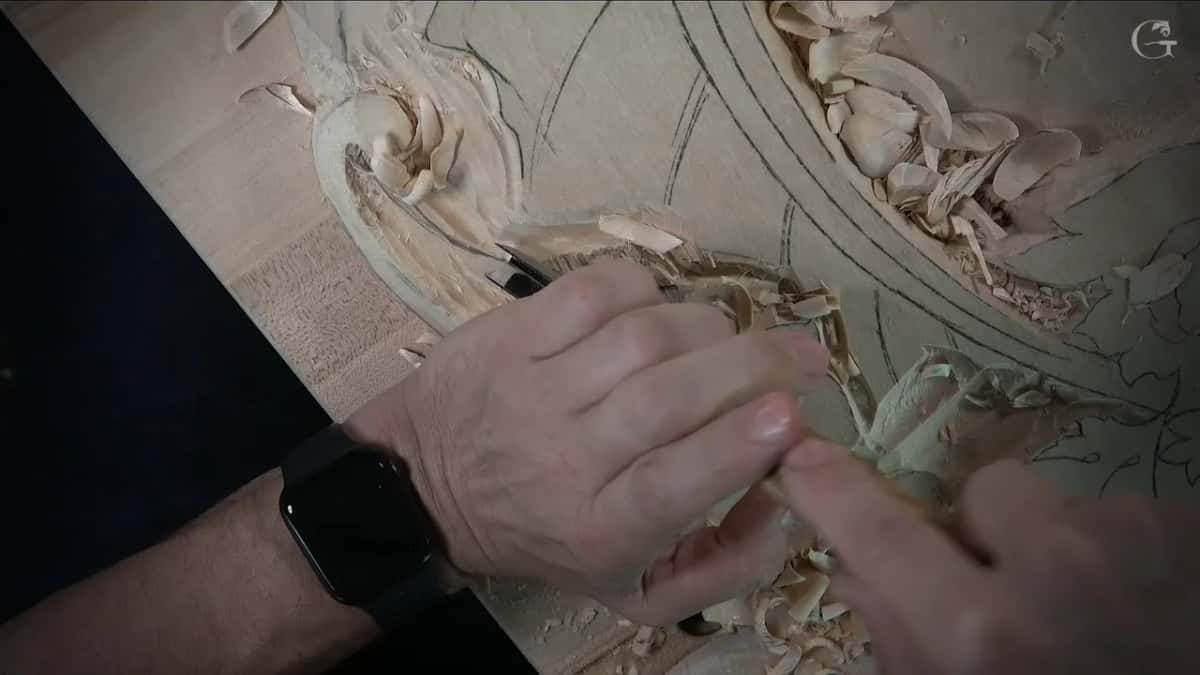
Later in the same workshop the surface still did not make an appealing look, so a number 3 got rid of some sharp ridges to create my clean canvas.
Do you have to clean it at all?
Not always. In the first lesson of the floral and molding panel I asked the question out loud myself. Do you need to clean it? Oh, absolutely not. You don't. But I like to create a fresh canvas, because it is a lot easier to draw a little later, when I place my lines. Just for the convenience, I said. If you are in a rush, or somebody is pushing you, you don't really have to.
My page for workshop 75 of the Venice Room has more on cleaning a rough slope so a drawing can go on it.
What happens when the canvas gets damaged?
I clean it again. Workshop 69 had a spot chipping out, because I made a mistake before, so my concave had to go even below that. And that is not looking good at all, I said. I needed to establish a better canvas, how I call it, and a number 7 went in to redo my concave.
Then I said it one more time. I need to reestablish my canvas, clean canvas, because I made damage previously, which is no good damage. The number 7 would help me establish better movement, and I think it did. After it I wanted a sharp, really beautiful ridge, and next, I said, a smaller number 11 of maybe two millimeters (about 5/64 in).
The lily box has a moment like that too. Halfway through a sentence in lesson 4 of that box, I stopped. I have to recreate my canvas, how do I say that? The tool was a number 5, a quarter inch wide, and I made a concave with it so one part would sit a little higher, and not a really pronounced concave as of now. I was just recreating the canvas and getting as close as possible to my first layer.
How much cleaning does a canvas need?
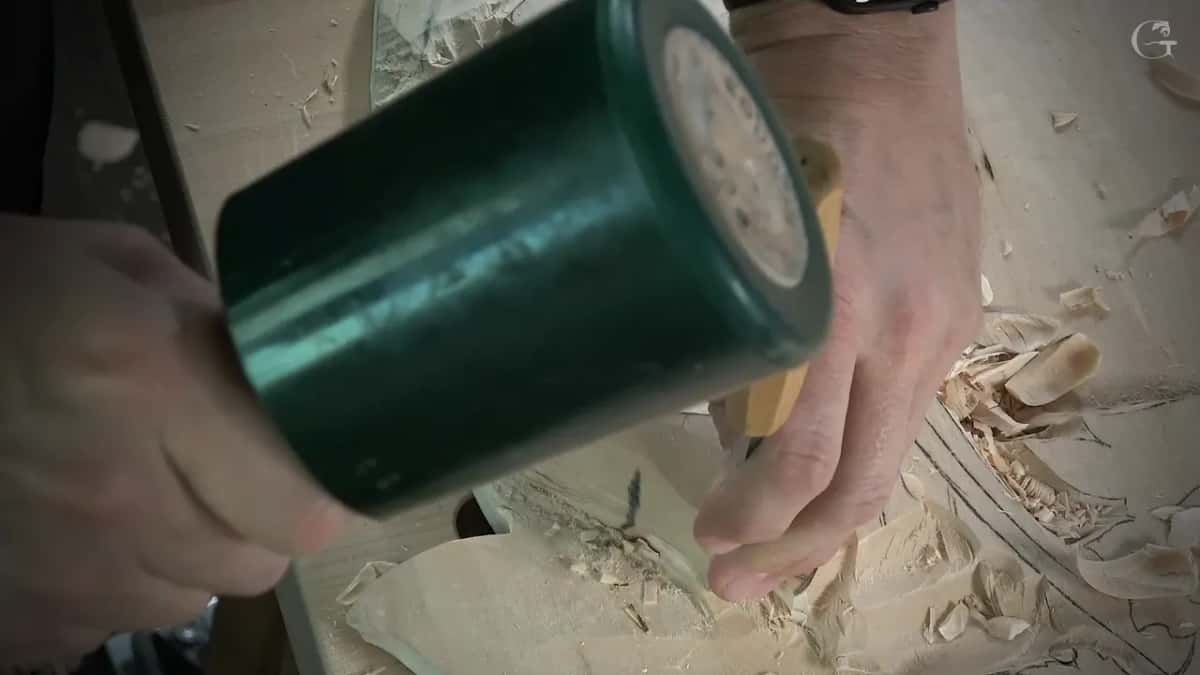
Very little, in these lessons. Just before the micro separations in workshop 64, I hit it with the mallet and said it was going to be undercut anyway. Right after, I said I would clean a little bit, like I like to say, the canvas. Just slightly.
Earlier in the same workshop one side would have no casting shadow because of the light, so I did not need to work on my shadow there. I cleaned my canvas a little. Then I could start working on my divisions and make it more beautiful, more logical if you wish.
I said in workshop 72 that I'm calling it a canvas for myself to work, and that I could probably refine my canvas now. Just clean a little bit, to get a lot more details.
The lily flower, in lesson 11 of the lily box, got the same word. Right now I'm actually creating canvas, I said, clean canvas, overall movement. From the sides it did not look that bad.
How do you know the canvas is ready?
By eye first, then with one finger rubbed right across the surface. One spot in lesson 21 of the furniture panel stayed only about one millimeter above the background, and I watched it rise gradually, the way that movement has to. I could see a bump. A little bump, right there.
I think my canvas is ready for the final establishment, I said, but I still had to check how nicely it moves in the three-dimensional world. By the eye you sometimes can't even catch stuff like that. You can feel it by finger, though. Rub your finger over it and you feel the high spots and the low. One side was really good. The other was not bad, with only one spot I was not too happy about, and that side would come a little lower, I said.
My page on the skew in workshop 94 has more about what a hand finds on a curve.
Lesson 19 of the same panel had me clean one spot, then the next, and say, and now I have a clean canvas. I can create the shape I want to. Then the number 7, the 14 mm one, moved downhill from the high spot, gradually, just like that.
Which tools made the canvas in these lessons?
Here is each tool I named for the job, and what came after it.
| Lesson | What made the canvas that day | What came next |
|---|---|---|
| This lesson, 126 | Rasp first, then a flipped tool shaving it | The concaves, later on |
| Workshop 61 | Skew on one side, and then on the other | Concaves, convexes, so on |
| Venice Room 67 | My number 3, taking off some sharp ridges | The overall movements, next |
| The 69th | Number 7, after damage from a mistake before | My concave, redone again |
| Lily box 4 | Number 5, a quarter inch, at the small sections | One concave, not pronounced |
| Furniture panel 19 | Two rounds of cleaning, with no tool named | Downhill from the high spot |
Where can you watch lesson 126?
Lesson 126 sits in Part 11 of the Venice Room, and the course page for that part asks how to carve against the grain without tearing the wood. Right before it comes lesson 125, and lesson 127 right after. The sloping is in the first of its three parts. You hear the word canvas in the second, and the rasp and the flipped tool are in the third.
The page on why a carving looks messy halfway through uses the same two words in passing, and so does the one on the oak leaf in workshop 98.
The eleven lessons I quoted here all open with full access to the school.
Would you like to see the rasp come off that curve? Want to watch the tool turn over? The third part of lesson 126 has both in its first two minutes.
How it's done
- Feel the surface first. Check how the section feels before you pick up anything else. That was my first move in the third part.
- Take the high spots off. I used a rasp in lesson 126, and said on camera it was optional.
- Look before you go on. Mine felt good and I still disliked the look. A tool held upside down shaved a little more.
- Rub a finger across it. Your eye can miss what a finger catches. Feel for the spots that sit up, then bring the high side down.
- Leave the details for later. Details come after the canvas. Redo it when it gets damaged, the way I did in workshop 69 with a number 7.
Frequently asked questions
Is canvas a real wood carving term?
Canvas is my own word for it, and I said canvas, how I call it, out loud in workshop 69. On the lily box I stopped once to ask how to say it. Nothing in these lessons claims it as a trade term, so read it as mine.
Is cleaning the canvas always needed?
Not every time. You don't, I said on the floral and molding panel, and someone in a rush really doesn't have to. I still like a fresh canvas, because drawing a little later, when my lines go back on, gets a lot easier.
What tool do you clean a canvas with?
Several, going by my lessons. Workshop 61 had a skew, a number 3 took sharp ridges off in workshop 67, and a number 7 rebuilt a damaged one in workshop 69. Lesson 126 used a rasp first and then a tool held upside down.
What to carve next