
Alexander Grabovetskiy, woodcarver, School of Woodcarving · Published 2021
How do you raise an edge in wood carving?
Quick answer: Raising an edge in wood carving is digging the wood next to it a little lower, so the edge stands up. In Venice Room workshop 127 I took a huge 30 mm number 11, excavated a little deeper right beside one edge, and said I wanted it to go up.
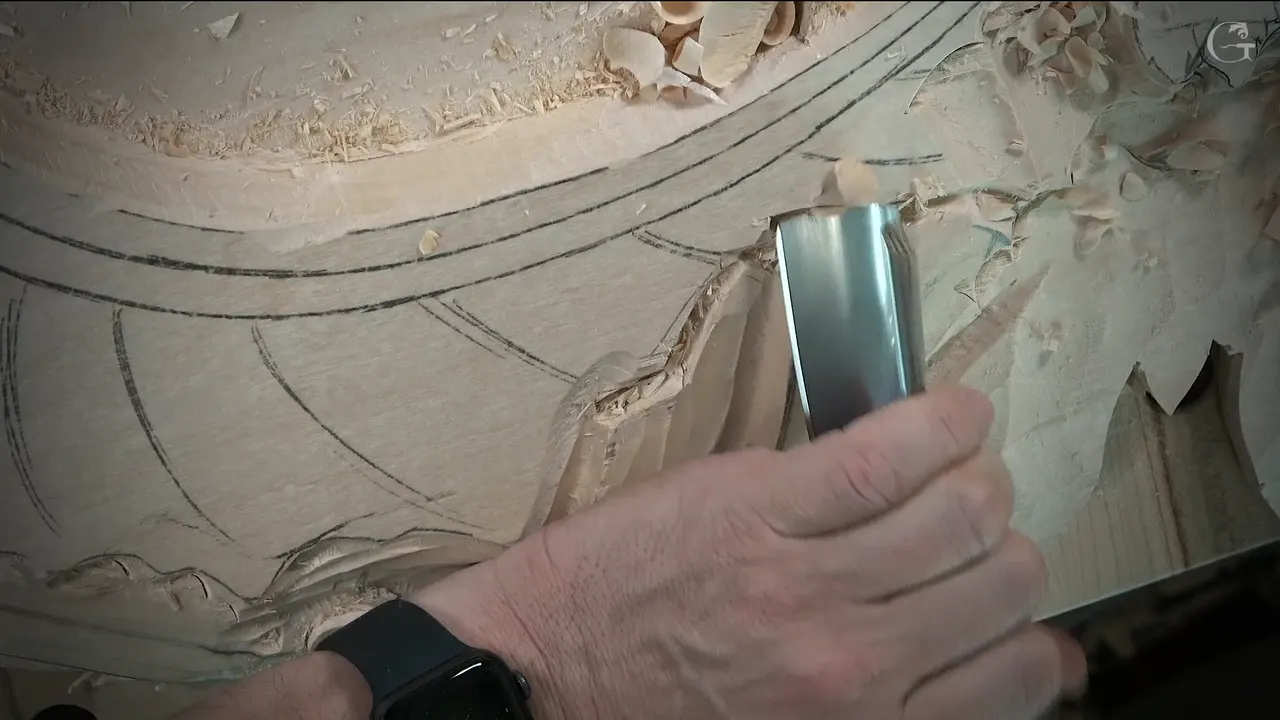
An edge stands higher on a carving when the wood right beside it goes lower. In lesson 127 of the Venice Room, a huge 30 mm (1 3/16 in) number 11 went a little deeper beside one edge, and I told the camera I wanted that edge to go up. That is relief carving depth at its plainest, one height set against the one beside it.
Would you like one edge on your own board to stand up more than the rest? Can you picture a shallow hollow running along beside it? That hollow does the lifting, and my gouge work below shows where mine went.
You'll see lesson 127 first, pass by pass. After it come six other times I did the same thing in other lessons, each one linked so you can watch it.
Six plain lines from my bench
Right next to an edge I went a little deeper, so that it would go up.
My tool for that was the big 30 mm number 11, and on this piece I kept the concaves shallow and the ride smooth.
Each pass began far out, barely scratching, and got deeper as it went.
Workshop 12 had me lifting an edge I did not have to lift, just for a nicer look.
Before one edge climbed in workshop 14, I smoothed the surface first.
On a hazelnut I brought one edge up so it would look more dramatic, with more shadow.
What did I do to the edge in lesson 127?
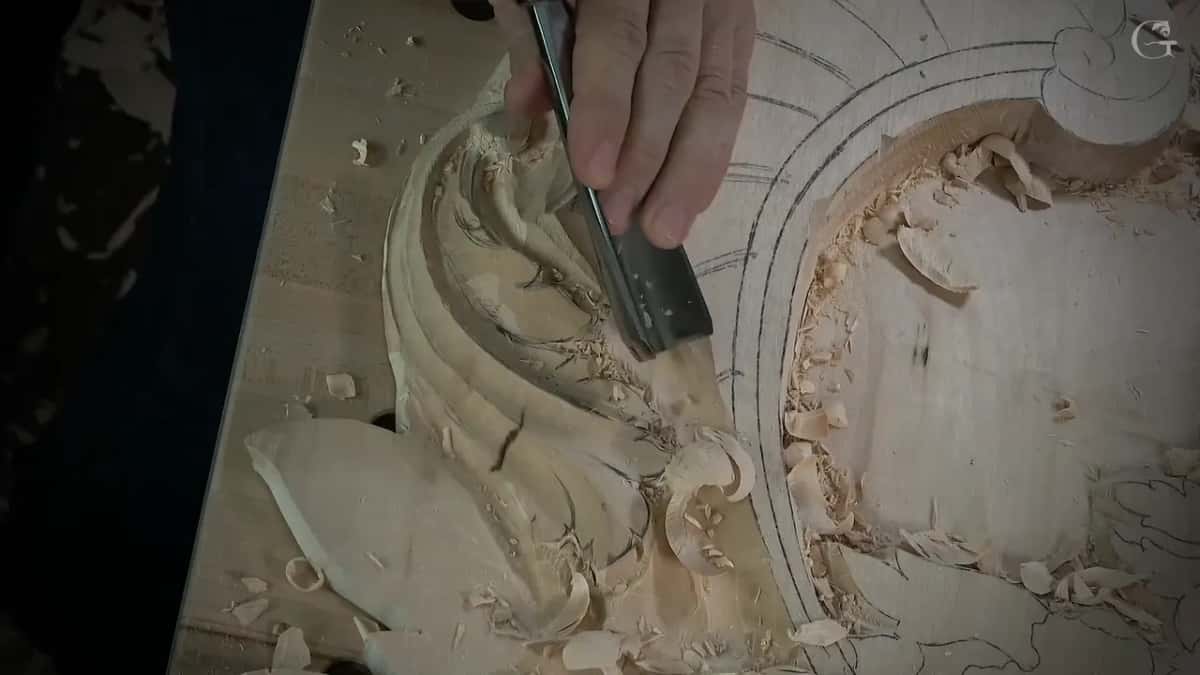
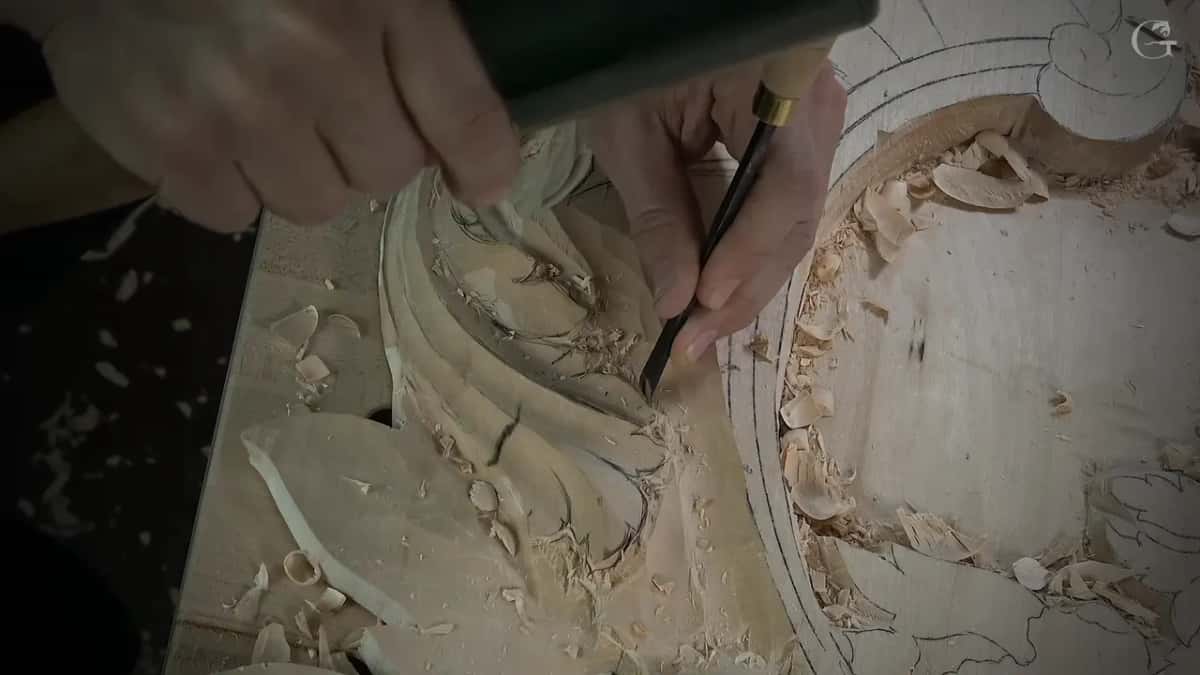
Lesson 127 sits in the eleventh part of my Venice Room course. The board on my bench that day was a big panel still covered in pencil, with a hollowed oval in the middle and a long carved shape curling down one side of it.
The very first words of lesson 127 are that it blends really nicely now. I had also turned my workbench a little at the start, so you would see the overall development of the panel.
I was making concaves and convexes on one piece of it, and I said plainly the position was not convenient for me, but I could show you what I was going to do. A number 11 of 10 mm (about 3/8 in) came out first, and I also showed where my first convex would start and where the second one would go.
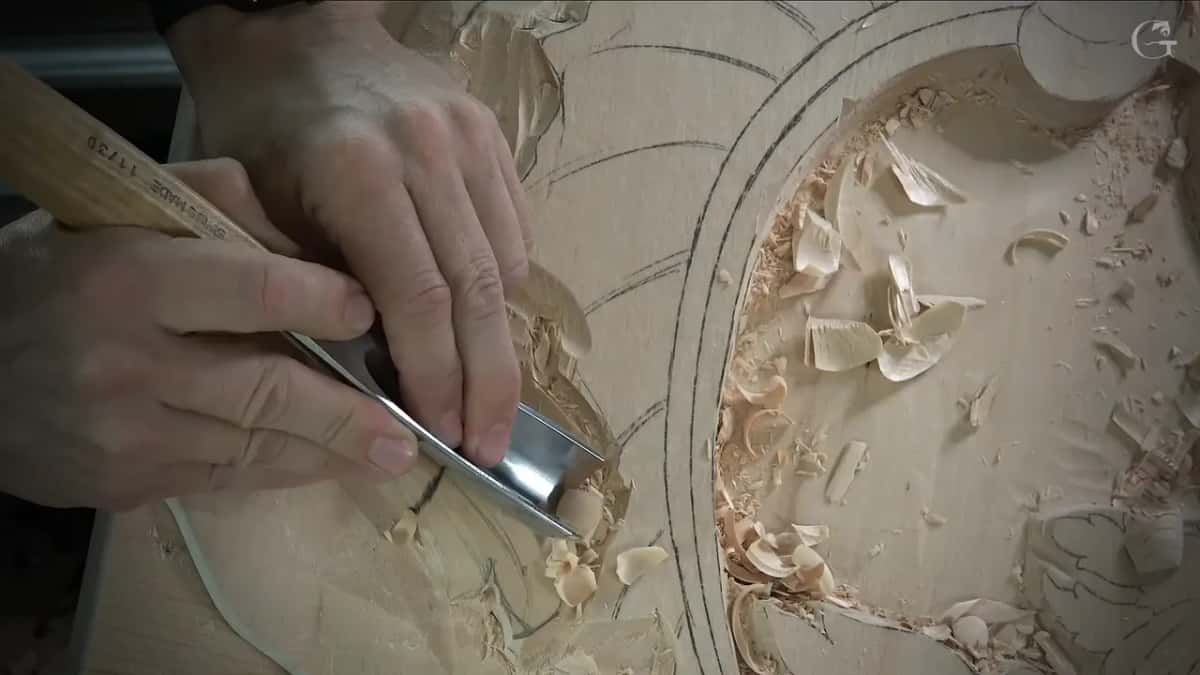
Next came the huge one, 30 millimeters, number 11 of course, and I said two short sentences about it. "I really don't need deep concaves. That's going to give me a much smoother ride."
Two concaves went in, one and then another the same way. Partway through I changed the arrangement of my table, because it was not really convenient for me to carve that way, and after that everything was much better for me. From the new position I blended and created a convex, and I said I could now refine everything.
This piece didn't need really pronounced movements, I said, though it still had to look good, and how deep a concave should go on an acanthus leaf is a question I worked through in workshop 22.
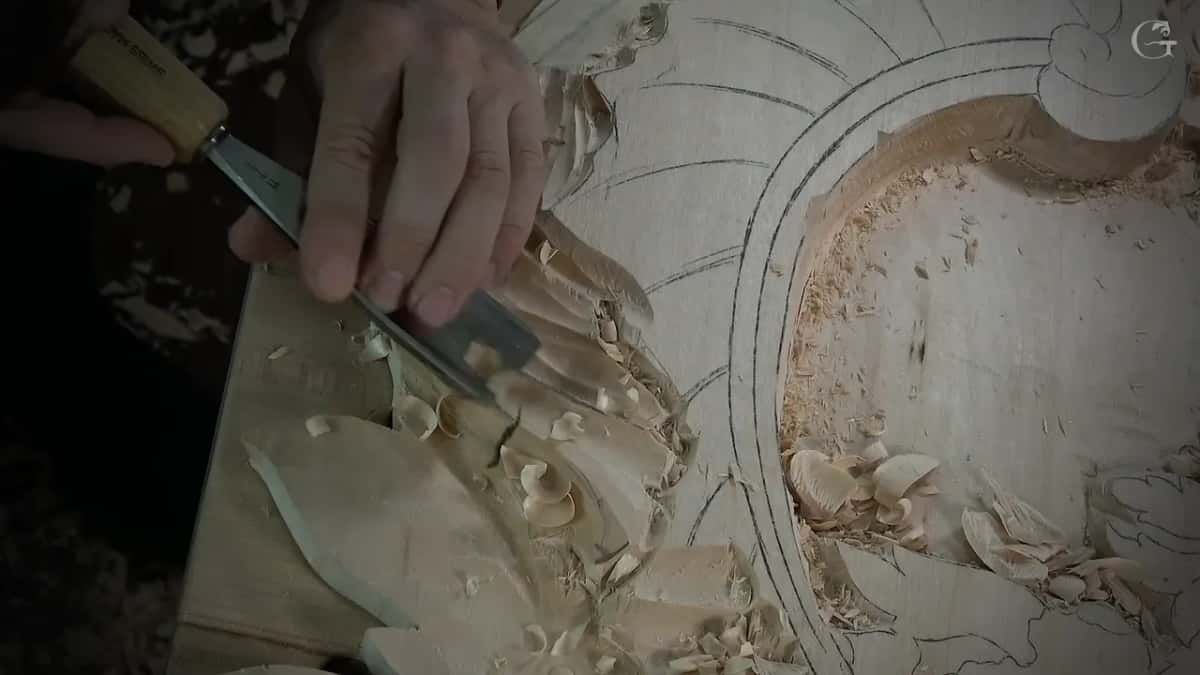
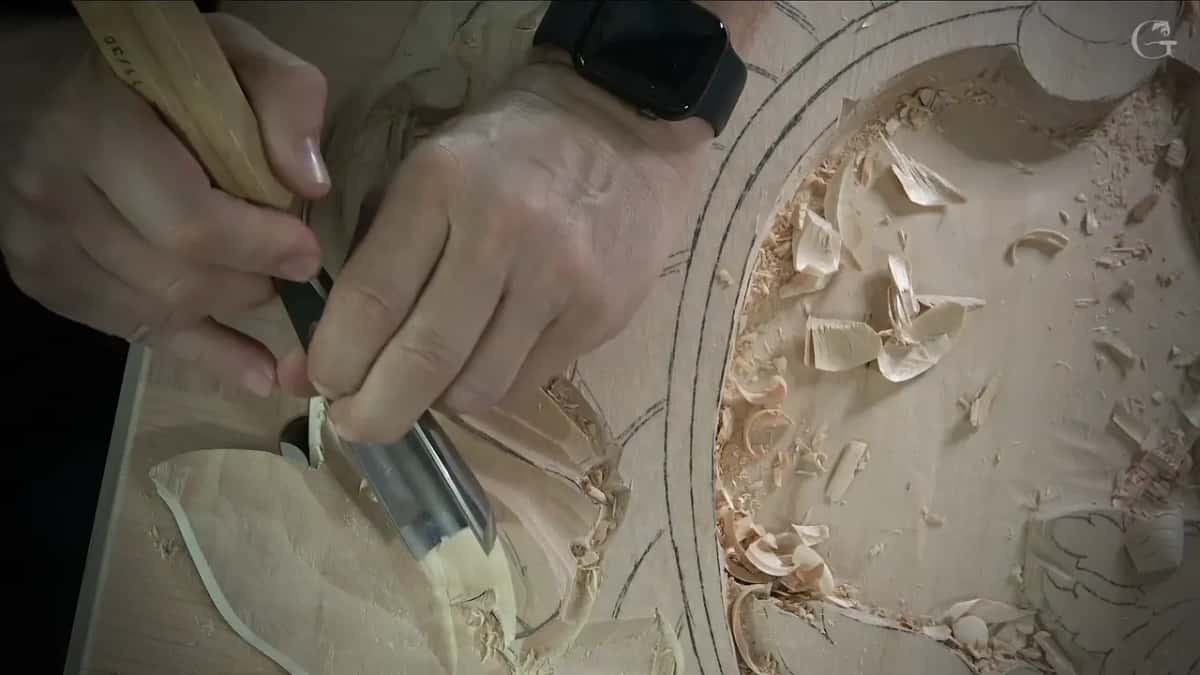
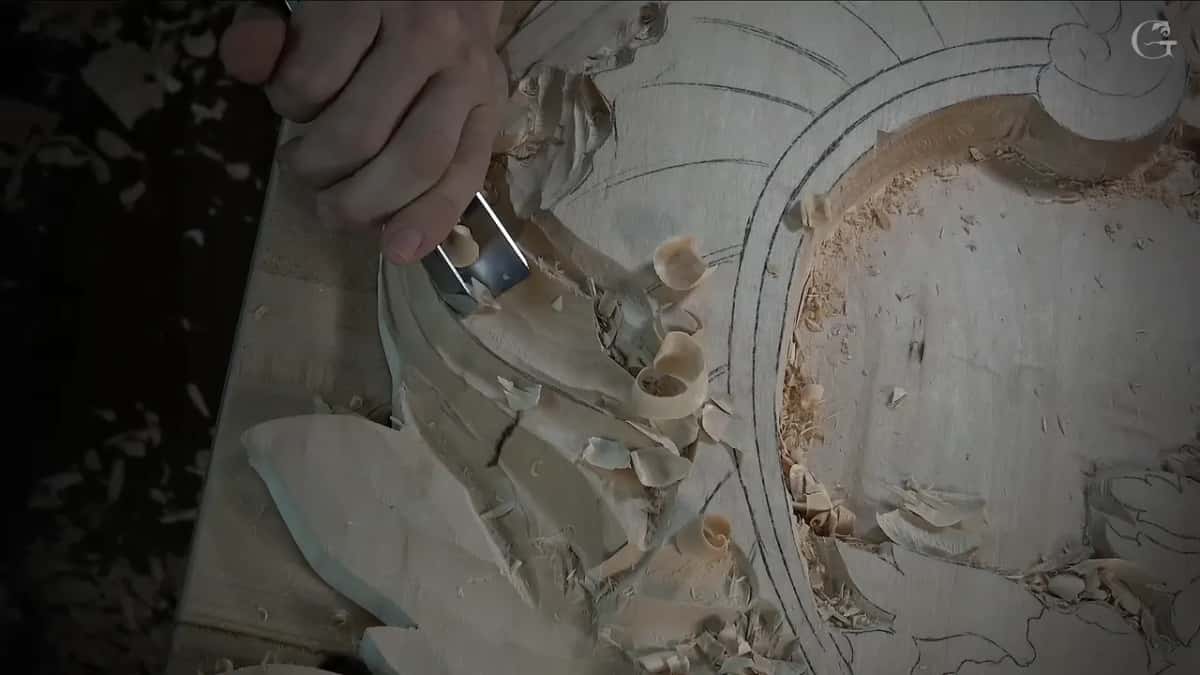
Then came the pass this page is about. I took the 30 mm again, to excavate a little deeper right here, in my words, and said out loud what I was after. "I want to raise that edge, so it has to go up." And then it would look really good, I thought.
Where did the gouge start, and how deep did it go?
From far out. At the start of that pass there was almost no concave, and the gouge sank in a bit more as it went along. The pass came out really nice and smooth. Beautiful, I said.
Then exactly the same in a second spot, starting just as shallow.
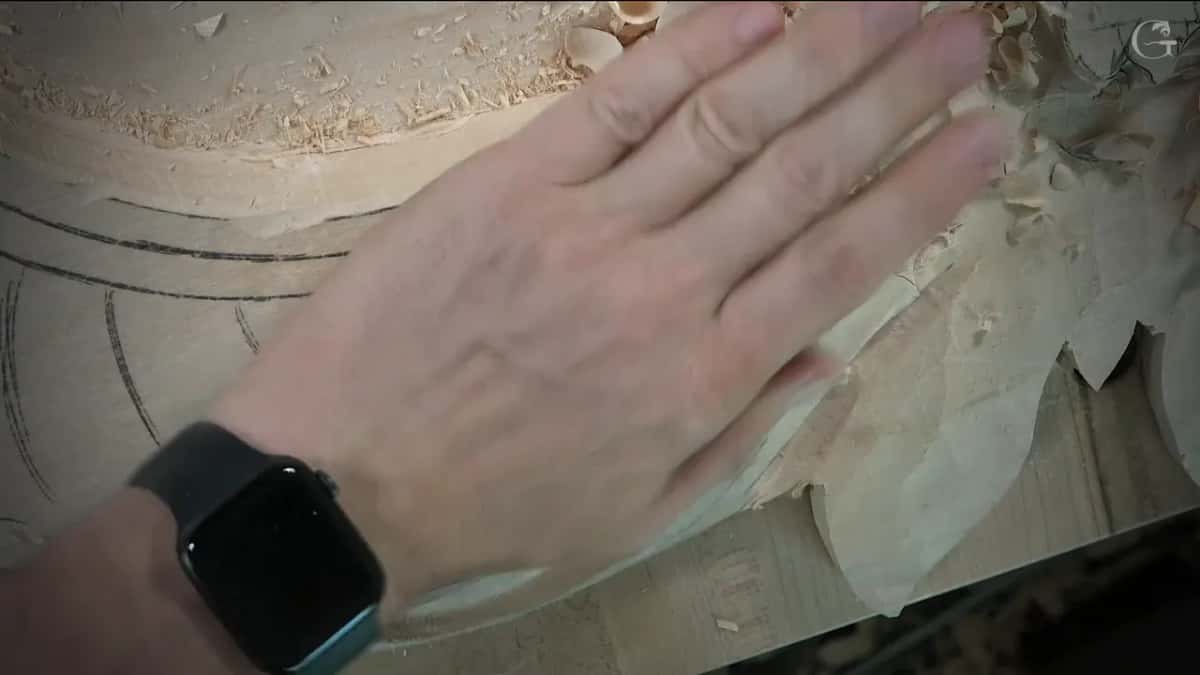
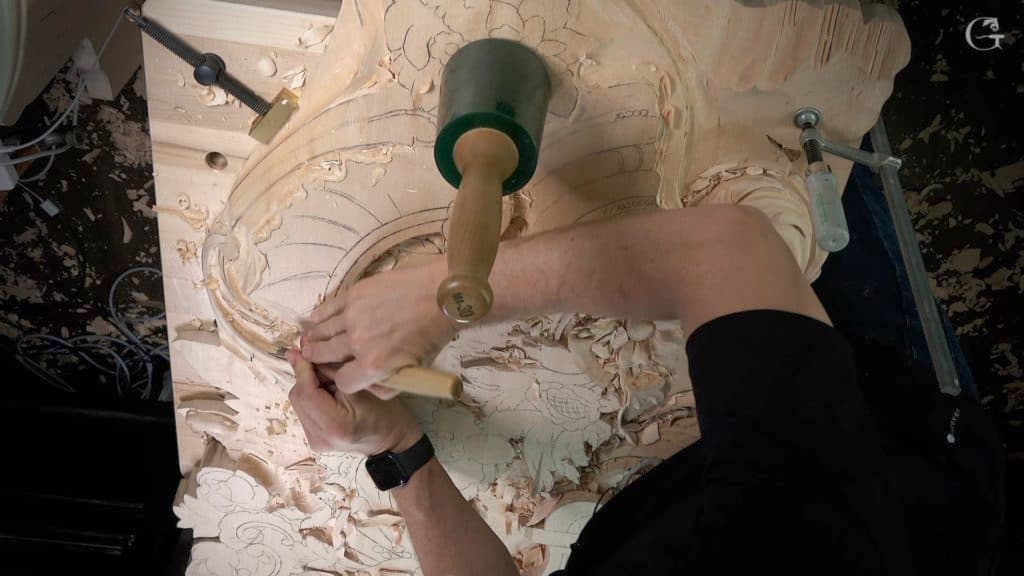
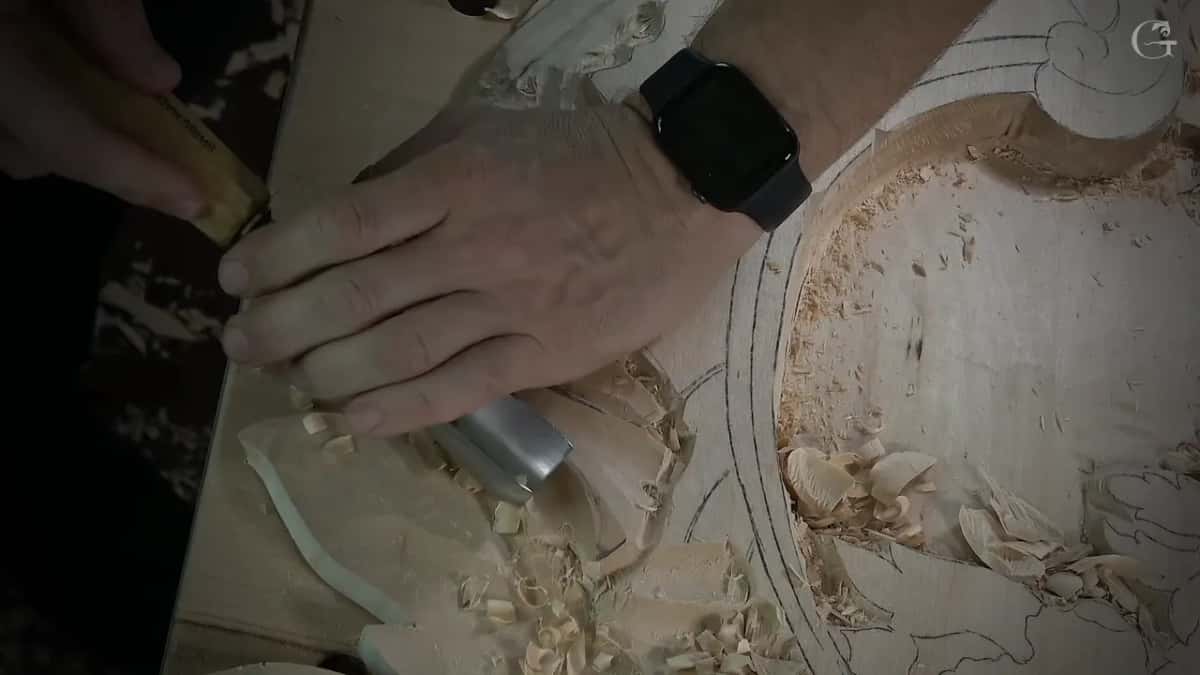
Right before that pass my open hand went flat across the wood. In that picture the hand covers nearly the whole shape, and my watch is about all you can see.
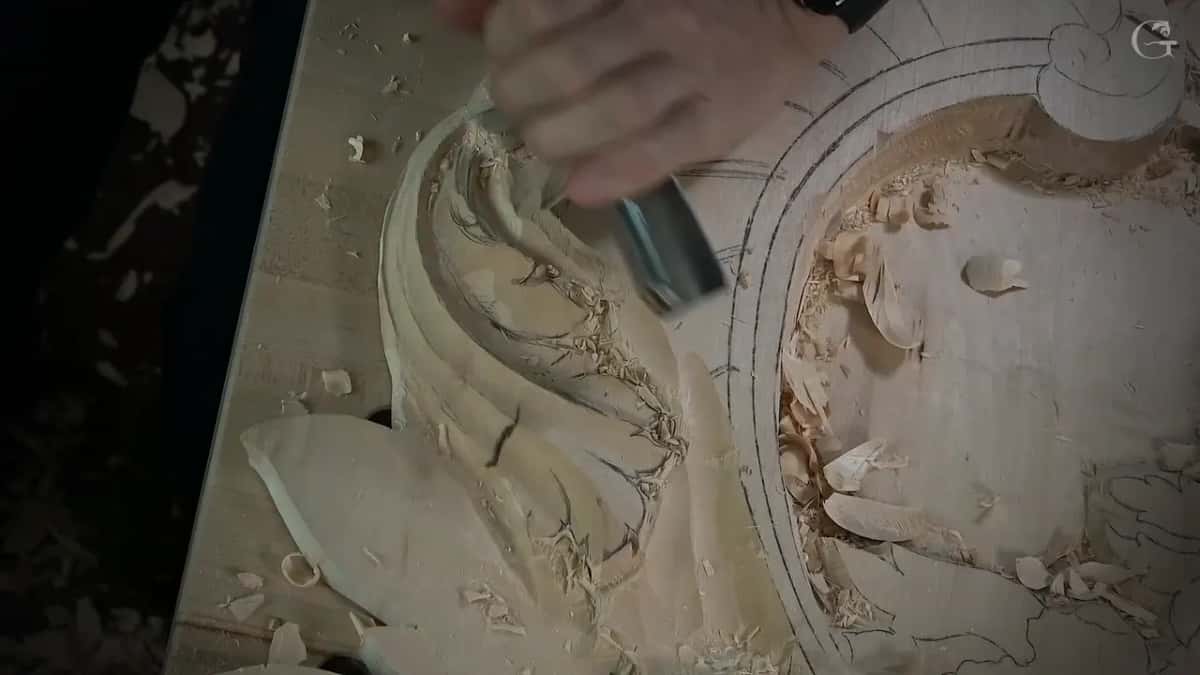
Next I blended it one way. I blended one more spot even though it was against the grain, and said that was okay. After that I walked around my bench to the opposite position and made the same kind of blending pass from there. Here you go, I said, and I was happy with that.
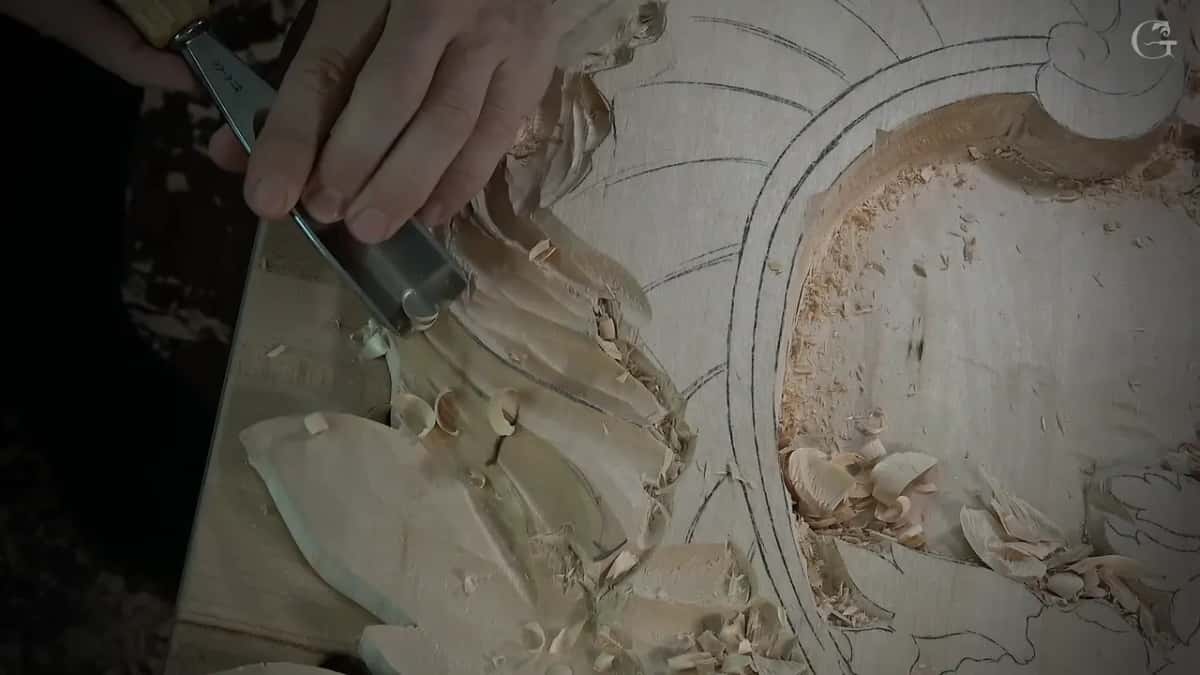
At the end I went back into that area to excavate a little deeper, and corrected myself on camera. Not deeper, I said, but smoother. And I made it a little smoother.
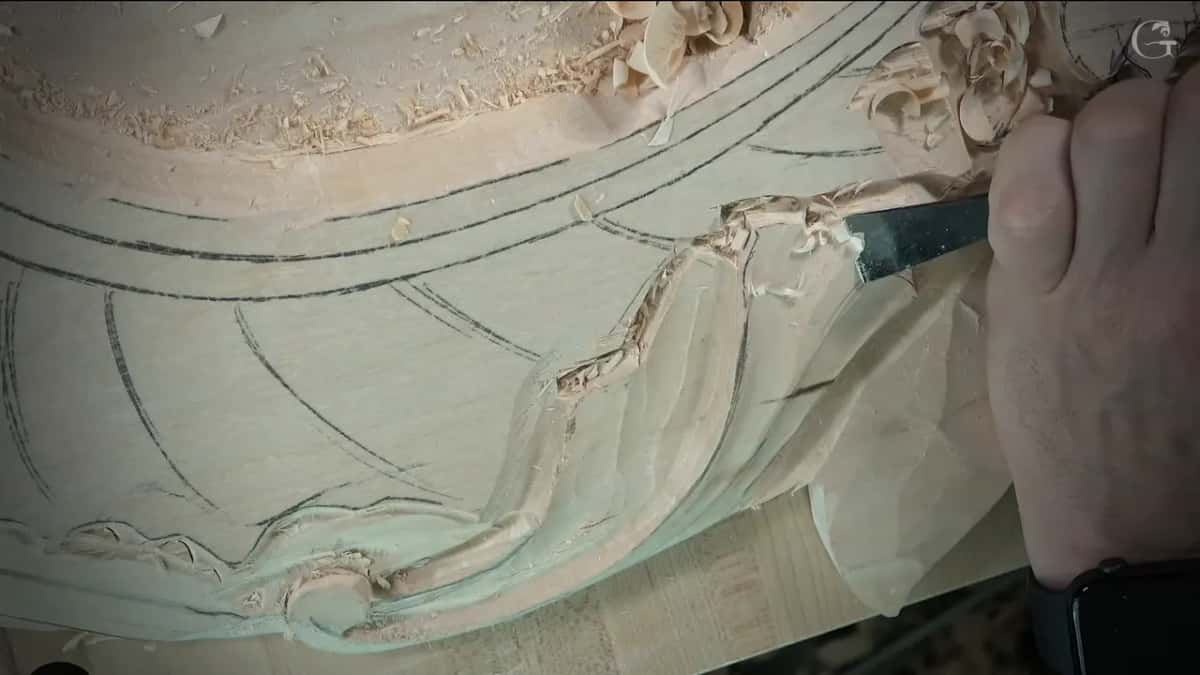
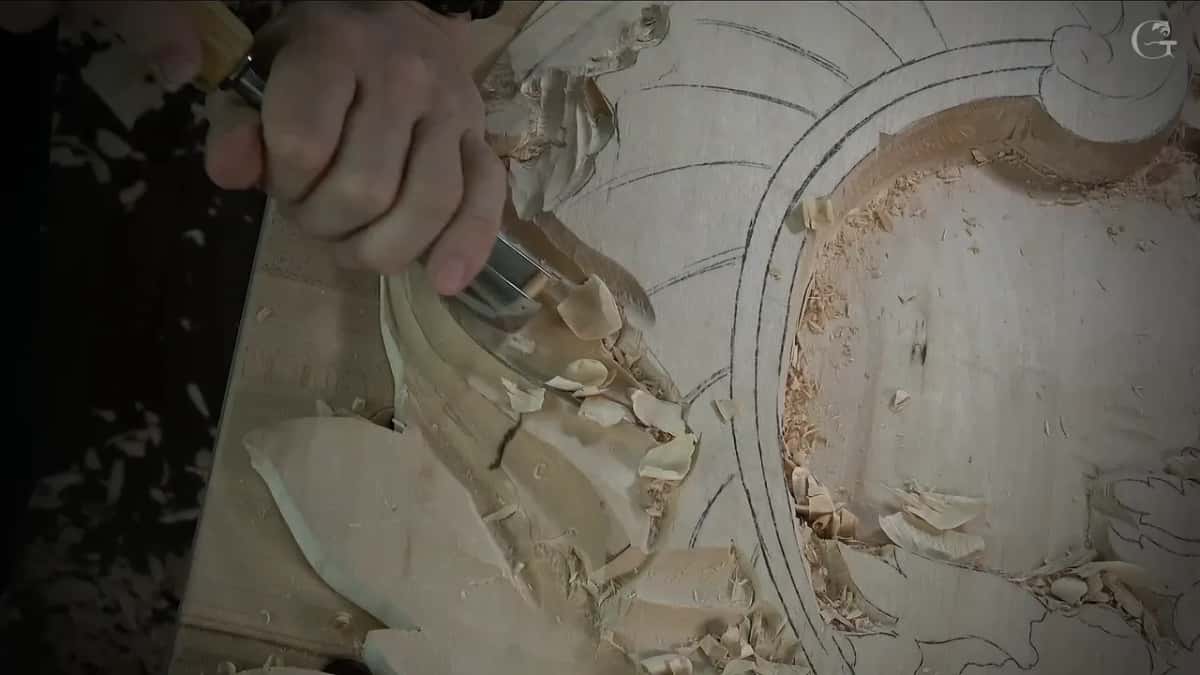
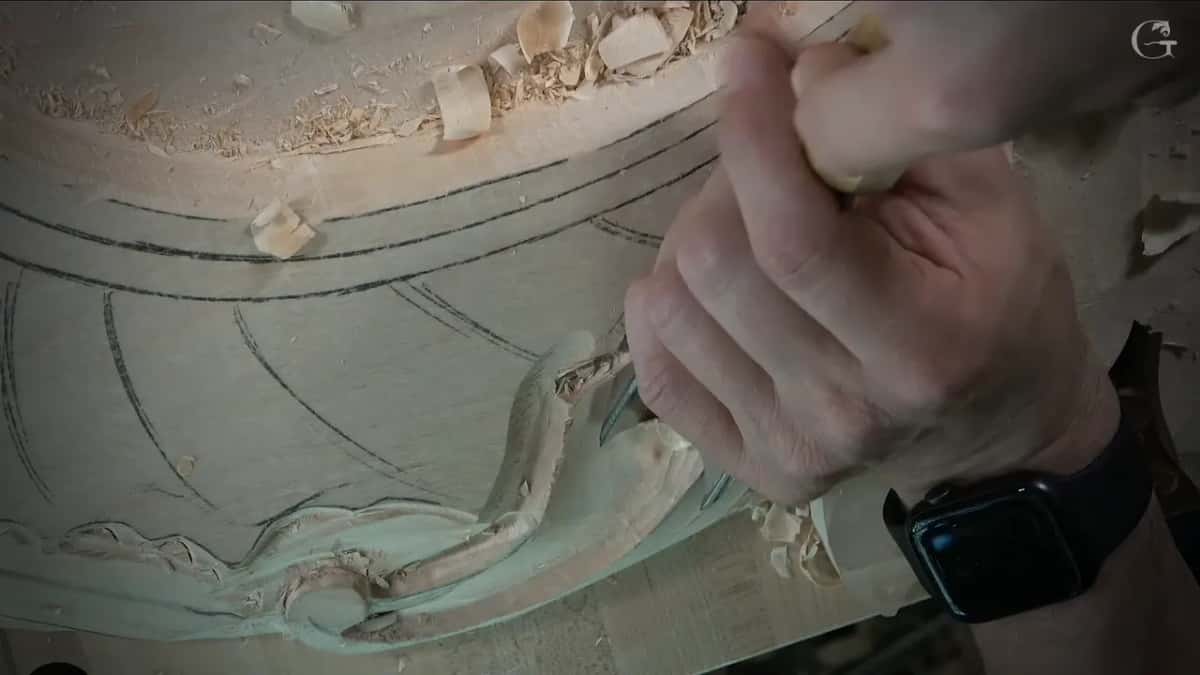
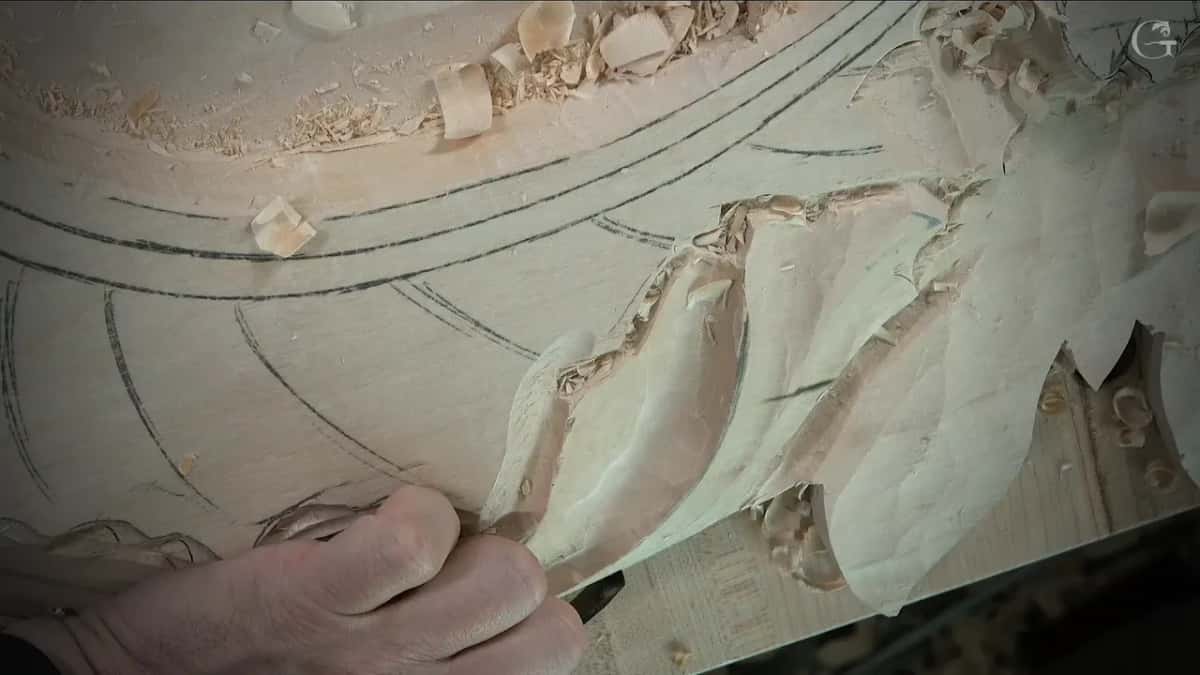
Look at the pencil bands around the oval in these pictures. They are still only drawn, while the shape beside them already stands up in relief.
Why does the edge rise when you dig beside it?
Carving only ever takes wood away. So when I say an edge must rise, the wood beside it is what comes down, and the edge is left standing above the dip.
Listen to the order of my words in lesson 127. First I said I'd take the 30 mm again and dig down right there, and in the same breath that I wanted the edge to go up. The hollow comes first in that sentence, and the height second.
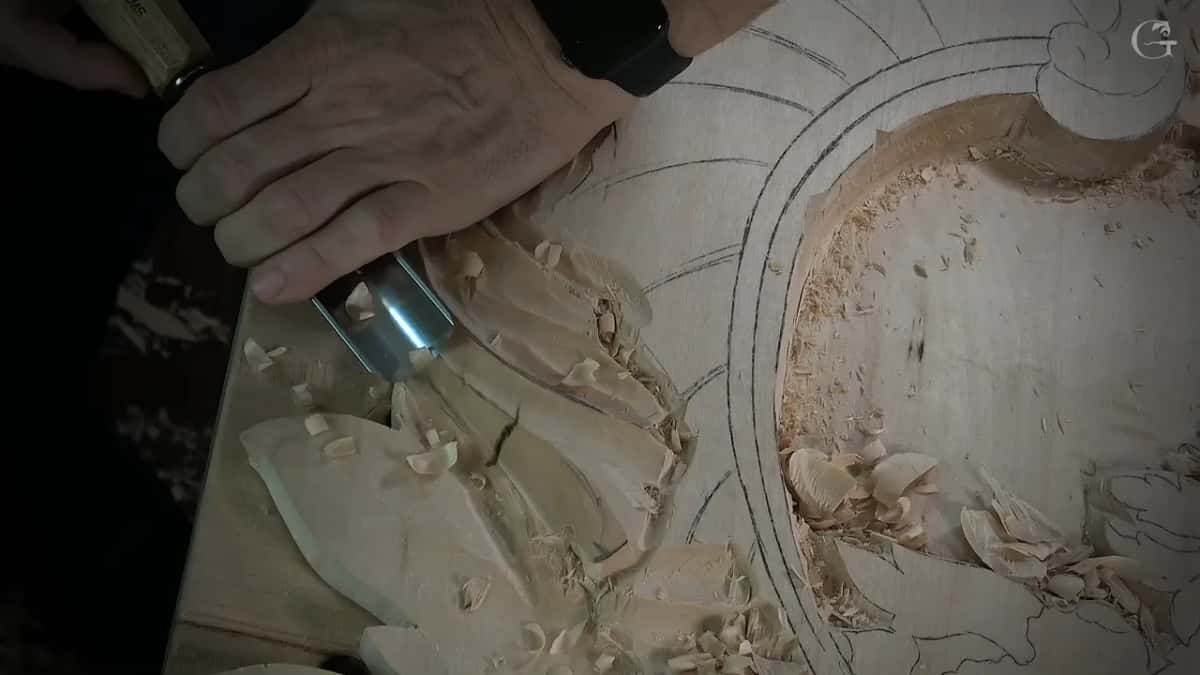
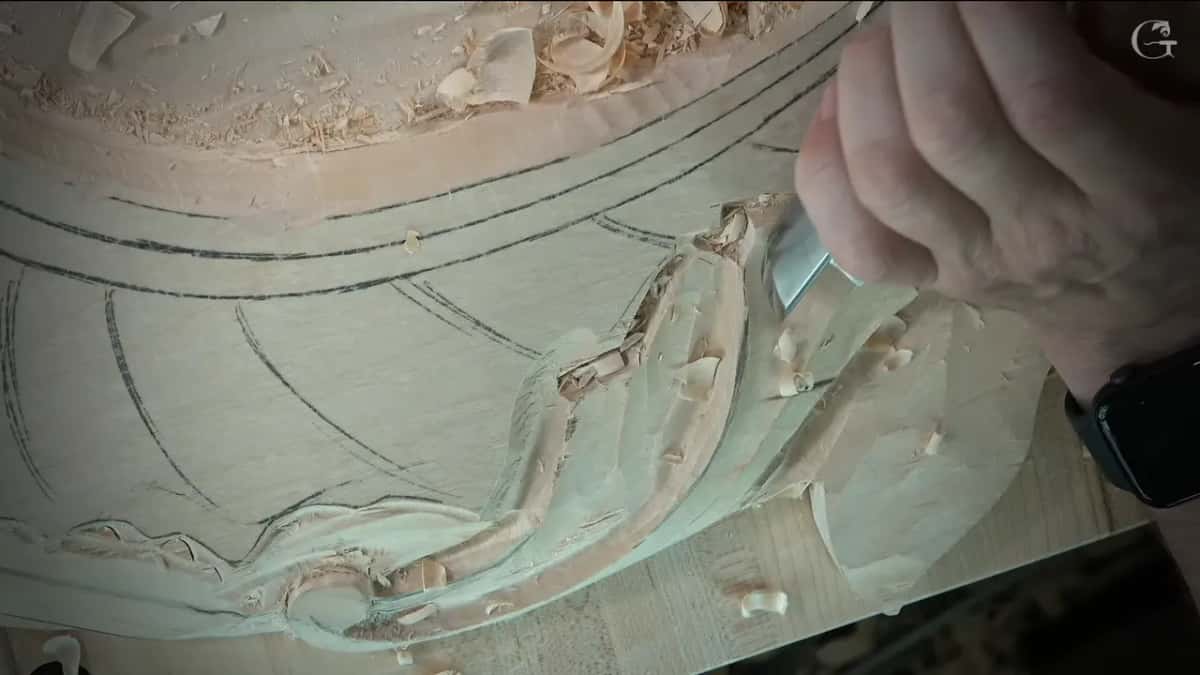
The side pictures show the carved shape standing up above the drawn bands of the oval. A leaf rim works on the same idea, and on the antique style rosette I explained why the outer line of a leaf stays high while everything inside gets hollowed away.
Lifting a volute off its ground belongs to the same family, done there with a fillet and a cove in workshop 100. A leaf that seems to lie on top of the wood is its own story, told in workshop 82.
How do you know the edge is high enough?
By how it looked. None of the seven lessons here puts a number on how far an edge went up. What I said was how it looked, really good in lesson 127, nicer in workshop 12 and more dramatic on the hazelnut, and in workshop 11 that one spot was not enough yet.
Early in lesson 127 I also looked at the whole thing from more than one point of view. From above it could look okay, I said, but from the side sometimes it looks like you have to change something, and I wanted to move one line a little, I said, because I thought it would look much better.
After the table moved I changed cameras, and from then on some shots look along the panel from low, which is where the side pictures on this page come from.
Which gouge raises an edge?
It changed with each lesson. Here is each tool from the lessons on this page, named where I named it on camera, with a few words I said at the time.
| Lesson | Move | Tool | Said |
|---|---|---|---|
| Venice Room 127 | Went down beside the edge it lifted | Huge #11 | so it has to go up |
| Lesson 11, Venice | Went even more extreme on that edge | Number nine | It is not enough for me |
| Workshop 12 pipe | Concave carried all the way around it | A #9 | I could leave it, I said |
| Board in 14 | Smooth first, then a bigger concave planned | Unnamed tool | smooth, without high spots, I said |
| Venice lesson 35 | Concave set where the center line runs | Not named | a really nice concave, I said |
| The hazelnuts class | One edge lifted up slightly for drama | Fishtail #7 | I'm going to cast more shadows |
| Gibbons class, Maine | Drawn slightly raised, in a darker color | A drawing | Edge gonna be slightly raised up |
The sweeps named are a #11, a #9 and a #7, one of them a fishtail gouge, and the last row is not a tool at all, only a drawing in a darker color.
Do you have to raise the edge at all?
Not always, and I said so in workshop 12 of the Venice Room.
Next I had to take a concave all the way around a pipe, not a big one but still a concave, and I said I needed to raise this edge a little. In the next breath I took it back. I don't have to, I told you. I could leave it like that, and it's not really a big deal.
But I thought it would look nicer. So a number 9 went carefully around, not really deep. I don't want to do deep, I said, and that hollow was just for the eye.
On that pipe my answer was yes, a little, and carefully.
How far up can an edge go?
On one spot in the Venice Room's workshop 11, I said it plainly. It is not enough for me.
I thought I needed to go even more extreme, so a number nine came out and I raised that edge even more.
Three workshops later, on the board in workshop 14, I still thought I should give a much bigger concave in one spot, and said I wanted that edge to climb even more.
Should the surface be smooth before the edge goes up?
It was, in workshop 14. Before I pushed that edge any higher, I stopped and took the tool over the spot to make it really nice and smooth, where it doesn't have any high spots. The tool is not named in that stretch of the lesson, and I called it that bit, that tool.
Lesson 127 ran in a different order. The edge went up first, and my last word on that area was smoother, not deeper, when I came back at the very end of part one.
If going down beside an edge makes you nervous, I talked about how to avoid carving too deep in workshop 70.
What does relief carving depth have to do with a raised edge?
The two met in one sentence of mine in workshop 35 of the Venice Room. First I pointed to the center line, which even I could not see, and said the concave would go somewhere right there.
Later I said I would try to lift this edge a little higher and make a really nice concave. So the hollow and the height got planned together, from one line I could hardly see.
Should all the edges go up, or some down?
Some go each way. On the hazelnuts in lesson 3 of that class, I weighed dropping some areas down against raising others, out loud.
In the end I decided it was a good idea to raise one up, because that way it would look more dramatic and I would cast more shadows. The tool was a number seven, 3/8 of an inch (about 10 mm), and in this case a fishtail.
I lifted that edge up slightly, then cleared the pencil marks, since pencil marks create a lot of mess, I said. Some of those edges were going to go up and some down.
One could go downhill or sideways. Another I could probably curl slightly up, so I brought in that motion.
Can you plan a raised edge before you carve?
In class 8 of the Grinling Gibbons class in Maine, I pointed at one edge in the drawing and said we can slightly raise that edge up. If you look at the edge right there, see that edge, I said first.
A darker color came next, just so you could understand what I meant, and I said it again. The edge was going to be slightly raised up. Bigger, I said at one point, and then that you should see that better.
What came right after that, in lesson 127?
Part two opens with me walking to the other side and taking the wood on from that position. That's good, I said. I pointed out that there were no details yet. Now I could make my divisions and get the details, which should look really good, and just establish the final edge.
What I drew and carved next, with the separations and all my talk about lightness, is on the page about why a carving looks heavy, so I won't tell it twice here.
The lesson before this one, lesson 126, is about what I call a clean canvas, and lesson 128 picks up right after this one.
Where can you watch lesson 127?
All three parts of lesson 127 are in Part 11 of the Venice Room, and the edge from this page comes up in part one, a little past the four minute mark. The course page for this part asks how to carve against the grain without tearing the wood.
Would you like to watch it go in, pass by pass? Full access opens every lesson of the room, and the rest of the school with it.
How it's done
- Pick a wide number 11. Take a big number 11 and keep the concave shallow. Mine in lesson 127 was 30 mm wide.
- Start far out. Begin where there is almost no concave and let it sink in as it goes.
- Take the wood down beside it. Go down beside the edge you want higher, with the same wide gouge you started with.
- Repeat it in the next spot. Do exactly the same in the next spot, again from almost nothing.
- Blend from the opposite position. Walk around the bench to the opposite position and blend from there.
- Finish smoother, not deeper. Come back over the area at the end and make it a little smoother rather than deeper, the way I corrected myself on camera.
Frequently asked questions
What gouge did you use for the raised edge in workshop 127?
A huge number 11, thirty millimeters across, which is about one and three sixteenths of an inch. A ten millimeter one was out first. My next pick was the big one, and I said deep concaves were not needed on that piece and that it would give me a much smoother ride.
Do you have to lift every edge on a carving?
Not every one. In Venice Room workshop 12 I told the camera one needed lifting a little, then admitted I did not have to and that it could stay as it was. I went ahead anyway, for the look of it, going around carefully with a number 9.
How deep should the hollow beside a raised edge be?
Shallow, in the lessons on this page. Lesson 127 started from nearly nothing and went only a little deeper, and around the pipe of workshop 12, deep was not what I wanted, since that hollow was just for the eye.
What to carve next