
Alexander Grabovetskiy, woodcarver, School of Woodcarving · Published 2021
What is leafage in wood carving?
Quick answer: Leafage is the whole body of leaves in a carved design, counted apart from the flowers they grow around. I use the word for foliage on camera. Lesson 130 of the Venice Room shows me redrawing the inside lines of that leafage in pencil, lowering one leaf edge, and rolling another over a petal.
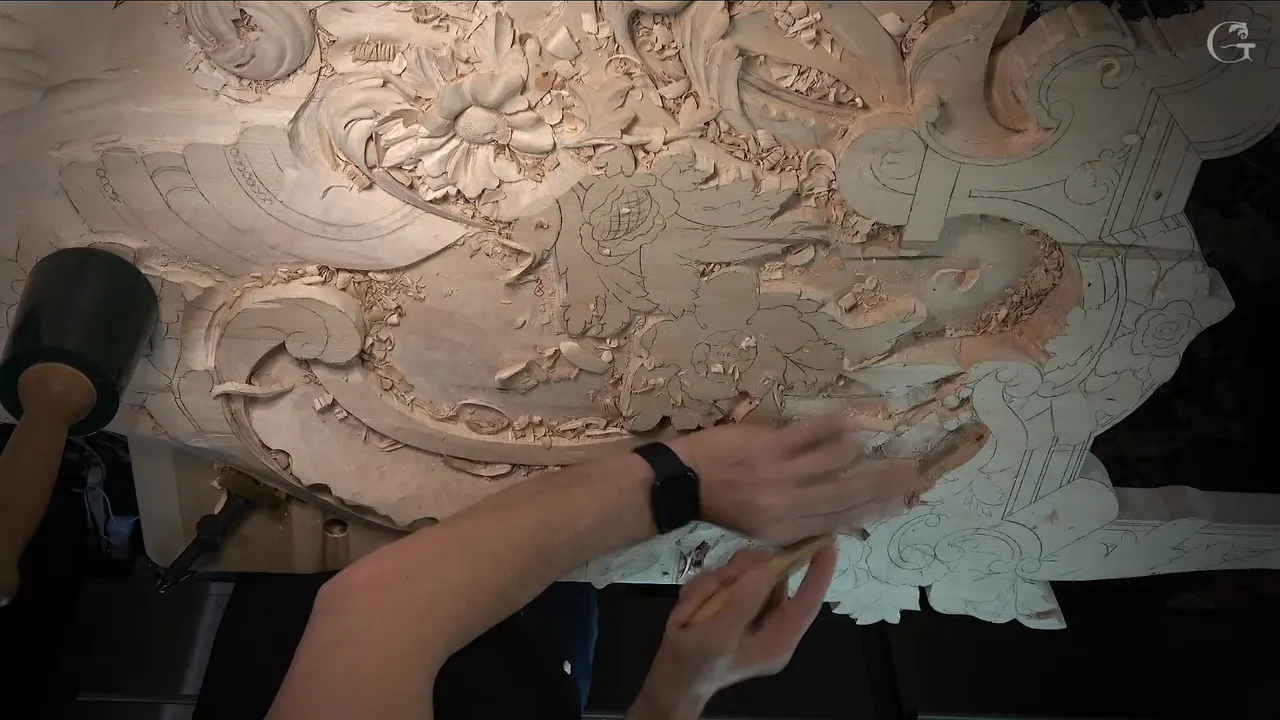
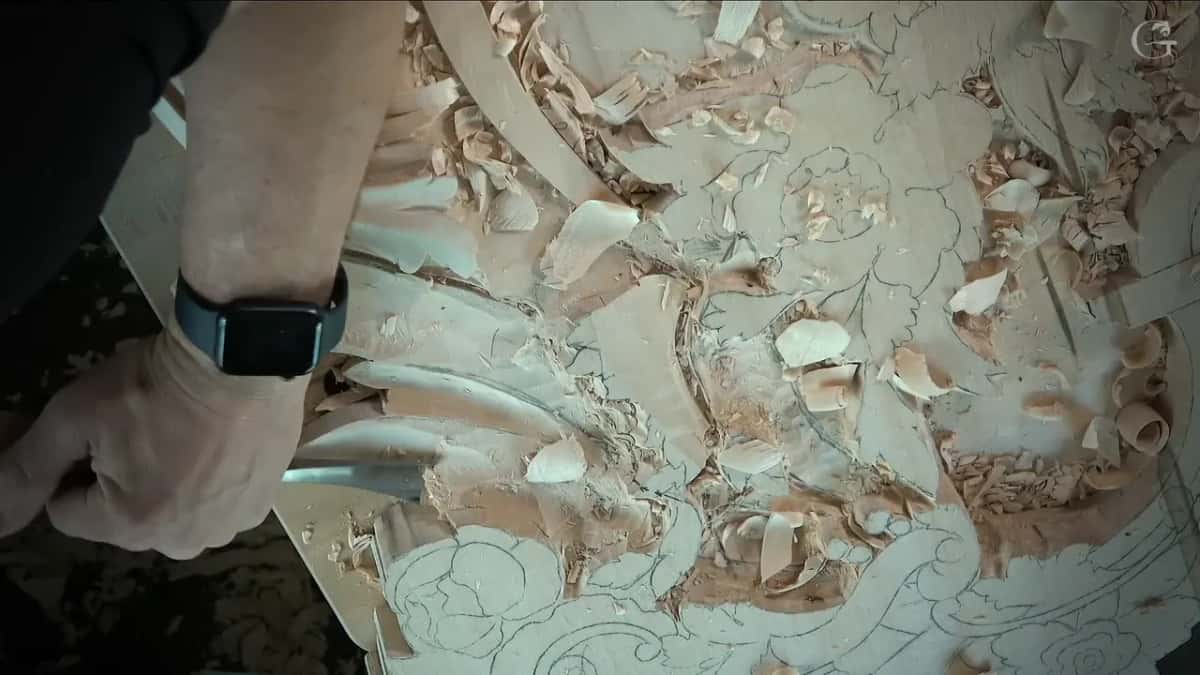
Leafage is the word I use for all the leaves of a carving taken together, as against its flowers. Carved foliage means the same leaves, and foliage is a word I use on camera too. During lesson 130 of the Venice Room I chopped around the future leaves of a panel, drew their inside lines back on in pencil, and only then started on whatever leafage was sitting right there.
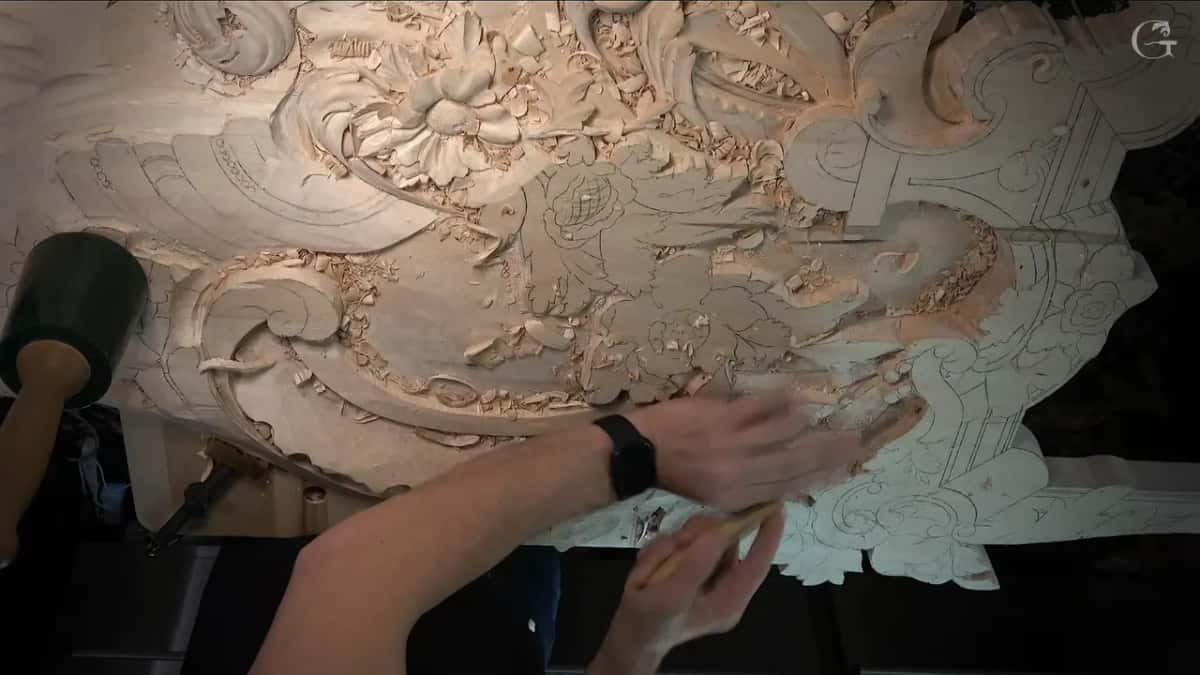
Does a flower on a carved panel sit among leaves? And do those leaves get carved as well? All of that is leafage to me, and below you get lesson 130 first, then my words about leafage from five other courses, each one linked so you can watch it for yourself.
Leafage as I use the word
- Leafage means every leaf in a design, all of them at once.
- On a furniture panel drawing, the flowers came first and the leafage after them.
- Foliage and leafage are one thing to me, and I said as much in the Corinthian course.
- A leaf in lesson 130 had one side lowered almost onto the background.
- One more edge rolled up over a flower.
- Tiny leaves round the berries on the Hashemi panel were not in my plan when I started.
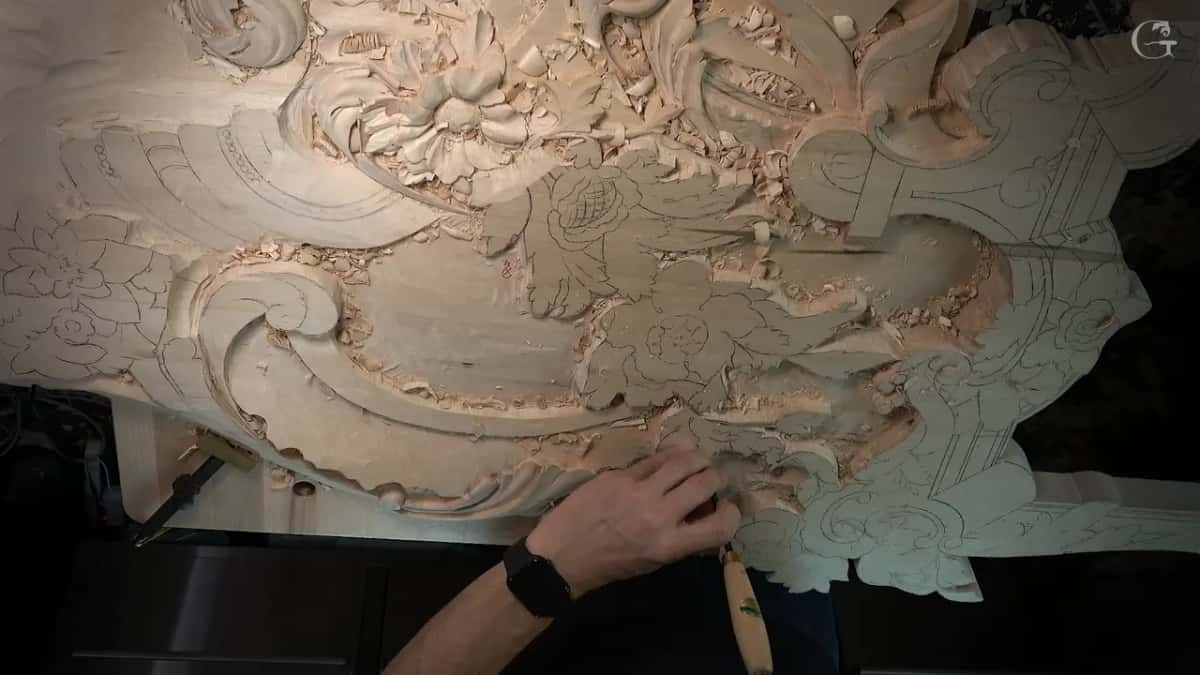
What did I do to the leafage in lesson 130?
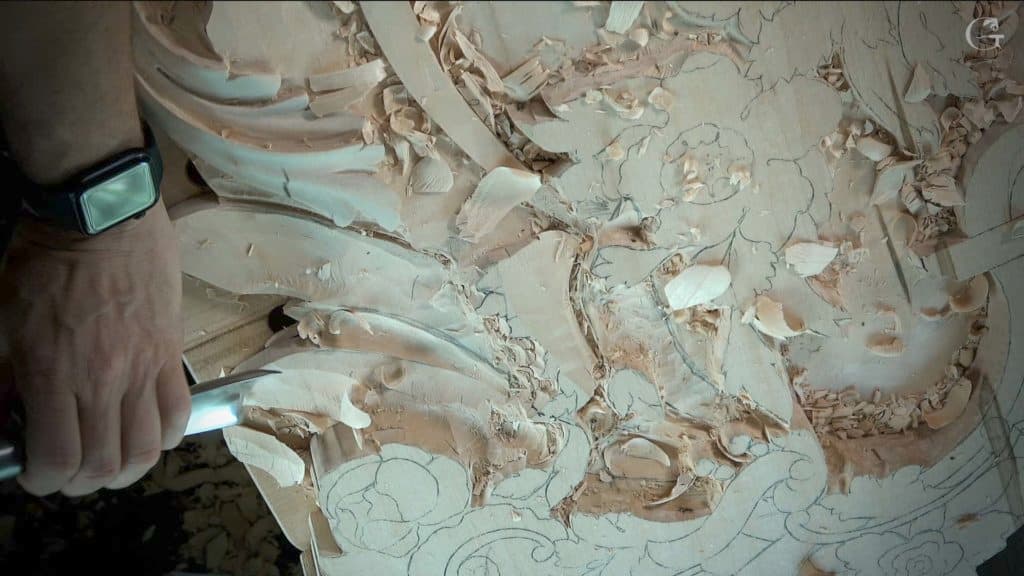
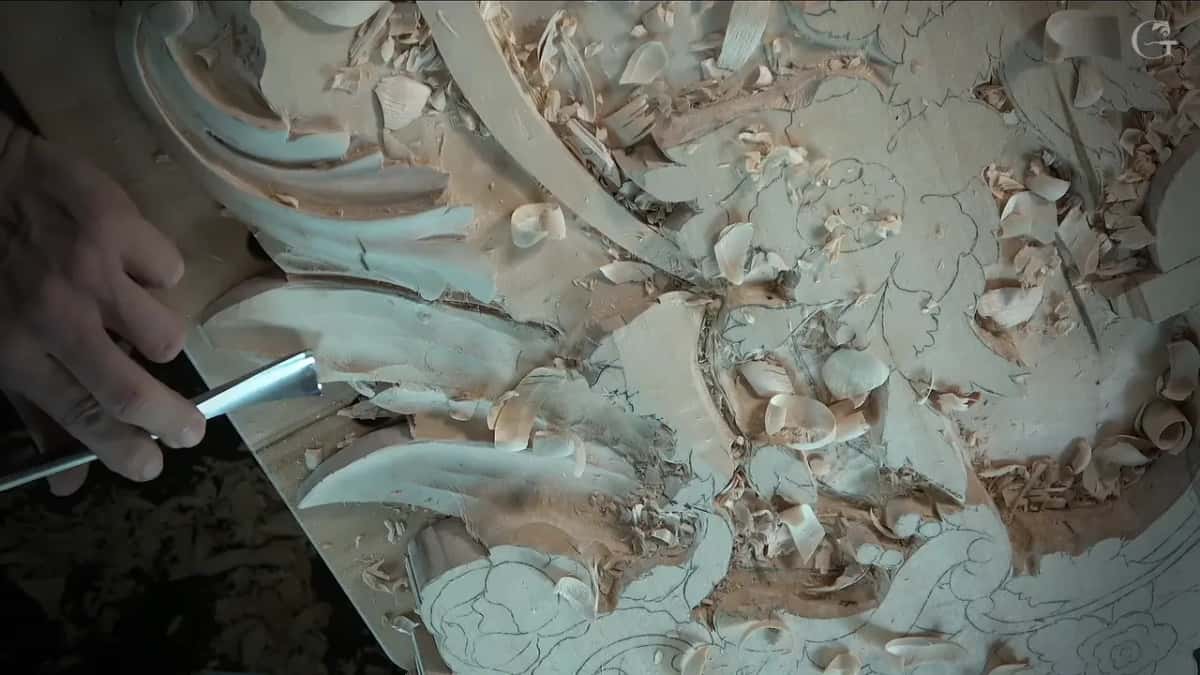
I chopped around it before anything else. Nothing special, I told the camera, just chop around those future leaves. I named three chops while I worked, straight down cuts, plug cuts and what I called edge cuts. An edge cut, the way I used the word that day, was a number 9 taking some of the wood close to the edge.
Next I said I could actually go even bigger, with a number 9 of maybe three-quarters of an inch, about 19 mm, and hit it a little harder.
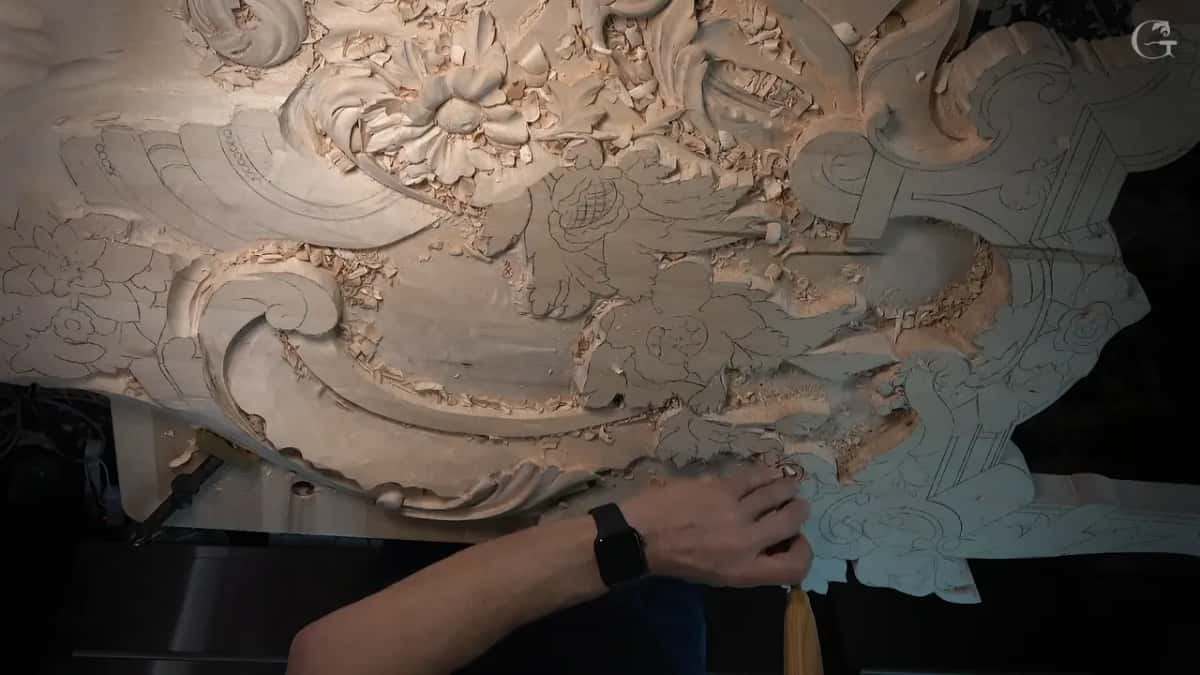
Let me develop a little bit, I began. Not develop, actually, I said, changing my mind halfway through the sentence. I needed to draw the inside lines first, and then we could start on the leafage.
How did the leafage get back onto the wood?
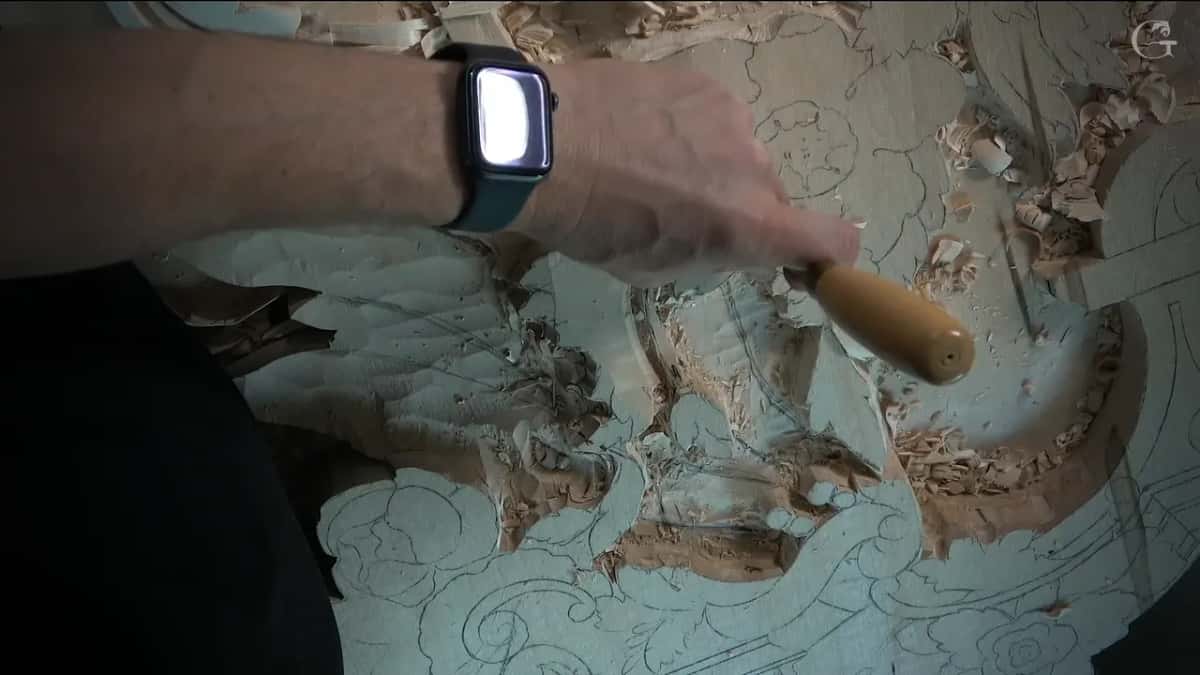
From a picture on my iPad. I pulled it up, opened it, found the place on the design where I was working and said, that is my spot, I need to recreate that.
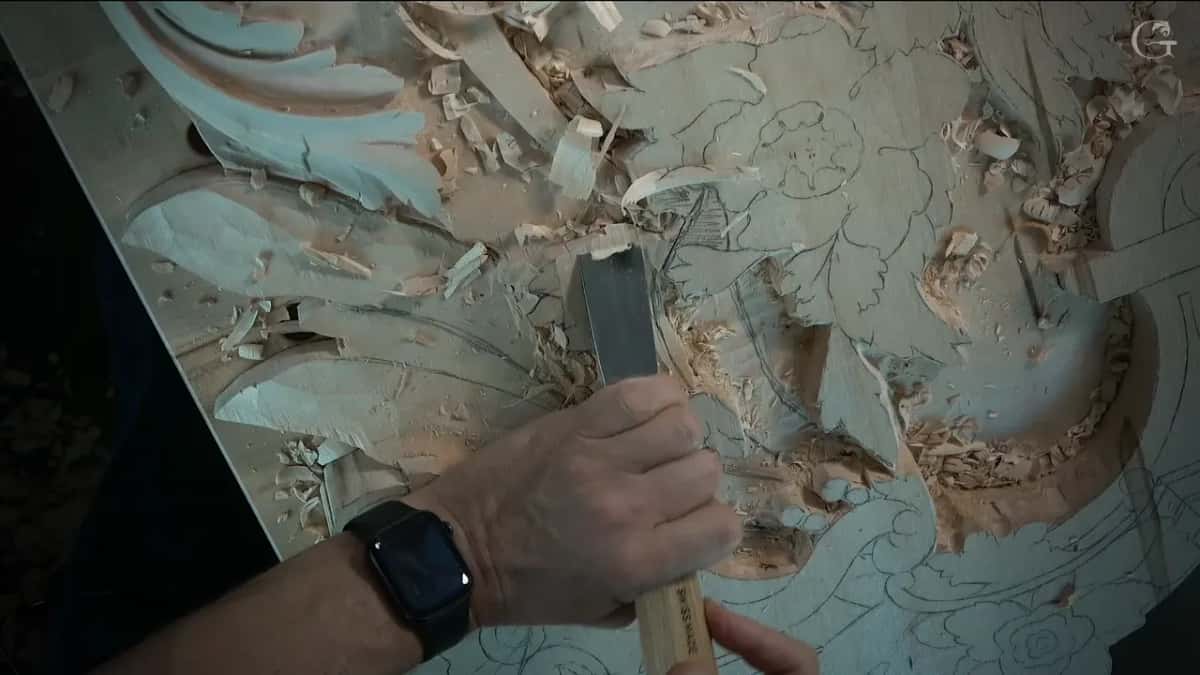
First I said I'd just get the charcoal. Then I said no, I'll take a pencil. Later, a minute or so into the second part, I said it once more, I don't want to use charcoal.
I had a connecting point on the wood, so my first line would go to it and the second line to the same spot. Another part would go right in the middle, somewhere right there. I really don't have to be super accurate, I said, but somewhat. One line went somewhere inside a division.
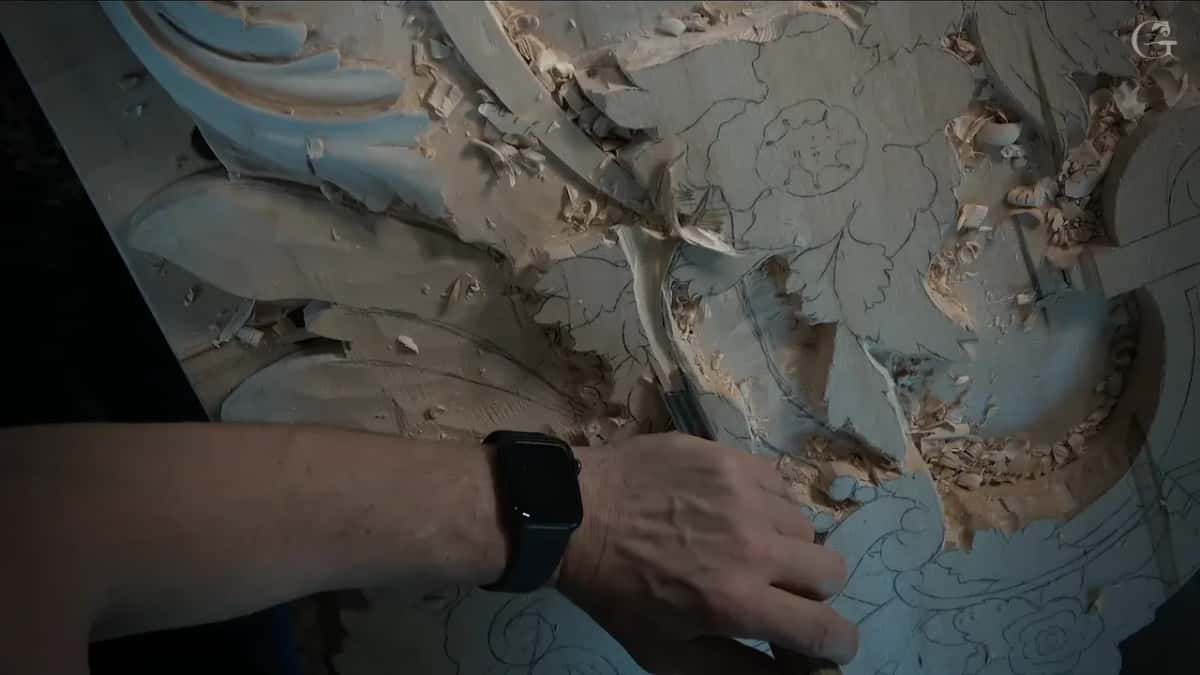
After that I found the edge of that detail and showed how it would go. Something like that, I said, and a few seconds later, something like that again.
Which part went lower first?
The part that goes underneath. Once the edge of one detail was drawn, I could see the detail itself had to come down, but another part had to go even lower. So I said I'd lower that part first, all of it. That frees up the detail, and those guys, as I called them, go underneath this leaf, which means all of that has to sit much lower.
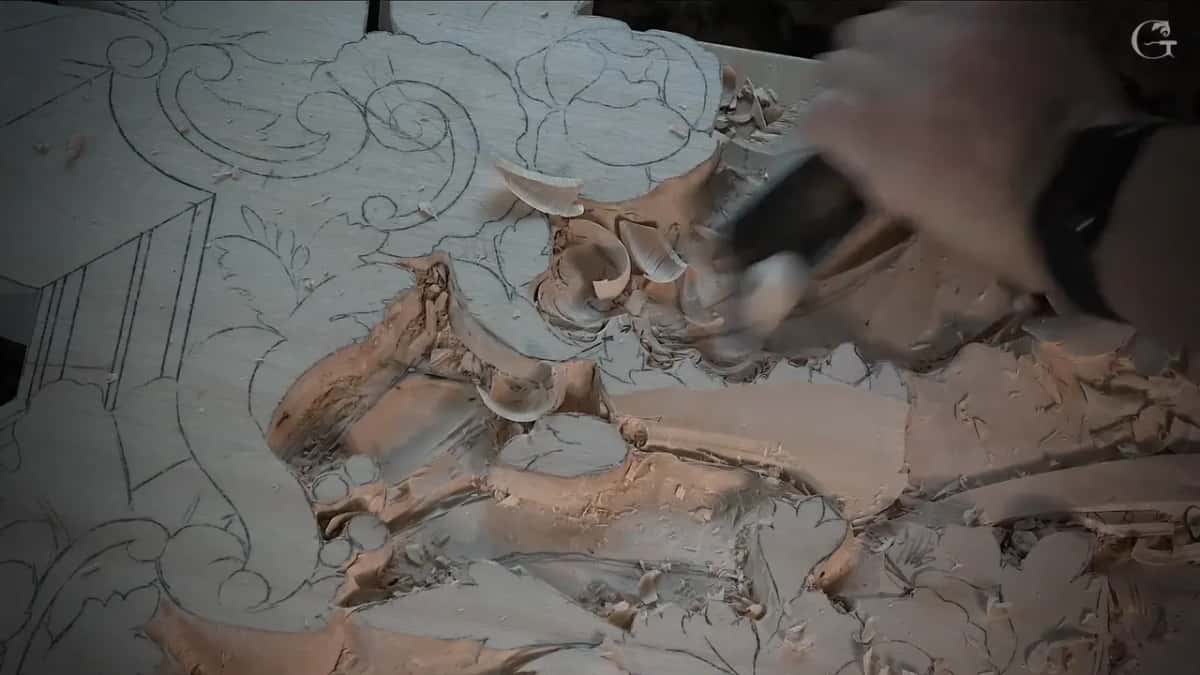
I also caught a mistake while I looked. Here's my edge, I said, so I don't know why I dug what I did right here, because that part is supposed to go from underneath.
Should I or should I not, I asked out loud. Yeah, I guess I should. I would lower the whole thing, I said, and then redraw all of it.
I'd mark my edge little by little, I said. I don't need to, I added, but I think it will help me. Once that straight down cut was in, the edge was a lot easier for me to see.
How low did one edge of the leaf go?
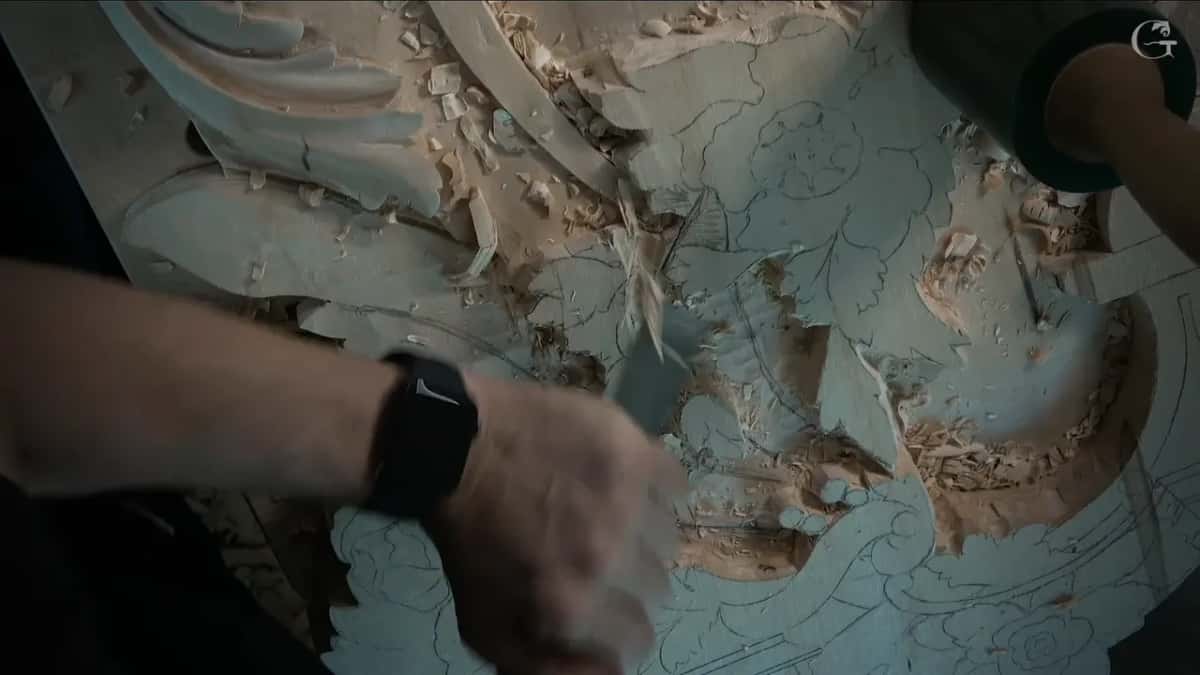
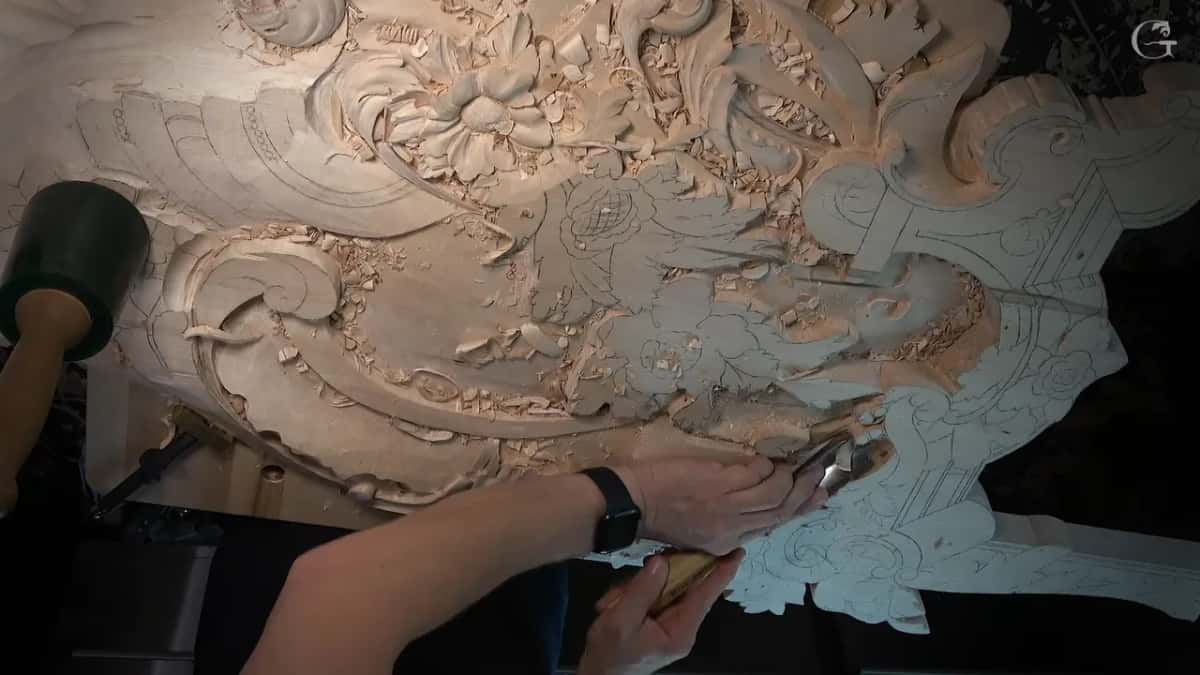
About six millimeters above the surface, no more than a quarter inch. That was a single edge in the third part of the lesson, and I lowered it until it was almost lying on the background. The other edge of that concave stayed higher.
The same idea came up in the second part. It had opened with some blending, and lowering that part too much right then was not the plan, I said, because I really wanted to make some shadow, but a little better should be okay. A little later I said I did not really have to blend that area really low. I could lower only one side of it, and make almost a concave on this side, going this way.
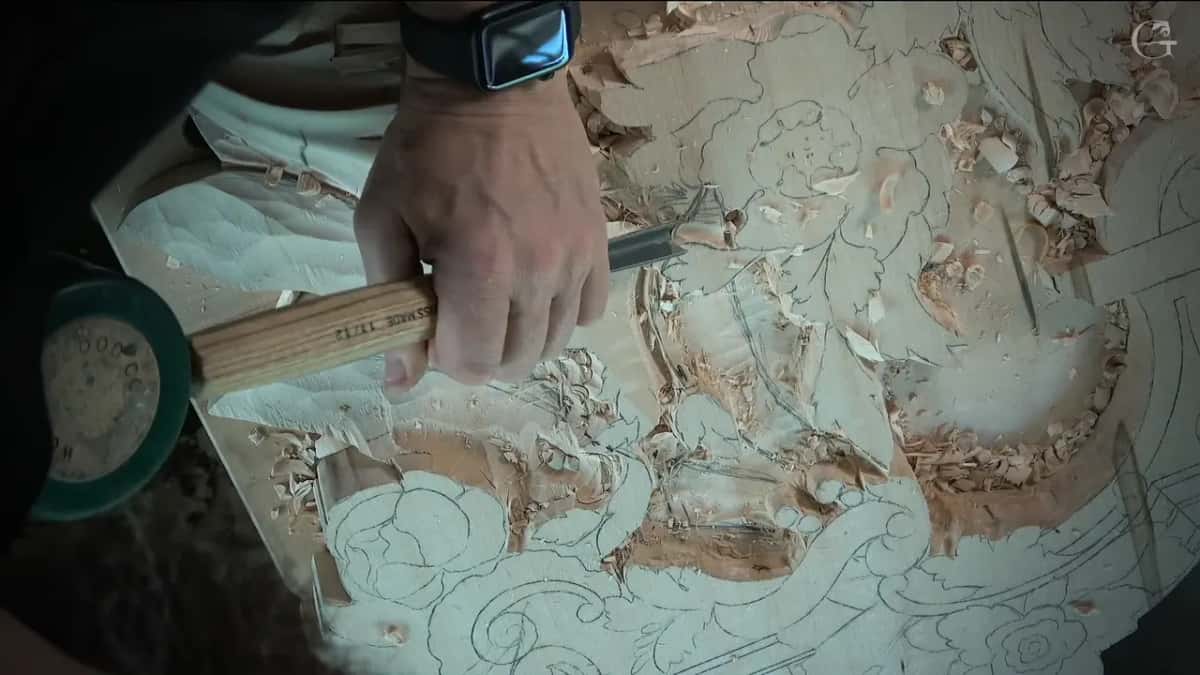
I was eyeballing it. There was no need to measure anything, I said, because it is really easy to see, and I was really close. One side would be higher, at the same level as that side, and the closer I got to the line, the lower it would get. That is what I did there, on one leaf beside a flower.
A leaf that seems to lie on top of the wood with about a quarter inch under it is another job, and it has its own page, the layered leaf in workshop 82.
Here are five jobs on that leafage in the order the lesson shows them.
| Job | Tool | Part | Note |
|---|---|---|---|
| Chopping future leaves | a number 9 close to the edge | First part | bigger tool, hit a little harder |
| Redrawing inside lines | pencil, not charcoal, from my iPad picture | First part | super accurate was not needed there |
| Outlining the leaf | the number 11 right on that line | Second part | the same line, one more time |
| Hollowing the inside | maybe a number 8, a deeper concave | Second part | old tool marks sat right inside |
| The main concave | a big number 7, then a mallet | Third part | about 25 mm, about one inch |
Can a leaf roll up over a flower?
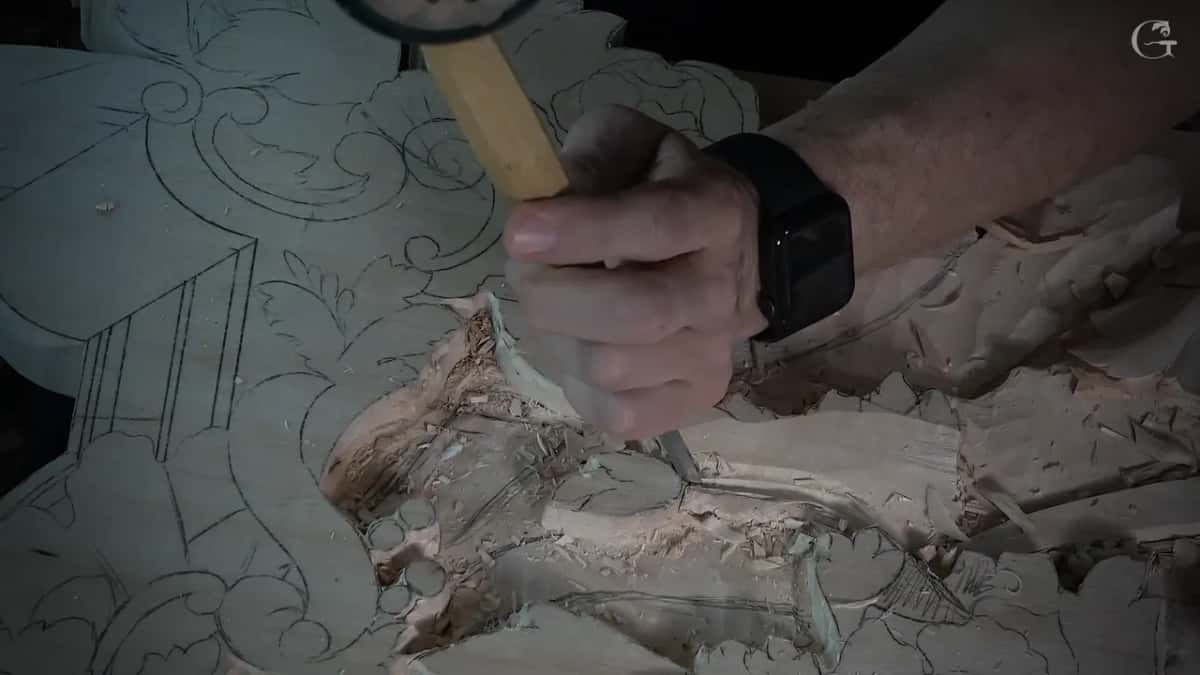
On this panel one did. Early in the second part the tip of this leaf came up. It could be much higher, I said, going all the way above the flower. Then I did some plug cuts first, so it would be a lot easier to find the position later. It's not the final, I said, but what I need is just that edge.
This edge is going to roll up, I said a little later, so why don't I do that right away? That edge ended up sitting above the petal.
Then the inside of the leaf. A concave would go there, I said, with maybe a number 8. It had to be a somewhat deeper concave, because I already had some marks right inside that spot. Look at it overall, I told the camera, and I hope you can catch that, it's not bad at all.
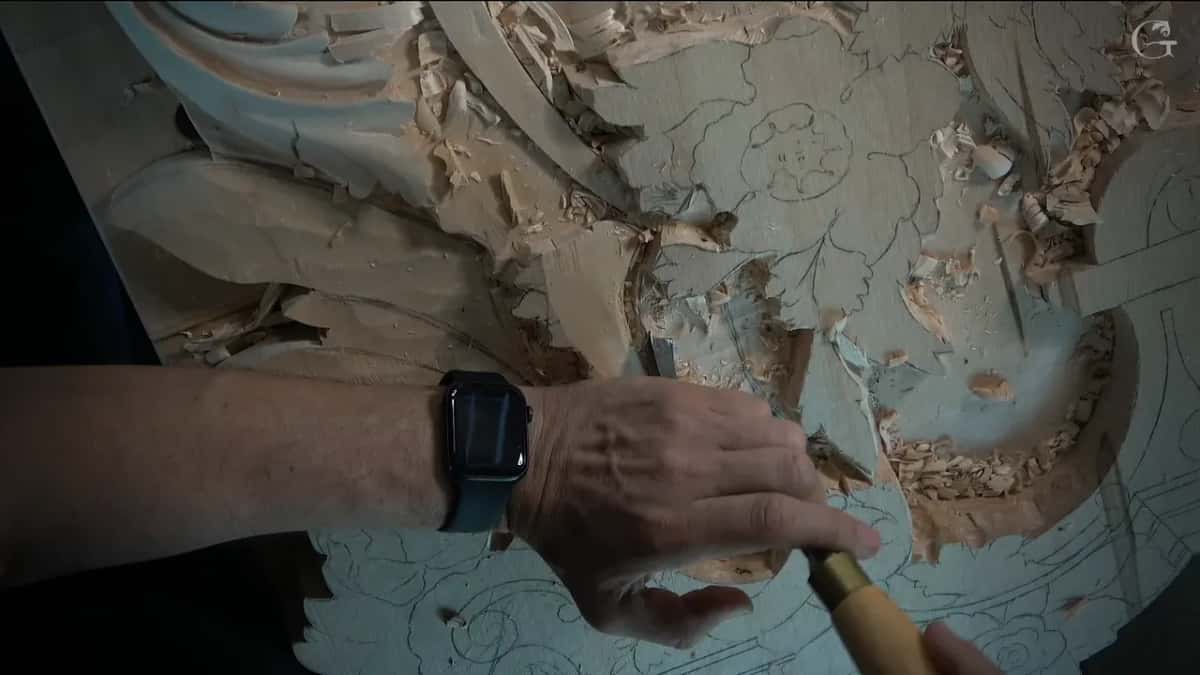
A number 11 of 5 millimeters, about 3/16 in, then went underneath one line. You know what, I said, we could go even deeper right here and make a beautiful shadow.
Another one would go a little bit underneath this line too, I guess. I could do that, or I could do something else, I said, and I would probably do it like that.
By the third part I was using too small a tool, I told you, and took a 30 millimeter one, about 1 3/16 in. The goal, I said, was to get some concave look, and you could already see it throwing some shadow inside. The middle part, I said as I pushed the panel a little your way, would sit lower than those two, and I took care of it right away. Now I have to make the decision, I said, what am I going to do with those guys, and what will be the best look for it.
For the main concave I took a big number 7 and said I could probably start right from the edge. Maybe that is not even enough concave, I said, I should use a different sweep. I needed a smaller tool for the mess, I said, and for that spot I said number eight, corrected myself to number seven, and said I'd use a mallet to persuade it.
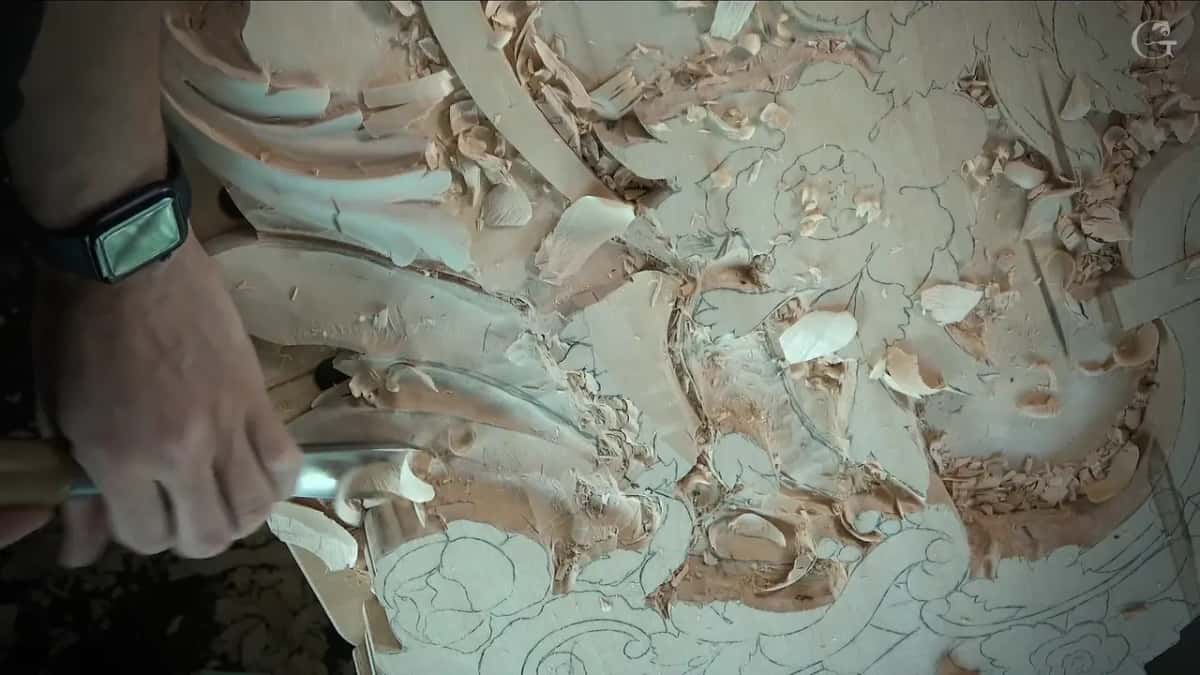
One of the flowers was going to sit right there. I'm really happy how deep I freed up the area, I said, and a 30 millimeter number 11 then cleaned the area around it. The secondary concave I planned on one side of the main one is covered on the course page for Part 11.
Is carved foliage the same as leafage?
To me it is. Designing the furniture panel in workshop 14, I said I should do some kind of foliage, like a leafage, let's say. The Corinthian acanthus course, lesson 4, has it the other way round, leafage or foliage, I call it.
The plain meaning of the word matches. Wiktionary lists leafage as the leaves of plants taken together, or foliage. So carved foliage and my word leafage point at the same leaves.
Where does leafage start in a design?
After the flowers, on the furniture panel. In workshop 12 of the furniture panel design course I looked at my flowers and said I was not sure yet if I was happy or not. And I guess I am. Now I need to develop some leaves or leafage.
A minute later, working my way in another direction, I tried something new. Maybe I can make an absolutely different type of leafage, like triple leaves, just like that. And I can always change it.
When did I not like my own leafage?
More than once. Later in that same workshop 12 I said I kind of liked those berries, but I did not like the leafage, the design of those leaves. Once I carve it, I said, I'm also going to probably fix some of the movements.
Near the end of that part, for something like an acanthus flower, I said the leaves had to be subdivided too. All of them, even the smallest ones. Then it's going to look like acanthus leafage, I said. Put some eyes in it.
It happened again in workshop 14 of that design course, over one spot. Flower or leafage, I said, don't like that. That's just too big.
Which kind of leafage do I love most?
The acanthus leaf. Lesson 4 of the Corinthian acanthus course is where I said that of all the carving types of leafage, I really love the acanthus leaf the most. Most likely most of the wood carvers in history felt the same, I said, so it is really, really common. Corinthian points to the Corinthian order, the column whose capital carries acanthus leaves.
The next part of that lesson gave you a reason to practice. If you plan a really complicated carving with me, like a Grinling Gibbons carving, there are all sorts of leafage in it, so it is a good idea to practice different types. You can put lots of different acanthus leaves in just one design, I said, and it will look beautiful.
Does leafage have to be planned from the start?
On the Hashemi panel it wasn't. Workshop 39 of the Hashemi flowers course is where I looked at the berries we had carved and said really tiny leaves could go around them, and those really tiny leaves would make a more beautiful look. Just leafage, like that. I didn't plan at the beginning to do that.
The tool list was short. Pretty much one gouge, a number 5, a few small moves like that, and the section around them removed. It would be really good, I said, especially since we had a lot of material anyway.
What was the leafage on the vase?
Grape leaves, and only the leaves. For lesson 1 of the vase course I talked about boundaries for the leaves and said, in this case, I'll just do grapes. Grape leaves, not the grapes itself, but just the leafage.
Where can you watch lesson 130?
Lesson 130 sits in Part 11 of the Venice Room, between lesson 129 and lesson 131. The chopping and the pencil drawing are in its first part. The one-sided leaf and the edge that rolls over the petal are in the second, and the number 7 with the mallet is in the third.
Leaves that sit behind a main flower have a page of their own, what background leaves do, and what I mean by attacking the wood is in lesson 128.
Every lesson I quoted here opens with full access to the school.
Would you like to see that edge roll up over the petal? The second part of lesson 130 shows it about four and a half minutes in.
How it's done
- Chop around the future leaves. Clear the wood from around the leaves you are about to carve. I used plug cuts and a number 9 near the edge.
- Redraw the inside lines. Pull up your picture of the design, find your spot and draw the lines back on in pencil. They need not be super accurate, I said, but somewhat.
- Lower the part that goes underneath. Lower the part that will sit underneath first, even lower than the detail. That frees up the detail.
- Outline on the line. Run a number 11 right on that line one more time before lowering the leaf.
- Hollow the inside. Make the concave inside the leaf. First came a number 8 in the second part, then a number 7, the big one, in the third, with a mallet on the messy spot.
Frequently asked questions
Is leafage a real word or one you made up?
An ordinary English word. Dictionaries give it as the leaves of plants taken together, and on camera I use it for a design's leaves as against its flowers. In the Corinthian course I said leafage or foliage in one breath, as one thing.
Do you draw the flowers before the leafage?
On the furniture panel design I did. I looked at the flowers, wondered out loud if I was happy, decided I was, and only then said I needed to develop some leaves or leafage. Triple leaves came next, and I said I can always change it.
What tool made the tiny leaves around the berries?
Pretty much one gouge, a number 5. I made a few small moves with it on the Hashemi panel and removed the section around the little leaves. I had not planned them when I began, and there was plenty of material to spare for them.
What to carve next