
Alexander Grabovetskiy, woodcarver, School of Woodcarving · Published 2021
Why does my wood carving jump when I carve it?
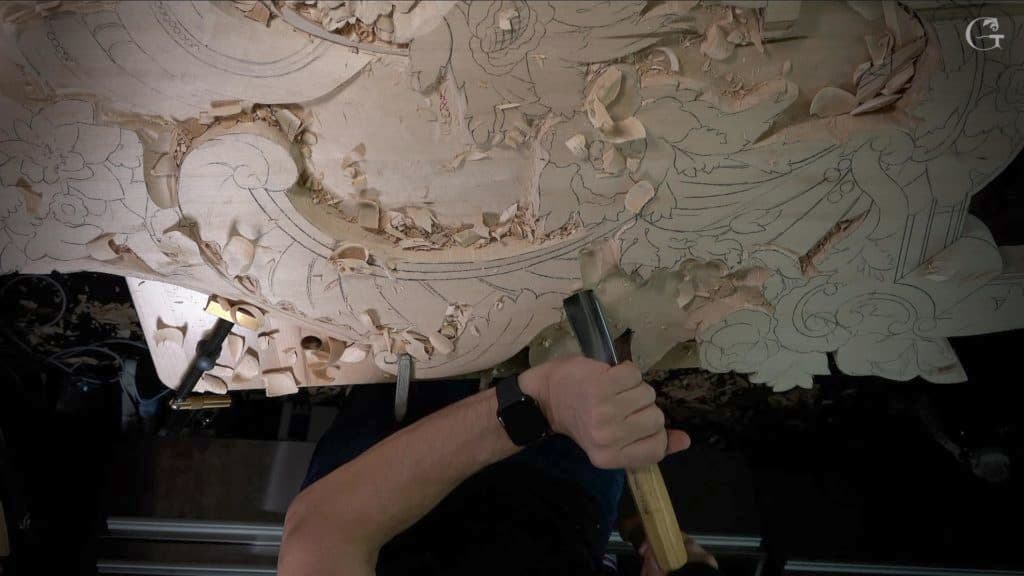
Quick answer: A jumping carving is wood that moves on the bench under your tool. Mine did it in lesson 125 of the Venice Room, soon after a number 3 went straight down on a line. Without knowing the cause, I fetched a clamp and carried on.
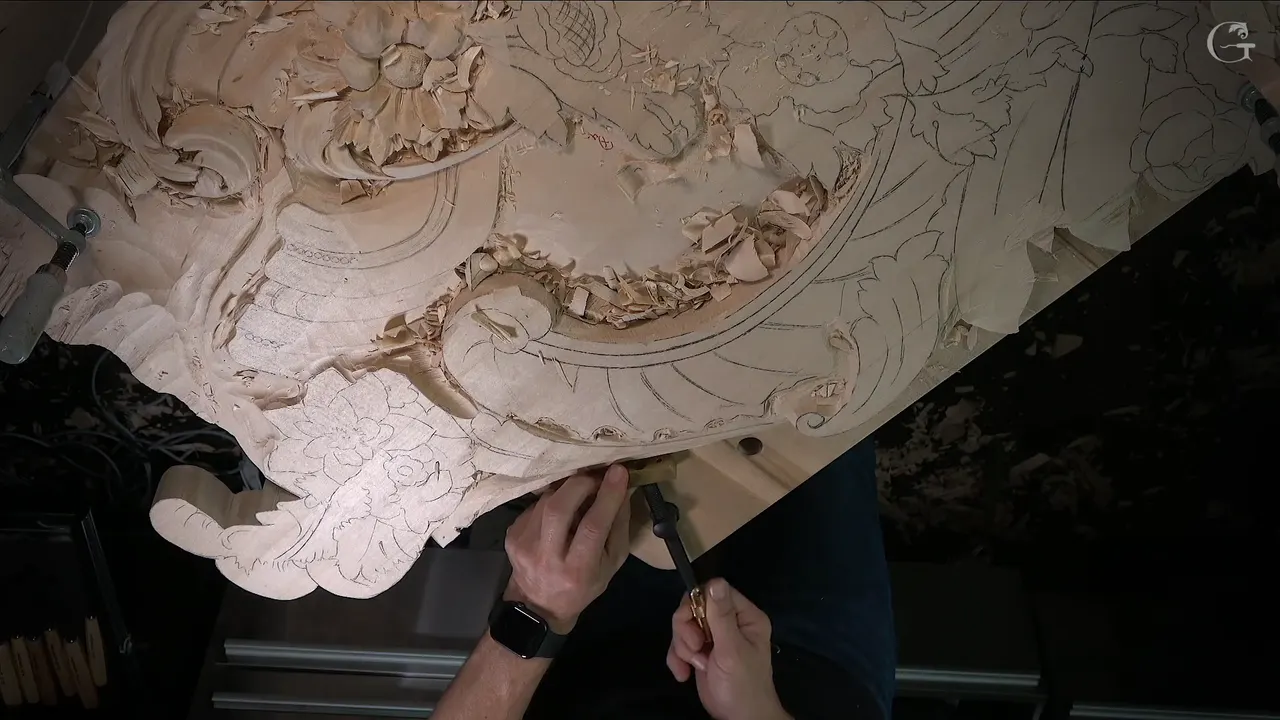
A carving that jumps is a piece that shifts on the bench while your tool is in the wood, and in workshop 125 of the Venice Room that was my signal to stop and get a clamp. On camera I admitted I had no idea what was making it jump. The reason could wait. I clamped it and went back to a number 11.
Most of what gets written about wood carving clamps is about which one to buy. Mine is about the minute before the clamp goes on.
You know that minute. The edge is in, you lean on it, and the board slides or hops under you. On this panel the wood did the moving, and I dealt with the wood. What follows is what I did in lesson 125, then what I have said about clamps in other lessons of mine, each one linked so you can go and watch me say it.
What happened on my bench in lesson 125
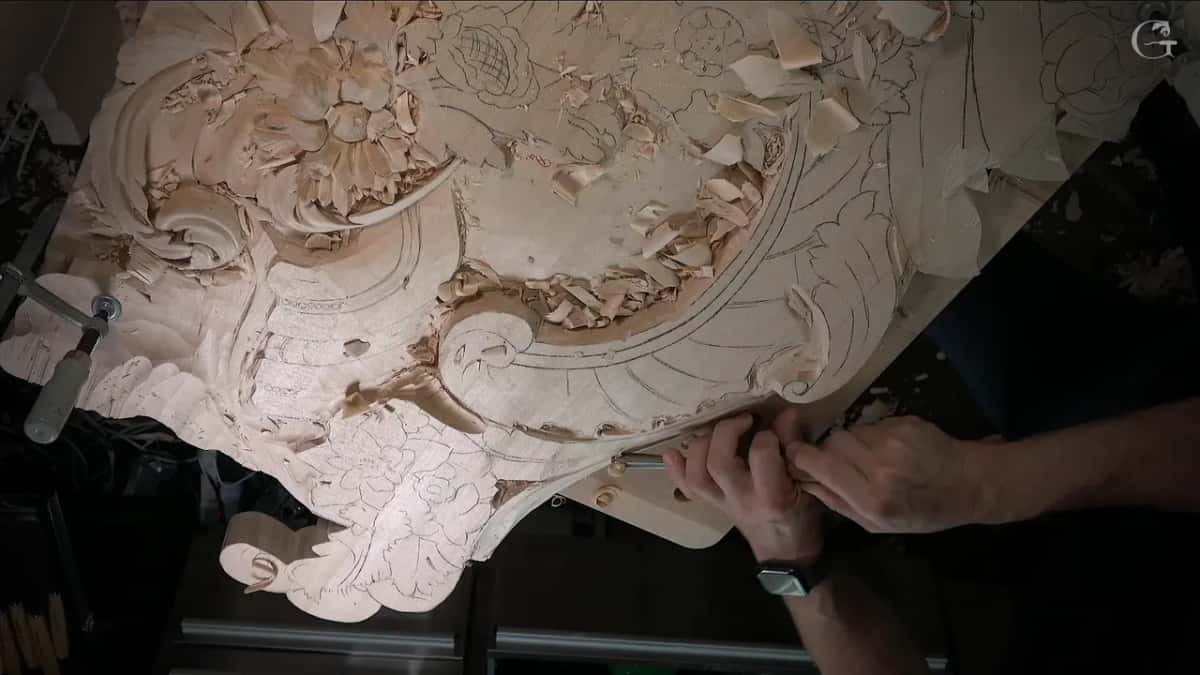
- The panel started jumping soon after I took a number 3 straight down on a line and made the opening a little wider.
- I went and got a clamp and put it on.
- Earlier in the lesson my clamp went back on another section, I called it solid, and I removed one I no longer needed.
- Right at the start I held back on removing wood, because a clamp was coming a little later.
- In another course I told you to take the clamps off to look at the far side, then put them back on.
- A spoon gouge under a mallet can jump too, and that one can break.
What do you do when a carving starts jumping on the bench?
I stopped and clamped it. The whole stop in lesson 125, from the first word about it to the next pass, is about a minute of video.
Here is where it came from. I was in a new section of the panel, one meant to go deep. My straight down work there took a lot of material out at once, I said, and there was a second approach too. So a number 11 of 10 mm (3/8 in) removed some of it, and I followed with a smaller one, maybe 7 mm (about 9/32 in), to dig out the middle.
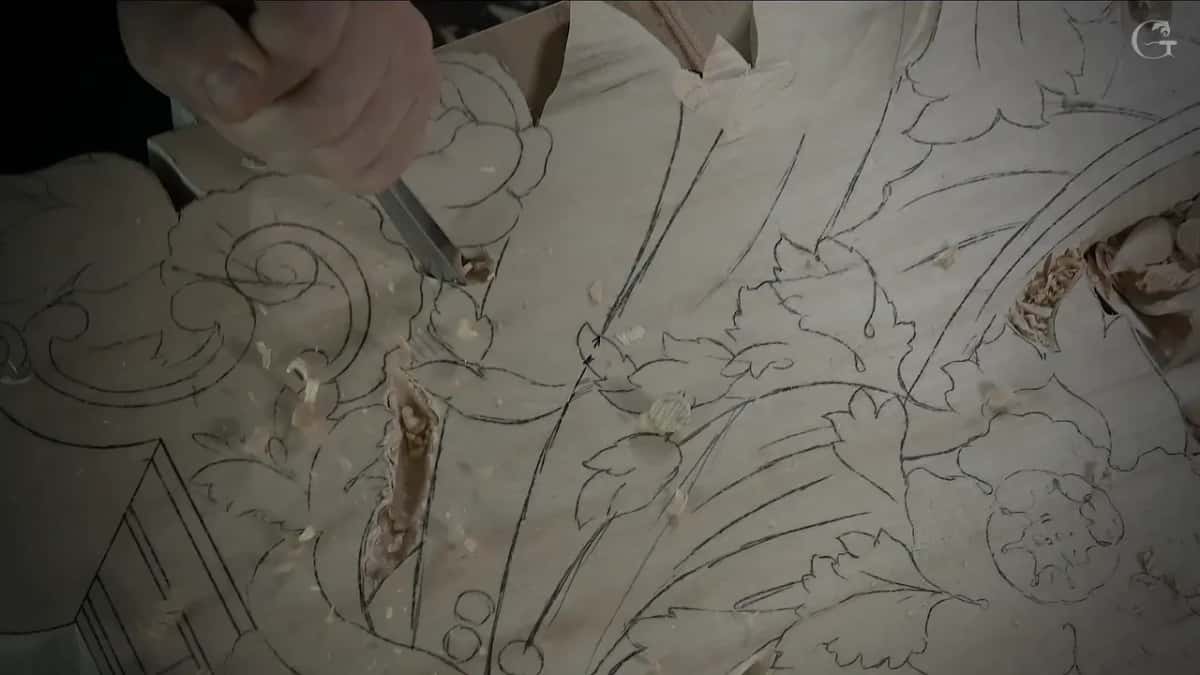
In this case, I said, that was absolutely okay. Then a number 3 went straight down right on the line, and I made my opening a little wider. That line keeps going on the opposite side, more like a molding line. I know it is, because I placed it there myself.
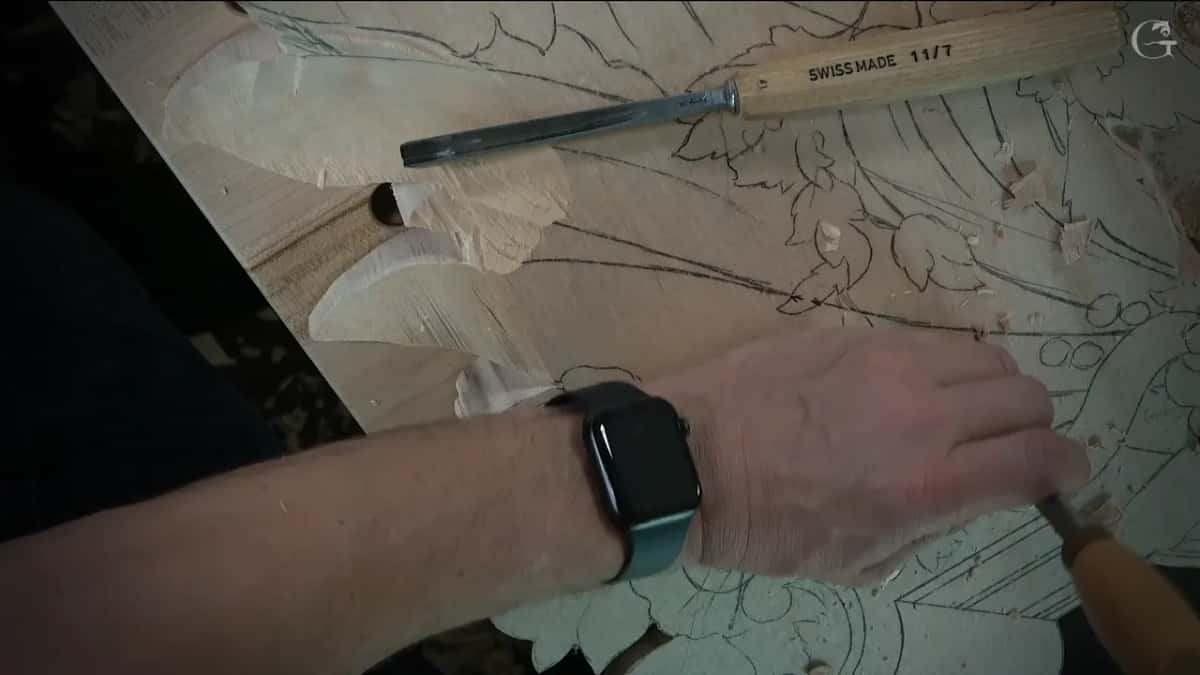
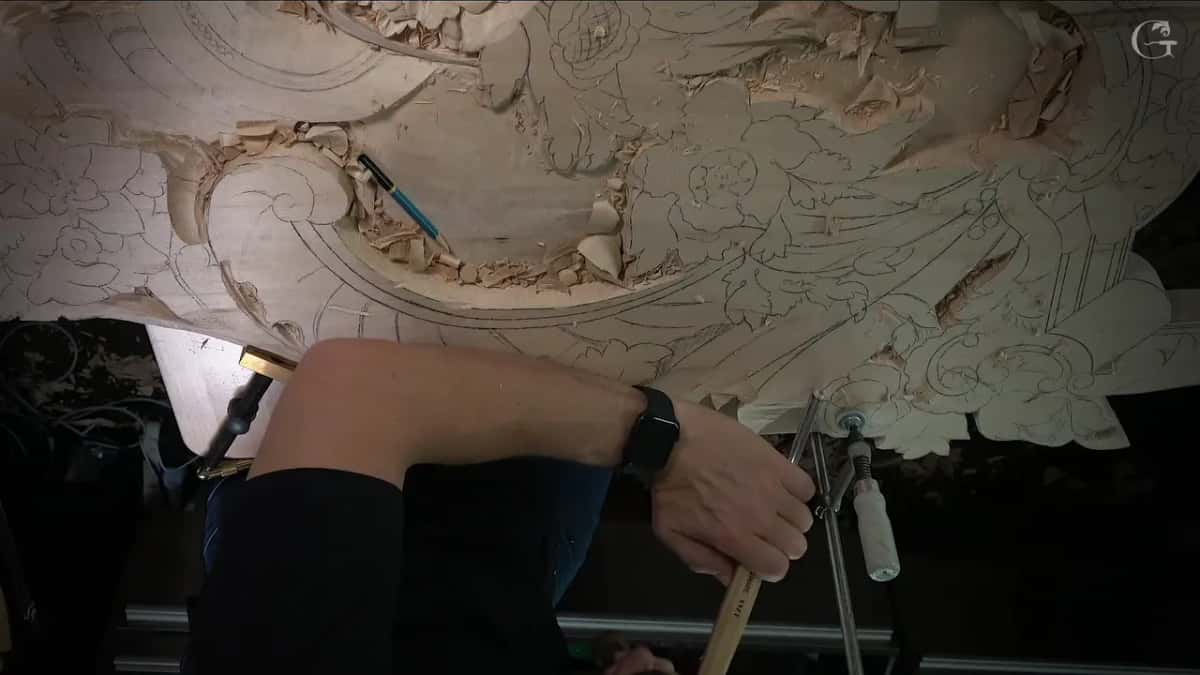
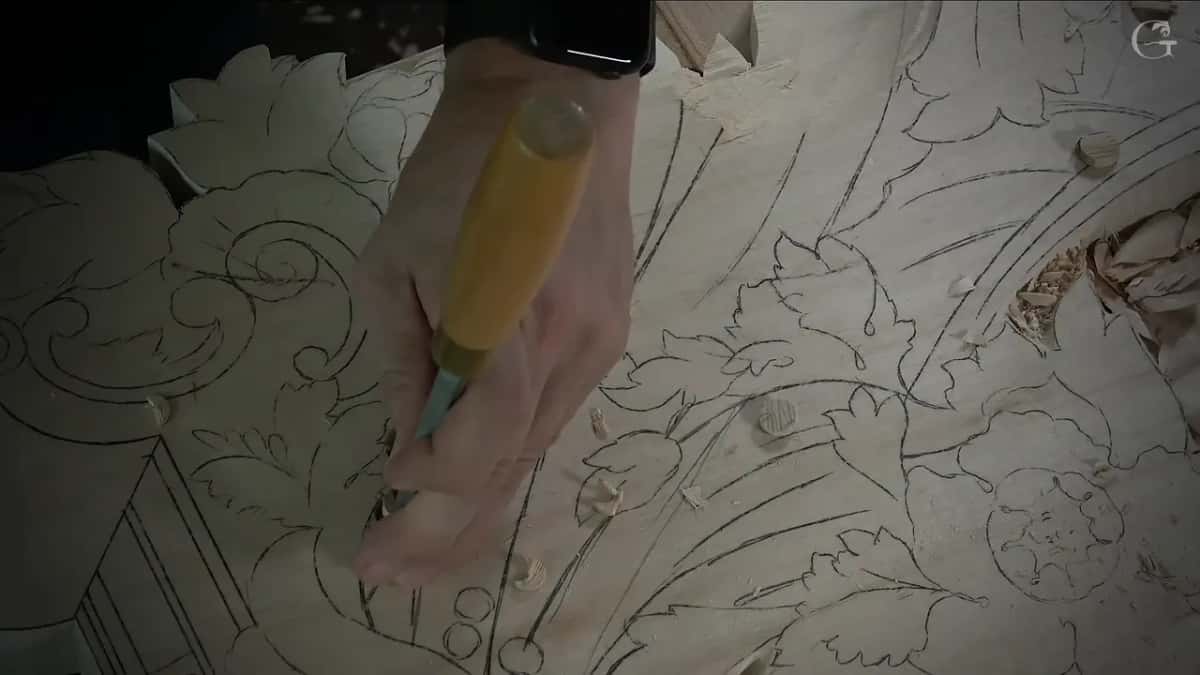
Soon after, the piece was jumping. I said I didn't know why it was jumping so much, and that maybe I should clamp it. Then, out loud, why don't I? I went and got the clamp and fixed it somewhere right here, as I put it on camera.
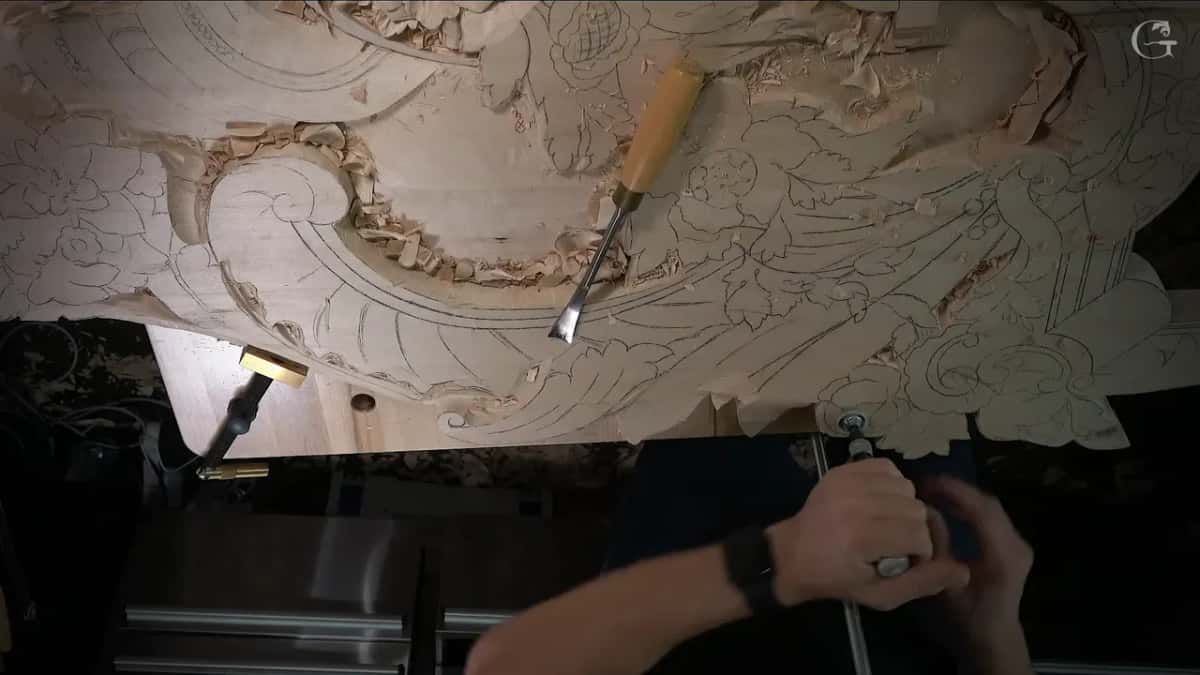
My first guess was that it would be a little more stable. I took that back a step. My words were that I hoped it would be. Then the 10 mm number 11 went back in, straight down in the same area, and I kept digging out that part. It would be deep, I said, and so would the opposite side.
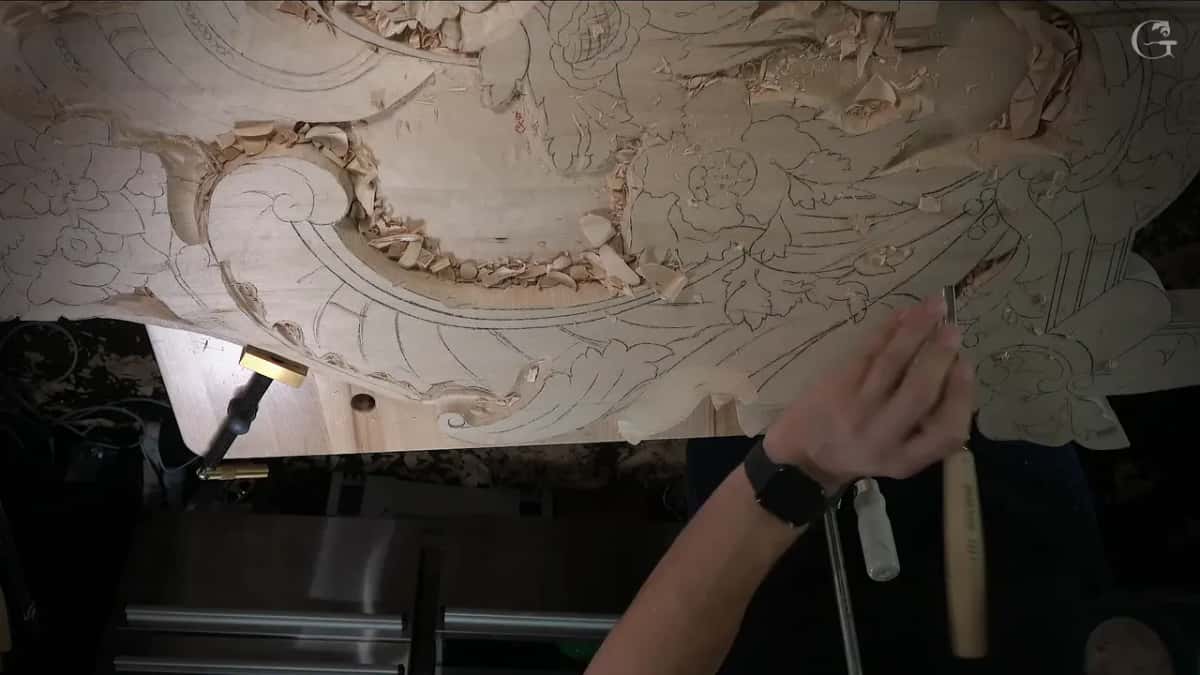
What changed once the panel was solid?
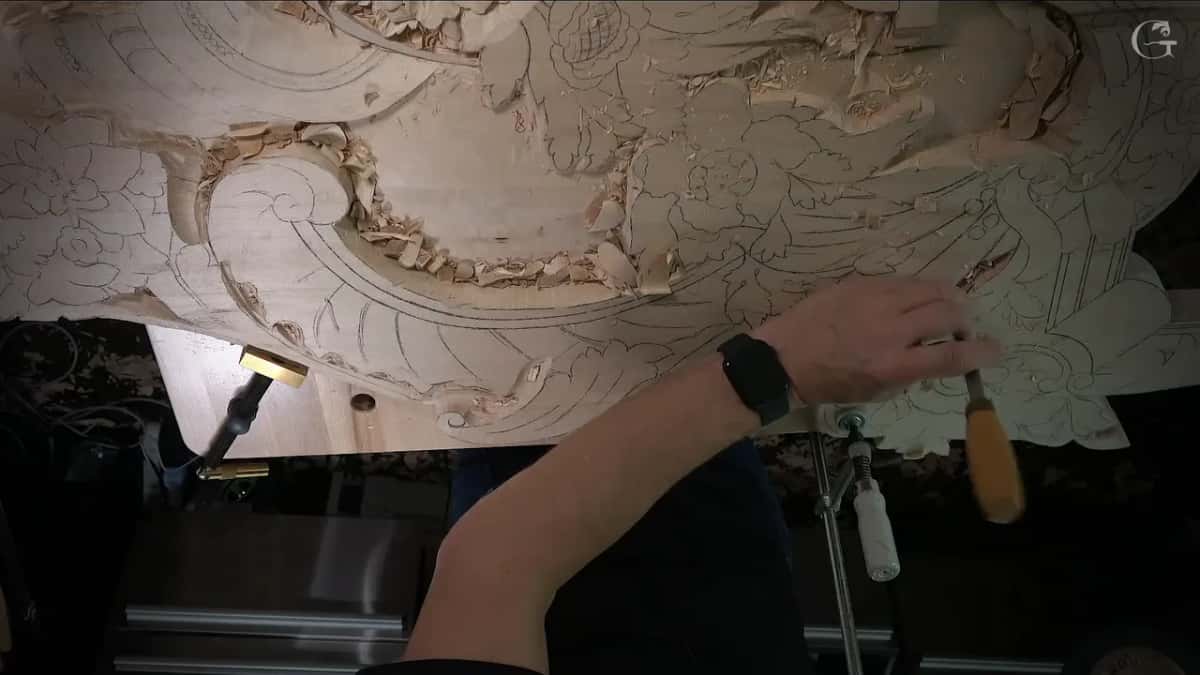
With the panel solid, I could bring that area closer to me and take a clamp off. Earlier in the same lesson I decided to jump into a new section and outline everything, since it looked like a good area to start and I would be able to see the overall picture. I used my clamp again there.
Then I said, and now it's solid. Right away I could get that area closer and take out a clamp. I didn't need it anymore. It wasn't going anywhere, I said, and I could actually remove another one too.
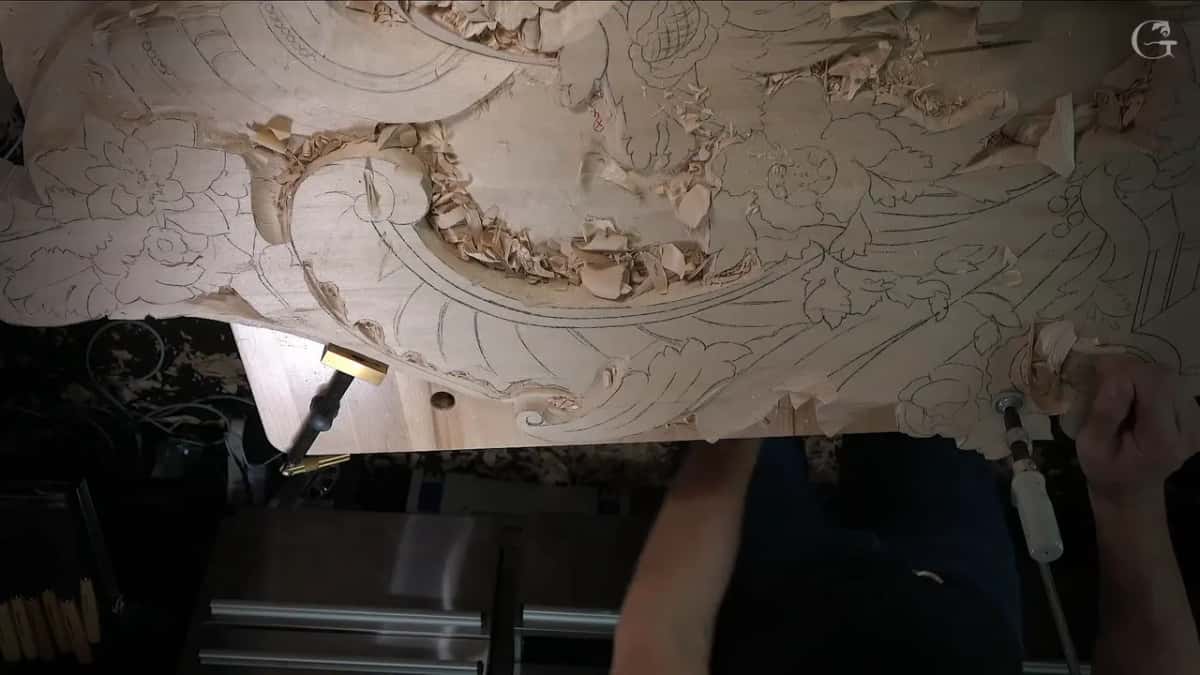
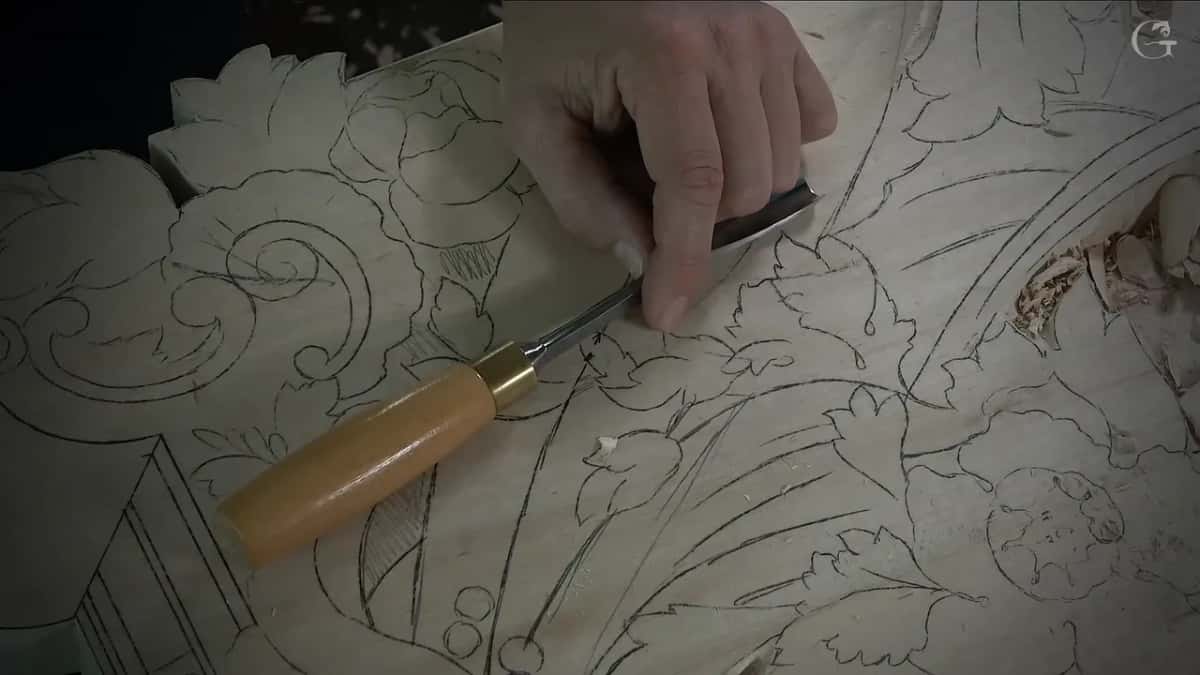
Plug cuts came next, in that same section. A number 9 by Ashley Iles, half an inch (about 13 mm), started taking out plugs. That part would be really deep, about 30 mm (1 3/16 in), and I said it would give a beautiful shadow and also lightness. You can watch every bit of it on camera, and full access to the school opens it.
Why take a clamp off in the middle of a job?
Two reasons come up in my lessons, reaching the work and looking at it. Workshop 125 was about reach. For workshop 8 of the Modern Acanthus it was looking. I told you that if you don't remember how the piece looks from the other side, take out those clamps, look, and clamp it again. It's better not to rush it, I said, and not to overdo it.
In that same part I was holding the piece almost like a handle, with my pinky and the finger that has no name, as I called it on camera.
Sometimes it's just the next job. In lesson 12 of the floral and molding panel I said, oh, I need to take out that clamp again. Later came, don't want to forget my clamp. It's always a good idea not to forget that stuff, I said.
On the dining table apron, workshop 18 of that course, the order was plain. Remove my clamp. Finish in those areas. And when you do that background, I said, you find some more spots to clean.
A dining table is harder. My own vise, I said in lesson 6 of the Roman acanthus, lets me rotate anytime and move any direction. At a dining table you just clamp it down, and then it's a hassle all the time to unclamp it, rotate, and carve. Whether to turn the work or walk around it is a question of its own, and I wrote about it for lesson 119 of the Venice Room.
Hold down clamps are not always convenient either, as I said on the grape onlay, and there I showed a double sided tape made for CNC work instead.
Do wood carving clamps have to be made for carving?
The ones I showed in lesson 3 of the Greek acroterion weren't. Even in my hand carving, I said, I still try to use some jigs and specialty stuff. Those clamps are not designed for wood carving. They were designed for woodworking, to clamp on a multifunctional table. I still love that Festool system, because you can take any shape, hold it against it, and work pretty much any shape of a wood carving.
In the same lesson I said I shouldn't call them the first to do that type of design. Adjustable clamping against stop blocks was used long before, and different brands have been doing it for a long time.
Lesson 5 went much further back. I talked about the man the Bible calls wise, filled with the spirit of knowledge and understanding, who could work with stone and wood and metals. In my mind he was still using the same tools for the Ark of the Covenant, the same knives and chisels. The thought process, time, tools and setup would be about the same as ours, I said, although they didn't have Festool clamps. It's not that critical. You could use just old bench blocks.
Clamps also do jobs away from the carving. On lesson 1 of the grape leaf vase I needed to put on a second clamp, and I was using small clamps to clamp my vise to the bench, those German Bessey ones. Then I thought maybe it could go on the other side.
And on lesson 19 of the furniture panel I wanted my clamps kept off camera. So they went on from the bottom up. That way I could just flip it like that, and I hoped you were still able to see what I was doing.
Can you hold a carving without any clamp?
For a small flat piece I did, in lesson 4 of the Greek acroterion. I held my piece without any clamps, without anything. The piece sat butted against two block stops, and my hand kept control of it on the table. For small pieces like that, I said, it's excellent for the flat work.
Those stops got a short lesson of their own, Festool Stop Blocks. I showed that a stop block can go in a hole wherever my piece happens to sit, without even locking it in place. It takes the shape really easily, and I can work at whatever angle I need.
A heavy block is its own case. The Part 4 ceiling board lay on the bench under its own weight, and a blank stuck down on paper is another way, from the Byzantine acanthus. Neither of those was a panel that started jumping halfway through a job.
Can the tool jump instead of the wood?
It can, and then the tool is what you can lose. Back in workshop 38 of the Venice Room I was using a mallet on a spoon gouge, and I asked you to keep an eye on what your tool does, because you can break it. It's jumping, I said, like a springy. It's just like a spring, actually.
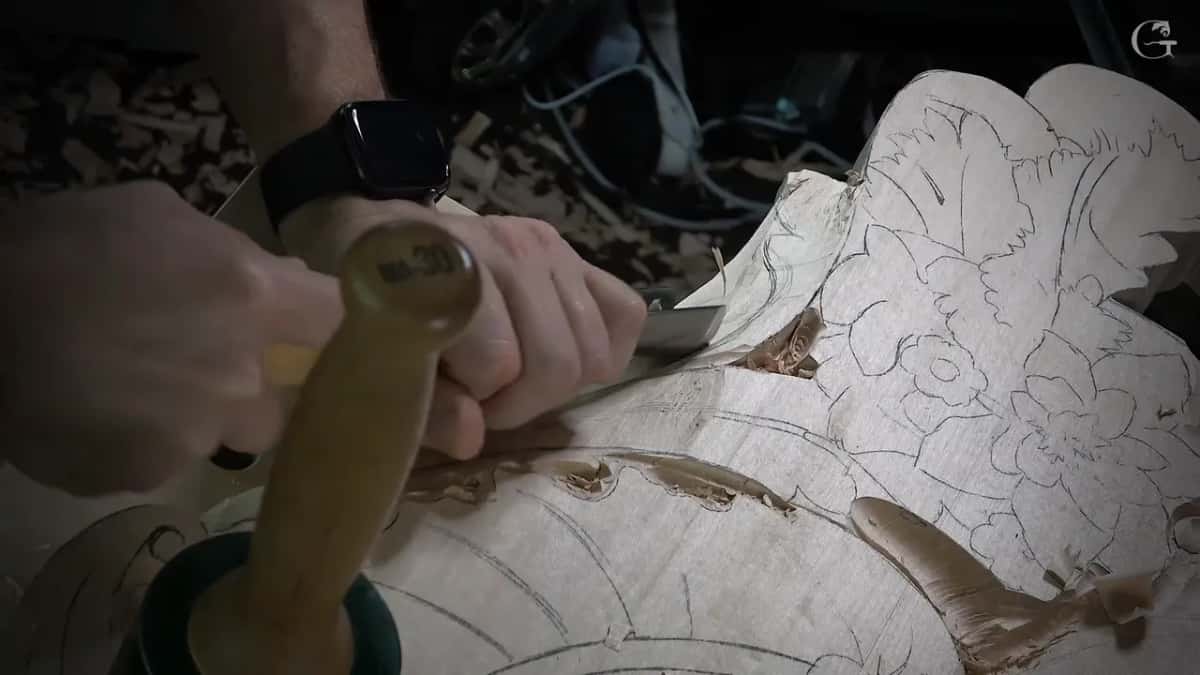
So you pretty much have to feel the angle you hold it at. It's really easy to break it in a mallet operation like that, and I was talking only about spoon gouges there. You hit it one way, but the edge really carves in another direction.
Two kinds of jumping, then. When the wood jumped in lesson 125, I clamped it. When a spoon gouge springs under the mallet, the answer I gave in workshop 38 was about the hand, to watch the tool and feel your angle.
What else did I carve in workshop 125?
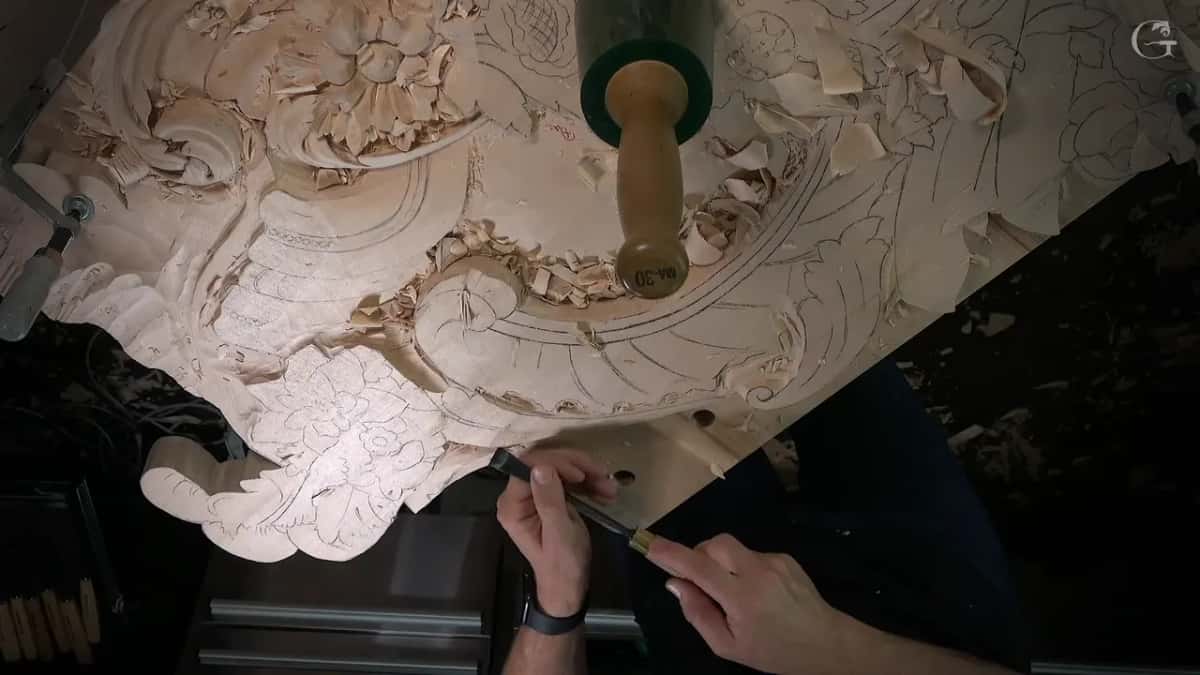
Most of lesson 125 is acanthus. The main end of the leaf curls from the inside out and has to roll from underneath, so I had to lower that side a lot. First I outlined the main separations with a 30 mm (1 3/16 in) number 11.
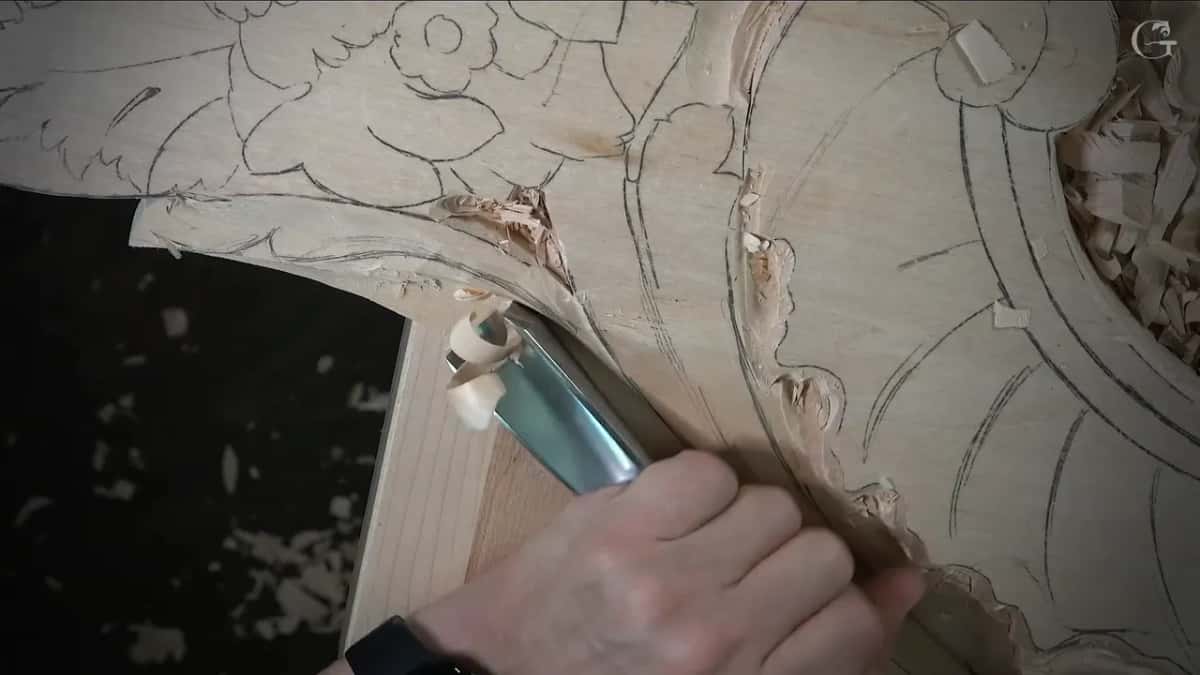
Where the grain was not in favor of my tool, I attacked from the opposite side and married the two passes. I call that the marriage line, and the course page for Part 11 is about exactly that. I rearranged the cameras so you could see it closer. I thought about raising the piece a little to show you. Or not.
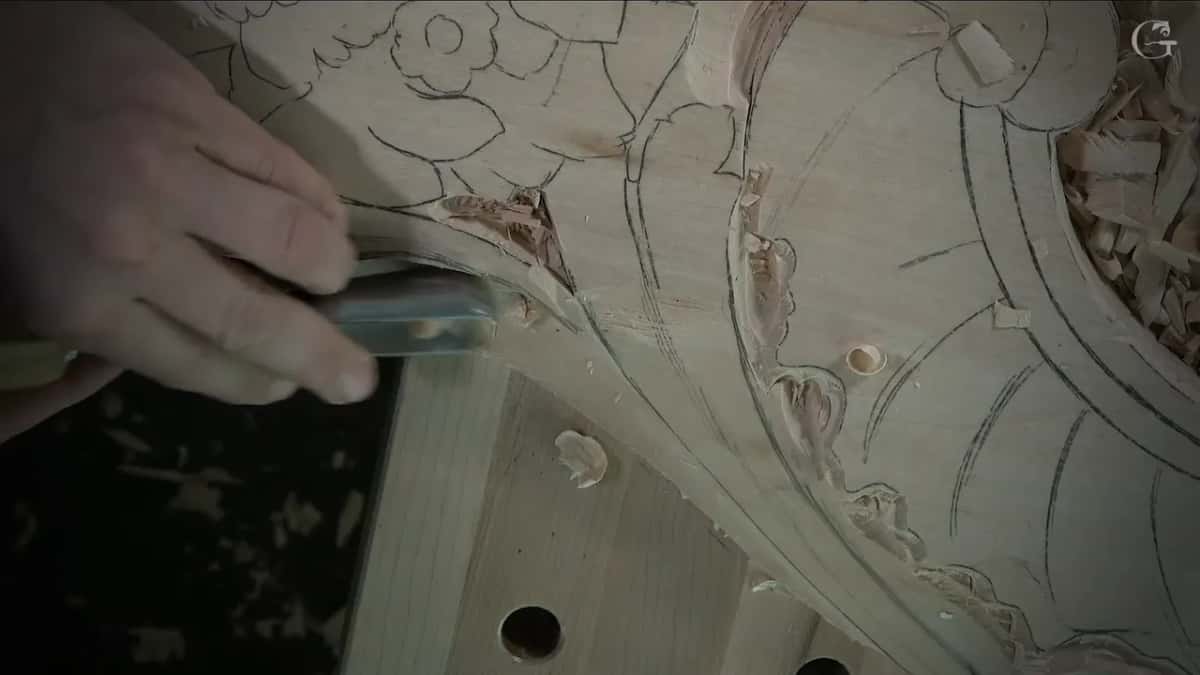
Then came the flat gouges. First a number 2 went in, and I could persuade it. A smaller number 2 of about 18 mm (about 11/16 in) went in upside down to develop a better shape. For the next pass I took a bigger one, maybe 50 mm (about 2 in), to get it clean, and I said I'd need the mallet. After that came a small number 3 by Henry Taylor.
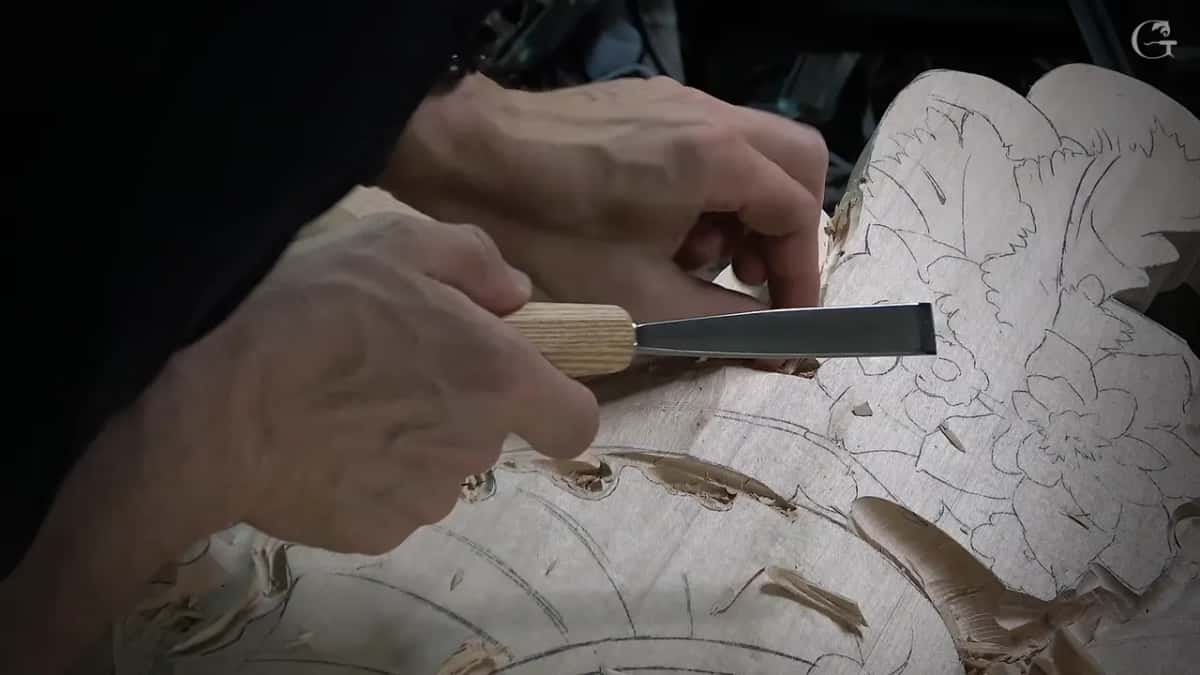
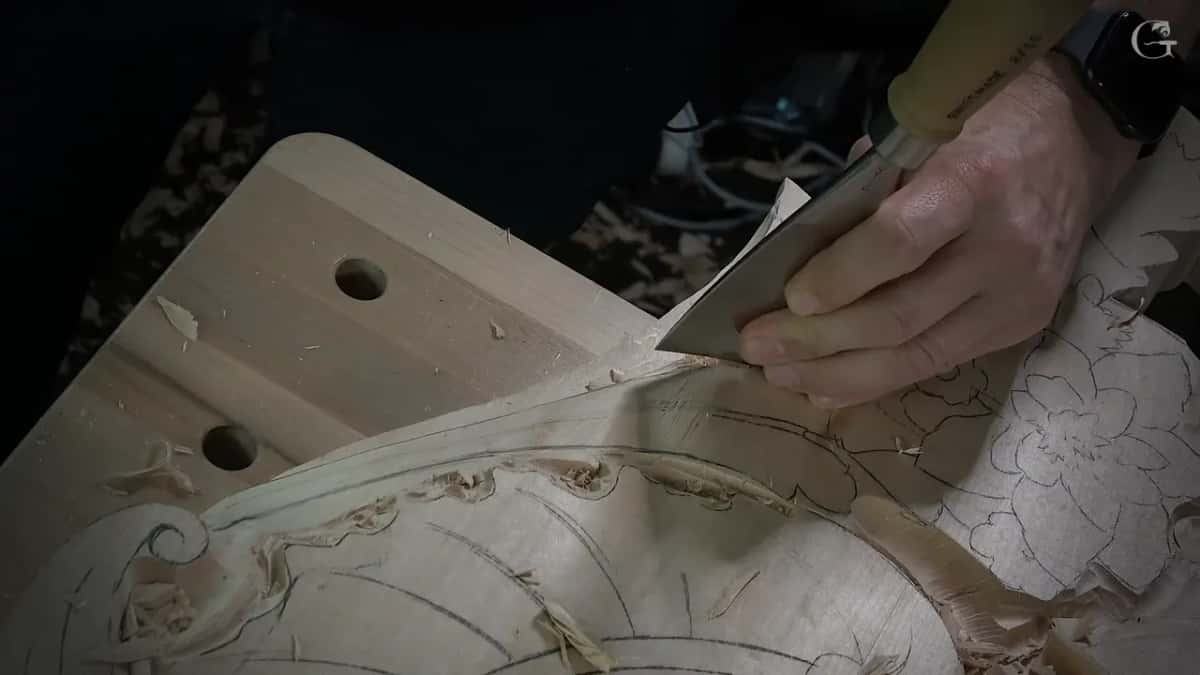
I relieved a triangle next and almost made a mistake. Right there I said so, and that I had to be careful how I did it. It would all be undercut later anyway. My number 11 stayed busy there, and once those flowers are set, I said, the concaves and convexes get more separations. Cleaning everything inside could wait for later, so I didn't worry about that area yet. I liked the overall movement.
One thing I said right at the start of the lesson belongs here too. I didn't want to remove too much, because I needed to use a clamp a little later. A little bit was okay.
The whole 30 mm of the deep section didn't need digging right away, and I told you so. You could already see how it creates the shadow and gives a beautiful look. I outlined both sides of the pattern with the number 11, said I'd see you on the other side once it was done, and outlined my flower too. The rest of this relief panel continues in lesson 124 before and lesson 126 after.
The table below puts every clamp moment from this page side by side, with the lesson each one comes from.
| Lesson | Moment | Clamp | Words |
|---|---|---|---|
| Venice Room 125 | The panel kept jumping under my tools | Clamp on | I hoped it would stay stable |
| Earlier that lesson | My clamp went back on, section solid | One off | The area could come closer then |
| Modern Acanthus 8 | You forget how the other side looks | Off, on | It's better not to rush it |
| Floral panel 12 | I had to take that clamp out | Off again | Good idea not to forget it |
| Dining table apron | I wanted to finish in those areas | Removed it | More spots to clean showed up |
| Greek acroterion 4 | A small flat piece against two stops | No clamp | Excellent for flat work, I said |
Where can you see the clamp go on for yourself?
Do you want your wood to stay where you put it? Would you like to watch the exact minute a carver stops, clamps, and goes back in? That minute is in lesson 125, where a clamp goes on and another comes off.
How it's done
- Stop when the wood moves. When my panel kept jumping, I stopped and went for a clamp.
- Clamp near the work. Mine went on somewhere right near the spot I was carving.
- Pick the same tool back up. The 10 mm number 11 went straight back in, straight down in that area.
- Take off what you no longer need. Once one section was solid, I brought the area nearer, removed one clamp and said another was free to go too.
- Put it back before moving on. On the floral panel I reminded myself about my clamp. For Modern Acanthus I said to look at the other side and clamp back up.
Frequently asked questions
Do you need clamps to carve wood?
Small flat work can sit against two block stops while your hand steadies it, which is how I held one piece in the Greek acroterion course. My Venice Room panel was bigger, and in lesson 125 it jumped, so I stopped to clamp it.
How many clamps should hold a relief panel?
The clamp I put back on in workshop 125 made that section solid. Right after, another clamp came out, since I didn't need it anymore, and I said one more could come off. With that part solid, I could get the area nearer.
Why would you remove a clamp before a carving is finished?
Seeing the other side is one reason. In the Modern Acanthus lessons I said that if the other side has slipped your mind, take the clamps out, look, and clamp up again without rushing. Reaching an area is another, as in Venice Room 125.
What to carve next