
Alexander Grabovetskiy, woodcarver, School of Woodcarving · Published 2021
What is a preliminary cut in wood carving?
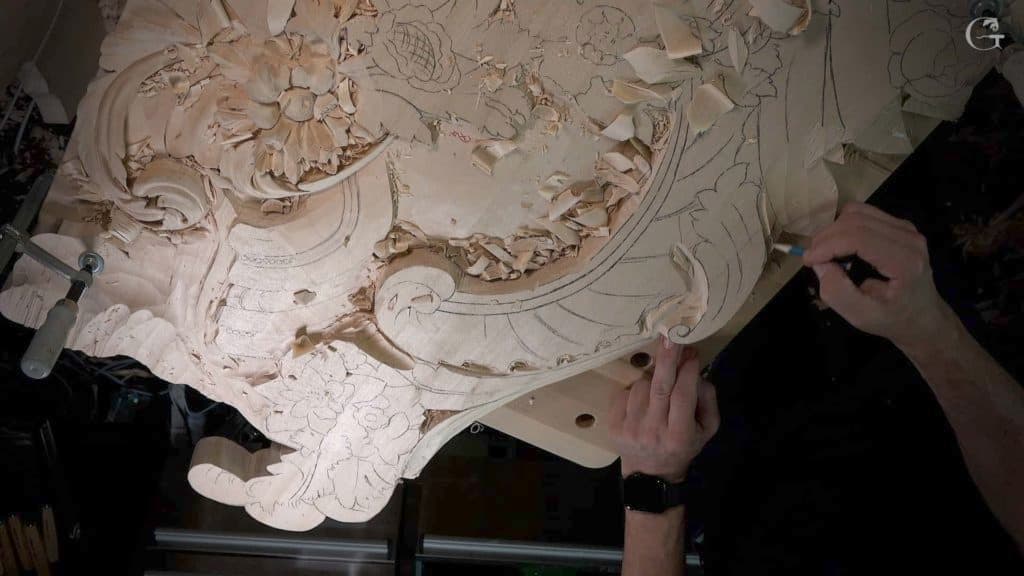
Quick answer: A preliminary cut is a light, first pass of the gouge that shows where a shape will go before it gets carved for real. I made one in lesson 124 of the Venice Room and kept it shallow, because the depth of that spot was not decided yet.
A preliminary cut is a first, shallow pass of a gouge that marks where lines, eyes and borders will go, while the finished shape is still to come. In these lessons I keep it light. In lesson 124 of the Venice Room I started to call one an undercut and corrected myself on camera. That lesson leads this page, and after it come my own words from six other lessons of wood carving where the same word came up.
Watch me carve for a while and you will see it happen. The gouge goes in a little, I look, and I move somewhere else. Later that same spot gets carved for real. Below is what that first pass is, how deep it goes and how I let it change. After lesson 124 come a furniture panel, a Roman acanthus leaf, a Venetian rosette, a hazelnut and my class in Maine.
The preliminary cut in six plain lines
- It is a draft of a shape or a border, and I say so while I make it.
- My example in lesson 124 called for a number 11 of 10 mm (3/8 in), where one piece of the design runs underneath another.
- A petal in Maine stayed very shallow.
- It can still move. I set a flute at about 11 o'clock "as of now" and said it could be 12.
- Whatever tool suits the spot will make one, a V tool or a veiner of a single millimeter.
- The clean-up after it gets a preliminary round too, and the final one waits.
What happened on the panel in lesson 124?
The lesson starts by finishing a slope on the side I had been working. A one inch number 7 (25 mm) went first, before the number 2, and from that point I wanted to see a gradual movement instead of a straight line down. Flowing, almost. Then a 16 mm number 2 (5/8 in), flipped over, took it from concave into an almost invisible convex, and I drew all the lines back so we could start developing.
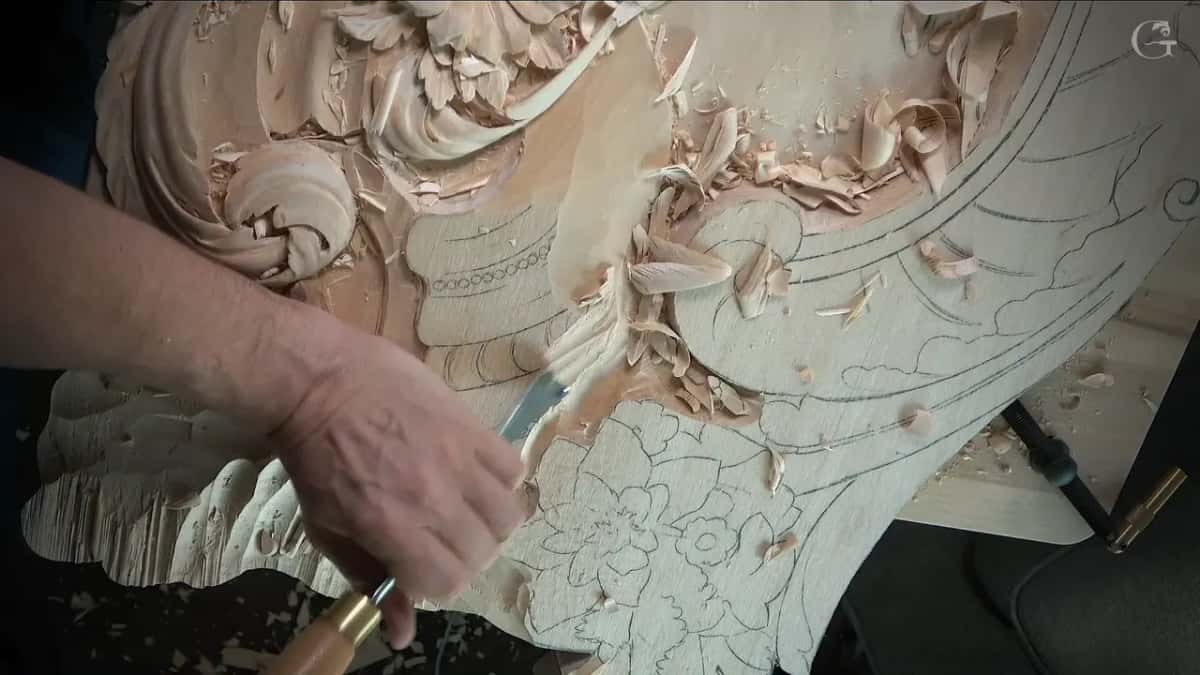
After that I got tired of that side and jumped to the other one to take care of the overall movement, and the course page for Part 11 tells that story. Here the job was plain. Take the majority of the wood away, and keep every line.
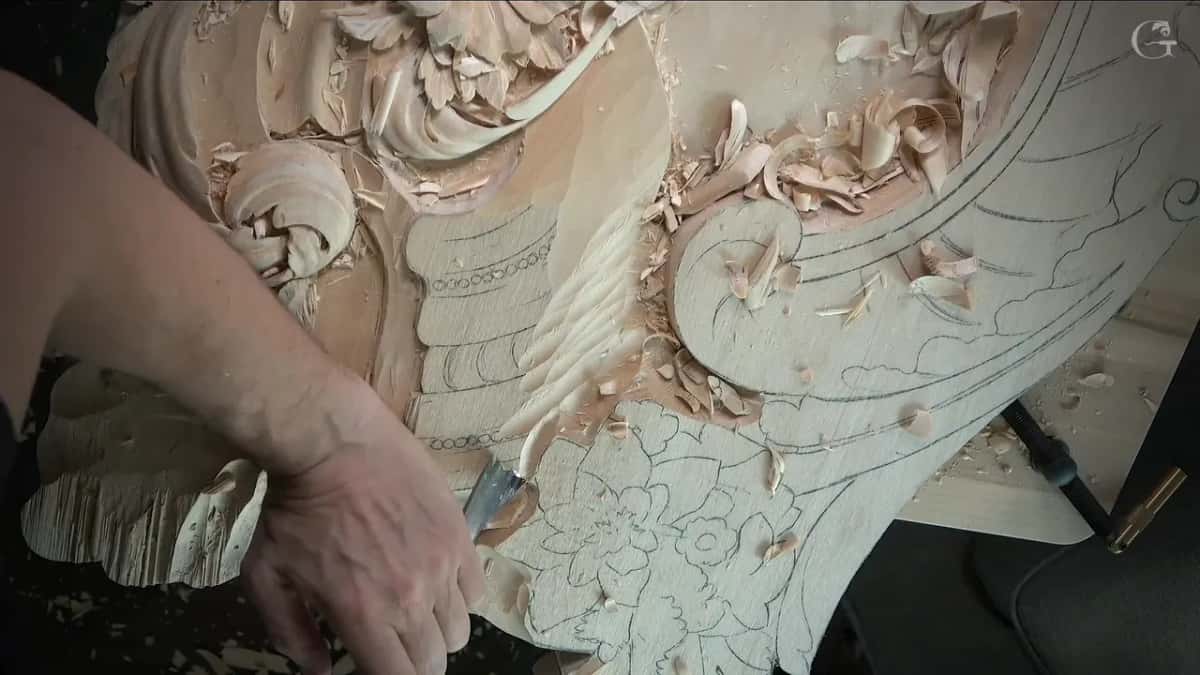
A future shell will sit on that side, with some type of acanthus and a couple of long leaves, and I really like that idea. None of it was carved yet. "Don't look how it looks right now," I told you, "because you don't see the levels." I went to big tools for the waste, a huge number 7 as tool number one, and I said a 30 mm veiner, a big number 11 of about 1 3/16 in, would come next.
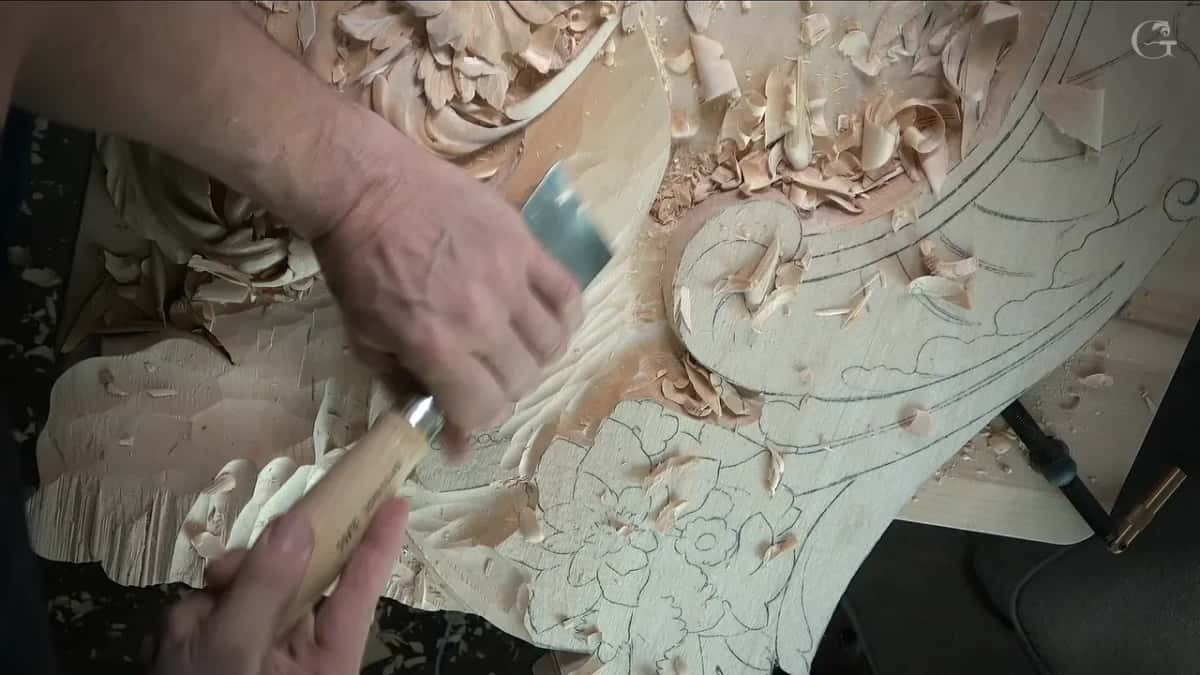
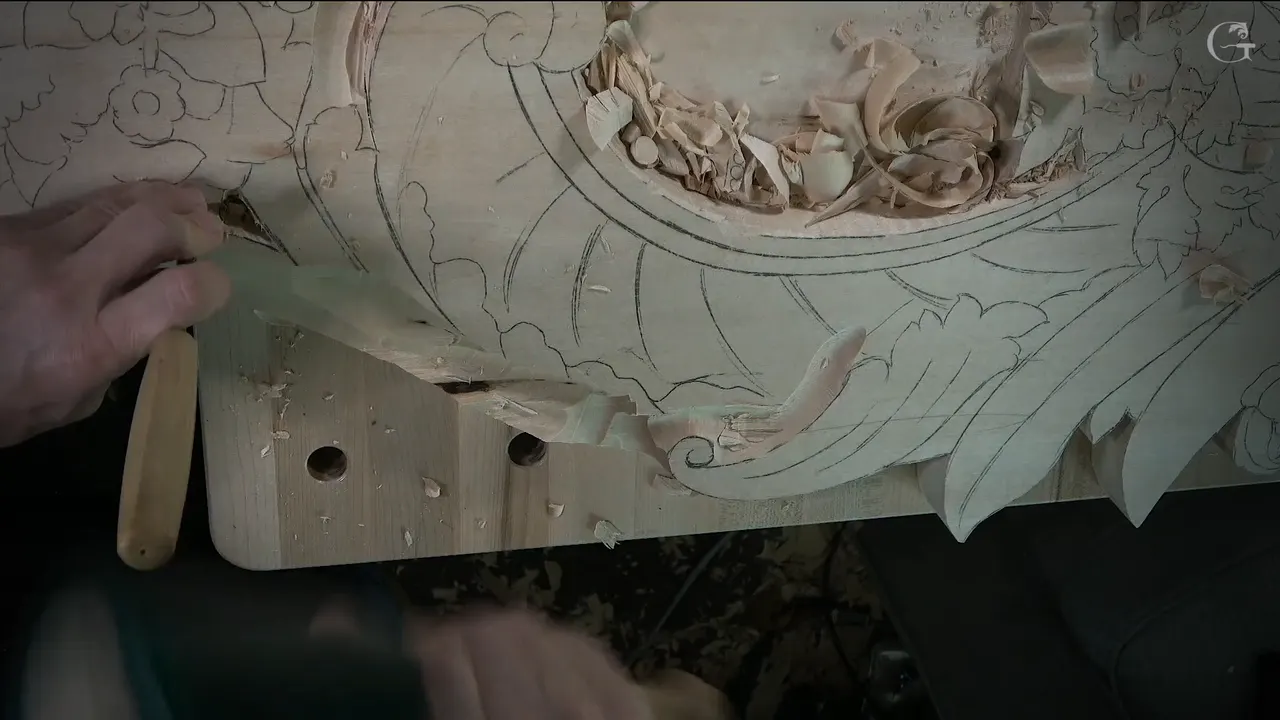
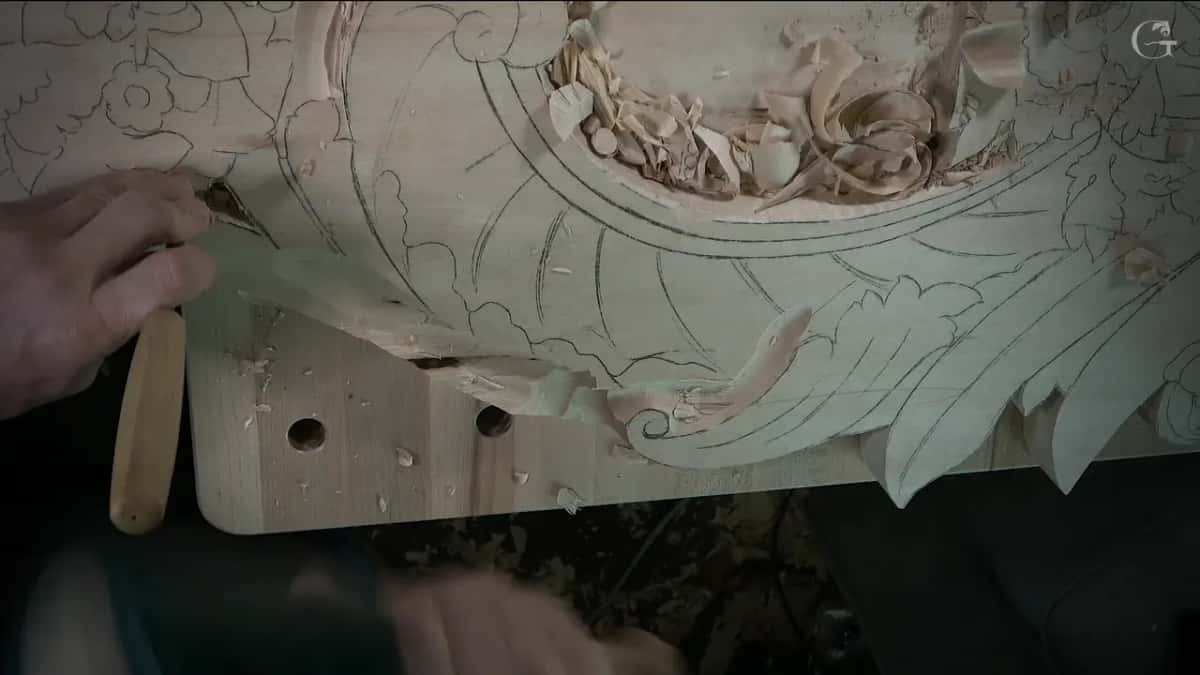
My first pass went right on the line, with the next one about 3 mm (1/8 in) back from it, and that course page gives the reason. Before I dug, I needed to keep one spot, so I made a plug cut using a number 9 of about half an inch (13 mm), a size up from the 10 mm I first named. It just popped out like a plug, like I have said many times.
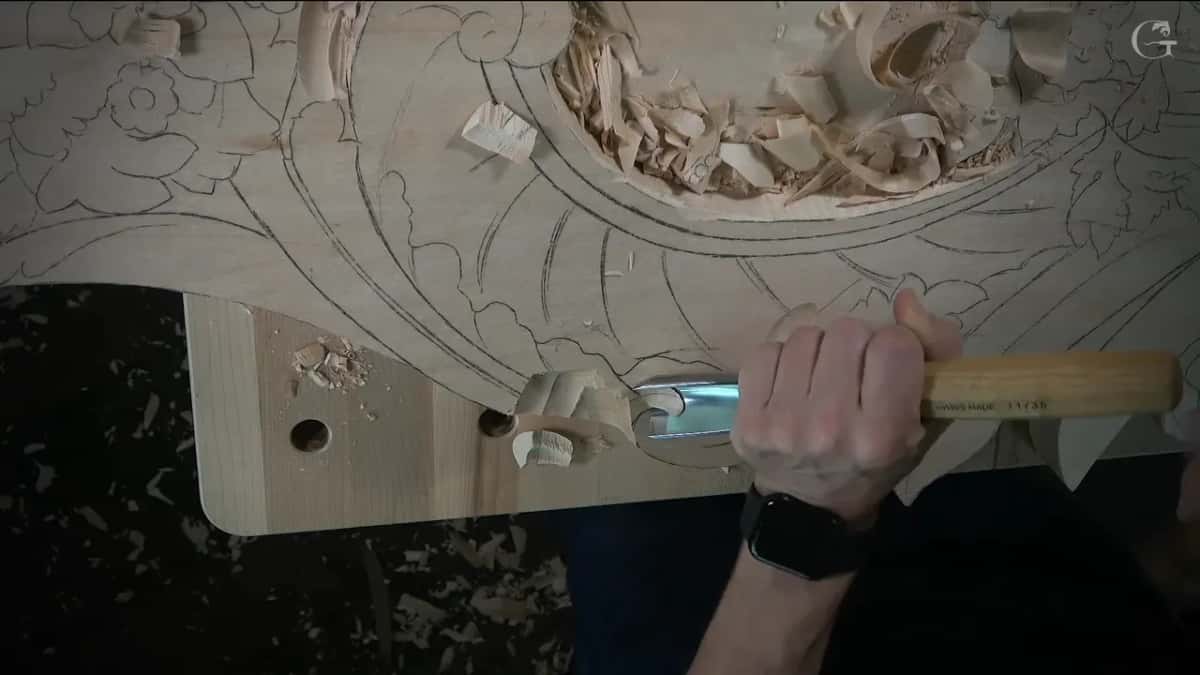
The next minute is the reason this page exists. I did not dig deep right away, because I still had to make the decision how deep that spot should go. I went to about 15 or 16 mm, close to 5/8 of an inch, and I was eyeballing it. I don't know exactly, I said, but I'm pretty sure I'm accurate.
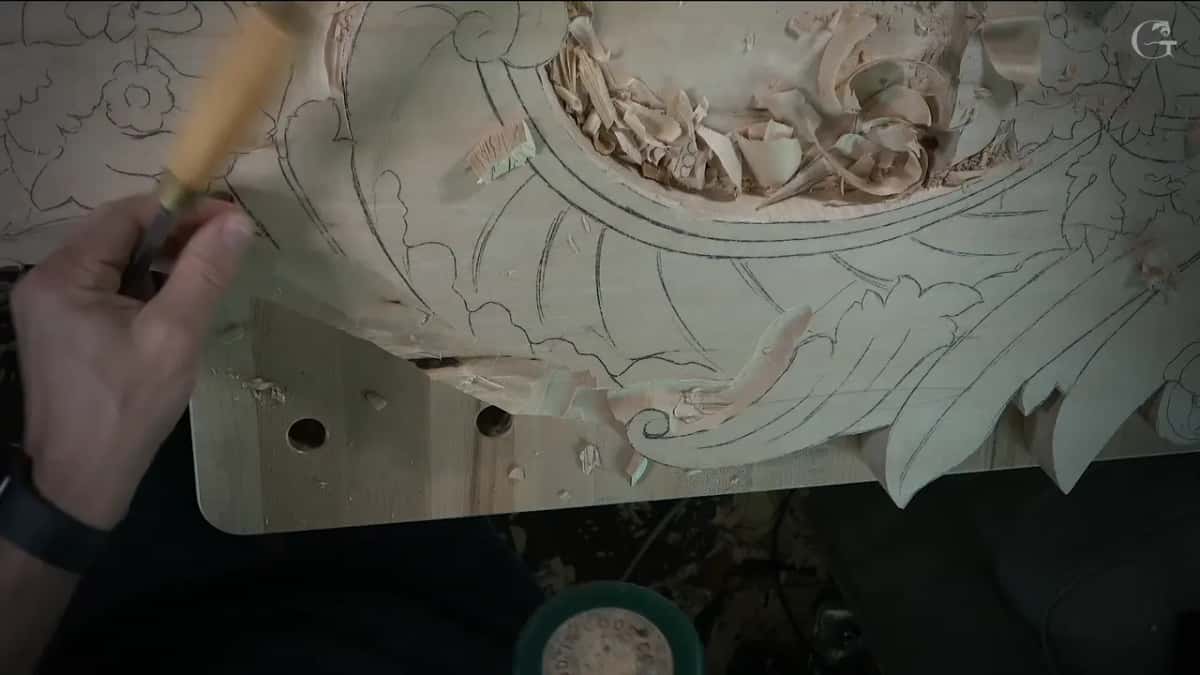
A 10 mm veiner followed, then one of about 7 mm, a little over 1/4 in. In one place I got a little too close, so I took the 7 mm again and dug out a little more. Losing that line would not have been a big deal. It's just easier, and it saves some time, so I don't have to refigure out everything.
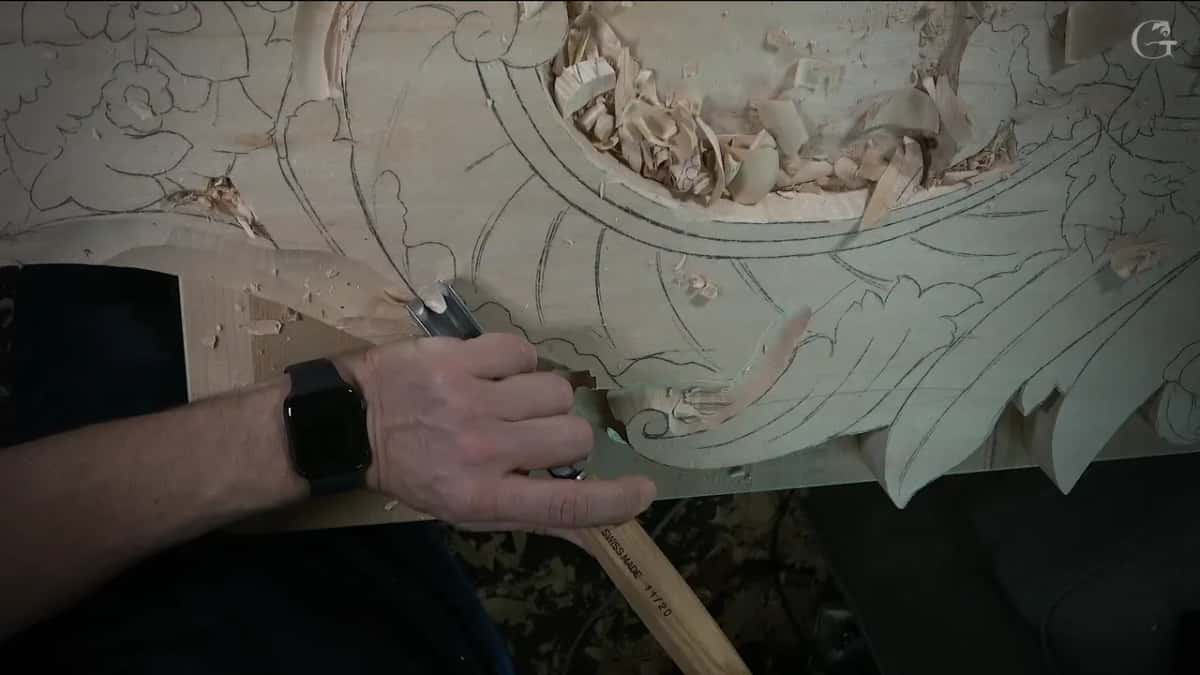
The shell was still an open question. I had not made the decision about it yet, so I only dug along its line and kept it high. Earlier in the lesson I had asked out loud whether I even want it too high, and answered myself: "Maybe everything is going to be a little lower. We'll see."
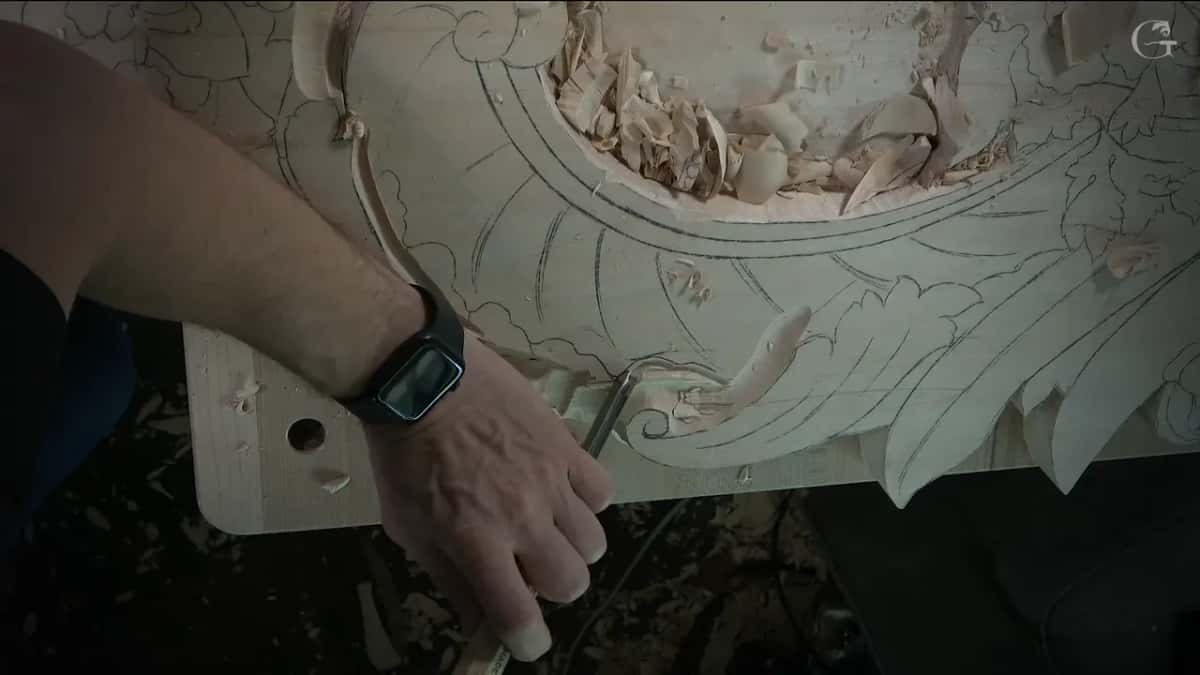
The third part began with a 12 mm veiner, about 1/2 in, and a couple of chops straight down to remove waste. Some pieces there will end up really low, so I said I can chop them out right away. I put it at about a quarter inch (6 mm) to the surface at the end. I said I could place a mark and another mark, outline all of it and lower it, and I left that for a little later.
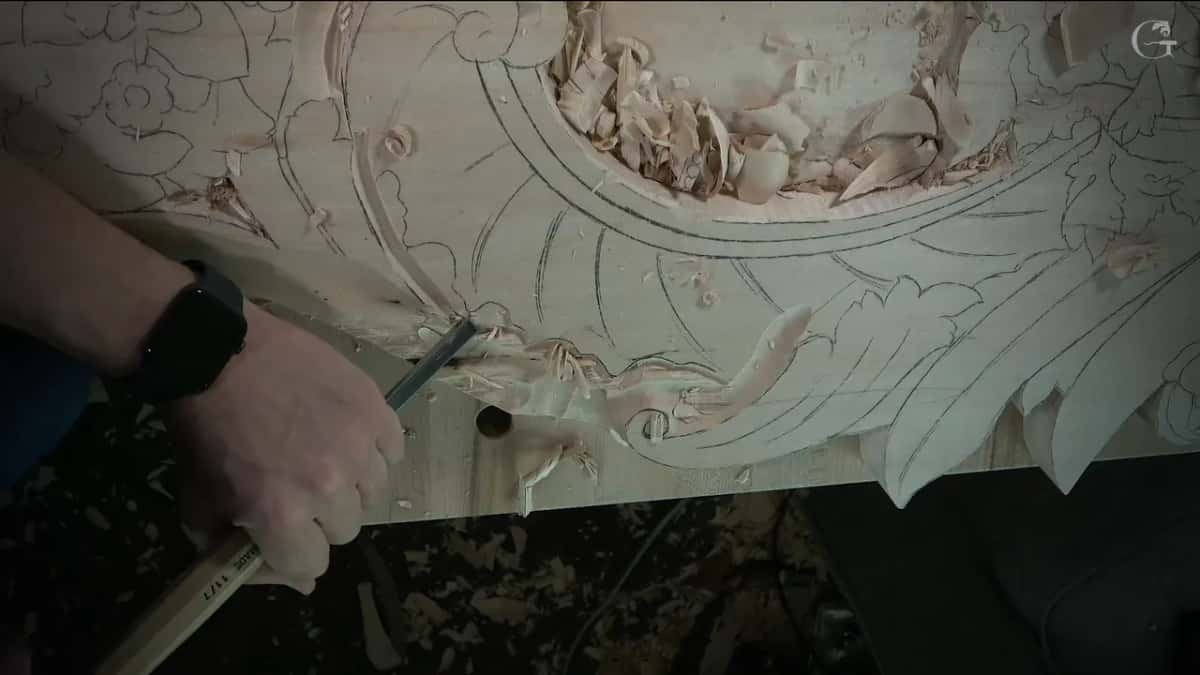
Then a number 2 cleaned the area. The 60 mm one (2 3/8 in) was a little too big, so I took a 40 mm (1 9/16 in) and said it would make redrawing everything easier and help me get a smooth, flowing, gradual line. A second area had to go lower as well, because the piece beside it will be much lower. Otherwise it won't look nice, so I chopped straight down. The drawing had to come back. It was looking messy.
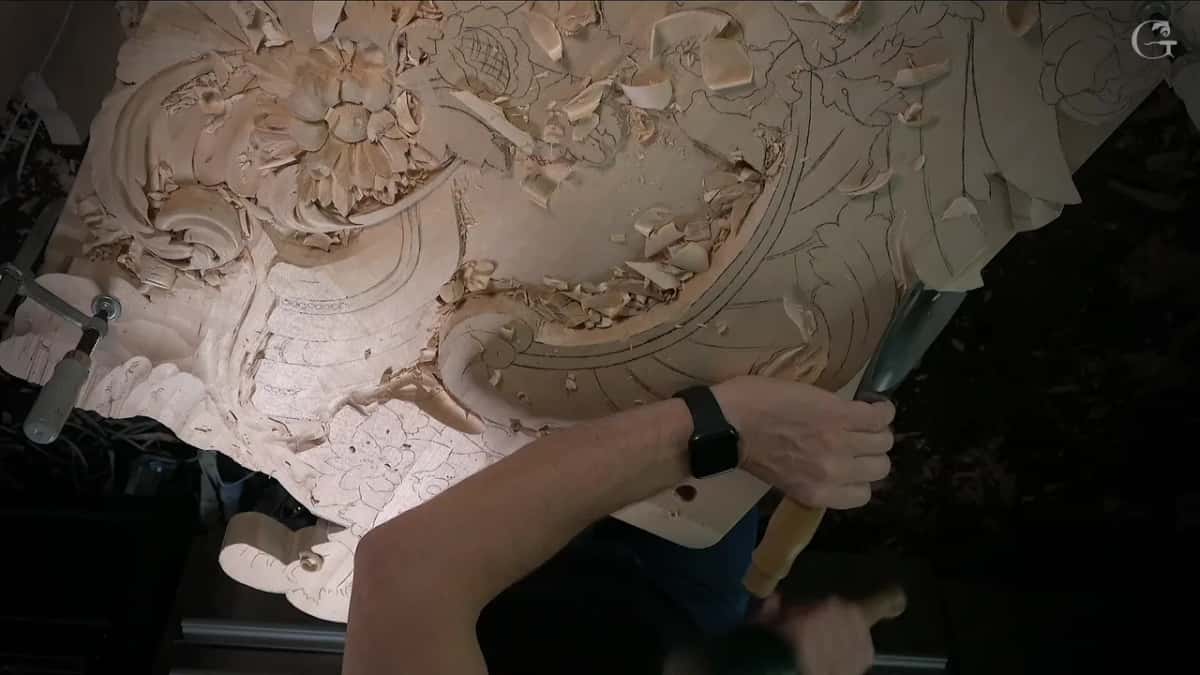
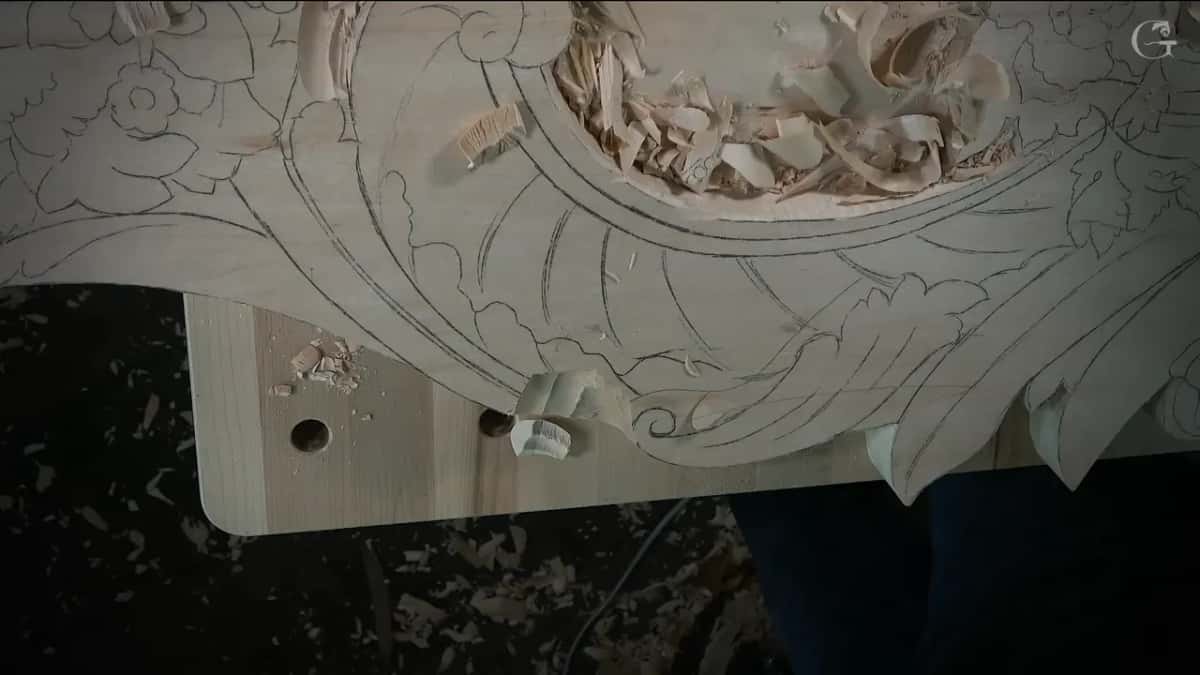
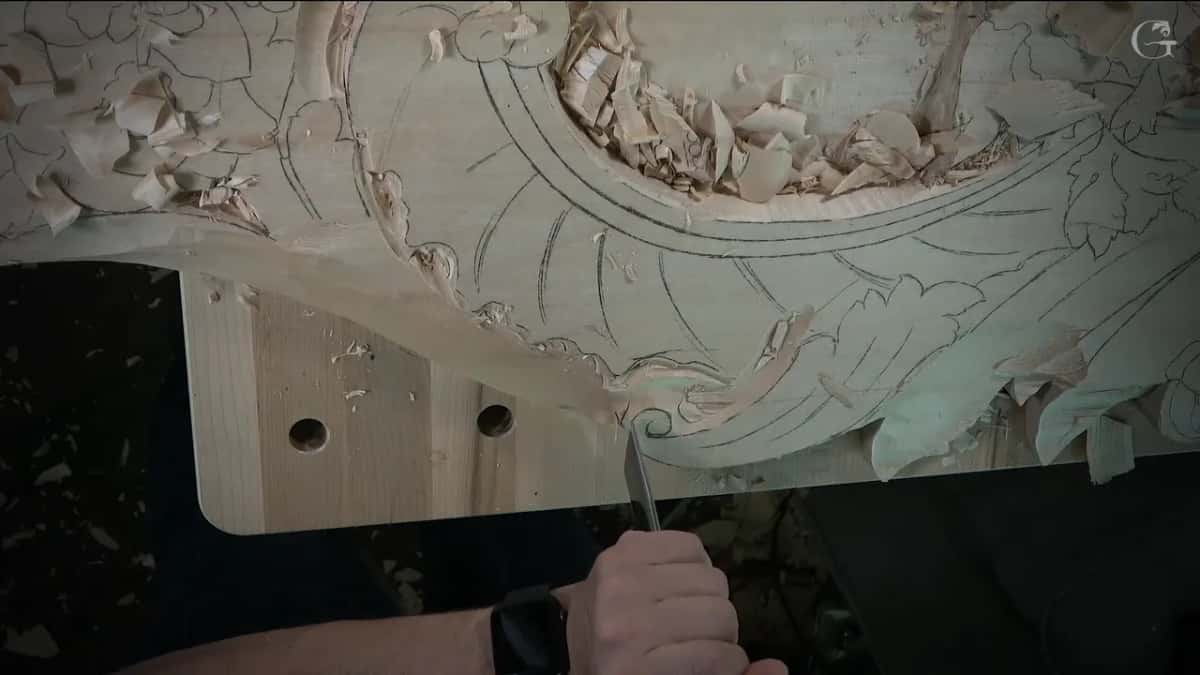
Then came the moment this page is named for. One part of the new drawing goes right underneath another, and a piece goes under that movement. I named a 10 mm number 11 for the job and said, "start undercutting this way. Not undercutting, but create the preliminary cut." I used the wrong word and fixed it in the same breath.
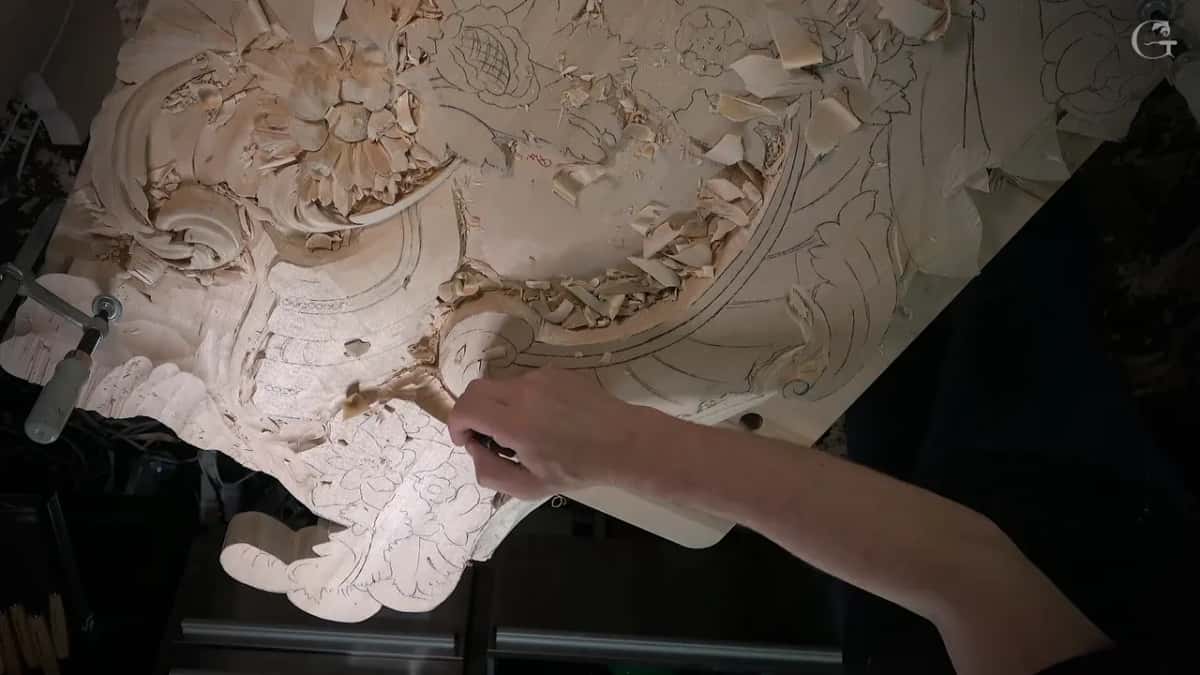
Why is a preliminary cut not an undercut?
An undercut takes wood out from under an edge until the shape stands clear, and a preliminary pass stops short of that. My furniture panel course has the same moment, on lesson 29 of Carving Furniture Panel. I flipped my tool to get right underneath and said, "It's not really undercutting, but you know, somewhat undercutting." I did not want to go too far, because concaves and convexes would come later on those panels.
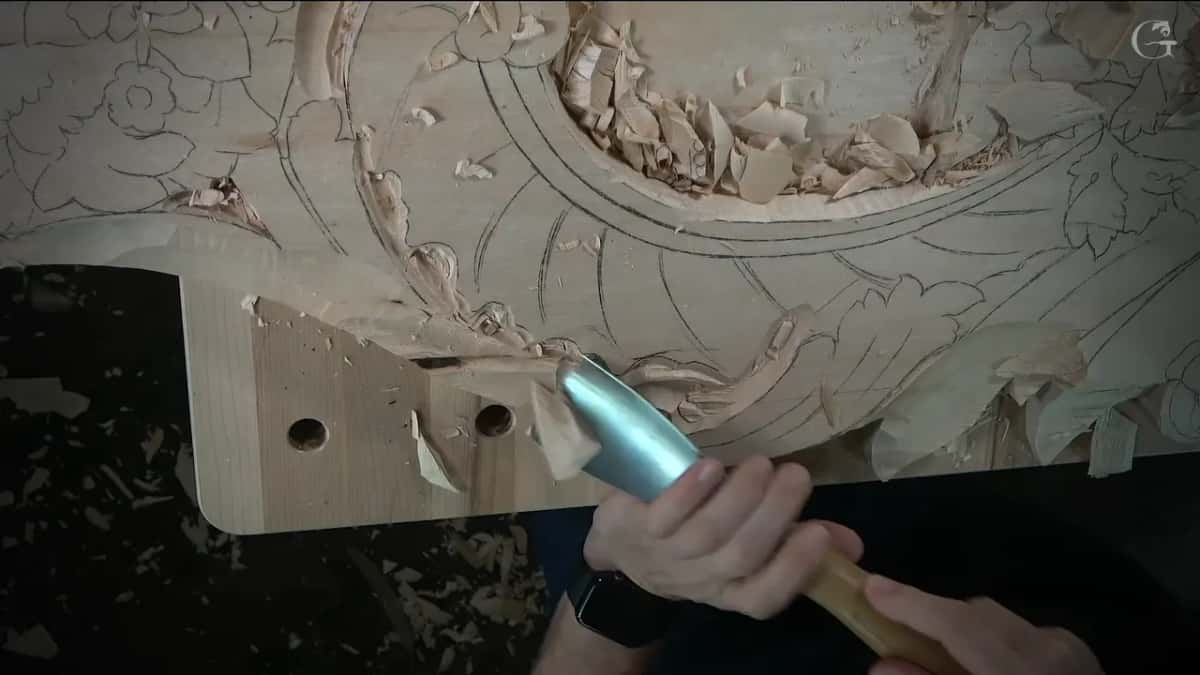
My hazelnut lesson shows the same thing. In lesson 3 of Carving Hazelnuts I began undercutting underneath a leaf, called it my preliminary motion, and warned you right away that it would not be a full inward pass. Some of it would just hang over. I wanted to see big shadows.
When I say preliminary, I am telling you that pass is not the last one in that spot.
How deep does a preliminary cut go?
In Maine class 7 of my Grinling Gibbons course, a couple of millimeters and no more than that, about 1/16 in. I made a preliminary pass to a connecting point and said it would not be really deep. The furniture panel passes in lesson 29 went about two millimeters in those spots.
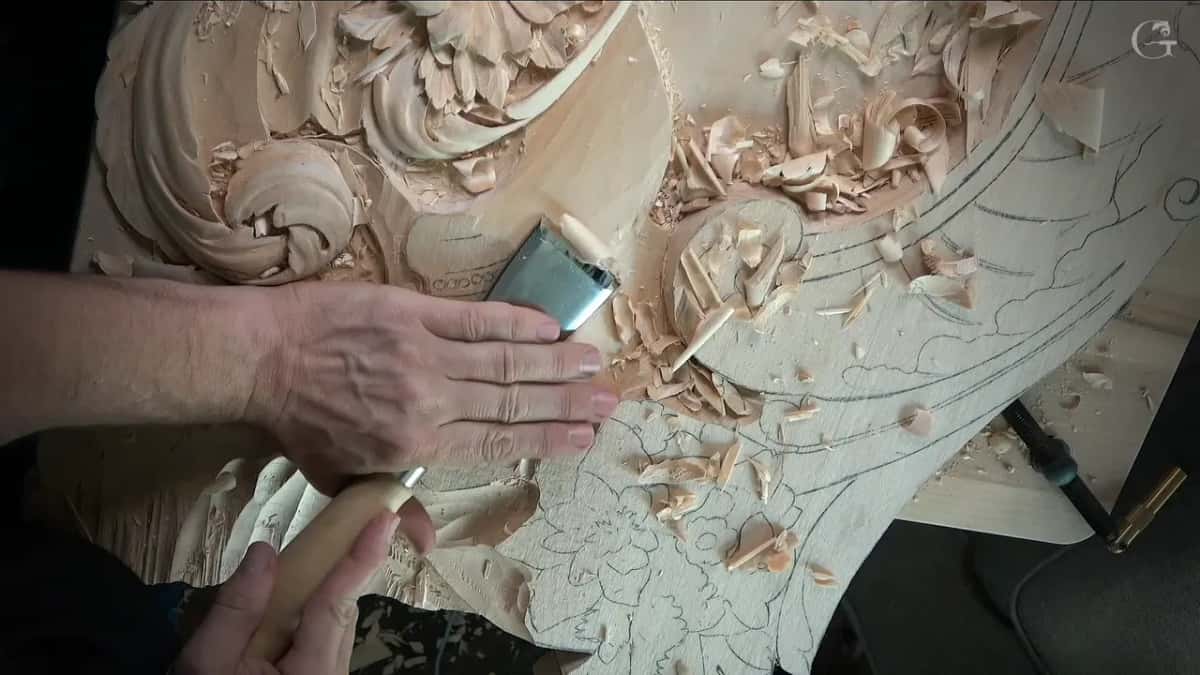
With the hazelnut I did not go all the way to the center yet, because there was absolutely no reason yet. Just preliminary, like establishing the borders, to see visually where my separations would be.
Even a draft can be a mistake. Take lesson 21 of Carving Furniture Panel. I had created an upward slope on one volute, and I had to repeat that slope on the next one. The trouble was that I had already made a preliminary cut there. "I hope it's not too deep," I said, "but that is a mistake I made." I still had to make it look sloping downhill, that direction.
Can you change your mind after a preliminary cut?
You can. In Maine I set the flute of one at approximately 11 o'clock and added, "as of now, it could be 12 o'clock," because that petal would lie on top of the one beside it. The opposite petal sat somewhat below, so there I said I would go straight up with the flute at 12.
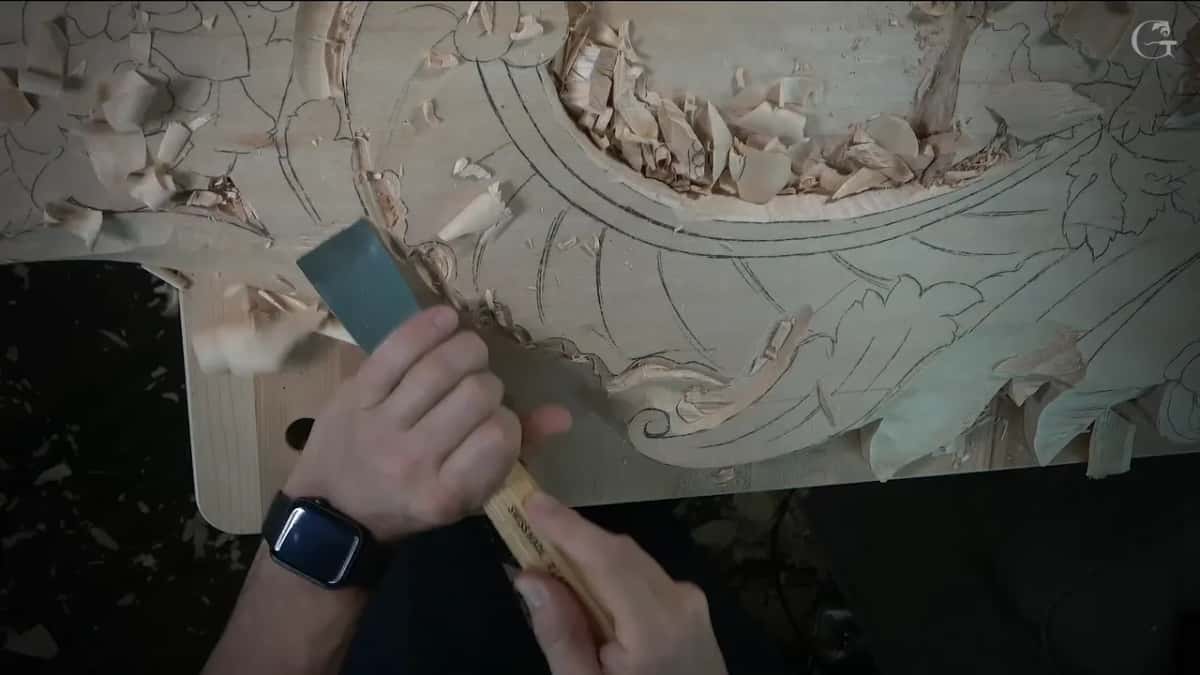
For the center of a leaf in lesson 4 of Carving a Roman Acanthus Leaf, I took a number 12 of 8 mm (5/16 in), just a V tool, and made my preliminary cut really close to the outside line. Later on the whole center goes downhill. But still, I don't want to lose the main picture, and that's why I'm actually doing preliminary cuts. The eyes on that leaf started as preliminary eyes, not the true eyes yet, because they get lowered down later on. It's just for me.
Which gouge do you use for a preliminary cut?
Whichever one fits the spot. The first lesson of the Venetian Flowers Rosette had a number 11 veiner of 10 mm, about three-eighths of an inch, for a preliminary clean-up, and I said it could be a different size, eight or five millimeters, and still work all right. On the hazelnut I used a four millimeter number 11, and five would work too.
My Maine class had a tool I forgot to name at first, and I said sorry on camera. It was a number 9 of 10 mm, and it made the preliminary cut before a 3 mm veiner got even further inside those triangles. The bigger tool you have, I said there, the better it is to use it right away.
The table puts the tools from these lessons side by side. Each line is what I did or said on camera, not a rule for your bench.
| Lesson | Tool | What that preliminary pass was there to do on the wood |
|---|---|---|
| Venice Room 124 | Veiner, 10 mm, a number 11 | Named for the spot where one shape runs under the next. |
| Furniture panel 21 | One millimeter number 11 (0.04 in) | Separated a future flower, which grows from underneath, from the volute. |
| Furniture panel 21 | Quarter inch number 5, which is 6 mm | Set an angle before I sloped the inside of that section. |
| Roman acanthus 4 | V tool, a number 12 of 8 mm | Ran really close to the outside line around the center. |
| Maine class 7 | Ten millimeter number 9, then a veiner of 3 mm | The 9 opened it, and the veiner got further inside the small triangles. |
| Hazelnuts, lesson 3 | Small number 11, four or five millimeters | Showed me, just visually, where each of the separations will go on the nut. |
Types of wood carving cuts I name on camera
These are gouge techniques on relief work, each with its own page on this site.
- A plug cut lifts the wood out like a plug with a number 9, the way it did in lesson 124.
- The relief cut came up in lesson 21 of the furniture panel, and there I spoke of "that preliminary relief cut" while I went back and forth on a curve.
- Separation cuts get their own page. I said on the hazelnut that a separation there is just an indication of separation, if you wish.
- Chamfer cuts round a shape chamfer by chamfer, as my number 2 did on the back of a tulip in Maine, and the chamfer cut has a page too.
Setting in is a stage of the work rather than one pass, and it has its own page as well.
Where does the preliminary pass end and the clean-up begin?
Even the clean-up has a preliminary round. Back in the Maine class I blended one petal right underneath with the number 2, then went back to the little 3 mm tool for some kind of clean-up job. Well, preliminary clean-up, I said, it's not the final clean-up.
The rosette got the same handling. I reestablished the line and shaved the side with just the right-hand side of my tool. I called that a preliminary measurement, because there was going to be some carving on the side, but it still gave me a really good idea of the boundary. Later I called it a preliminary boundary, a line whose final, final look would come after. I got pretty close, and the molding could wait until later.
A rolled edge on the furniture panel was no different. I rolled it right underneath with small chamfer cuts, whatever is the best way to describe that type of cut. Then I said it plainly. That is just preliminary, it's not the final look, and I'm after establishing the overall shape. And lesson 124 ended that stretch with a plain promise that no separate video would show me cleaning off camera. I'll do my final cleanup right here.
Where can you watch lesson 124?
Lesson 124 sits in Part 11 of the Venice Room, between lesson 123 and lesson 125. Before them, lesson 122 is about full size and European size tools. The panel is carved ornament for a ceiling, and on this side most of it is still pencil.
Have you ever set a gouge on a line and not known how deep to go? Would you like to watch a spot stay rough on purpose? Every lesson named on this page opens with full access to the school.
How it's done
- Pick a tool the spot will take. The rosette veiner could be ten millimeters, or eight, or five, and I said each would still work all right.
- Set the flute for now. Point it where it looks right for now. I put mine near 11 o'clock and said out loud it might end at 12, because one petal would lie over the next.
- Leave an undecided shape high. Dig only along its outline. The shell in lesson 124 stayed high because I had not decided about it yet.
- Tidy up twice. Clean the area once so the drawing can come back, then again at the very end. A tiny veiner did that first, preliminary round in Maine.
Frequently asked questions
Is a preliminary cut the same thing as an undercut?
Only the beginning of one, at most. During lesson 124 I started to say undercutting, stopped, and called the pass a preliminary cut. My flipped gouge went a little underneath on a furniture panel too, and I still called that somewhat undercutting, since concaves and convexes were coming later.
How deep should a preliminary cut be?
Two millimeters or so, roughly 1/16 in, on the petals and rolled edges where I gave a number. On the Venice Room ceiling panel I skipped a really deep pass at first, because the depth of that area was still undecided, and I was eyeballing it.
Which tools can make a preliminary cut?
Any gouge that fits. The lessons on this page show a V tool, a quarter inch number 5, a 10 mm number 9, and number 11 veiners as small as a single millimeter and as big as ten. None of them is a special tool made for the job.
What to carve next