

Alexander Grabovetskiy, woodcarver, School of Woodcarving · Published 2023
How do you know how deep to carve a relief panel?
Quick answer: Carving depth is a figure you settle on, then confirm with an instrument rather than an opinion. Across these Venetian panels the gouge itself, a glue line between two laminations, a caliper and a pointing machine each told me where the floor was. Guesswork shapes the form. Measurement matches the pair.
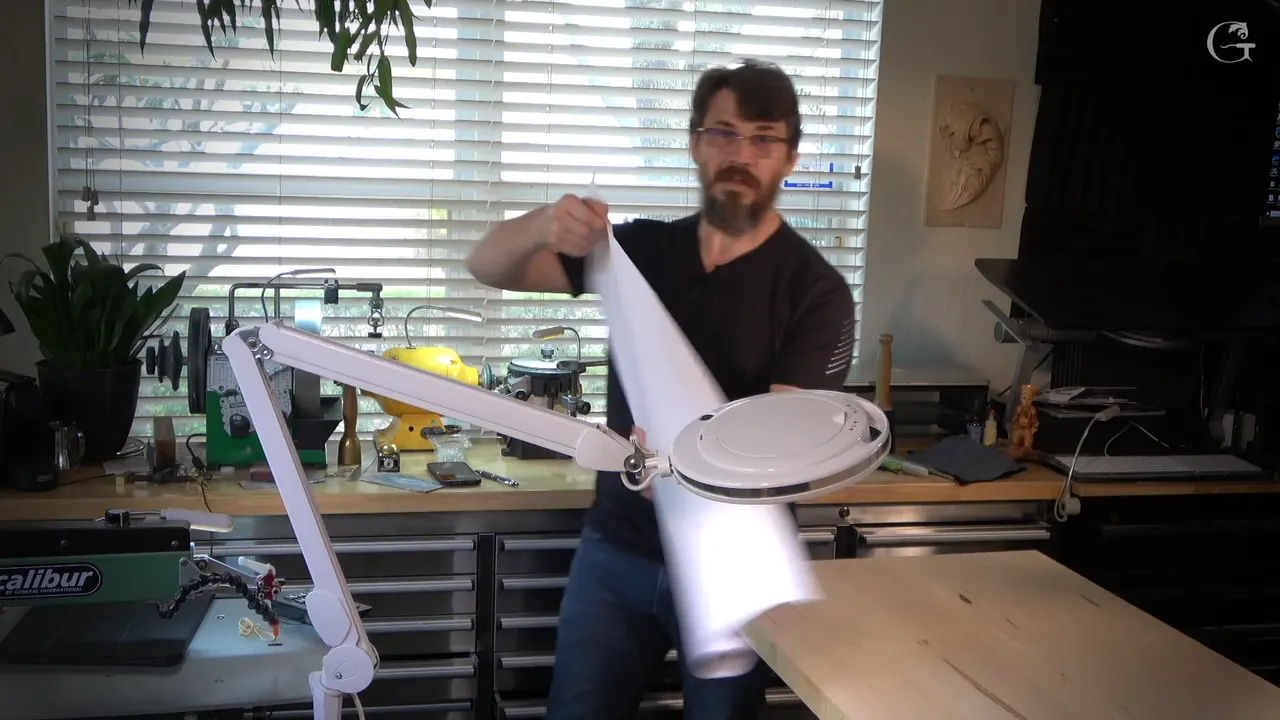
Carving depth is a number you pick, then prove with something that cannot flatter you. On the Venice Room panels I read depth off the gouge itself, off a glue line between two laminations, off calipers, and off a pointing machine. Eyeballing sets the shape. Measuring keeps both sides equal.
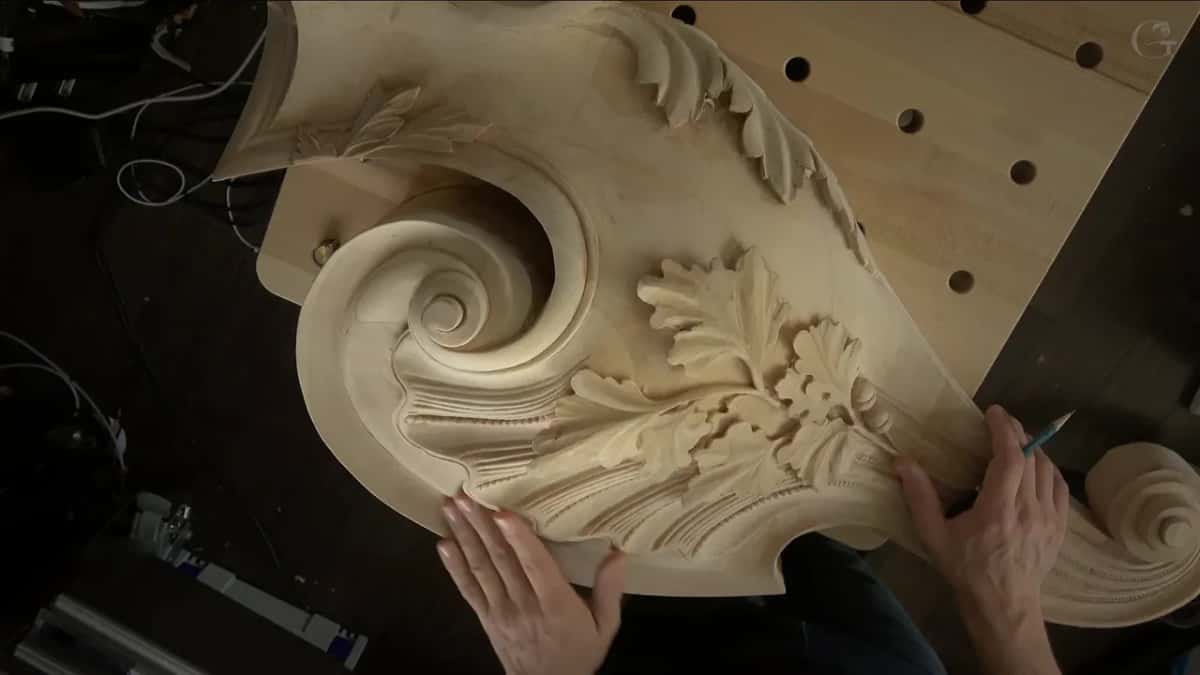
You carve one side of a panel, it looks right, and then you carve its twin and the pair refuses to match. In these very workshops I caught myself carving on the wrong side of a line, and I was glad I noticed before I had gone too far. The detail this work belongs to runs about 10 feet (3 m) overall, with one on each side, and I want the drawing to fit to the millimetre before any of it goes on the walls. Both sides of a corbel get checked against each other too.
Do you know how deep your background sits right now, in millimetres, without guessing? Could you carve the mirror image next month and land on the same floor? Depth is one thing in relief carving you can actually measure, and measuring it only takes a few seconds.
These twelve workshops finish an oak leaf, two acorns, a shell with bead molding and the cove that wraps a volute. Then the whole job jumps scale onto a board 24 by 60 inches (610 by 1525 mm) and an inch and a half (38 mm) thick. Each of those parts had its floor set a different way.
What sets the floor before you carve
- The background runs 10 mm (3/8 in) under the high point of the shield and 30 mm (1 3/16 in) at the outer edge. Three times deeper. That deep edge is the side somebody standing underneath will see.
- A gouge is a ruler you already own. My number 11 is three eighths of an inch wide and just about that deep in the hollow, so when the hollow buries itself I have arrived.
- First pass lands along the drawn line itself. Second pass stays roughly 3 mm (1/8 in) back, which leaves a safe zone to refine into later.
- Laminated layers give you a free depth stop. Reach the lighter layer and quit.
- Your hand finds a bump the eye slides right over, down to about a thousandth of an inch.
- Undercutting waits for the shell. Doing it early would be a big mistake.
How deep should the background be?
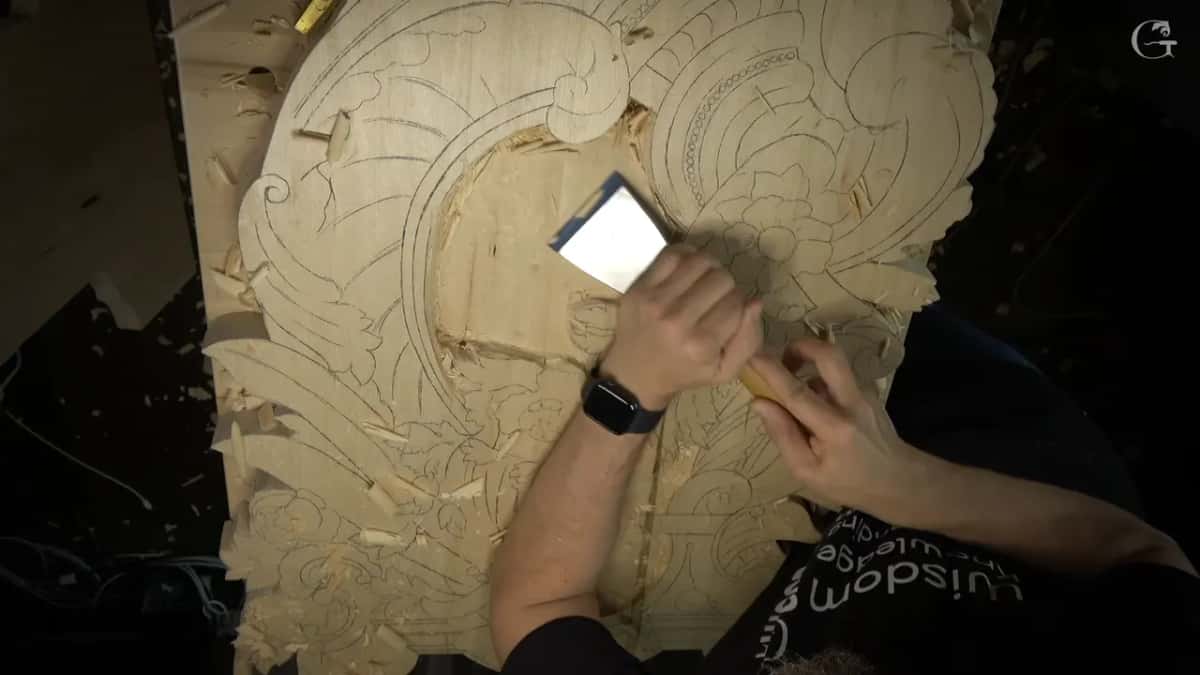
Depth here is 10 mm, three eighths of an inch, under the highest point of the shield and 30 mm (1 3/16 in) out at the edges, and the gap between those two numbers gives it a good rounded feel. The board is only an inch and a half thick. Take three quarters of an inch and I am right in the middle somewhere.
I went another 10 mm anyway. People will look at this piece from the floor up, not straight on the way you are seeing it in the video, so the far edge is the part they will actually see. Going deep there gives me really good depth.
The high point is not in the middle either. I put it near the golden ratio point and let the surface fall away in every direction from there, the same 60 to 40 split I used to place the head of each acorn. Six parts out of ten, not five.
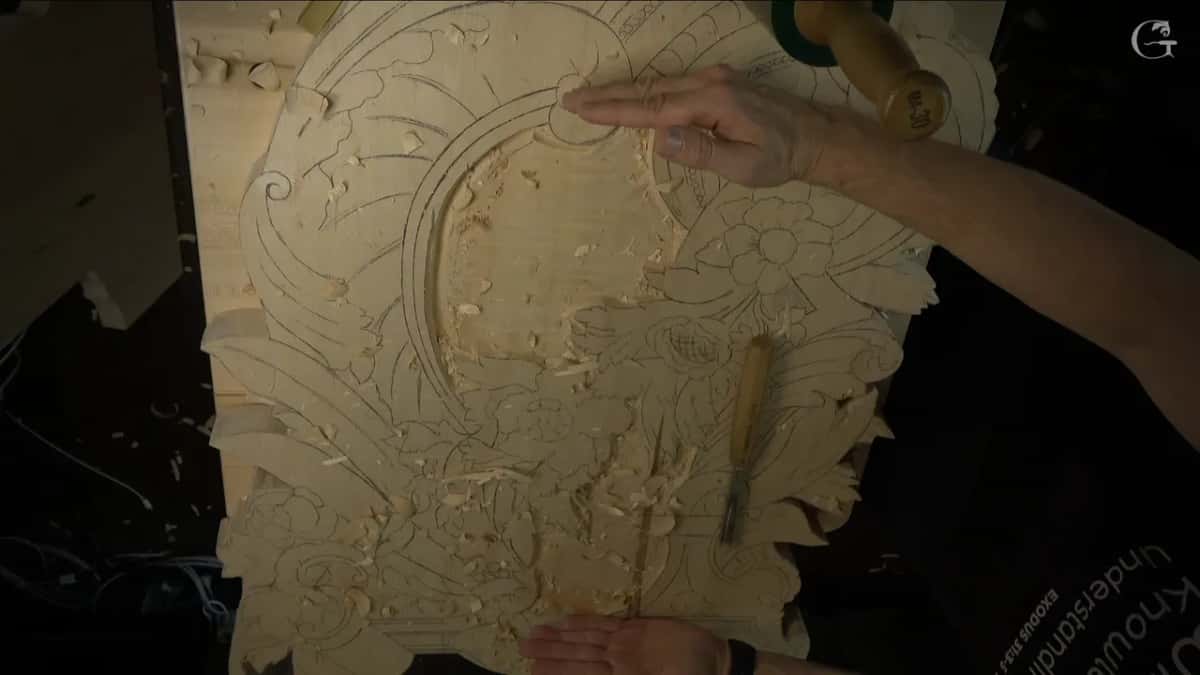
One more thing about the slope. Do not chop straight down to the deep number and call it a background. The fall has to be gradual, more like an arc, or you get a trench with a wall instead of a form that rolls away. I angle the tool going in and take it in passes.
Why is the gouge itself a depth gauge?
A number 11 veiner that measures 10 mm across the mouth runs about the same 10 or 11 mm deep inside its hollow, and that second measurement is the one I use. Sink the tool until the flute disappears into the wood and you are at 10 mm. Do it again on the next groove and you are at 10 mm again.
Watch the edge, not the chips. Carving the cove, I kept one eye on just one edge of the tool, and once it hit the surface I had the right depth. Consistent depth all the way around, with no ruler.
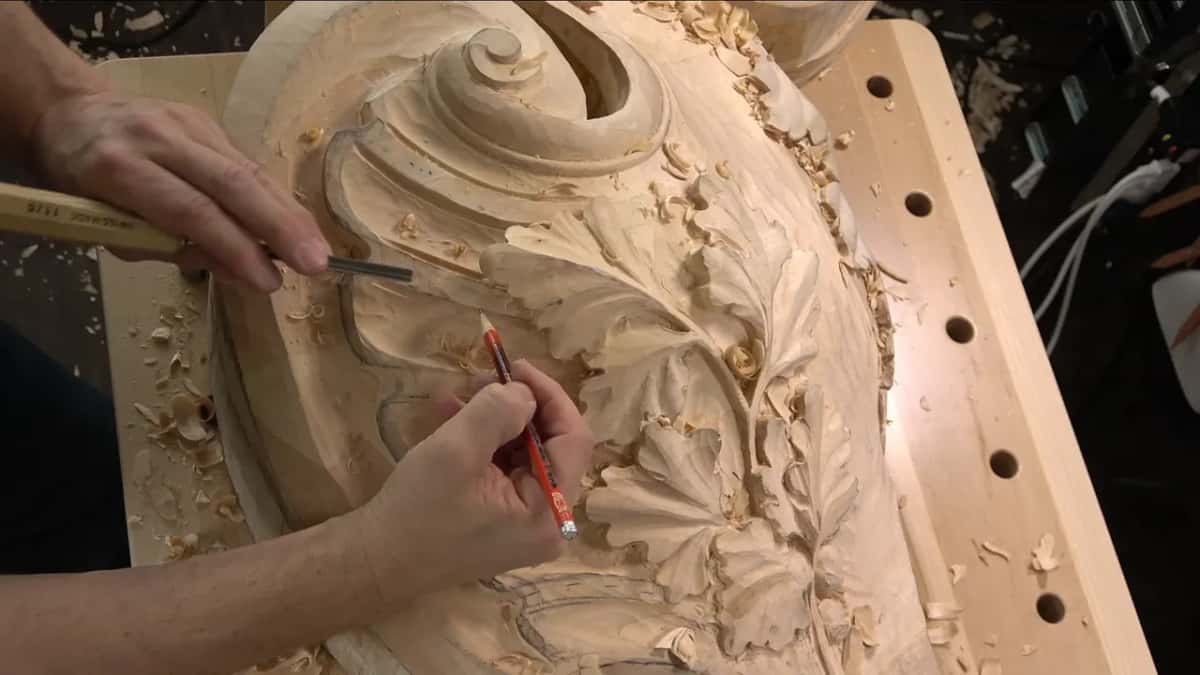
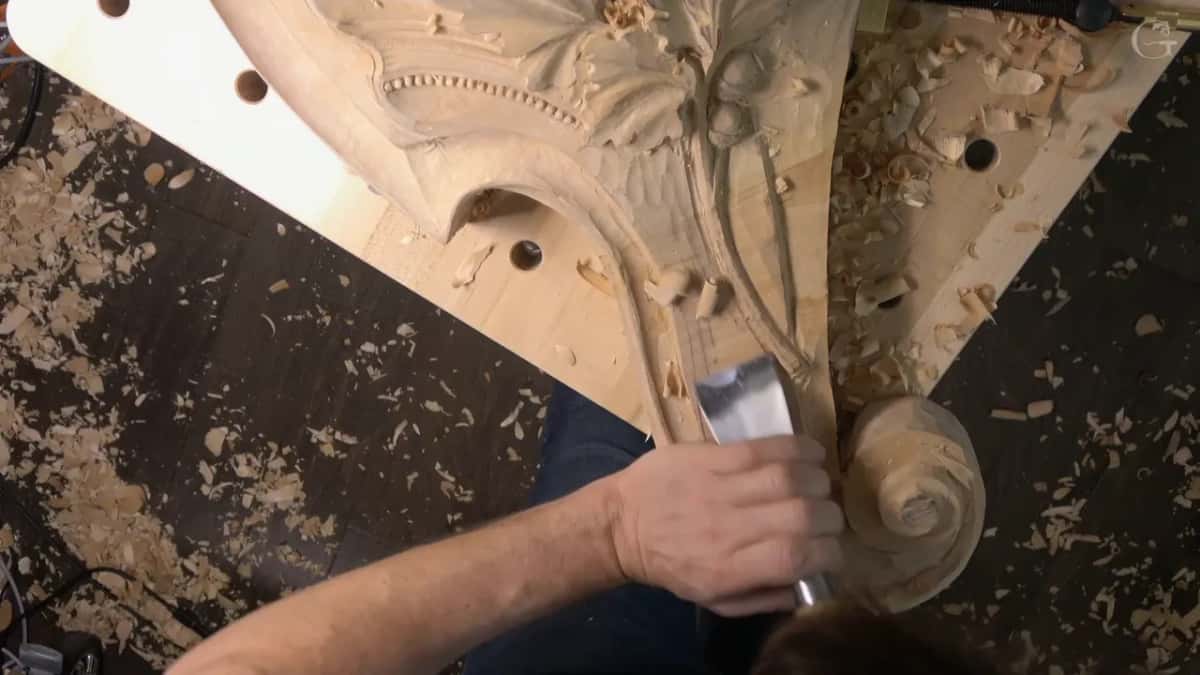
Hold the tool at one angle while you do it. Rock it deeper and that edge goes much lower, which is an easy mistake to make. Same trick works upside down: a quarter inch (6 mm) back bent number 8 riding the tops of the ribs across the corbel keeps every one of them at the same depth, because hitting the top part tells me so.
What does the first pass on the line do?
My first pass follows the pencil line itself, sunk about ten millimetres, and it locks the drawing into the grain before one chip of waste moves. The second pass stays back about 3 mm, an eighth of an inch. Two passes, two different jobs.
Done in that order, I can set my tool right on the line and chop more accurately. Carve the line first and clear away from it second, and the drawing survives the rough work.
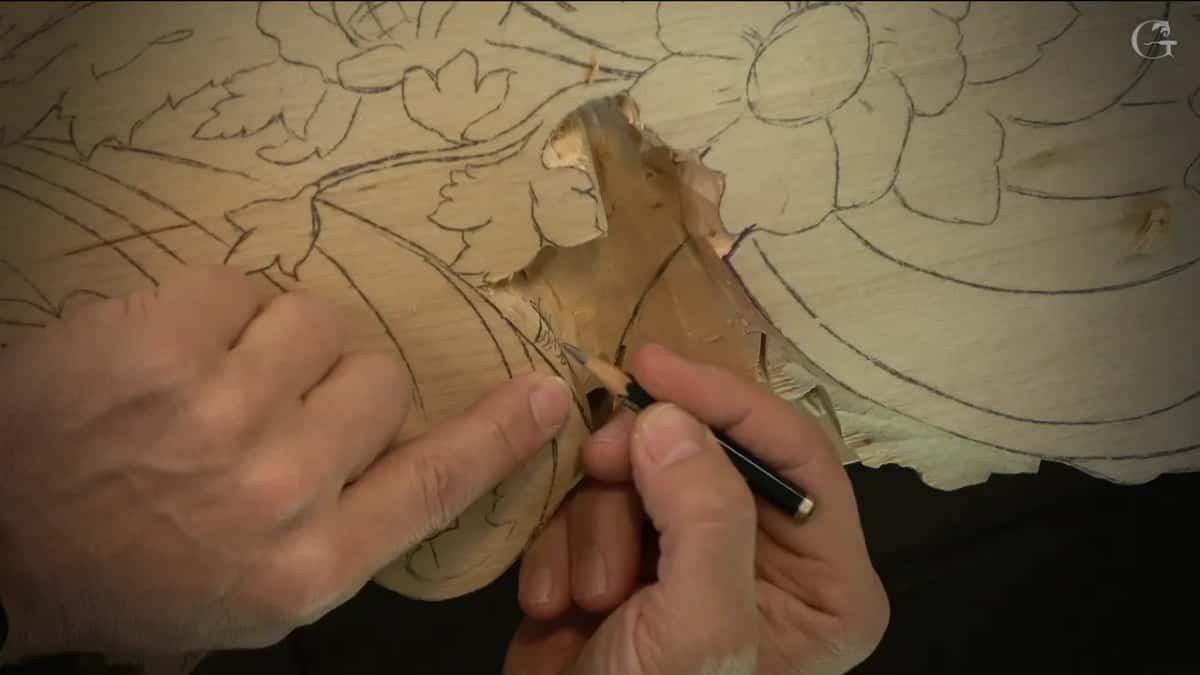
The 3 mm gap earns its keep twice. It gives me material to refine into when the final shape shows up, and it is a safe zone, because when you carve, you dig into the wall. Carving a big gouge across a panel, the chip follows the grain wherever it wants to go, and if there is no outline pass in front of it, it takes a piece of your design with it. I outline deeper in the fragile spots for exactly that reason.
| Part of panel | What told me it was deep enough | The depth | Why that number and not another |
|---|---|---|---|
| Shield background high | Edge of the number 11 flute vanished | 10 mm | Keeps the whole shield field even |
| Outer sloping edge | Pointing machine zeroed on a flat surface | 30 mm | Seen by people looking upward |
| Cove by volute | Tool height watched at just one edge | 6 mm | Going deeper for the shadow's sake |
| Laminated wall section | A lighter layer of wood appeared underneath | Glue line | Wood itself marks the stopping point |
| Small ray details | Same final depth read off the neighbour | Quarter inch | Every ray has to sit level |
Can you trust your eye on a curved surface?
My eye can fool me on a convex surface. I eyeball a lot of this work, and I feel safe doing it. But when I needed a line running dead square across a convex strap, I laid a ruler against the glue line, because looking at a curve makes a straight line appear twisted.
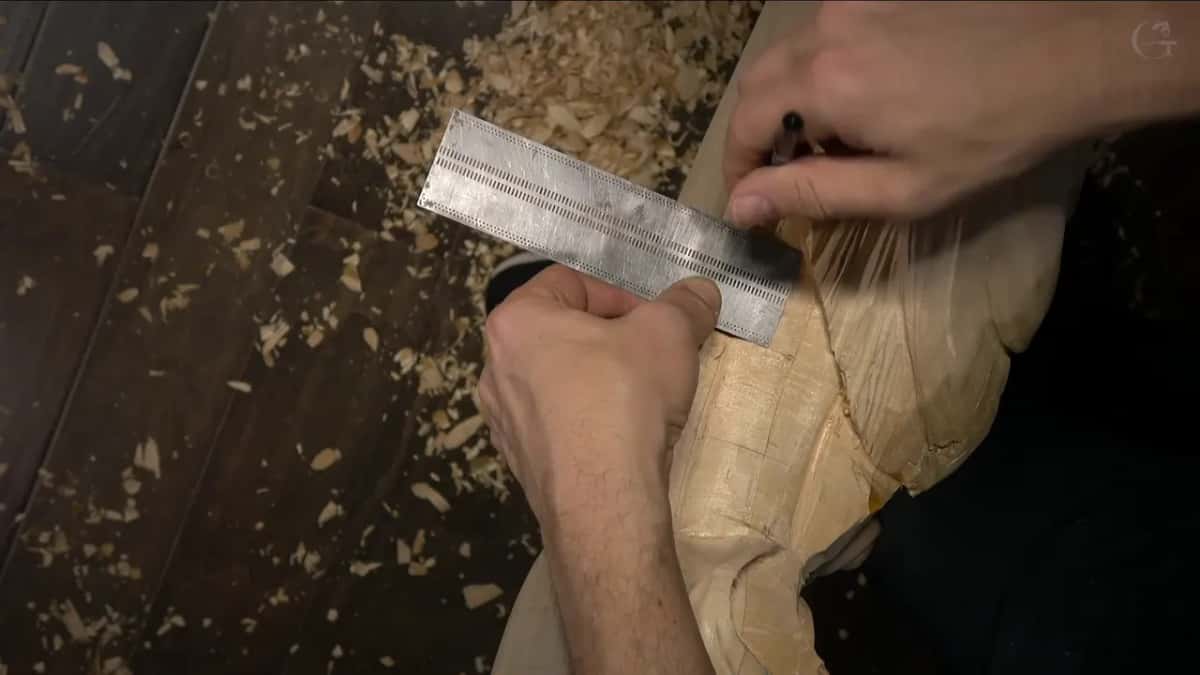
The glue line is there anyway. I laminated the blank, so there is a straight reference for free, and a second one hiding underneath as a depth stop. When the tool reaches that lighter layer of wood, I am at the number I wanted, and I did not measure anything to find out.
Calipers settle the pairs. I check the left side, check the right, and on this exposed corner the two came out about one millimetre apart, which I can live with. A pointing machine settles the rest. Set the needle on a flat surface, lock it, carry it over to the carving, and it will tell you whether you are at 30 mm or fooling yourself.
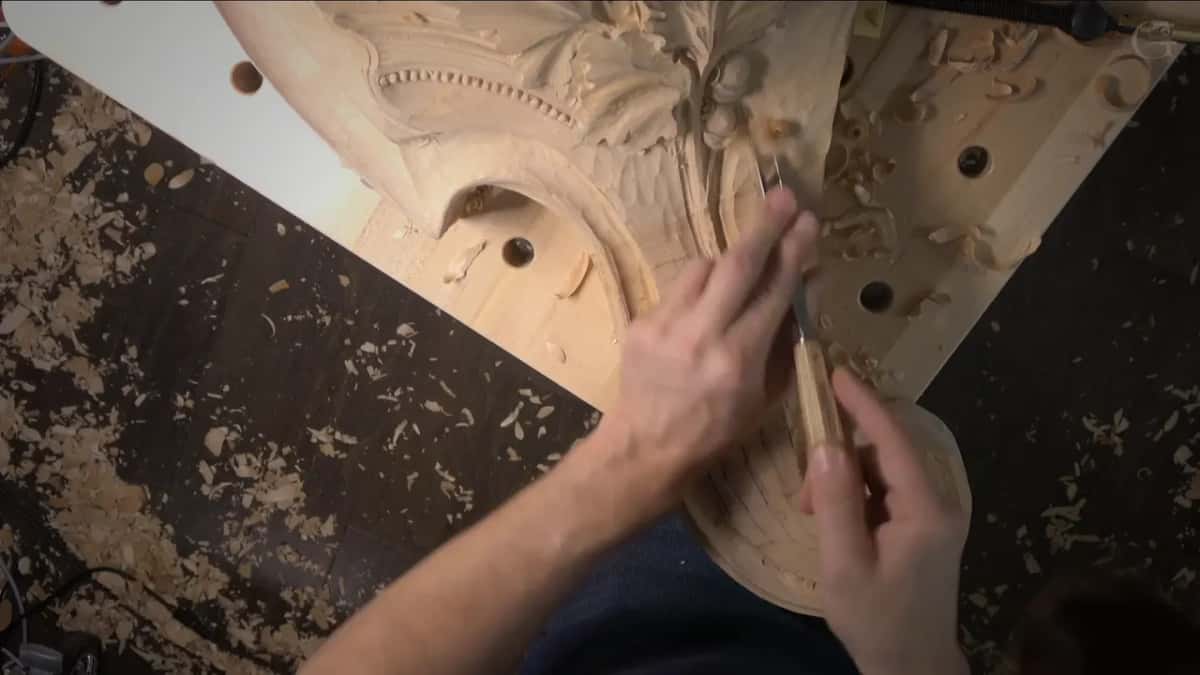
I love that thing, and I am not shy about saying so. Down at the 30 mm spot I locked the needle, brought it across, and I was dead on the number, not even a millimetre off. A few seconds of checking against a long repair.
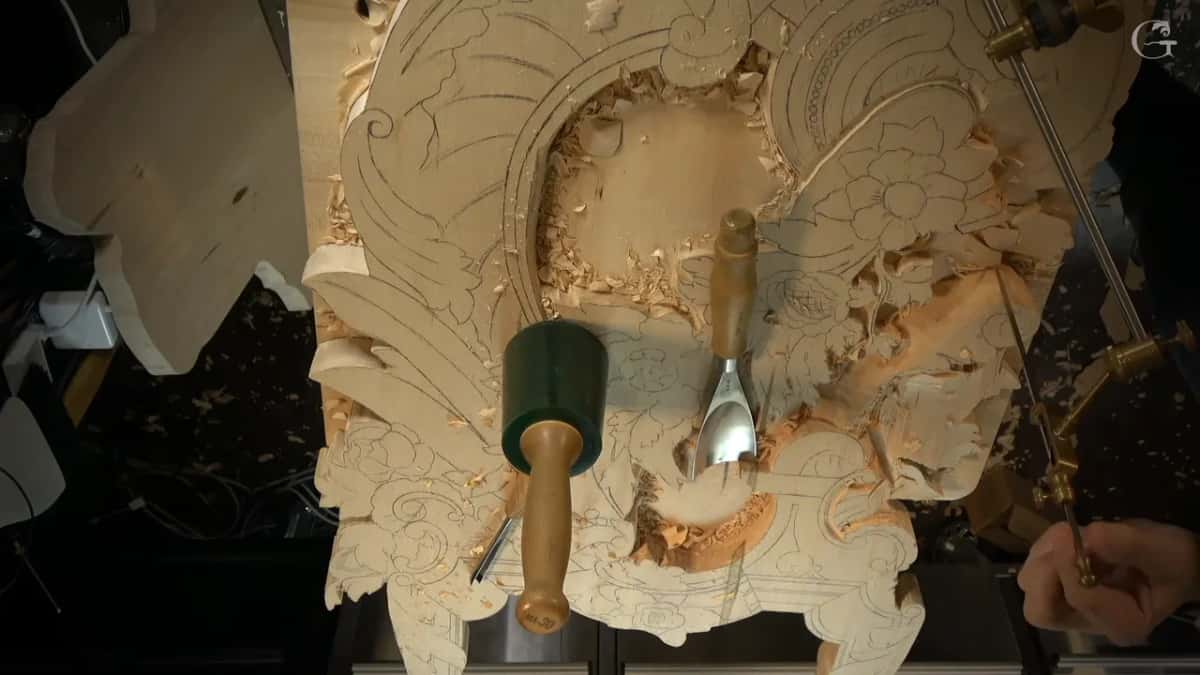
Then there is the hand. Run your palm across a surface you think is smooth and you will feel waviness your eye never reported, somewhere near a thousandth of an inch. After the big number 2 and the three inch (76 mm) chisel have planed the high spots off, my hand is the last inspector, and it catches things the camera cannot even show you.
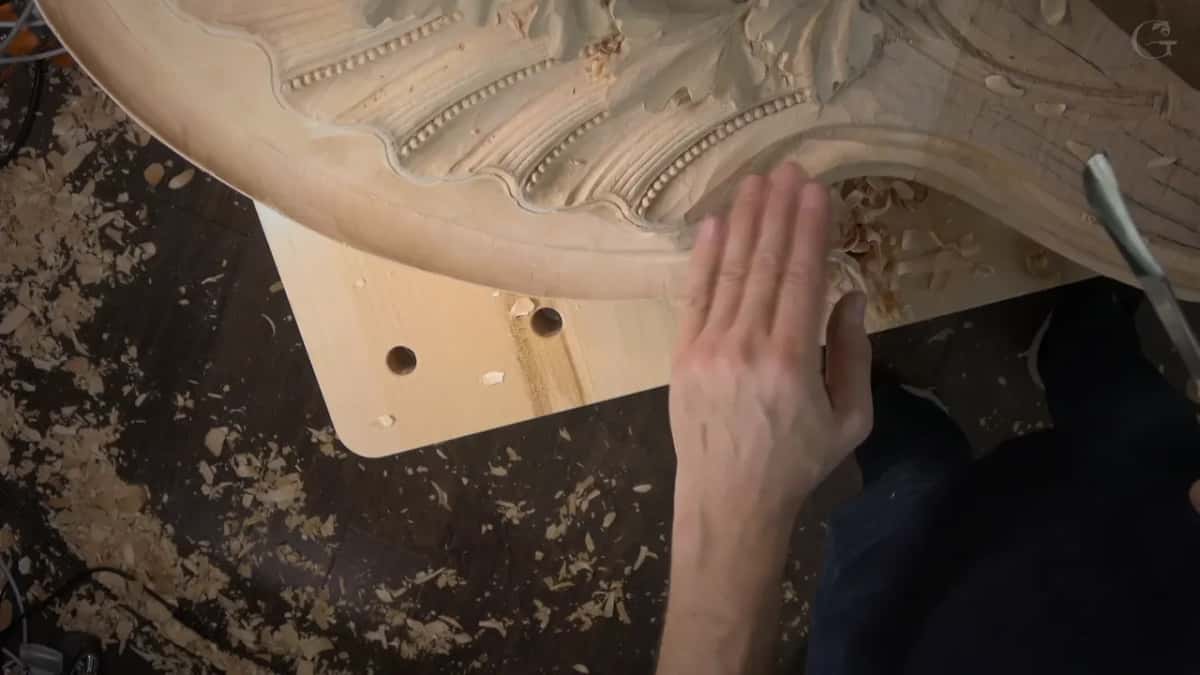
Why stop a carving at sixty percent?
Sixty percent finished is the stage I want to see before the shell goes underneath, and I stop there on purpose. Everything gets refined once I get to the shell, when I can finally see how the parts sit together. Refine early and you refine twice.
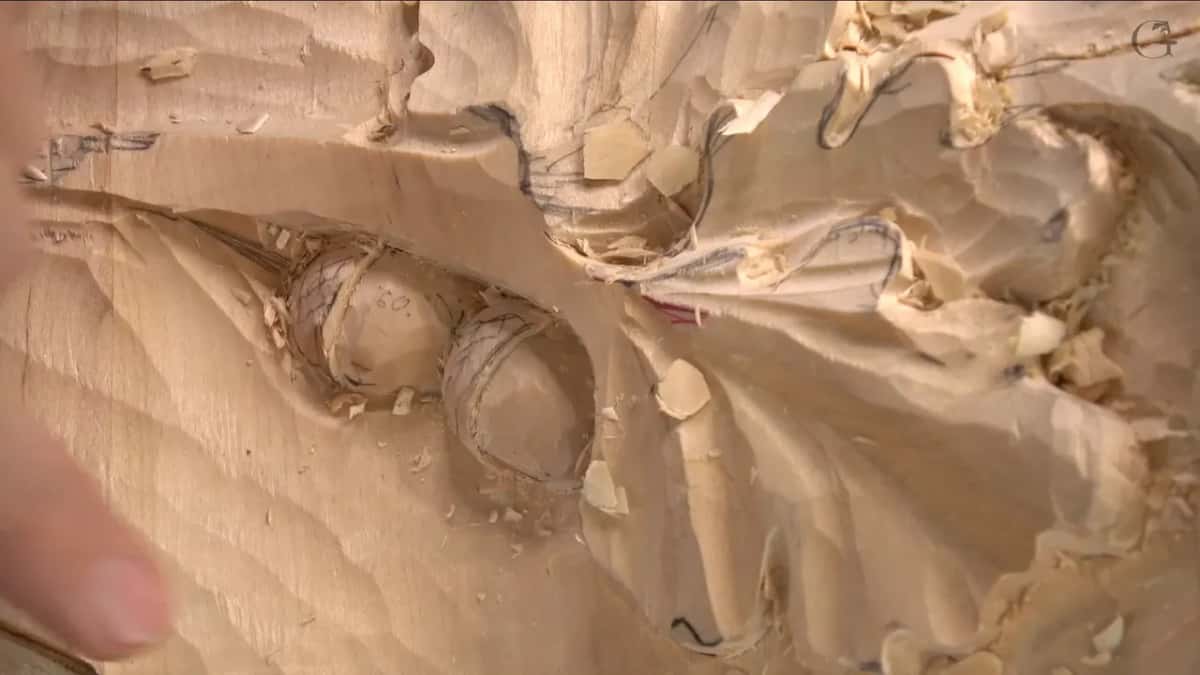
Ask me why I do not carve clean from the first minute and the plain answer is that I change my mind. Spend a long time polishing a leaf, then decide the leaf is wrong, and you are throwing away your own work. Frustrating is the honest word for it. At sixty percent a change costs almost nothing.
Here is one. I counted what I had there and got nine. Nine is not a Fibonacci number, and the group looked crowded, so I took one out. I had added that one myself. That is just the process, and the open space it left looked far better to me than the crowd of leaves did.
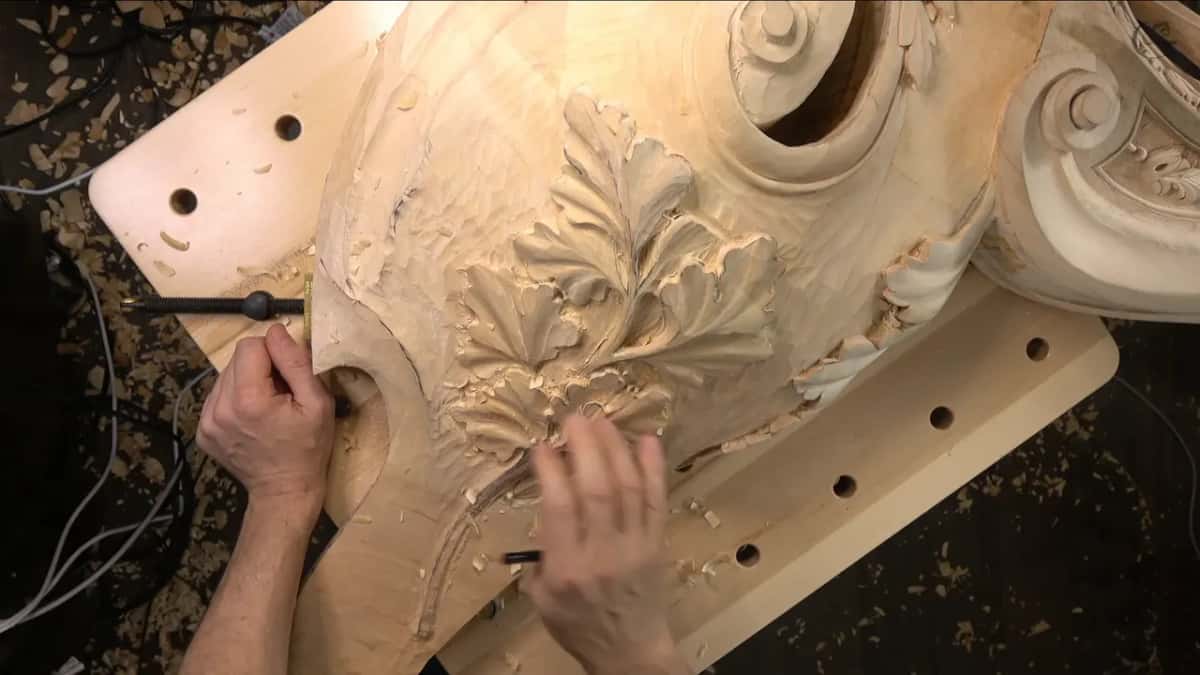
The same stage protects you from the wood. There was a micro crack living inside that blank on the right hand side, and a piece flew out while I was shaping. Later, working near an edge with a rasp, I broke it. I did not glue it back. I recarved the shape, and nobody will ever know, except the few thousand of you watching me do it.
How do you draw a ten foot panel once?
Drawing a 10 foot (3 m) panel now happens on an iPad, gets scaled in SketchUp, and comes back from the print shop as one sheet of paper 36 by 120 inches (915 by 3050 mm). That print cost me 27 dollars. For years I thought about buying a plotter. I do not need one.
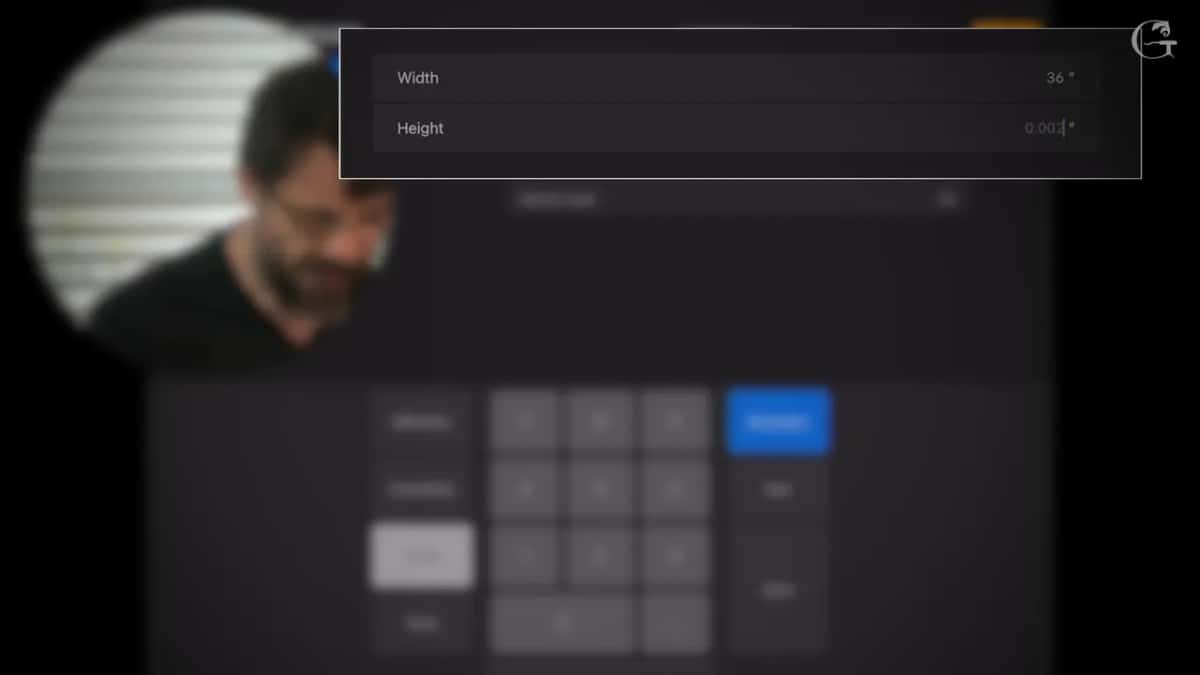
In Procreate you set the canvas in inches, not pixels, so a 36 by 120 inch sheet is a real sheet. It warns you the file is large. Ignore that. I draw with the peppermint pencil in the sketching set because it just feels normal to me, and if a leaf is wrong I undo it instead of erasing it.
Ten years ago there was no undo. There was a job about 10 feet long and 36 inches high, a headboard, and I drew every acanthus by hand on one long roll of paper. It took two weeks. Then the client asked me to raise one leaf. I took a razor, scraped away hours of drawing, and drew it again. Then he asked me to move it right. I call that the dancing stage, back and forth, back and forth. Working with high end architects, that is normal.
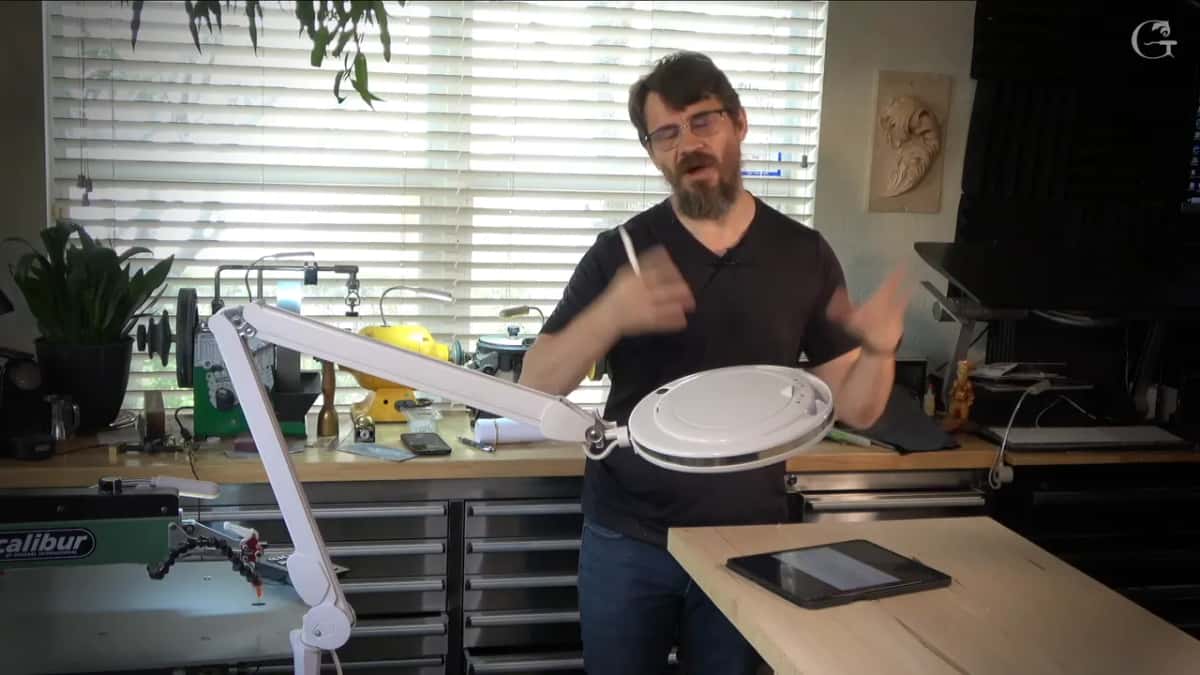
Export a JPEG, scale it to the millimetre in SketchUp, save a PDF, print it at the copy shop. I trace it onto the board with plain carbon paper, then redraw it onto clear garden plastic and transfer that to the second board, for the other side. Minutes, not hours and hours.
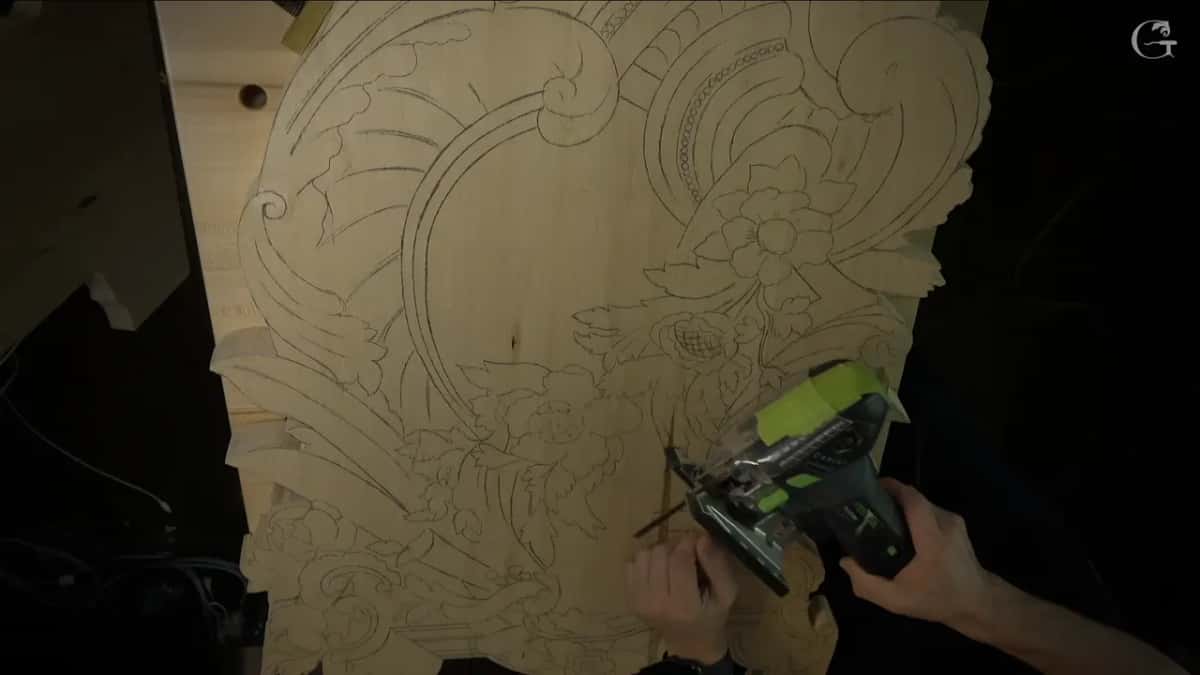
After that comes the jigsaw, and buy a good one. I have owned Bosch and DeWalt and several others, and I settled on the Festool because it holds a true 90 degrees. The model is called the Carvex, which sounds like it was named for us.
Why chase shadow instead of detail?
Shadow is what makes a painted piece like this read three dimensional. Every undercut on the outside adds another shadow point. More shadow, more depth. That is what I am after, and you will hear me say shadow again and again in these workshops.
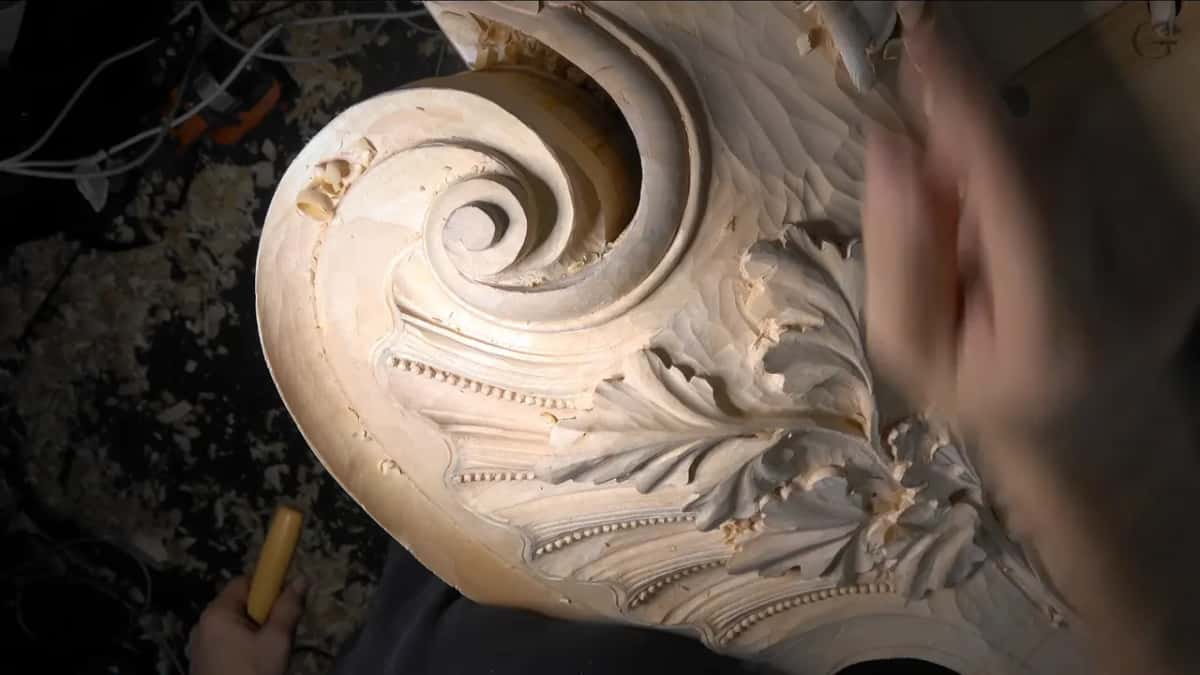
This job has an argument you may not have considered. The whole thing will be painted white. Paint will cover a lot of fine detail, so I do not need to worry about some of it. Then, right after saying so, I take a 1 mm veiner and go after a really deep shadow spot.
Light in this room has two lives. Daylight arrives through the windows and hits a little from the bottom, and in the morning the hollows under the leaves give a beautiful effect. At night the light drops from the ceiling instead, so some of what the morning showed you disappears while a deep cove turns dark and dramatic. I carve for both, which is why shadow gets planned like a shape.
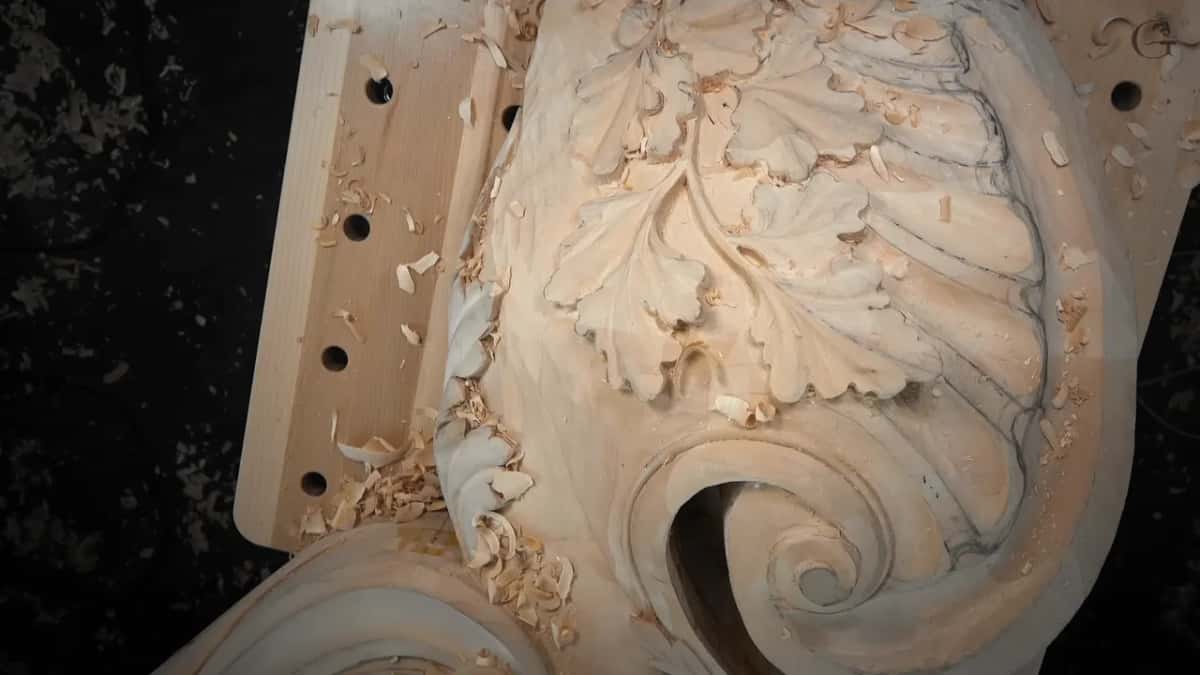
My smallest veiners do most of this. A 2 mm number 11 gets a shadow going, and 1 mm makes it pop. The last millimetre does not really matter, and I could live with the wider groove. I take the extra one anyway, for a better shadow.
What makes a carved acorn look like oak?
An acorn cap reads as oak when the pattern follows a species you actually looked at. For this room I researched the caps of the Mediterranean oak instead of the northern one I know from Michigan and Wisconsin. The room is Venetian, end of the 15th and beginning of the 16th century, and that is how they did it.
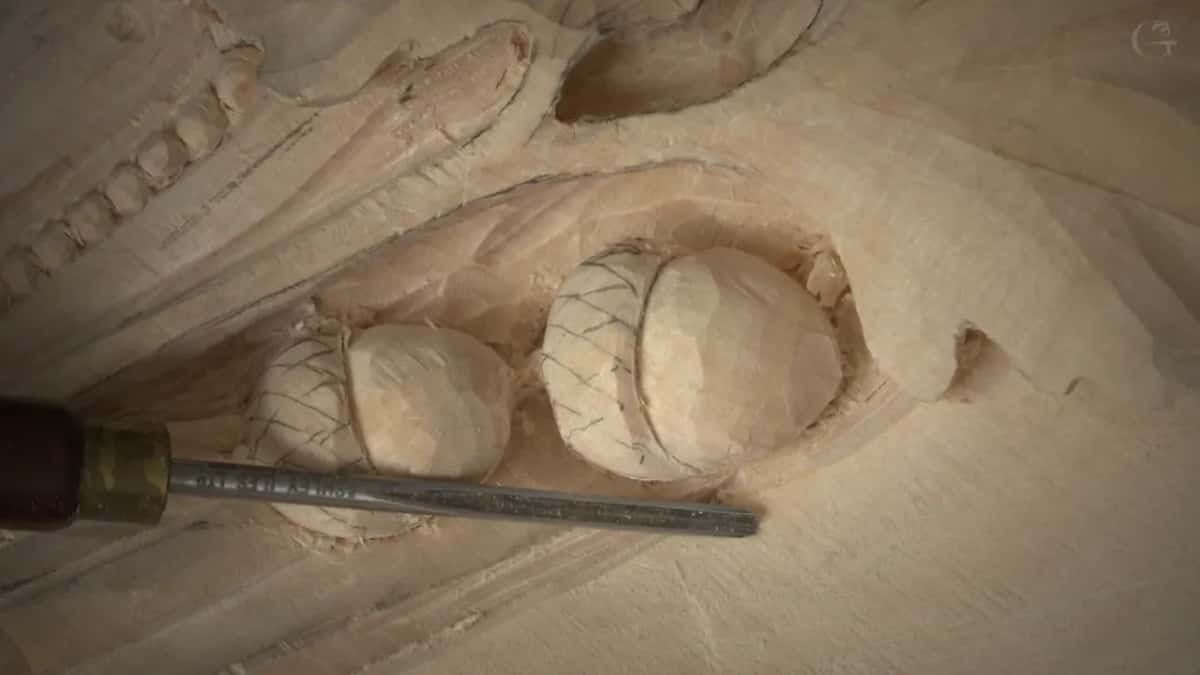
The quick way is a small V tool. Draw a grid of crossing lines over the cap and follow them, and with a small detailing tool by Ashley Iles that is quick and it is sufficient. I wanted closer to life, so I picked up a knife instead. Any knife. My Pfeil number 12 would have done it, and I used a small Swiss knife by Lamp just to prove the point.
Straight down along each line, then the same line from the other side, then lay the blade almost flat and lift out the little section between them. Two acorns, each about an inch (25 mm) long and three quarters of an inch (19 mm) wide, with the head set at the 60 to 40 point rather than the middle. Look closely at a real Mediterranean acorn and you will find that is accurate.
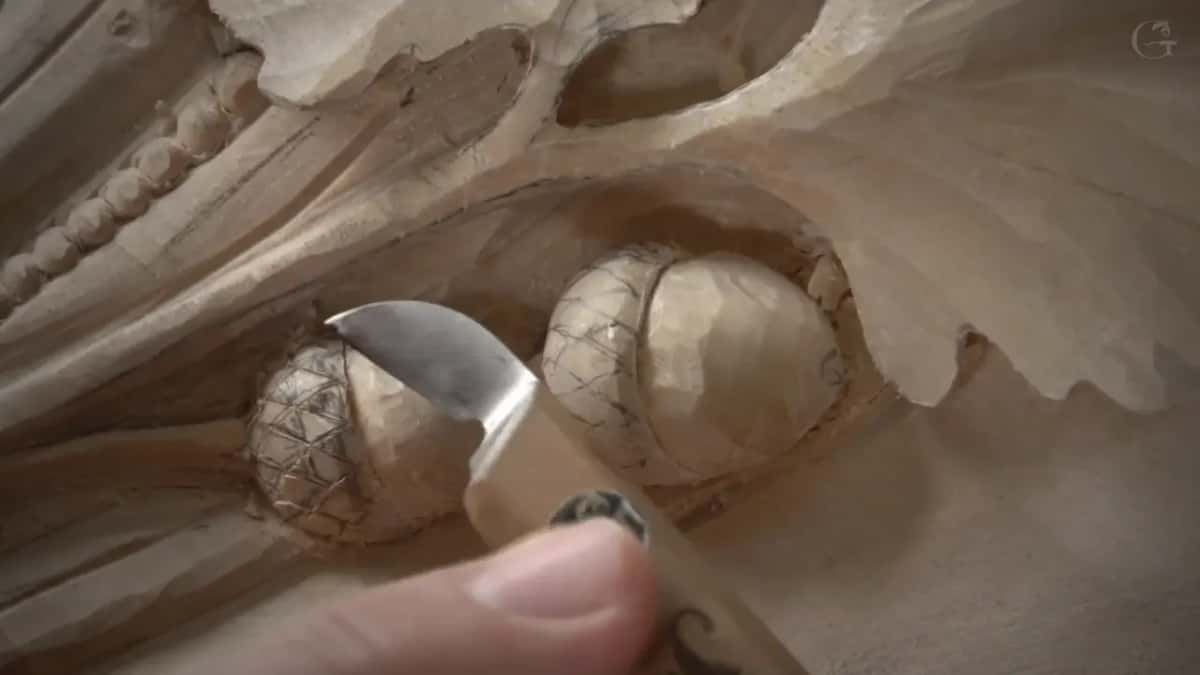
I will tell you my doubt too. Looking at that leaf, it does not read like the oak I grew up with. It looks more like something I saw growing by a swamp. But a carving should not copy life exactly, and the Venetians carved it this way, so I stayed with them.
All of this sits on the same foundation as the rest of the room, and if you have not seen how the flute angle decides a wall or how a 42 inch corbel gets held down while you carve it, start there. New here? The first steps are laid out plainly, and full access to every workshop opens the whole room.
Would you rather keep guessing at depth, or hold a number you can prove?
How it's done
- Draw it on the board. Trace the pattern down with carbon paper so every line you are about to carve already sits on the surface, in the exact place it will occupy on the wall.
- Sink the outline. Run a 10 mm veiner along the drawn edge at roughly 10 mm deep. One pass there protects the drawing from everything that happens afterwards.
- Clear back from the edge. Take the waste with a second pass about 3 mm inside the first. Leaving that margin gives you room to refine, and a safe zone beside the wall.
- Let the tool report the depth. Push until the hollow of the gouge buries itself in the surface. Every groove made that way lands on one floor, with no ruler involved.
- Prove the pair. Check left against right with calipers, or lock a pointing machine on a flat surface and carry it across, before going any deeper.
- Save the undercut for last. Wait until the shell is in place. Undercutting before that is a mistake, and on the panel it can cost you the line.
Frequently asked questions
How deep should relief carving be?
On this Venetian panel it depends on where people will stand. The field sits 10 mm under the high point and drops to 30 mm at the rim, because the panel goes up high and people will look at it from the floor up. That deep side is the side they see.
What is the easiest way to keep a carved background even?
Use one gouge as your gauge. A veiner measuring 10 mm across the mouth runs about 10 mm deep inside its hollow, and sinking it until the hollow buries itself gives one floor every time. Keep the handle steady while you push.
Why carve the outline before removing waste?
A drawn line survives roughing only when a groove holds it. Carving the outline first fixes the design in the surface, and a chip travelling along the grain stops at that groove instead of tearing away part of your leaf.
What to carve next