

Alexander Grabovetskiy, woodcarver, School of Woodcarving · Published 2021
How do you use a wide chisel to smooth a carving?
Quick answer: Smoothing a carving with a wide chisel is letting a flat #1 ride on its bevel over the high spots, much like a hand plane. On a Venice Room slope I used a three inch one after a 50 mm #2, barely pressing, with a sharp edge, and said the bigger the tool, the fewer chances its edges dig in.
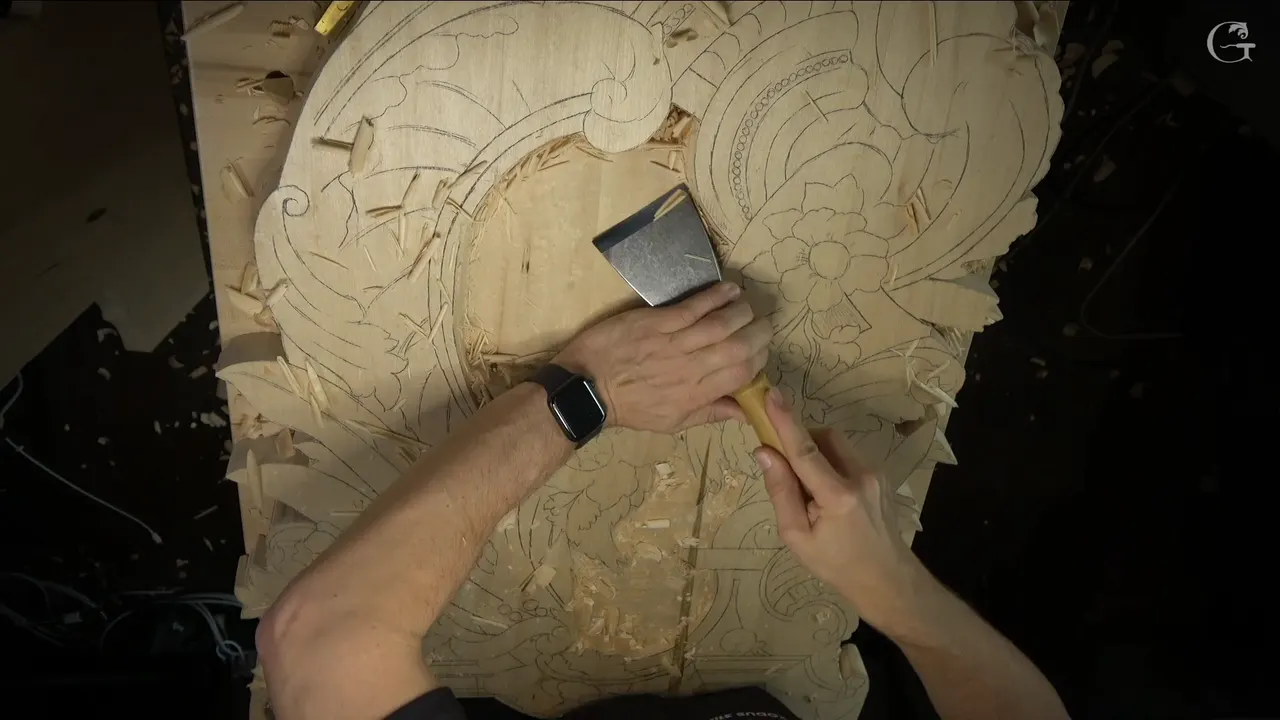
A wide chisel smooths a carving by riding on its own bevel and shaving off the high spots, the way a hand plane shaves a board. In workshop 105 of the Venice Room I did it with a flat #1 chisel three inches (76 mm) wide, right after a 50 mm (2 in) #2 by Pfeil, and I pushed with almost no pressure. Wood carving chisels mostly get sold in sets. This page is about one of them, the flat one, on a surface that is already carved.
Have you ever seen a hand plane push a thin curl off a board, even in a picture? Did the board look flatter where the curl came from? A flat carving chisel takes that same kind of shaving off a carved slope, and on this panel it did.
You rough a slope with gouges, and from above it can look finished. Below are the tools I used on that slope in order, how I held the last one, and what I said about flat tools in five other lessons, each one linked so you can hear it from me there.
Six things the flat chisel did on one Venetian panel
First the #7 sloped the field, gently, down to the groove I had made.
Next came the #2, not quite flat.
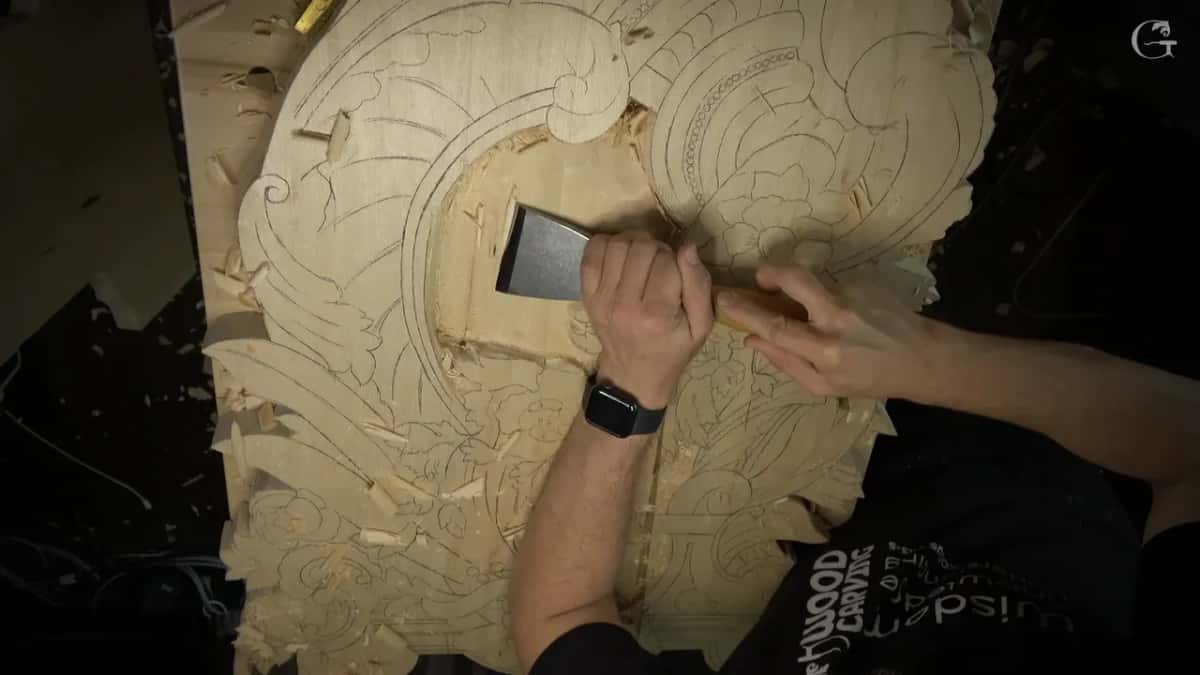
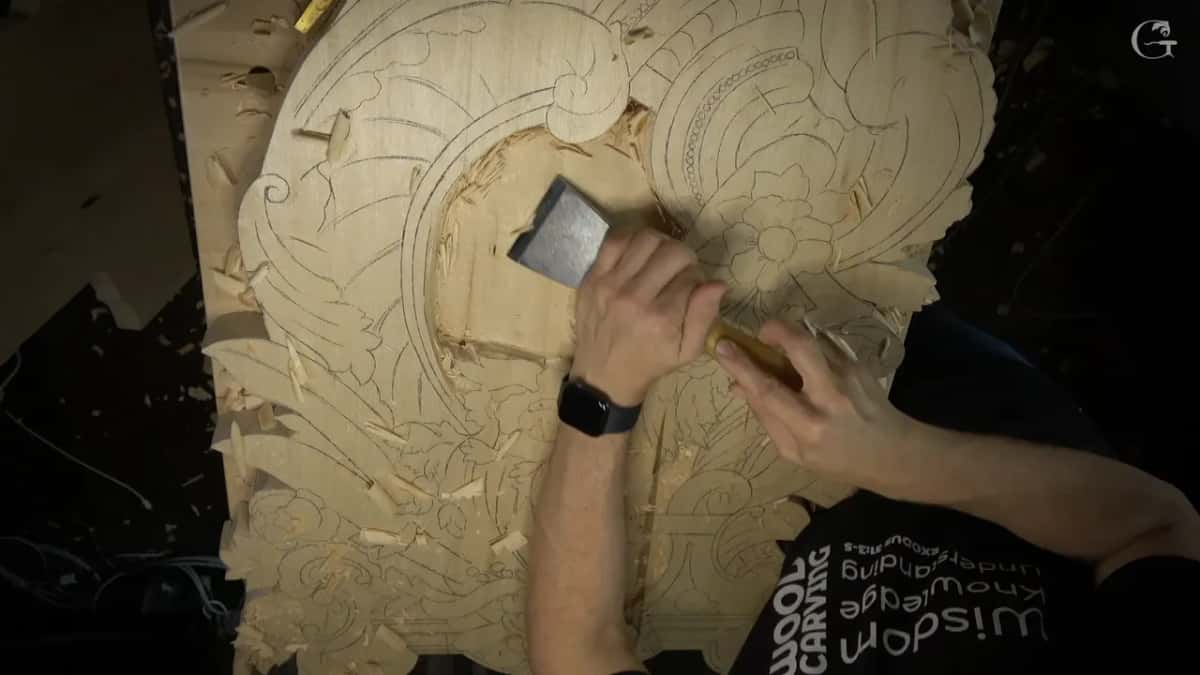
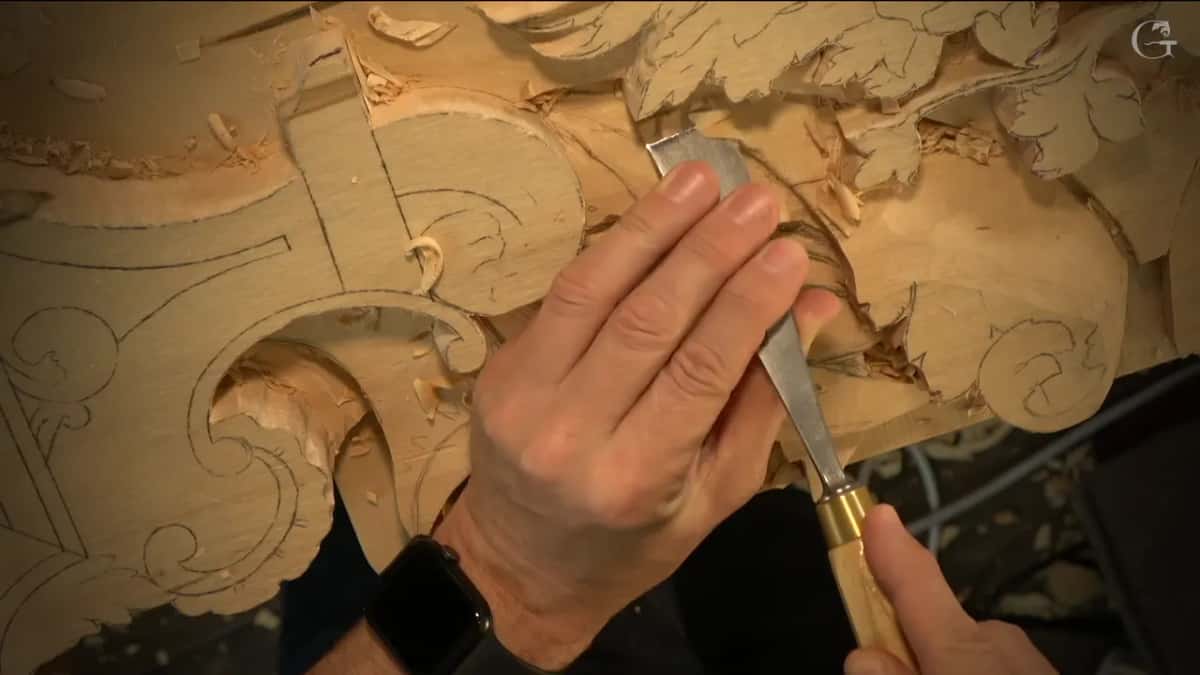
Then the #1, three inches wide, rode the tops and took shavings off them.
Hardly any pressure went into it, the edge was sharp, and I maintained my bevel.
Afterwards the slope felt even under my hand.
Yet I called it almost final, and I said bigger tools dig in less.
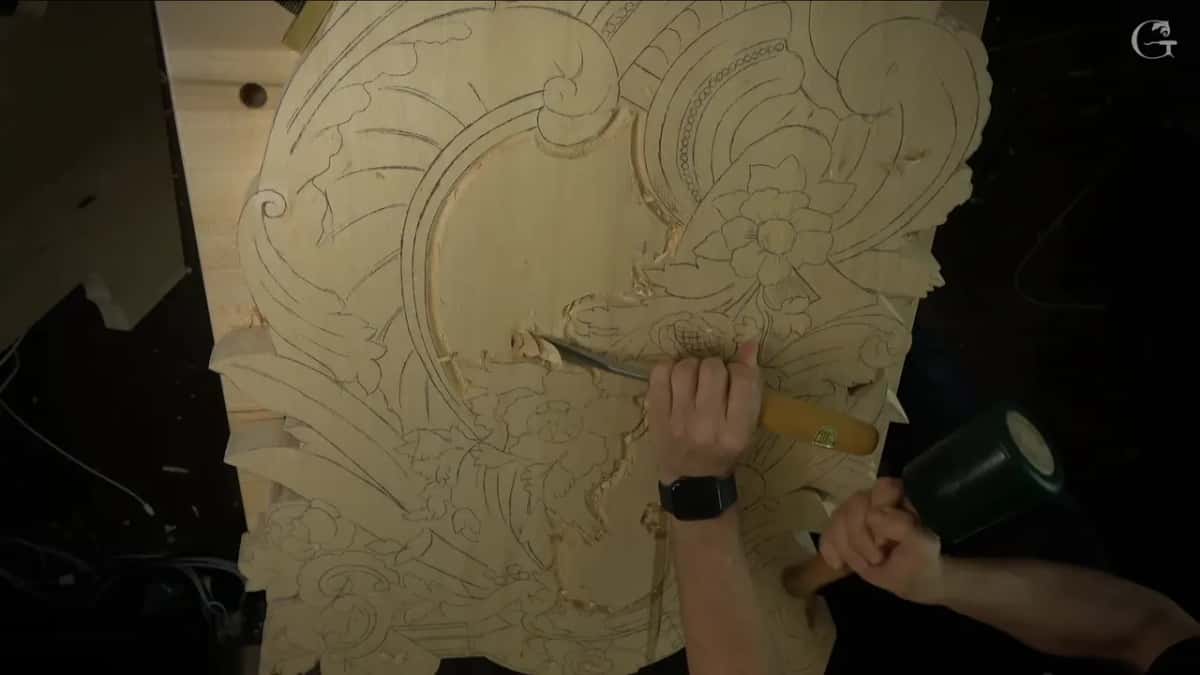
Which wood carving chisels smooth a carved surface?
Flat ones do. On this panel that meant a #2 gouge, which is almost flat, and after it a #1, a plain chisel with a straight edge, three inches wide.
The surface under them was a sloped shield on a relief panel. In the first two parts of this lesson I took it from about 10 mm (3/8 in) deep at its high point to about 30 mm (1 3/16 in) at the edges, and the Part 9 course page tells how I settled those depths. I had outlined pretty much just the center of my shield, and then I had to take care of the sloping part. On one side, I said, the slope would hardly show, because flowers are going on there. Above it, some kind of acanthus head is going to give the full depth.
Getting there took big tools. For the first rough pass I said the easiest would probably be a #9 about 20 mm (3/4 in), but a #8 or even a #7 is okay. After some back and forth I took a #8 of about seven-eighths of an inch (22 mm), almost an inch. I went across the grain. You can do that by hand with a rotating motion, I said, and it's still doable, but it takes a little too long, so I used a mallet.
Once I was too aggressive and touched an edge, and I said so on camera. Not a big deal, since that part was going to be lower. Still, I should have been a little more careful. Whatever tool you have will do, I said, a #9, or a #10 if you have one, like Ashley Iles makes. At one other spot I didn't mind going a little deeper, because it was going to be much deeper anyway, and some of the roughing I did off camera, this part and that part.
Then a #11 of 10 mm, three-eighths of an inch, went in almost from nothing, much deeper each time, with a mallet of about 30 ounces (850 g). Again, got to be careful, I said, as it went straight down. I wanted it to feel rounded, I said, and I would see how it felt. After it came the #7, an Ashley Iles about 20 mm (3/4 in) in part two and a #7 again in part three, sloping the field all the way to my groove. Even with that tool I took a lot more closer to the deepest spot. Across the grain I angled it slightly, because it can chip. Little by little, chip by chip, the form came, and I made sure it was really gradual. Gradual and soft.
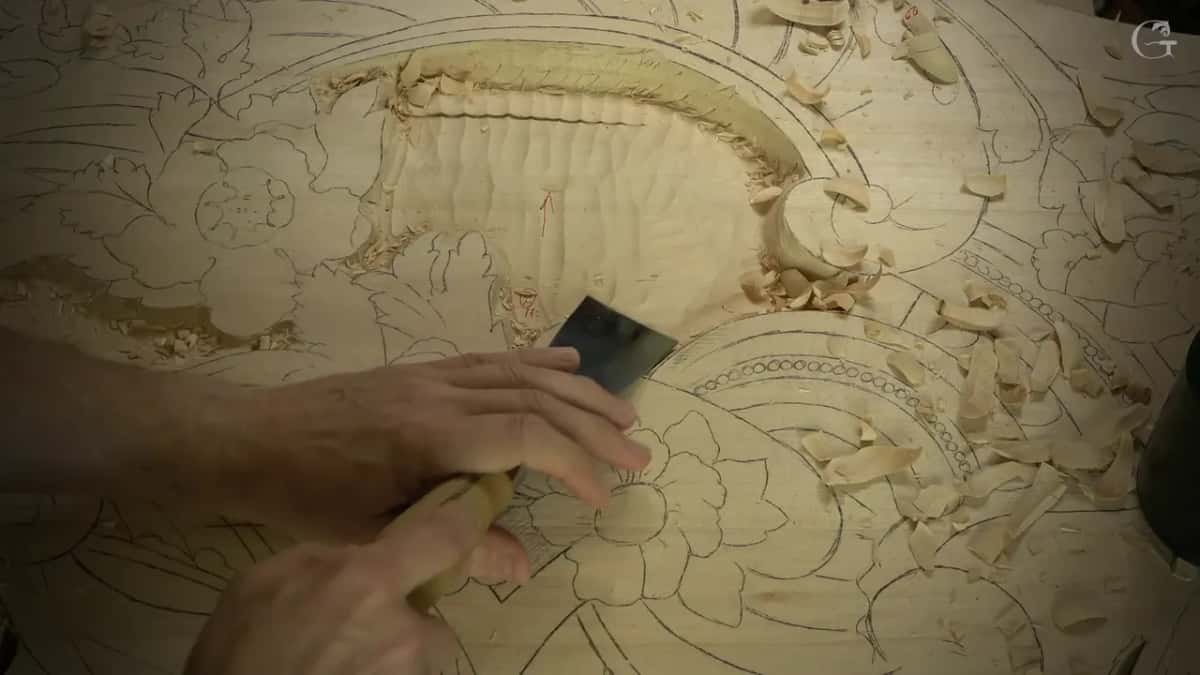
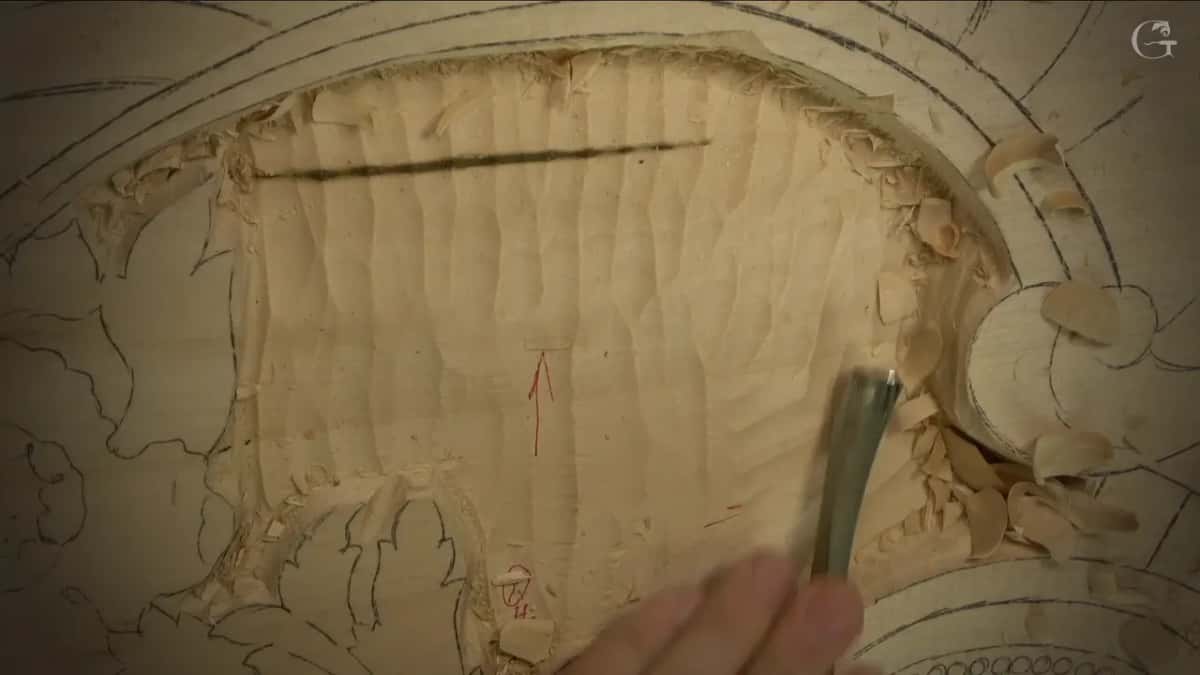
I thought it would look good, I said, and then that I hoped it would. I told the camera it doesn't really show how nicely that slope goes down, so you have to picture it. What the pictures do show is the ridges the gouges left down the whole field.

What does the #2 do before the chisel?
Really smooth passes. Mine is 50 millimeters wide, two inches or so, and it went over the whole slope. I could use something different, I said, but I kind of like that tool, and I really like what I can get done with a big one like it.
The #2 isn't really flat, but almost, and I said almost flat three times in a row while I worked.
Once it was in my hand I put the mallet aside. From there on I went carefully by hand, this area and then that one, with the same #2, until both were really smooth. Then I told you I wanted to show you one more tool after the #2.
How do you hold a wide chisel on its bevel?
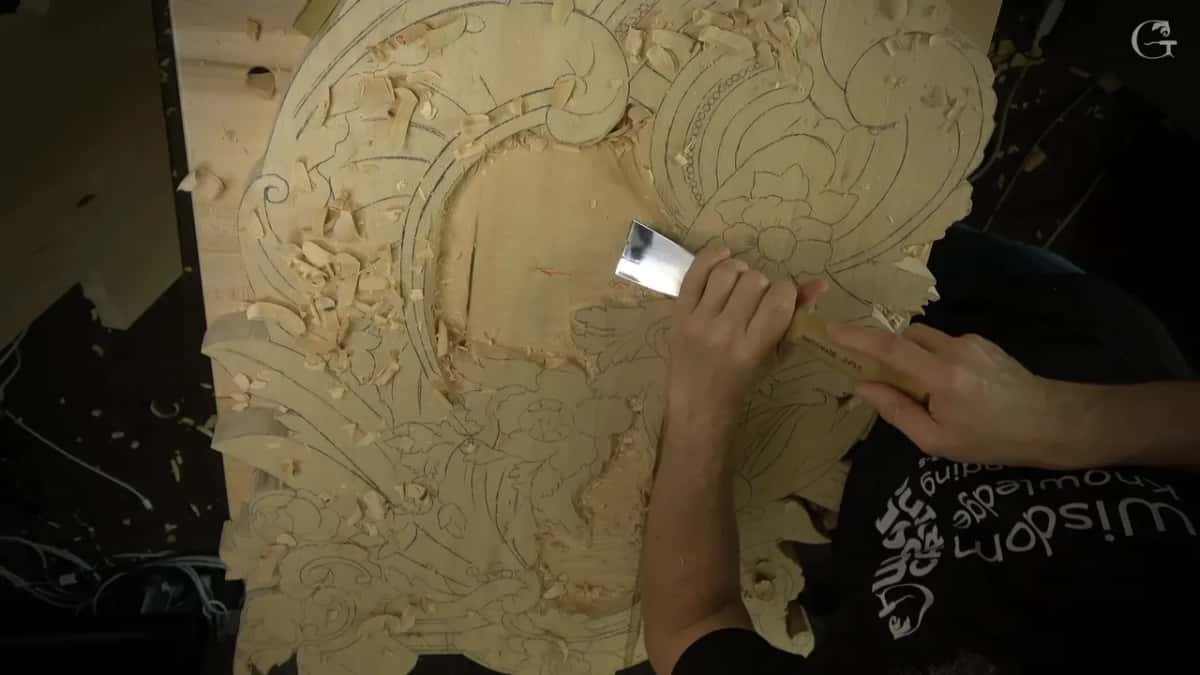
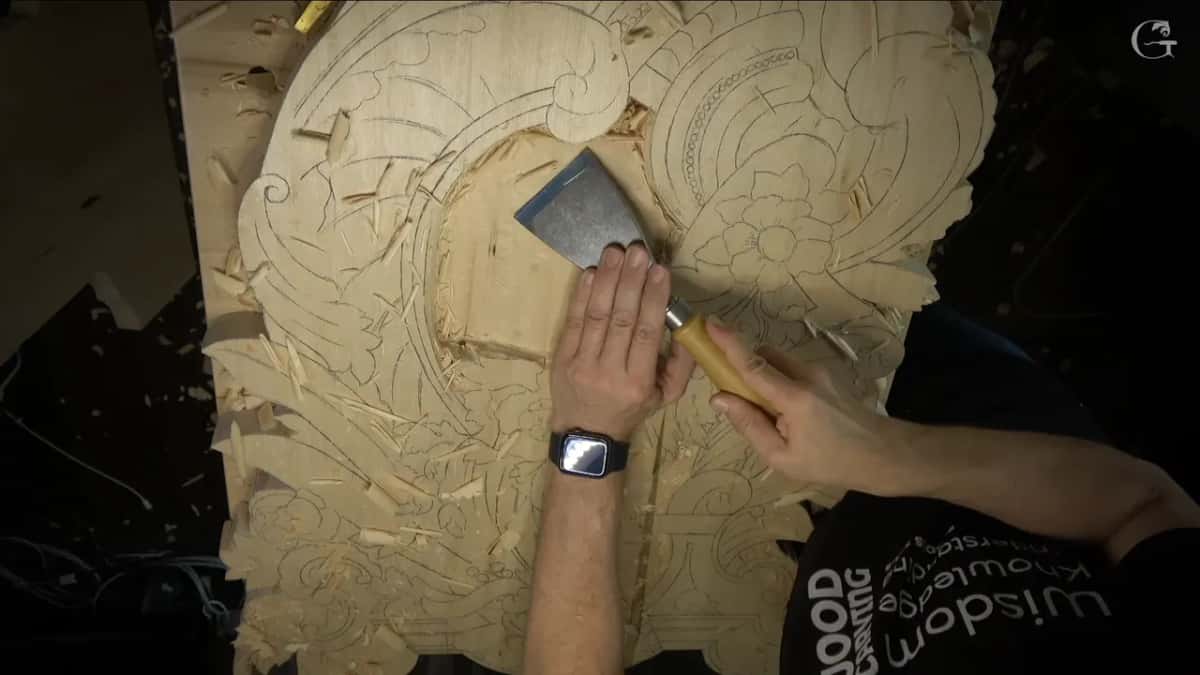
Keep the bevel on the wood and let the chisel ride, pressing hardly at all, so it catches only what stands up. Mine was a #1 three inches (76 mm) wide, and I said it would be a really good solution for this surface.
It just rides at the high spots, and I gradually take away whatever it catches. That gives me the ability to take care of those spots. Where one needed it, I exaggerated the move and went across in slow motion, and that way the edge caught them all. Near the rim I pressed a little more toward that side.
I have absolutely no pressure, almost, is how I put it on camera. The tool rides on those high spots. I just maintain my bevel, and it catches them and shaves them off.
One warning came with it. The tool must be sharp for this, and then you get really beautiful results, and quickly. The Carving Tool Sharpening course is where I show the sharpening itself.
When is the chisel pass finished?
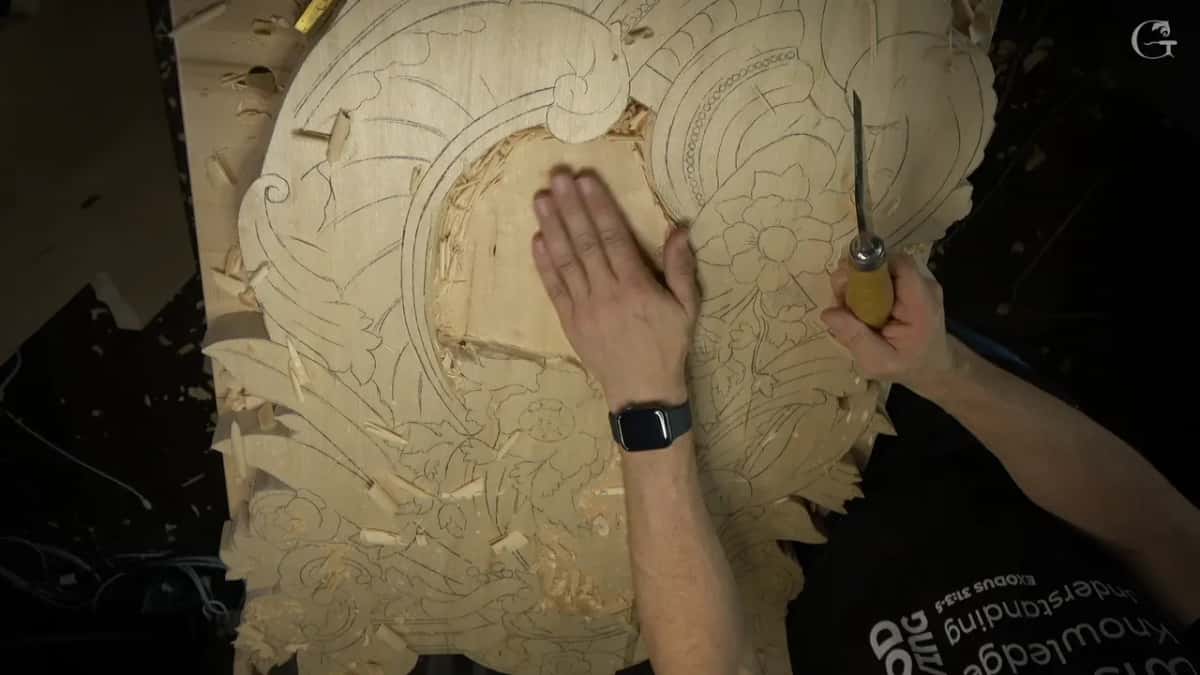
For me it was done when my hand found no waviness, and even then I did not call it final. After the chisel I placed my hand on that slope and didn't feel any waviness at all, and I said it gave me a really smooth and nice finish.
Although it's not the final, final finish yet, I said, it's almost like final. The final one comes once all the details are done, and on this panel the details were still ahead.
And the shavings. I pointed them out on camera, really nice and beautiful ones, coming off a carved slope like curls off a board.
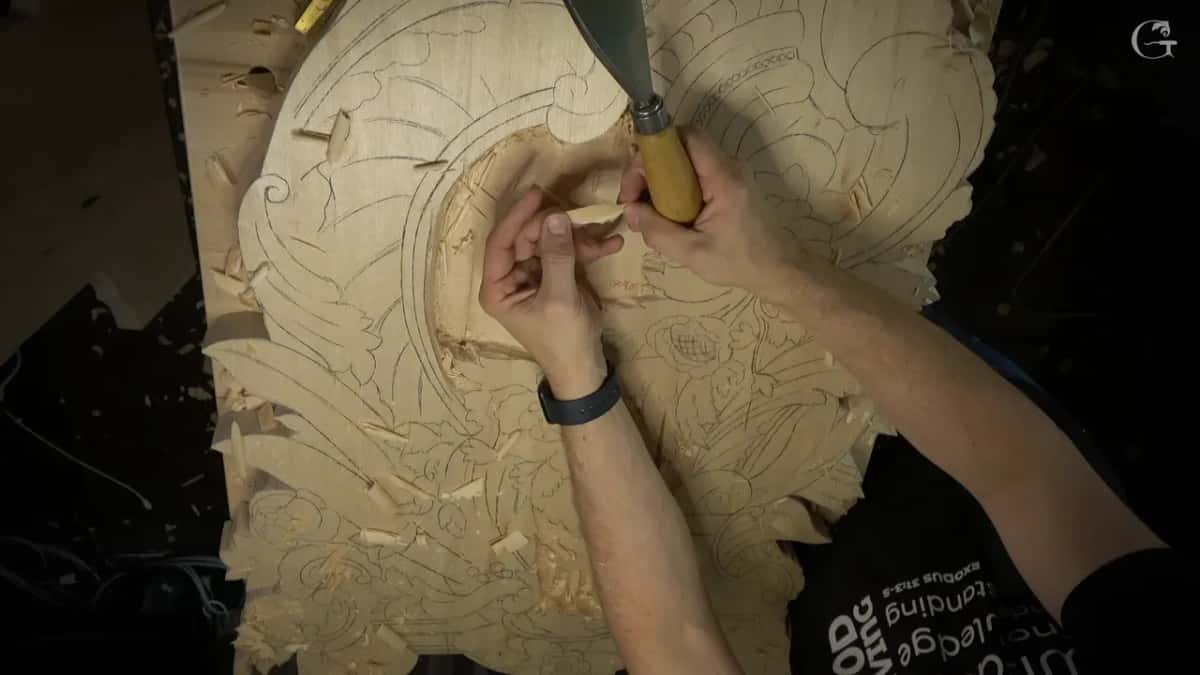
Does a flat chisel really work like a hand plane?
It does the same job on a carved surface, and I said so in this lesson. It's almost like planing, if you like woodworking planes, I told you in workshop 105, and it's doing exactly the same operation.
Much earlier, in workshop 24 of the Venice Room, I said nearly the same about a big tool, on a day when one side still needed fixing a little bit. With a tool like that, I said, I can just ride along and control the height, how deep I go. If I ride almost flat to the bevel I catch the high spots, and it works just like a plane, or a hand plane. Right after that I called it a spot I had to be careful with, and I double-checked it.
Workshop 87 had a gouge doing it. Still a #3, but a different brand, a Henry Taylor, with a really big bevel on it, so I could shave really nicely, almost like planing. I said I could do that part off camera, but I know some of you really want to see the process.
Three workshops apart, the same words came out of me.
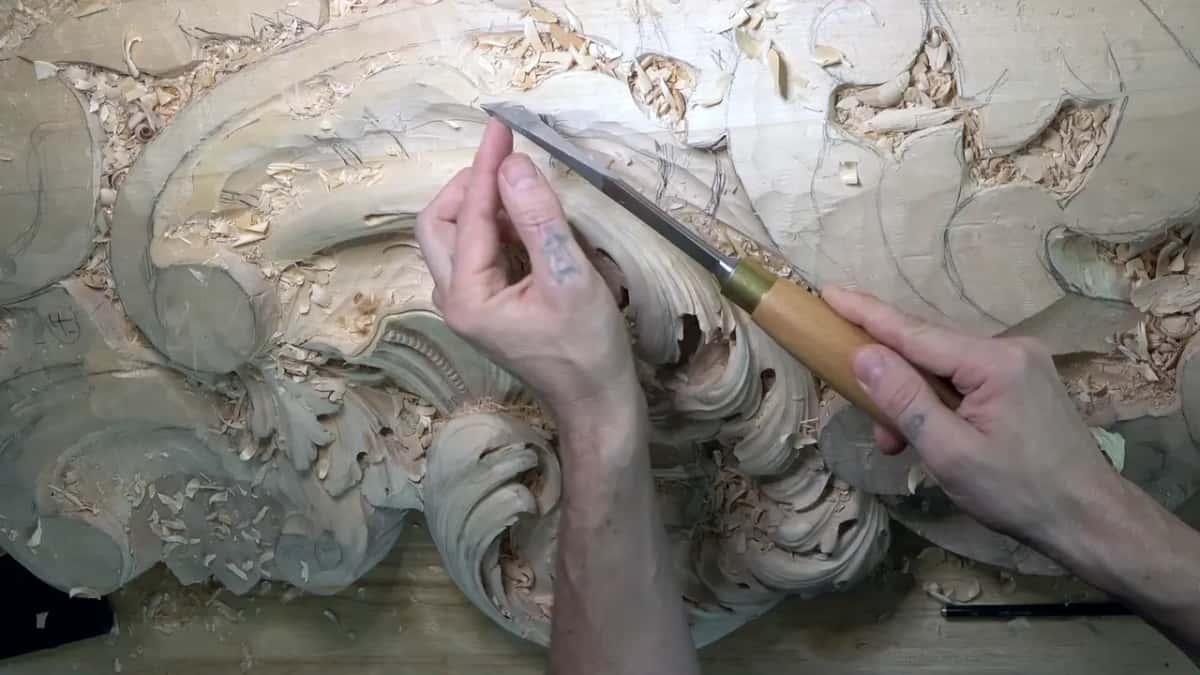

Why take a bigger chisel instead of a small one?
A bigger chisel gives its edges a lot less chance to dig in, and that is the reason I gave on camera. It's a good idea to use a bigger version versus a small one on that surface, I said in workshop 105, because the bigger tool you have, the less chance you're going to dig with the edges.
Big tools are a habit of mine anyway. Earlier in the same lesson I roughed this slope with my huge #7, three and one-eighth inches (79 mm) wide, to be exact, and said it was just much quicker. I like bigger tools, I said, though it doesn't have to be the same tool I use.
Sometimes the big one simply fits. During workshop 109 I was making an edge look better than it was and said I could probably use a big #2, since it would fit that edge perfectly. I went at it carefully, just like that, and then I said I was happy.
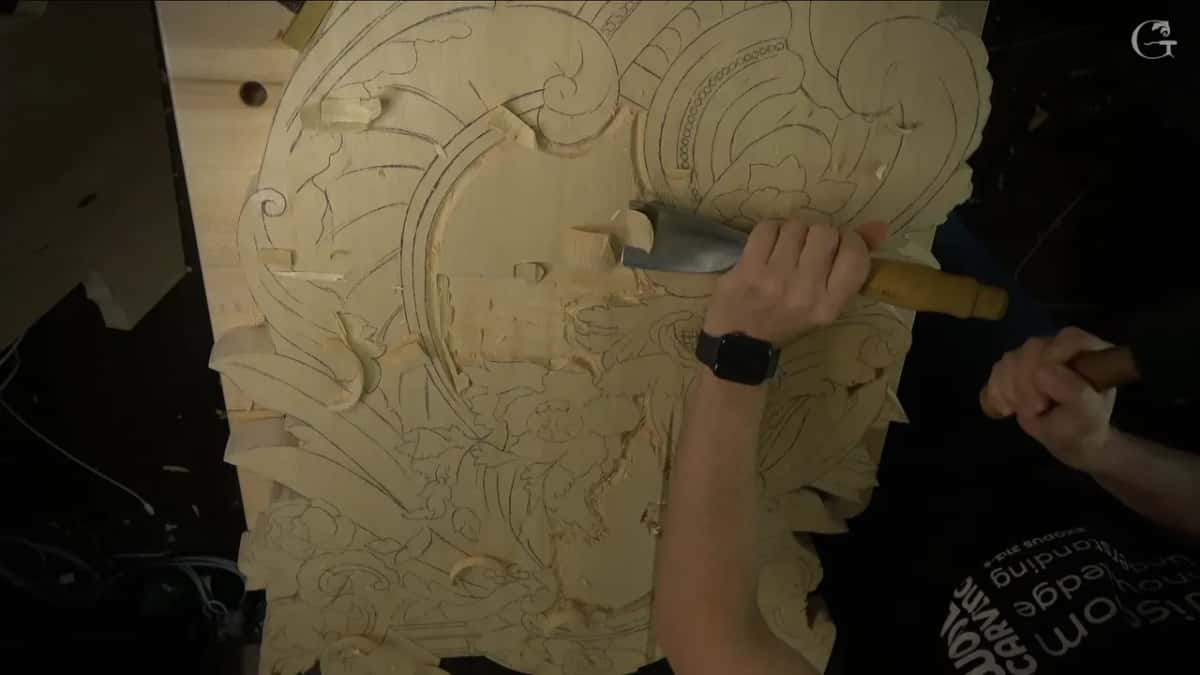
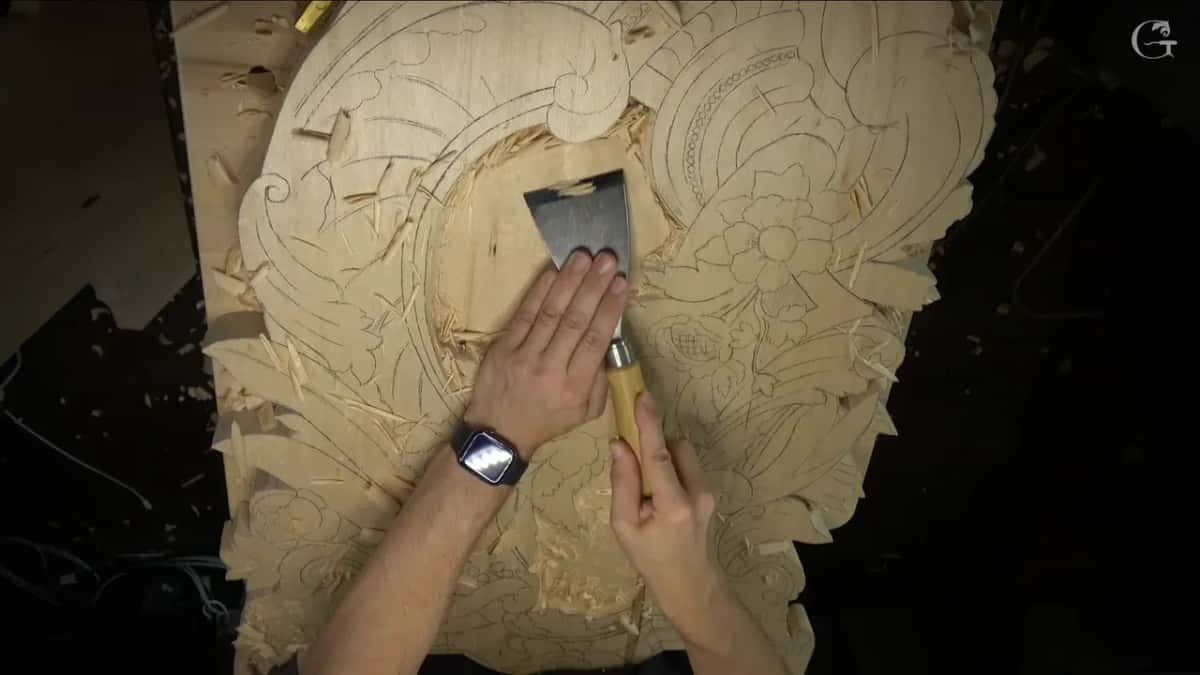
How much can one flat chisel do?
A lot, though you are limited, and I said both in the same breath. On the dining table apron I first named four types of wood carvers, ship carvers, coach carvers, house carvers and furniture carvers. Then I told you I had read, in one of the books about English traditions, that almost every carpenter at least knew how to use a carpenter's chisel for carving.
You'd be surprised, I said, how much you can do with just one carpenter's chisel. Just a flat one, a #1. Of course, you are limited. I like a lot of tools, and I said you don't have to buy all the tools I have, but the more tools you have, the more you could do.
Workshop 108 in this same room shows it plainly. The surface felt really rugged when I rubbed against it, so I took a flatter gouge, and I said a #3 will work, a #2 will work, and even a #1 will work. That time I took just the #1, to make a nicer surface. I tried to ride on it and catch whatever upper parts I could, because my goal was to make it really smooth, and it looked like I got there.
I checked it from the side, too. Sometimes you can't catch it from above, I said, so you really have to look from the side, and that way you know you're right on the mark, a really nice line going gradually downhill. I hope it makes sense, I added. While the #1 was still in my hand, I cleaned up some other stuff nearby with it. That part also has to be really nice and gradual, I said, and yes, it was.
| Tool | Job | Workshop |
|---|---|---|
| Ashley Iles #7 | Sloped the shield toward my groove, slowly and gently. | 105 |
| Pfeil #2, 50 mm | Almost flat, and it gave really smooth passes. | 105 |
| Three inch #1 | Rode on the high spots, shaving like a plane. | 105 |
| A big tool | Ridden almost flat to its bevel, controlling the height. | 24 |
| Henry Taylor #3 | Its really big bevel let me shave nicely. | 87 |
| Just the #1 | Chosen when a #3 or #2 would work too. | 108 |
| Big #2 gouge | Fit that edge perfectly, so I went carefully. | 109 |
| One carpenter's chisel | Does a lot of stuff, though you are limited. | Apron |
How is a flat chisel different from a gouge, a scraper or sandpaper?
Where one curve changes into the next, a wider gouge does the smoothing, and that lesson is its own story. On this slope I said the tool was just the number one chisel, and I said it was not the gouge.
Card scrapers have a lesson of their own. So does the router plane, which gets a flat background to one depth. A skew blending a curved leaf is in workshop 94, and whether to sand at all I answered on an acanthus leaf and on a cutting board.
The #1 has one more job in the very next lesson. In workshop 106 it goes straight down to set a wall at 90 degrees, and single bevel against double bevel comes up there.
Would you like to watch those shavings come off the slope? Do you want to see which tool I reach for once the chisel is done? Tuition opens the whole school, and the Venice Room alone runs past 160 workshops of wood carving in the style of Venice.
How it's done
- Slope it with a #7. Bring the field down gradually and softly toward your groove before any smoothing starts.
- Put the mallet down. Switch to a big #2, nearly flat, then smooth one area and the next.
- Pick up a big #1. Mine was three inches across, and it has to be sharp.
- Maintain the bevel. Let the edge ride over the high spots, pushing gently, and take off only what it catches.
- Slow down over a spot. Exaggerate the stroke into slow motion there, and press a little toward the edge near the rim.
- Feel it with your hand. Place a palm on the surface and check for waviness. The final finish still waits for the details.
Frequently asked questions
Can you use a regular carpenter's chisel for wood carving?
Almost every carpenter once knew how, according to a book on English traditions I told my students about. One flat #1 can do a lot of stuff, I said in the dining table apron lesson, although of course you're limited, and more tools let you do more.
How hard should you push a smoothing chisel?
Barely. On the Venice Room slope my big #1 went over with next to no force, the steel riding on its bevel and shaving only what stood up. A sharp edge is required for that operation, I said, and then the results come out beautiful and quick.
What gouge goes over a carving before the flat chisel?
A #2 two inches wide did that pass in workshop 105, almost flat but not quite. I set the mallet down for it. Before the #2 came a #7, bringing the field down gradually and softly toward the groove.
What to carve next