

Alexander Grabovetskiy, woodcarver, School of Woodcarving · Published 2021
Should a wood carving chisel have a single bevel or a double bevel?
Quick answer: A single or double bevel chisel is a choice between one flat back and two beveled faces, and both can set a straight wall. In workshop 106 I used the single and said the double gives the same result. Other lessons favor one or the other, each for its own reason.
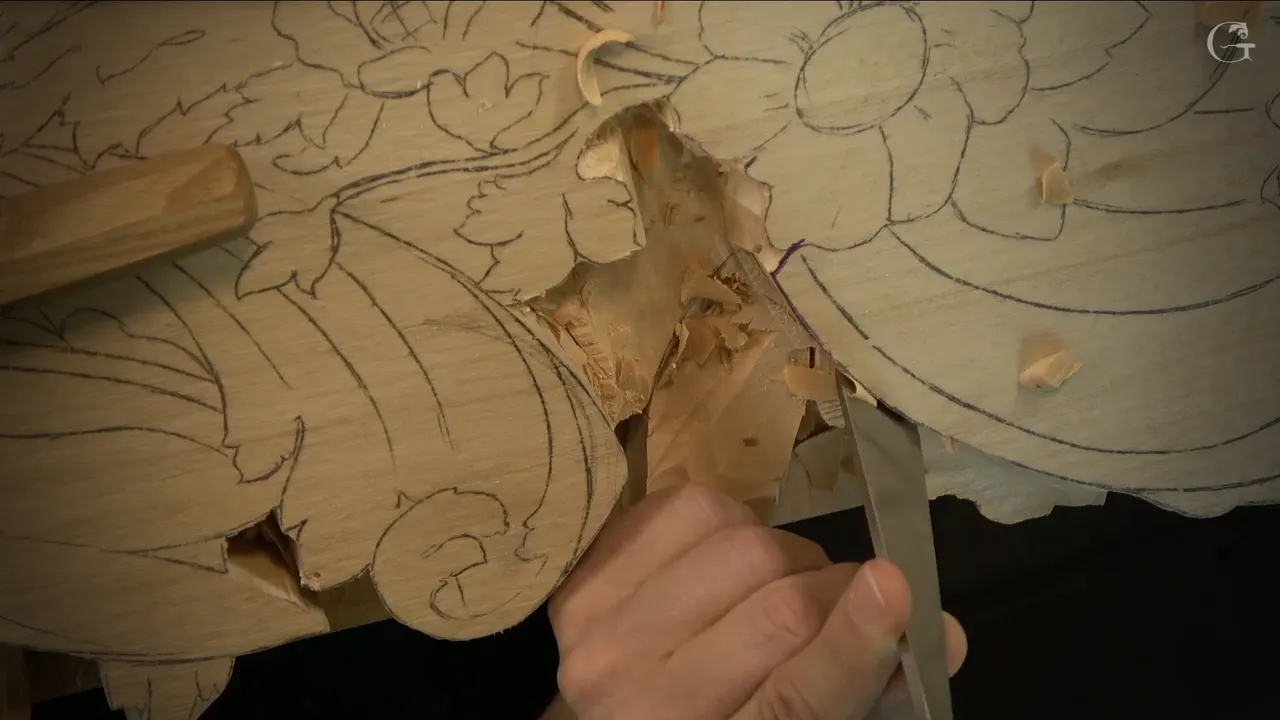
Single bevel or double bevel on a carving chisel is a choice I have made both ways on camera, and in workshop 106 of the Venice Room I told you they give the same result. That day I set a wall straight down at 90 degrees with a number 1 that has one bevel. The difference between single bevel and double bevel is where the push goes when you hit the tool. One flat face sends it to one side. Two bevels send it both ways.
You have a flat chisel in your hand, or one sitting in a shop cart, and the catalog wants you to pick. I'm going to be honest with you. My own lessons do not agree with each other on this. Most times, though, I said why, and you will get those reasons here in my own words, lesson by lesson. Below is what I did in workshop 106, and then what I said in five other lessons of wood carving, each one with the reason I gave that day.
Do you want a wall that stands up straight? And your pencil line, do you want it still sitting there when the waste is gone? Then it is worth knowing what each edge does against a wall.
What my lessons say about one bevel and two
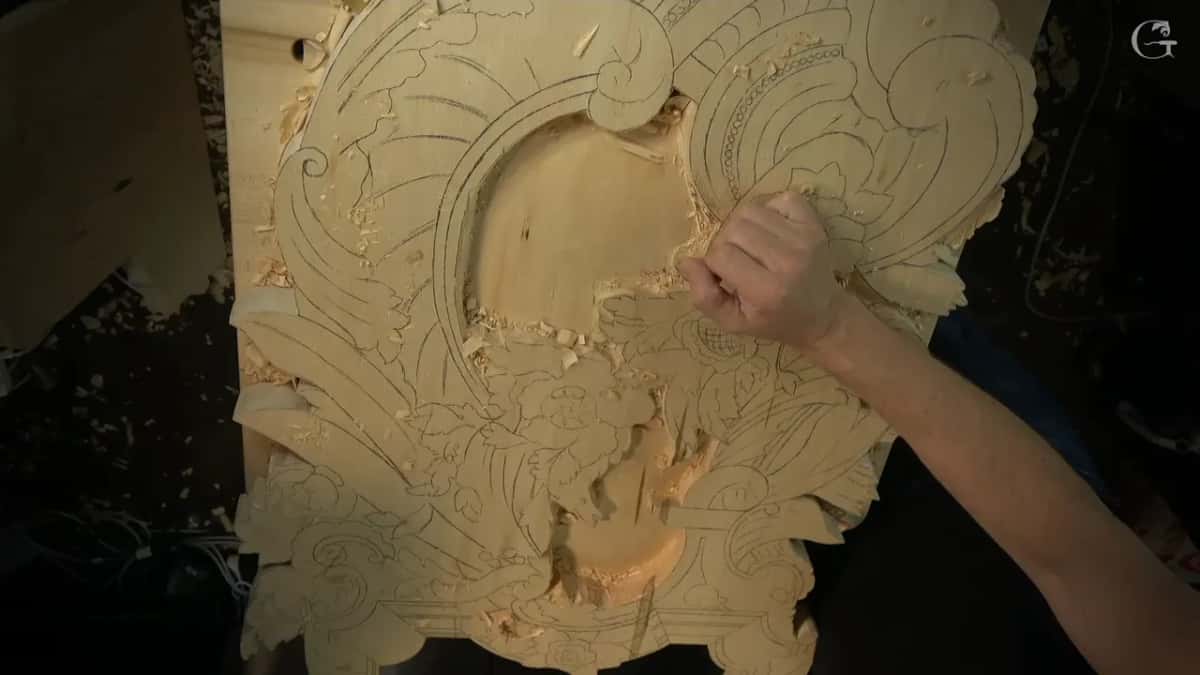
In workshop 106 I squared a wall with a single bevel number 1 and said a double bevel would give the same result.
Back in the furniture panel lessons I said I like the double, because it tends to go outward.
The same day I said a single bevel sometimes gets inside and undercuts, unless you lean it a little.
On the table apron I picked a single bevel for a wall, because two bevels press on both sides and can snap that side out.
At one spot in 106 a number 5 took the chisel's place and went straight down.
A number 1 is a straight chisel, and it comes with either one bevel or two.
What did I use on the wall in workshop 106?
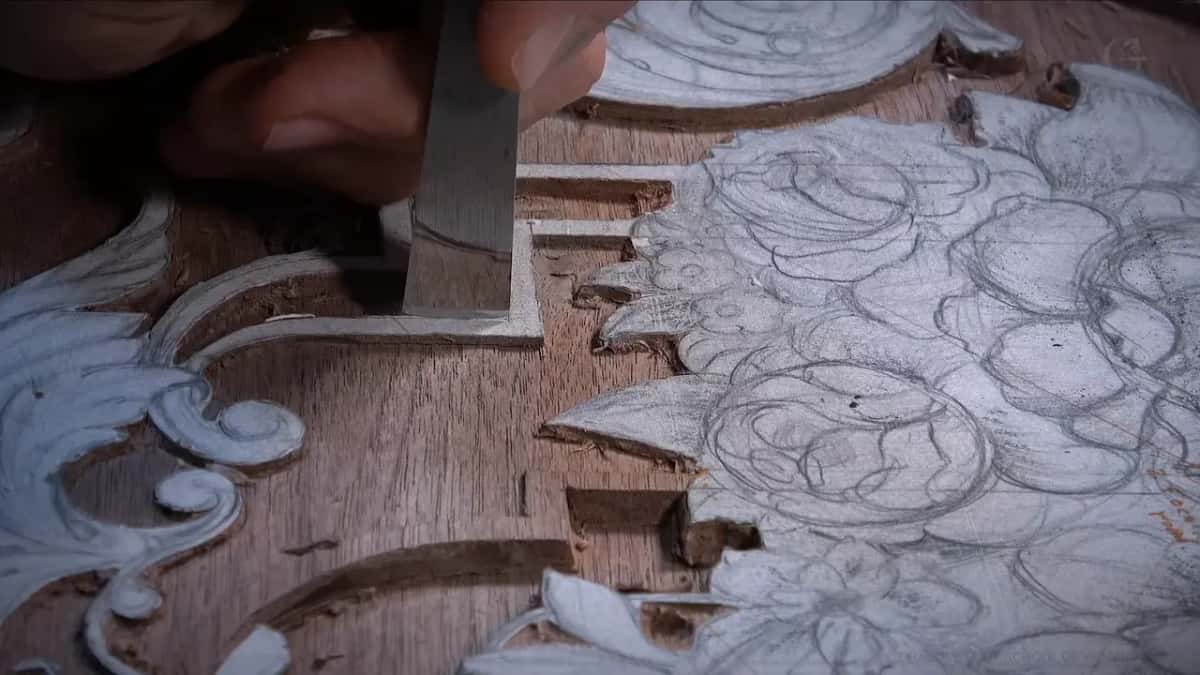
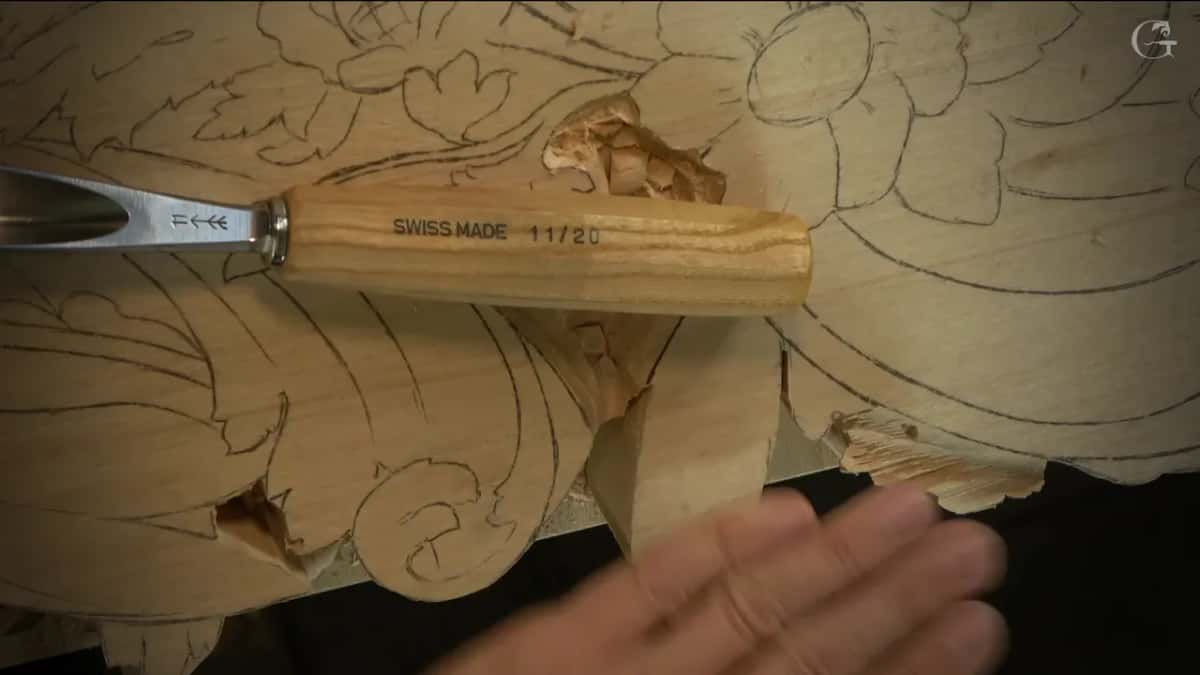
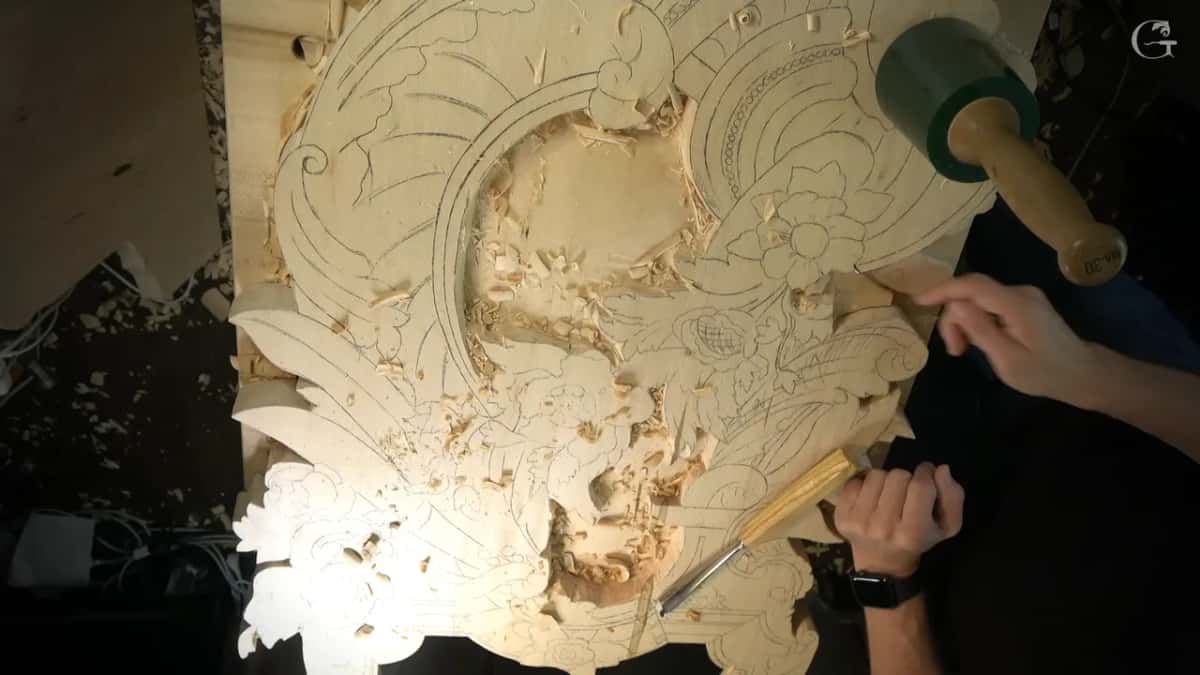
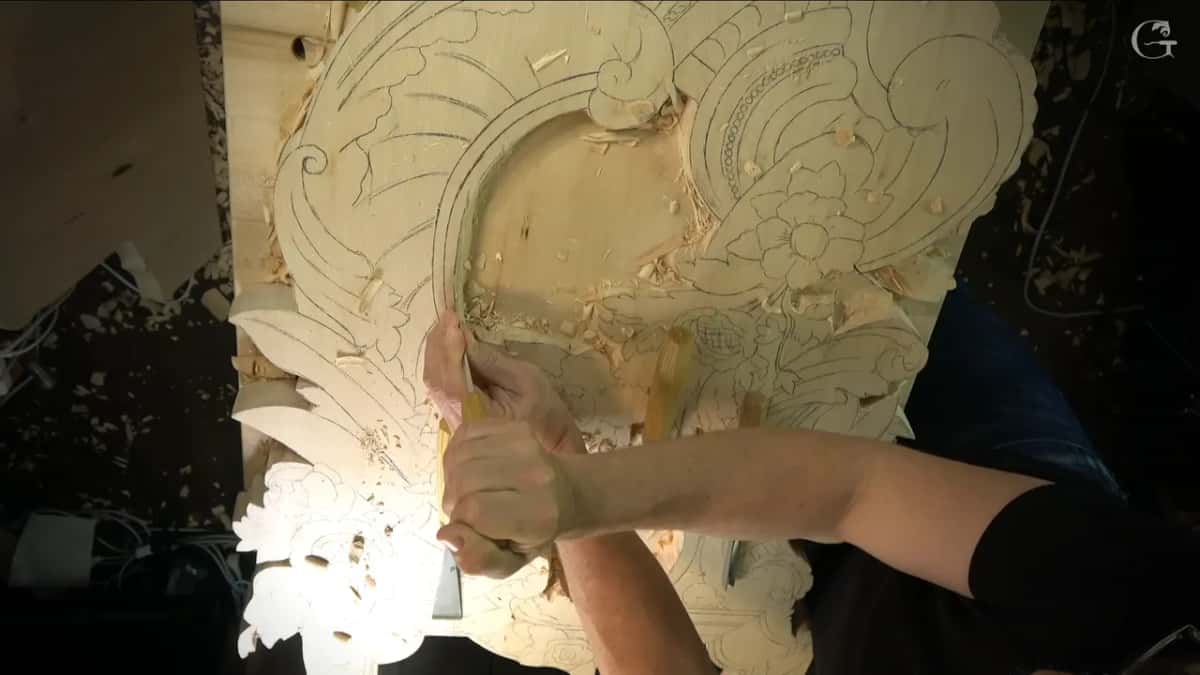
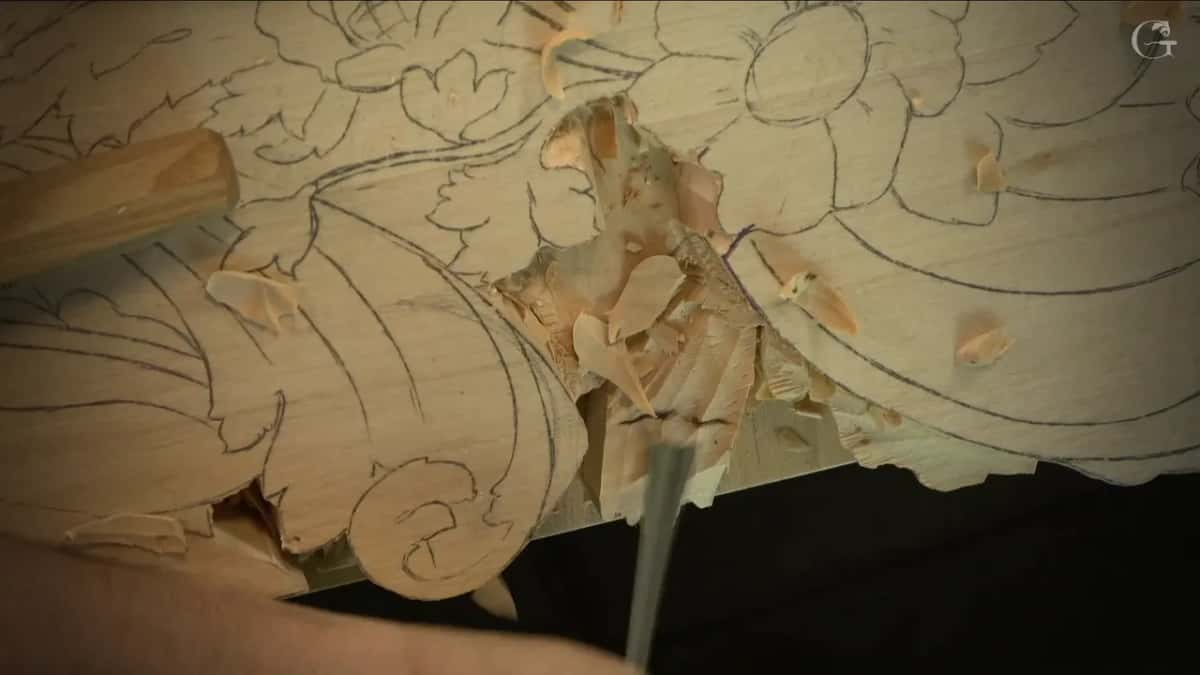
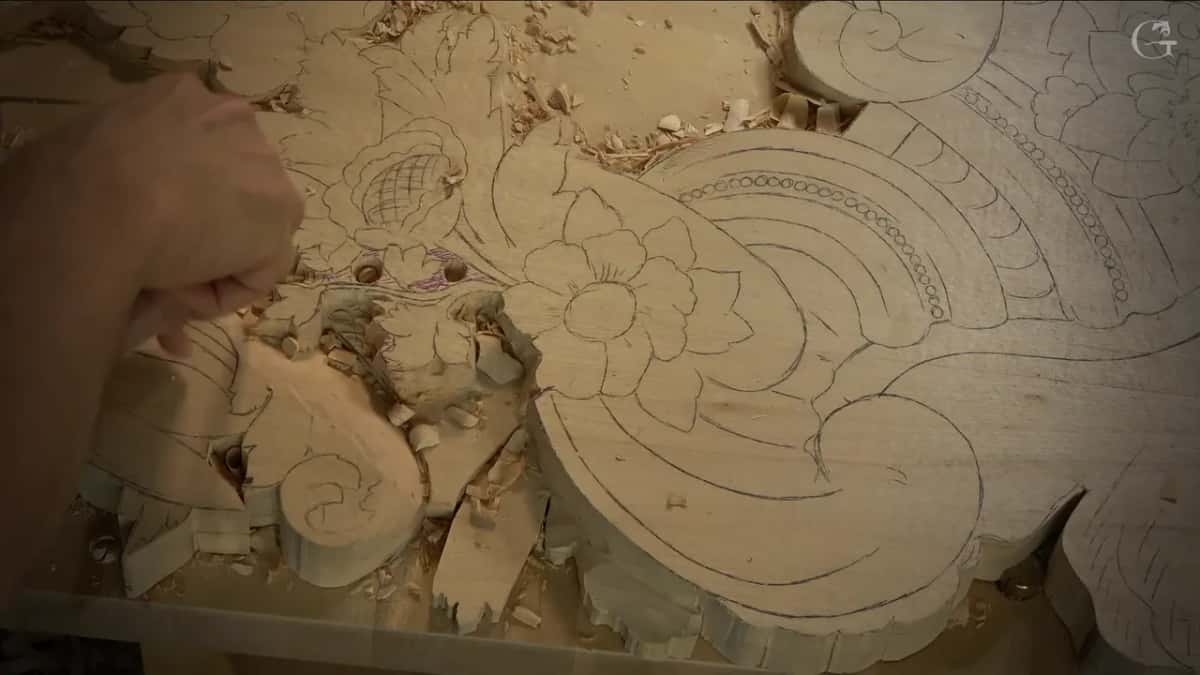
My single bevel number 1 did that job, set on the drawn line and taken straight down, all the way around the design. Most of the lesson before it was lowering parts of the relief. My number 11, three quarters of an inch wide, 20 mm, chopped away most of the waste in one area. An even bigger one would have worked too, I said. I put a mark with a marker where one surface would turn into the next, even though that line is easy to draw again. Part of that detail I had not taken down fully yet, and I said I would.
The camera did not help me in 106. On video it does not show how nicely one area flows into another, so I turned one of the lights off, then on again, and in the end I told you that you can feel it.
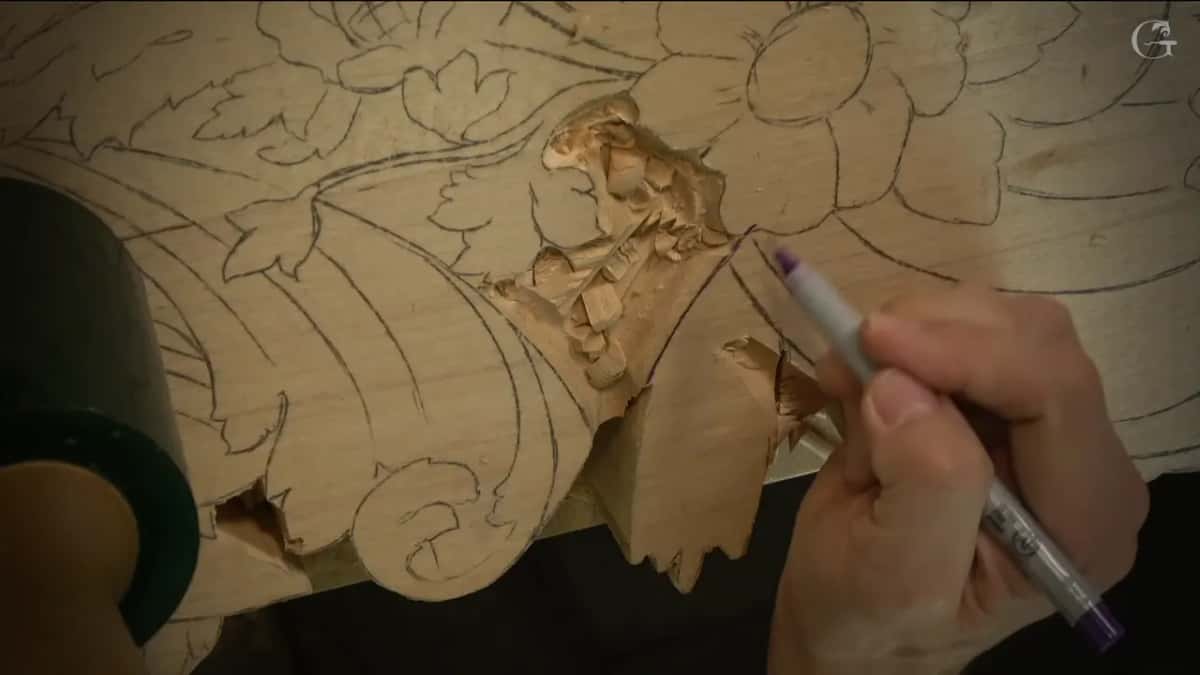
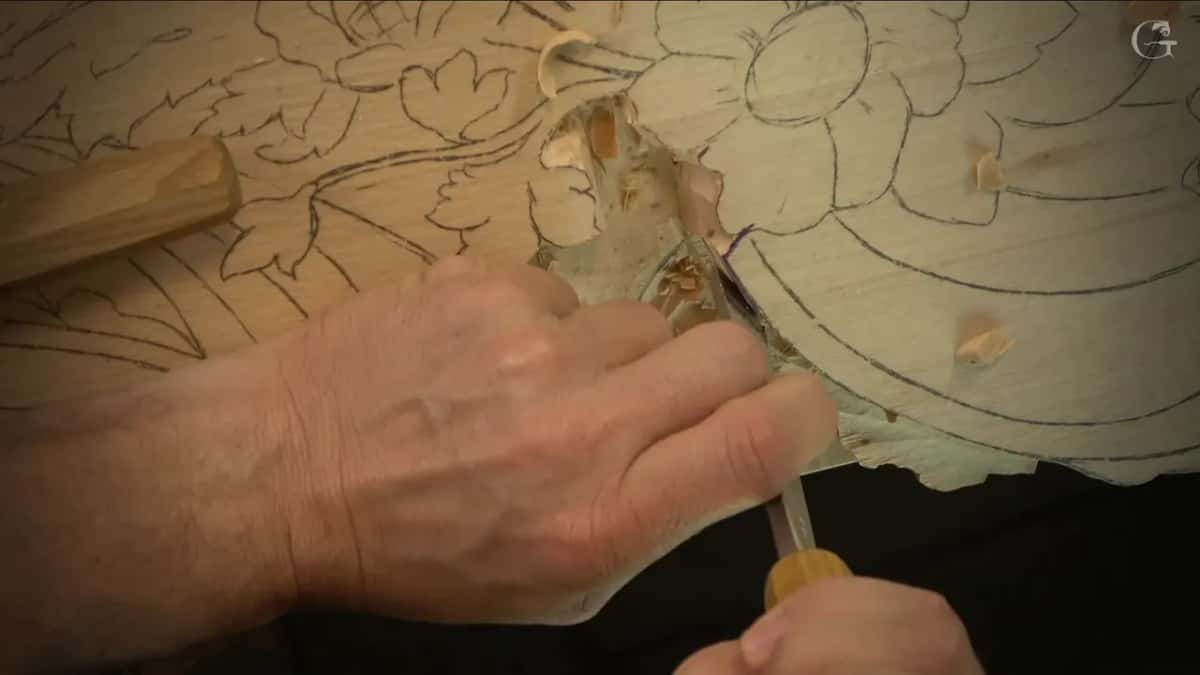
Then came the sides. My first pass had gone right on the line, about 10 mm deep, and the second and third passes stayed about an eighth of an inch (3 mm) away. That left the chisel an exact place to sit. I could put it right on the line and go straight down.
Later in the same lesson a 14 mm (9/16 in) number 7 went down carefully in a fragile spot. Grain there made it easy to break, and I did not want to break it. Then a 20 mm number 11 made by Pfeil, Swiss made, took another area below the line. I really like those number 11s by Pfeil.
One area belonged to a shield, so all of it had to go below the line beside it. My plan was to lower that section first, then bring it to the same depth as the part next to it. Much of that lowering was to bring two parts to one level. This edge and that edge had to match, blended really, really nicely, because one spot sat a little higher from the workbench than the other. Last, a flatter tool, a number 3 or number 4, cleaned it little by little, and looking from above you could see it blend.
Why does the line matter so much in workshop 106?
Much of that lesson is about keeping a line while the wood around it goes down. Even while the big number 11 chopped, I said the section would go much lower later, but I still wanted to keep my lines. Later a pencil mark went on, so I would not destroy that line and it would stay nice and flowing.
One of those lines was controversial, I said. That line sat above a part it must end up lower than. I left it that way because I wanted to see where I was. A small flower waits in there too. It goes on top later, maybe with some kind of twist, so I outlined carefully and did not destroy that little guy. Beside one fragile line I stayed away and switched to a smaller number 9, 10 mm (3/8 in).
The straight wall comes from the same worry, because if you lean the chisel in, the line goes.
What is the difference between single bevel and double bevel?
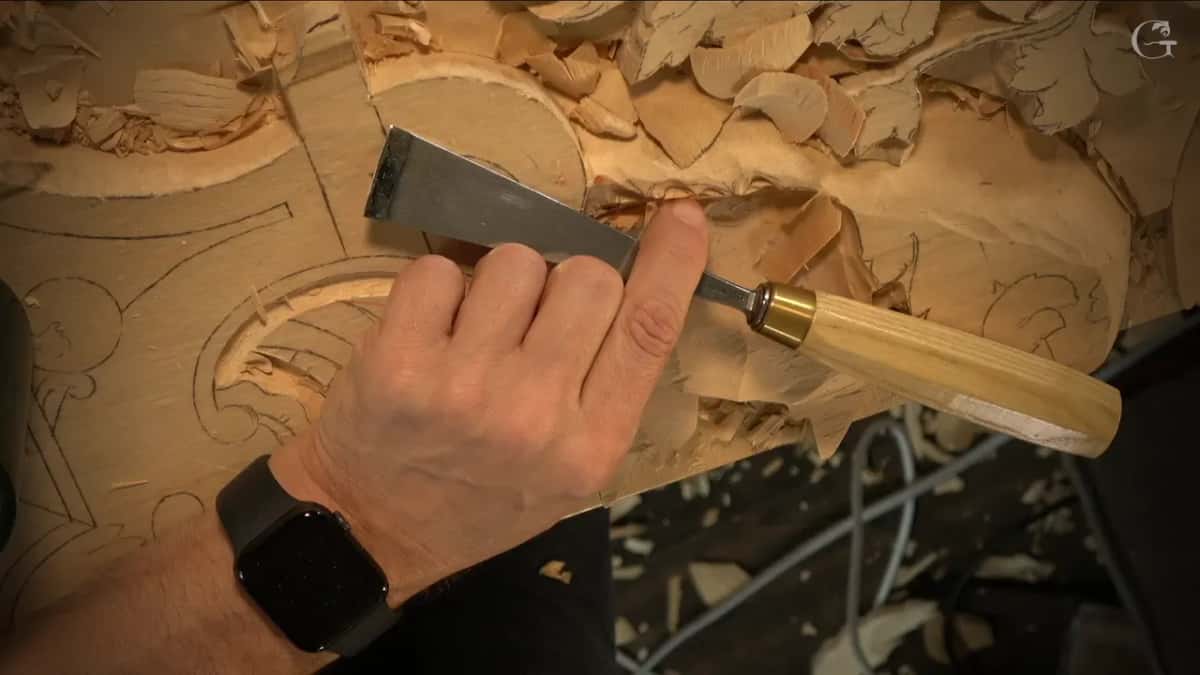
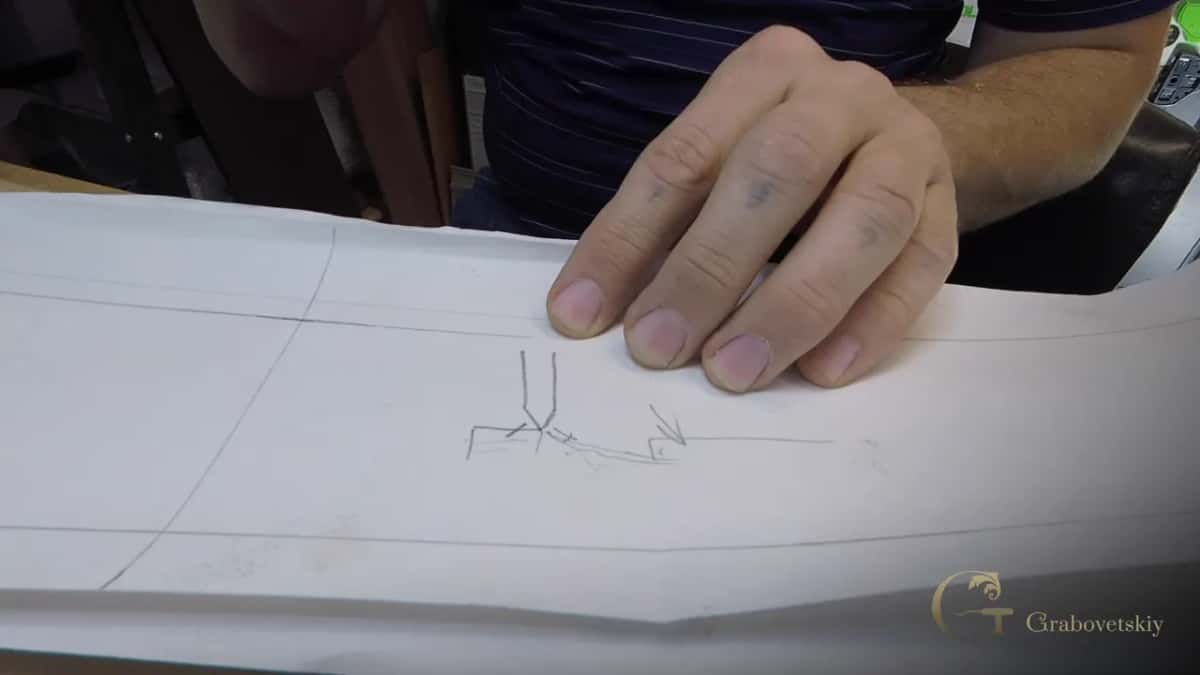
One beveled face or two is the whole difference. In the dining table apron course I had a 20 mm (3/4 in) flat chisel with a double bevel beside my single bevel so I could show you both. The double has a bevel on this side and on that side. The single has one, and nothing on the other face.
I called that one my flat carpenter's chisel that day, and then I corrected myself. It is not really a carpenter's chisel, because I still have a micro bevel on it and I use it only for carving. On a carpenter's chisel you usually do not have any micro bevel, and for carpentry I use different ones. There is a big difference on a flat, I told you at the apron. Later in that lesson I explained why it mattered for a wall.
Why keep the wall at 90 degrees?
Leaning in would undercut it, and in 106 I told you an undercut there would lose the line and mess up the overall design. You could measure it, I said. Take a small square and check whether you have 90 degrees this way or not. I eyeballed it and went carefully.
A straight wall there was a choice for that line. In another part of the same lesson I planned to undercut a little under a small detail, because that part flips above. For that I picked a number 11 again, 7 mm, a little more than a quarter inch, and started to outline it.
What took over on the curve?
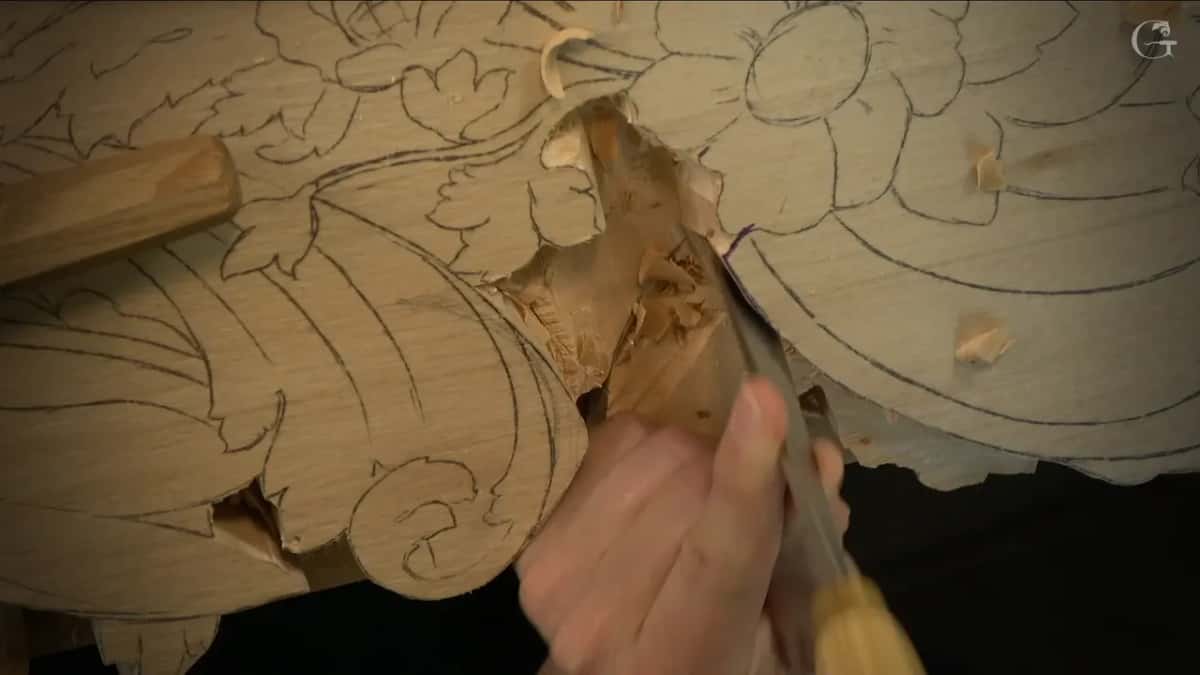
On one curve of the outline in workshop 106 a number 5 took over, and it went straight down just like the chisel. I had been going all around with the number 1, hitting it on the line, until a spot came where I said the number 1 would not work but a number 5 would. That tool is a shallow gouge. I held it to the same 90 degrees and went all the way around whatever lines I had.
Why do I reach for a double bevel so often?
I like it, and in Furniture Panel 19 I gave you one reason for liking it. When I hit a double bevel, I have a tendency to go outward from my line. With a single bevel I found that sometimes it gets inside and undercuts. Hold that one leaning a little, away from undercutting, and it should not be a problem. So I told you a single bevel works also. On those moldings I really didn't want to undercut right then, and I said an undercut there would have been a huge mistake, an unforgivable one.
It does not have to be a double bevel, I said that day. A normal carpenter's chisel will give you the same result. Then I found my line from my knife and hit it.
Before either chisel went in there, I told you not to overdo the straight-down hits and to be careful how hard you hit, because those first strokes only relieve the wood. After that a straighter tool goes in much easier.
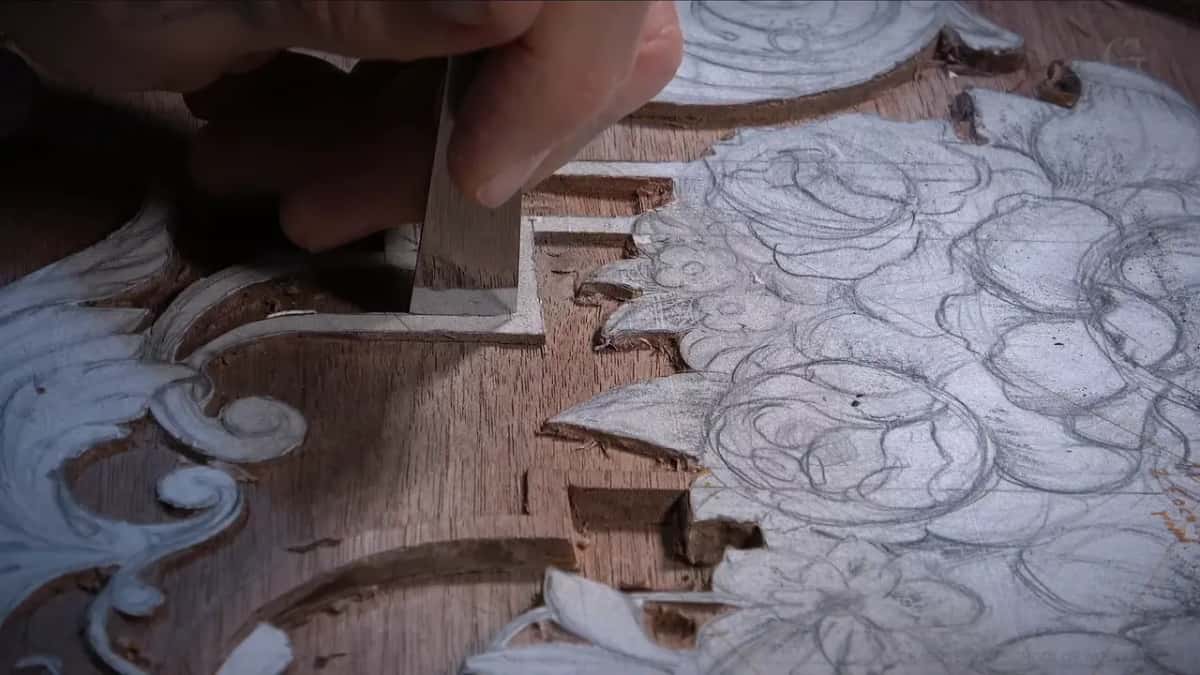
In Furniture Panel 18 I asked the question for you, why the double, and answered it myself: you could use a single bevel, but I kind of like the double. I used the single a lot before. It is really, really nice. That day I was shaving slightly, down to the final depth, just cleaning, and I called the result absolutely gorgeous.
Two workshops after 106, in Venice Room 108, I was working on the rays, and I even spelled the word out for you, R-A-Y. That idea comes from original Venetian designs. I stopped to tell you the number 1 in my hand was a double bevel, and then I picked up a 10 mm number 11 and chopped straight down.
When does a single bevel win?
Beside a wall that must keep its edge, and I explained why in the apron course. A double bevel presses on both sides. Next to the design, I said, it can easily snap that side out, or put a micro crack inside the wood. A single bevel presses only on one side, the side where I wanted the fibers gone. That is what I needed.
So the single bevel went on the outside, stepping along. Put those two answers side by side. In the panel lesson I liked the double for going outward from the line, and at the apron the single won because its push stayed on one side. Workshop 106 called them even. I am not going to pick a winner for you here.
Six lessons and the edge in my hand
Here is each lesson, what I was doing, which edge I held and what I said about it.
| Lesson | Doing | Edge | Said |
|---|---|---|---|
| Venice Room 106 | Set a straight wall around the design. | One bevel | Said a double works the same. |
| Venice Room 108 | Worked on rays from original Venetian designs. | Double bevel | Pointed it out, then moved on. |
| Furniture Panel 19 | Carved the background beside some moldings there. | Either one | The double tends to go outward. |
| Furniture Panel 18 | Was cleaning down to the final depth. | Double again | Said I just like using it. |
| Dining Table Apron | Established a wall on the outside edge. | Single bevel | Pressure stays on one side only. |
| Greek Acanthus 7 | Took an outside line downhill with grain. | Double bevel | Either kind exists, I said then. |
Is a number 1 a chisel or a gouge?
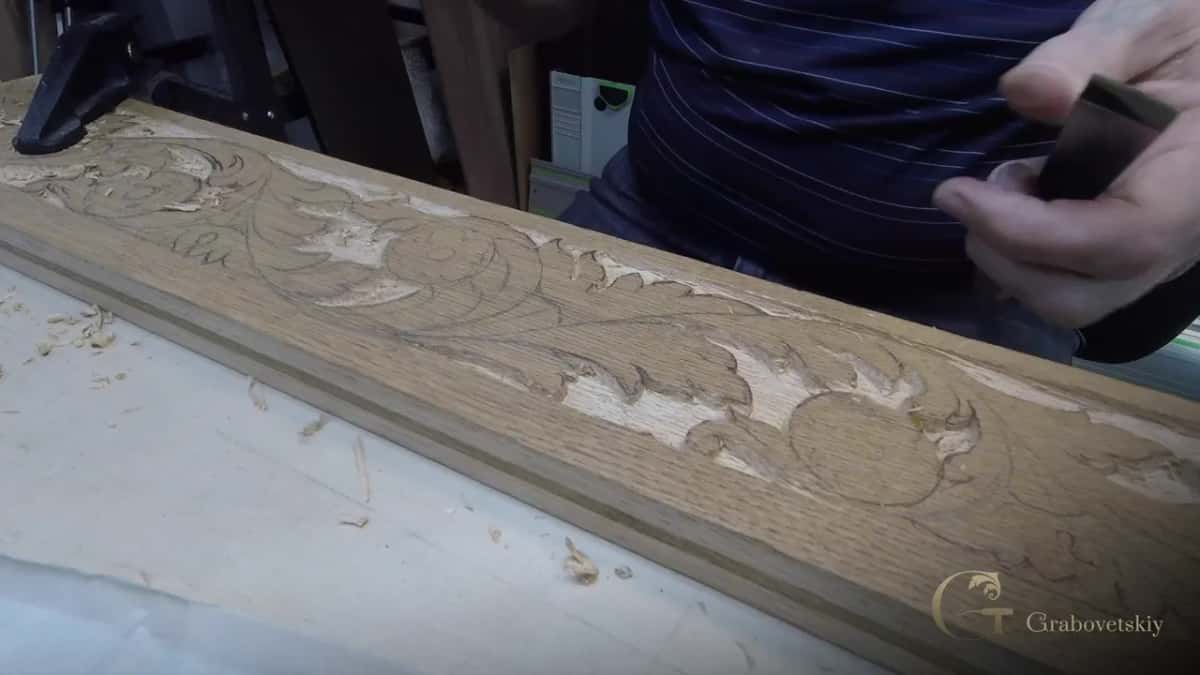
A chisel. Back in 106 I said it plainly, still number one, just a chisel. In lesson 7 of the Greek acanthus leaf I weighed a knife against a number 1 for one side of the leaf and took the 8 mm (5/16 in) number 1, a double bevel. A straight chisel, I said, which sets it apart from a gouge or a veiner. Then I told you that a number 1 comes with one bevel or with two.
I could have used just the knife, I said, but the chisel seemed a good idea there, because I was using only a corner of the tool, and I kind of like that. Then the same tool went on the other side, and I turned it and took that down just like a chisel. To prove a point, I said, there is more than one way to get the same results.
Right after telling you about the two bevels, I asked you to remember the rule about grain on that acanthus: find the high point, work downhill with the grain, then change direction and work the other way.
How long the bevel should be is its own question, and I answered it for hardwood in a separate lesson. Keeping either edge sharp belongs in the sharpening course. And riding a wide number 1 on its bevel to shave off the high spots, a little like a plane, is a different job again, which I did in workshop 105.
One more look at the wall in 106
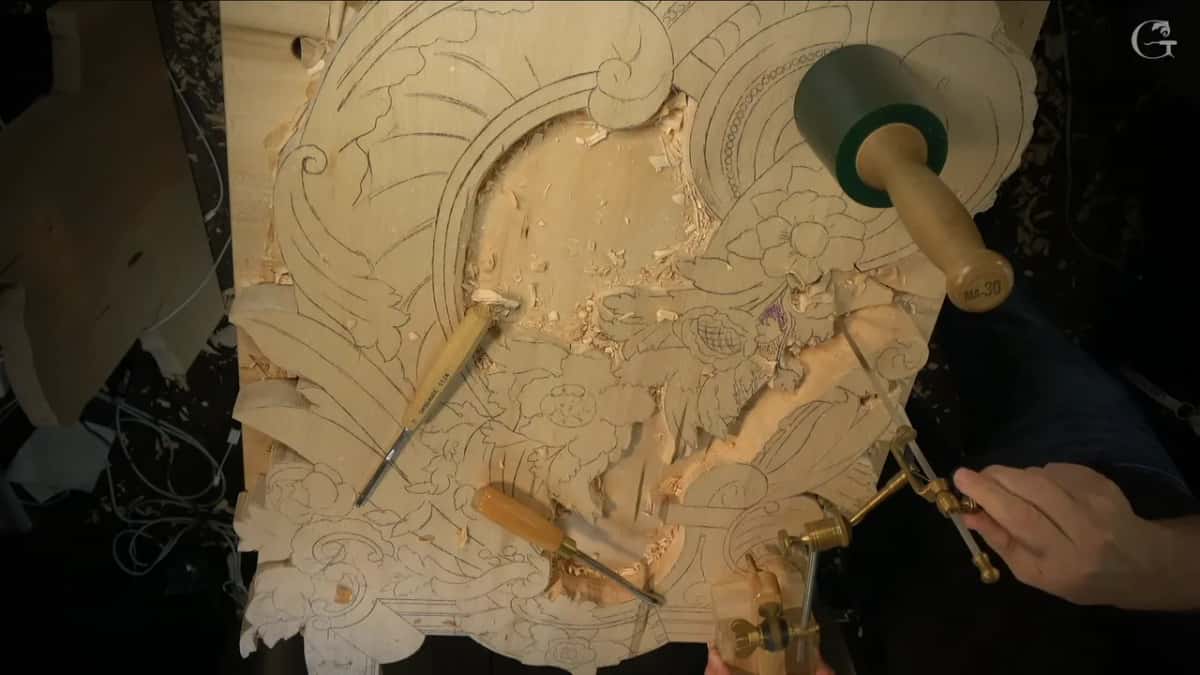
Would you like to watch that wall go in, stroke by stroke, with the line still there at the end? Then come to the bench with me. All of Part 9 of the Venice Room is laid out on the course page, and the lowering carries on in workshop 107.
Near the end of 106 I looked at a flower and decided it needed one more leaf, maybe another, surrounding it like a frame. The acanthus head I worked on next got only minimum details on my iPad. I work those out on the board itself.
Every lesson I named here opens with full access to the school. You will see me switch between the two edges more than once.
How it's done
- Put the first pass on the line. Carve the first pass on the drawn line itself, about 10 mm deep, and keep the passes after it about an eighth of an inch away.
- Set a number 1 on the line. Place the chisel right on that line. The earlier passes leave it a clean place to sit.
- Push straight down, upright. Keep the blade from leaning in, so the wall does not undercut and the line stays where you drew it.
- Check the angle. By eye was enough for me, but a small square held against the wall will tell you too, if you want to be sure.
- Change tools at the curve. Where the number 1 will not work, as on one curve in 106, take a number 5 and go straight down the same way, all around the lines.
Frequently asked questions
Is a double bevel better than a single bevel for carving?
Depends on the wall in front of you. Back on the furniture panel I liked the double, since it wanders outward from the line. For the table apron I chose the single, because its pressure stays on one side of the edge, which was what that wall needed. My lesson in workshop 106 called them equal.
Does a single bevel carving chisel count as a carpenter's chisel?
Close, but I corrected myself on that during the apron lesson. Mine keeps a micro bevel and works only for carving, while a carpenter's chisel usually has none, and for carpentry I use different ones. Later, on the furniture panel, I still said a normal carpenter's chisel will do the same job.
Why should the wall stand at a right angle?
Leaning the blade in makes an undercut, and that day in the Venice Room it would have cost me the line and the look of the whole design. My eye was enough there. I also said a small square will show whether you really have 90 degrees, if you want to check.
What to carve next