

Alexander Grabovetskiy, woodcarver, School of Woodcarving · Published 2021
How do you carve rays in a relief carving?
Quick answer: Carving rays in relief is giving each long, curved shape its own depth before it gets detail. On my Venice Room panel one ray went about 16 mm (5/8 in) down, a small part stayed 6 mm (1/4 in) high, and the ray with a flip sat lower so it can pass underneath.
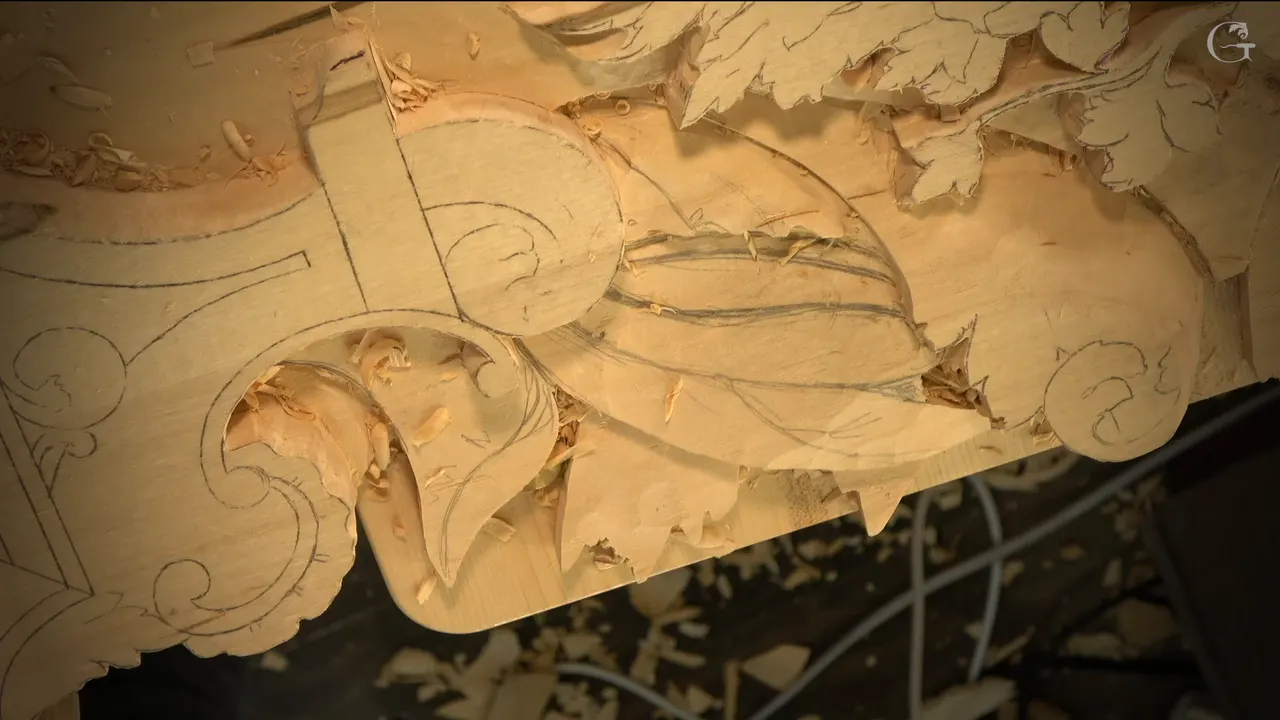
Rays in a relief carving are the long curved shapes that sweep around the main design, and in workshop 108 of the Venice Room each ray I worked on got its own depth before it got any detail. One went about 16 mm (5/8 in) down. A small section beside it stayed 6 mm (1/4 in) above the surface, and the ray with a flip was carved lower, so part of it can go underneath. That is how decorative wood carving gets its layers on this panel.
On a drawing a ray is two pencil lines. The board turned it into a lot of small decisions. Below is what I did with those rays, one level at a time, with the tools and the sizes I named on camera. After that you will find what I said about rays in four other lessons, where they are small and live inside flowers and leaves.
Have you ever seen a carved frame with long shapes curving around the middle? Did some of them seem to sit higher than their neighbors? Then you have seen rays, and the first job on each one is its depth.
Rays on the Venice panel in six lines
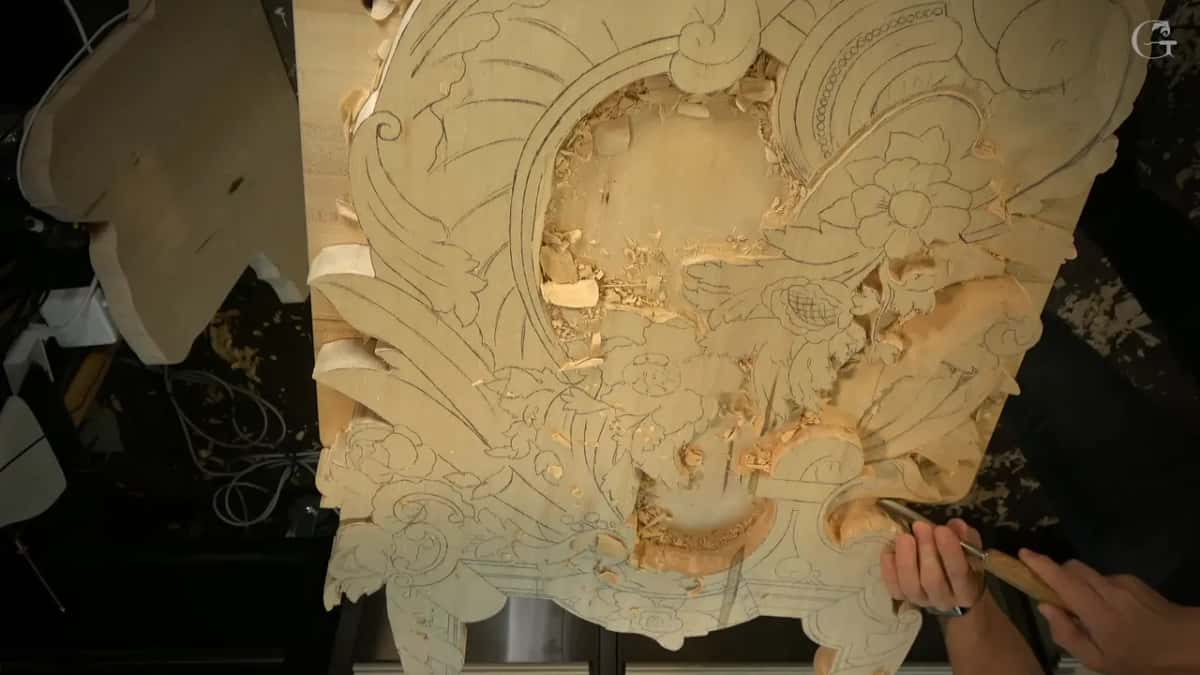
The rays are secondary here, so they get bigger details, and the flowers carry the main idea.
Depth comes first on every ray I touched, and the one that flips goes lower.
A crease runs from somewhere in the middle of a ray, with convex and concave shapes beside it.
Shadow went in early, in small amounts, and the full undercut waited.
Most of the work was done with #11 gouges, stepping between four widths.
In smaller work, like a flower on a table apron, the rays point at its center or away from it.
The idea of these rays comes from original Venetian style designs, and I spelled the word out for you on camera, R-A-Y, the same day I pointed at the double bevel on my flat chisel.
What is a ray in decorative wood carving?
A ray on this panel is a secondary shape. I said so out loud. If you know a little bit about design art, I told you, you know you really have to concentrate on the main idea.
On this piece the main idea is the flowers in one section, and those flowers fall exactly on the golden ratio. I didn't explain again why I put them there. The rays around them are secondary, so I did not need to put too many details on them. But they do get details. Bigger ones.
Two of the rays were going to get a flip, a part that turns and goes underneath, and for the first one I had to find the right position to start the flip. The flowers themselves are the hero of the whole panel, and they get carved in Part 10 of the Venice Room.
Why does each ray sit at a different depth?
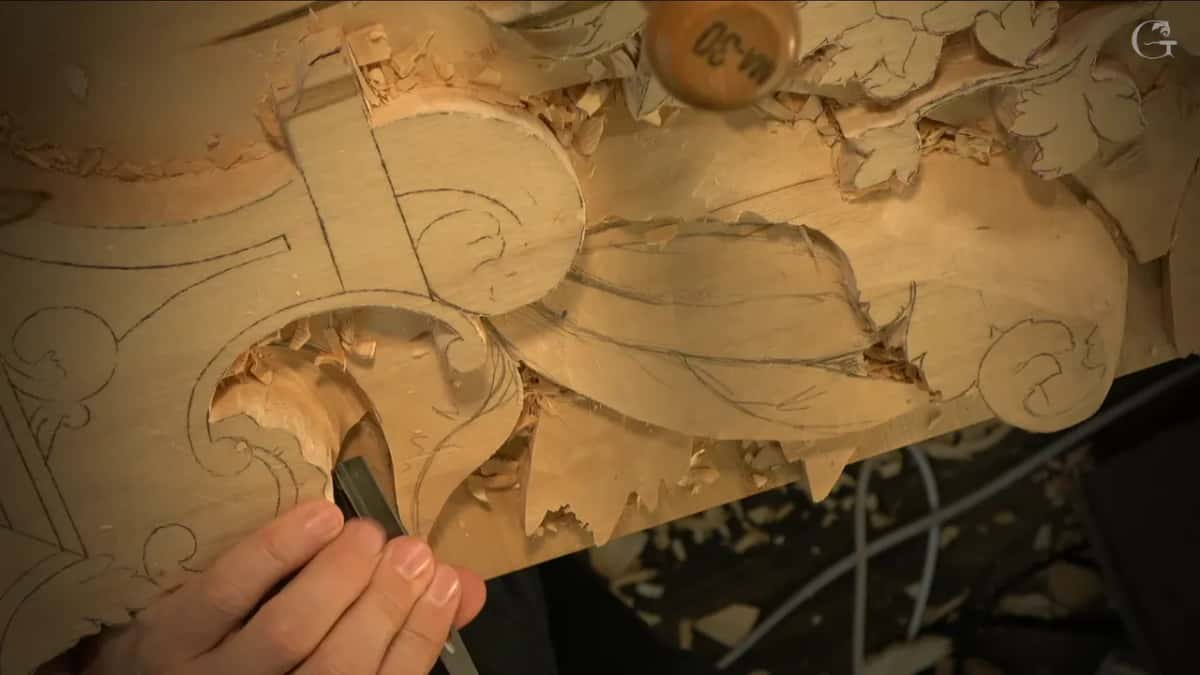
Each ray sits where its part of the design needs it, and I named every level in millimeters as I went, with an about in front of most of them. For the first ray I made my initial pass with the #11 of 10 millimeters, 3/8 inch wide, the same size I had just chopped the outline with. From there a straight #1 took it down about 16 millimeters, 5/8 of an inch, I said.
Gradual, I said, gradual from about this point and all the way that way. Then about 3 mm (1/8 in) more. It's going to give me a 3D look, I told you, and really beautiful shadow casting when you look at it.
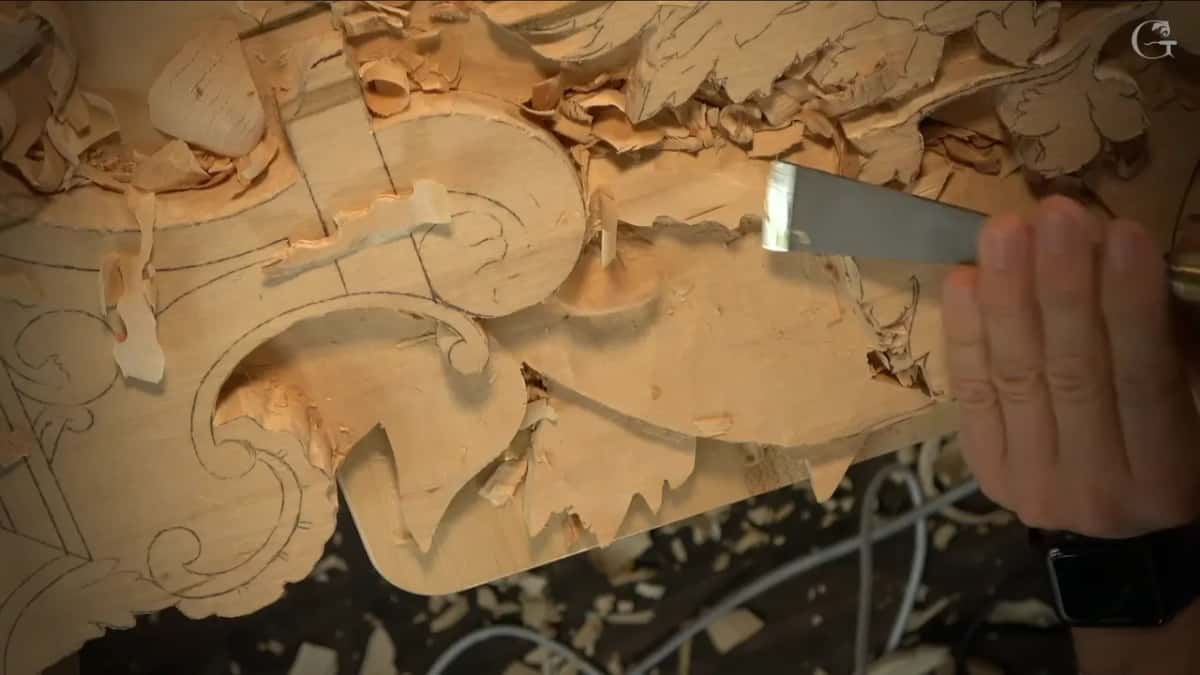
A little section next to it belongs to the same ray, and it had to be lower too, so I left it six millimeters above the surface. The next part needed about 10 mm, roughly 3/8 inch, left from the surface, and I said maybe a hand push would do it. When I had about that much, I stopped right there. Some of the cleaning I did off camera, so you don't have to watch it, and I didn't want to take it to the extreme, I said.
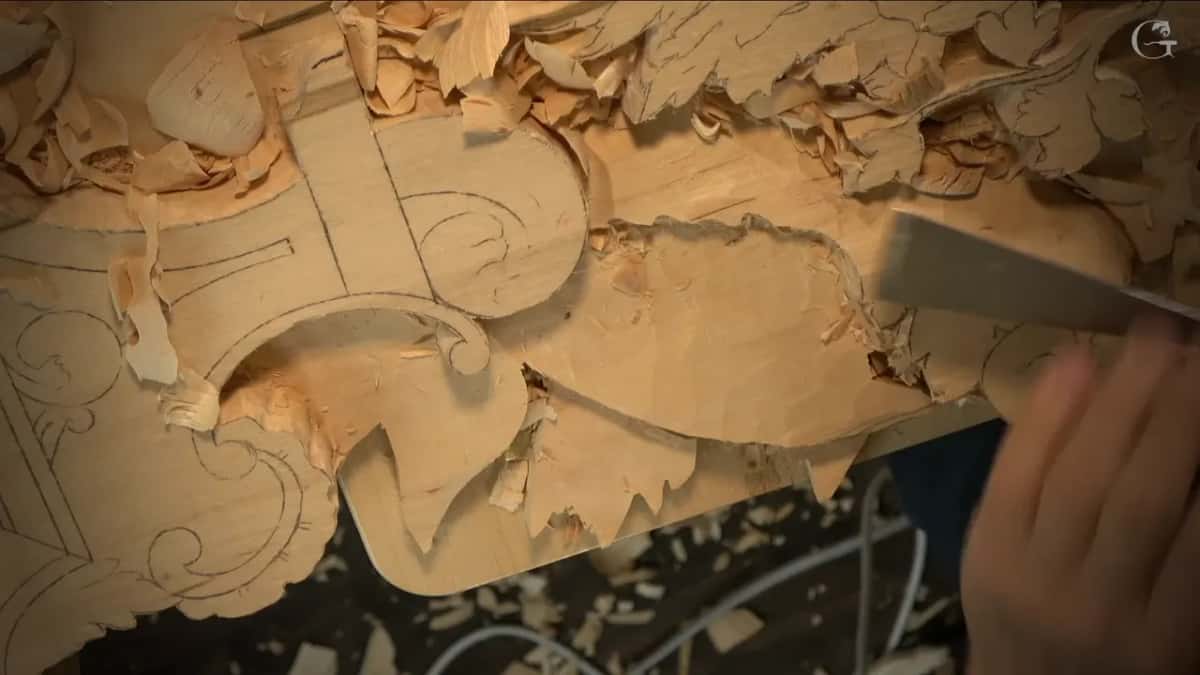
Later I carved one part lower than the part next to it. If you would ask me why, I said, it's because this one has a flip, and that part is going to go underneath. Those are the numbers of this board.
What keeps the outline when you lower a ray?
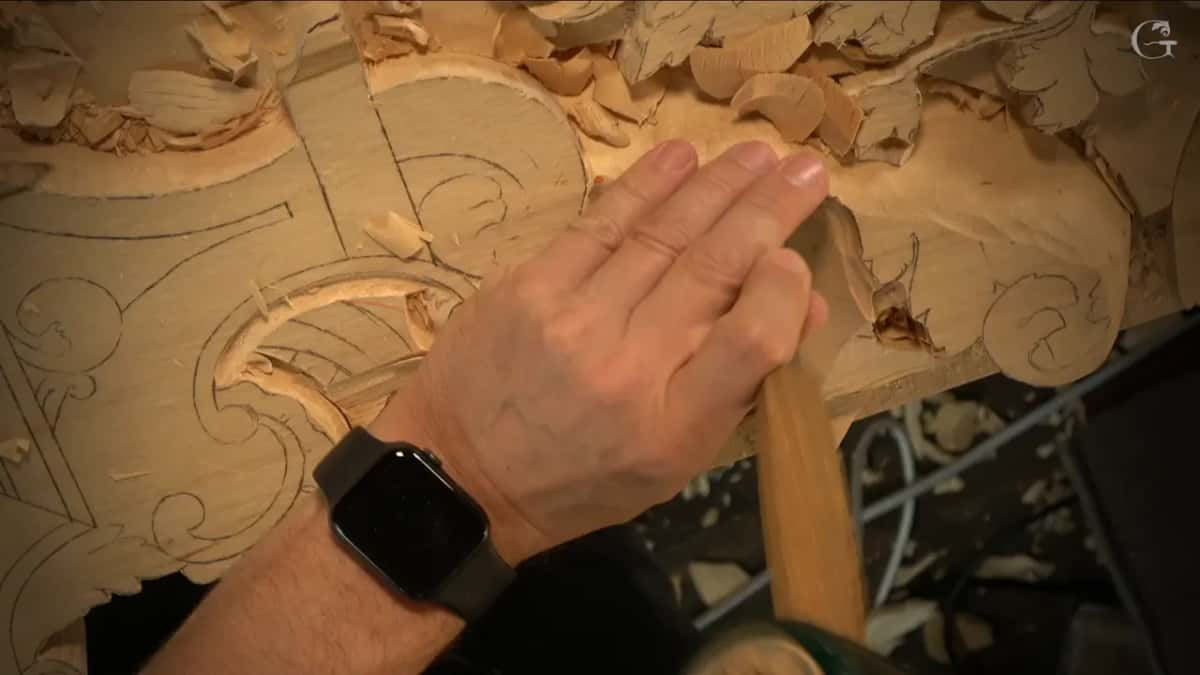
I carve the outline before I lower anything, and in 108 that outline kept the drawing for me. My first pass goes right on the line, and the second one about an eighth of an inch (3 mm) away.
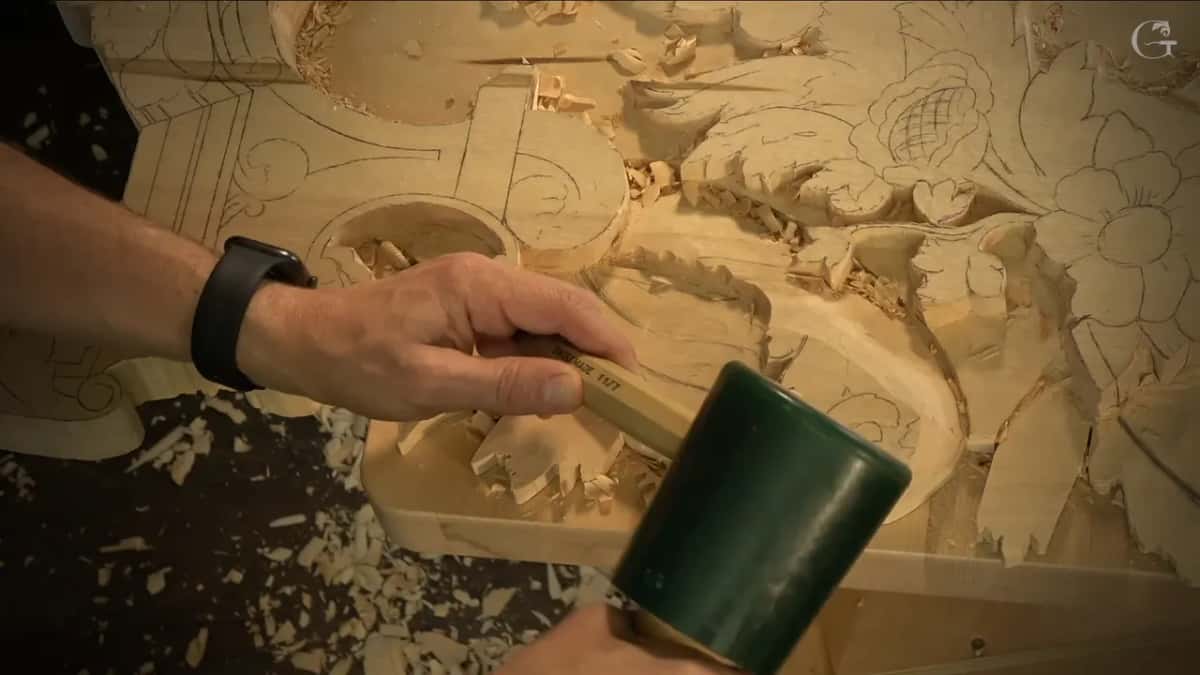
Because I had outlined that first ray, its waviness was already there when I took it down, so I did not have to redraw much. I still redrew some. After I flattened that area I placed a few lines back.
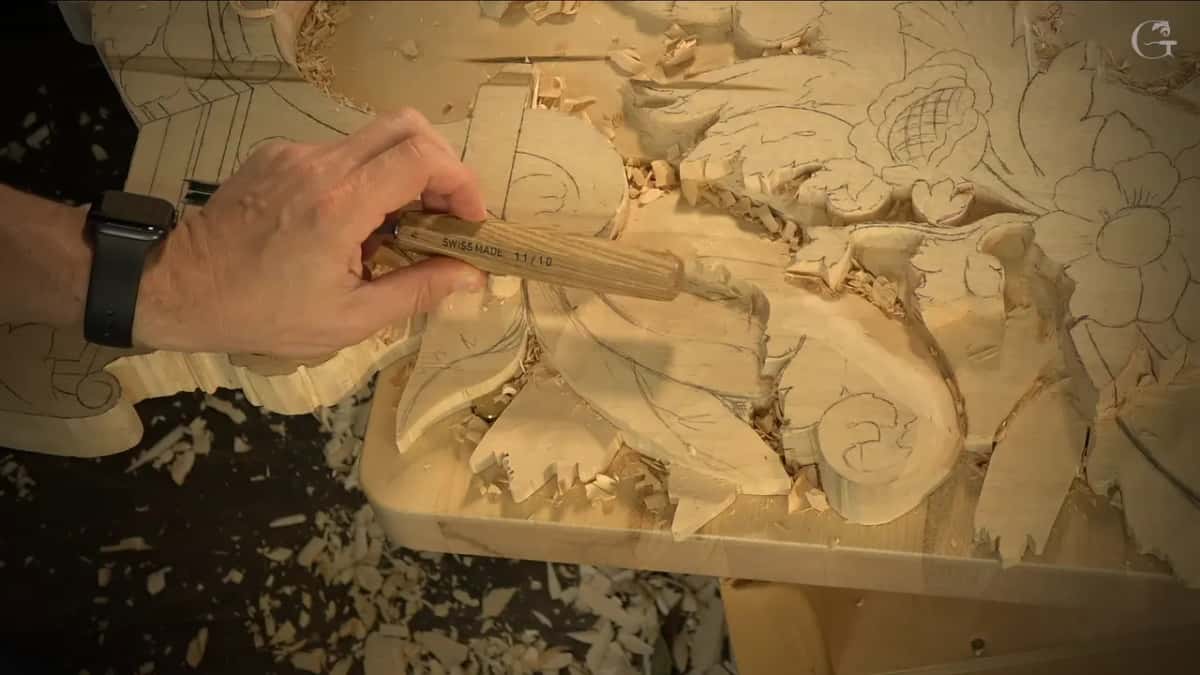
On another ray I wanted a 90-degree wall, straight down, and I took a flatter gouge for it. That was not going to work. I needed a different profile, so I said a #3 or even a #5, and I took the #5.
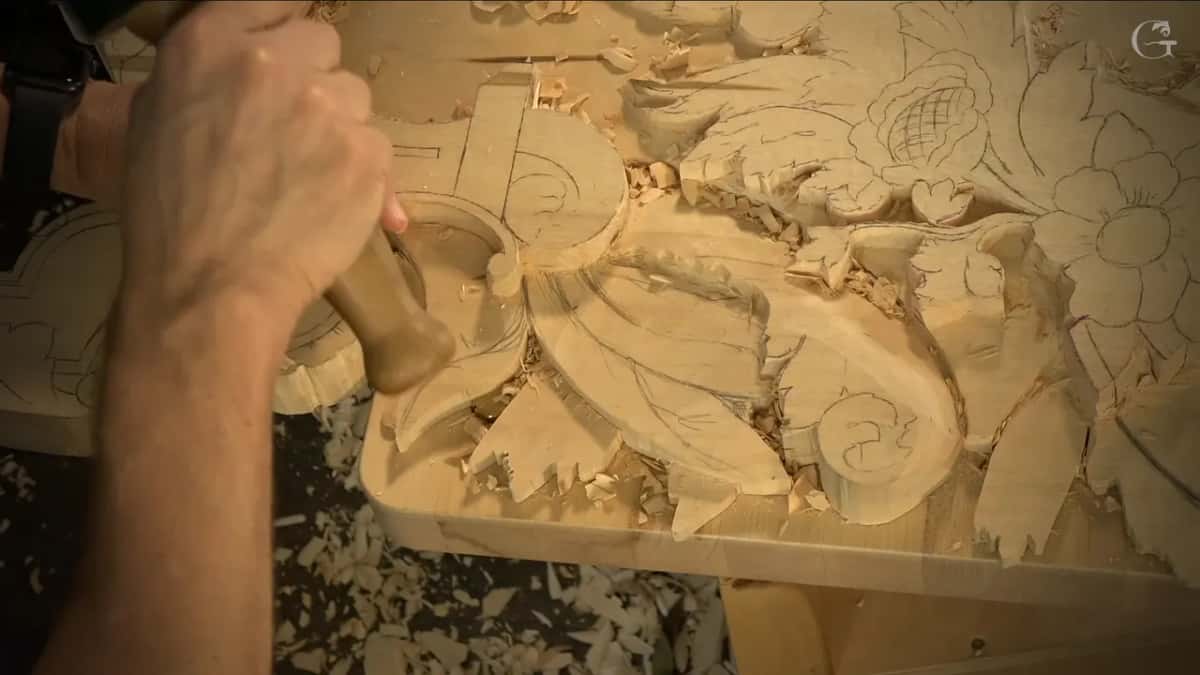
Near the drawn line on one part the 10 mm #11 was a little too big, so I went to the 7 mm, a little bigger than a quarter inch. Earlier in the workshop I had gone up a size instead, 7 mm to 10 mm. On one line I made the initial pass with the 10 mm and said I would take care of the rest a little later. Once I took a 20 mm (3/4 in) tool, used just the right side of it and kind of landed that baby.
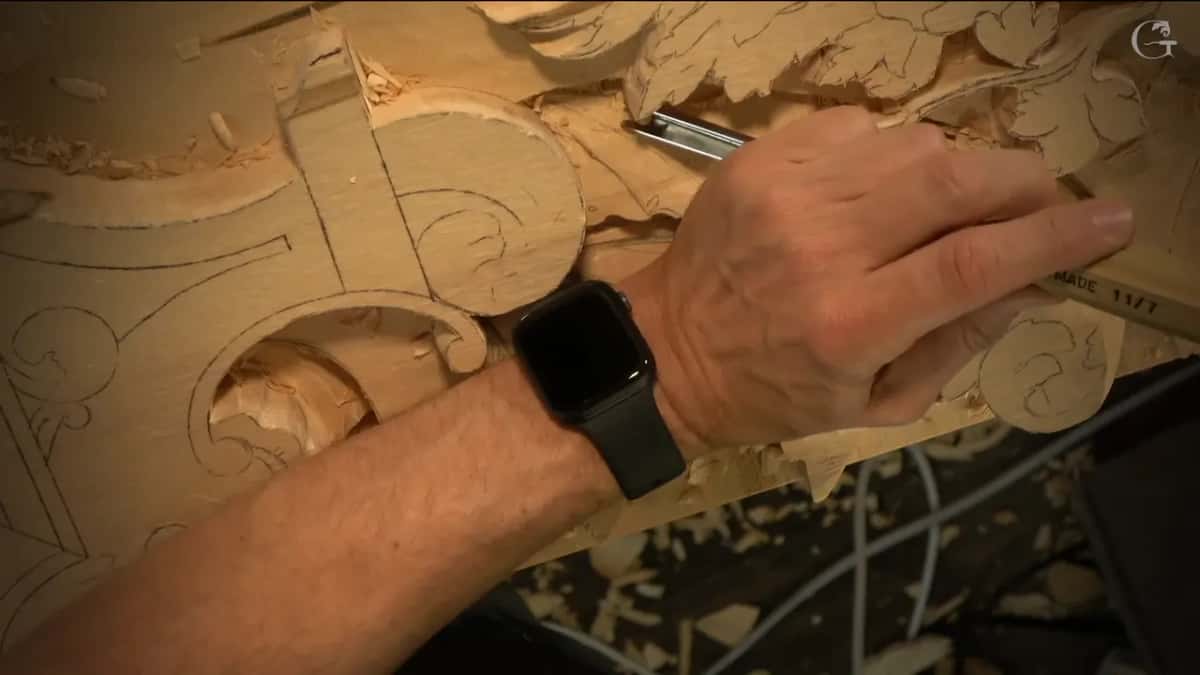
When I started removing the next part, it was better to attack it from another position. When a new part started, I got my pencil and outlined it again, and I said this part belongs to that ray too. I even mixed up the inch size of the 4 mm #11 on camera before I got it right, a little smaller than 3/16 of an inch.
What shape goes inside each ray?
A crease goes inside, running from somewhere in the middle, with a convex and a concave on the parts around it. I pointed at three parts one after another and said the same thing about every one of them, convex and concave.
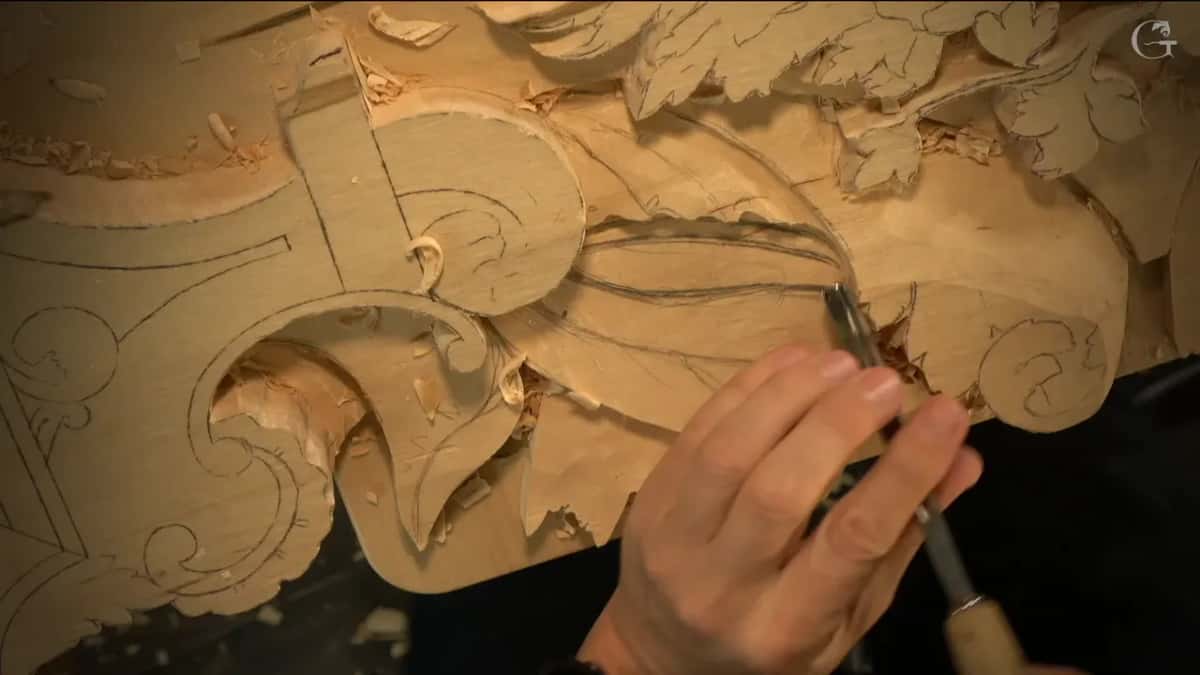
You will not see that shape finished in 108. Near the end I was working on the final shape of one curvature, and I thought out loud about the order. First the roundness, then go in. And by the way, maybe I do this first.
When does a ray get its shadow?
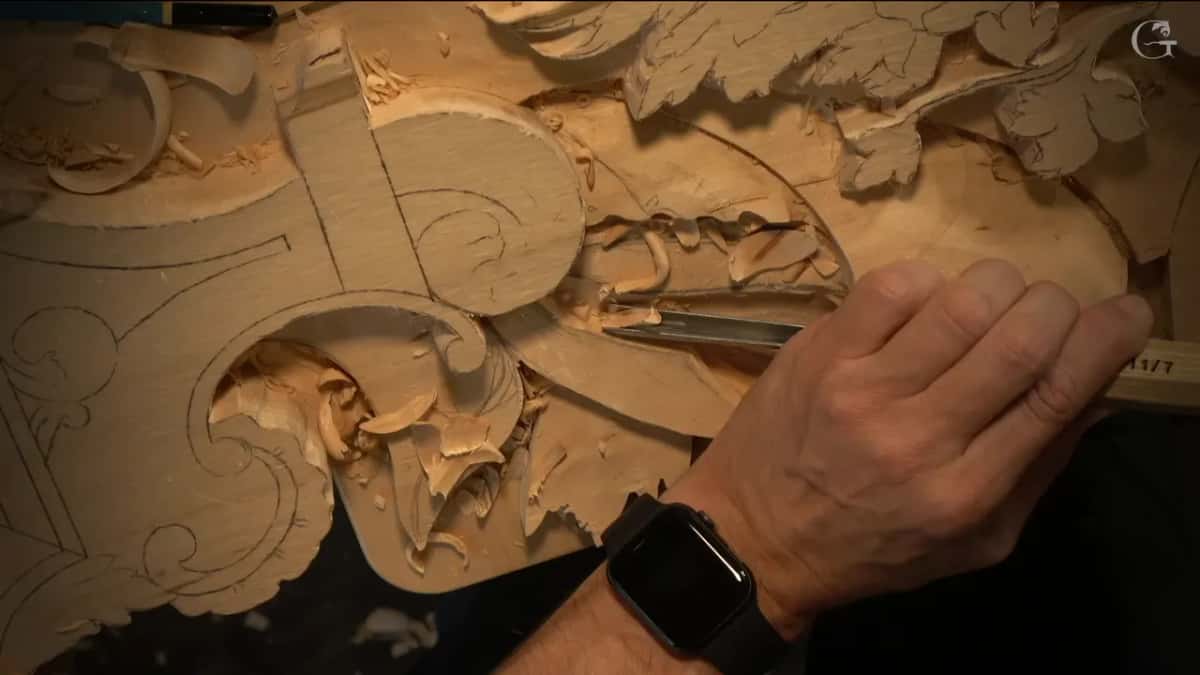
On these rays the shadow came early, a little at a time, and the full undercut did not happen in 108. Right after one initial pass I started undercutting, not much, just what I was able to.
With the 7 mm I leaned a little to the left. It was too early for a full undercut, I said, but a little bit was probably safe, and I added that I thought I was safe.
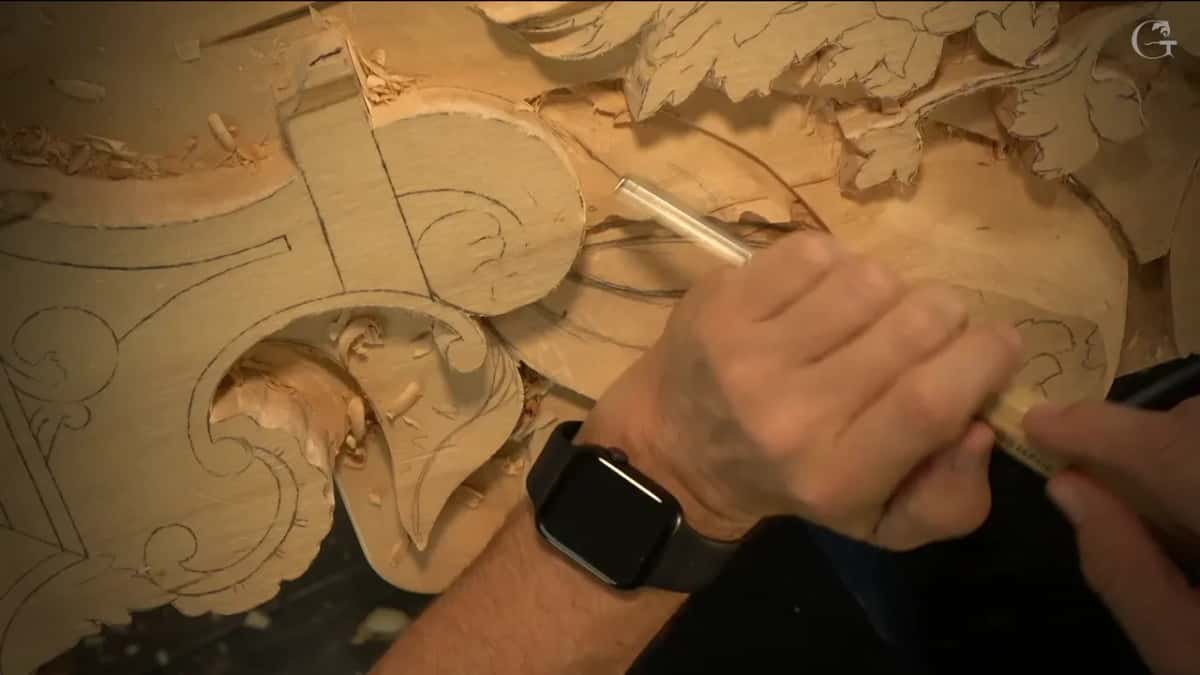
Later a 4 mm (5/32 in) #11 went right underneath, and I said sorry that I covered it from the camera. Not final undercut, I told you, but semi-final. A 2 mm #11, about 5/64 inch, went even deeper in one spot. I explained why I did it so early. I knew that part was not going to get many details anyway.
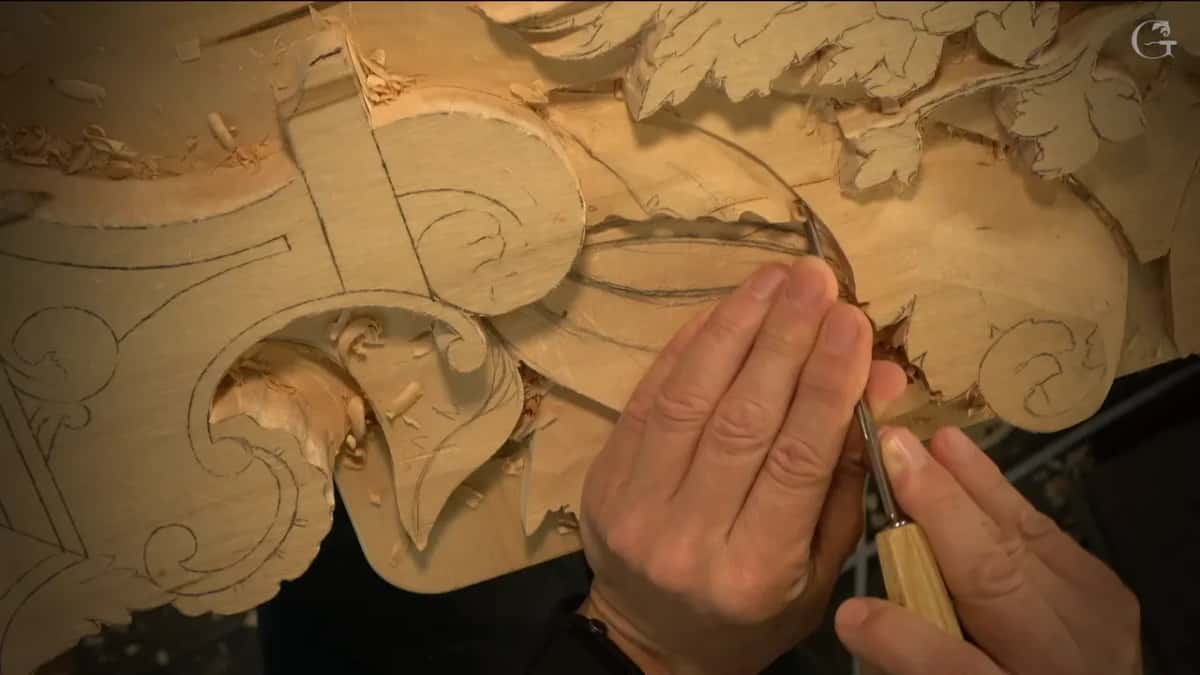
At the start of the third part the ray already cast a really sharp, beautiful shadow, and I still wanted more. A little later I undercut a bit underneath one edge just to get an idea of how beautiful that shadow would be. I left a wall there. About a quarter inch (6 mm) of it stayed, because I still had to establish my concaves and convexes.
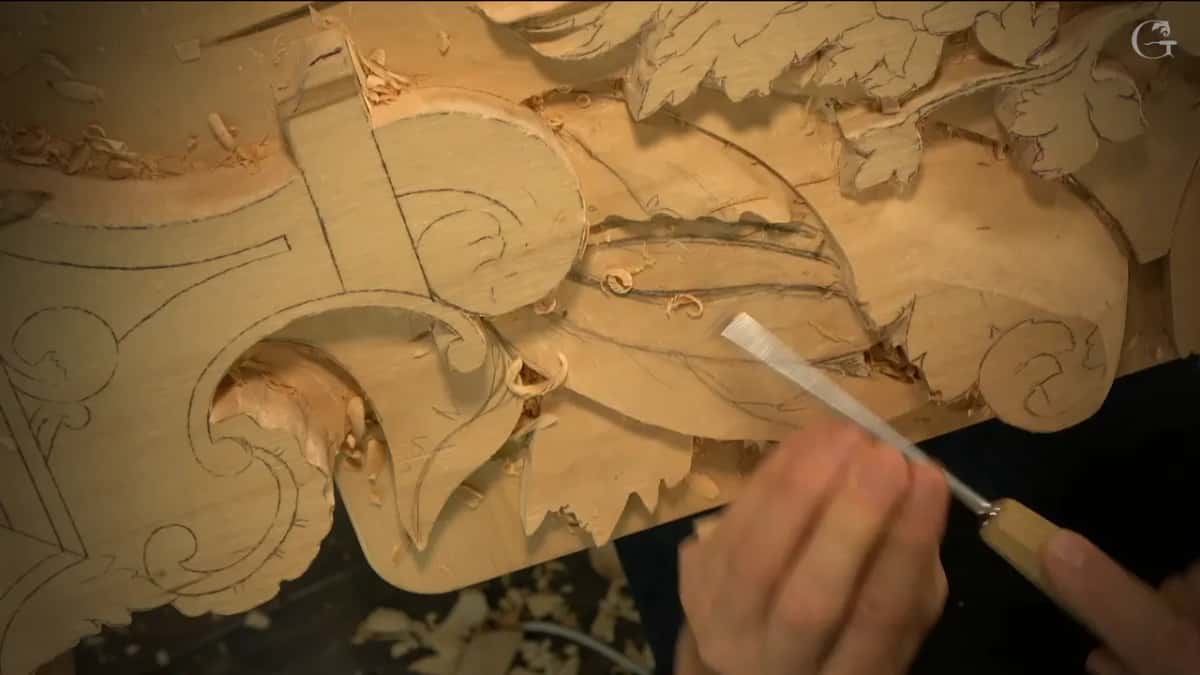
Carving a deep shadow on purpose is a whole subject of its own in Part 12 of the Venice Room.
Which tools did the rays take?
Mostly #11 gouges in four widths did it, with a straight #1 chisel and a #5 for the other jobs. Lots of number 11s in this project, I said.
| Tool | Job | Result |
|---|---|---|
| Big #11, 10 mm (3/8 in) | Opened the initial pass on a ray before I lowered it. | Waviness already there. |
| A straight #1, the flat chisel | Took the first ray down, nice and gradual, from one point. | A 3D look. |
| A flatter gouge, then the #5 | Tried for a 90-degree wall, then I needed a different profile. | Took the #5. |
| Middle #11, 7 mm (9/32 in) | Replaced the bigger #11 near the line, a little too big. | Leaned left slightly. |
| Small #11, 4 mm (5/32 in) | Went right underneath one ray for a semi-final undercut and shadow. | Really beautiful shadow. |
| Tiny #11, 2 mm (5/64 in) | Went even deeper at one spot that gets few small details. | Even deeper there. |
| Right side, 20 mm (3/4 in) | Used only the right side of it to land one part. | Landed that baby. |
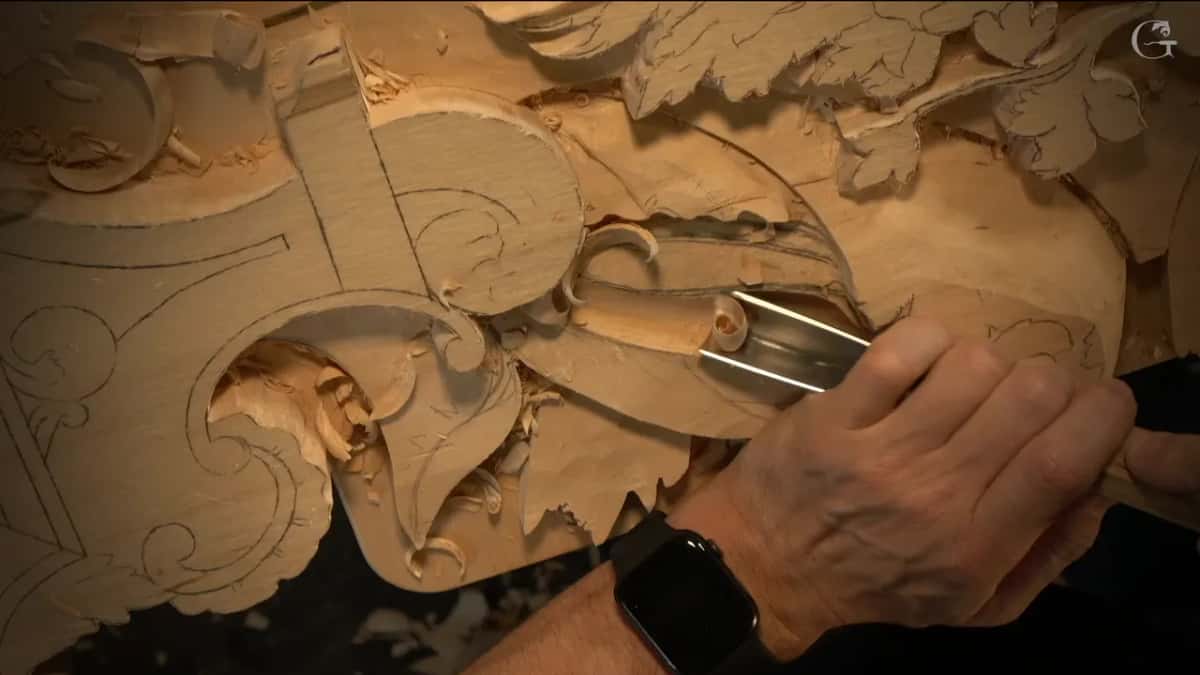
What do you do when a ray's line is not flowing?
I fixed mine little by little, and in the end I did it by hand. Right after the first shadow I saw some waviness, and I'm not the biggest fan of it. That line was not really flowing.
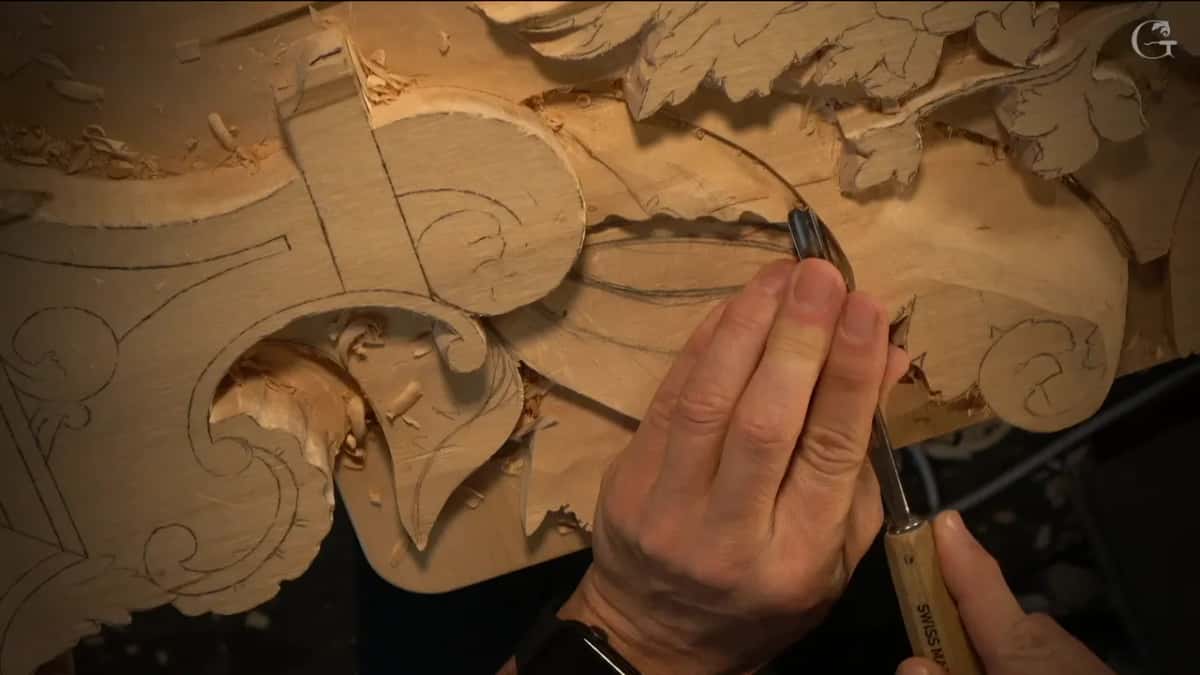
I thought about a bigger gouge. But I said, you know what, I'll just do it by hand. That is much better, I said, and I asked you not to pay attention to one curvature I was still going to work on.
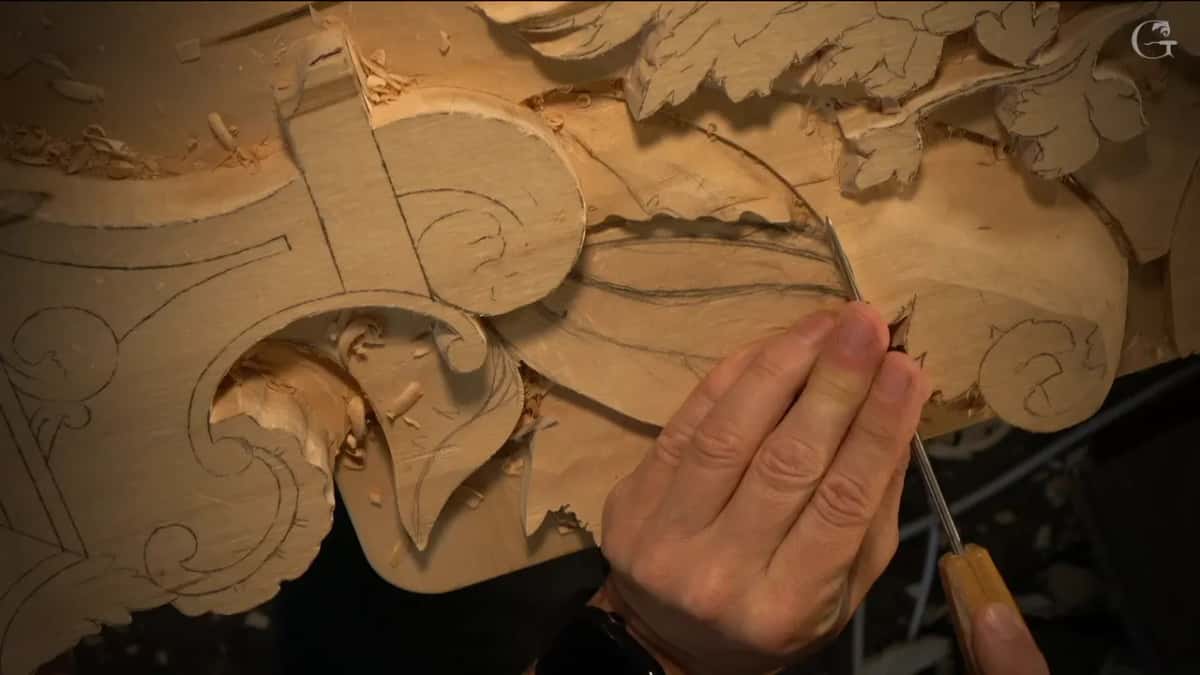
Smoothing a ray's slope with a flat chisel and checking it from the side has its own page, about using a wide chisel to smooth a carving.
In the last minutes of the lesson I was going under a line with a 7 mm #11, a little bigger than a quarter inch, working against the grain. It is not the best way, but it's okay, I said, and then I said it again. Partway through the workshop you can hear my landscapers working in the yard, because I didn't want to stop my recording.
How do you carve small rays on a flower or a leaf?
Small rays run toward a center or out from one, and in four other lessons I carved them that way, much smaller than on the Venice panel. In workshop 11 of the Dining Table Apron course I put some rays inside the flowers, going toward the center of each, about 3 mm (1/8 in) from the edge. An apron is the board that runs under a tabletop.
I undercut them just slightly, because it was going to look a little better. Three of them per petal, with the same Dockyard tools I had been using.
For the Chamomile and Bow Rosette I needed some lines running in to the middle of a rosette, and said I could probably do them with the same tool. Next I went smaller, to a half millimeter (0.02 in) #11, and made multiple passes the same way. We're still using mostly #11s, I told you.
I could spend a lot longer there, I said, and maybe I should, with a number one, a small chisel 1/16 inch (1.5 mm) wide, to refine and round some of those lines. I thought it was a good idea to use that small, tiny tool. I also had to be careful, because the middle part sticking up could break really easily. A chamomile center stands up like that.
In lesson 30 of the Hashemi flowers, all my concaves and convexes were going to go from inside out, and so were all my rays. The middle of that flower was not right in the center. I even changed my mind about where it was while I talked. I settled it in the end, because the flower grows on an angle a little, so all my rays had to go from that point out.
Veins on a leaf work the same way. In lesson 19 of the Furniture Panel course I said that if you think of how the leaf grows, I could not go just across the grain right then. All of those passes had to go from inside out, and I showed their direction with a marker first. I did not have much real estate there, meaning how thick I could go, but there was a little we could do, and I took a #7.
Later in the same lesson I took a #7 and, this time, went toward the center. The idea there, I said, is that everything is supposed to grow from the center out, and every pass will count. I said it might slightly destroy my straight line, which would give it some movement. I could go really deep in one spot, as long as I did not go deep on the other side. Nearer the middle I could go a little deeper, I told you, and it would give a lot more dimension.
Workshop 108 sits between workshop 107 and workshop 109 in the Part 9 course. Access opens all of them, along with the four lessons I quoted above.
How it's done
- Carve the outline first. Put the first pass right on the pencil line and the next one 3 mm, an eighth of an inch, away, so the wavy edge of the ray is set before anything goes down.
- Lower the ray gradually. Start from one point and take it all the way along with a straight #1, then go roughly 3 mm deeper, about 1/8 inch.
- Set the flip lower. Carve the flipping part below its neighbor. That part goes underneath.
- Shape the crease. Find the crease near the middle, and give each part of the ray a round side and a hollow.
- Undercut only a little. Go just under the edge with a small #11 of 4 millimeters, about 5/32 inch, where no small details will come, and keep about a quarter inch (6 mm) of wall for the shapes still ahead.
- Fix the line by hand. When a line stops flowing, fix it little by little. A bigger gouge is one choice, and I did mine by hand.
Frequently asked questions
How deep should the rays be on a carved panel?
Each ray got a different depth on my Venice panel. I took the first one down gradually and then a little more, brought a small section down to six millimeters, roughly a quarter of an inch, over the surface, and set the part that has a flip below its neighbor.
Do carved rays need fine detail?
Mine got bigger details instead, because on this Venetian panel they are secondary. The flowers carry the main idea there. Too many small details were not needed on the rays, so they got depth, a crease and some early shadow.
What gouge do you use to carve rays?
Mostly a #11 in four widths, 10, 7, 4 and 2 mm, which is 3/8, 9/32, 5/32 and 5/64 in. My straight #1 lowered one ray gradually, and a #5 took over where a flatter gouge would not give the wall I wanted.
What to carve next