

Alexander Grabovetskiy, woodcarver, School of Woodcarving · Published 2023
How do you carve an acanthus head in the Venetian style?
Quick answer: A Venetian acanthus head from the 15th century is carved from a thick glued-up lime blank in three or five main separations, then hollowed underneath into a dome so it reads from below. Tips stay rounded, never sharp, because the same workshops carved marble and sanded everything smooth.
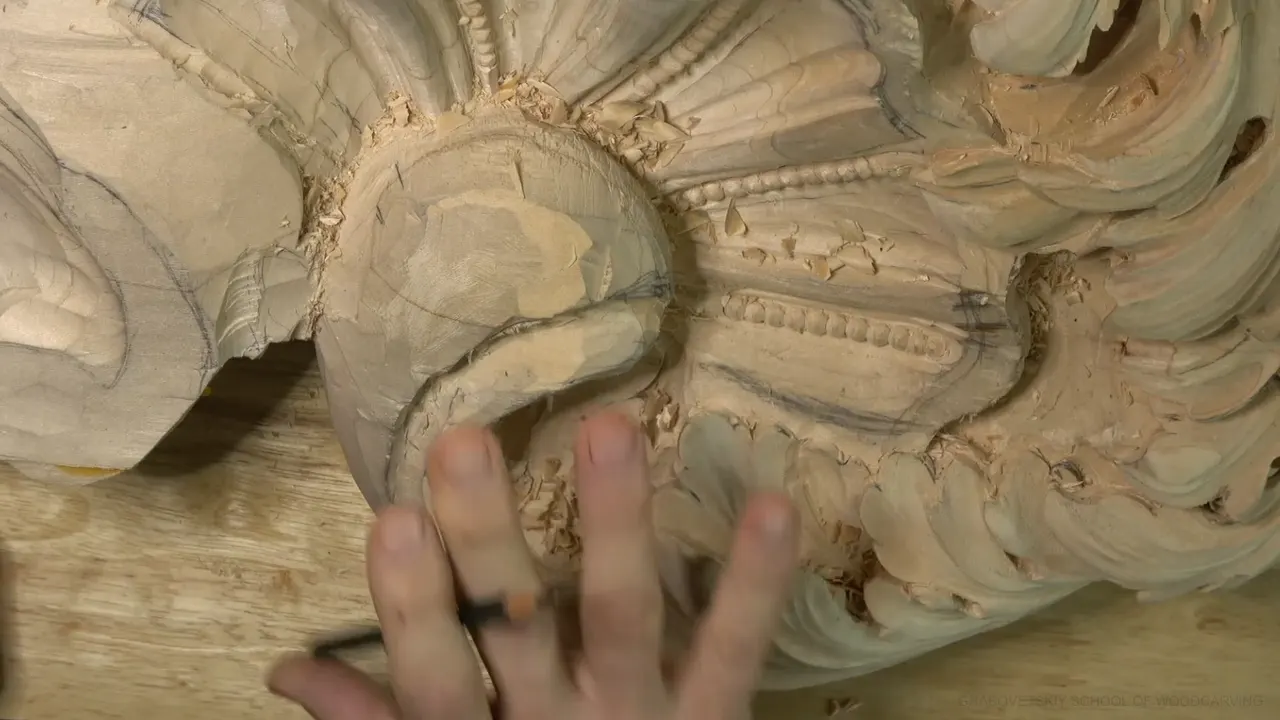
An acanthus head in the Venetian manner is a high relief leaf built on a thick glued-up lime blank, divided into three main separations, and hollowed out underneath so a person standing below reads the whole shape. Its tips come out round rather than pointed, because those same shops also carved marble, and marble gets sanded.
Do you want your leaf to look right from where people will really be standing? Would you like to know why the old Venetian leaves are round at the tips instead of sharp? Does it bother you when a carving falls apart the moment the light moves? Workshops 13 through 25 are thirteen sessions of that reasoning, said out loud, while the panel is still on my bench.
This is the second block of a very long commission. A whole room in lime wood, going up high, in a room where I already know which side the light comes in. So my lamp sits on that same side. Again and again in these thirteen workshops I shape a concave for that light.
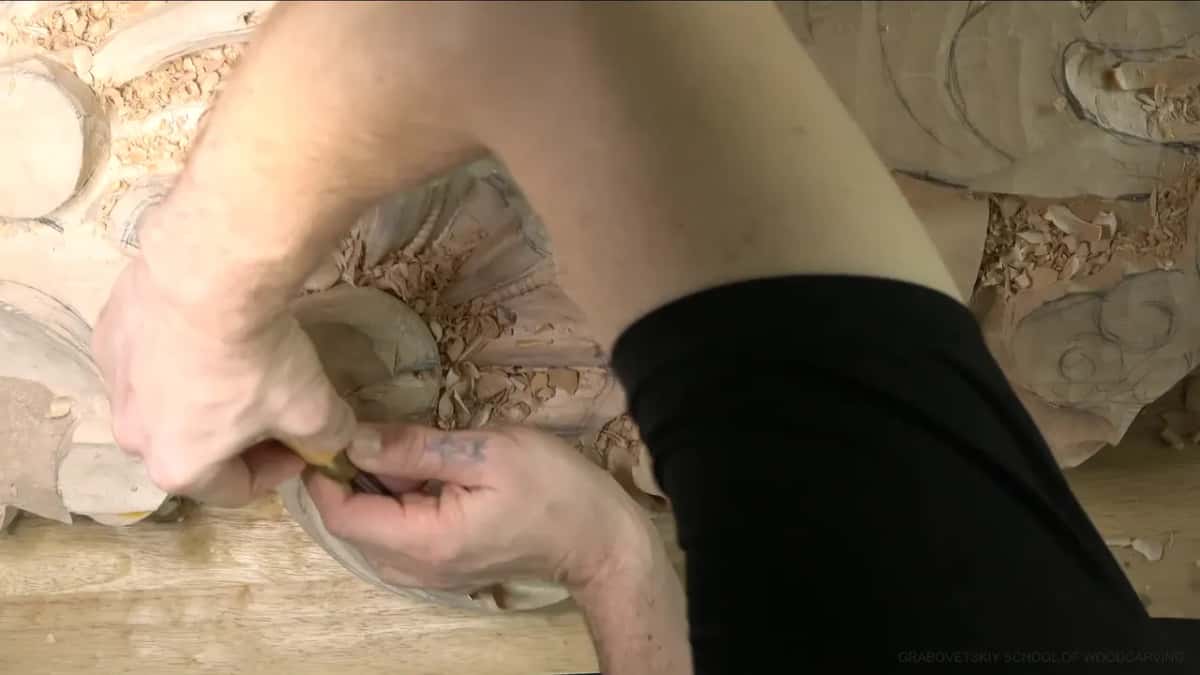
What decides every move on this panel
- The panel gets seen from below. That one fact drives the design, and I say so more times than you will want to hear.
- My lamp sits where the real light will come from, so a concave throws its shadow the way it will up there.
- Round leaf tips, never sharp ones.
- An acanthus begins as a boat shape, then takes three main separations, sometimes five.
- A relief cut goes into every triangle before anything shaping comes near it. I learned that lesson too many times.
- The blank is glued up thick, and that thickness is what lets the deep undercutting work.
Why are Venetian acanthus tips round instead of sharp?
The reason is easy. Italy had marble and Italy had a great many stone carvers. Marble must be sanded smooth or it looks bad, so those shops sanded everything. And it was pretty much the same school doing the stone and the wood, because it is almost the same trade. Almost. Pretty close. The same people very often did both.
So the hand that smoothed a marble capital smoothed a lime leaf the same way, and the sharp points went out of the vocabulary. There are certainly designs of acanthus with sharp points, so this is not the only way to do it. Round tips are just what those particular people did, and being authentic to them is the only reason I do it that way.
Germany went the other way at the same time. Tilman Riemenschneider was alive and working, and Germany had plenty of skilled wood carvers. They carved a great deal for the churches before the Reformation, before Martin Luther, and they used lime wood, exactly the wood sitting on my bench right now. But smoothing a surface was not in that culture. Go and look at original German carving of the 1400s and the tool marks are all still standing there. In Italy everything is smooth. Even now, if you know Italian furniture, it is smoother than the rest of Europe. I think it is in the blood.
England gives you the other half of the proof. Grinling Gibbons is a famous wood carver, and he also tried stone. His stone carving looks terrible, in my opinion. It really does. But he tried. If you want his wood work instead, that is a whole different class in Maine.
What changes when a carving is only ever seen from below?
Almost every decision changes. I would develop this head completely differently if nobody were ever going to stand under it. Look straight at one of these flips and it just looks a little choppy. The view from below is the only reason it is there.
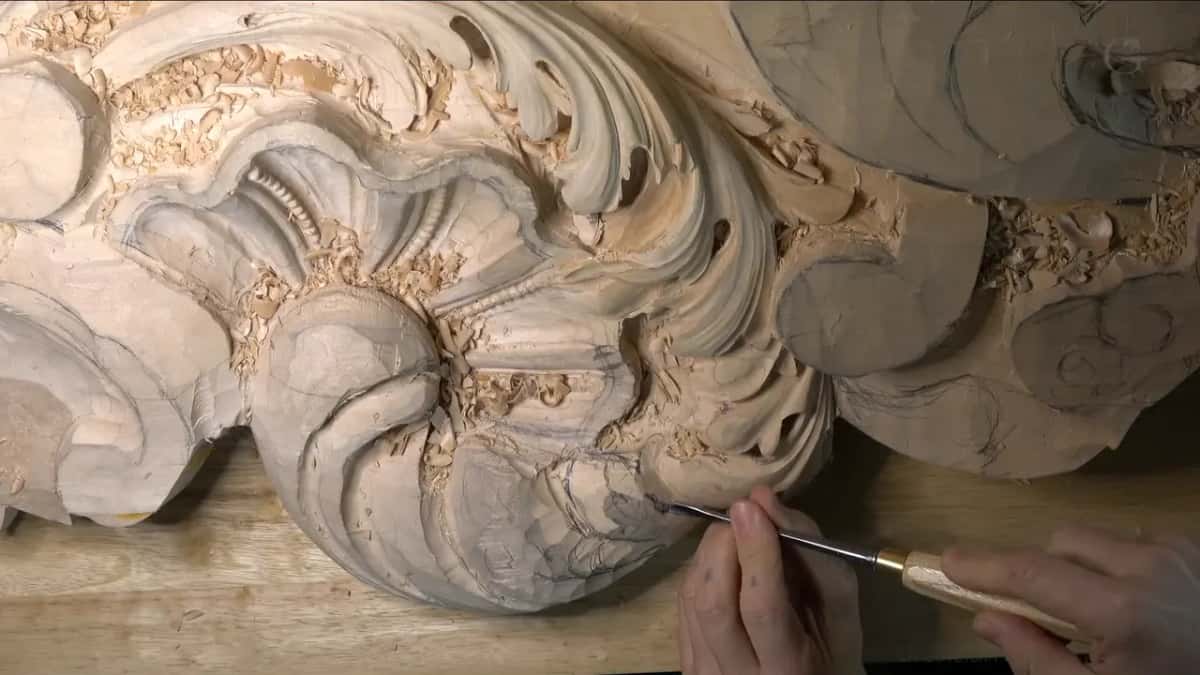
Which is why I keep stopping the tool and looking up at the piece from the floor side. My camera cannot follow me there, which is the one thing I apologise for most in these thirteen workshops. Every so often I move the lamp to see a shadow from another side. And at night the light in that room will hit from the top, so in places I exaggerate a shadow for that light too.
Depth turns into a friend here. The deeper I go under a leaf, the less of the inside anybody can ever see, so the deeper work is more forgiving. There are five different kinds of shadow, and in wood carving I sometimes have to work with them and figure them out. When I go deep, I check the back so I do not come through. I have gone through before. Flowers, mostly. I have a tendency.
How many separations make an acanthus leaf?
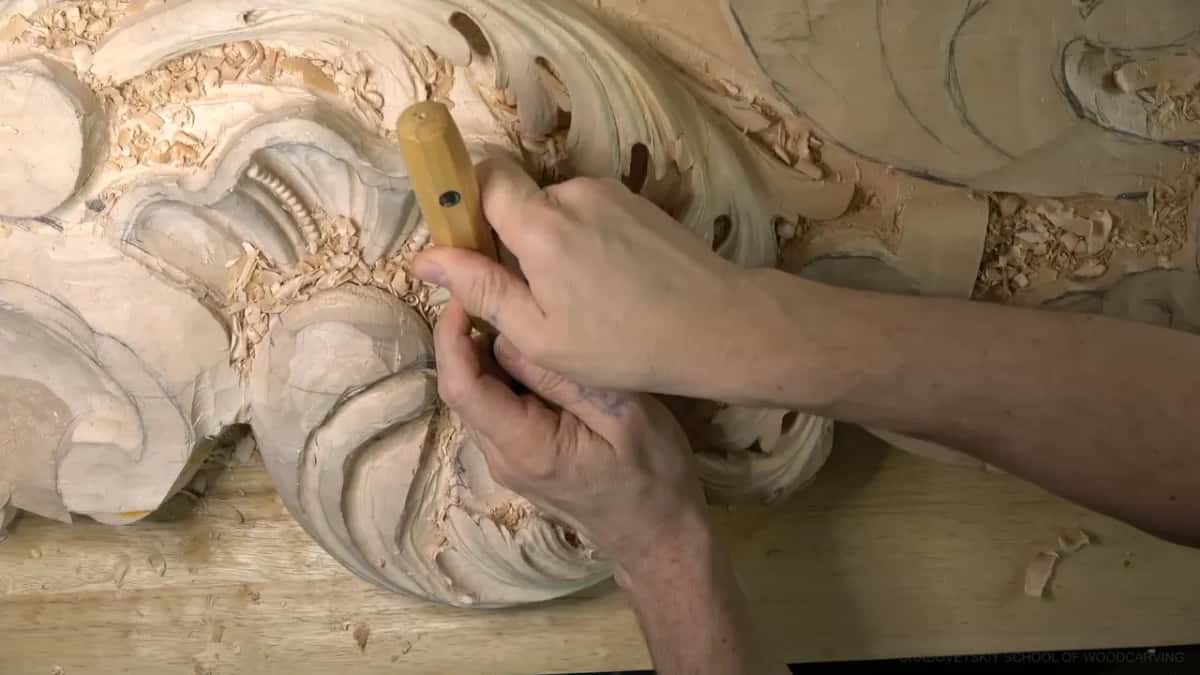
Every acanthus starts as one shape and then gets divided. Think of a boat, or a leaf, or what I sometimes call a fishing boat. Call that the overall form. Then come the main separations, at least the three big ones, and lots of times five. I keep the main structure first, then the subdivisions.
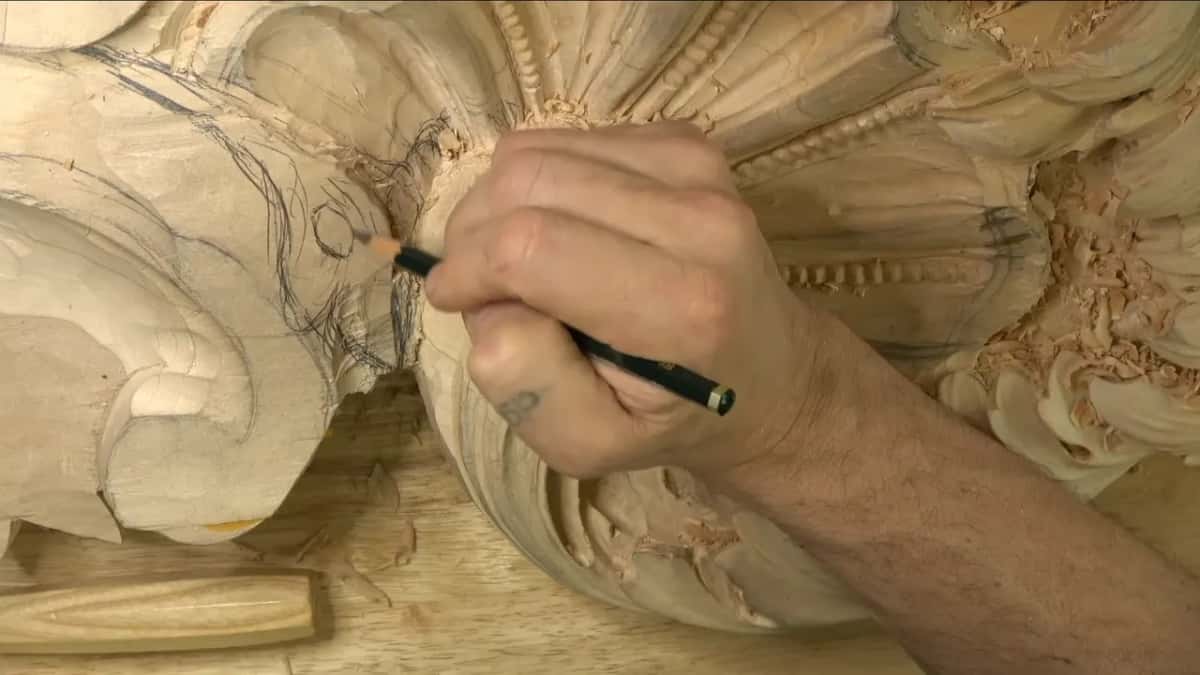
Before any of it, the outline gets chopped in with a number nine, 6 mm or a quarter inch. Setting in, is what wood carvers call that. Set in the idea.
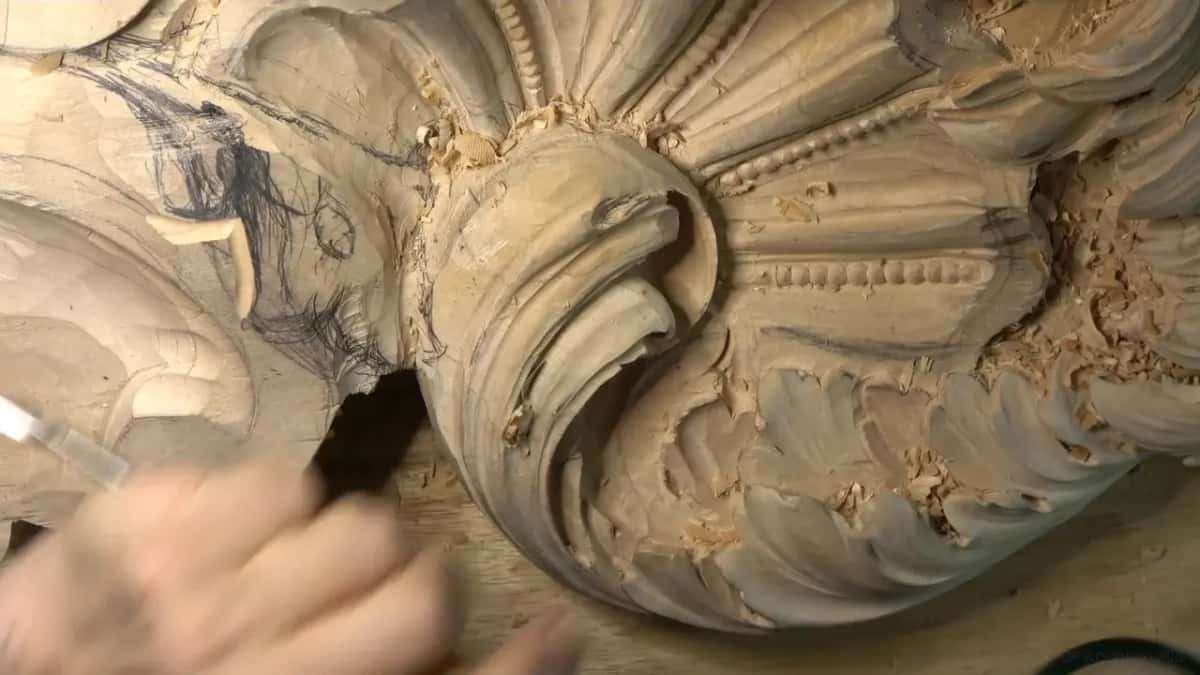
Then a relief cut, straight down, in every triangle. A 3 mm nine, one eighth of an inch, is what I reach for, and I do it because I have learned my lesson too many times. As the saying goes, if you are going to rush, you are going to make people laugh. If you do not know what the eye of an acanthus is, work the Greek leaf and the Roman leaf first, and the Corinthian after that.
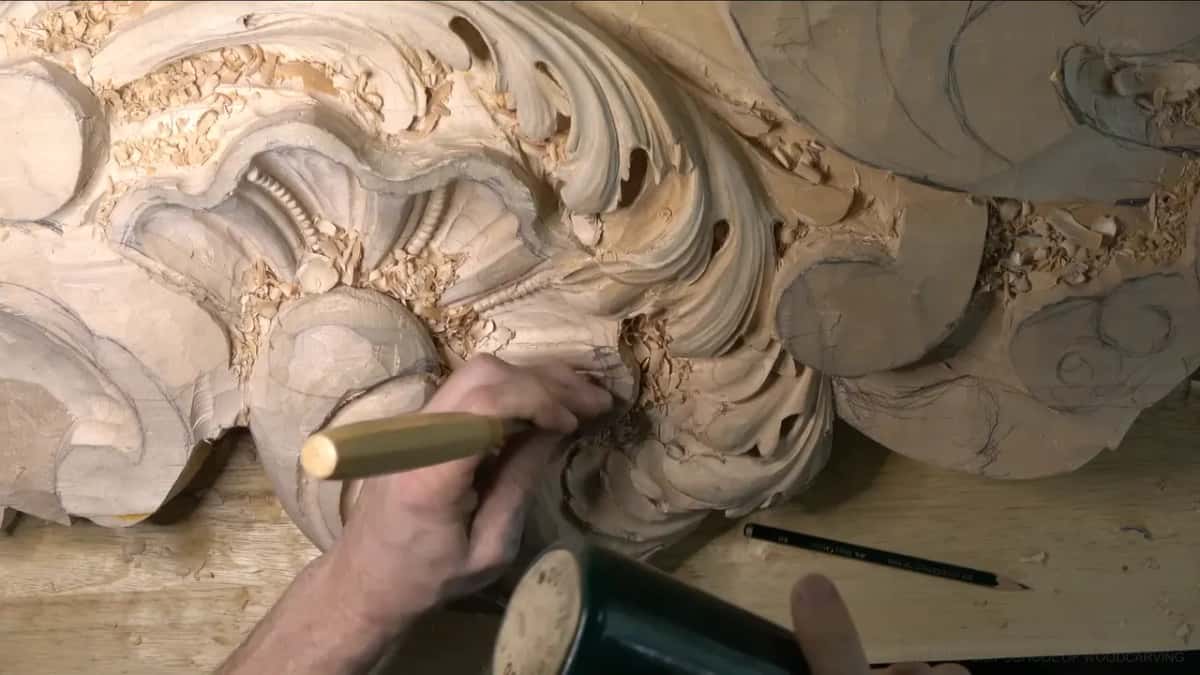
What are the pipes and the eyes?
Pipes are the convex ribs running through the leaf and eyes are the sunken hollows beside them. Wherever I put an eye I owe it a pipe, and wherever I have a pipe I owe it a concave on each side, or it will not read. That concave does not have to be deep. Where I do not want to lose the overall shape, I keep it a shallow one.
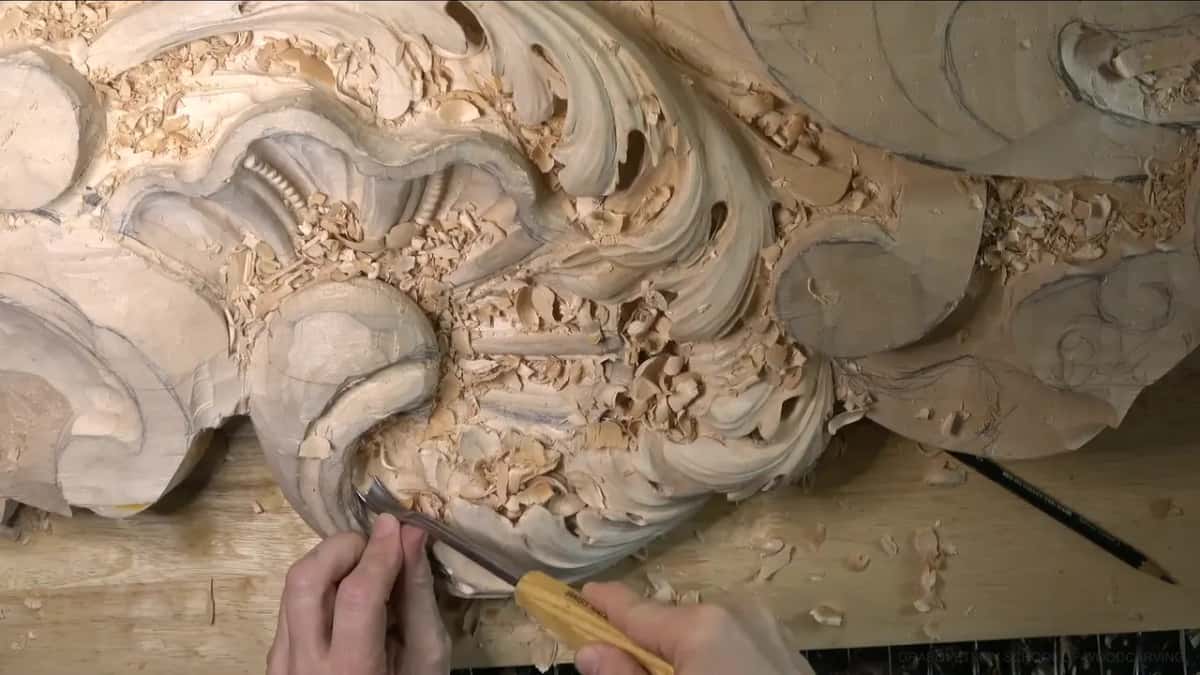
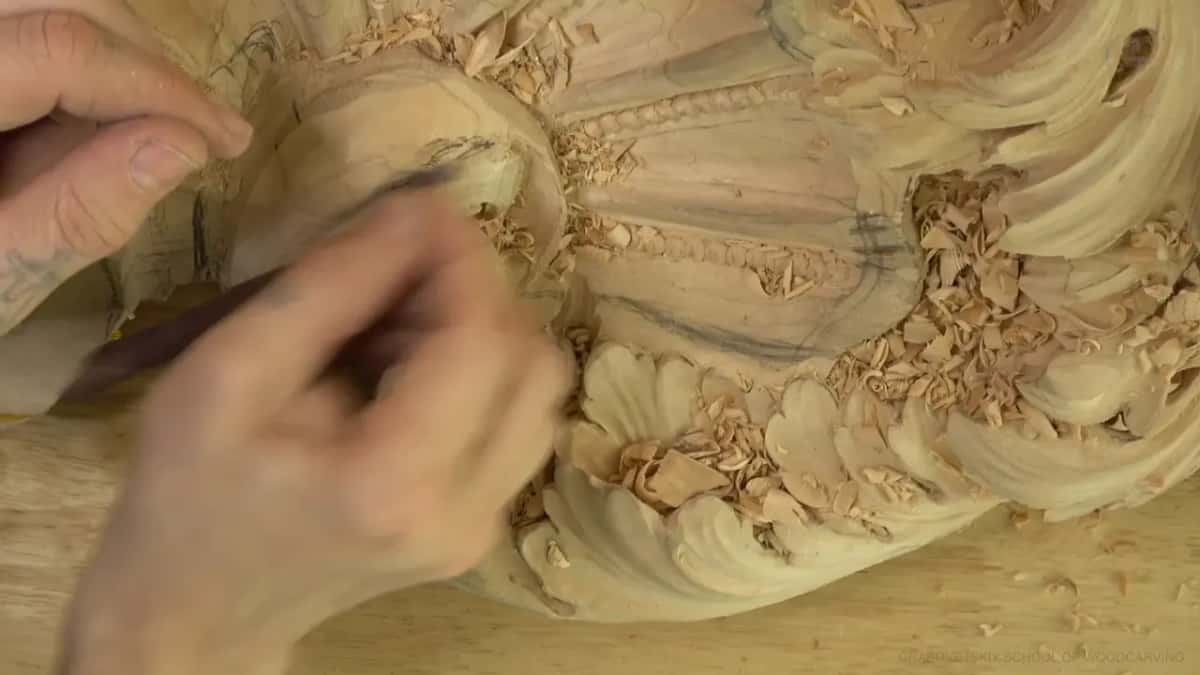
My eyes on this room are big. Huge, some of them. That is what they did back then. Around the biggest head the leaves interlock. One curls inside the next, that one slides underneath it, and the whole business locks together in a spot no camera will ever reach. I hollow the inside into a real bowl. Sometimes a dome. Nobody standing in that room will get a clean look at it, and I still take it to a finish, because I know what is in there.
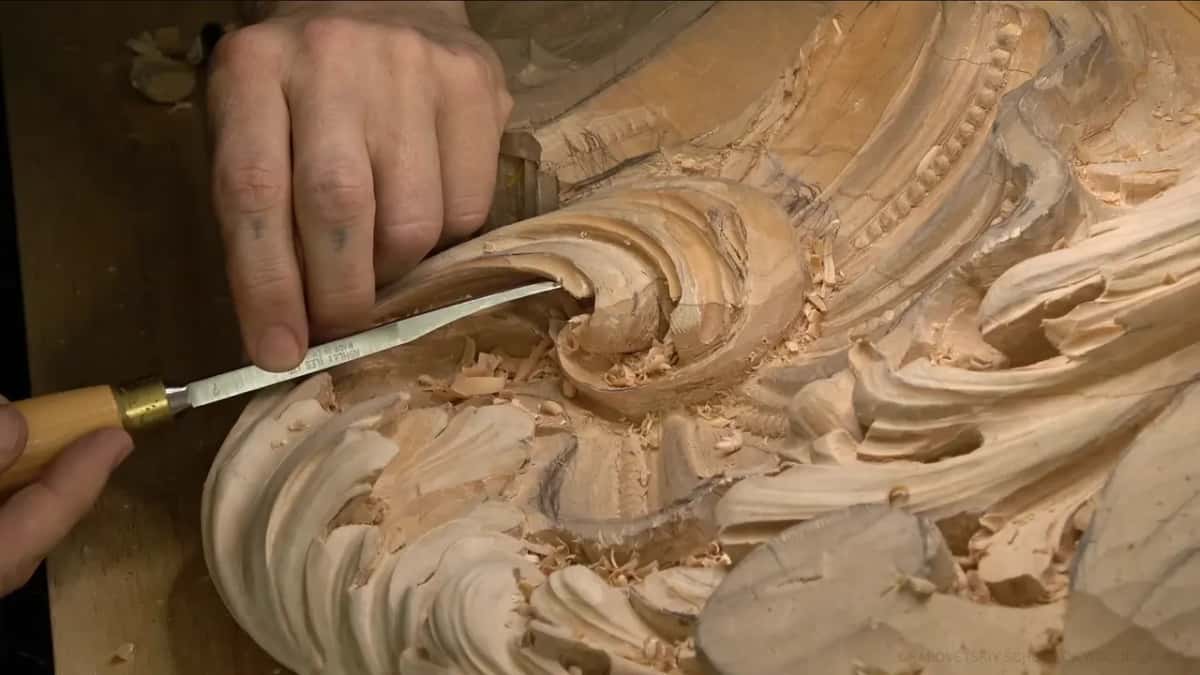
There is a second way to build a head like this, by the way. Glue the upper part on top of the lower. Early Byzantine carvers worked that way so the inside could be gold leafed. People look at an Orthodox carving with gold down inside a hollow and cannot work out how the leaf got in there. Once you know what they did it is not complicated at all. We build one that way later.
Which gouges does this take, and why does the number lie?
Sweep numbers do not mean the same thing in every country, and you should know that. A number two from Pfeil is a nearly flat gouge with a slight bevel. The same number from Ashley Iles is a skew chisel, and I suspect Henry Taylor marks it the same way. Same number, different animal. The steel is beautiful in both, and honestly the Sheffield steel might be the best there is, but you cannot order by number alone.
| Gouge and number | What the number really means across the brands | Its shape | Where it earns its keep here |
|---|---|---|---|
| Pfeil number eleven | Pronounced U shape, so cuts come cleaner | Deep U | Undercutting and every deep shadow line |
| Ashley Iles eleven | Wings barely turned, closer to a gouge | Shallow U | Long sweeping movements, from almost nothing |
| Any number nine | Ground half round, so corners do the digging | Half round | Concaves, plug cutting, setting outlines in |
| Pfeil number two | Almost no sweep, just a shallow bevel | Almost flat | Final smoothing where marks must vanish |
| English number two | A skew chisel, a completely different animal | Skewed edge | Riding an edge, cleaning tight triangles |
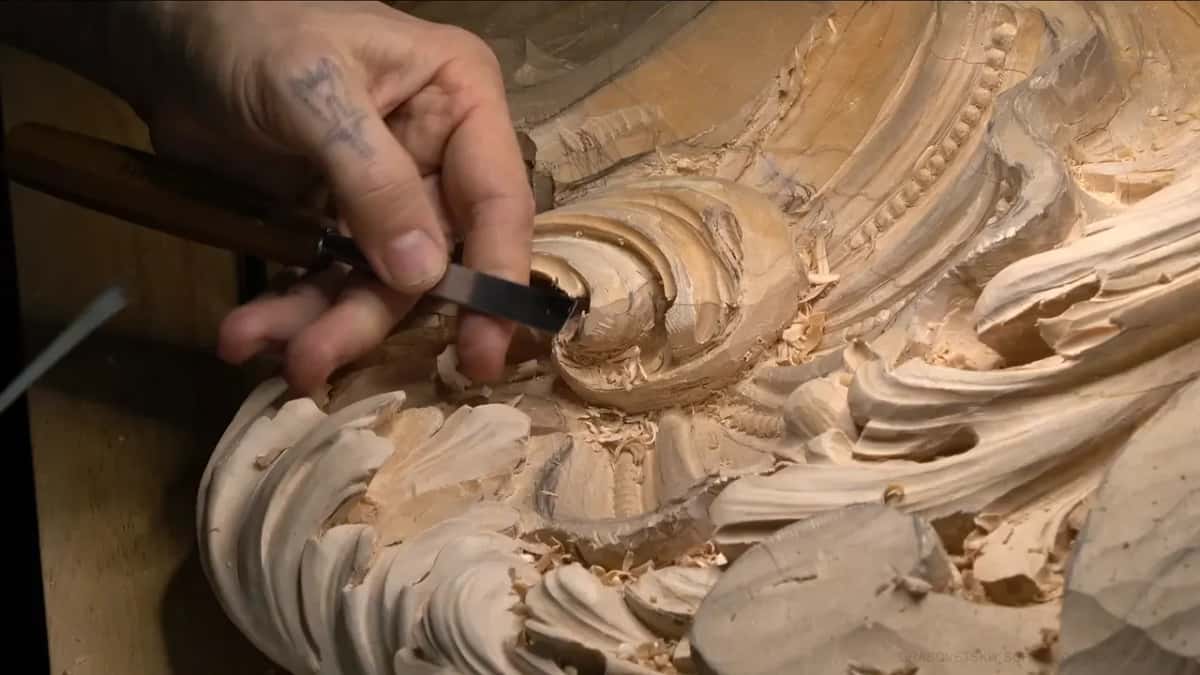
| Back bend gouge | Curved back so it reaches under details | Reverse curve | Undercutting without cranking fragile edges |
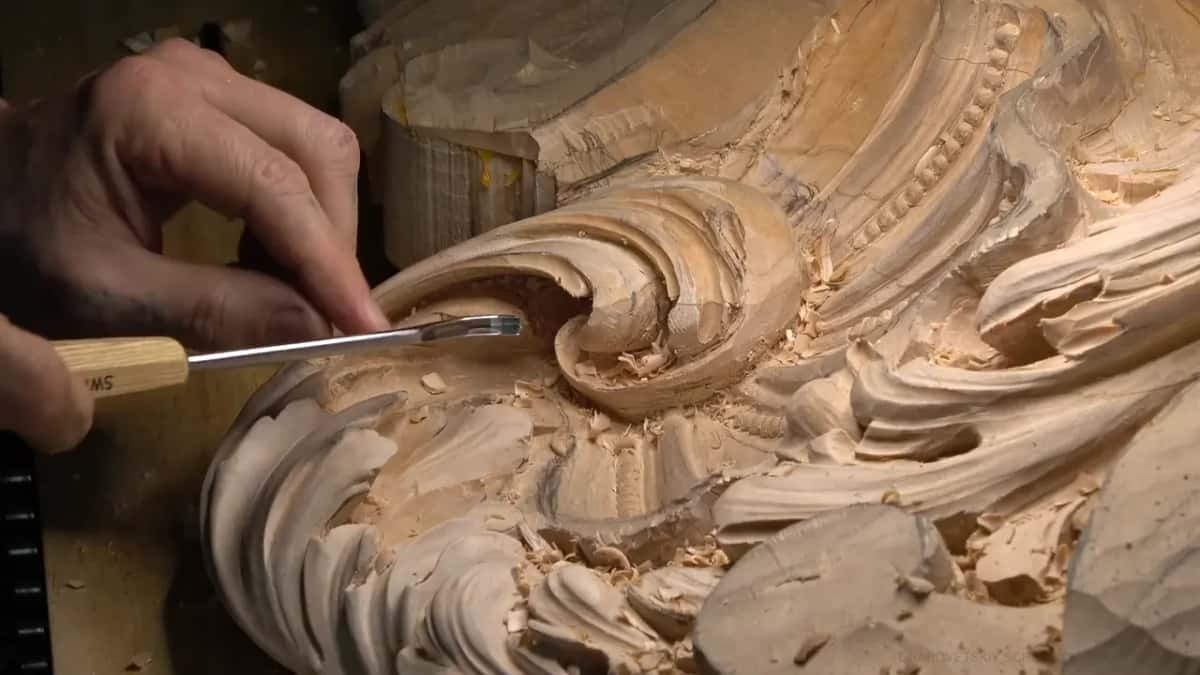
Ask me why I reach for the number eleven more than the number nine and there is a real answer. A nine is a true half round, so I am digging with the corners of it. An eleven is more of a U, and I can lay it over and work with one side, which gives me a cleaner wall.
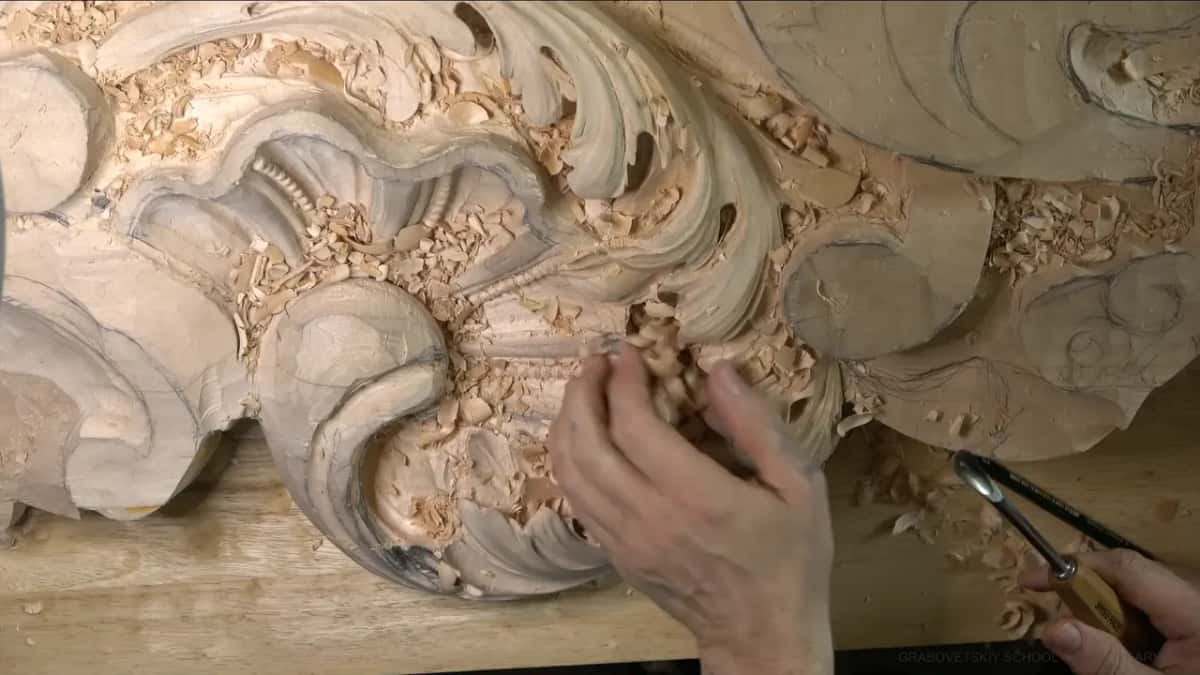
On this project I want the Pfeil eleven for that reason, the pronounced U. My Ashley Iles eleven turns its wings up only a little and behaves almost like a gouge. I still used it for one long movement. The full tool argument lives in All about tools.
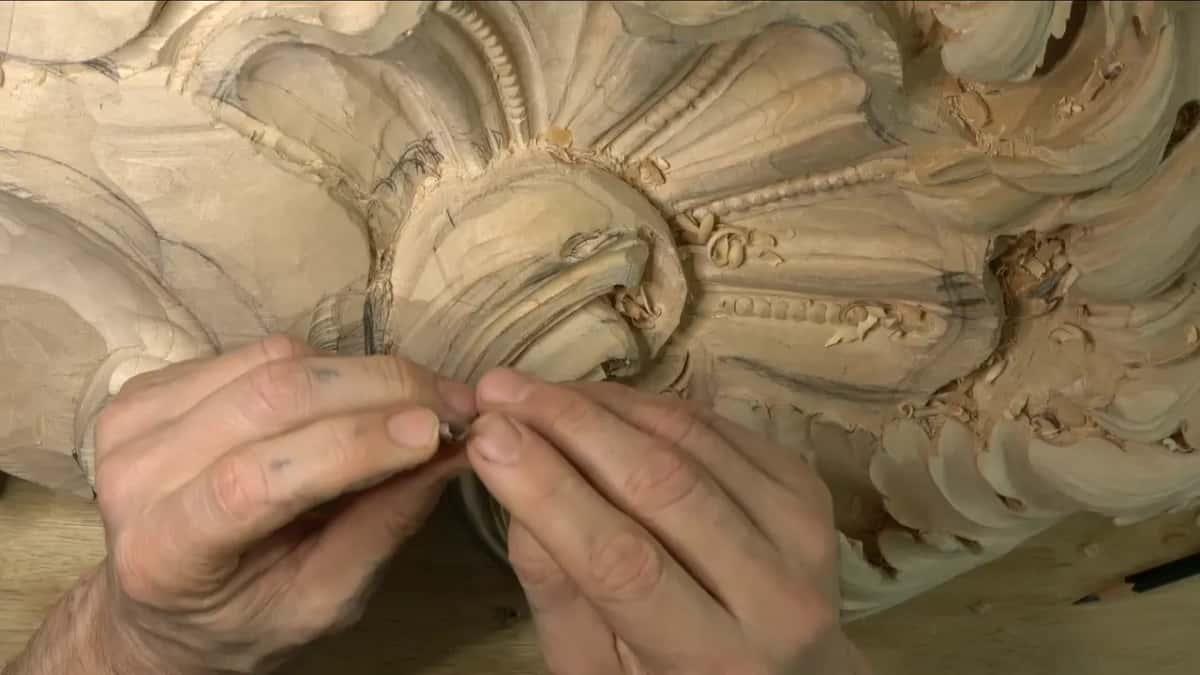
Wall thickness decides the deep work. My 2 mm number eleven from one maker has thick walls and stops early. The 2 mm Two Cherries micro is thinner and keeps going. Where the wood is already moving, I use a micro number three, one eighth inch, 3 mm, by Peter Benson, because it is genuinely thin and does not build stress in the wood.
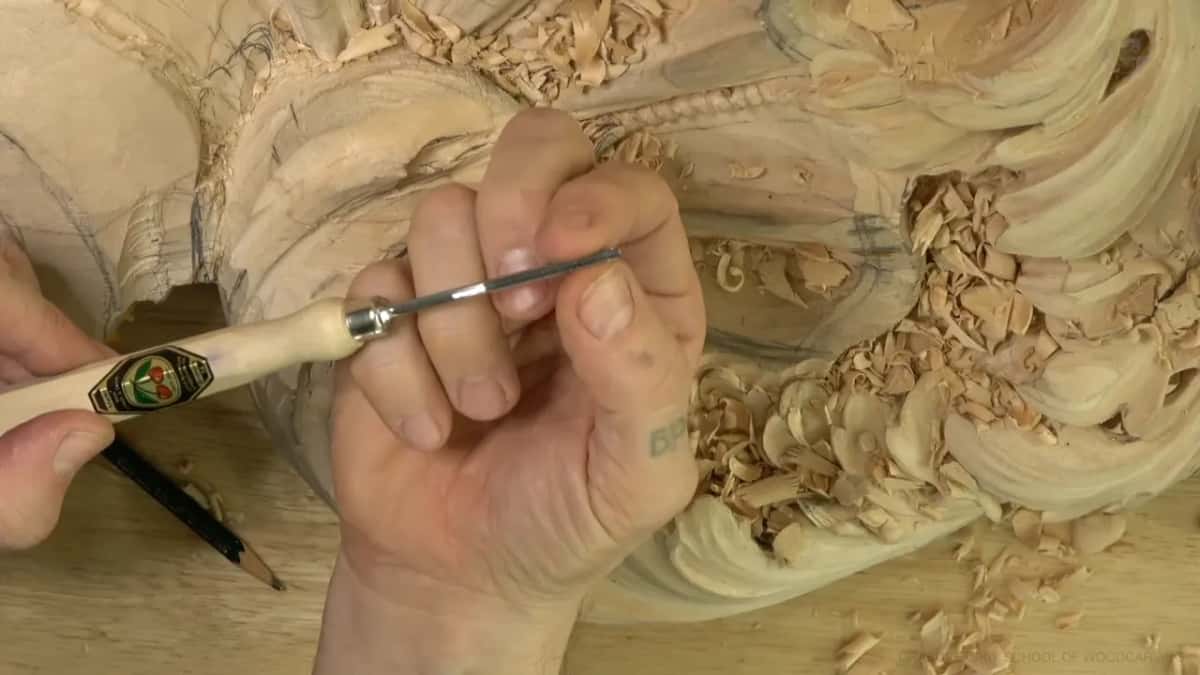
And every one of them has to be sharp like a surgeon's knife. When it is right I put no pressure on the tool at all. It rides on the surface and shaves by itself. You could shave your face with it, and I am not exaggerating. If yours is dull, none of the rest of this helps you, and sharpening is its own course for a reason.
What happens when the wood breaks?
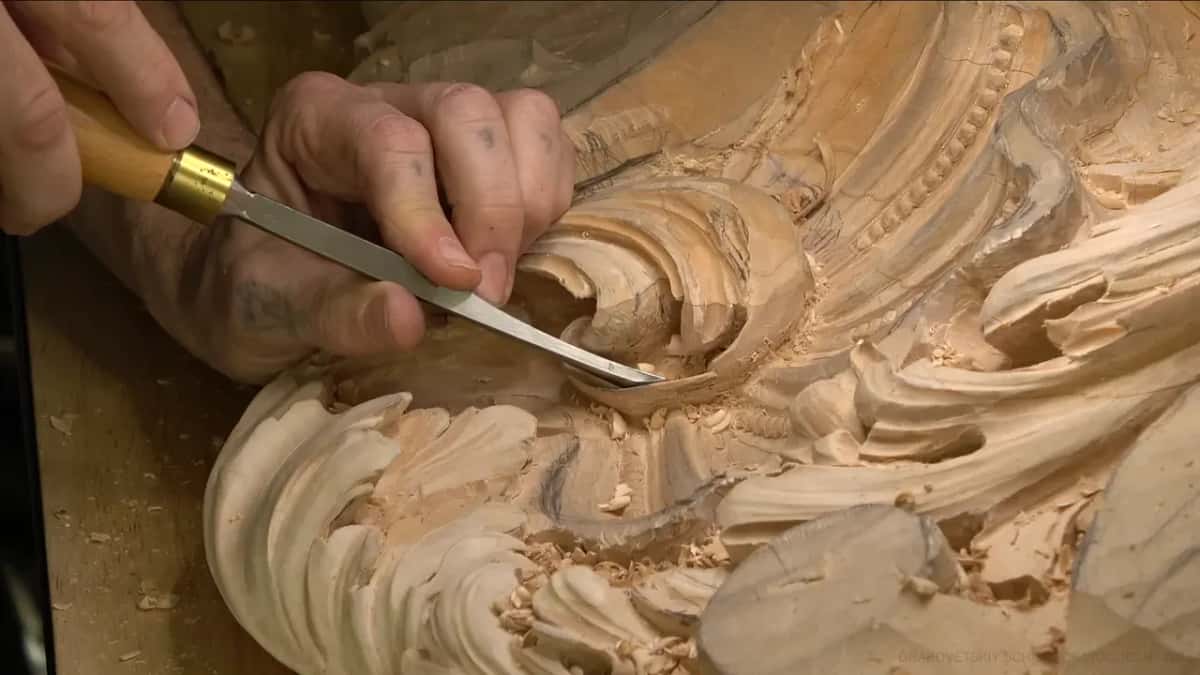
Wood breaks in these workshops and I leave the breaking in the video. An edge went on me in workshop 13. No bueno, I said, and then I said it was meant to be that way, which is my usual excuse. I could glue it back. I just do not want to. So the separation gets bigger, and like I say in workshop 15, nobody will know it was not the original design, except it is original, because I am the one still making it.
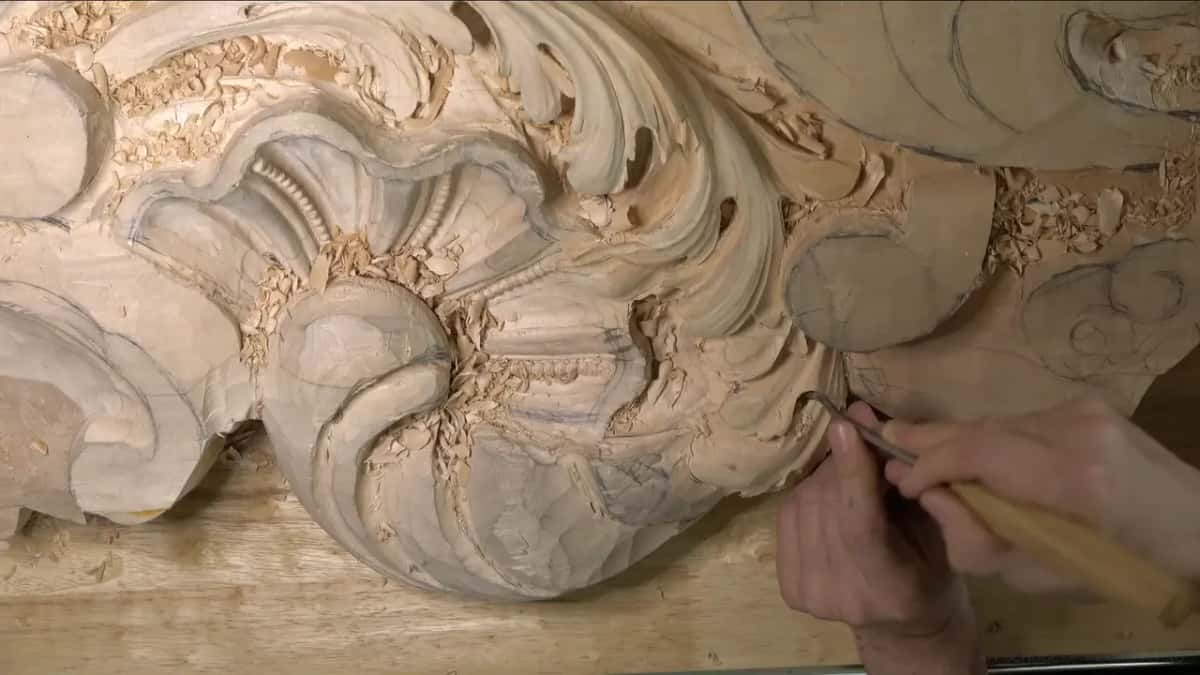
What actually causes it is cranking. Levering the tool against a neighbouring part, or pushing straight down and building stress into the fibres. When you see the wood start to move, the wood is telling you to stop rather than push through. A back bend gouge fixes half of it: because the blade curves away, I am no longer levering on the fragile edge, and I can reach right under a detail that a straight tool cannot touch. The other half is relief cuts, every triangle, every time.
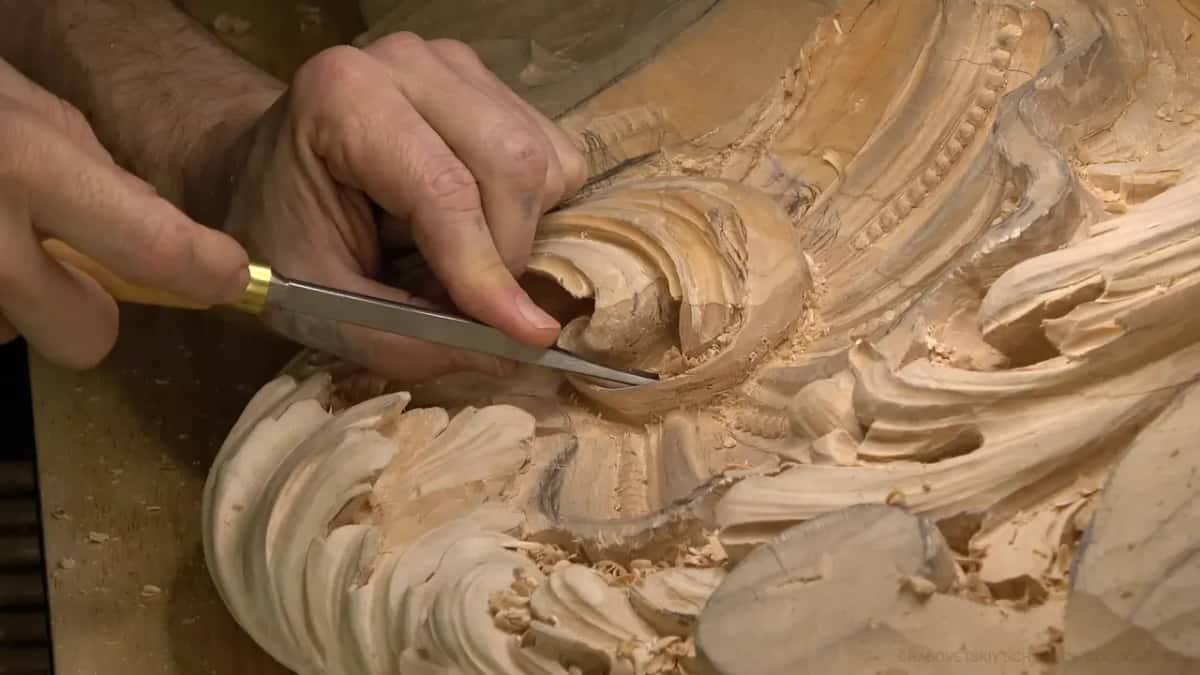
Sometimes I cannot see the edge at all, no matter how I turn the piece. That is when I listen. A gouge tells you whether it is cutting cleanly or tearing, and deep inside the head I am carving by ear. Hearing the wood is not mystical. It is just what forty years of the same sound does to you.
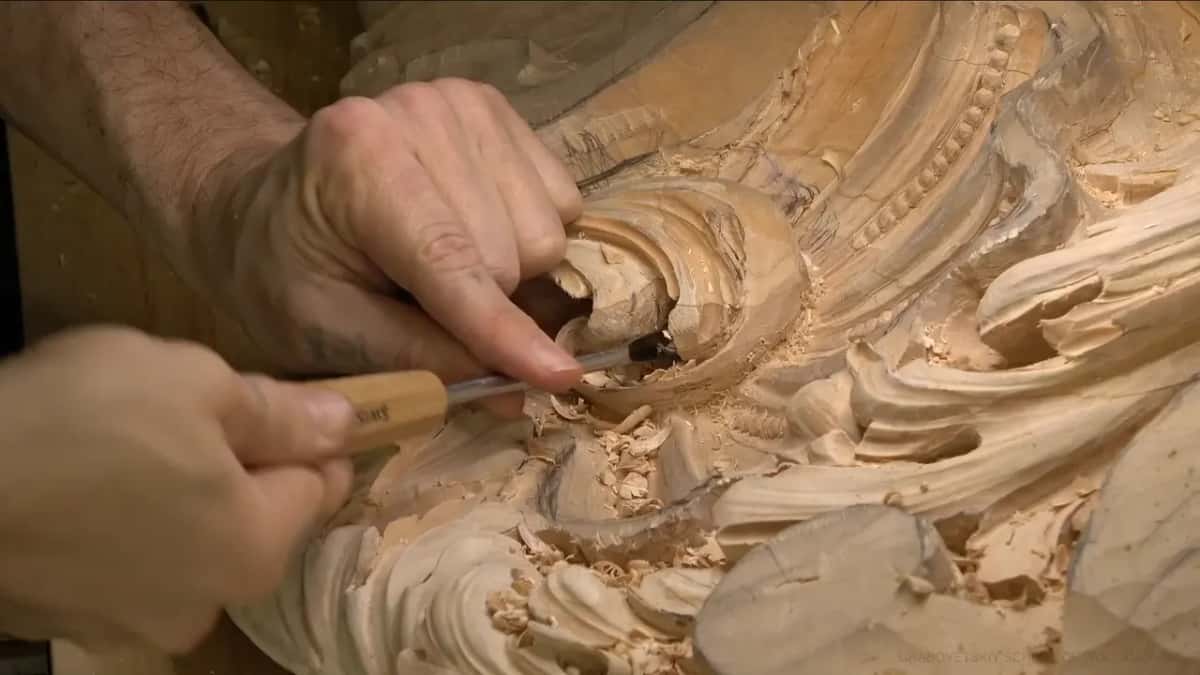
How do you finish a surface that is going to be painted?
Paint changes the whole calculation. This room gets painted, and the client wants to see brush strokes, so it goes on with a brush and not a sprayer. Paint sits on the wood like another layer, which softens the finest line work until some of it disappears. Knowing that, I do not take every spot to a really smooth surface, and I do not excavate so deep that the brush cannot reach.
Which brings me to the rasps, and I have to be honest with you here. I stayed away from them for years. I did not believe in them. They looked to me like they did not belong in the wood carving world, because my own teacher never used one and neither did some famous carvers of the past. Then I watched a carver get good results with one and I asked myself, why not try. On a commission that gets painted at the end anyway, why not. Now I catch myself wondering why on earth I waited so many years to pick one of them up. My children would call it a cheat code.
After a rasp I will sometimes break the surface with Mirka mesh at 220. It is not really sandpaper, it is a mesh you can see through, and it leaves far less abrasive behind. Sandpaper dulls tools, so it goes on an area I am mostly done with. But the Italians liked everything softened, no crisp look anywhere, and that is the point of this room.
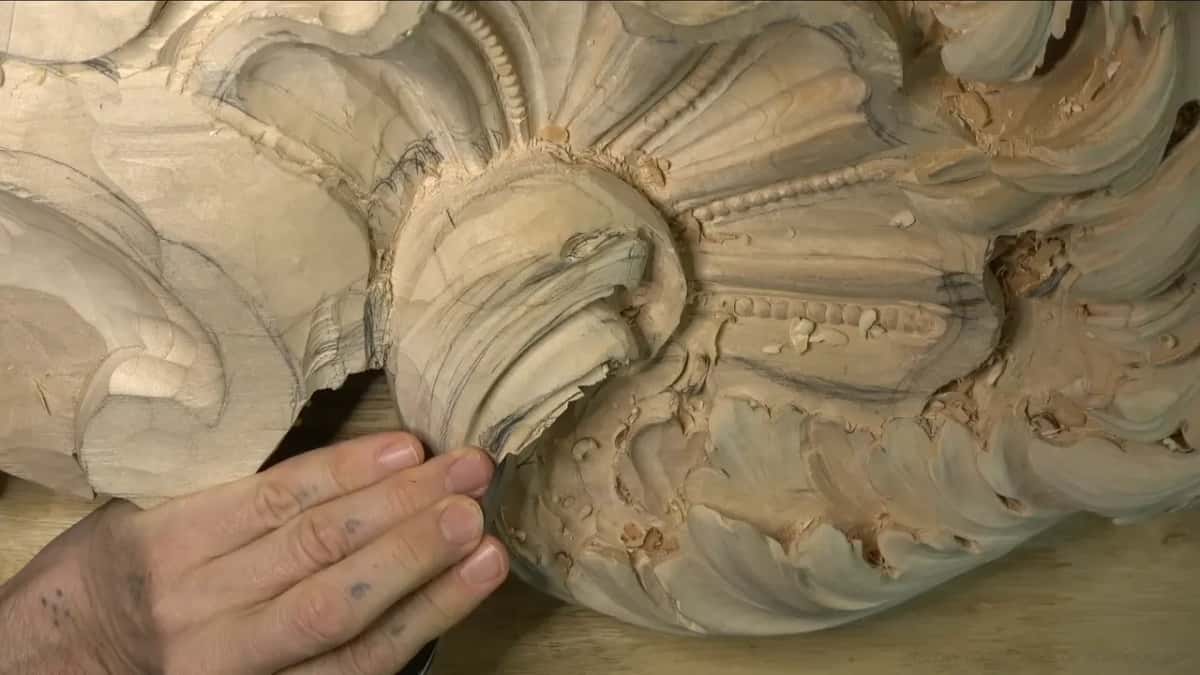
One last piece of the puzzle is the blank itself. I glued it up thick on purpose, and thickness is freedom: I can excavate as deep as I want without losing the overall movement.
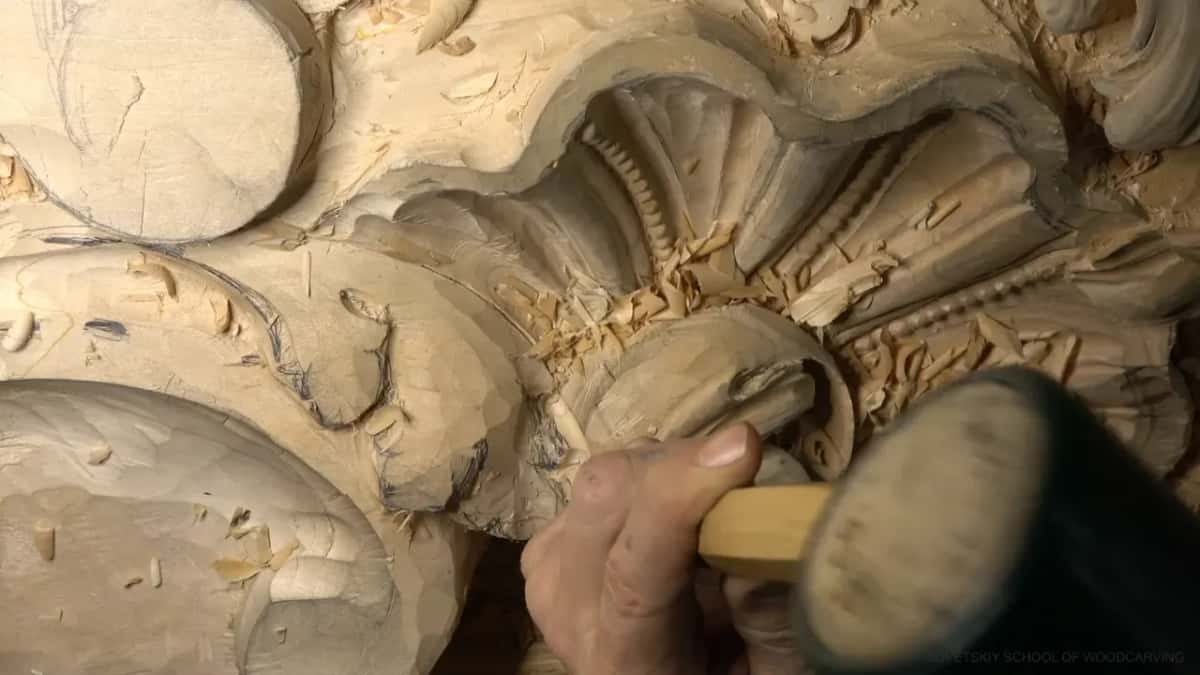
Plug cutting takes the bulk out fast. Rotating a quarter inch number nine straight in, almost like drilling, then a second plug right beside the first, and I am about five eighths of an inch, 16 mm, in.
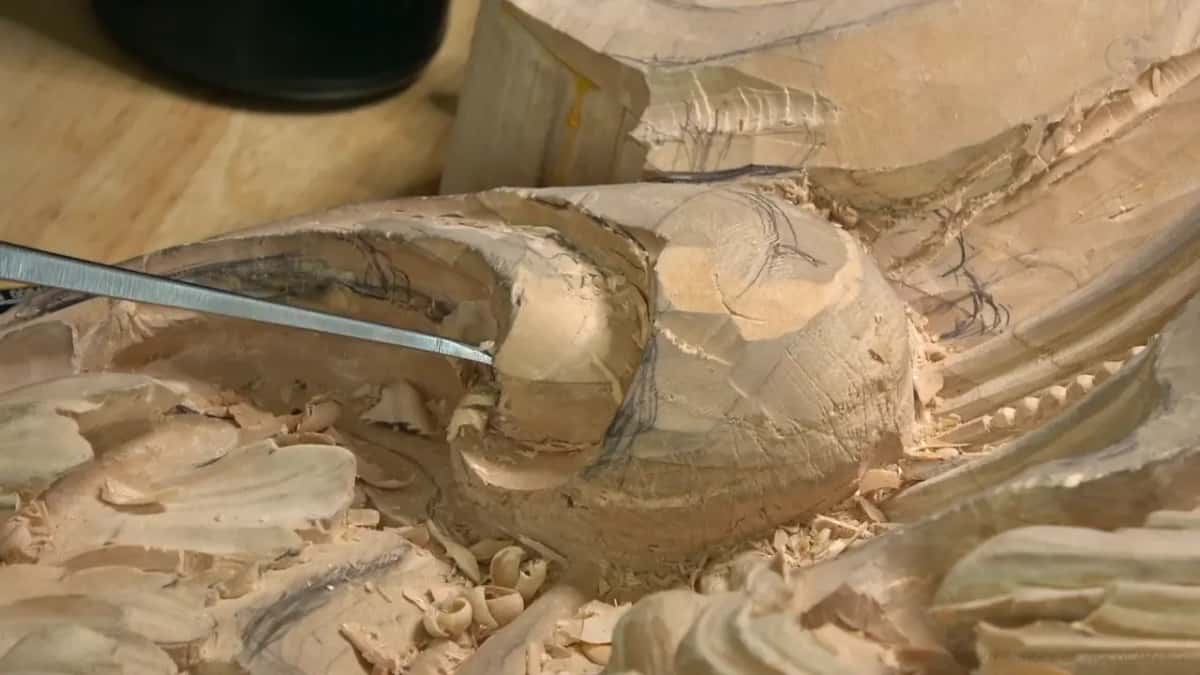
And when the tools pile up I lose them, so I try to keep two or three out at a time. I try. Some days my bench is all mess, and the one gouge I need is buried somewhere in it.
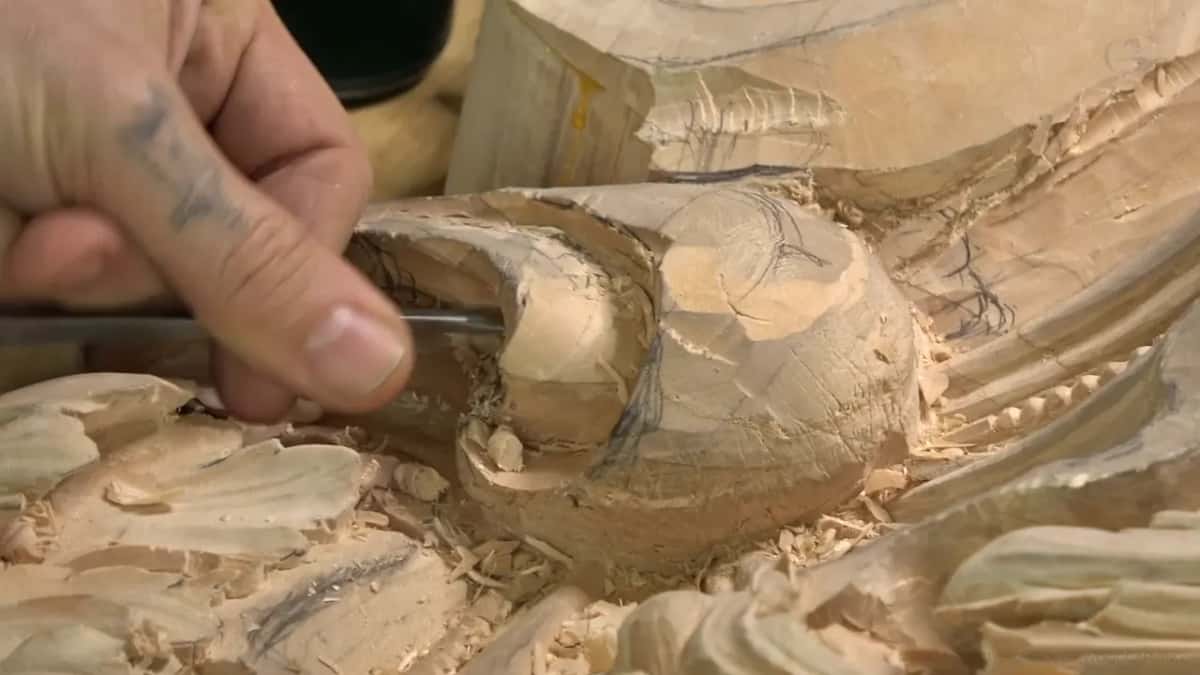
On this project I stopped editing out the small stuff, like me blowing the chips away, because the material runs to months of watching as it is. To me that is the good part of this school. You see a real life example. You are in the shop with me while I solve a problem I made for myself, and some days it looks exactly like that.
If the reasoning in the last few paragraphs is the part you want, this room is where I do most of it, and the tuition covers all fourteen blocks of it. Start at workshops 1 through 12 if you have not seen the panel glued up, or come straight into these thirteen and carry on to workshops 26 through 37 afterwards. The design thinking on its own is Principles of Design, and flowers of the kind that will cover part of this panel sit in the Venetian rosette.
Watch your spacing, by the way. In workshop 16 two distances on one movement come out the same, and I say they should not be the same. Then in workshop 17 I say lines should not run parallel. They should aim at the same point somewhere. It has to be a lot narrower there than here.
Ca d Oro is still standing in Venice, and the high relief work inside buildings of that period has outlived every one of the men who carved it. Mine goes up near the ceiling of that room, and if I have done my part, somebody will look up at a detail from below and ask how in the world I did that. Pick a leaf and let us get you there. Shall we carve?
How it's done
- Draw the element on the blank. Lay the next leaf out in pencil directly on the wood, with its boat outline and the spot where the movement will end.
- Set the outline in. Chop that drawn line in using a number nine a quarter inch wide, about 6 mm.
- Relieve the triangles. Drive a 3 mm number nine straight down into each tight corner, which helps you keep the details.
- Take the bulk away. Rotate that same nine into the waste to lift plugs out of it, then clear the floor with a number eleven.
- Model the separations. Shape three main divisions first, five if the leaf carries them, beginning each concave from almost nothing and deepening as it runs.
- Sink the eyes and round the pipes. Hollow every eye, round the rib beside it, and give that rib a concave down both of its sides.
- Hollow the underside. Work a bowl or a dome under the head with spoon and back bend gouges, which reach where a straight blade will not.
- Soften, then look up at it. Rasp where paint will hide the marks, break the surface with 220 mesh, then stand below the piece and read it from there.
Frequently asked questions
What wood is used for a Venetian style carving?
Lime, which also gets sold as linden or as American basswood depending on where in the world you live. German carvers of the same century used the very same timber. A close, even grain holds a fine edge in relief and takes paint without fighting you, which matters on a commission that gets a brush finish.
Does a number 9 gouge do the same job as a number 11?
Neither one replaces the other. A nine is ground as a true half round, and you work with its two corners. An eleven closes into a U, letting you lay one wall of the tool down for a cleaner sweep. I use the eleven more often than the nine for that reason.
How deep can you undercut an acanthus leaf?
Depth stops where the blank stops. At one spot on this room I check, and I can't go more than about three quarters of an inch, 19 mm. Anything past the point where the wood starts to move under the tool is too far.
What to carve next