

Alexander Grabovetskiy, woodcarver, School of Woodcarving · Published 2017
Why does a wood carving look rough before it is finished?
Quick answer: A rough look halfway through a wood carving is the mark of a stage that only sets the form, with the cleaning still to come. I called the first undercut on my Corinthian acanthus preliminary, still establishing form, and said everything would get cleaned later on. A choppy edge got its number 9 anyway.
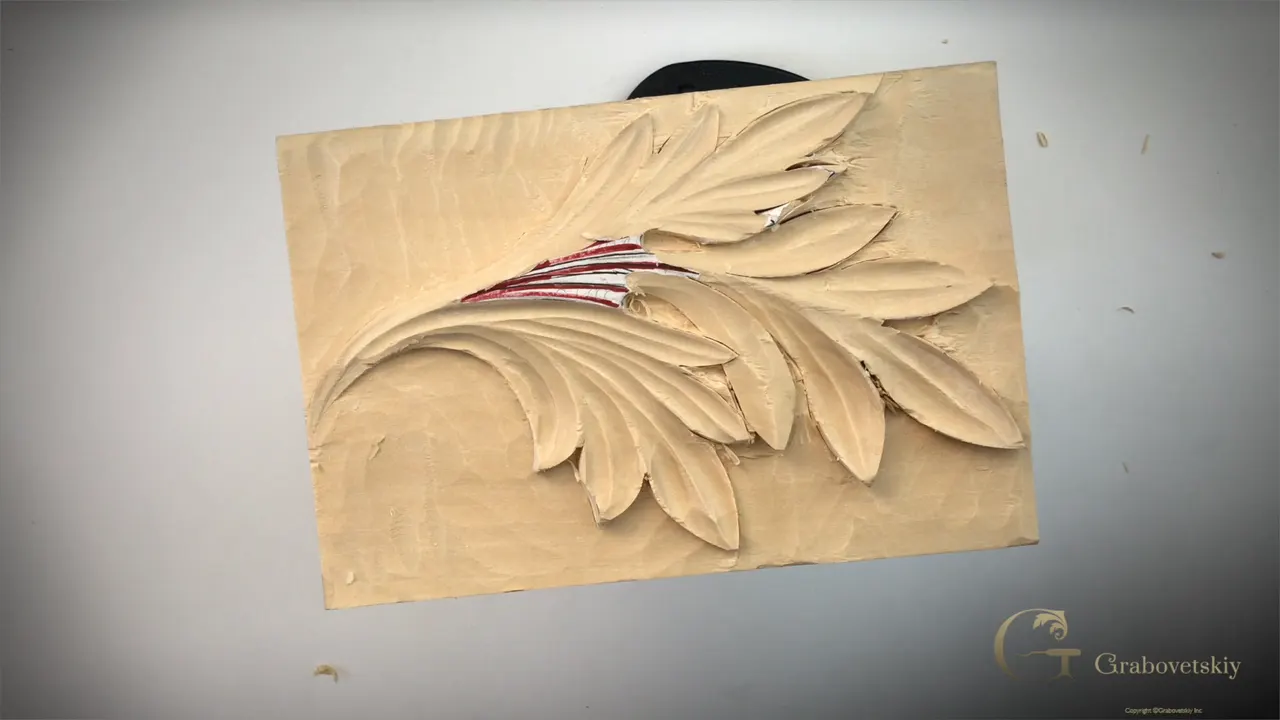
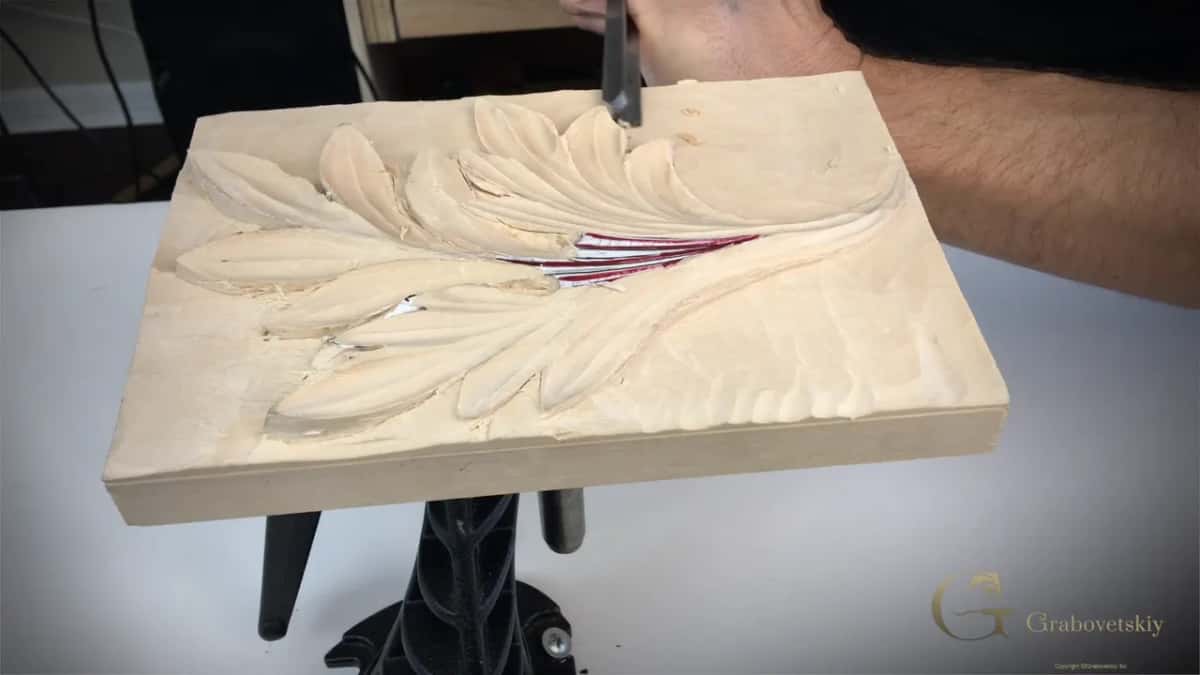
A rough look in the middle of a wood carving is what the form stage leaves behind, because that stage only sets the shapes and the cleaning comes later. Part 1 of lesson 5 in my Corinthian acanthus course is where I said it. This step is not the final step yet. It's still establishing form. Later on, I said, we would clean everything and it would look really nice. That's the wood carving process on my bench, and for a good part of it the leaf looks rough.
Ever carved a piece that looked worse halfway through than the drawing did? Seen facets, ridges and a chewed edge, and wondered if you had spoiled it? Then wait before you judge it. On a tray leaf I told everyone not to worry yet if the shape doesn't look right. Below are the places on camera where I let a carving stay rough, why, and the few spots I cleaned right away.
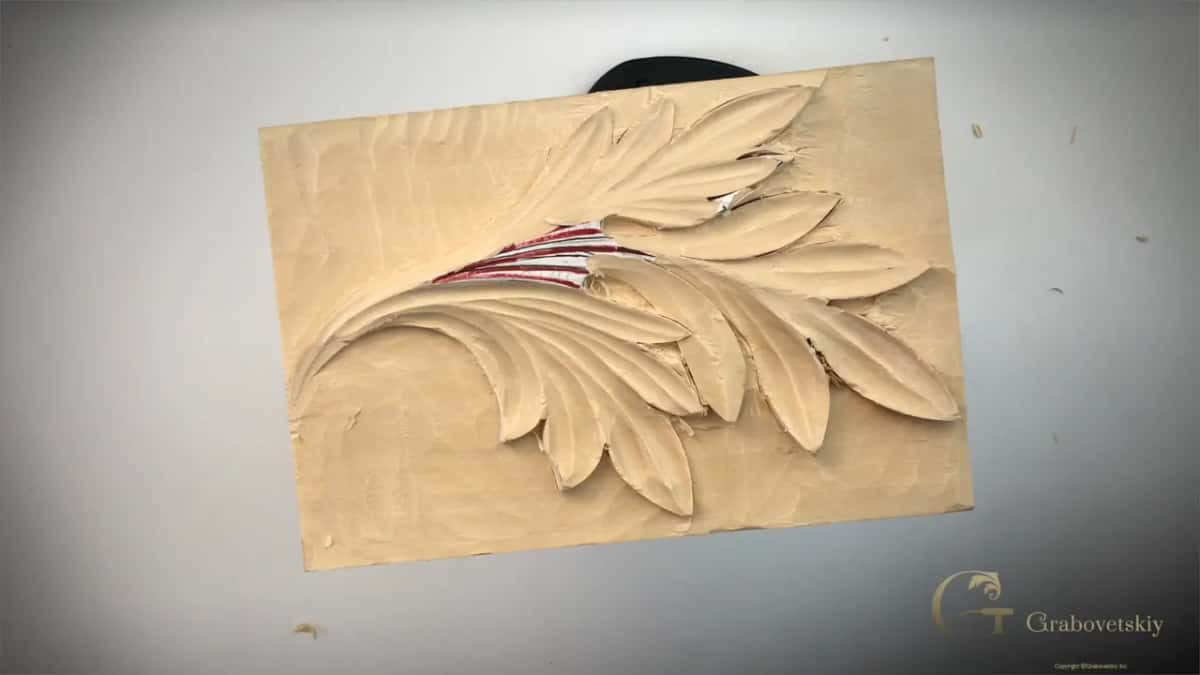
Rough now, clean later, with a few exceptions
- A preliminary undercut is supposed to look rough.
- An edge I don't like still gets a number 9 on the spot, really carefully, even though the leaf is far from done.
- Facets and ridges can wait.
- A dig in the ground beside the leaf is the mess that may never come out.
- Near the final depth, a flatter tool makes the surface clean at once.
- Early on, I judge the 3D line and the movement, and let the surface wait.
Why does a carving look rough halfway through?
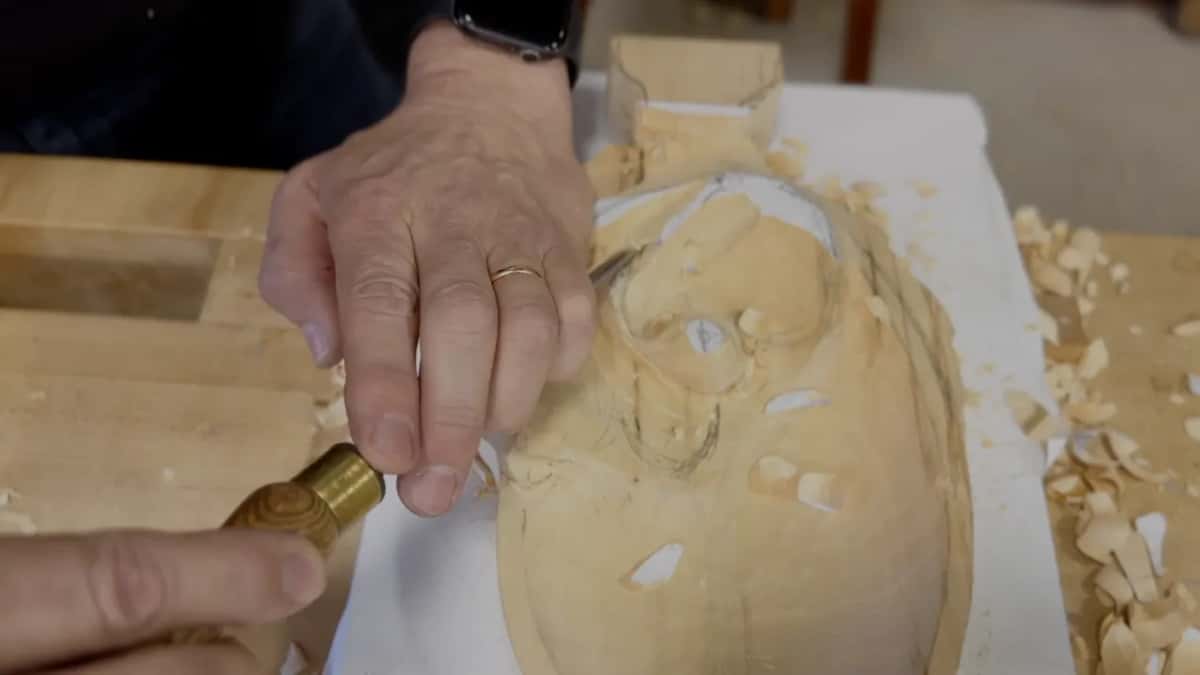
Each pass in the middle is there for the form. On my Corinthian leaf, a deep relief, the wall still went straight down, left that way by the work before, and in part 1 I started to undercut it. I went around it with a V tool laid on its side and a mallet. That's actually just a preliminary undercut, I said, and I kept going around.
I even called it beautiful ahead of time, about a leaf that did not look it yet.
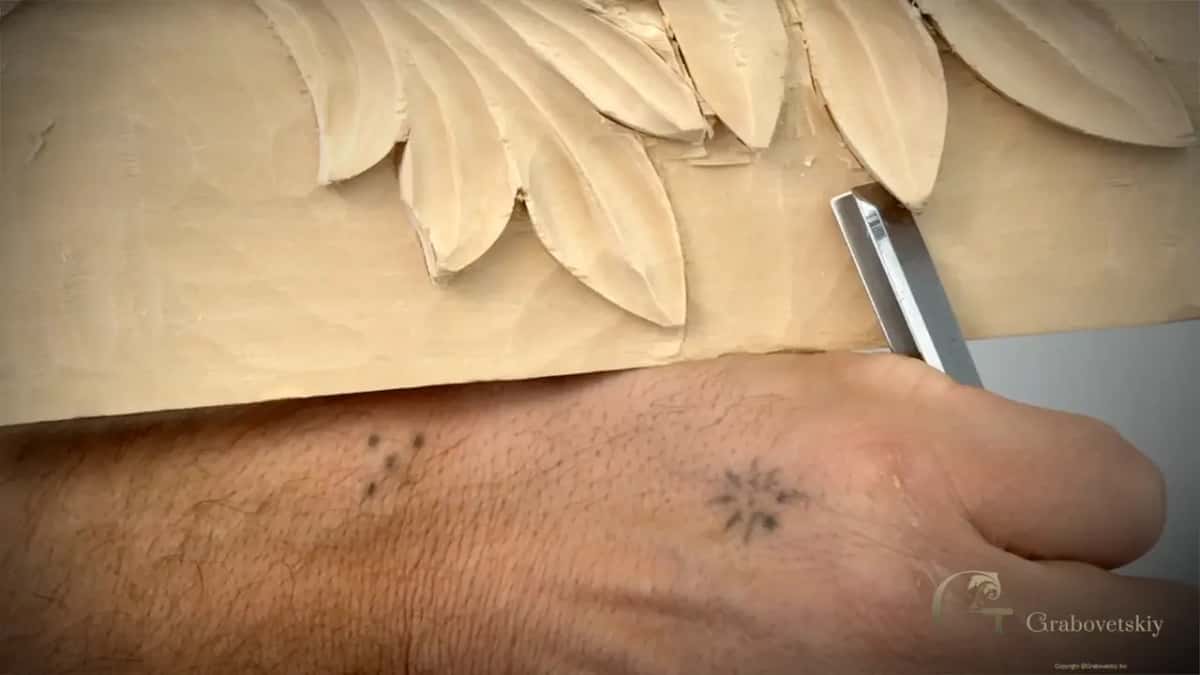
Not everything you try at this stage stays. Sometimes it doesn't work, extreme undercutting, I said a little earlier in that video. On furniture that is heavily used I would not suggest it. The full reasons, and the tools, are on the lesson 5 page, so I won't repeat them here.
The Venice Room course starts the same way, with the form first. What establishing the form means on a panel that big is in the first twelve Venice Room workshops. Much later, in workshop 78, I said a little later I'm going to fasten that in a vise and clean everything. I'm just establishing the form, I said.
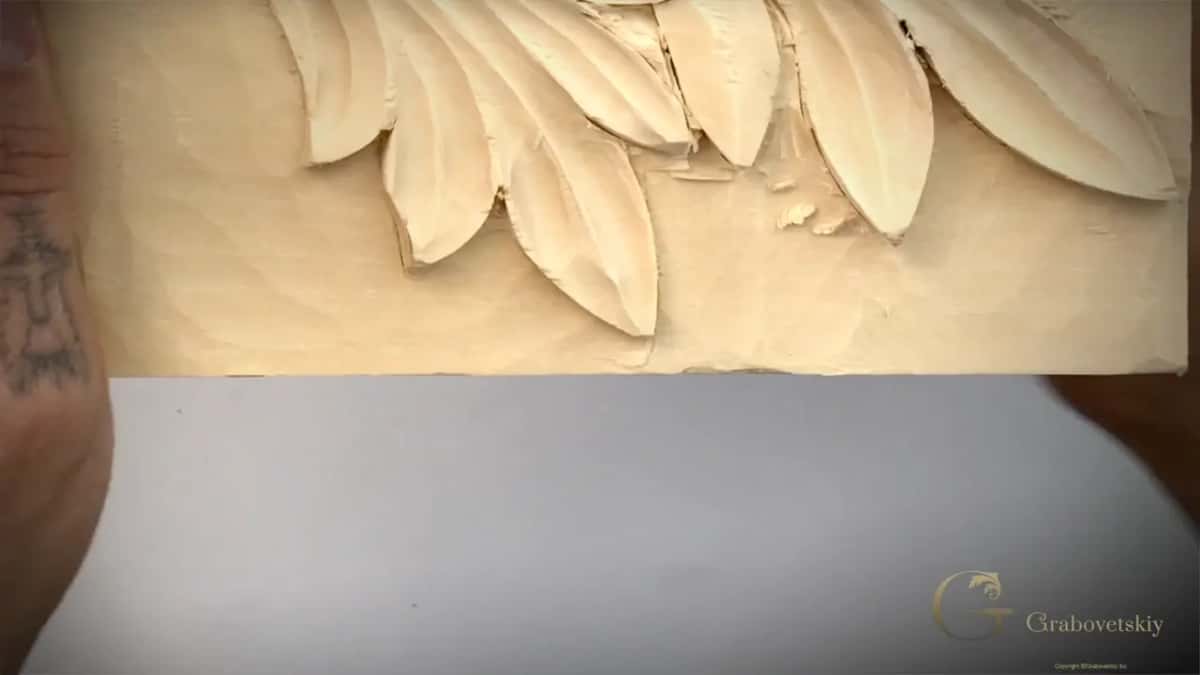
What are the stages of wood carving between rough and clean?
The order on these pieces runs form, then subdivisions, then cleaning, and each piece says it a little differently. On my furniture panel, lesson 19, the leaves looked much better to me. But we still have to make some subdivisions and so on, I said. This is just the initial form. Please don't judge me too harsh.
In the video just before that one, same panel, I called it an overall canvas. We're just creating the shapes of those leaves, I said, because I still want to do some development later.
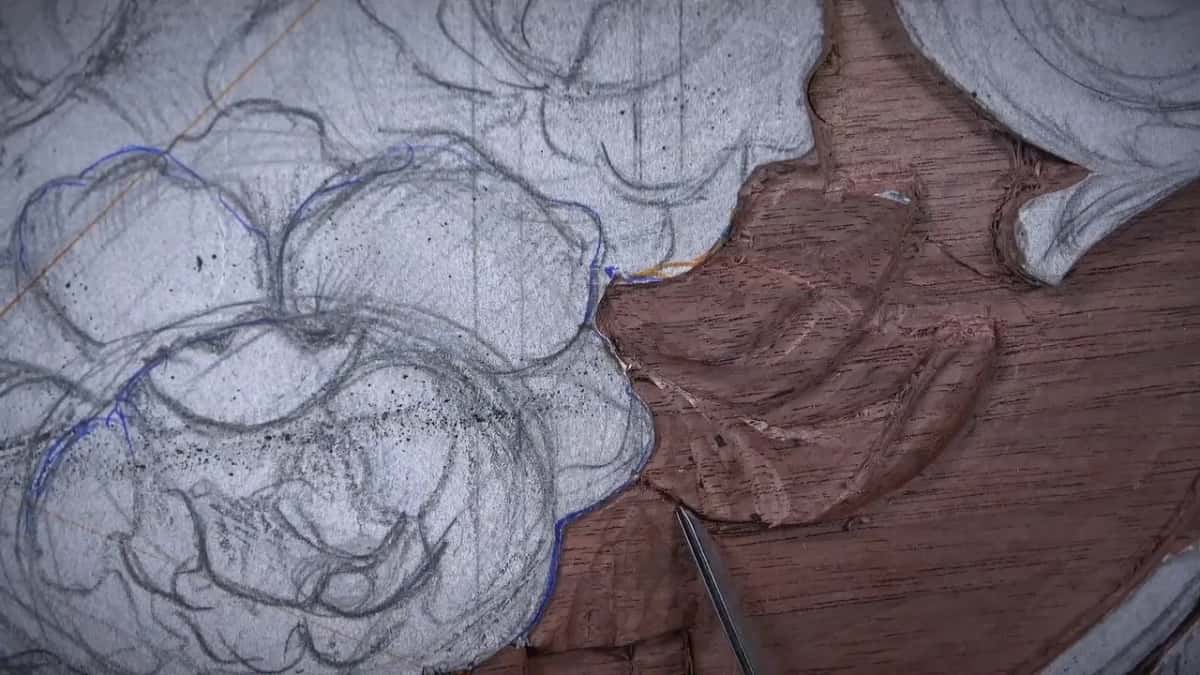
The tray leaf in lesson 3 of the Tray of Blessing is where the advice above came from. Don't worry about it if the shape doesn't look right yet. First of all, we are going to do some subdivisions. We had five main ones on that leaf, but that does not exist in real life, so we subdivide them inside even more.
Workshop 50 of the Venice Room put the order in my own words while I worked. In that workshop I gave a little more shape toward one movement and said it doesn't look too appealing right now, and I don't need it to be too appealing at this point. A sloping movement came next, with the high point kept at the same level. My middle line went in again, really gradual. Only after that did I make my main divisions, three parts at first.
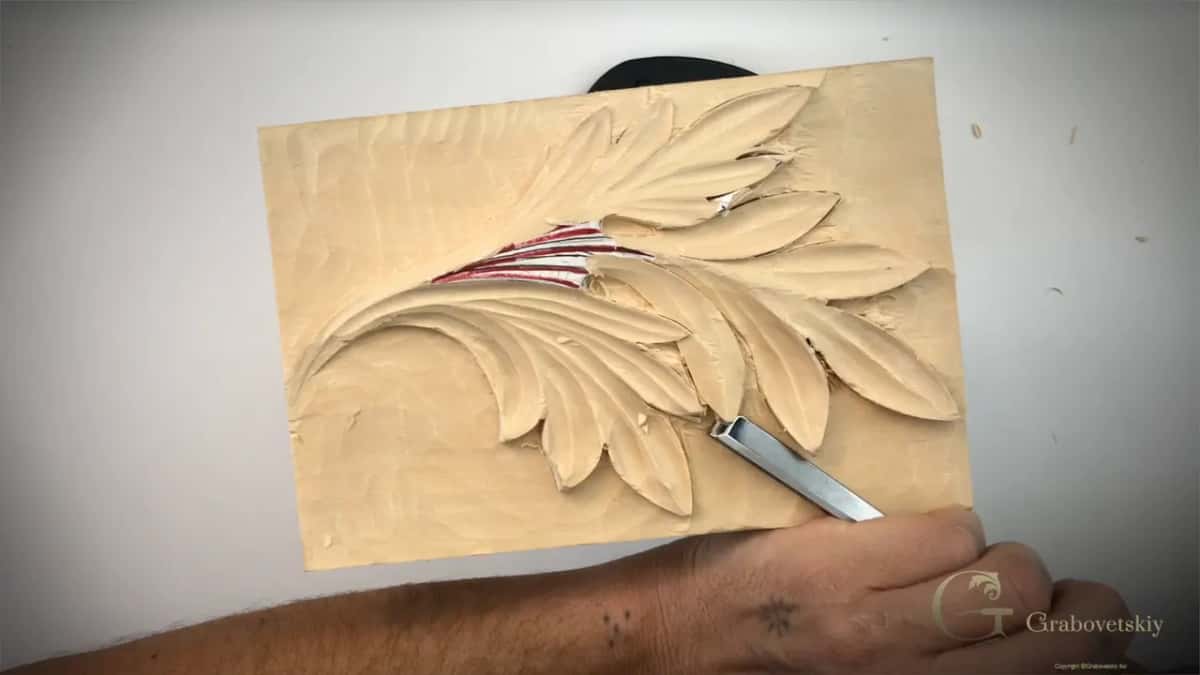
One more line, from workshop 55. Even if it doesn't look good yet, it will look good. It will look awesome. Just one more canvas.
Should you clean as you go, or leave it all for later?
Both, and a choppy edge is where I don't wait. Back on the Corinthian leaf, partway through part 1, a number 9 gouge cleaned one part. I just don't like how it looks, I said, and I cleaned it nicely.
Later on, I'll clean it even better, I said. But for now, it should do. And I went around everywhere.

A little further, my edge was kind of choppy. The number 9 came back, and carefully, really carefully, I made my cleaning cut. But anyway, try to get, on the way, as clean a cut as possible, so it's going to help you later on.
A Venetian panel in workshop 13 got the same treatment for the same reason. Let me clean my edge, I said, because it doesn't look too appealing right now. A 2 mm (0.08 in) number 11 went in to clean all that mess, though I said it was not the last cleaning, since I still had to work around it.
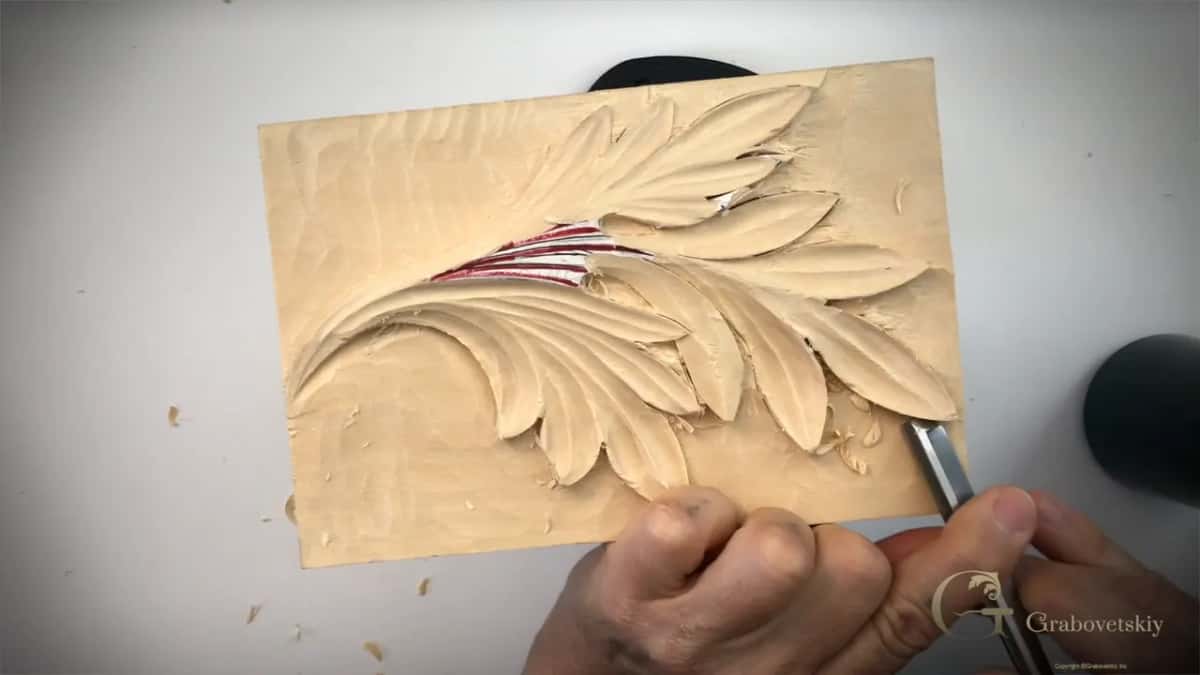
A ridge beside an eye in workshop 47 had to go right then too. I need to take that, I said, and get rid of this ridge. So it has to look like an eye.
Other times I clean a little and stop on purpose. In workshop 82 I laid a 3 mm (about 1/8 in) tool on its left wing and said I would clean up a little better later, when I establish the final form of movements. But for now, it will do.
The Roman leaf in Roman acanthus lesson 7 shows a third way. The ridges were not too nice, I said, so I could rotate it and hit them from the opposite side. That would leave it looking nicer, even that early.
And in lesson 4 of the Venetian Flowers Rosette I took a number 3, a flatter one, and said it was much better, if still short of the final look. I still wanted to chop off some of that part. It was still too much, and then it made a little more sense.
| Piece | Look | Lesson | Next |
|---|---|---|---|
| The Corinthian leaf | Choppy edge after the first undercut pass | Corinthian 5.1 | A number 9 cleaned it carefully |
| A Venetian panel | My edge did not look appealing yet | Venice 13 | A small number 11 cleaned it |
| My furniture panel | Leaves were still only the initial form | Furniture 19 | Subdivisions and development came after that |
| The tray leaf | Five main subdivisions, nothing smaller inside yet | Tray 3 | Next came subdividing them inside more |
| The grape vase | Ridges left standing along the leaf sides | Vase 2 | Later steps would blend them in |

When is a messy surface safe to leave?
When a later step can still reach it, and when I'm not in too deep. In lesson 28, on the second part of that furniture panel, I chopped the waste with straight down cuts right on the line. It looked messy, I said, but it's okay as long as I'm not too deep right here. So I should be fine.
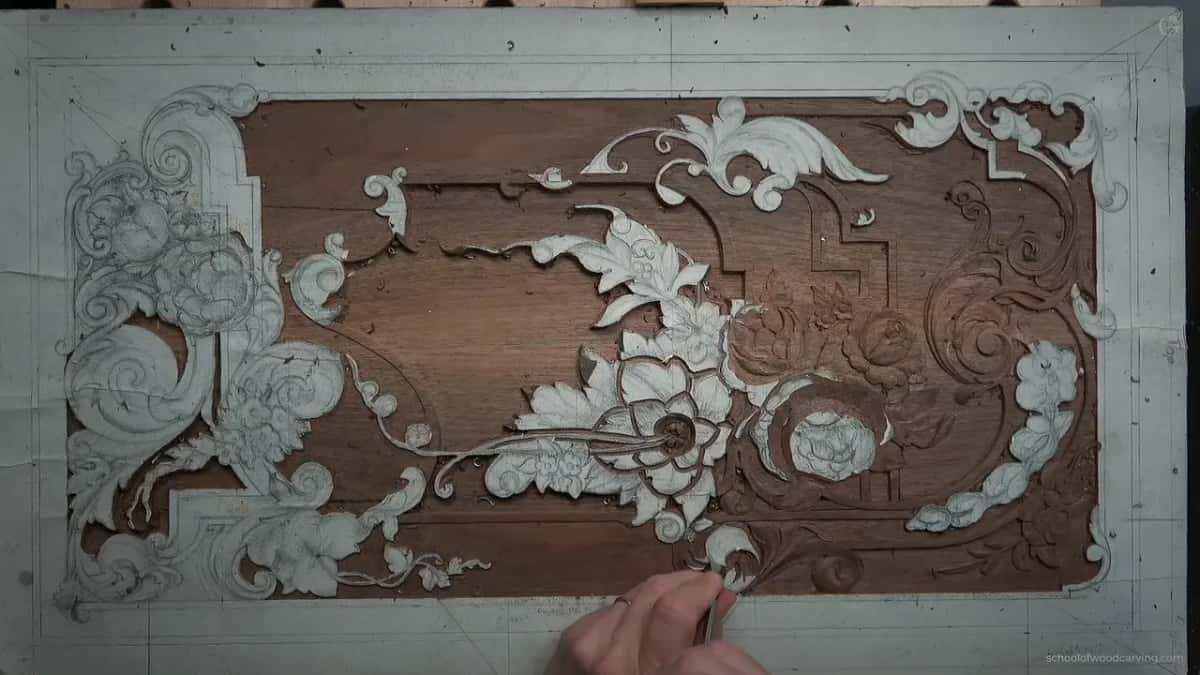
On the tray I put it the other way round. While I blended a pipe in from two sides using a number 2, I wasn't worried about digging in, because I'm able to clean that later with the previous tool. Until I'm happy, I said, which I'm not happy yet.
Further on that tray, in lesson 6, I started undercutting underneath those parts. I kept about an eighth of an inch, about 3 mm, maybe less, for now, because I can always clean that later. But now I don't want to overdo it.
My vase with grape leaves, lesson 2, got a number 11 veiner along the sides, and the ridges stayed. I wasn't worried about those ridges yet, I said, because we are going to be able to blend them later with the later steps.
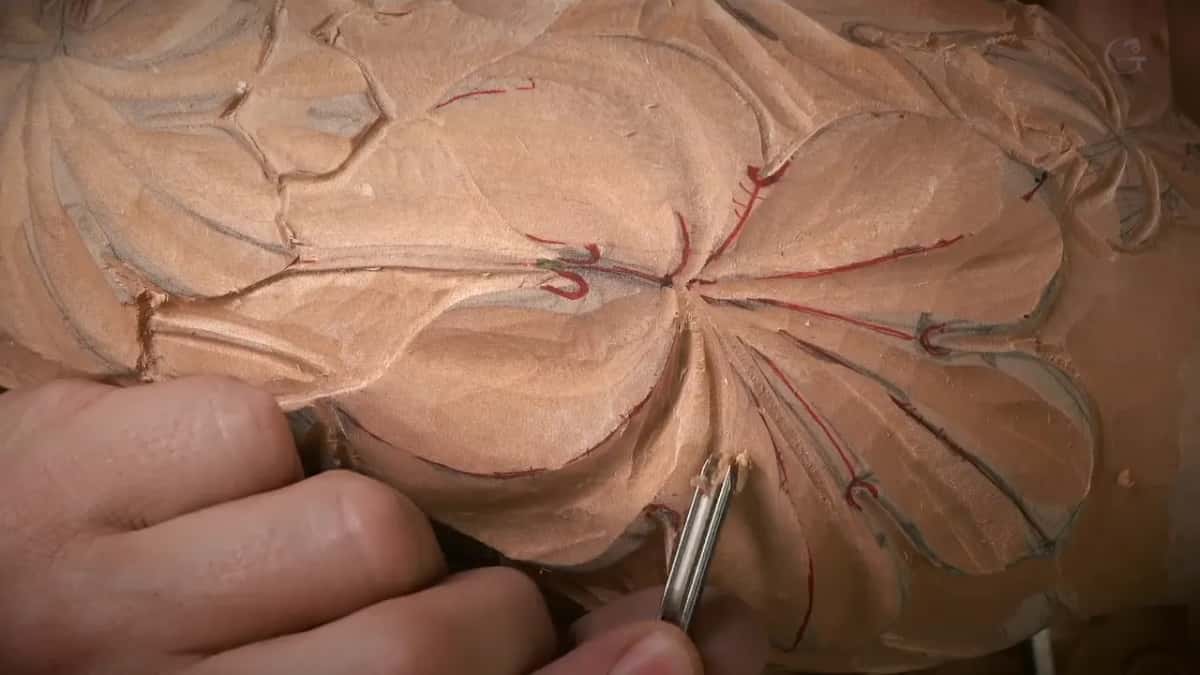
Lesson 29 of that panel, the next one, had me roll the tool upside down under a petal in small chamfer cuts. That is just preliminary, I said, and I'm after just establishing overall shape. Don't worry about those facets.
Workshop 65 found me just as calm, a number 3 of 12 millimeters, about half an inch, in my hand for a ridge I didn't need. See, I'm not forcing anything, I said. Yes, I was working against the grain in that workshop, and that was okay, since my tool was super sharp.
What mess can't be cleaned later?
A dig into the background is the one I warn about. Back on lesson 19 of the furniture panel, I undercut under a leaf with a 1 mm (0.04 in) number 11 laid on one of its sides, the left side in my case. Make sure you don't dig inside of the background, I said, or it turns into a big problem.
You would have to lower down all the background. Right then that was still possible, but later on it would not be, because by then it would be all wavy, and that won't look good. So make sure you don't go in deep. The mallet came next, and I went in carefully.
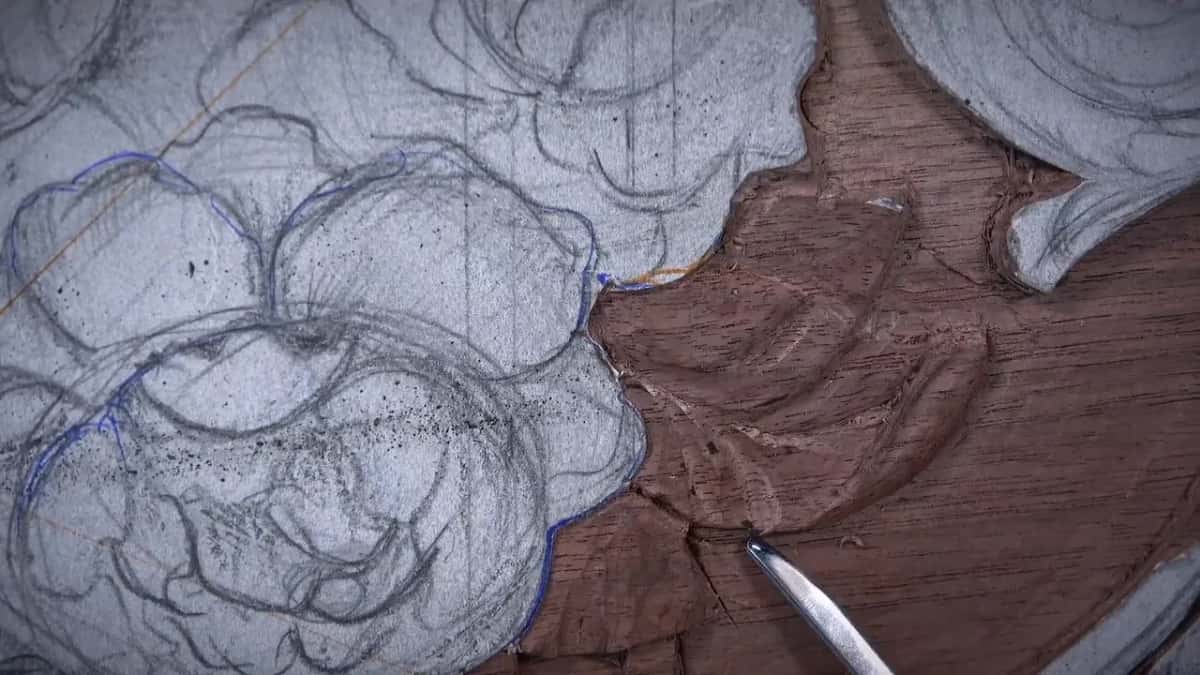
Thin wood is the other one. Back in workshop 78 I wanted a concave cut next to a curl, but I had to check first. I don't have too much thickness, I said. I've got less than a 32nd of an inch (0.8 mm) right here. So I took a smaller gouge by Dockyard, maybe about a 16th of an inch, a millimeter and a half, and dug in a little deeper.
When do you clean right away?
Close to the final depth. On the background of the same panel, lesson 18, I said a flatter gouge would be a good idea, maybe even a crowning tool, since I'm really close to the final depth. I want to make it look as clean as possible pretty much right away.
The tool was a 1/8 inch rounding tool, about 3 millimeters. I'm saying about because it's not exactly 1/8. A smaller one, 1/16 of an inch (1.6 mm), went into the area inside, and I wanted to see if my router plane would help. After that I lowered that spot to almost the final depth, and at least then I'll know exactly how deep I'm supposed to go.
Two lessons on, in lesson 20, the order was the same. It looked messy, I admitted, but it's a really nice trick that gives really quick results. And now I'm ready to clean my edges and get to the final depth, I said, and a number 1 double bevel went straight down.
What should you judge while it still looks rough?
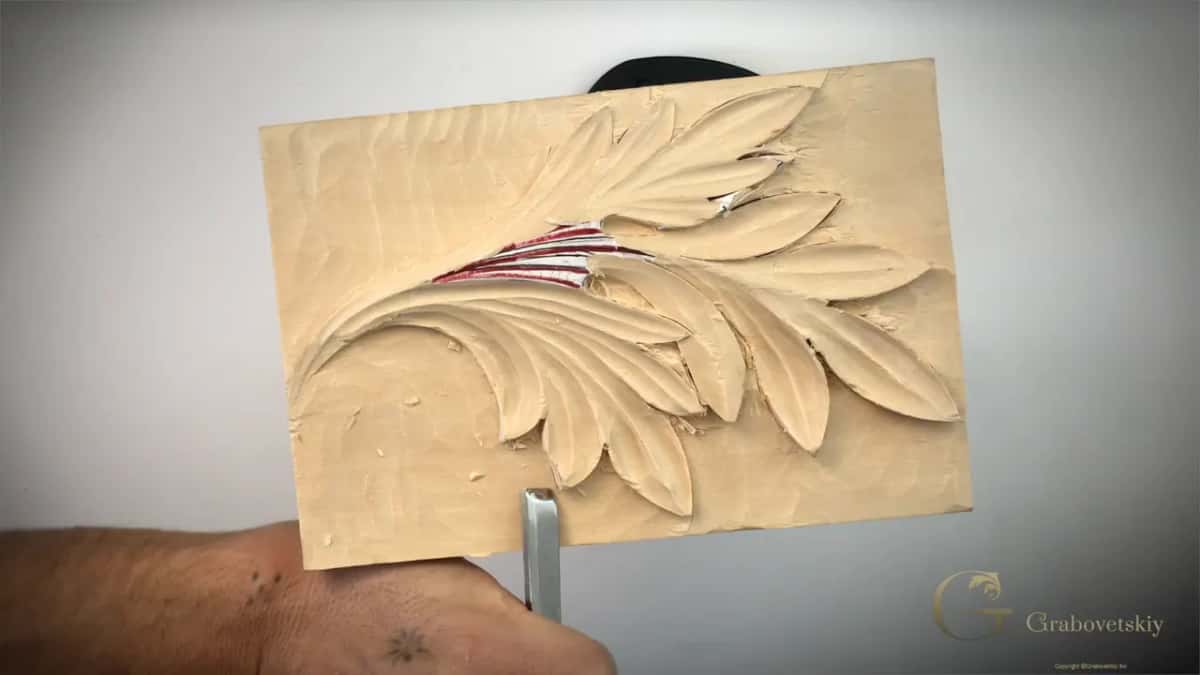
The line in three dimensions. On one Venice Room panel, workshop 63, I rode on the edge of my tool and hit the high spots, and I felt whether it moved down nicely. I checked it from the side too.
I really don't worry that it doesn't look good yet, I said. All I need is how tangent that line is, in three dimensions. A long bent number 4 helped me hit those high spots, and then it was just really smoothly going up, which is what I was after.
It went the same way in workshop 76. After a micro tool number 3, one-eighth of an inch, 3 millimeters, it looked much better. More cleaning could wait, and for now I'd leave it like that. For the next eye I didn't want to do too much, because I really like the overall movement.
The Roman leaf says the same in fewer words. I fixed the movement with a number 8 and a really small, tiny gouge by Dockyard, until it looked somewhat like one flowing line. Some of the rough ridges at the top, I'll take care of them a little later. It's not a big deal for me at all.
Why do I keep saying it will look better?
On camera the wood is not there yet, and I know it. With a Hashemi flower in lesson 10 I said I know it looks messy, but it's okay. It looks messy just now. Once it's done it should look beautiful, though I'm not the one who is supposed to decide whether it does.
In the next video, same flower, it was shorter. I know it looks messy, but believe me, it's going to look fine. Next came a number 5, one inch (25 mm), and I had to think what the best move was.
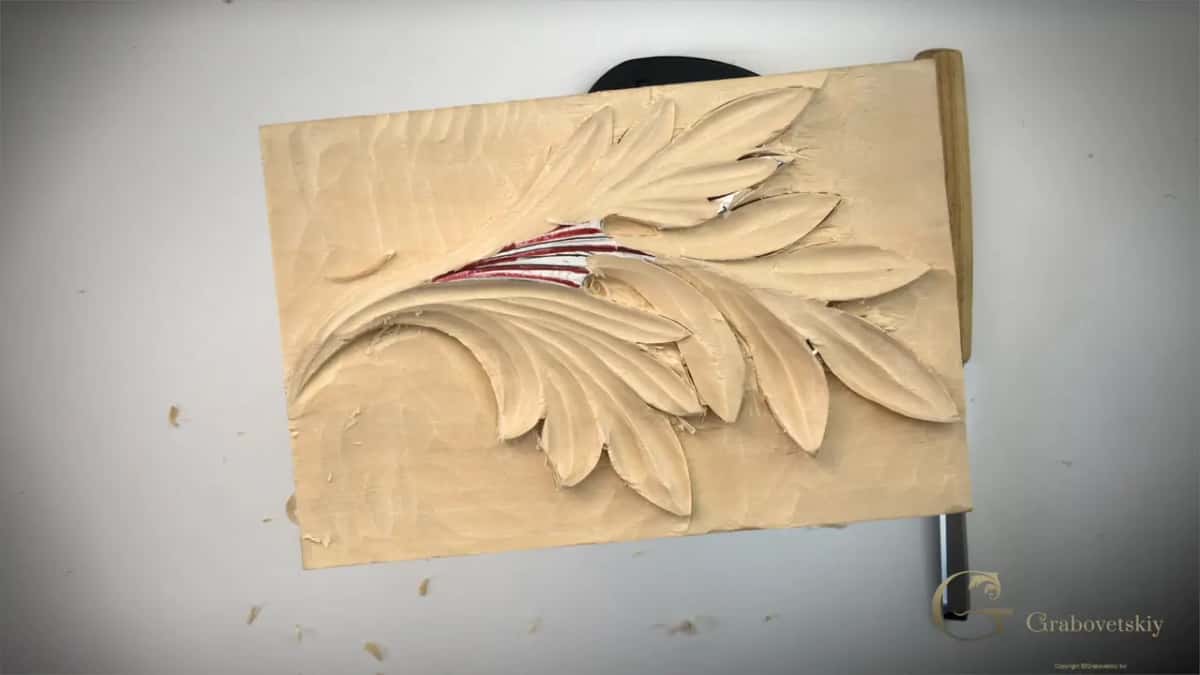
The first lesson of the grape vase had the same line. Messy now, I said, but it would be looking really good. Roman acanthus lesson 6 got a straight down cut that I called preliminary, because later on I'm going to clean and make it look even nicer.
One small separation cut on that workshop 13 panel I made because, as I said, it looks like it's asking me to do it. Just begging me. Do it, do it. And that one was just preliminary too.
Got a leaf on your bench that looks rough right now? Does it still have its shape and movement? Then try to get each pass clean on the way, and let the rest wait. Mine is in part 1 of lesson 5 of the Carving Corinthian Acanthus Leaf course, and here is the Tuition page if you want to carve along.
How it's done
- Set the form first. I go around the leaf with a preliminary undercut and let it look rough while the form gets established.
- Clean an edge you don't like. Where my edge comes out choppy, a number 9 tidies it on the spot, really carefully, long before the form is done.
- Leave what a later tool can reach. Facets and ridges I leave alone when a later step will blend them, as long as I'm not too deep.
- Stay out of the background. With the tool on its side I go in carefully, because a wavy ground is something I could not fix later.
- Clean the surface at depth. Close to depth I switch to a flatter tool and want it clean straight away.
Frequently asked questions
Is it normal for a wood carving to look messy halfway?
Normal on my bench. I've said it on camera more than once, on a Hashemi flower and on a grape vase, that the piece looks messy now and will look good later. Whether a finished piece is beautiful, though, is not mine to decide.
Do you clean every pass before moving on?
Every pass, no. Partway through the first part, a number 9 tidied one area of my Corinthian leaf because I didn't like how it looked, and I said that would do until later. A choppy edge later got the same gouge, really carefully. A pass made clean on the way helps you later on.
What kind of mistake won't clean up later?
Digging into the background. I warned on the walnut panel that a tool dug into the ground means lowering all of it, and that later that would no longer work, since it would be wavy. On a Venice panel I also checked the thickness before going deeper, and found less than a 32nd of an inch (0.8 mm).
What to carve next