

Alexander Grabovetskiy, woodcarver, School of Woodcarving · Published 2018
What is hoiking in wood carving?
Quick answer: Hoiking is the British carvers' word for cutting into wood and then levering the tool upward to flick the chip out. Nobody teaches it. Everybody does it, because it feels quicker. On a fragile panel that hook snaps the carving, and on a hard one it snaps the tool.
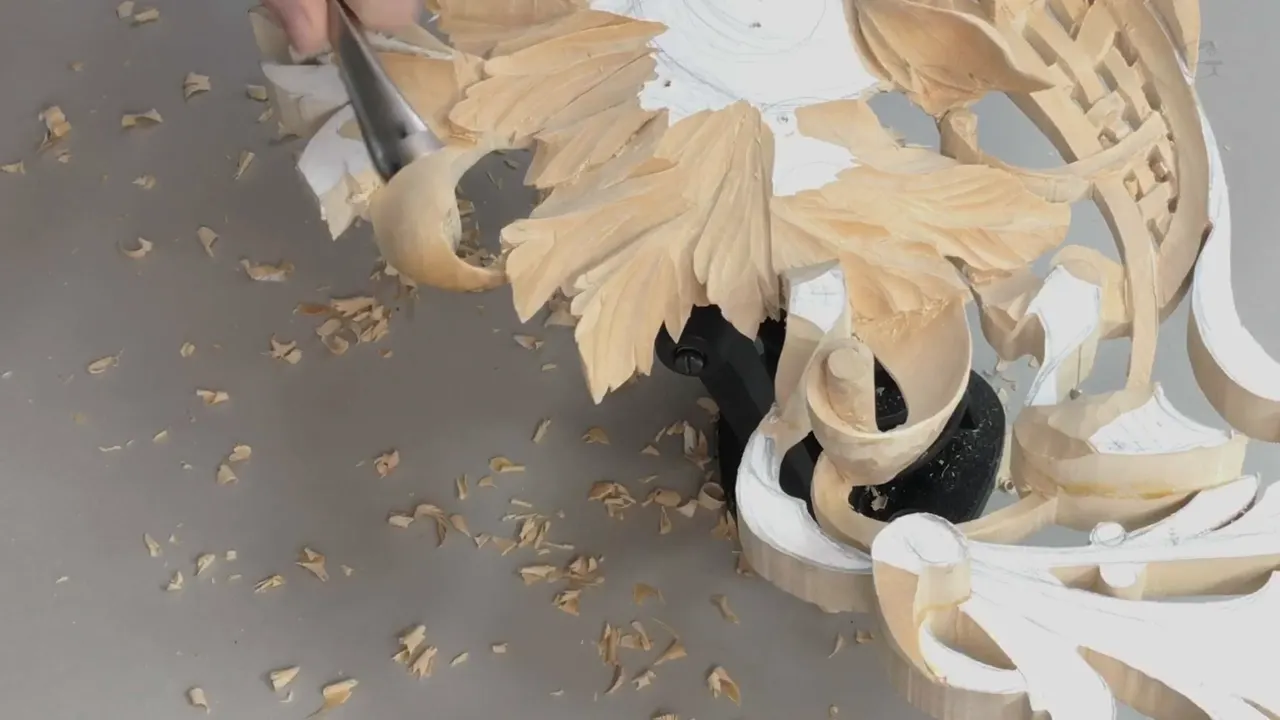
Hoiking is the British carvers' name for cutting into the wood and then levering the handle to hook the chip free. Nobody is taught it. Everybody does it, mine included, because it feels faster than finishing the cut. Put that hook on a fragile panel and it snaps the carving, while in hard stock it snaps the tool.
Have you ever heard a gouge give a small dry tick and found a crack across the bevel afterwards? Did you blame the steel? For a long time I blamed mine.
The steel was innocent. A carving gouge is ground to slice along its length, and the one thing it has no strength for is being used as a lever sideways against the wood it is buried in. Workshop 10 of Carving Hashemi Flowers reaches the stage where the panel is thin enough that the habit costs something every time, so I say the word out loud, name what I am doing wrong, and show the slower move that replaces it.
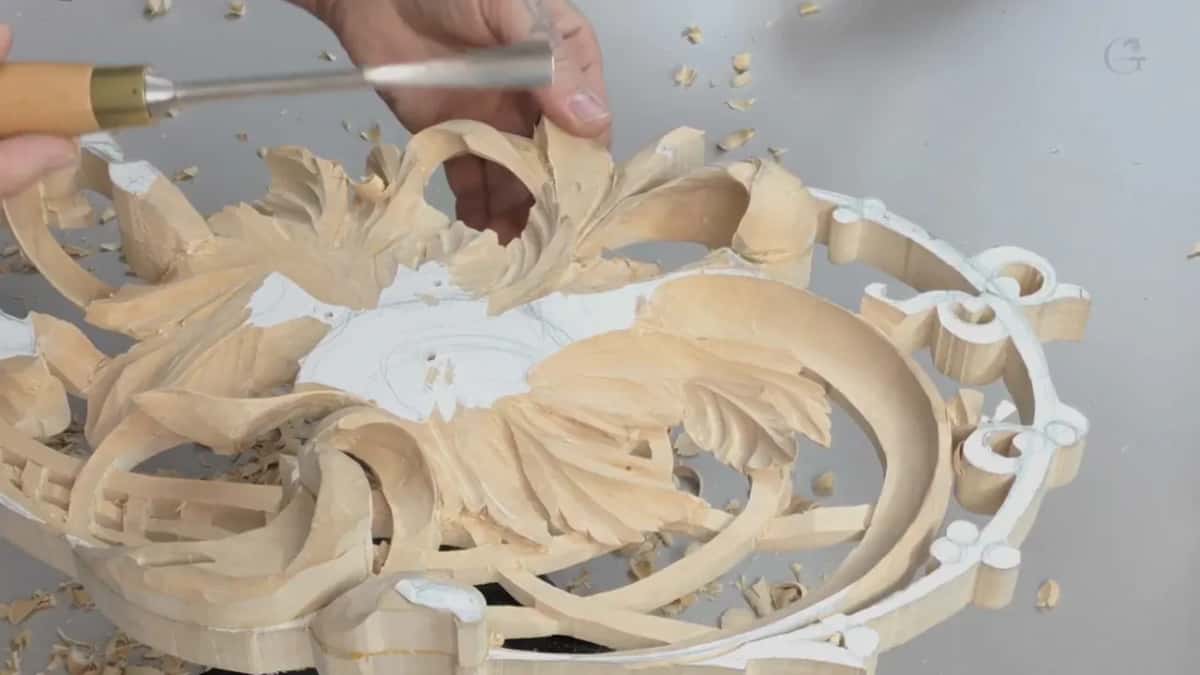
What the upward flick actually costs
- A snapped gouge.
- Fibres torn below the surface where you cannot see them yet.
- A broken point on a leaf that took an hour.
- Time.
- Confidence, which is the one you notice for the rest of the session.
Why does hoiking feel like the right move?
Momentum is the reason. You are already in the cut, the chip is nearly free, and lifting the handle finishes it in a quarter of a second instead of repositioning for a second pass. Your hand learns that shortcut long before your head has an opinion about it.
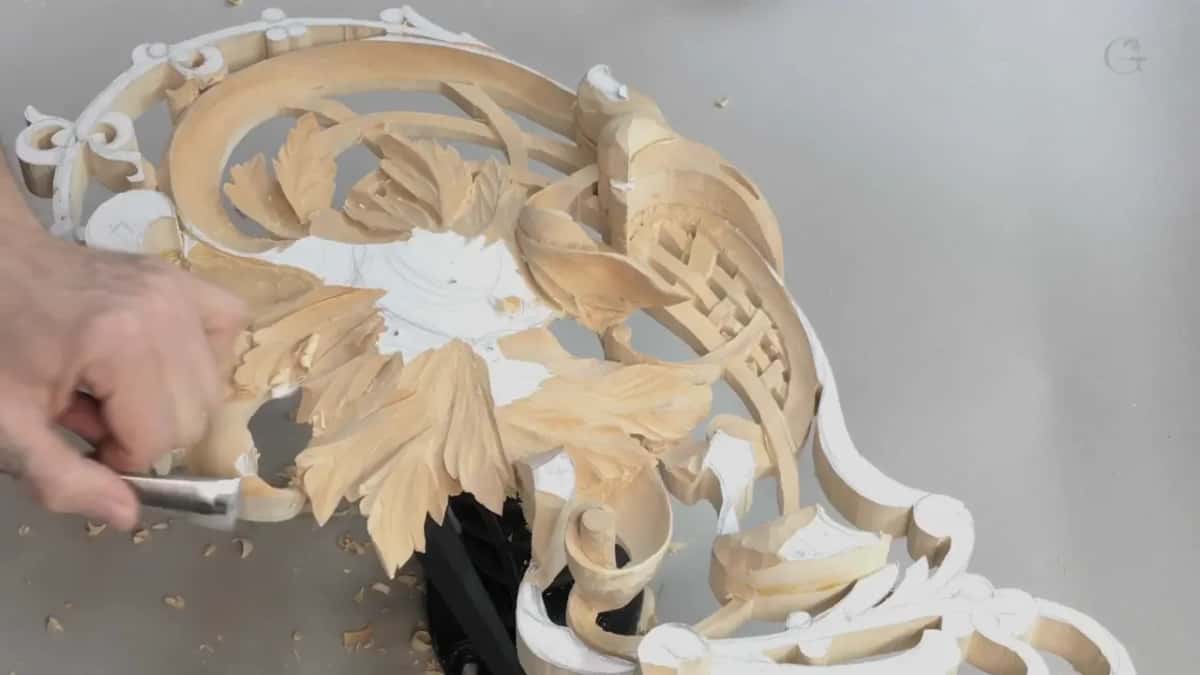
Notice that it works, too, which is what makes it so hard to unlearn. On a thick blank in soft stock you can hoik all afternoon and nothing will punish you. The habit forms there, and then follows you onto a panel where the wood under your edge is a sixteenth of an inch thick.
British workshops have a word for it because British workshops watched apprentices do it for three hundred years. Go through the carved furniture in the V and A collection and you are looking at the output of shops where this was corrected on day one.
What exactly breaks when you hoik?
Whatever is weakest, and it is rarely the part you are looking at. A gouge levered sideways puts its whole load on the thin steel just behind the edge, so a tool can crack there while the wood takes no damage at all. Swap the proportions and the wood loses instead.

Below the surface is where it gets expensive. Levering crushes and tears fibres for some distance under the cut, and none of that shows while you are working. Three passes later you take a clean shaving off the same spot and the wood comes away in a chunk, because the damage was already there waiting.
My own tally is honest and unflattering. I have broken tools this way, other carvers have broken tools this way, and the lesson never arrives from reading about it. Nothing in carving can be undone, which is exactly why the habit matters more here than in most crafts.

Is prying the same thing as hoiking?
| The habit | What tends to give way first here | Why it happens | The move that ought to replace it instead |
|---|---|---|---|
| Hoiking a chip out upward | A carved point, or else the bevel of it | Finishing a cut upward | Take a V tool and part the waste properly |
| Prying sideways | The thin steel behind the edge | Lifting material that the gouge is still buried in | Take less material |
| Forcing the wrong tool into a hollow | The wood | A sweep that does not match the hollow | Change to a fitting gouge |
| Cutting unsupported wood | Whichever carved element happens to be the thinnest nearby | Nothing supporting it from below | A finger |
Prying is the same family, and it is the one that costs money. Where hoiking hooks the chip upward, prying leans the tool sideways to lift material it is still sitting inside, and the load goes straight into the weakest part of the steel. I have done it. Plenty of carvers have.

My rule now sounds feeble and is not. Remove less in one cut, take the time, and do not break a tool that cost more than the afternoon you saved. A gouge from Ashley Iles or Henry Taylor should outlive you, and it will unless you lever it.
What should you do instead?
Reach for a V tool. Where I catch myself wanting to hook a chip out of a tight corner, the safe answer is almost always to run a V shaped tool along the same line and let it part the waste properly. Slower by a few seconds, and nothing is under strain.

Rotating the work is the second answer. Half the time the urge to lever comes from approaching a cut from the only direction that does not suit it, and turning the panel around removes the problem entirely. Carving against the grain covers when that matters most.
Smaller bites are the third. If a cut is fighting you, it is telling you that either the tool or the amount is wrong, and both are easy to change. Force is never the variable to increase, a point I labour in why a mallet gives you more control.

Does a back bent gouge solve it?
A back bent gouge removes the temptation, which is better than resisting it. The bend in the shank, what carvers call the gooseneck, puts the edge out beyond the line of the handle, so the tool reaches under an overhang and takes its shaving without ever leaning against the material around it.
Nothing is being levered. That is the whole appeal for me, and why a back bent lives permanently within reach on this panel. Geometry is doing what force would otherwise have to do. My workshop on back bent tools covers the grinds in detail.

Spoon gouges do a related job from the other direction, dipping into a hollow a straight tool cannot bottom out in. Between the two shapes there is almost no cavity on a carved panel that requires you to lift a handle at all. Sharpening one is its own skill.
How do you hold a panel that has gone fragile?
Support it from underneath with the hand that is not carving. My finger sits directly below whatever the edge is about to reach, so the cutting force pushes the piece against my fingertip rather than into empty air. Grain direction decides where the weak point is, and that is where the finger goes.
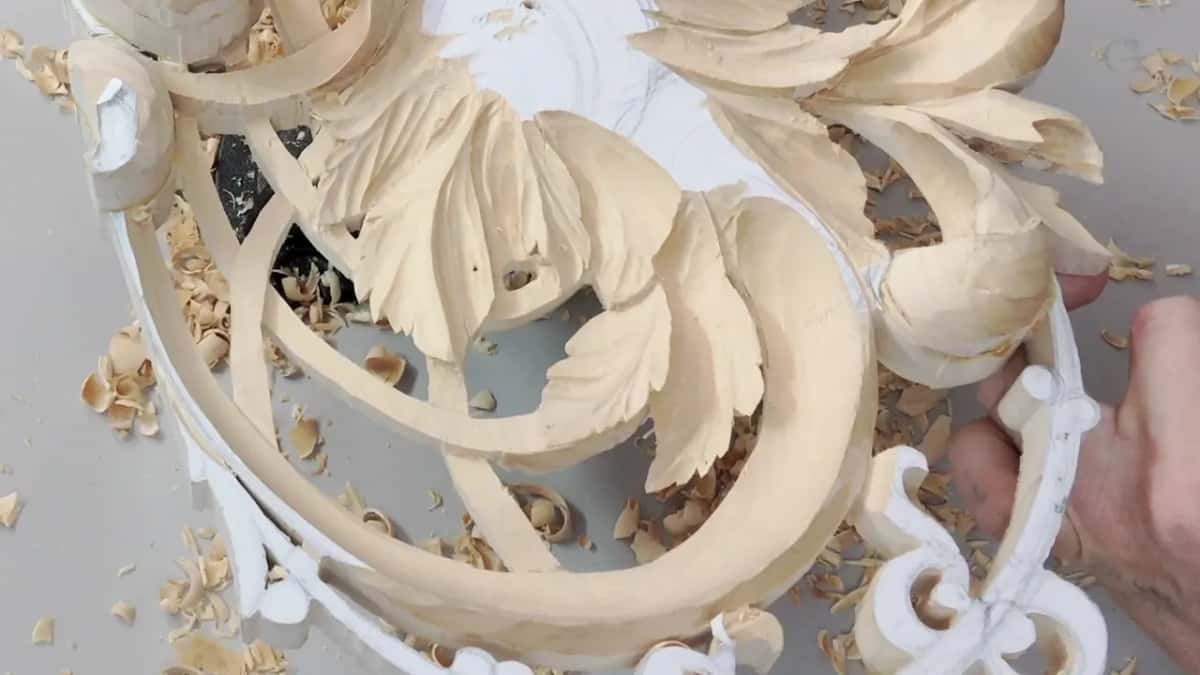
Screws hold the panel itself, and by this stage fewer of them are needed than you would think. One or two grip perfectly well. What matters far more is not over tightening them, since the same holes have been reused through every workshop and each turn of the driver widens and deepens them a little further.
Eventually the front face becomes too delicate to lay down at all, and then the work only ever rests on its back. I am not quite there on this panel, though I can feel it coming. Carving a small flower without breaking it deals with the same stage on a smaller piece.

Does a bigger tool make the habit worse?
Bigger tools make it better, which surprises people. At the bosting stage I reach for the largest gouge that will fit the hollow. One wide sweep takes the shape in a single pass. Three ridges are left to clean, where a small tool grinds through the same material in a dozen passes and leaves a field of them.

More passes mean more chances to get impatient, and impatience is where the flick comes from. A tool that is slightly too large is a smaller problem than a tool that is much too small. Even so, the sweep has to roughly match the curve, which is what whether a bigger gouge is faster works through properly.
Micro tools have their place at the opposite end. A five millimetre gouge reaches into a flip a big one cannot enter, and it simply takes longer and leaves more to tidy afterwards. Both facts are true at once and neither is a reason to force anything.

Should you carve the details first or the overall movement?
Movement first, always, and it is the discipline most students break. On this workshop I deliberately left a whole leaf undetailed while I took its back down and settled where it travels, because a detail carved onto a shape that later moves is a detail carved twice.

Think about what a division line is for. It marks where one part of a leaf ends and the next begins, and until the leaf has found its final height and direction you do not know where that boundary belongs. Cut it early and you will either live with it in the wrong place or cut it away again.
My order on a panel like this runs: main movement, then the height relationships between neighbours, then division lines, then the small cuts that catch light. The sequence is why an unfinished relief of mine looks so rough for so long, and students find that stretch uncomfortable to watch.
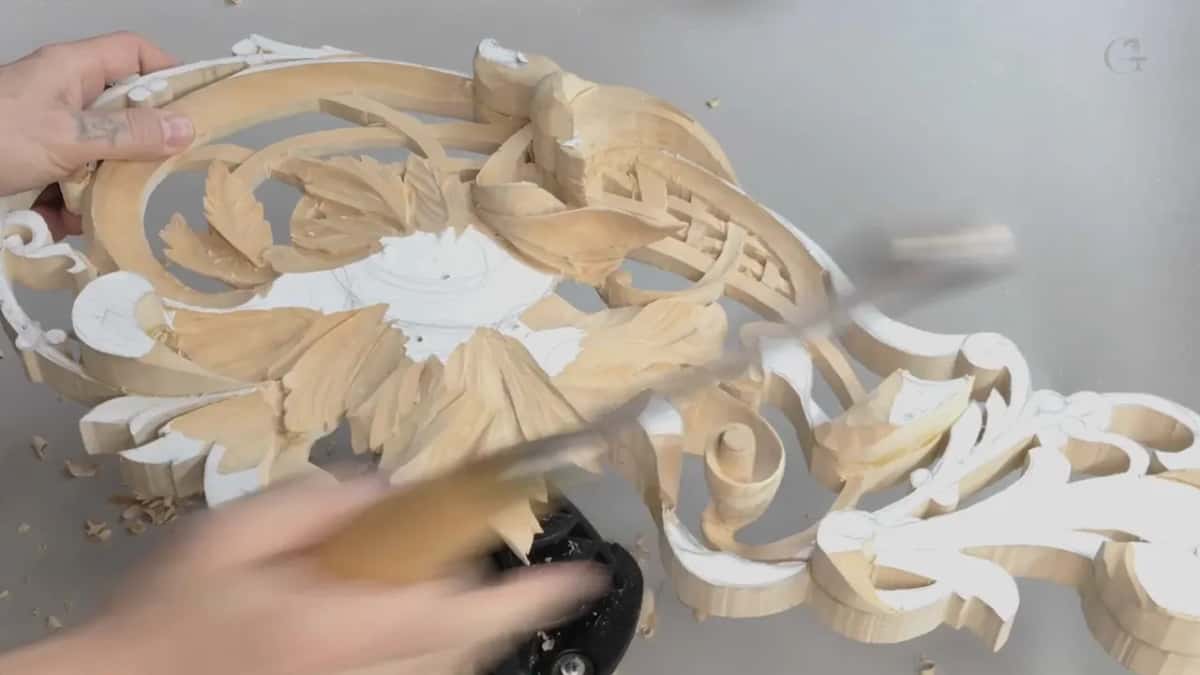
Two neighbouring leaves illustrate it well. Where they need to travel in opposite directions, their high points have to sit on opposite sides, and that decision governs every later cut on both of them. Getting it wrong is not a detail problem, it is a design problem, and no amount of veining rescues it.
There is more than one route to the same result, and I say so in the workshop rather than pretending otherwise. What I am showing is my approach, learned from the surviving carved work I could get in front of and from a great many ruined butternut blanks. How much detail is too much is the companion question.
Why do tool numbers not agree between makers?
Every manufacturer invented its own system and none of them coordinated. A number 2 in Britain means a skew chisel, while the same numeral in continental Europe is a gouge with a very slight sweep, close to what a number 3 would be elsewhere. Same numeral, different object entirely.
Widths are worse. Ashley Iles stamp only the sweep number on many tools and leave the width off altogether, so you hold the thing up and estimate whether it is three eighths or half an inch. Close enough for the job is genuinely close enough, but you cannot order by catalogue number and be sure.

Back bents compound it. The same maker marks a sweep 7 back bent as 37, which trips up everyone reading a tool list for the first time. My guide to the numbers stamped on a gouge untangles the main systems.
What does any of this buy you in the finished panel?
Distance between the high point and the ground. The reason I take a leaf nearly all the way down at the back is to open up that gap, because the further apart those two levels sit, the more movement a viewer reads into the shape and the better it looks from the side.

None of that survives a broken point. One levered chip takes off the tip that was going to cast the longest shadow, and the repair, if a repair is even possible, never has the same edge. Openwork punishes impatience more than any other kind of relief.
Basswood is forgiving enough to let you learn this without losing too much. The fibre is fine and even, so a torn spot usually stays shallow enough to carve out afterwards. Oak will not forgive you at all, and neither will the tool.
What should you change tomorrow?
Watch your own hands for one session and count. Every time you finish a stroke by raising the handle instead of cutting through, make a mark. Most carvers are shocked by the number, and the counting alone starts fixing it.
Then put a V tool within reach of your working hand, so the better option costs no walking. All 49 workshops of this course sit inside the school, and workshop 10 is the one where the panel finally makes the habit expensive.

One last thing, about the mallet on my bench in this workshop. A turned hardwood one was made for me by Ali Avizera, an Israeli woodturner, the week I taught at the Marc Adams School of Woodworking. Beautiful object. I still reach for rubber, because it spares my handles and it is quieter.
Collecting mallets and using them turn out to be different hobbies. Mine sit on a shelf, and the one that has done ten thousand hours of work cost almost nothing and has no story attached to it at all.
How it's done
- Count the flicks. Work one session and mark every time you finish a stroke by raising the handle rather than cutting through it.
- Put a V tool in reach. Keep a parting tool beside your working hand so the safe option needs no walking to find.
- Shrink the bite. When a cut fights back, take less material instead of applying more force. The tool is telling you something.
- Rotate before you lever. Half the urge to hook comes from an approach the grain does not suit. Turn the panel round instead.
- Let the bend do it. A back bent or a spoon gouge suits any overhang, since geometry does what force would otherwise have to.
- Support from below. Place a finger beneath whatever the edge is about to meet, so force presses the carving against your fingertip.
- Ease the screws. Hold with one or two fasteners and stop short of tight, since reused holes widen with every turn of a driver.
Frequently asked questions
What does hoiking mean in wood carving?
British workshops use the word for finishing a cut by lifting the handle so the waste tears loose. Nothing is severed at that moment, and the strain lands on whatever sits weakest nearby.
Can you break a gouge by prying?
Easily, and it remains the commonest way good tools die. Leaning a blade sideways while it is buried loads the thin steel immediately behind its bevel, which was ground for slicing rather than for levering.
Why does a big gouge cause fewer accidents?
Fewer passes leave fewer chances to grow impatient. A wide sweep takes a shape in one stroke and leaves perhaps three ridges, where a narrow one grinds through the same material and tempts you into shortcuts.
What to carve next