

Alexander Grabovetskiy, woodcarver, School of Woodcarving · Published 2017
What is a shadow line in wood carving?
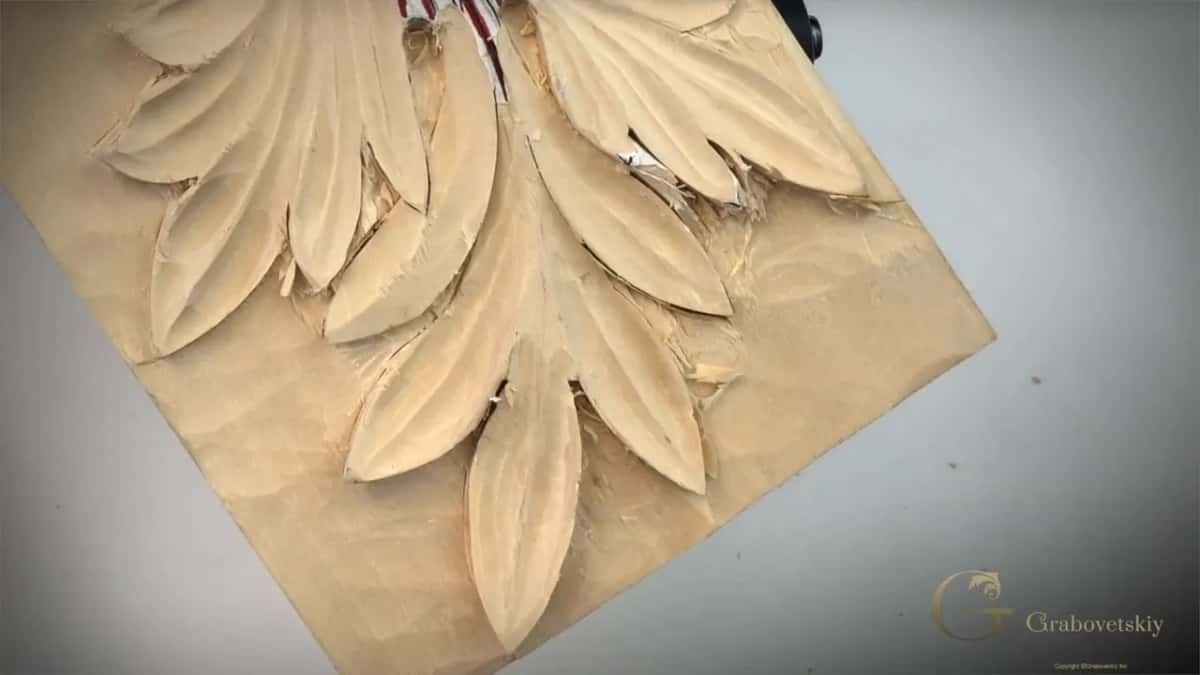
Quick answer: A shadow line is the thin dark edge a carving shows where the wood drops away beside or under a shape. On my Corinthian acanthus it formed under each lobe after a back bent gouge and a tiny V tool, but I have also made one with a straight down outline, a concave and small openings.
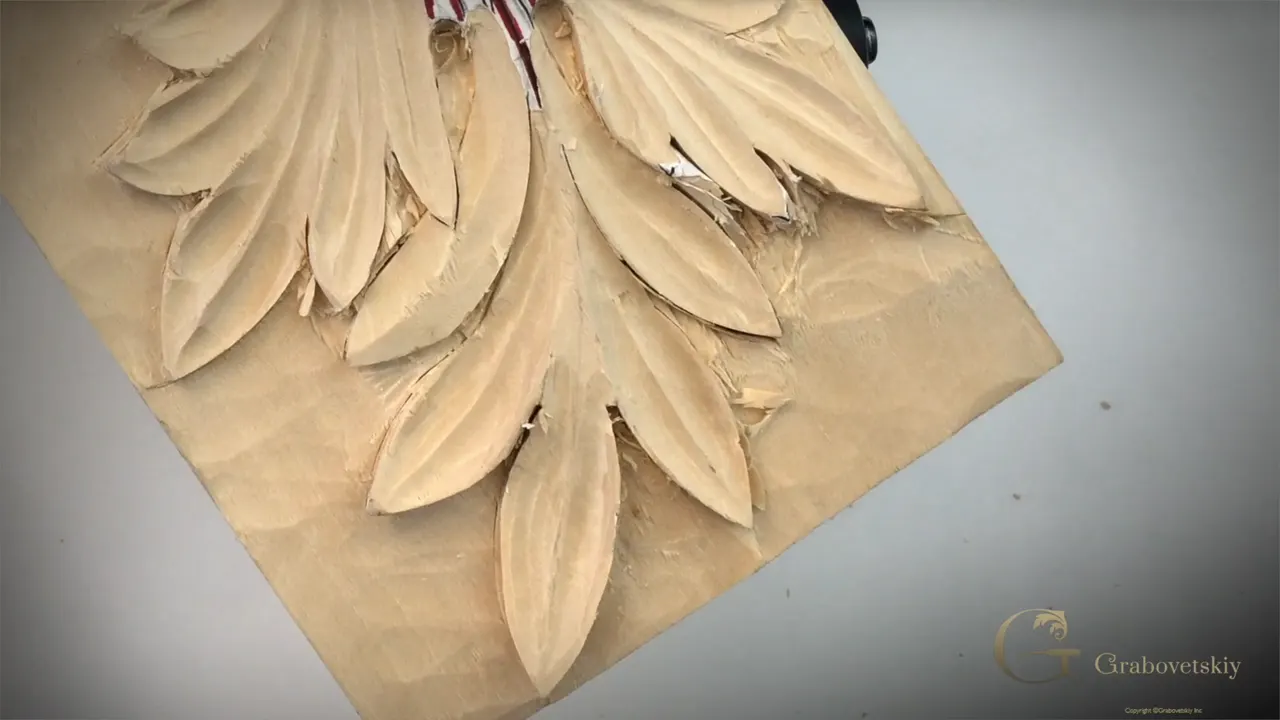
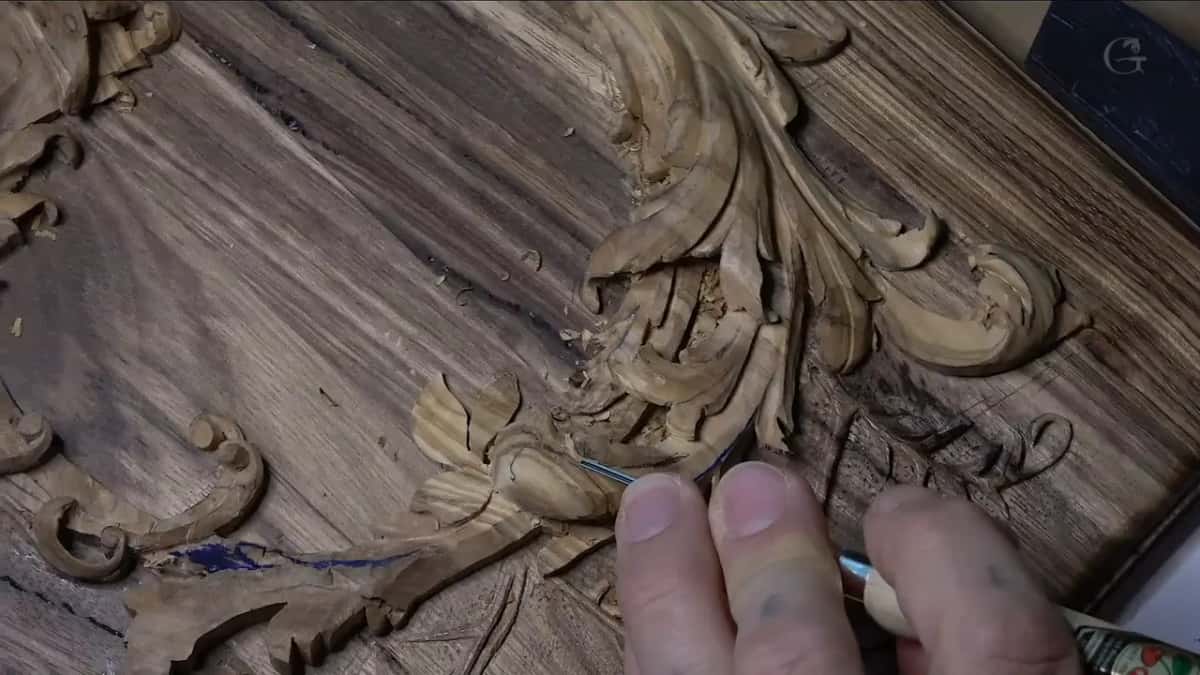
A shadow line in wood carving is the thin dark line you see along the edge of a carved shape, where the wood falls away under it or beside it and the light can't get in. On an undercut relief carving like my acanthus leaf, it sits right under the edge of each lobe. In part 3 of lesson 5 on my Corinthian acanthus leaf I had been undercutting with a back bent and cleaning with a tiny V, and I said you can see already that creates beautiful shadow line. About five minutes later I had the small V in hand again and said I hope you can catch on the camera how beautiful shadow line it creates.
Do you have a carving on your bench with an edge that still looks a little flat? Can you tell which shape should sit above the one next to it? Then that edge is ready for a dark line, and an undercut is only one of the ways I've made one. Below are the others I used on camera, each with the course where you can watch it and what I said while my hands were busy.
Where my shadow lines came from on camera
- Beneath the lobes of the Corinthian leaf.
- Around a bird on a beginner's cutting board, because we went straight down on its outline, 90 degrees, back in an earlier workshop.
- Inside concaves.
- Through small openings, which I really like, on my Gibbons work in Maine.
- A table apron copied from an original with no undercut.
- On paper first, where a flower had to pass under a line of the design and I didn't want to distract from the main movements.
What does a shadow line look like on a Corinthian acanthus leaf?
Dark, thin, and tucked under each lobe. At the start of part 3 I said I was using just a straight gouge, but a much better way is a back bent gouge if you have one. The card on screen named mine, a Pfeil back bent, number 25, size 13, and it was a lot easier to use for undercutting. The idea stays the same. You're still kind of slicing.
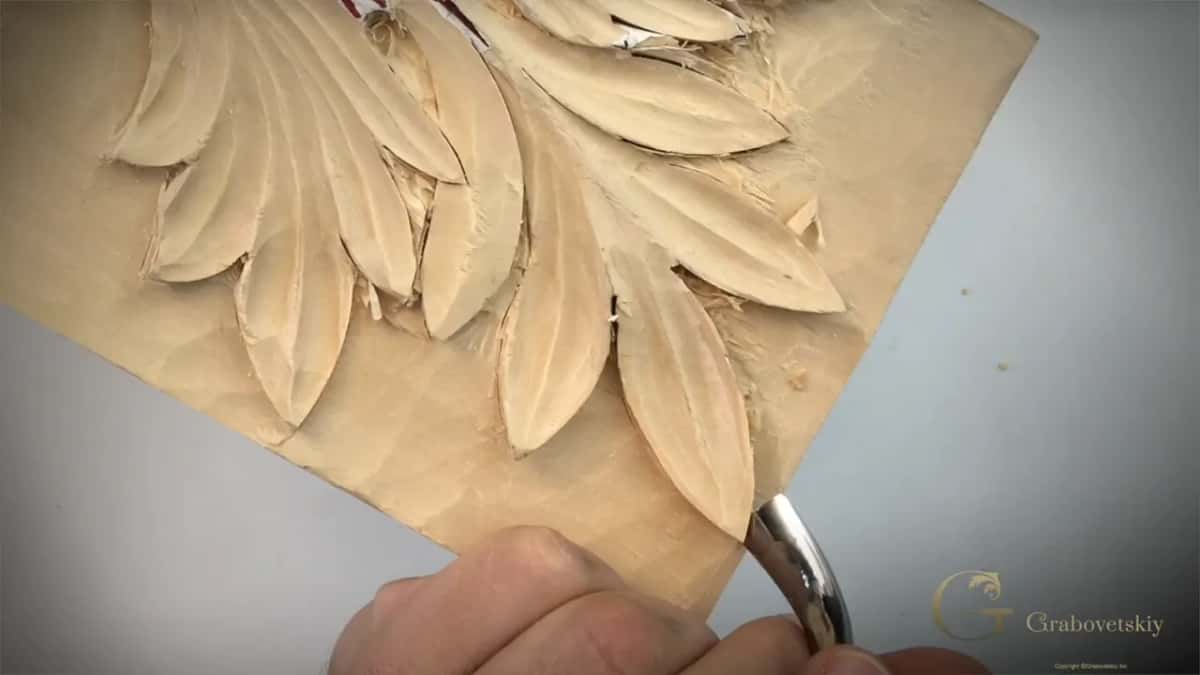
For cleaning I could use a really small V tool, I said, and some chunks came out. That's when I pointed out the line. Just go everywhere, I said.
Where two lobes meet, the only tool you can get in there, pretty much, is a carving knife or a chip carving knife. I angled mine in, laid it over and took that piece away, and did the same on the other side. A back bent would work there too, I said, because with a back bent this side stays safe, so you can undercut without touching the opposite lobe. That's why I like the back bends a lot.

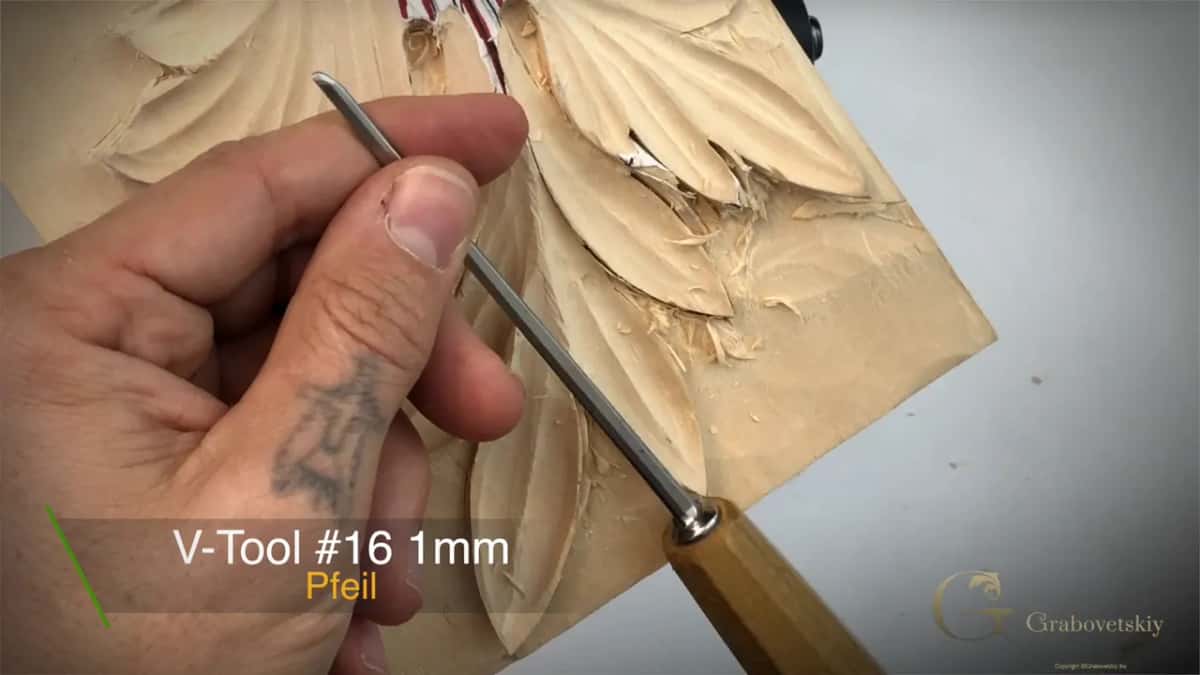
Next came my number 16 V tool by Pfeil, only one millimeter (0.039 in), and I called it really handy for work like this. But you can see the results, I said. Really nice results.
Near the end of the part I used the knife again for my first pass in one spot. My one millimeter (a little over 1/32 in) V followed, removed the piece from inside, and worked its way from one direction.
Is an undercut relief carving the only way to get a shadow line?
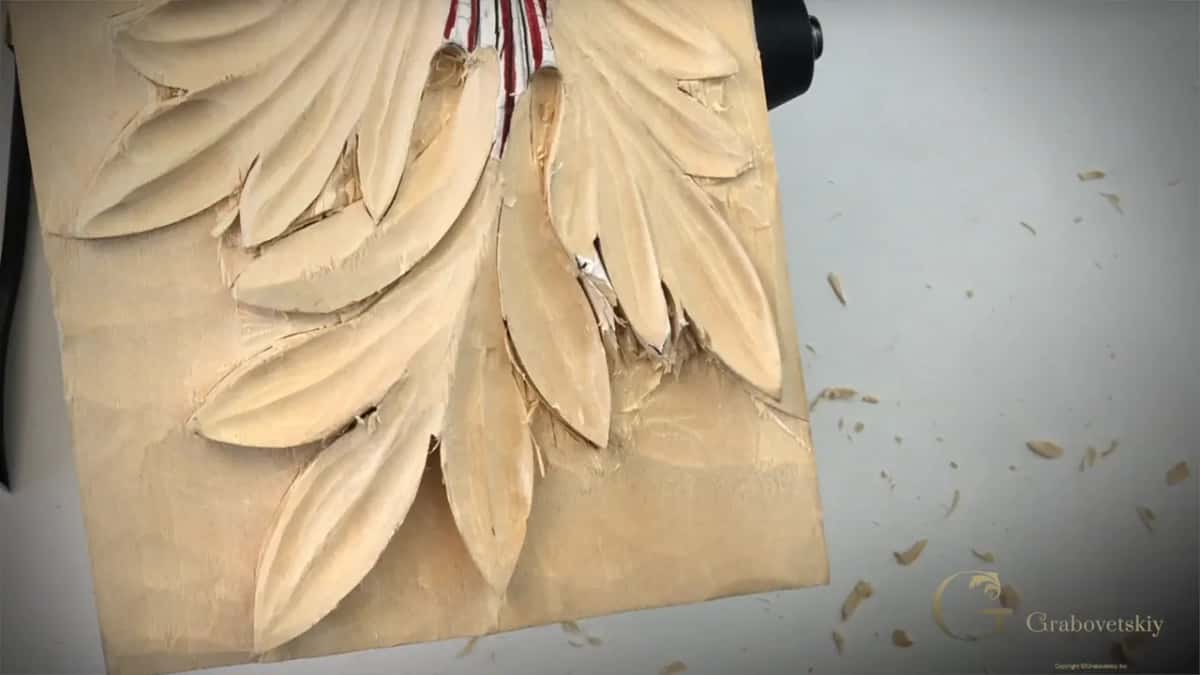
Far from it. The beginner course gave the bird for a kitchen cutting board its line from the way we outlined it. In workshop 7 I said we're trying to create a shadow, and that's why we went 90 degrees straight down, so it's a deeper spot that gives a really nice line when you hit it with the light.
We had outlined that bird straight down, I reminded everyone in workshop 6, and that is why it gave a line there. One side was really, really deep. And back in workshop 5, with the line going around the main body of the bird, I said you can see the bird much better because of it.
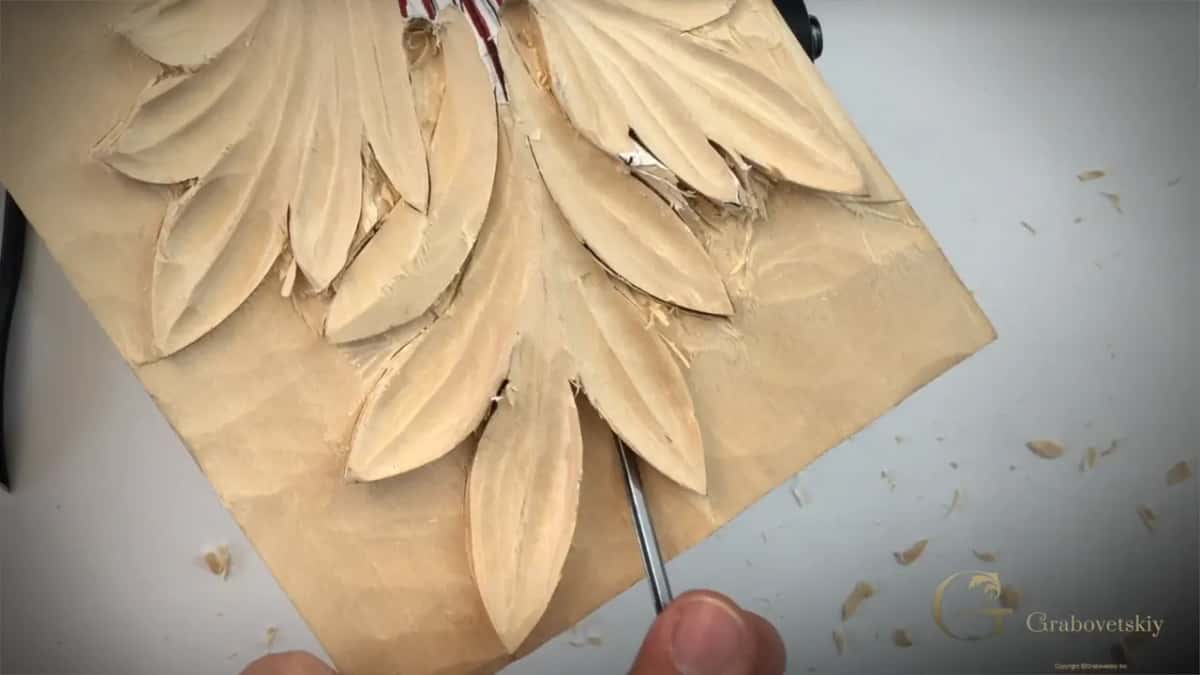
A table apron showed me the other side of this. The original I was copying is not undercut, so I said I'm not going to undercut mine either. Otherwise, I would. I still had to create some kind of shadow line, though, and I had my number 3 in hand when I said it, in the dining table apron course.
For my butterfly plate I carried one pass to a point beside a wing, at the same angle as an undercut I had made before, only not as deep, and blended the wing right to it. Not really deep, I said in lesson 9, but it still gave me a shadow line.
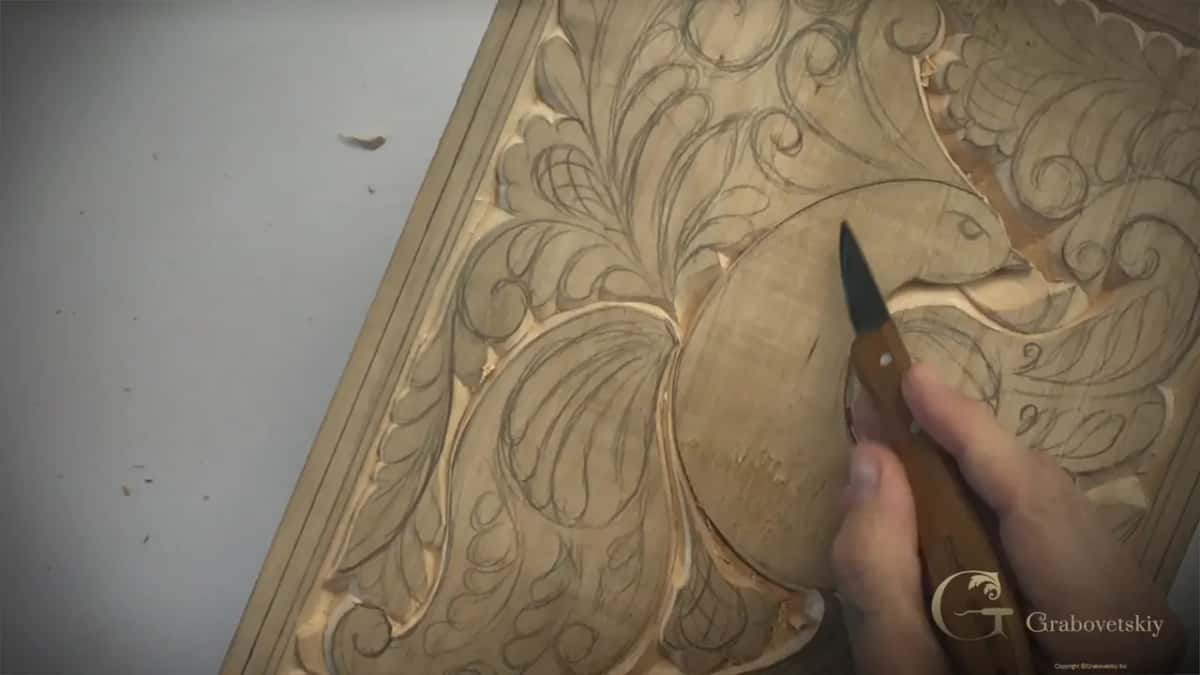
How does a concave give you a shadow line?
Each concave gives you one, the way I put it on a tray leaf. Lesson 3 of the Tray of Blessing had me raising a bridge and keeping one ridge higher, even though I was catching the grain from that side and called it kind of a danger zone. Every concave is going to give me a shadow line, I said. See that shadow cast? That's what makes it beautiful.
On a Greek acroterion, in the acroterion course, I made my concaves deeper because those concaves would make a shadow line. I called that really important. I went a little too deep in one spot and said I could easily fix it. Lesson 3 of that course has the reason in my own words: I'm not afraid if I go a little deeper than I was planning to, because this shadow line is a really important element.
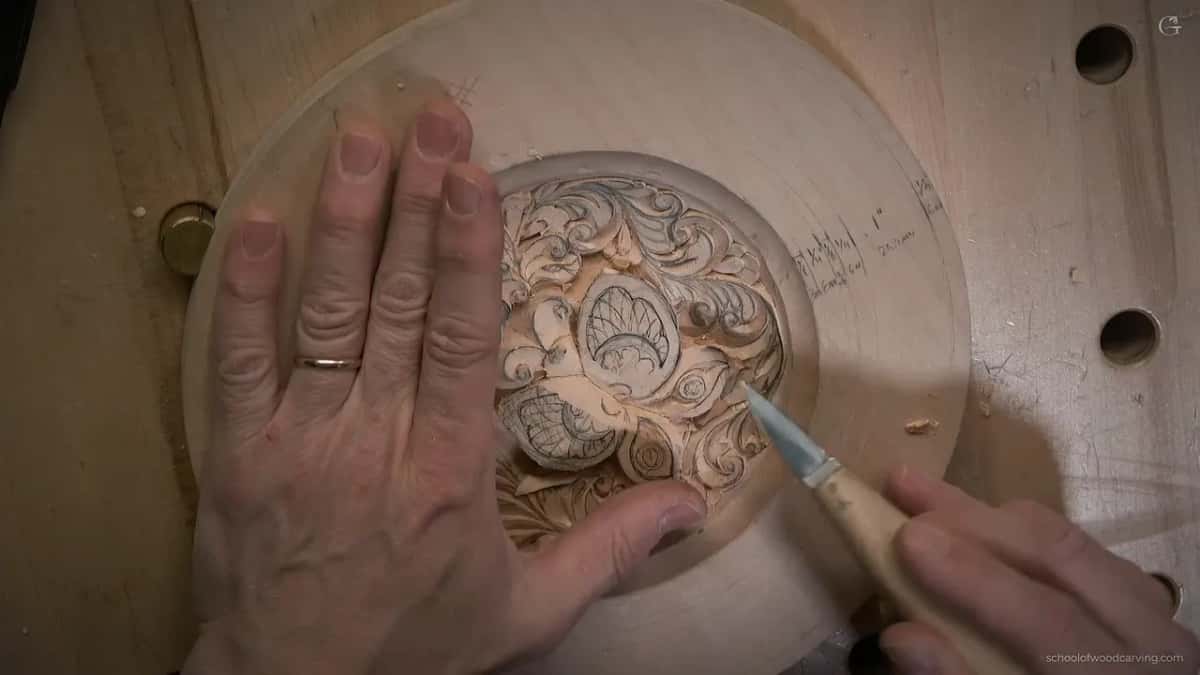
A little concave on one furniture panel was something I didn't have to add. I added it anyway in lesson 20, because I thought it would bring a little nicer shadow line. That concave just gave extra detail.
Back on the tray, one lesson went the other way round and raised a part instead of sinking it. In lesson 4 I talked about slightly raising one part up to create something like a shadow line, an airborne effect. See how nice shadow it casts, I said. It just becomes something else.
Can small openings make a shadow line too?
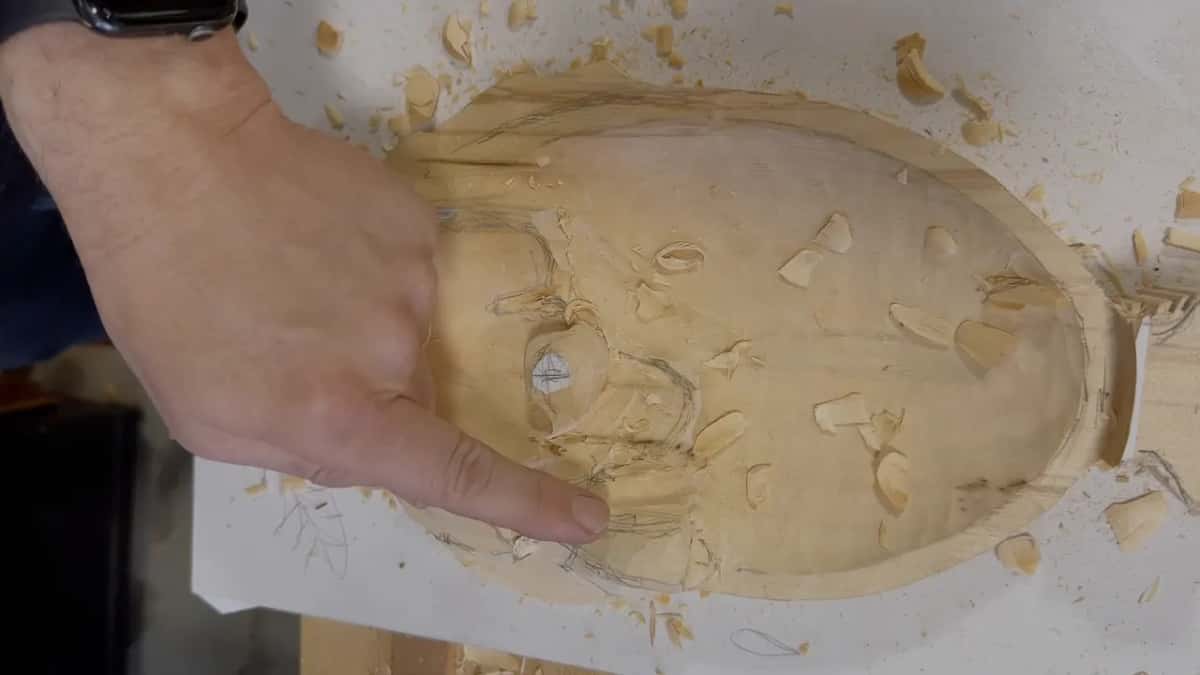
They can. I really like those openings, I said in my Grinling Gibbons class in Maine, because more openings create more shadow lines. In class 14 I pointed to one area that was darker and another that was much darker.
That day I said I'd concentrate on just one of them. Each one would come out exactly the same, so there was no need to show all of them, and you can take it to the extreme if you wish.
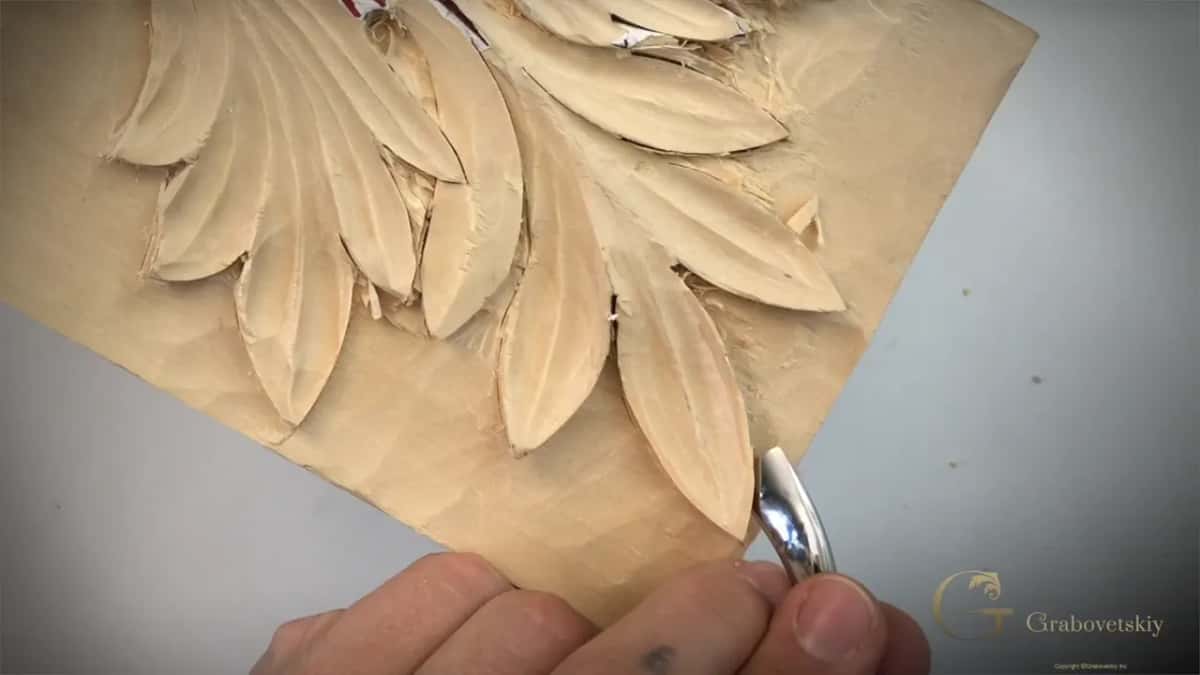
Sometimes the word line is the wrong word. In class 15 I said I'd excavate the middle a little deeper, make that shadow line. A breath later I fixed myself: not line, but shadow point. A small dark hole like that has its own page, the shadow spot in Venice Room workshop 120.
Should you plan a shadow line before you start carving?
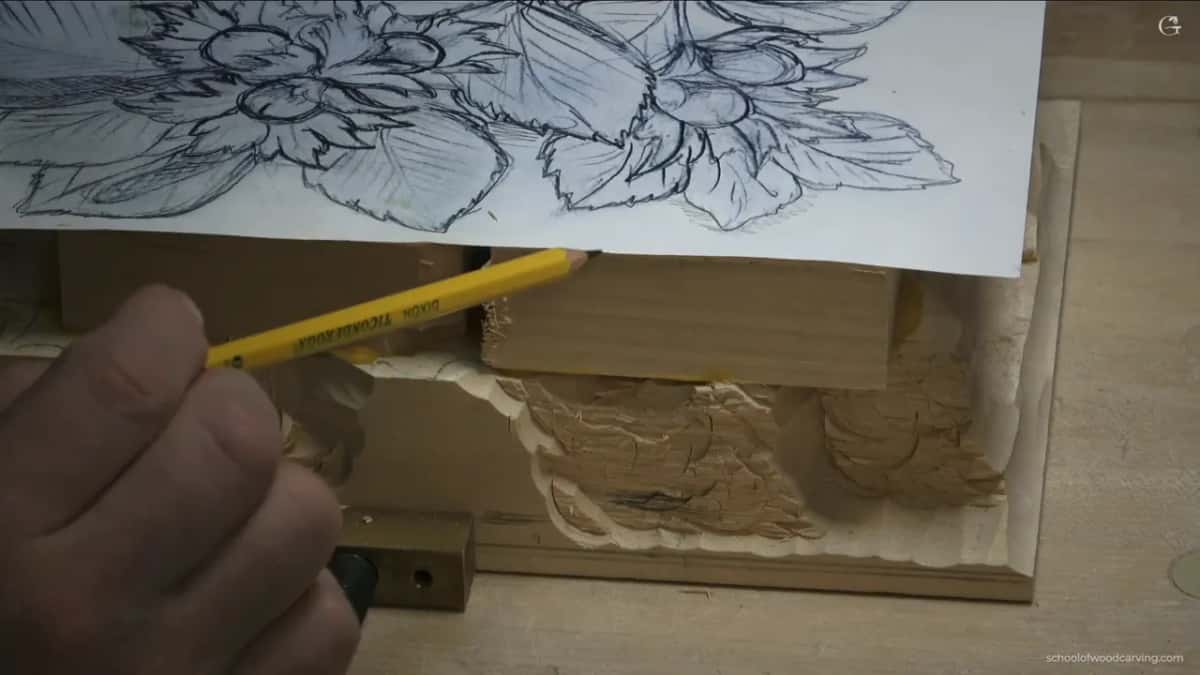
For the furniture panel I did, right on the drawing. Back in lesson 13 I was drawing lines just to separate the leaves, and I said that's definitely going to be my shadow line right here.
A lesson later an acanthus flower in the design had to go underneath one line. Lesson 14, on the same panel, has my words that I need to create a shadow line, because I don't want to distract from the main movements. And if I don't like something, I can always change it, because the drawing is not set in stone, not yet at least, and the carving will show me what needs to move.
The hazelnut panel got its plan right in the wood. Past one line I said I'd go another maybe about 10 millimeters, maybe about three-eighths of an inch, and that's going to be my shadow line. Every leaf would get an undercut so it would float. A little challenging to get inside, I said in lesson 2, but I'm okay, and I had to work out where my low point would be.

Is a shadow line the same thing as a shadow?
Close, and I've corrected myself on it. The lily box had one spot where I wanted a really deep shadow line, with a tool of half a millimeter (0.02 in). A few seconds later I said I should say shadow casting line, okay, not the shadow line, and give a space to shadow. That was in lesson 8.
Over in lesson 6 of the same box I got underneath and made a separation line, or shadow line. It also just creates a shadow, I said. That wood is beautiful looking, and I love it, but it's really crunchy.
The light decides how much of it you see. With another furniture panel, in lesson 38, I said you don't really see the shadow of a concave on my bench, because I have super bright lights above it. Once it's in place, you'll catch that shadow. Even under those lights you could see some shine and a shadow line, kind of outlined.
In the Venice Room I once wanted to excavate kind of deep for a shadow line because the light source there was going to come from the side, which I said would cast a really nice shadow. That was workshop 41. Much later, in workshop 100, a shadow line was kind of distracting, so I said let me get my lights repositioned where I can see much better.
Can a shadow line be too sharp?
On my Hashemi flowers it was. I could see a lot of rough cuts in lesson 48, and I could have left them like that. But they create too sharp of a shadow. I don't like that, so I blended those cuts and softened the line a little, like a soft transition, everywhere on the flower.
Earlier on the same panel I said a thing that sounds like the reverse. Don't be afraid to exaggerate, was my advice in lesson 6. Even if you're trying to replicate nature, you still have to exaggerate some movements, some shadow lines, to make it look more 3D.
Both are true at different moments. Lesson 30 adds that in nature you're not going to see a perfect round, so in some spots a smaller number 9 or number 8 gives you more shadow lines. Be creative with that.
Why does one dark line matter so much to me?
A Hashemi petal is my best example. That petal had to flip. In lesson 17 I said so plainly: it's going to flip. I got underneath, trying to take out as much material as possible for a shadow line. That shadow was exactly what I needed to make it look like it's flipping.
Over in lesson 14 of the same flowers I needed to undercut a little on the inside. I took a short bent V tool, number 12, said I need to create that shadow line. A number 7 came next.
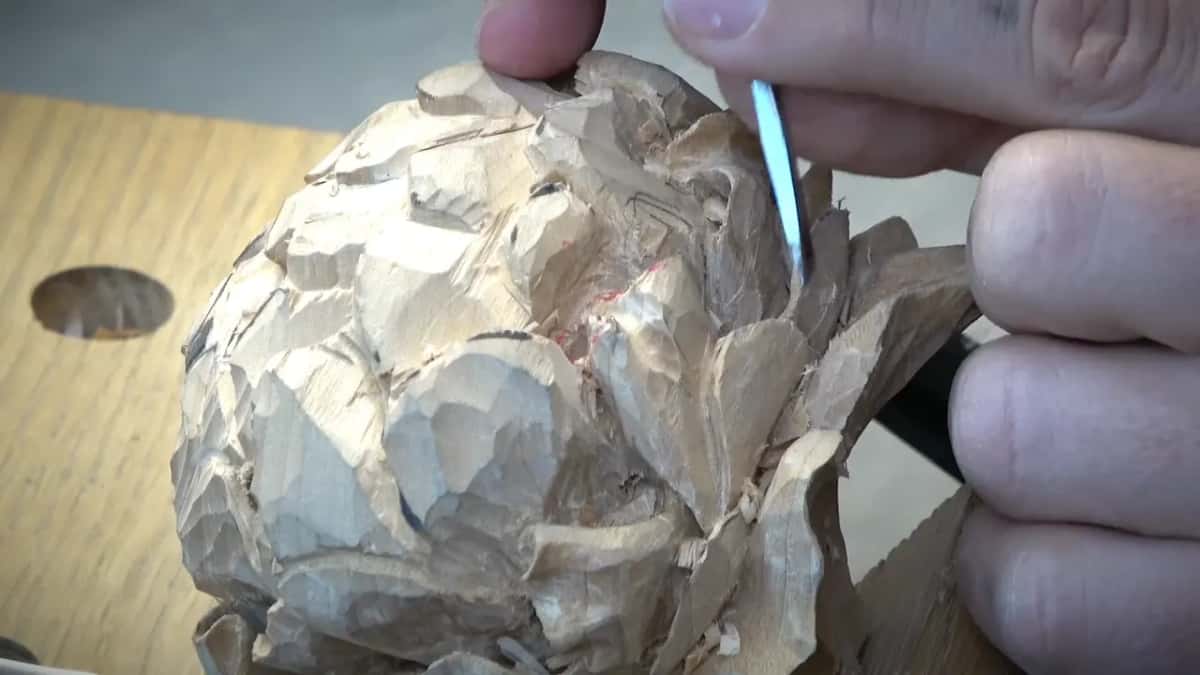
And on the beginner course I said that most of the time you do not add any colors to a wood carving, maybe just a clear coat or some wax. Even with a stain and some glazing after it, it still stays about the same color, so the thing to understand is the shadow and the light, how the light hits your piece. Painters have a word for that play of light and dark, chiaroscuro.
| How the line came | What I said or did on camera | Where |
|---|---|---|
| Back bent under a lobe | A lot easier, and the opposite lobe stays safe | Corinthian lesson 5, part 3 |
| Outline taken straight down | We went 90 degrees down, so the bird shows much better | Beginner workshops 5 and 7 |
| Concave beside a raised ridge | A concave gave me a line, and the shadow cast showed it | Tray of Blessing, lesson 3 |
| Small openings in the design | More openings, and one area came out much darker | Gibbons course, Maine class 14 |
| A plain line with no undercut | Mine got none, since the original I copied had none | Dining table apron course |
| A line drawn on paper first | An acanthus flower in the design had to pass under it | Furniture panel lesson 14 |
Where does the Corinthian leaf go after part 3?
Down around it. The background was still high when part 3 ended, and in lesson 6 it comes down around the leaf. For what undercutting itself is, see my furniture panel lesson 19, and lesson 9 of the Greek acanthus shows what it does to a leaf. Lesson 5 of the Corinthian acanthus course has four parts, and this is the third.

Is there one edge on your bench that still looks flat? Pick one way from this page and try it there. If you want to carve along with every part of this relief, the plans are on the Tuition and Access page.
How it's done
- Mark where it goes. I drew it on paper first, where an acanthus flower passes under another line of the furniture panel design.
- Choose the way. Straight down on the outline, a concave, openings, or an undercut. My table apron followed the original I copied.
- Open the edge. On the Corinthian leaf a back bent went under the lobes, and a knife made the first pass between two lobes.
- Clean underneath. My one millimeter (about 1/25 in) V tool took the last piece out from inside, working from one direction.
- Check it in its own light. Bright lights above my bench hid a concave's shadow on one panel. My lights moved once in the Venice Room when a line looked distracting, and on my Hashemi flowers I softened cuts that threw too sharp a shadow.
Frequently asked questions
What is the purpose of a shadow line?
Seeing the shape is the purpose for me. The bird on the beginner cutting board showed much better because of the shadow line around its main body, as I told everyone in workshop 5. My furniture panel drawing got one just to separate the leaves.
Do you have to undercut to get a shadow line?
Undercutting is one way. The cutting board bird got its line from an outline taken 90 degrees straight down. Concaves did it on a tray leaf, openings in Maine. For a table apron I skipped the undercut because the original I was copying had none.
Can the dark line get too sharp?
On one Hashemi flower my rough cuts made too sharp of a shadow, and I didn't like it, so I blended them into a softer line. In the Venice Room a line was kind of distracting until I moved my lights.
What to carve next