

Alexander Grabovetskiy, woodcarver, School of Woodcarving · Published 2017
Should you rest your hand on the wood when you carve?
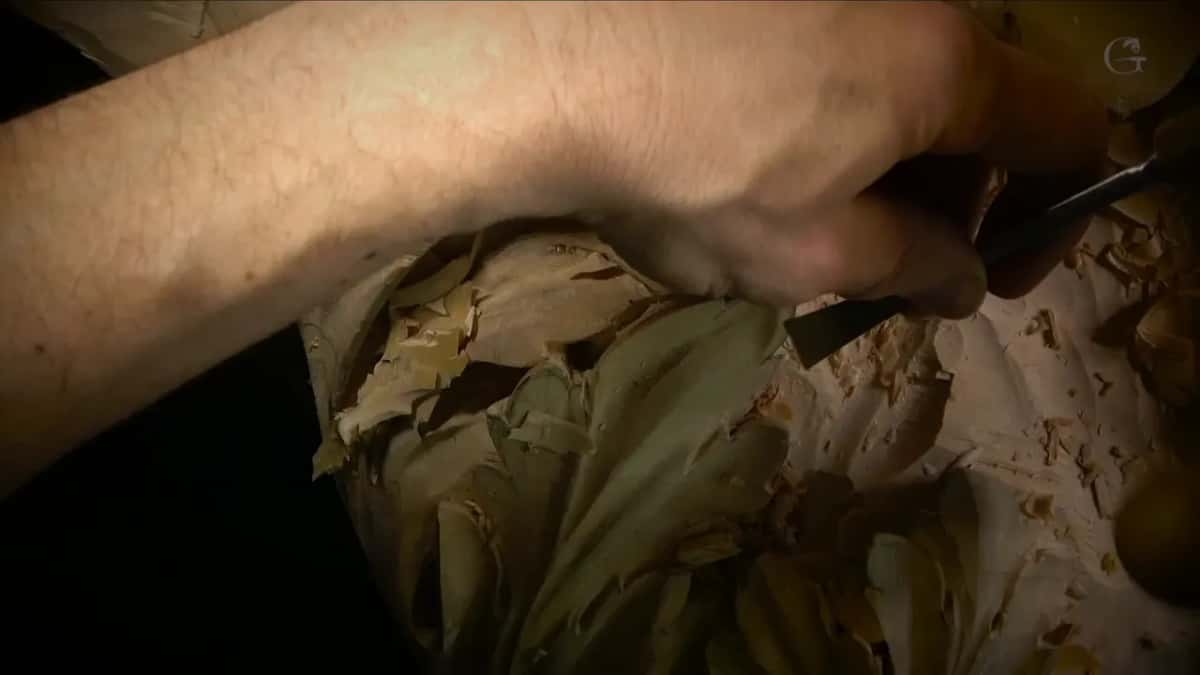
Quick answer: Resting your hand on the wood is how I steady a carving tool whenever the piece allows it. On my Corinthian acanthus leaf my hand lay right on a piece of wood and my fingers sat right by the edge, for extra support and easy control. On some complicated work, I said, it is not always possible.
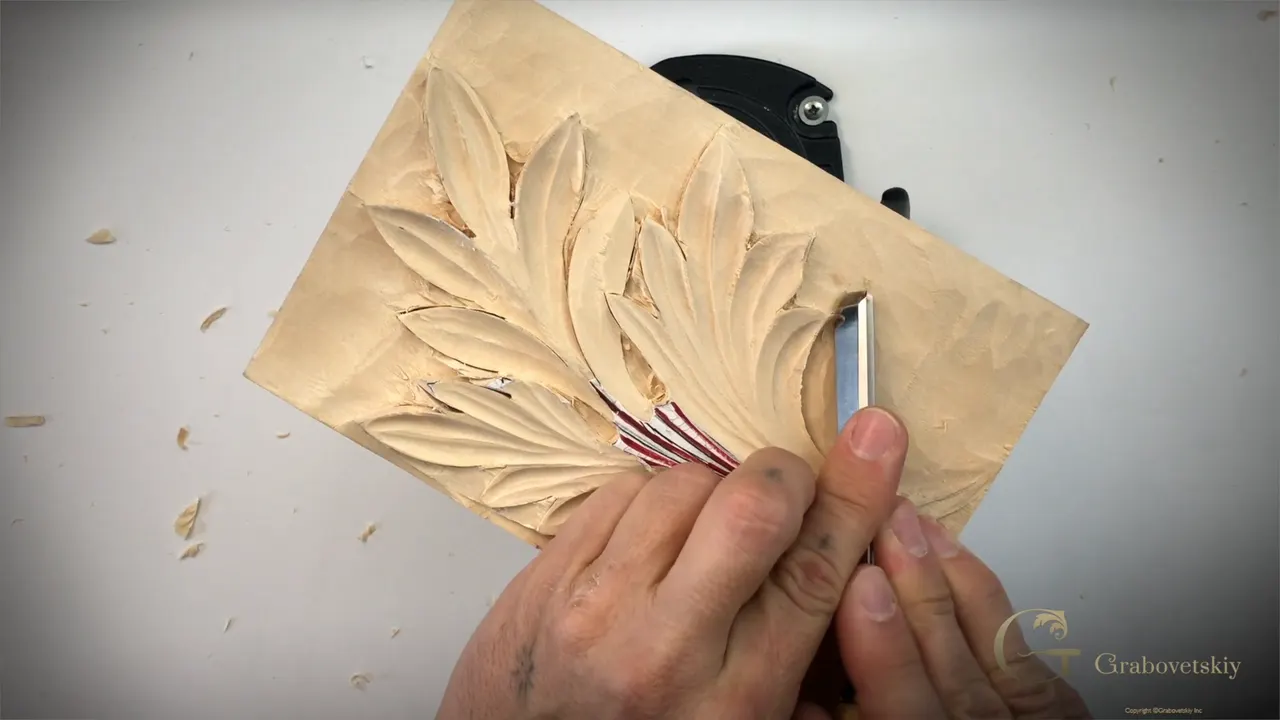
Bracing a hand against the work is something I do when the piece allows it, because a hand that sits on something holds the tool steady. In part 2 of lesson 5 of my Corinthian acanthus course, I rested my hand against the block while the V tool went around the leaf. It gives me extra support, I said, which we all need. In the same breath I said it's not always possible on some of the complicated work. So that is most of how to hold wood carving tools on a relief, at least as I do it.
You have a V tool and a leaf on your bench, right? And you want that tool to go only where you send it? Then set a hand down before the next pass. Below is where my hands sat on this leaf, what I said about it on other pieces, and the spots where a hand can't go down at all.

My hand rules from this leaf and a few others
- One hand lies on the wood whenever the work allows it.
- My fingers sit right by the edge, so the tool is easy to control.
- Hold the gouge low and the hand down.
- Where a part is fragile, a finger becomes the leverage point so the carving takes no pressure.
- Certain complicated pieces leave no place for the hand at all.
- Even then the mallet needs care.
Where did my hand sit on the Corinthian leaf?
Down on the block. Part 2 of lesson 5 is undercutting. I began it by turning the block around, and I said I'll do exactly on this side what I did on the opposite side. I took my V tool, placed it on the side of it, and just went around.
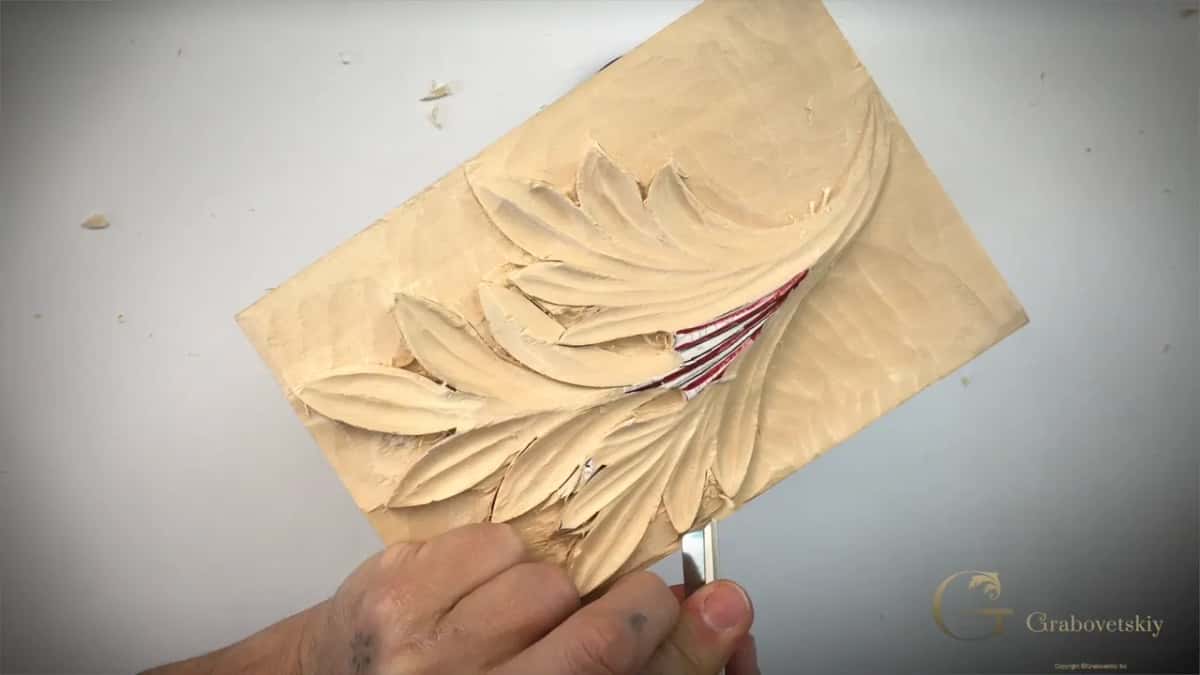
I hold the V flat, but you can always move it slightly inside, because we left about one-sixteenth of an inch (1.6 mm) above the final background line. Turn it just slightly, maybe 15 degrees, and you should be safe. Be careful on areas like that.
Partway around I stopped talking about the tool and talked about my hands. Please note how close I'm holding my fingers to the edge, really close to the edge. That way, I can control that easily.
And I'm laying my hand actually right on the wood. On the complicated pieces you can't always do that. But on work like this relief leaf it gives me extra support, which we all need. After that I turned around to work the other direction and undercut it from that side.
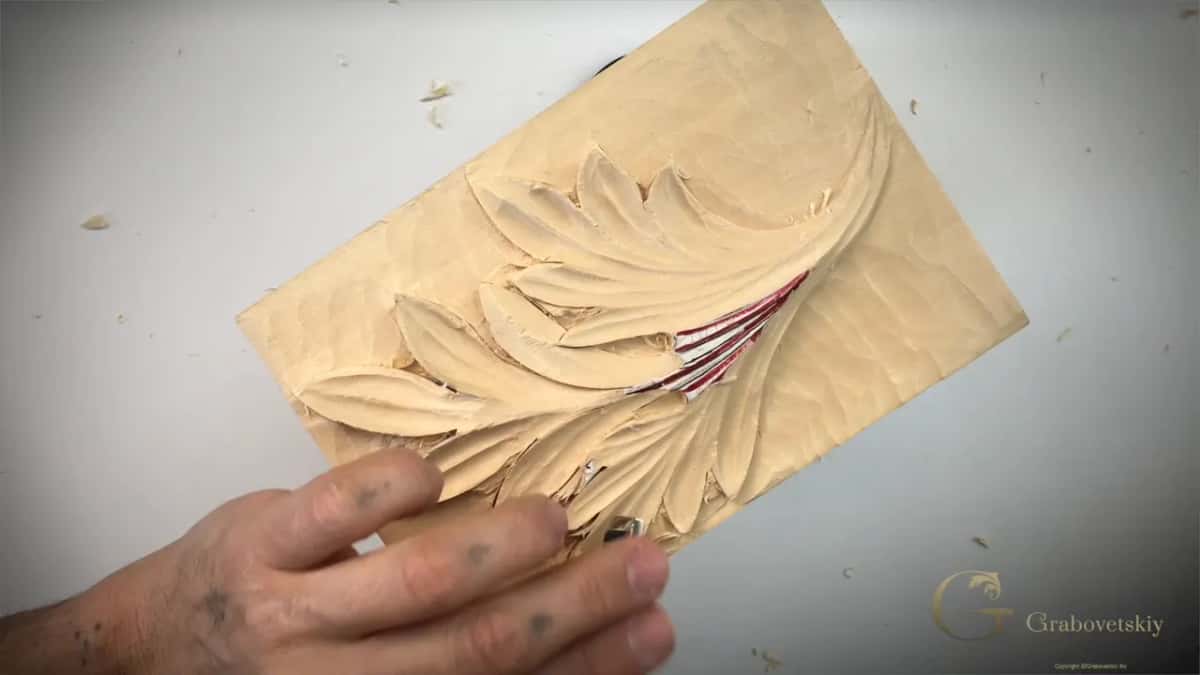
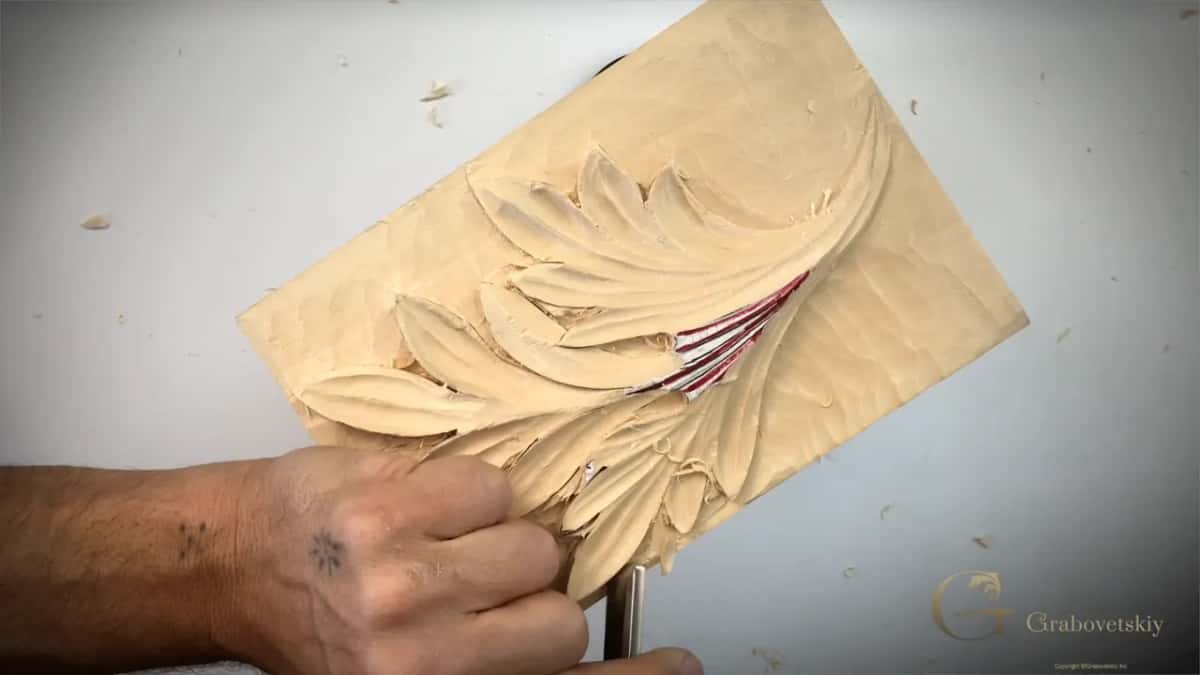
Look at the frames from that minute. My fingers wrap over the steel of the V tool, a short way back from its tip, and they lie on the wood next to the lobes. My hand isn't hovering.
Why does a braced hand give you more control?
The hand turns into a kind of leverage point. In lesson 16 of the Roman acanthus, one pass was only about a 16th of an inch (1.6 mm) deep. That means we have to really, really hold our gouge really stably, I said. It has to be really, really stable.
So I held my gouge as close as possible to the edge and placed my hand right on a piece of wood, and I was actually creating the support like a leverage point almost. That way, I can control every pass. If the chip is not flying out, the pass is not as deep as it is supposed to be, and I make a deeper one until it comes clean.

Working the background of my furniture panel, lesson 17, my pass there was only about 1/32 of an inch (0.8 mm). I was slicing and trying to control my tool as much as possible, and solidly placing my hand on that board, to gain much more control. And again, I was trying to stop before I hit the next wall.
Splits are the other reason. Lily box lesson 2 is where, with that type of wood, I said the fibers can split and you'll make a big mistake which is impossible to fix. Make sure you just have really good reference, like a leverage, where you can control your tool much better. Later in that lesson, holding a number one, I said it this way. I am actually referencing my hand. Really stable.
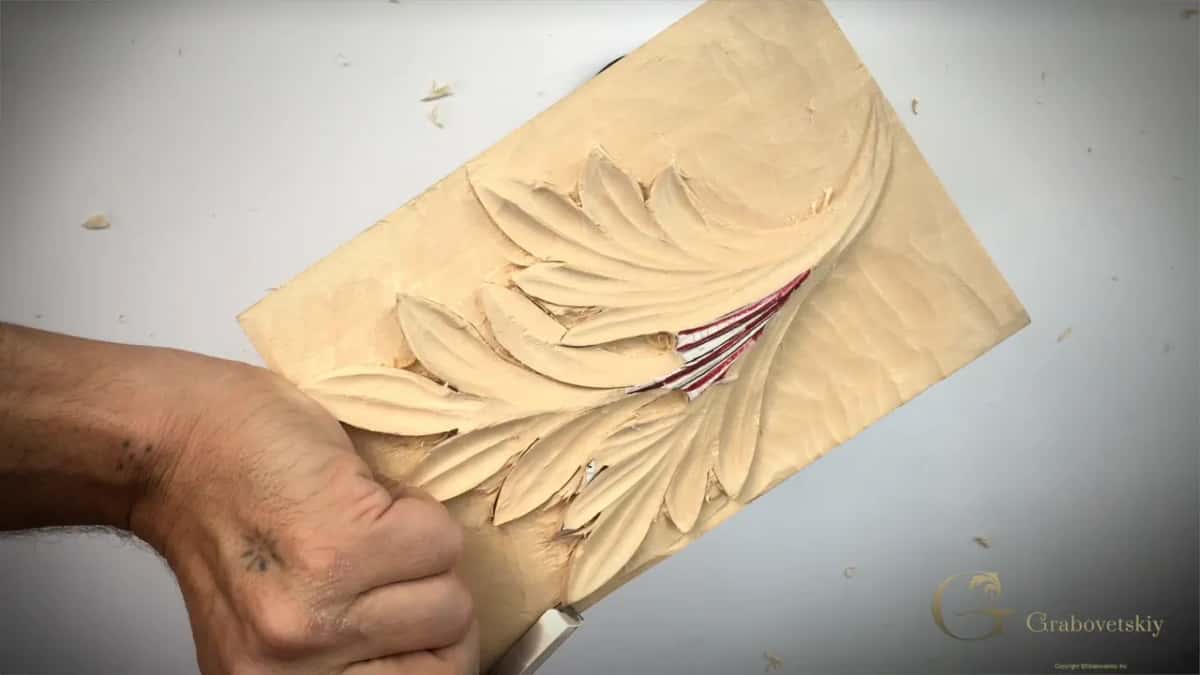
How to hold wood carving tools with one hand down
Keep the gouge low. For the Greek acroterion, lesson 3, I said you sometimes raise your gouge like this and just start digging, but you can't control that way. On mine, I showed, the bevel is long and low, and not all of them have that.
Carving by hand, that low bevel helps you a lot. You're placing your hand right on what you're working on, and your gouge is as low as possible. And you keep this hand as close as possible to the edge of that tool, so you can control a lot easier.
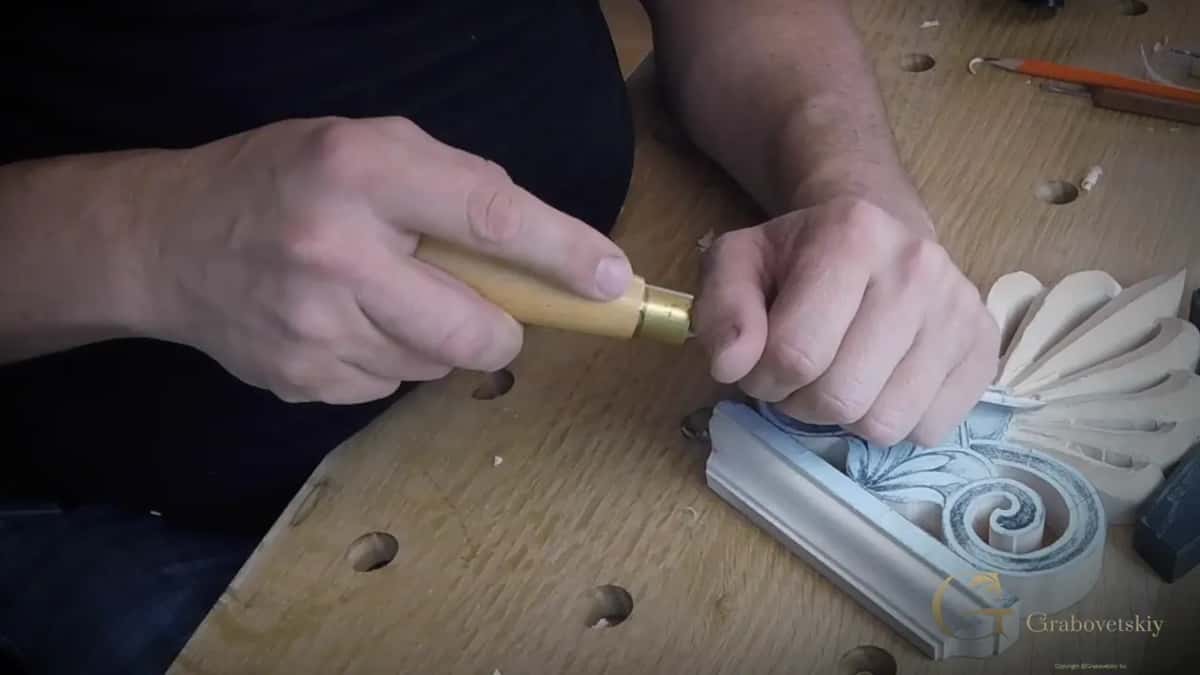
The fingers on top of the tool matter too. Lesson 8 of the Greek acanthus had me pick up a number five again, and I said I just love how it feels. Just so perfect when I'm laying my fingers right on the top of this tool, and underneath it has some slight roundish feel. My hand's not as tired.
My straight gouge sharpening lesson puts a number on it. For fine detail in lime wood or basswood I prefer a really low angle. I can't say how many degrees. It could be just about five degrees, even lower.
With that angle, when you lay your hand, almost the second one is lying on the wood too, and you can already carve without raising the tool. You get really, really fine details. For oak I use a stronger bevel. The low angle still works there, but the probability of breaking it is much higher.
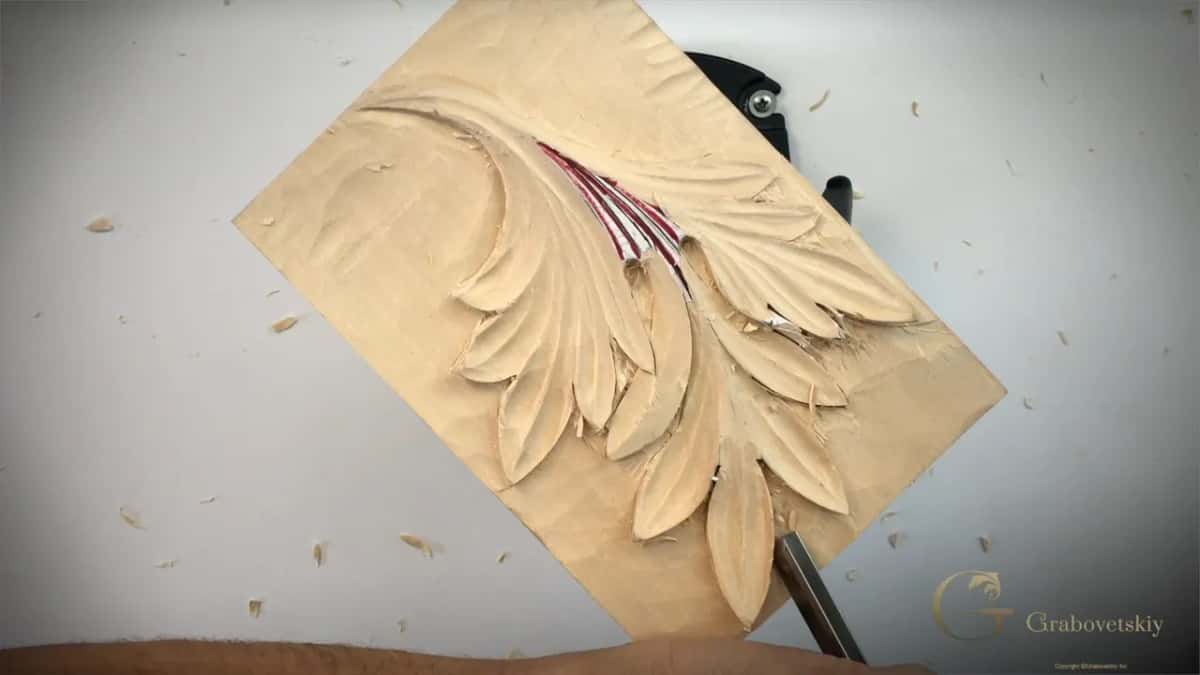
Where does the hand go when the gouge turns upside down?
Right at the edge, as I said in this part. Once the V tool had done enough for now, I took a plain straight number five. For undercutting you turn it upside down and slice toward the background, without pushing, and you can see how easily chunks of material come away. Then turn it back to clean. The tools themselves are on the lesson 5 page.
While I cleaned, I asked you to watch my moves. I'm actually just slicing everything, I said. Placing my hand right at the edge, and I'm slicing and kind of cleaning.
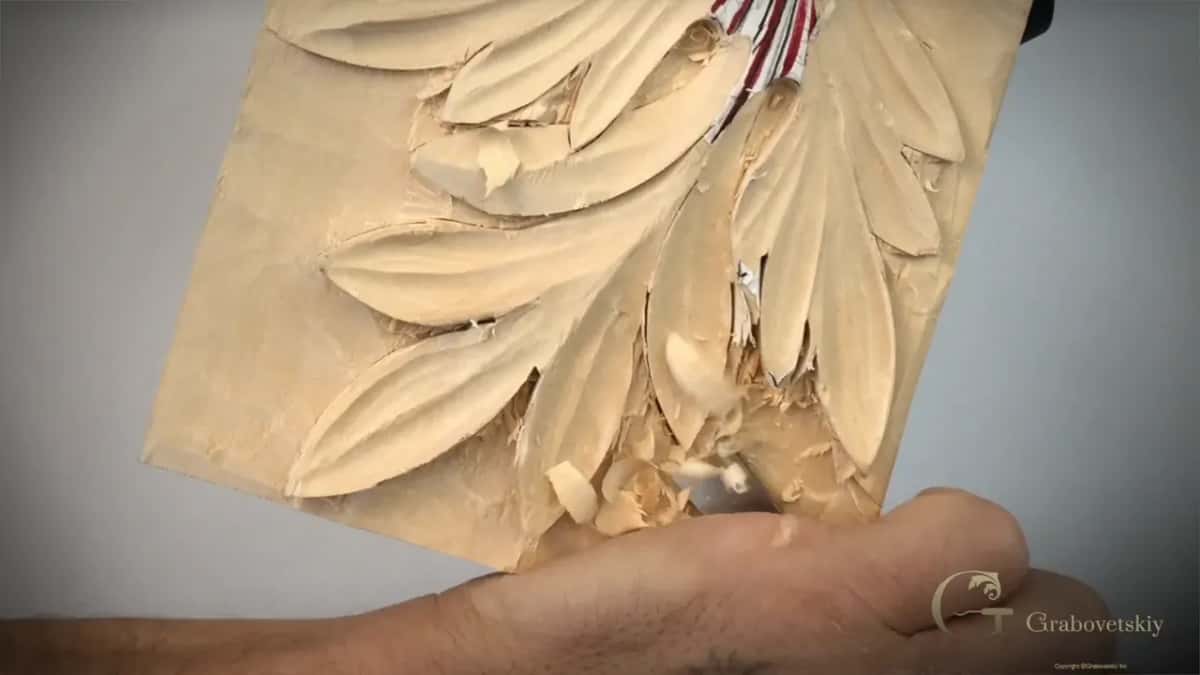
You can see this leaf is already floating, I said a little later. I went almost to the edge, really carefully. Your wood will act a little differently in different areas because of the grain, so make sure you don't push your tool in.

Which finger takes the weight on a fragile part?
Your own finger, not the carving. One edge on the lily box, in lesson 5, had become fragile, so I tried not to press it. That's why I'm placing my middle finger, I said, as a reference point or cranking point or leverage point, if you wish to call it that way. And I'm not touching my edge.
The lily flower in lesson 10 got a finger underneath instead. There was a crack inside the wood, and I was watching where it would lead me. It actually got bigger, and I didn't want to see that. I placed my middle finger under the piece, and that creates the extra support, but be really careful when you're doing it. I held my tool really close to the edge as well, so I can work on really tiny details.

About a minute later I pushed too hard and removed what I should not remove, all on camera. I'll fix it, I said, and went back under with a number 11, one millimeter (a little over 1/32 of an inch).
A pinky can do the job too. In workshop 67 of the Venice Room I was starting an undercut with a number three. See what I'm doing with my pinky, I said. I'm actually referencing my palm.
My tool was really close, and you can cut your pinky, so be really careful. But if it's possible to reference, do it. Only if it's safe, of course.
| Piece | Hand | Lesson | Gain |
|---|---|---|---|
| The Corinthian leaf | Laid flat on the block beside it | Corinthian 5.2 | Extra support on work like this |
| A Roman leaf | Down on the wood, gouge near edge | Roman 16 | Control over all my passes there |
| My furniture panel | Solidly placed on the board while slicing | Furniture 17 | Much more control on shallow passes |
| The lily box | Middle finger as the leverage point instead | Lily 5 | The fragile edge stayed untouched there |
| A Venetian panel | Pinky as a reference, tool really close | Venice 67 | Reference only if it is safe |
Over a molding, on an acanthus, I was checking the side, to make sure that space was equal or approximately equal, and I asked everyone to pay attention to my hands. One was solidly placed on the board, and the pinky just tries to support. I can control much better that way, and my passes are as long or as short as I wish.
The first lesson of that course has the same note. There I asked you to watch how solidly my hand sat on the surface, so I can have a lot of control. I can do it really slowly and make the full rotation with my tool.
Is the mallet safe once a hand is down?
Not without care. Right after the hand note I turned the block, undercut from the other side and got my mallet again. Just be careful with your mallet. Like I said, that's not as safe as you believe. I mean, you think.

It actually takes some training to do really good undercutting. Frames from the next minute show my forearm lying along the edge of the board while the V tool works at the tip of a lower lobe.
A spot on the lily box needed the same care. I needed a better undercut and had waste to remove, so I tried the mallet and went carefully without breaking it. Just a slight punch, just a little tap. Why a mallet can still give more control than a push by hand is a separate page, from lesson 7 of my grape panel.
Where should the hand stay off?
Off the fragile part itself. Near the end of the Byzantine acanthus, lesson 10, I warned you to keep your hand off it. It's going to be fragile now. The more you remove, the more fragile it's going to become.
Same with the back of my chamomile and bow rosette. Working from the backside, you can break it after hours of work, so don't press it, I said. Keep hands off the piece there too, so nothing presses on it, cranks it and breaks some area. Really, really hold it pretty much on your fingers.
And keep it off the path of the blade. With the curly kitchen cutting board I told beginners to hold it really, really tight and never place a hand in the way of the knife. Otherwise, you're going to just cut yourself really easily. And I've done it. I cut myself. The hand that supports the piece has to be away from the cutting blade.

When is there no place for the hand?
On some complicated work, as I said on the Corinthian leaf. In the Roman course I put it the same way. On really complicated flowers you are not going to be able to find any support, but whenever you can, find the support for one of the hands. Which one depends if you're right-handed or left-handed. I'm right-handed.
In that same Roman lesson I said a lot of people who have never carved before make a big mistake, holding the tool up and trying to just airbrush. So never hold your tool in the air.
The far end of that is my Hashemi panel, lesson 12. The piece got more fragile, and some areas were already really shaky. Keep an eye on how you support your hands, I said, and I called that type of work air carving, the tool held in the air with just its edge touching. The Corinthian leaf was the other case, where my hand could rest against the block.

Finer grips have their own page too. How my fingers sit on a gouge for fine detail is in lesson 13 of the grape panel.
Do you want your next pass to stop exactly where you planned? Would you like to see where my hands go, pass after pass, on the whole Corinthian leaf? Then come carve it with me inside the school. Next on this leaf the background goes deeper, in lesson 6.
How it's done
- Turn the block first. I turn the piece around to do on this side exactly what I did on the other side.
- Put one hand down. When the work allows it, I lay one hand flat on the block for support.
- Keep your fingers near the edge. I keep them close in, so the tool stays under control.
- Keep the gouge low. Hand resting on the piece, the gouge stays as low as possible instead of raised to dig, and I take multiple passes until I feel how deep it should be.
- Brace on a finger, not the carving. Where an edge is fragile, a finger becomes the leverage point, and I don't touch that edge.
- Go easy with the mallet. I pick the mallet up again carefully, because it is less safe than you think.
Frequently asked questions
How close should your fingers sit when you carve?
Right up near the edge. On the Corinthian leaf I said that is how I control my V tool easily, and on a lily flower my tool sat that near so I could work on really tiny details. For the Greek acroterion I told you to keep that hand up by the tool's edge.
Does a low bevel change how you hold a gouge?
A long, low bevel lets my gouge stay low while my hand rests on the piece. At maybe five degrees, on lime wood or basswood, almost my second hand rests on the wood too, and I carve fine details without raising the tool. Oak gets a stronger bevel from me.
What if the carving is too fragile to lean on?
Lean on your own finger instead. The middle one went down as a leverage point on the lily box, and I did not touch the fragile edge at all. Under the lily flower a finger gave extra support from below, and I asked for real care doing it.
What to carve next