

Alexander Grabovetskiy, woodcarver, School of Woodcarving · Published 2022
How do you undercut next to a molding without damaging it?
Quick answer: Undercutting next to a molding is a very small pass under a leaf's edge that leaves the molding's own wall alone. Part 12-2 used a 1 mm veiner and smaller tools after it, and I said any more depth was a problem. Other lessons say to keep the corner of my tool out from under the molding's high part.
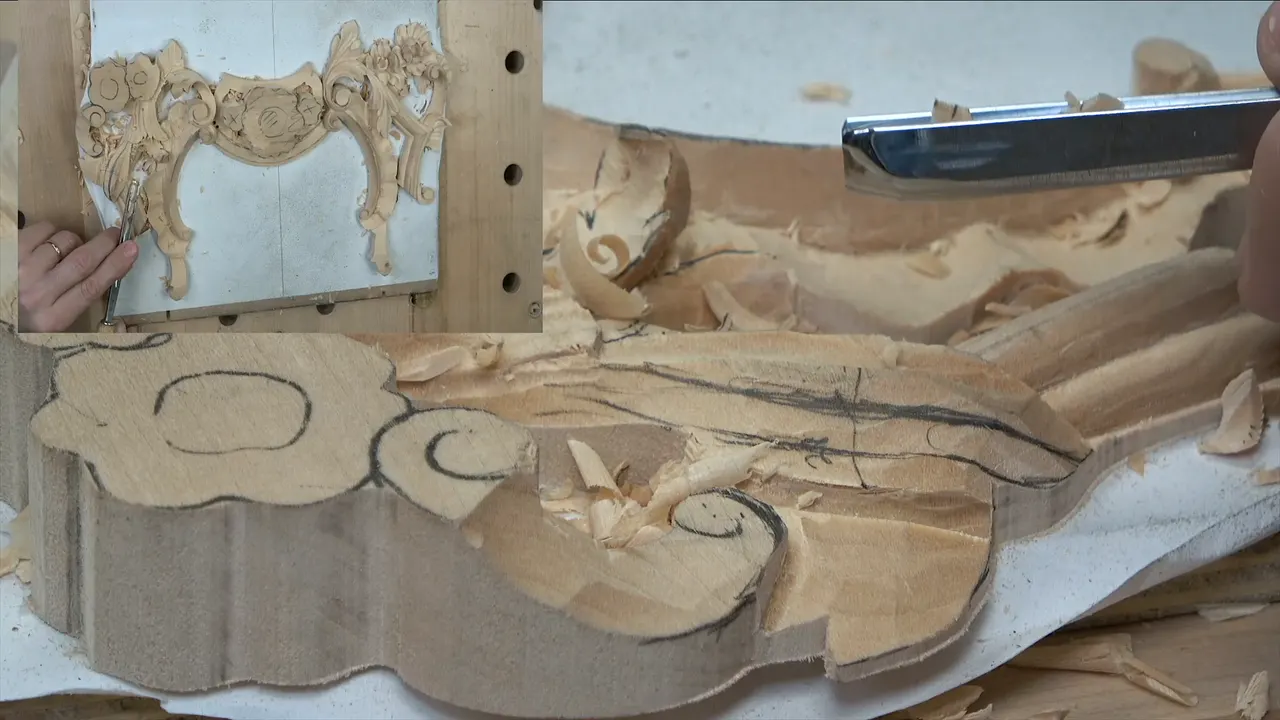
Undercutting a leaf near a molding is taking wood from under the edge of a leaf with a very small gouge, and stopping before the tool touches the molding's own wall. Twice in part 12-1 a molding stopped my depth, as I told you. Part 12-2 shows what I did instead. A tool of 1 mm went in first, and a smaller one followed it. Some other lessons say where my tool corner did not belong.
Have you ever held a gouge back a hair because one more pass could scar the wall beside it? Did you wonder how much more wood you could take and still leave that wall clean? I met the same spot on camera, and here are the numbers.
Undercutting at a molding in six lines
- A molding beside the hollow set my depth twice in part 12-1.
- One side of the first hollow stayed a little raised, since the molding sat right there.
- At the leaf point a 1 mm veiner went in first, then a smaller one.
- Deeper than that, I said, was a problem.
- In other lessons I wanted the corner of my tool kept clear of the high part of a molding.
- One slip on another panel dug into a molding, and I measured it.
What stopped me from going deeper in part 12-1?
A molding right next to the leaf stopped me, and it came up twice. First I was carving the two hollows beside the middle line of the first leaf, with a 7 mm (0.28 in) number 11. "But again, I can't do it too deep because I do have a molding right there," I said. The hollow could not run clear to that molding, and one of its sides had to stay a little raised. I picked the side that would be somewhat raised.

About eight minutes later it came up again. Before that I had made the relief cuts, straight down into the little triangles, using a number 11 of 3 mm (1/8 in). I put it plainly. "I can't go too deep because that molding, I still have to work on that molding." In the next breath came the part I like. "But I can exaggerate a little bit that concave in this spot."
So the molding set a ceiling, and one spot still got a little extra. A concave on that leaf went all the way down, I said, and for that one I would undercut and remove the wall.

Near the end I stopped mid-sentence. "Actually, I need to undercut slightly." Soon after, one side could "kind of dive slightly," I said.
How did a 1 mm gouge make the shadow?
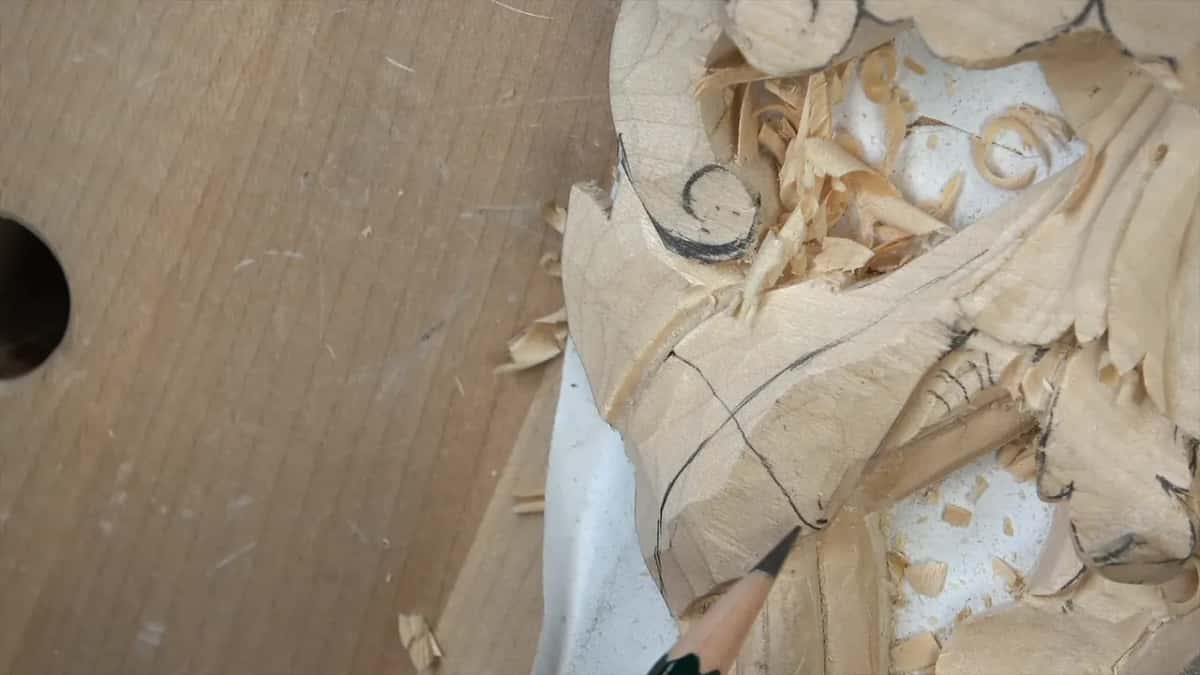
The first pass was a 1 mm number 11, and a half millimeter tool went deeper. Part 12-2 opens with "Let's attack that molding right here." A back bent gouge, a number three sweep, set the form first, little by little. The acanthus there grows from underneath and wraps around the molding, so I only had to feel it and make a small undercut at its point.

The grain direction goes that way, I told you, and that was my first reason a deep undercut was out. I also said it would not be as easy as it looks. Next I took 1 millimeter (0.04 in) in a number 11. "1 millimeter should be sufficient. Let's try." A second 1 mm tool, a little different, went in after it. That section was somewhat hard to reach, I said.

Then came a tool of half a millimeter (0.02 in). "And that creates beautiful shadow. But I always have to be careful because I can damage overall shape of that molding." After it I picked an even smaller one, less than half a millimeter by my guess. I wanted more depth still. Any more, I said, can present a problem, because it would be too weak.
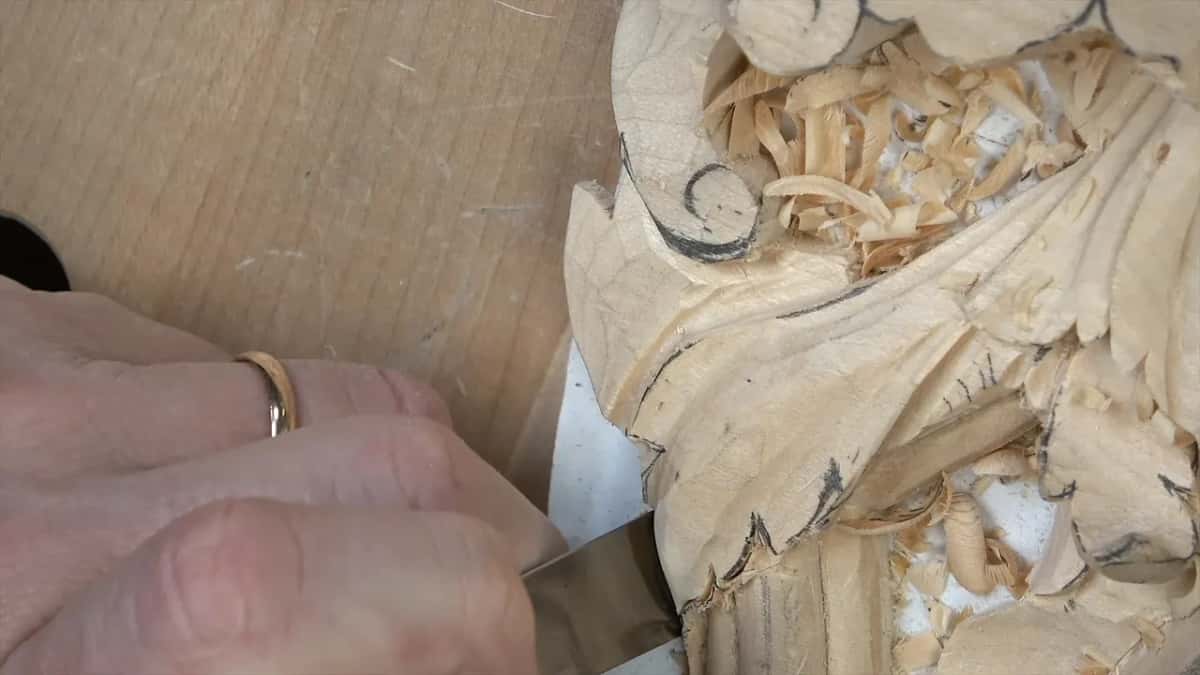
A really tiny spoon gouge did the blending, and it was not a back bend. That part of the leaf has to wrap the side of the molding and sit right on top of my future shell. Overdoing it was not needed, I said. A flat little spoon, a number three of an eighth of an inch (about 3 mm), then went to the molding itself and made a fillet on one side. Later on, I said, I would get really close with my magnifier glass and clean everything.
How deep did I carve against a molding in each lesson?
Here are the numbers I gave in lessons where a molding limited me, one lesson to a row, with the stop in the last column.
| Lesson | Tool and size | Spot | Reason |
|---|---|---|---|
| Floral lesson 12 | Hollows with number 11, 7 mm (0.28 in) | First leaf | One side stayed a little raised |
| Floral lesson 12 | 1 mm (0.04 in) number 11, then smaller | Leaf point | Deeper than that presents a problem |
| Furniture lesson 20 | Number 11 at 1 mm (0.04 inch) outline | Molding edge | Kept shallow at the edge |
| Lesson 22, furniture | Section between lines, about 1/8 inch (3 mm) | Between lines | Molding side could not go deep |
| Course 29, furniture | Half millimeter (0.02 in) number 11 on petal | Beside molding | Cannot go deep, so undercut first |
| Venice workshop 122 | Probably a number 11, 2 mm (0.08 in) | Future molding | Next size 1/16 inch (1.5 mm) |
Look at the figures side by side. They run small, and the reason for the stop changes with each lesson.
Why not undercut the molding itself?
Digging under a molding's high edge creates a line. I do not want that line. In Acanthus over Moldings I said no digging with my corner underneath the higher part of the molding. For paint grade work it's okay, I said, but not for stain grade, so that would be a big mistake. Sixteen minutes later in that same video I put it another way: dig too deep on that line and you damage the future molding, and it will not look natural.

The furniture panel course gave me the physical reason. My number 11 was three millimeters wide, one-eighth of an inch. Turn too much inside and press, and you undercut, "and then you've ruined your molding." So I held the tool straight, heel flat to the background, so that one side of it would not undercut and the tool goes more outward. Minutes later I called an undercut on those moldings right then a huge, unforgivable mistake.
One condition came in lesson 15 of the same course. Planning to undercut the molding is okay. If you are not planning to, be careful, because the tool corner will leave extra shadow and a tool mark, and the wall won't look really nice.
Workshop 149 of the Venice Room gave the plainest line. My number 1 stood straight down on a drawn line, and I said "don't undercut if you're working with moldings." The tool stands at 90 degrees. End grain can make trouble, and then one more pass with a number 11 relieves it. A sharp tool, I said, should not give you any problem.

What happened when I dug too deep at a molding?
A dig of about 1/32 of an inch (0.8 mm) went too deep into the molding, and I said so on camera. That was furniture panel lesson 15. "I made a mistake I have to fix." I measured it. The overall height of the molding would now be 3/32 inch (about 2.4 mm), lower than the part beside it.

I had to go around it, which I called okay, since I had planned to lower that spot anyway. The design called for it to sit a little lower than the leaf. One more small dig would have been a huge problem, I said, an unforgivable mistake. Then a number 1 went right on the line for a straight down cut, since missing that line mattered to me.
What if the molding is not carved yet?
I said I need extra material for it. In Venice Room workshop 145 I stayed careful with the molding because it has to go right underneath. Removing wood I did not need to remove was the thing to avoid, since it would be visible, I said, even if the molding was not done. "It's always easy to take what you don't need to take."

Workshop 122 had a small shell by a molding that was not carved yet. My pick was a number 11 of maybe 2 mm (0.08 in), and I came in carefully, so the edge of my future molding would stay whole. A tricky area, I said, but not impossible. A sixteenth of an inch, a millimeter and a half (1.5 mm), was the next size I needed, and the work around it had to go carefully, carefully, carefully.
The rosette course gave the same warning. In lesson 6 I said a number 11, in 2 mm or 3 mm, would work for the concaves, running nearly to the first layer of the molding. "So be careful not to destroy the molding itself when you're creating the cut." And keep an eye on the direction of the grain, I said, and I really have to.
How do I keep a shadow when I cannot go deeper?
A smaller tool was my pick in these lessons. In Hashemi flowers lesson 32 I used a really tiny gouge, a thirty-second of an inch (just under 1 mm), to remove some wood underneath, "because I can't go too deep, but I still want to create a shadow." I usually go as far as I can reach on a flower, I added, since from the side the sharp edge makes a big difference.

A petal beside a molding came up in furniture panel lesson 29. The petal could not take much depth because of the molding, I said. A half millimeter number 11 got a preliminary undercut, and a secondary one was to go right next to it, so the two would separate. One tiny petal stuck out when I finished, and I said I could refine the movement later.
Another part of that lesson had a separation cut I could not make deep, again because of the molding. Next I planned to excavate a little deeper, carefully, carefully, with my flute at about 11 o'clock, for a really good shadow. Undercutting there was optional, I said, but the half millimeter number 11 and a much deeper undercut would look a lot nicer. What I disliked was that straight line.

Not every limit is a molding. In workshop 31 the wood was no more than 6 mm (1/4 in) thick in one spot, and I called that probably the maximum I wanted to go. Minutes on, I said it another way. There is some point when I can't go deeper, but I really want that deep look underneath. My tool had been 7 mm (about 0.28 inch), and I said maybe 5 and maybe even 4, a little later.
What else happens in part 12-1?
The video opens with a measuring job. I looked at the previous piece and measured the volute and the part beside it. A small detail went almost all the way down, to about 3/32 inch (2.4 mm), a couple of millimeters, and the volute needed only about 1 mm, or roughly 0.039 inch. "Oh, don't want to forget my clamp," I said.

Then the leaf. Same idea as the previous pieces, a convex with a concave on each side. My middle line sat at roughly 62 percent against 38, the 60/40 rule I told you I am really big about, so it was not in the middle. That is the golden ratio. For the hollows I chose a number 11 gouge, 7 millimeters (about 0.28 inch) wide, and said I could turn its flute from 12 o'clock to about 10, or to about 1. Every clock number I gave is gathered in lesson 12 of the course.
A number three back bent blended the shape, and I caught myself. "I shouldn't say try to blend it. I have to blend it." Afterward I took out the center line, since it was not needed anymore. Three main divisions came next, and I said I did not have to make one more subdivision. "I think that is plenty."

Small tools followed. A small number five set the shape, and I picked a small number one for a letter S curve running down the leaf. A number 7 of half an inch (14 mm) fit, barely. The little double bevel number one was supposed to be 1/8 inch (3 mm), and it looked more like four millimeters (0.16 in). Cleaning right underneath with a small number nine, I said, "Oops. That is no bueno." I added that it was okay. The part ended on a number three right on a ridge.
The course page shows where each lesson sits. Before this part comes lesson 11, and after it lesson 13. If you do woodcarving by hand, especially relief, you may know the spot where a chisel or a gouge has to stop short of a molding, the kind that runs along a cornice or around an architrave.
Where would a molding stop your own gouge first? Access to the school puts every pass of this leaf in front of you, on video, in the order I carved it.
How it's done
- Shape it first. A back bent gouge, sweep number three, shaped the leaf first, a little at a time, before I undercut anything.
- Go in with 1 mm. A veiner of one millimeter (0.04 inches) takes the first small undercut at the leaf point, and a second 1 mm tool follows it.
- Go smaller still. A 0.5 mm veiner (about 0.02 inch) came next, then a tool smaller than that.
- Stop before it gets weak. Any more depth than that, I said, can present a problem.
- Blend with a tiny spoon. A really tiny spoon gouge, not a back bend, blended the shape and the molding.
- Hold the tool straight. On a furniture panel I held the tool straight, heel flat to the background, so one side would not undercut.
Frequently asked questions
How deep can you undercut a leaf beside a molding?
Only a little. In part 12-2 my first tool on that leaf point was 1 mm (about 0.04 inch), a number 11. Smaller tools followed. More depth, I said, would leave it too weak. On another panel I said the molding would go no more than 1/32 inch (under a millimeter) in.
Why stop the gouge short of the molding?
A tool corner under the high part of a molding leaves a line. In Acanthus over Moldings I called that a big mistake for stain grade work, and in part 12-2 I said I can damage the overall shape of the molding.
Which gouge takes the first undercut at a leaf point?
My first tool in part 12-2 was a number 11 veiner of 1 mm, after a number three back bent shaped the leaf. A second one of 1 mm followed, then a smaller tool, and a tiny spoon blended it afterward.
What to carve next