

Alexander Grabovetskiy, woodcarver, School of Woodcarving · Published 2022
Can you swap a router plane blade without losing your depth?
Quick answer: Swapping a router plane blade is quick work on my Veritas, and the depth should stay where I set it. I double check anyway, because mine has drifted a tiny bit and once felt like it slipped lower on me.
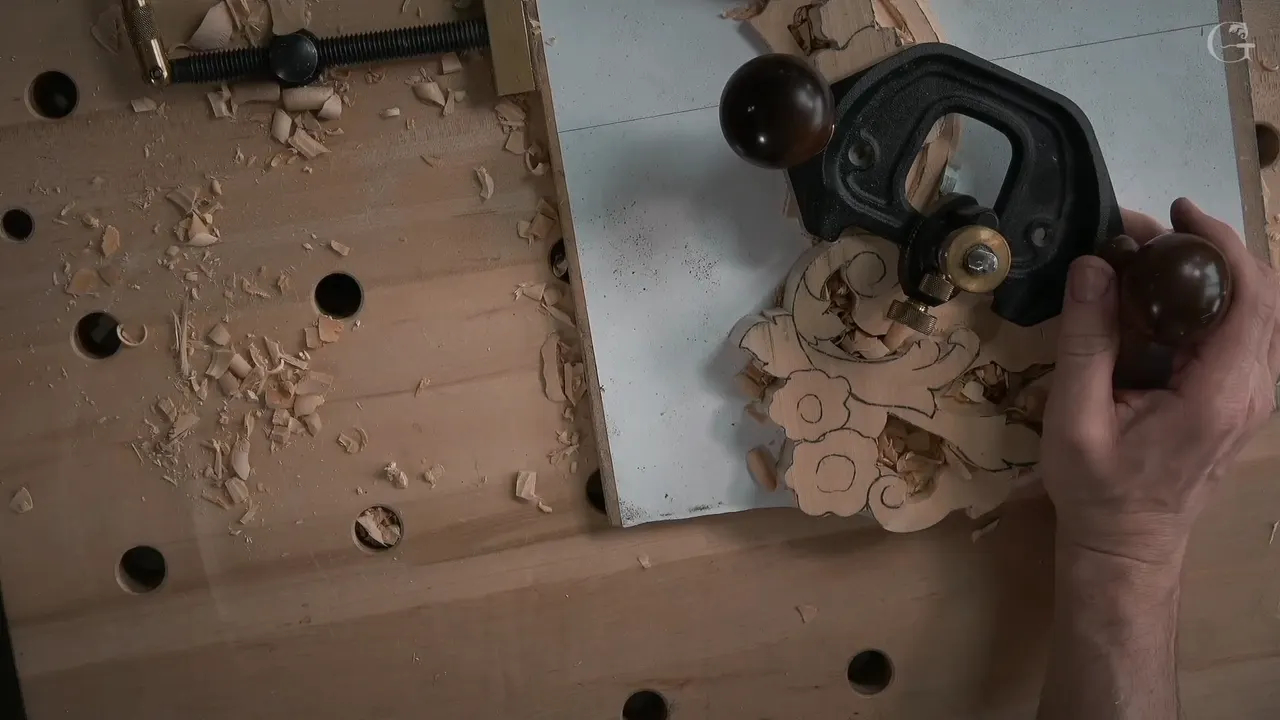
Changing the blade in my Veritas plane takes a couple of seconds, and the depth is meant to hold where you set it. I still check it. Mine has moved a tiny bit on me, and I said so on camera.

A router plane is a hand plane that levels the floor of a groove or a recess. Have you ever set one to the right depth, changed the blade, and wondered what you just did to that depth? Would you trust the number you set, or the wood in front of you? In this video I use the plane on a molding, then I take the blade out and put it away. Other lessons of mine fill in the rest of the blade story.
Six short lines on swapping blades
- A swap is over in seconds.
- The depth is supposed to match, so I check it.
- A smaller blade reaches the tight spots.
- Veritas blades run from about 1 mm (0.04 in) up to 3/4 in (19 mm).
- Once, the blade slipped lower on me.
- When the job is done, the blade comes out of the plane.
What did the router plane do in this video?
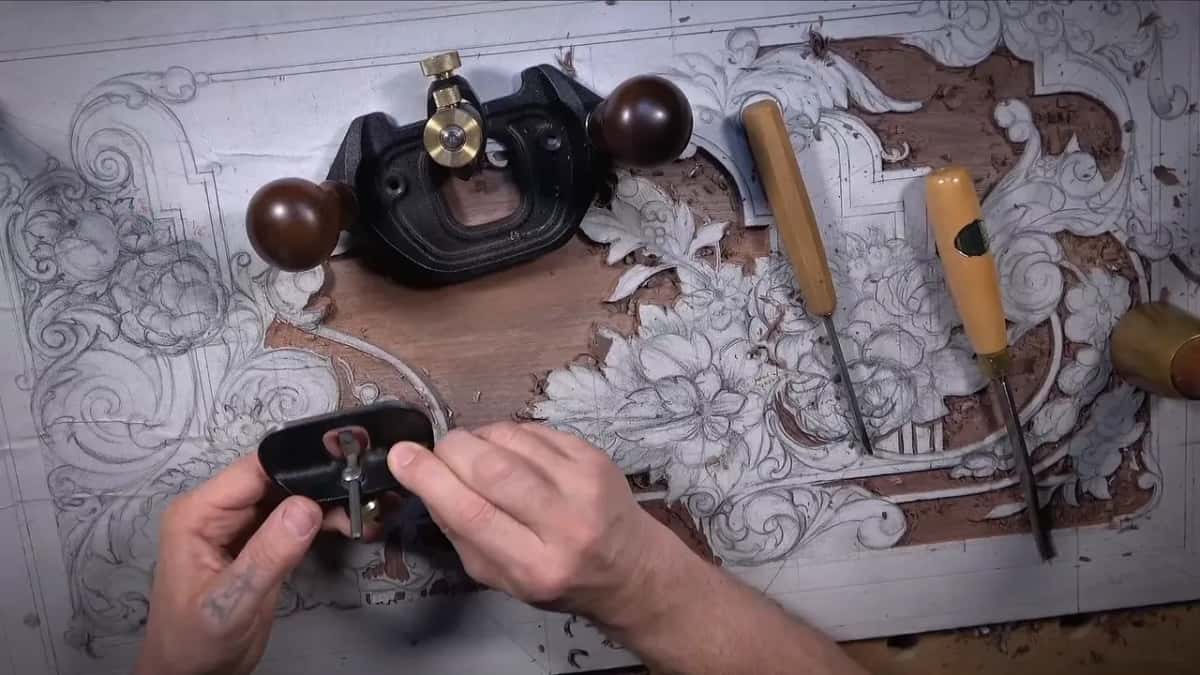
Before the plane, I showed a macaroni tool, which attacks the sides and cleans the upper surface. Then I changed my position and attacked from the other direction. Next came the plane. I had to lower its blade first.
I made my pass and told you, "And yes, I am right on the line." You might not have seen that, and I said so. After the pass I was right there, and that way I'd know the height would come out equal.

I told the people watching that we were creating some molding. The opposite direction came next. "Now I know for sure the height of that molding is going to be exactly the same all the way," I said.
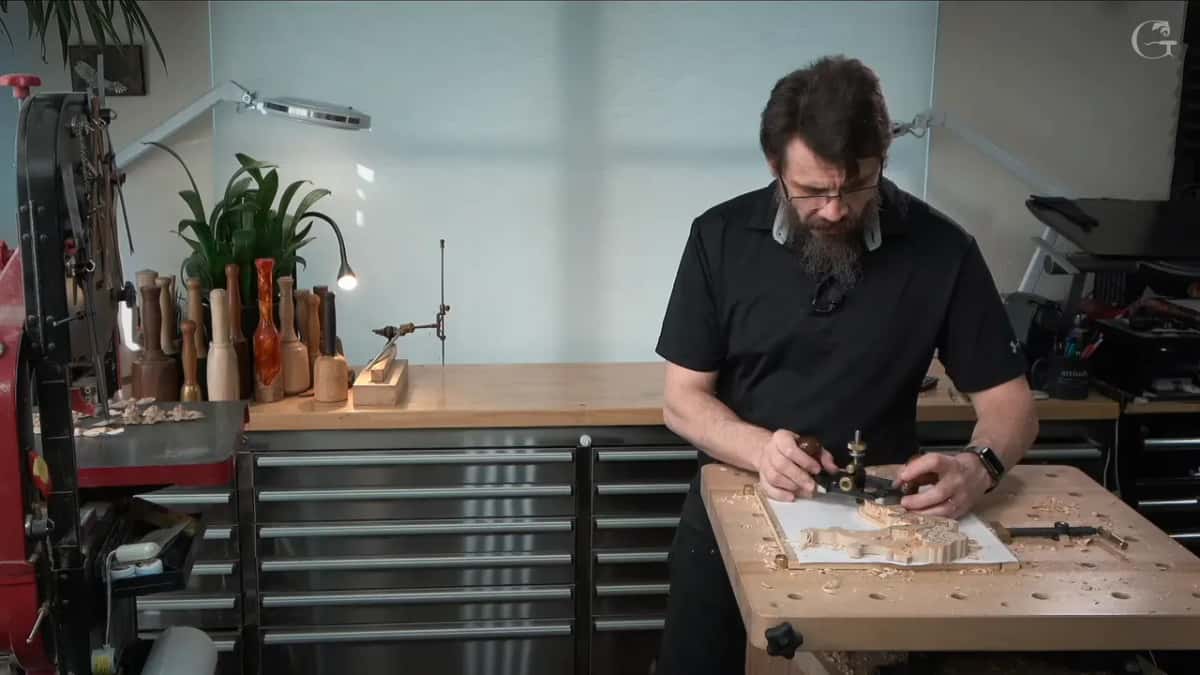
Where does the blade go when I am done?
Out of the plane, right after that pass, and I said it plainly: "I don't need that blade." Like I said before, I try to keep my blade separate from the body of the router plane, and I have a special place for the blades. I gave no reason on camera, so I won't invent one.
You can see the same habit in lesson 2 of this course. Once a detail matched on the back and on the front, it was time to remove that blade from the plane. I didn't want to keep it in there. A special storage waits for those blades. I have multiple blades. The tools course also has a lesson called work bench organization.
With the blade away, I could start on the details. I planned to begin on the right-hand side and jump to the left after that.
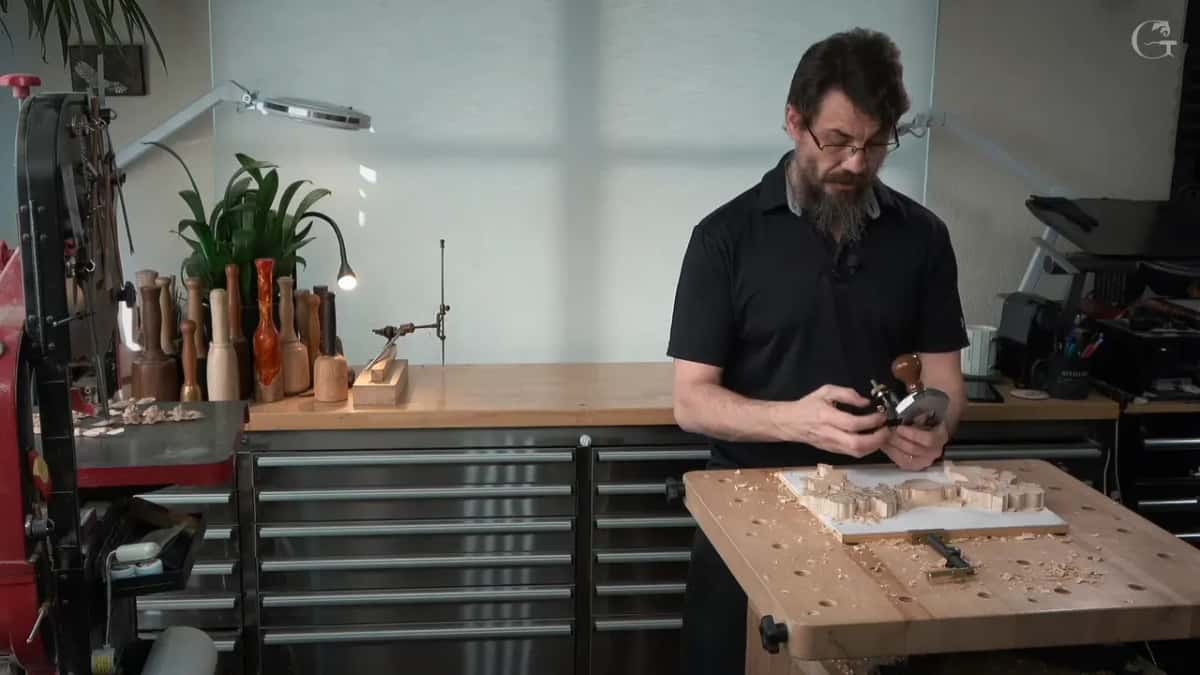
What came after the blade in this video?
The next section holds several details: a molding, a volute, a shell and a flower. A small acanthus waits further on. Lowering the shell came first, I said. The shell itself was not what I carved yet, because I only wanted to set that detail in.
To find the height I went by the old piece. I measured it, obviously, and took the highest spot of the shell from the old piece. A gap showed. I had to press, and that spot came out slightly higher. Then I picked a number 9 of 10 mm (3/8 in) and remembered to clamp the piece.
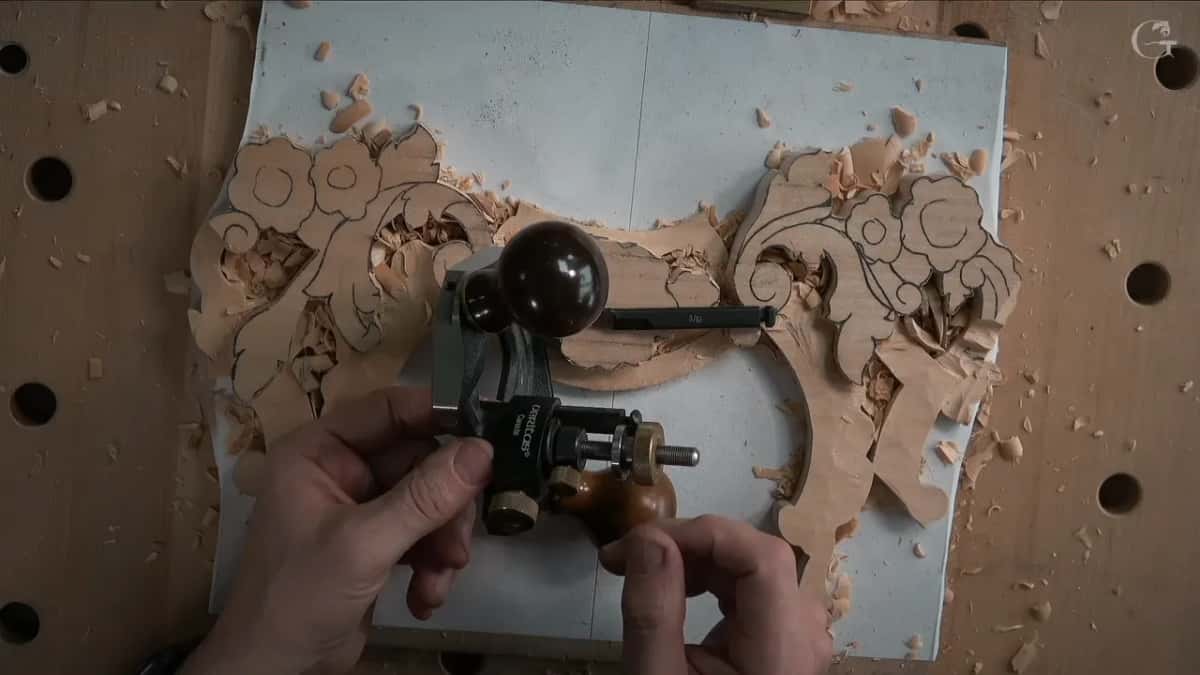
The pass did not go smoothly everywhere. Keeping on the same way was a big mistake waiting to happen, I said, because the tool catches the grain and I could easily break it. So I attacked from the opposite direction.
How long does a blade swap take?
A couple of seconds. I've said so many times, and again in lesson 15 I stopped to show how fast I can change a blade. I picked 3/32 in (about 2.4 mm) for the demo. Release is easy, removal is easy, and a spring sits on the inside. I like how it's designed.
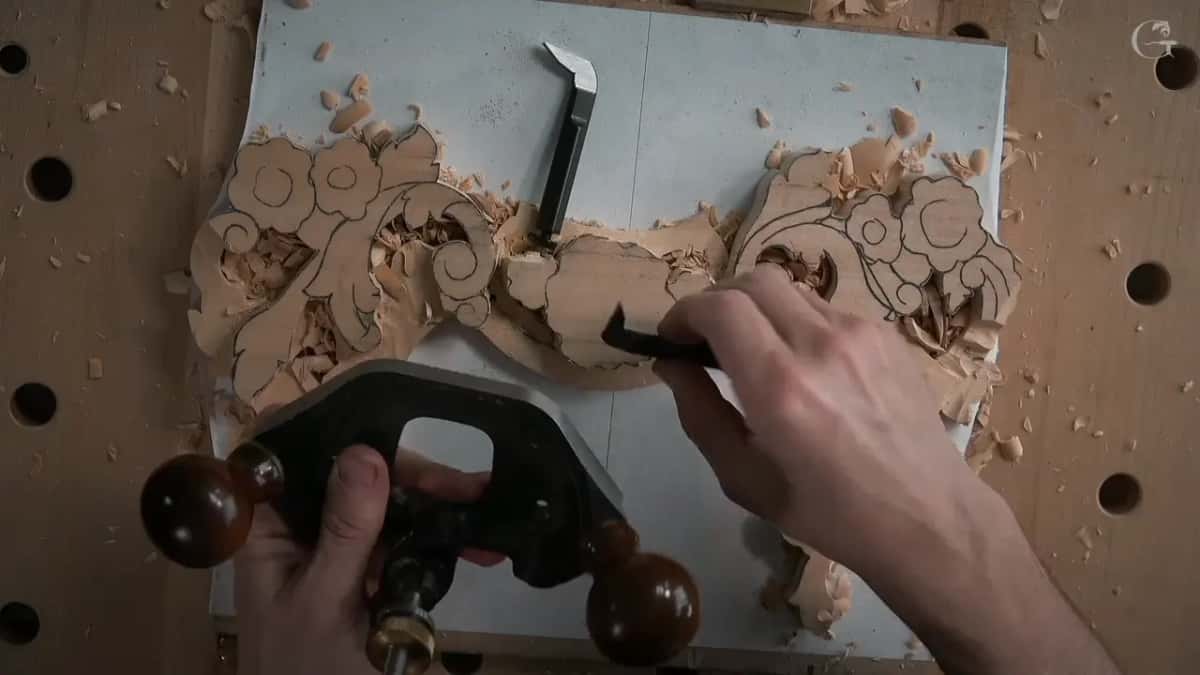
Over in lesson 17 the number was two seconds. Literally seconds, and you've already changed your blade. Acanthus over Moldings 2 has me pulling the blade and calling it a second or so. At lesson 27 I set a 3/16 in (about 5 mm) blade, said, "See why I love this router plane by Veritas," and then put the previous blade back.
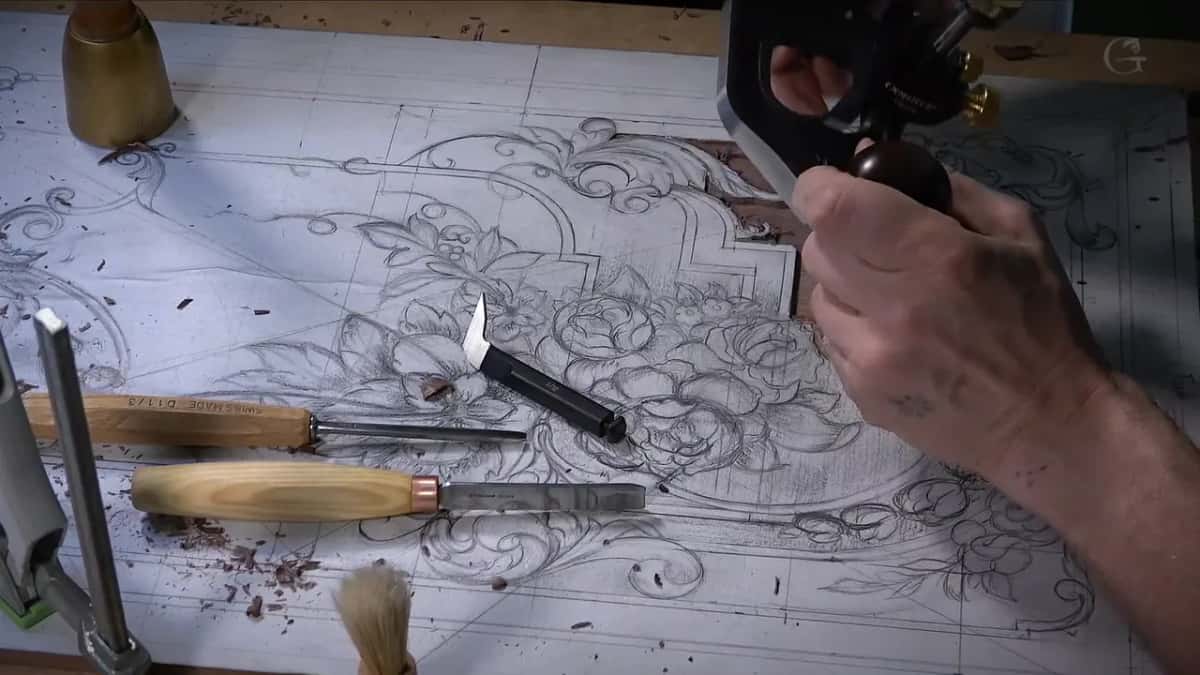
One more swap sits in lesson 15. I didn't even need a new blade there, I said, but maybe a 1/16 would get me closer. It takes a few seconds, so why not? And in lesson 38 I reached for the big plane because of the same quick change.
You should hear the other side too. Lesson 19 is where I told you honestly that the system sometimes feels a little flimsy. Tighten it nicely and solidly, and it holds with no problem whatsoever. The quick release action is what I like, and how easy it is to pull the blade and put it back. For me that makes the whole world of difference.
Does the depth stay the same after a swap?
In lesson 2 I said it plainly: in every case, when you change the blade, it's over in seconds and it's the same depth. That is what I like about it.
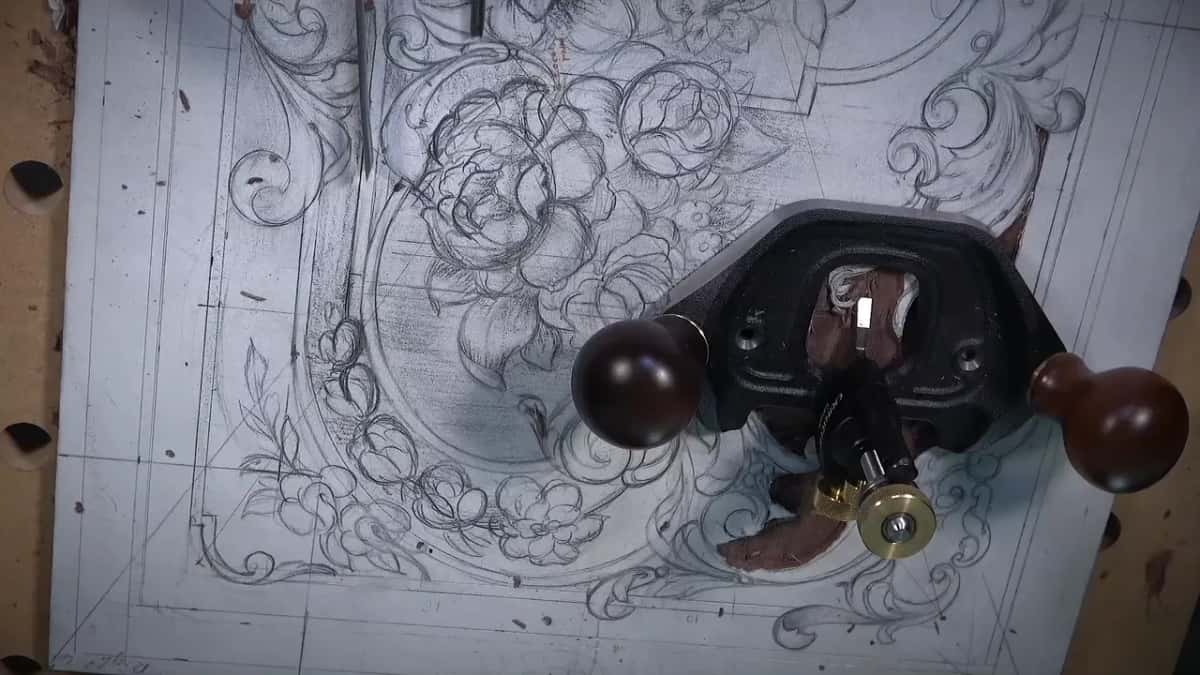
Lesson 15 backs that up twice. With the 1/16 blade, my height was supposed to be the same, and the change took literally a second. Earlier in that lesson I had not touched the height when I put in the 3/32, so it should stay in the same position. All I had to do was make it tight, and I saw exactly the same depth.
Then there is lesson 38, the careful one. "Double, double check," I said. I don't know if it happens with you, but it happens with me: even when I change nothing, the next time I put the blade in, it goes in quickly, and for some reason the depth is slightly different. We're talking about a really, really tiny bit. It does change.

The slip happened in lesson 16. "Let me raise it slightly," I said, because it almost felt like my knife, as I called the blade there, had slipped lower a little bit. That happens sometimes, I said, and only on this Veritas. In my words, "It's never happened on a Lie-Nielsen router plane." I also said I just wish they made the blades, and that a quick change matters too.
A different depth can be the plan, too. Another time, in lesson 17, I said I'd change my blade, and that of course my depth would be absolutely different.
The plane has a ring I call my stopper, which controls how deep I go. It did one more job in lesson 15, when I released it and raised the blade about a sixteenth of an inch (about 1.6 mm). Later on, I said, finding the previous position gets a lot easier. I could also take a little less material on the first pass, which I said a lot of woodworkers would prefer anyway.
How did each swap turn out?
| Moment | What I did | Spot | Why |
|---|---|---|---|
| Floral lesson 2 | Swapped in a smaller blade, same depth held | Veritas plane | Done in just a few seconds |
| Furniture lesson 15 | Swapped to a 3/32, left the height alone | Spring inside | Tightened it, same depth showed up |
| Lesson 38 furniture | Checked twice, then saw the depth had moved | Tiny drift | It changes, but only a little |
| Furniture panel 16 | Raised it slightly after the blade slipped lower | This Veritas | Only on this Veritas, I said |
Which blade width goes in for which spot?
Start with the small end. For the small spots, I said in lesson 2, you can take a much smaller blade, if your plane has different blade options. Not all router planes do. The numbers I gave there were about 1/16 in (1.5 mm), or even 3/32 in (a couple of millimeters), which is a little less than an eighth of an inch.
Furniture Panel lesson 15 says it again: with this plane I can get as little blade as a sixteenth of an inch and get inside, and that's why I like it. A millimeter and a half shows up in lesson 26 too. And for the channel inside in lesson 17, a smaller blade, 3/32, did the job. That should be good, I told you.

Then there is the other direction. Once in lesson 15 a blade was a little too little for the job, so I went to a quarter inch (6 mm), maybe even bigger, and settled on the quarter inch. A later video of that lesson had me saying maybe I should get something bigger, and I chose 1/8 in (3 mm). Panel lesson 16 went to that 1/8 again, a little bigger, and lesson 27 used 3/16.
The full range comes from Acanthus over Moldings 1. Veritas lets me go from one millimeter up to one inch (about 25 mm) or three-quarters of an inch (19 mm), and I barely use a really wide blade. I use the little ones in the tiniest spots, one millimeter or a millimeter and a half. At the start of that video my blade was, I believe, a couple of millimeters. I needed to change it, I said. The plan was 6 mm (1/4 in).

Veritas sells metric and imperial blades, as I mentioned in lesson 15. Buy metric if you prefer it, and you get the same result anyway. This page gives sizes in both metric and imperial units.
Why do I like Veritas for blades?
I like two brands. Lie-Nielsen is one of my favorites, with really good quality and beautiful tools. It lacks one thing, I said: how wide a blade I can use. In my opinion Veritas is much better for this, and I told you I'm not comparing quality, because no doubt Lie-Nielsen is among the best.
Veritas is the tool line of Lee Valley Tools. My own words in lesson 15 were these: for the quality and the classical look I like Lie-Nielsen more, but I'm limited on the blades. A Veritas goes from a 1/16 blade to 3/4 in (about 19 mm) and reaches the tiniest spots.
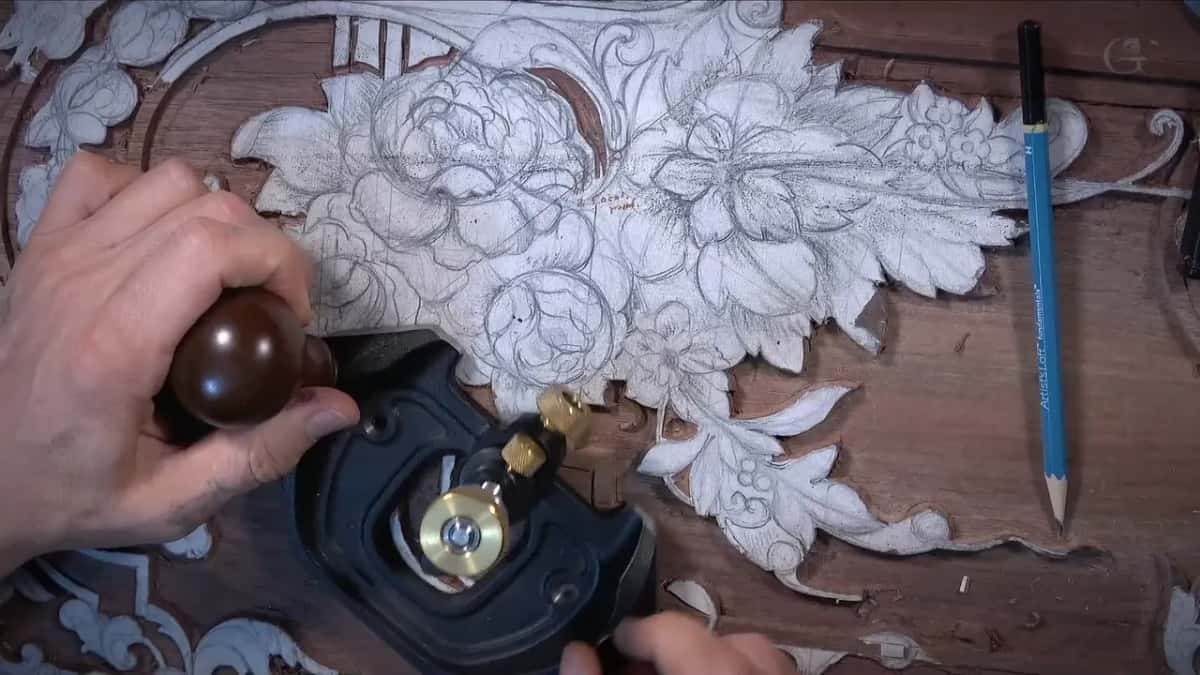
Later in that lesson I hedged. Maybe Lie-Nielsen has that option now, I said. I shouldn't say they don't, because I didn't check for at least three, four, or five years, maybe, and my router plane is kind of old.
I called it my personal opinion in lesson 17. I believe there are different brands of router planes, and they also have different knives, as I called the blades. This is just the one I like. Over in lesson 19 I said I love my plane not because it's the best, though it is one of the best, but because of how fast I can change blades.
What about the tiny router planes?
Mini planes are a different story. Mini ones, I said in lesson 17, don't come with blades of different widths. What you can do is buy several blades and regrind them to make something really, really small. Essentially it is the same idea, I said.
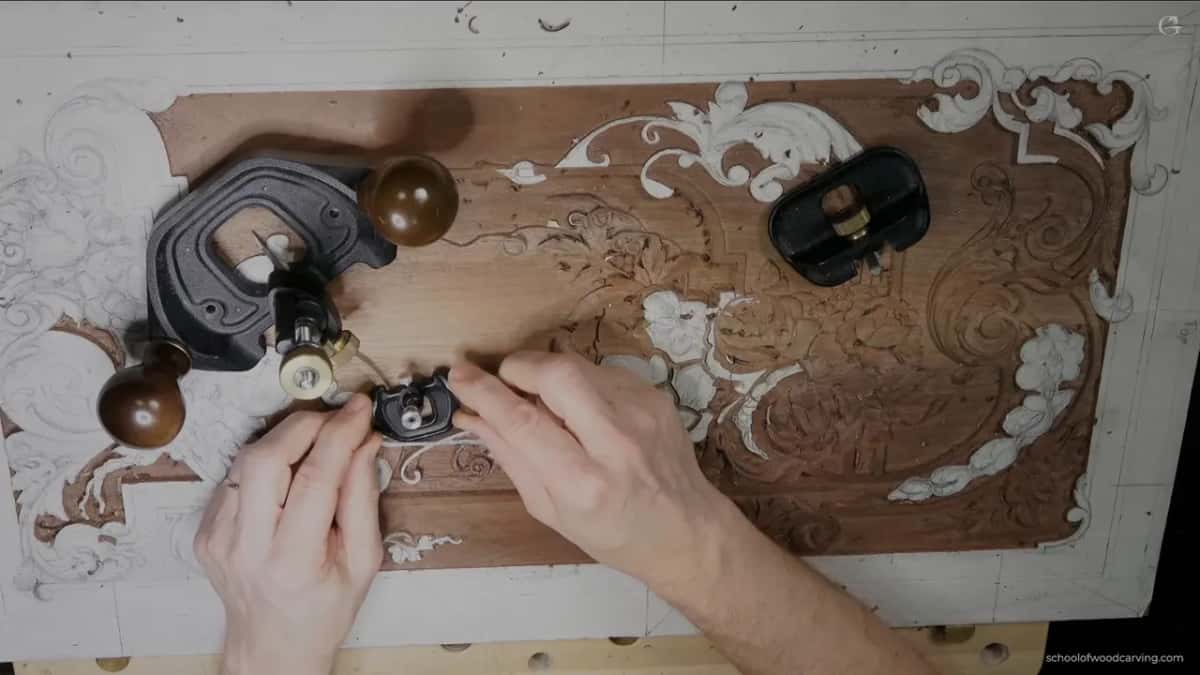
The microplane in lesson 32 is even smaller than that. Its blade is really small and tiny, and you still get really good support. It has limitations, of course. For a small spot like the one on that panel, I called it a really good tool to get in.

I also called it an excellent tool for cleaning up, and one of the real must-haves for a wood carver. It can lie on the molding itself and get really close to the areas. For the big plane, in a small section like that, I said it would be almost impossible.
What bugs me about the blade?
The length bugs me. A blade travels a long way on the surface, and lesson 15 shows me wishing those blades were designed a little differently. I explained it with a marker. I wish it had a notch, with that part removed, so only about a quarter inch (6 mm) would travel on the inside. That would give me a lot more maneuverability for furniture wood carving.
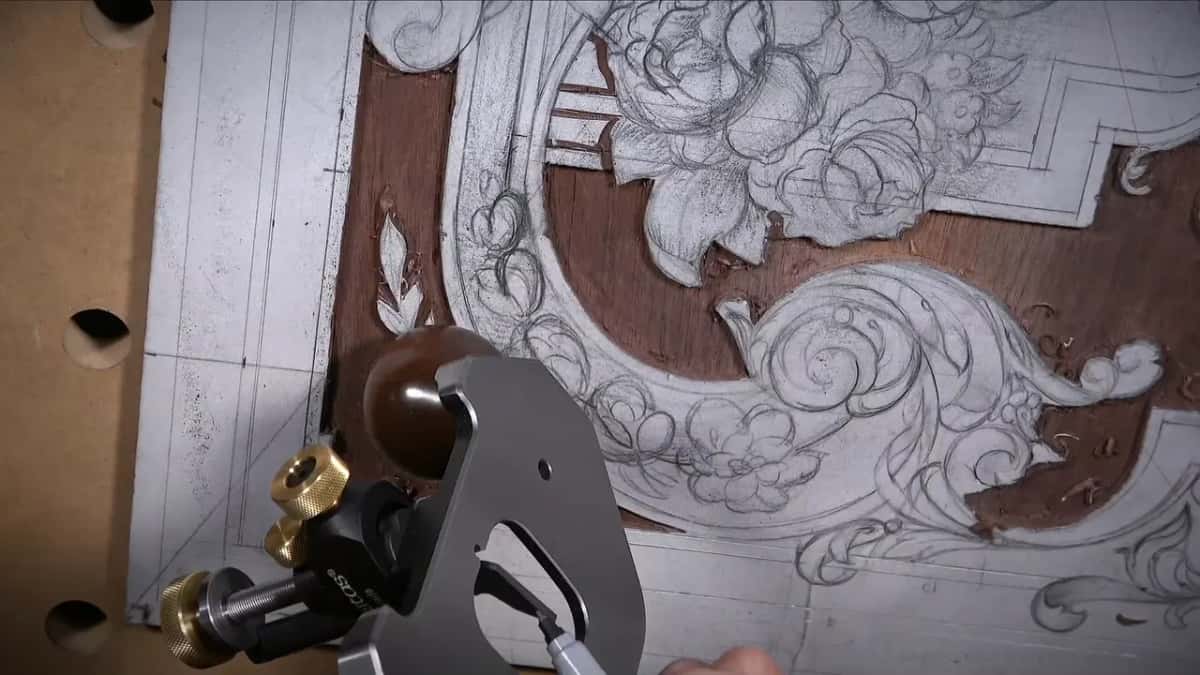
I could take it to the grinder and redo that, I said, but I'm okay. Most of the time I have no problem. The other things that bug me, I said, I can live with.
Where does this part sit in the course?
This video is part 1 of lesson 3 in Carving Floral and Molding for the Panel. The whole lesson sits on the lesson 3 page, with lesson 2 before it, where I change the blade on camera. Depth gets its own treatment in lesson 4, and the tools course has more in All About Tools for Wood Carving.
The panel is relief work, and its molding is what the plane worked on here. The tool itself is one kind of hand plane, and I showed a spring on the inside of mine. Sizes come in millimeters and inches. I give you both. The macaroni tool, I said, is a tool for furniture makers.
Which blade will you put in your plane for your next tight spot?
How it's done
- Set the depth with the ring. The ring is my stopper and controls how deep I go. I raised the blade a little for a lighter first pass.
- Release the blade. Release is easy, removal is easy, and there is a spring inside. On my Veritas the swap is quick.
- Put in the new blade. Pick the width for the spot, leave the height alone, and tighten it.
- Check the depth again. The depth can change a really tiny bit, even when I touch nothing else, so I double checked.
- Plane from both directions. I stayed on the line, then took the opposite direction too, so the height of the molding comes out the same all the way.
- Put the blade away. Afterward the blade leaves the plane and goes to its special place.
Frequently asked questions
How long does a blade swap take in a router plane?
Seconds, on my Veritas. Once I called it a second or so. Release and removal are easy, a spring is on the inside, and I tighten the new blade after it goes in.
Does the depth change when you swap the blade?
In lesson 2 I said the depth is the same, and in lesson 15 it came out the same. Then a double check in lesson 38 showed a really tiny change, even though I changed nothing else.
What blade width do you use for tight spots?
About 1/16 in (1.5 mm) when the spot is tiny, and a 3/32 blade (2.4 mm) for a channel inside. Veritas blades start at around 1 mm (0.04 in). For roomier work, 6 mm (1/4 in) did it, and 3 mm (1/8 in) at other times.
What to carve next