

Alexander Grabovetskiy, woodcarver, School of Woodcarving · Published 2022
How often should you re-check depth while you carve down to a set height?
Quick answer: Re-checking depth is reading the first piece again at each new spot, then again once the wood comes down. On my floral panel I read a high spot, drilled to it, checked the limiter gap, and measured more spots before the gouge went deeper.
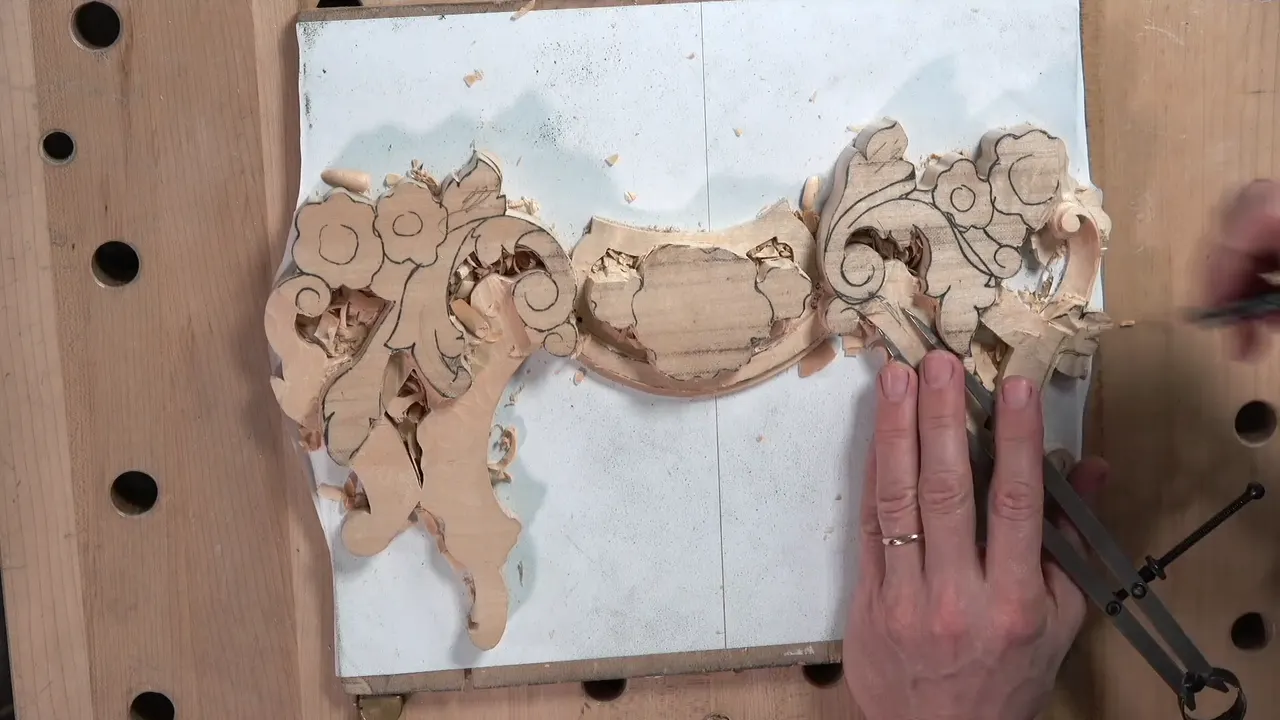
Re-checking depth is reading the first piece again at each new spot, then reading the new piece again once the wood has come down. Lesson 4 of my Carving Floral and Molding for the Panel course had me carve a piece to match the first one I finished. I returned to that first piece for my widths, and again for my heights.
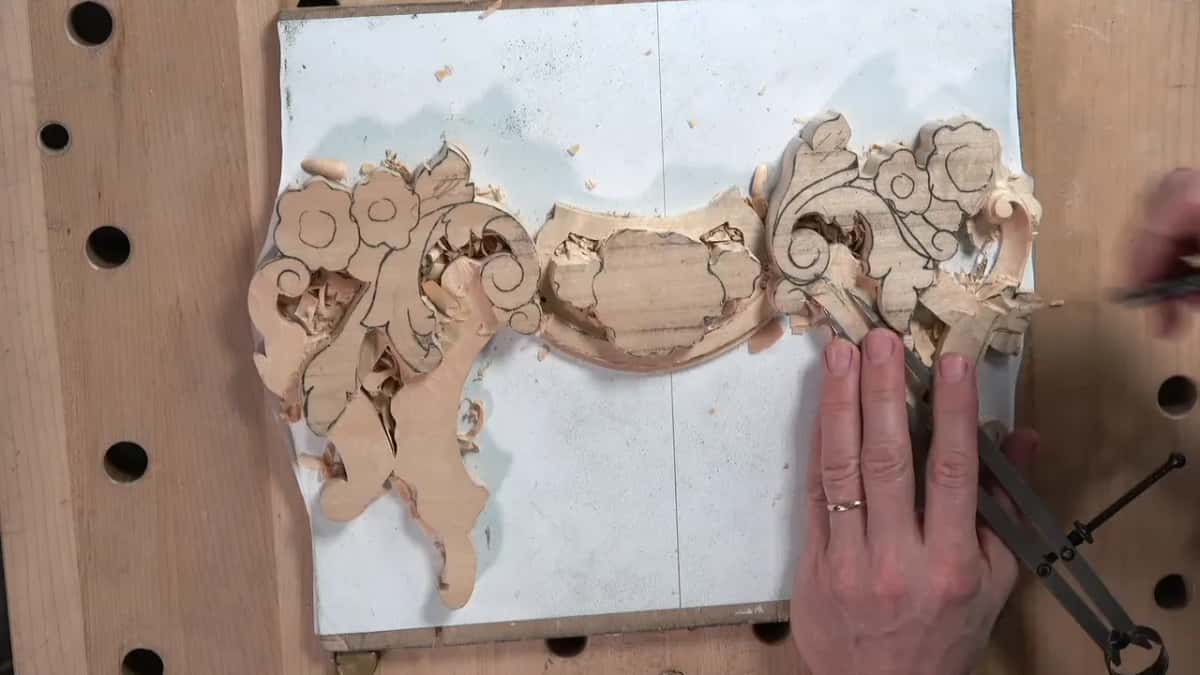
Have you ever drilled a depth hole, felt sure of it, and then found the next spot sat at a different height? Or taken wood off a section before you checked how low it should go? Below are the readings I took, how close I stopped to each hole, and the times a check told me I was wrong.
What does a depth check need?
- A height read off the first piece ahead of any deeper carving.
- More than one spot, since my readings differed.
- A drill bit with room around the needle, 6 mm (1/4 in) here.
- A limiter that is fixed before you look at its gap.
- Another reading after each step down.
Why check the first piece before the new one goes lower?
The first piece already holds the answer. Before I cut too low, I said on camera, I have to reference with my first piece. Really important, I told you.
Widths came first, by calipers. My previous piece got measured, which makes me somewhat accurate. Eyeballing is always possible. If I can measure it, though, I don't really need to.
Heights came next. Some high spots sit on the convexes of the first piece, and measuring those gives me the depth. I took the reading with the pointing machine, after I made sure it was tight and not moving too much. I love that tool, such a beautiful tool. There is a pointing machine page in my tools course too.
The depth came out a little different in different spots. There are multiple ways to take those measurements, I told you, but for me, at least, this is one of the best. At the highest spot I had approximately a quarter inch (6 mm) to go. Taking just the gouge and digging was an option, and I showed a different method instead.
Over in lesson 10, the habit repeats. I really needed to confirm with the first piece, since I did not want to make a mistake in that area. Going too low would mean fixing the first piece. That was a job I wanted to avoid. But I was close: a millimeter (0.04 in) off, or half of that (0.02 in). Not a big deal. Going lower than that would be a big mistake.
Part 3 of lesson 4 gave me another spot. My original piece read about five millimeters or so (3/16 in), maybe less, maybe four (5/32 in). This side read maybe three millimeters, like one-eighth of an inch. Three would work, I said.
Sometimes the machine has to work from the backside. Even calipers are hard to use there, I said in Venice Room lesson 79, but the pointing machine is good. With the depth of certain points taken from the backside, it was easy to measure to the point from the surface of my workbench, since the piece lay flat.
How close to the hole do you stop?
Near the bottom of the hole is close enough for me. The hole comes first. Just a hand drill is absolutely fine, I said, but the bit has to be wider than the needle, because the needle is not exactly 90 degrees down and needs some room. I usually go with a quarter-inch bit, six millimeters, if it's possible, and 3/16 of an inch, like five millimeters, is okay too.
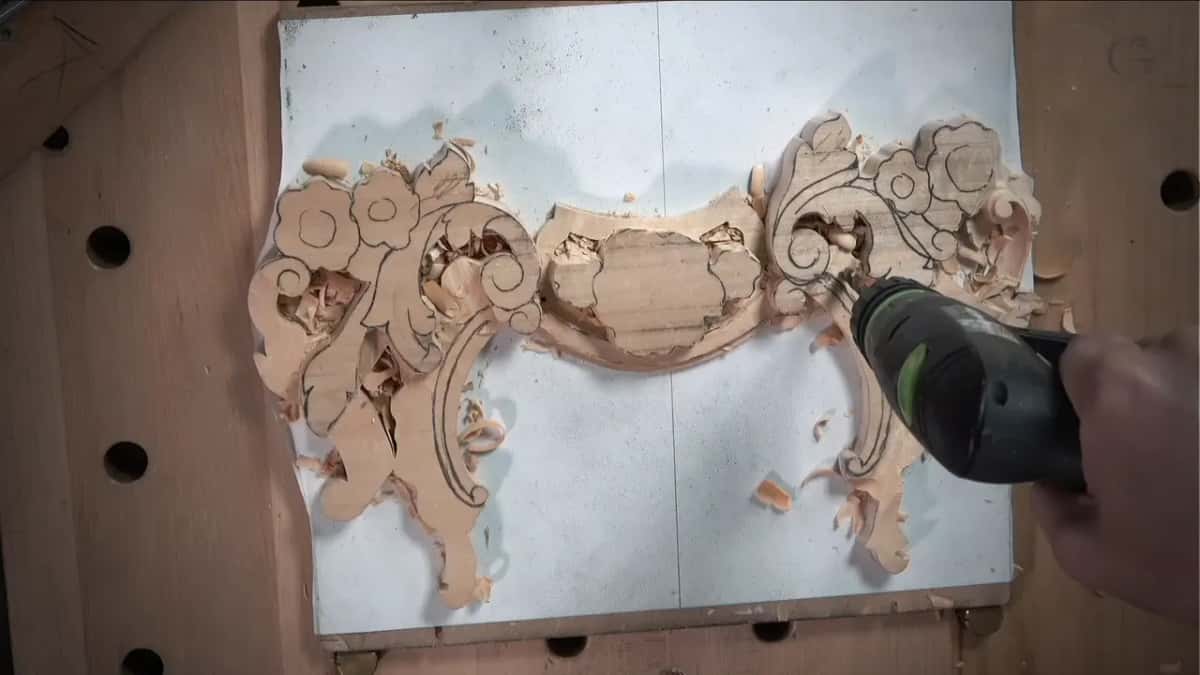
I knew the hole had to go about six millimeters (1/4 in) down, and I had a reference to see it, so I would not overdo it.
A second measure put me pretty much right there. The needle went to the bottom of the hole, and with no hard pressing it hit the floor. How close you are shows in the gap of the limiter, or whatever you call that thing. It just limits how the needle moves.
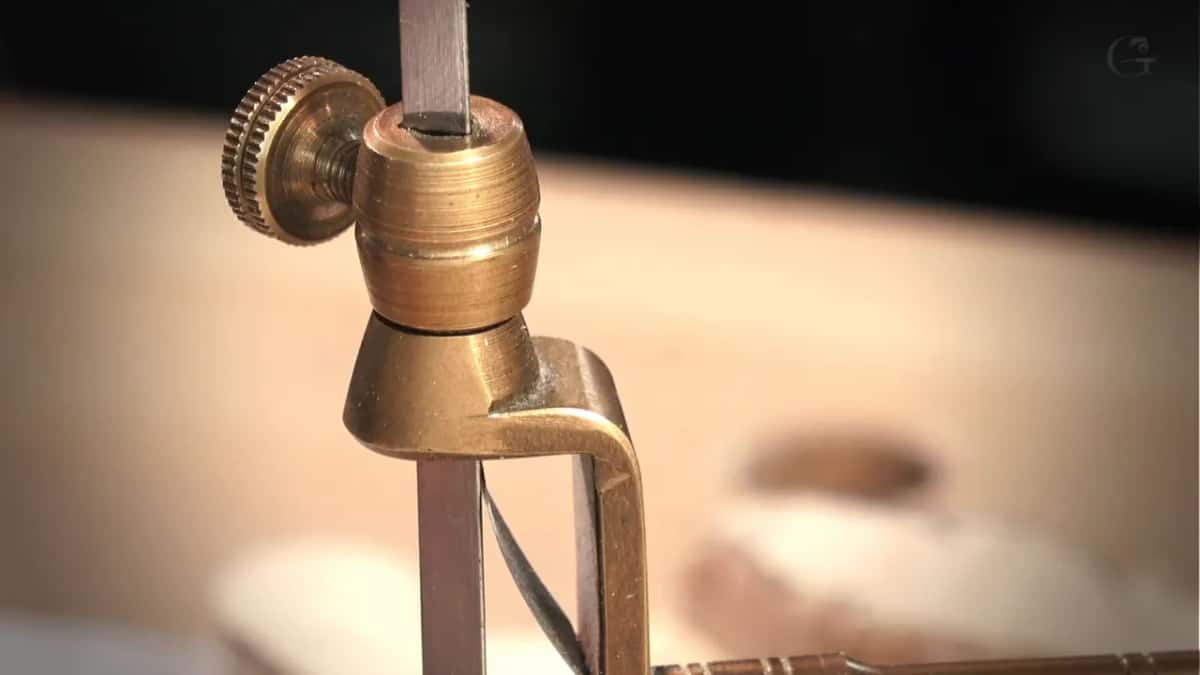
My first hole left maybe half a millimeter (0.02 in), maybe even less. A piece of paper went to the gap, and the gap was just about paper. Going all the way was possible, but not needed. Close enough, because I still had to shave it.
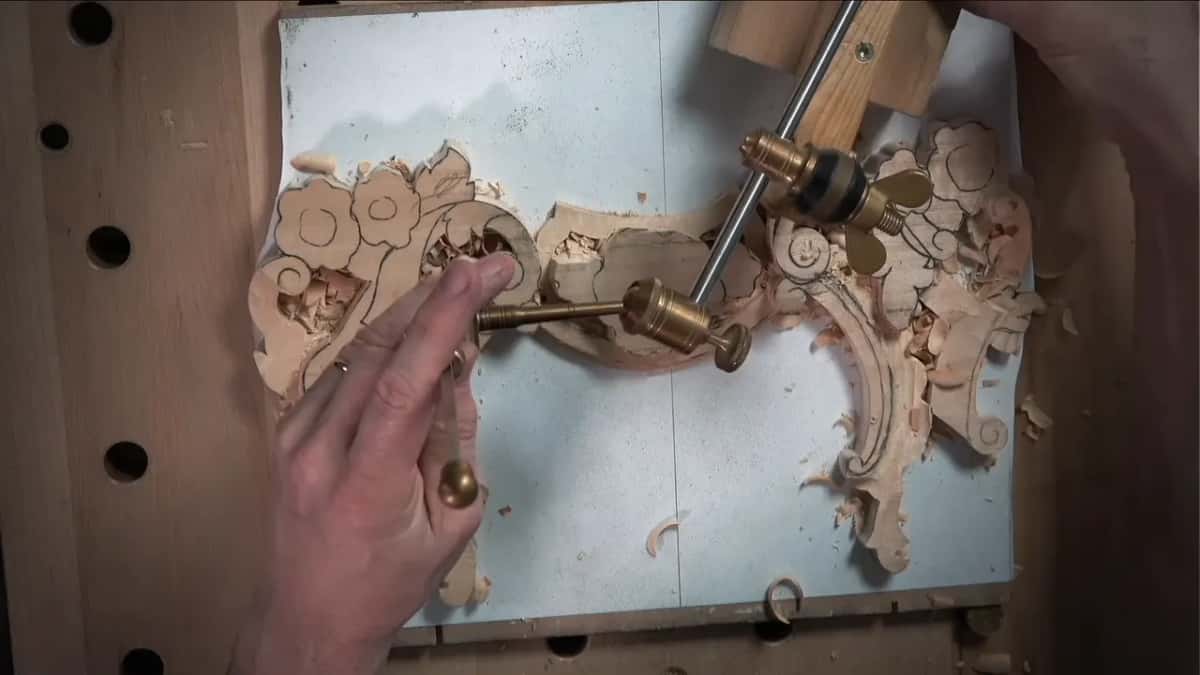
The other side got the same treatment: a quarter inch or so to drill, a clamp to take out, and a position that was kind of hard to find. Right on the money again, I said, so absolutely no problem there either.
Another line in lesson 10 needed a reading. Its height needed a measure, and it turned out I had the right spot even without measuring. Glad I had not dug deeper.
How many spots do you read before you carve down?
A few, in this lesson. After the first two holes, a couple more spots needed a reading: the midpoint, and closer to my final volutes. Near the final one I had to go about ten millimeters, about three-eighths of an inch, though maybe not exactly. Pretty close.
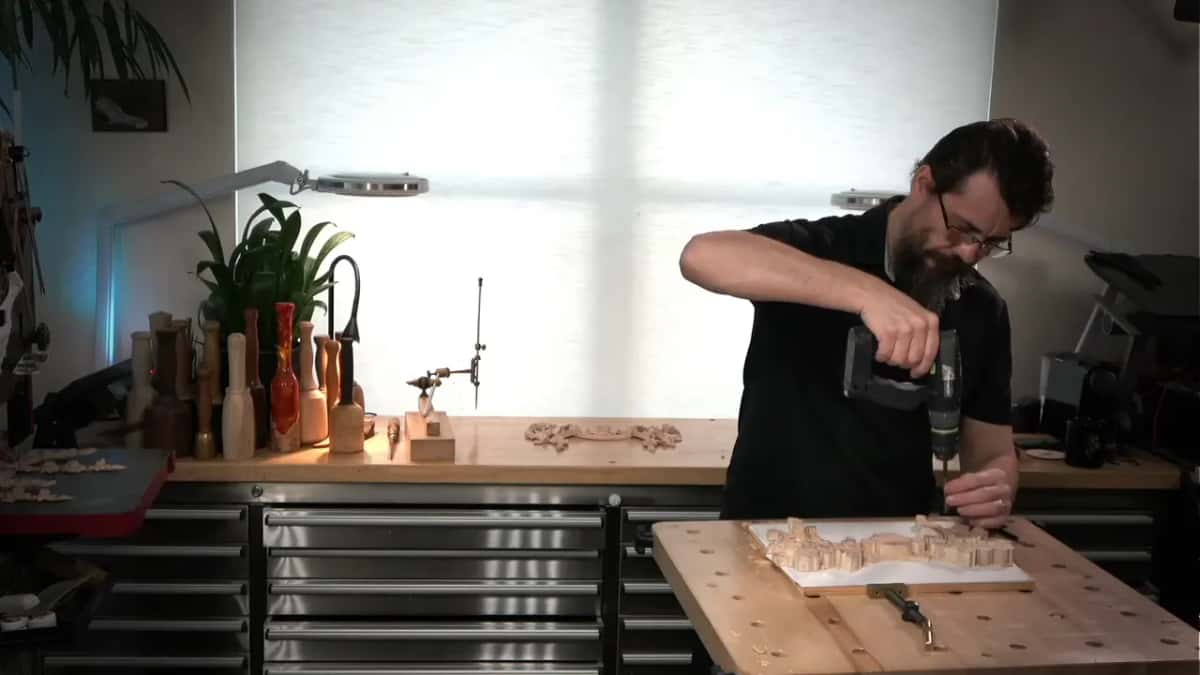
That hole went in too, and I said I didn't want to overdo it. The opposite side was not too convenient, so I eyeballed it and put the clamp back. It looked like I was right there.

By lesson 8 I did not need any more calipers. Height on the sides, not the middle, came from the pointing machine. With a clamp off for a moment, the sides read about five millimeters lower (3/16 in), maybe five, maybe four and a half, and I marked both.
Back in lesson 9, I compared one part to the previous piece. The lowest spot read about 3 mm (1/8 in). Another spot came out about the same, and I expected the next to match. All around, then, about the same depth.
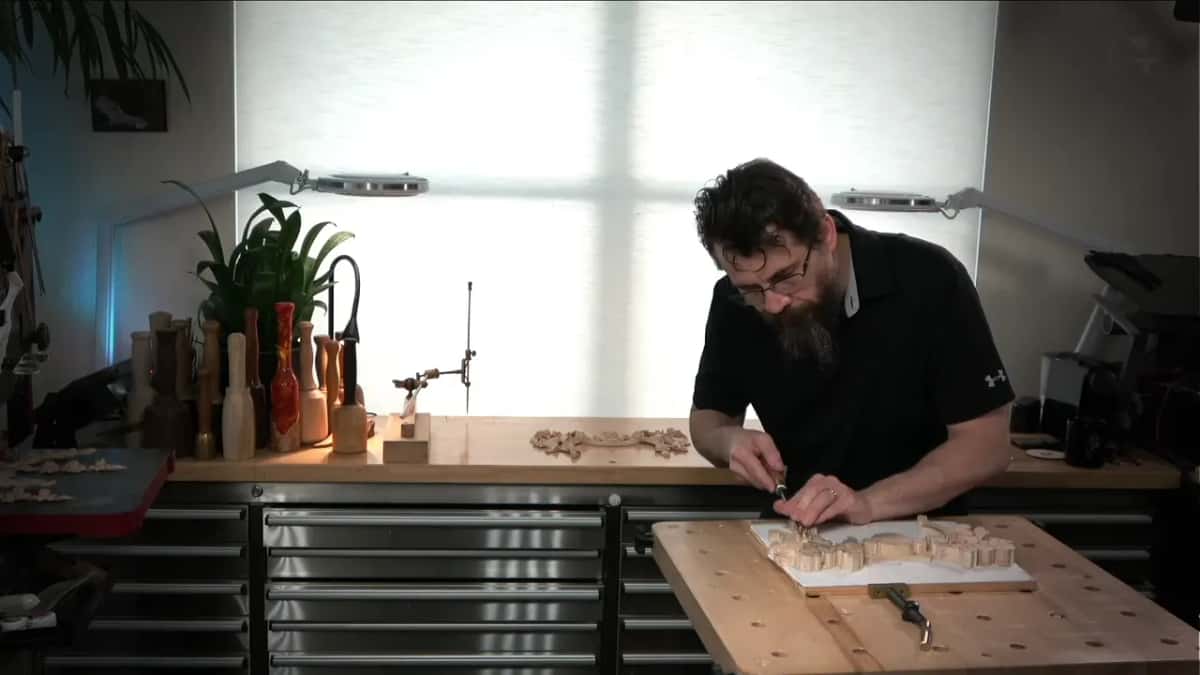
On a Venice Room panel I could also drill multiple holes if I wanted, but I did not think I needed to. The highest spot was already there, and the wood was supposed to go gradually downhill from it, so I knew I could take it down as much as I wanted. That was lesson 80.
A paper trick comes from lesson 153, where I needed five-eighths of an inch (16 mm). Paper went on the side of the piece, I marked the point there, and that mark was my depth. Then the machine went on a flat part to get my depth.
When do you measure again after the wood comes down?
Right before the height changes. In part 2 of lesson 4, I knew for a fact that one part was going to be lower. So I needed to measure again, the height of that side of the volute, because right then it looked kind of flat. I wanted to be sure of the height.
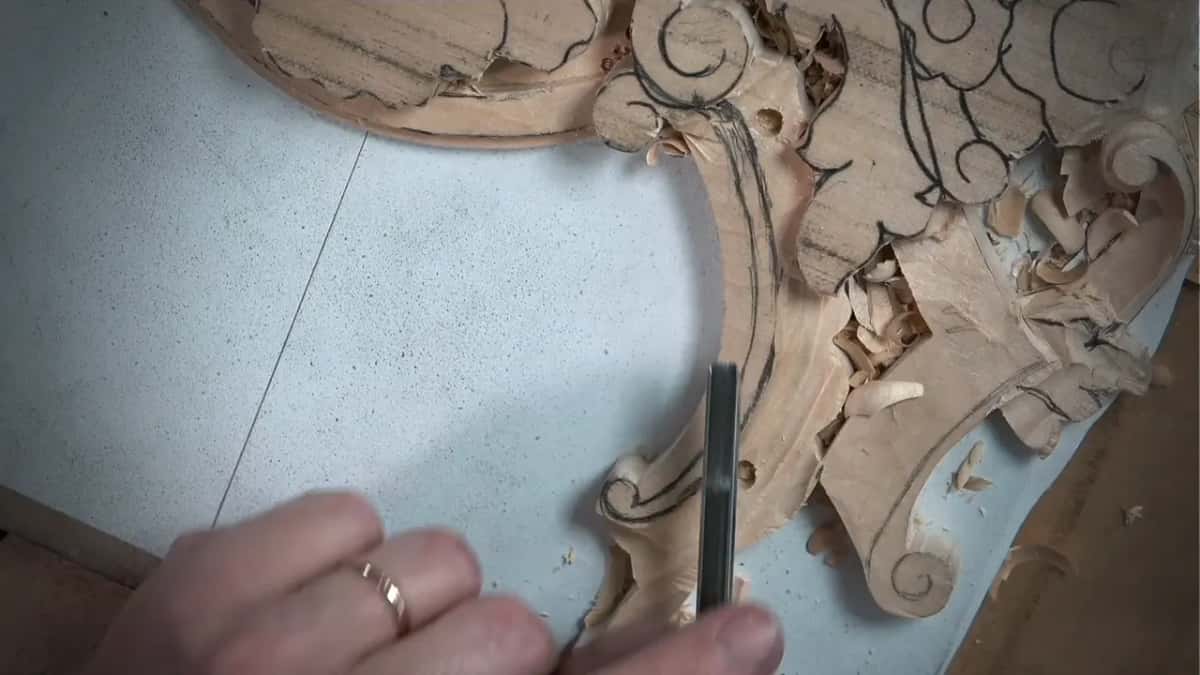
The spot looked already marked from before. Still, I double-checked, since I was not sure I was there, and I really wanted to make sure. The tool said I was exactly at the spot. Just to see it hit the surface makes me happy.
Part 3 brought a slope. My first piece had some sloping, not much. A measure would make sure the height was going to be good, and then I said: again, just make sure I'm not making the same mistake. The height was perfect.
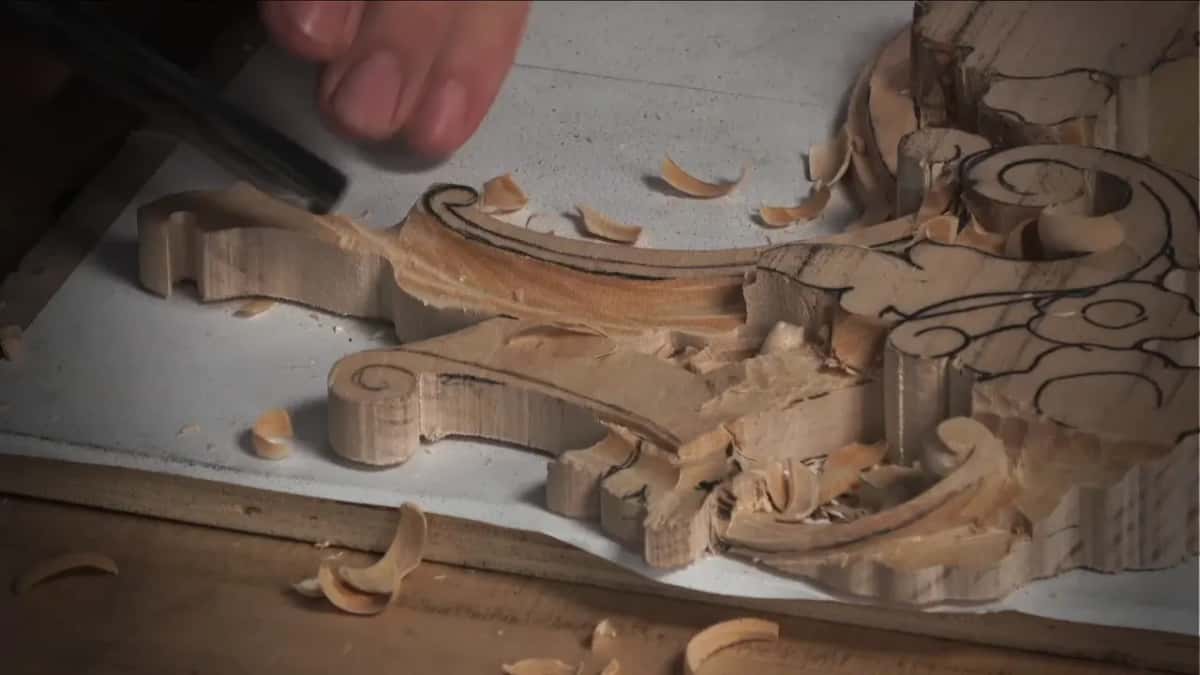
Later in part 3 I started to measure how I had done on my original piece, and I stopped: oh, I know what I did, I forgot to make it tight. After that the number was no deeper than about 3 mm at the lowest spot, one-eighth of an inch. Later still I said let me double-check how low it's going to go. It went really low, so I could probably do even more.
For lesson 6, I could already work on the flowers, but first the pointing machine came out again, to measure the height of the highest spot. Pretty much at the height where I should be.
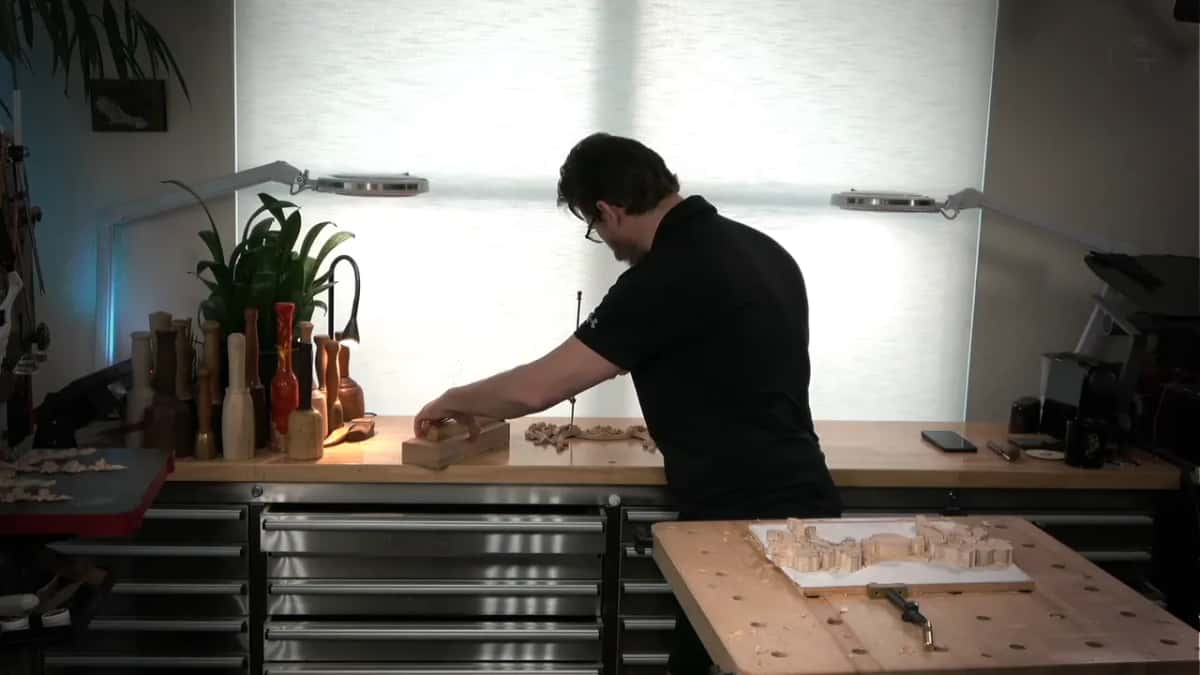
Over in lesson 14, the order turned around. The height was already measured and marked, so a little material was left to take, maybe about 4 mm (5/32 in), maybe three, an eighth of an inch.
The molding in lesson 161 of the Venice Room was almost finished when I rechecked with the pointing machine. Its height was not there. About another millimeter (0.04 in) had to come off the top, so it looked the same on both sides.
What did I leave to my eye?
The middle ridge. It slopes both directions, like a convex on one side and somewhat like a concave on the other, and I placed it on both sides by eye. I don't need to be super perfect there, since I know approximately how it is supposed to go. What I wanted was a nice flow, with no straight lines. I really don't like the straight lines.
The outline got a number 9 of 10 mm (3/8 in), the same tool as before, one side at a time. On one side the blank was not sticking anymore, which was okay. I did not re-glue it. I just had to be careful.
A number 11 came last in this video, about 5 mm (0.2 in), though it really doesn't have to be that. Six, seven or eight millimeters would do. What I looked at was the area, and I wanted a tool small enough for it. This one was even a little too big, and I would probably switch to a smaller tool for the cut right there.
What do you do when a check says you are wrong?
Fix the cause, then read again. In this lesson I lowered my needle and did not fix my limiter. See, I made a mistake, I said. With the limiter fixed, I knew how deep to go for the reading near the final volute.
Tape came out in lesson 79 of the Venice Room. I put tape on my drill bit at about three-quarter of an inch (19 mm), eyeballing it, and drilled only part of the way, since I wanted to check first. Another 5/8 of an inch, about 16 mm, was still to drill, so the tape was no good. My line sat a little lower than the higher region, I said, and that is why the depth was not really accurate.
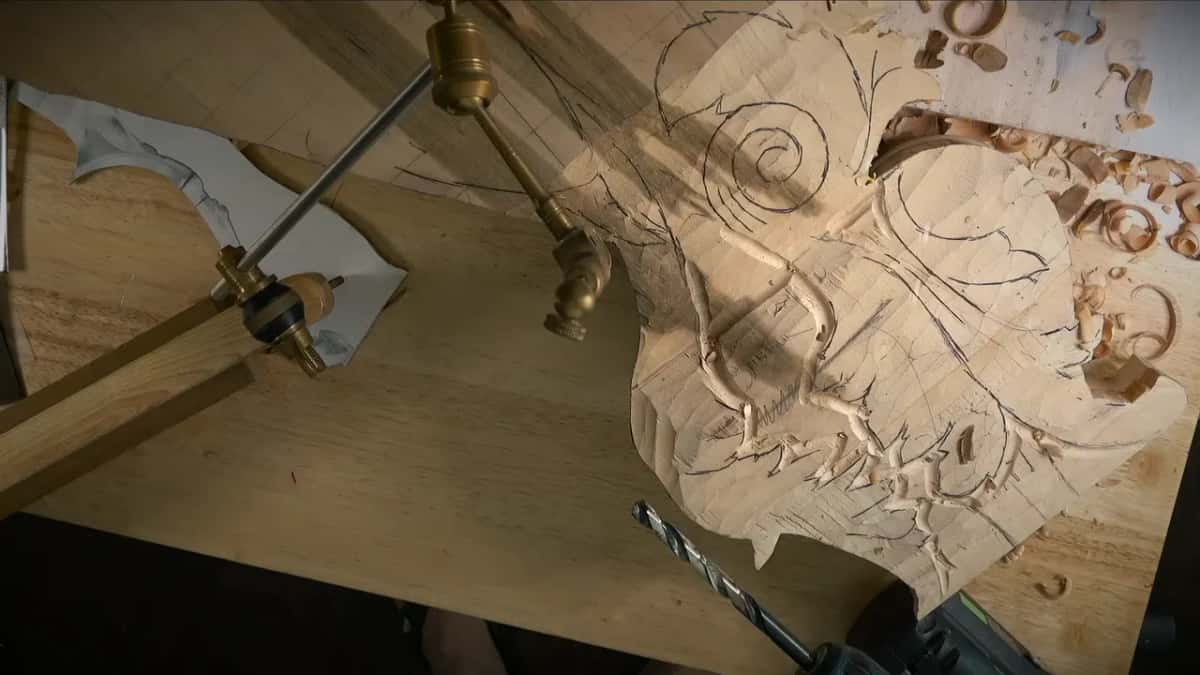
Numbers run through lesson 80: about 20 mm (0.8 in) to drill, then about another 10 mm (0.39 in), then double-check. You know what, I could actually go a little deeper.
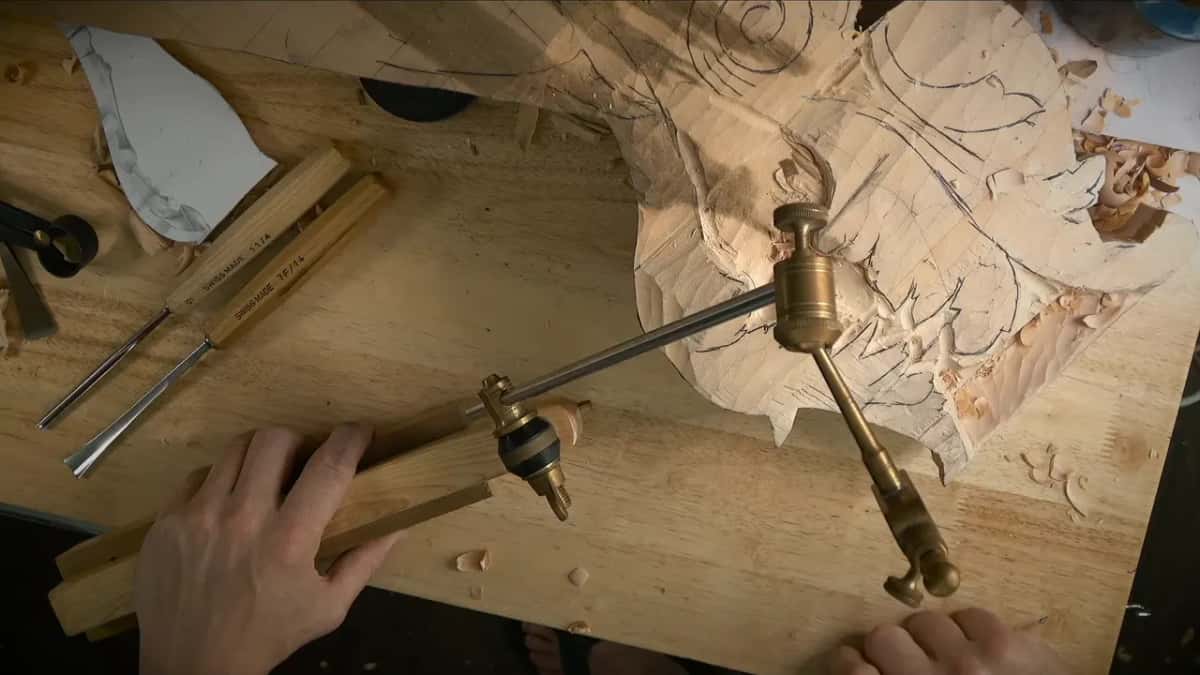
Lesson 81 went the other way. Those marked spots got measured again, and I said let me double-check, because I was missing some stuff. Later I had to re-measure, to make sure. I had a hole to drill, double-checked if I messed up, and yes, I did mess up.

Calipers gave me a depth first in Venice Room lesson 86, about a quarter inch (that is 6 mm). Then came the second way I had shown before, a drill bit, going a quarter inch down, because it was a little hard to get the calipers over that part. A check after that showed another eighth of an inch (3 mm) to go. A last check, and perfect. That became my reference.
When the check says yes, I stop. At lesson 107 I wanted to take a part all the way down to 30 mm (about 1.2 in), which would be much safer. Eyeballing was possible, but the pointing machine was easier, and I admit I'm guilty: I really love it. I placed it on a flat surface and locked it. Right on the money, I said, not even a millimeter off, so I marked it before I could go deeper.

A part in lesson 106 had to sit at the same level as another, and it's easy to overdo that. I set the machine on the surface, measured the depth, and carried it a little closer to the part to see exactly how deep to go. The other side got the same treatment, and a line on each side showed me both.
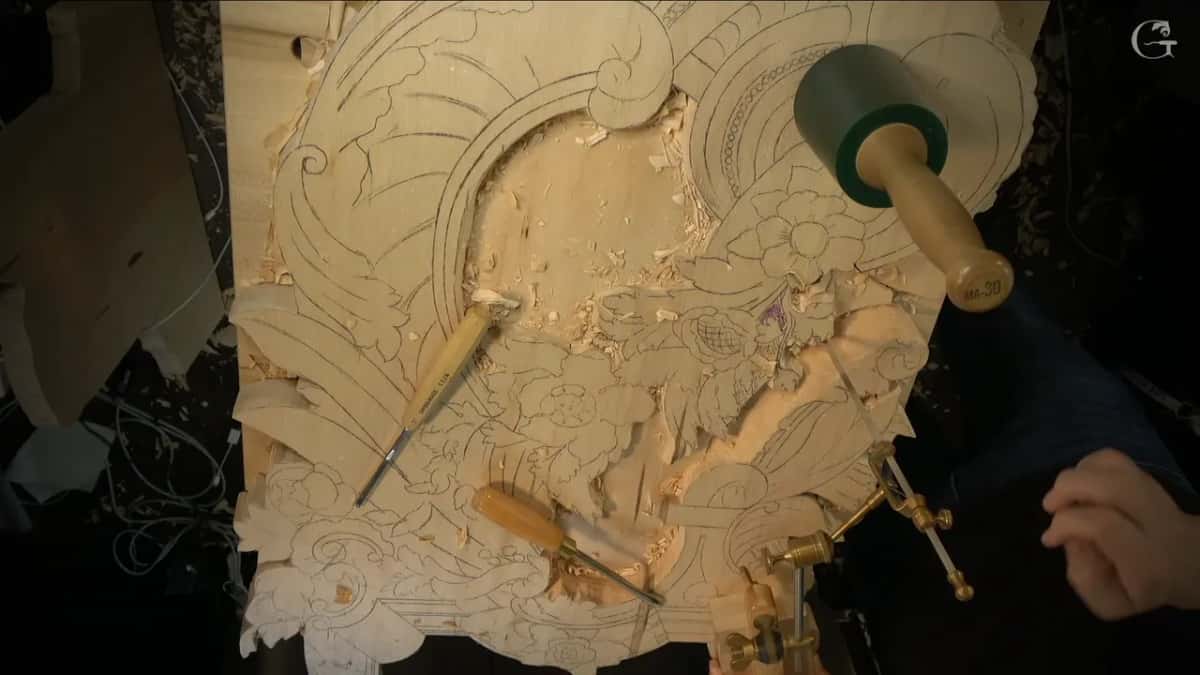
Which readings came from which spot?
| Moment | Reading | Spot | Result |
|---|---|---|---|
| First high spot | I read about a quarter inch left | Convex top | Hole drilled, gap was about paper |
| Other side drilled | Same quarter inch, so I drilled again | Second side | Spot on again, no problem there |
| Closer to volutes | About 10 mm, not exactly 3/8 in | Near volute | Careful there, I did not overdo |
| Before the slope | Height got measured again at the volute | Volute side | Exactly at the spot, I said |
| Forgot the limiter | I lowered the needle, limiter not fixed | That reading | I fixed it, then knew depth |
On this panel the shell sits beside a molding, and I planned to work the shell first, so the molding would get easier. After the readings, a gouge went down toward the holes. If you want the wider picture, wood carving and relief work have their own overviews. Every depth here is in millimeters and inches, the way I said them on camera.
This part is one of three in lesson 4 of the course, and the next part is where the gouges take me down to those holes. Which spot on your panel have you not read yet?
How it's done
- Touch the high spot. Place the machine on a flat surface and bring the needle down on the high spot of the convex.
- Tighten the machine. Check that it is tight and not moving too much before the first reading.
- Drill to the number. Pick a bit with room around the needle, and drill the depth you read.
- Check the gap. Bring the needle down without hard pressing, then look at the limiter. A gap of about paper is plenty close.
- Fix the limiter. Move the limiter after you lower the needle. I forgot once, on camera.
- Add more spots. A midpoint and a spot closer to the final volutes came next, and on one side I eyeballed it.
- Measure again. Read the height once more before you go on to the next area.
Frequently asked questions
How do you know when a drilled hole is deep enough?
Once the needle touched the floor of the hole with no hard pressing, I looked at the gap on the limiter. The first hole showed about a sheet of paper. Going further was possible, and I skipped it, since the surface still needed shaving.
Why measure the first piece before carving the second?
Before I cut too low I reference the first piece, and I called that really important. The high spots of the convexes gave me the depth. Lesson 10 adds that going lower than the first piece would be a big mistake, because I would have to fix it.
What size drill bit goes with the needle?
Wider than the needle, because the needle does not point exactly 90 degrees down and needs some room. My usual is a quarter inch (6 mm) if possible. A bit of 3/16 inch, like five millimeters, is absolutely okay too.
What to carve next
- Carving Floral and Molding for the Panel, the course page
- Floral and Molding lesson 4
- Floral and Molding lesson 6
- Floral and Molding lesson 8
- Floral and Molding lesson 9
- Floral and Molding lesson 10
- Floral and Molding lesson 14
- Pointing machine for wood carving, tools course
- Venice Room lesson 79
- Venice Room lesson 80
- Venice Room lesson 81
- Venice Room lesson 86
- Venice Room lesson 106
- Venice Room lesson 107
- Venice Room lesson 153