

Alexander Grabovetskiy, woodcarver, School of Woodcarving · Published 2022
How do you aim a gouge for a plug cut on a sloping flower?
Quick answer: Setting a plug cut in a sloping flower means aiming the number 9 at a right angle to the slope instead of straight down. On my floral panel both holes met their own slope at 90 degrees, and each ran about a quarter inch deep (6 mm).
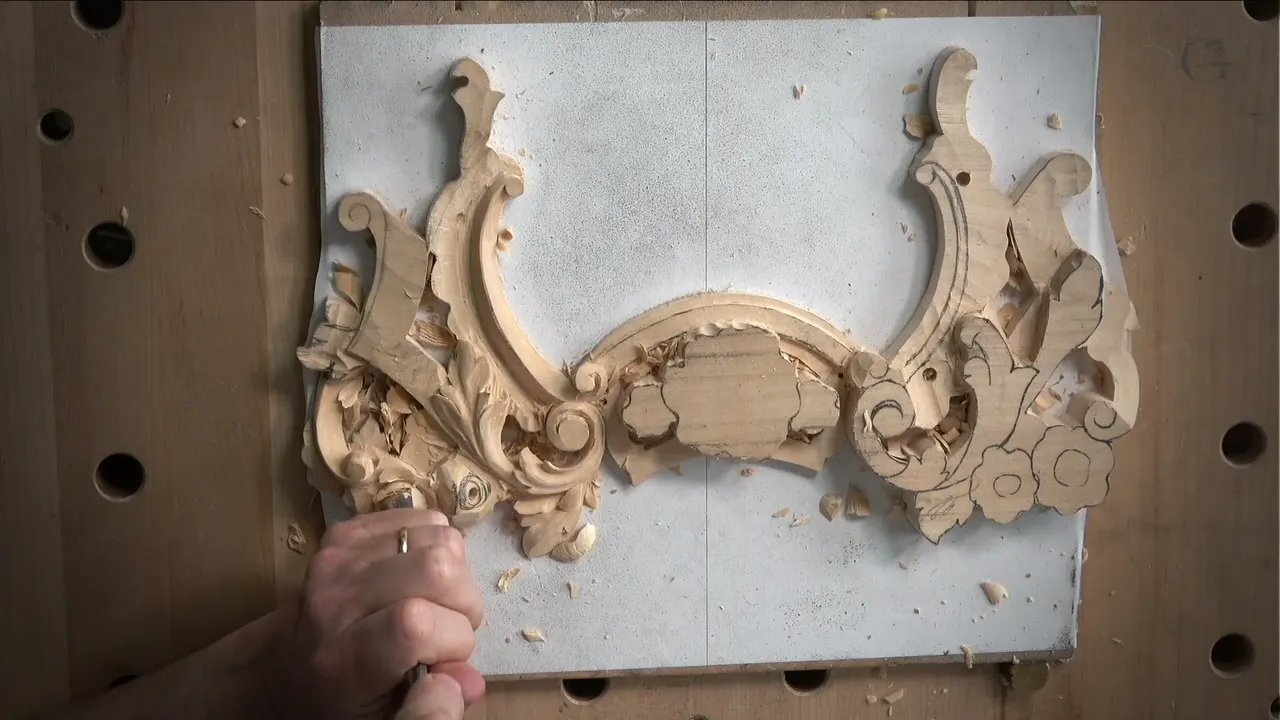
On my floral panel a plug cut went in square to the slope under the gouge, and both holes met their own slope at 90 degrees. Each one ran about 1/4 inch (6 mm) deep.
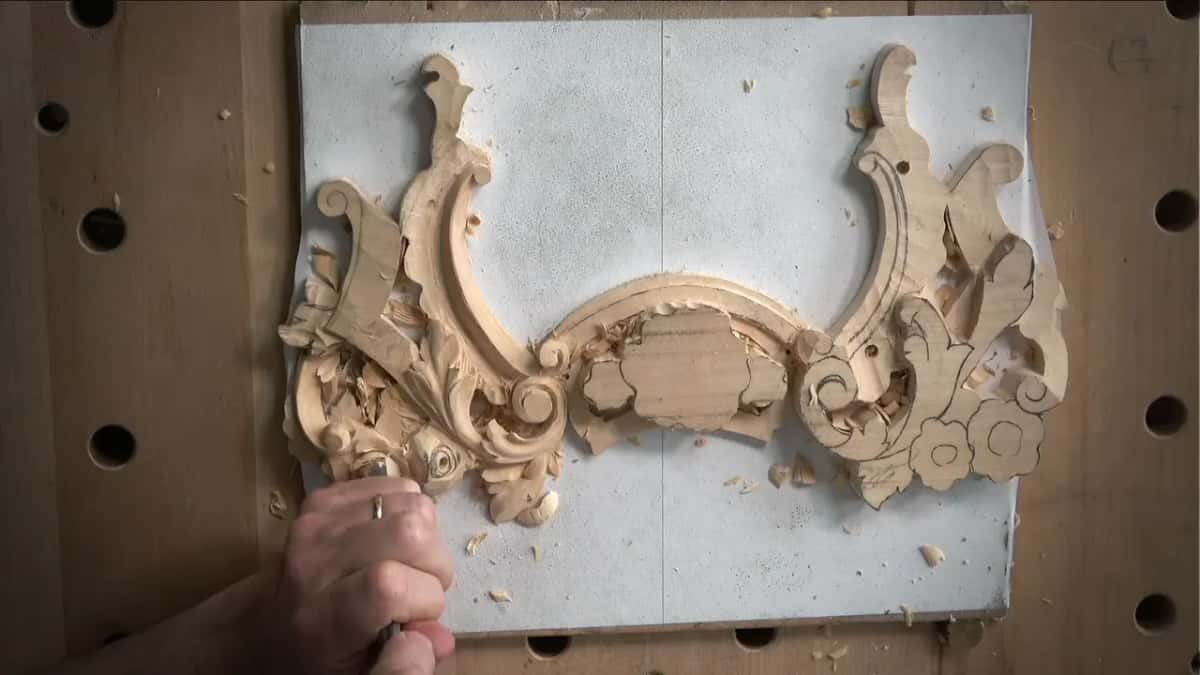
Have you ever looked at a sloped piece of wood and wondered which way the gouge should point? Can you see which way the wood runs under the tool, even a little? Then set the gouge at a right angle to that slope, the way I did on two small flowers.
Lesson 7 of my floral and molding panel course starts with a gap. I lost some of the footage, because the file I found was corrupted, so I begin by explaining what I had already done. Two flowers slope in opposite directions, and I had made a hole in each one.

Six things about aiming the gouge
- One flower got a tool perpendicular to its slope, and I set it on the wood to show you.
- Its neighbor slopes the other way, and that tool went 90 degrees to its slope as well.
- Two number 9 gouges made the holes, a wider one for the first flower and a narrower one for the second, and both holes ended about the same depth.
- In a Gibbons lesson from Maine I said not to go straight down.
- Venice Room workshop 52 has me matching the direction of my work, tool set downhill, before the rotation starts.
- Lesson 13 sends the hole straight down toward the surface.
How do you aim a plug cut on a sloping flower?
On the first flower the slope goes like that, I said, and the tool goes perpendicular to that slope. When I placed the tool on the flower, you could see the hole sits perpendicular to my slope.
One hole came from a number 9 gouge a quarter inch wide (6.4 mm), and that cut ran about as deep. After that I turned to the other flower, where the slope goes the other direction. Again the tool I presented was perpendicular, 90 degrees to the slope.
What comes out when you set a number 9 into the wood and turn it is a plug. That's what I call it. In the Venice Room I say I make the first cut going in, create a plug and remove it, and I add that it all depends on the angle.
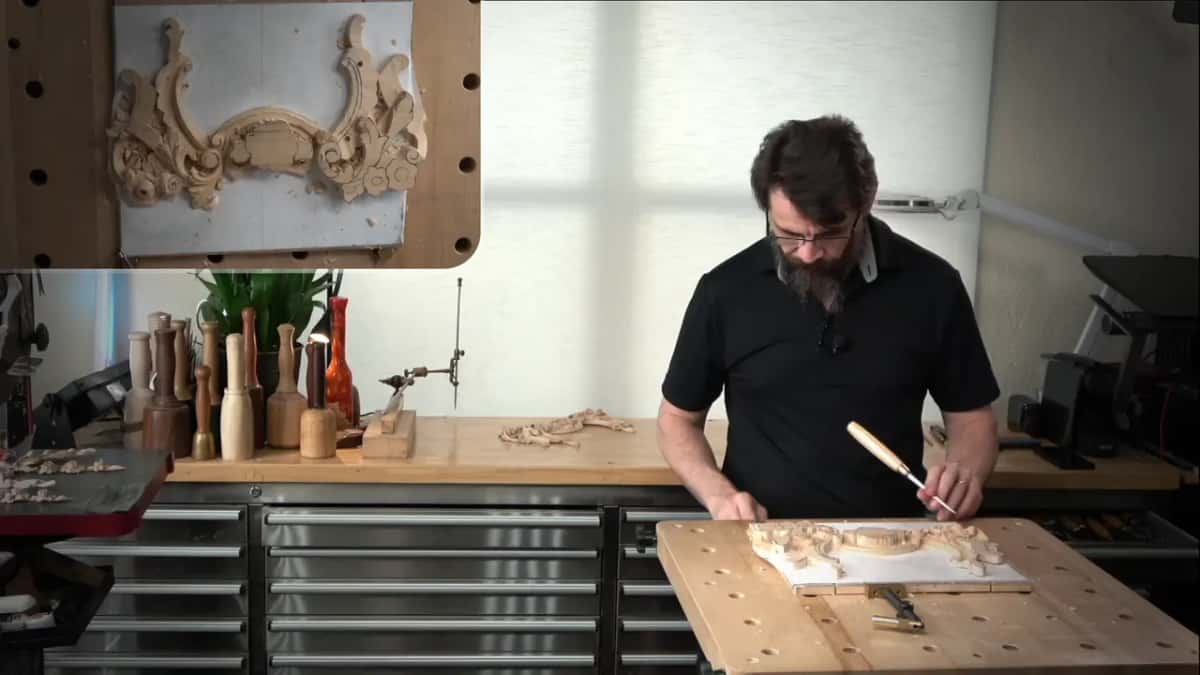
Why did the two holes get two different gouges?
I did not say why. My words were that the second flower got a different tool, a nine one-eighth of an inch (3 mm) wide, and again a quarter-inch plug cut. The gouge got narrower, and the depth stayed about the same.
The angle did not change with the tool, since each gouge went perpendicular to the slope in front of it. Lesson 2 used the same small tool for another job. I could drill a hole clear through, I said. Or a number 9 about 1/8 inch (3.2 mm) wide could do the same operation as a plug cut, which takes a little longer.

What did I say about it in the Gibbons class in Maine?
Class 8 of that Maine course begins with a hole like that. My tool was a number 9, 10 millimeters (0.39 in) wide, and I made the plug cut in the center of the shape I was starting. I pointed at it and said it sits in a perpendicular position toward the main movement.
It was plain: please do not do straight down. Look at how it slopes. It's really important how deep you want to go, I said, and that is up to you. I went about a quarter inch (6.35 mm).

There was my plug. That was step number one. Since I was there I made the second one the same way. You can always make it deeper, I said, but it's not necessarily going to make it easier, so don't overdo it.
How does a plug cut go in on a downhill surface?
In the Venice Room, workshop 52 shows it close up. You place the tool like this, I said, and you determine the angle and what direction it's supposed to go. In my case it was supposed to go downhill. So I match the direction of my work, set my tool and start a rotation movement. See, I'm removing plugs.
Depth was up to me there. It's a good idea to start with a smaller tool, I said, but I did not have to, because I had plenty of material. The grain was not in my favor, so maybe a mallet would help me a little bit, and I kept rotating the tool as the plug came out.
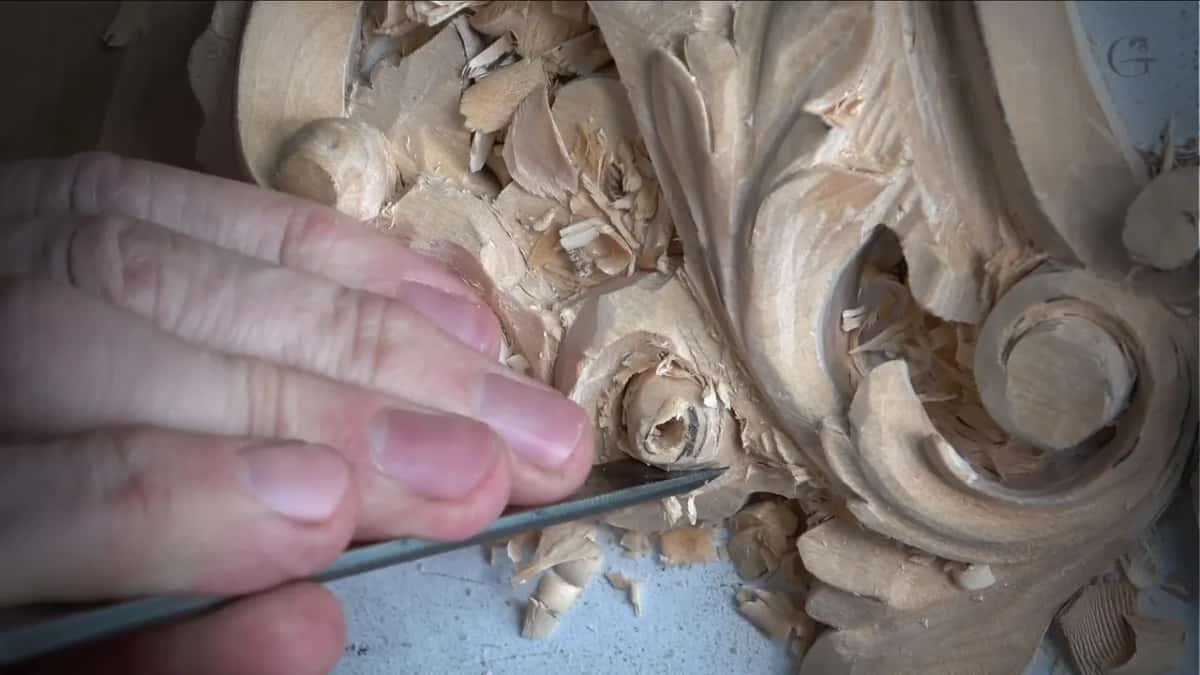
Workshop 53 puts the whole idea in one line. Plug cutting is placing the tool like this, downhill, and starting a rotation movement. I began with a quarter-inch gouge, then saw that I could use a much bigger tool, so I picked up a 9 of 10 millimeters (0.39 in) and a mallet. A really deep excavation was my goal, because I really wanted to see that shadow.
One more spot in workshop 54 called for a change of angle, so I excavated toward the inside. The plug that came out was about six millimeters (1/4 in), and it took me a couple of seconds.

Why is the number 9 the gouge for a plug cut?
The reason is in workshop 52 too. The number 9 is a true half circle, I said, so if I set it in and rotate it, it ends up at the same position. A veiner, which is a number 11, is like a letter U. You cannot place it like that and create a perfect hole, I said, so you can't cut a plug.
For that type of cut I used a number 9 of about 10 millimeters (3/8 in), and I said a number 8 would work too, though the 9 is better. Every gouge, big or small, is a true radius. My example was a number 5 of about 16 millimeters (5/8 in).
When is straight down still the right way?
Straight down still shows up. In lesson 13 of this course I placed the gouge straight, like 90 degrees toward my surface, and drilled the hole maybe a quarter inch (6 mm) down without pushing too hard. If the plug did not pop out, I said that was no big deal, since I would attack it anyway and clean it.
The list in workshop 130 names the first jobs on some future leaves: straight down cuts, the plug cuts and the edge cuts. For an edge cut I took a number 9, removed material close to the edge, straight down, 90 degrees.

Over in workshop 122 I made a couple of plug cuts straight down in the weak areas, using my number 9, because it would be easier. Going through the back would be no big problem there, I said, since that side was plywood too.
The shell in workshop 55 is the other side of the coin. I needed a shadow spot, so I picked a half inch (12.7 mm) number 9 for the plug cutting technique and said straight down cut. Then I stopped myself. Actually, I can't do straight down cut, I said. I apologize. Big mistake, because it's going to be a shell.
What do you do when a leaf blocks the angle you need?
A leaf got in my way in workshop 60. A deep shadow under it was my goal, and I said the plug cut is, I think, my favorite way to get one. But the only problem is the angle of this plug, I said. I can't go in underneath of this leaf with a straight tool. I said I would start with a straight cut down, at least, and that I could probably use a mallet a little bit.
Next I said how I work when the angles are limited. This is how I excavate without damaging anything, because I'm limited from what angles I can attack it. My plan was to excavate in the opposite direction underneath the line, and I made the plug cut and rotated. A really deep shadow was the point, yet I did not want to go all the way through, so I had to be really careful how I did it.

The next plug went right on the side, I said, multiple cuts like that, little by little, and I would clean it later. Those were plugs, not extra plugs.

Workshop 111 had a different problem. I was already really deep, so I took smaller, a quarter-inch gouge, a number 9, six millimeters, and made my plug even deeper. The position was just perpendicular, almost, to the board itself, I said, but now I needed to twist a little bit to the left to hit the spot. That was my target, and the opening would create an airy look.
Because I had made a bigger hole, I had a lot more ability to rotate in the right direction. I could attack from the other side too, exactly the same idea, a plug cut.
Do the angles match across these lessons?
Both lines show up, perpendicular and straight down, and the table has my words from each place.
| Where | Aim | What I said |
|---|---|---|
| Floral lesson 7 | Perpendicular to slope, 90 degrees, quarter inch | Tool goes perpendicular to that slope |
| Maine class 8 | Not straight down, look at the slope | Perpendicular position toward the main movement |
| Venice lesson 53 | Placed downhill, then a rotation movement begins | Plug cutting is placing the tool |
| Venice room 111 | Almost perpendicular to the board, twisted left | A little bit to the left |
| My lesson 122 | Straight down, plug cuts in weak areas | Just attack straight down like this |
| Shell lesson 55 | Not straight down, it is a shell | It's going to be a shell |
What happened to a hole later in this video?
A hole had to be dug again. Later in this video I said I was going to create some roundness again. The center part of the flower was about half an inch (12.7 mm), I said, and then I corrected myself: maybe not exactly, but about 12 millimeters or so (0.47 in).
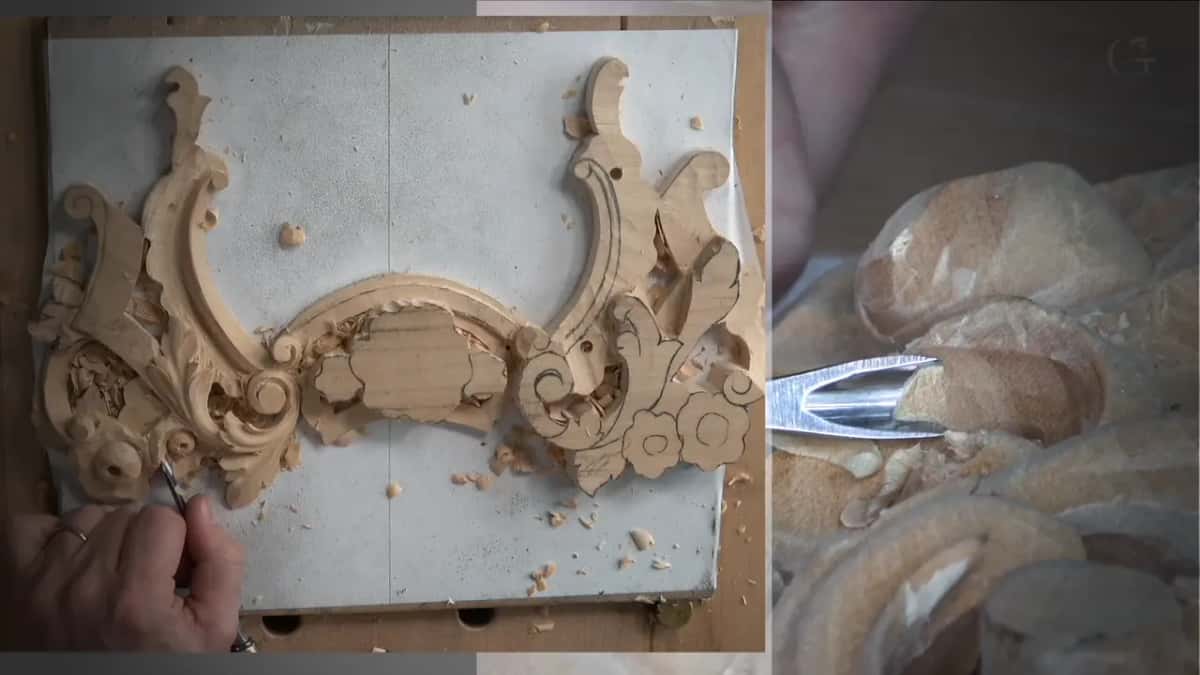
Going deeper than that was probably out, I said, because otherwise I think it would be all the way through. I had half a sphere now, and I needed to reestablish my hole in the middle. A nine of 1/8 of an inch (3 mm) dug the hole inside. Drilling it was an option too, I said, but that's okay. And that flower would still be good.
What else did I do on this flower?
After the holes I worked on that part with a number 7 and pretty much just worked my way around. A smaller tool would probably be better, I said, though I could start with the number 7, and I needed to make sure there would be a curl flipping on top, almost on top.
For the undercut beneath the curl I named a number 11, 3 millimeters (1/8 in). One side did not need that big a curl, I said, because it was just a little too big, so I could safely use a quarter inch (about 6 mm) for now. To work around that roundness I planned something flatter, maybe a number 6 at three-eighths of an inch, 10 millimeters.

A piece came off at one point in this video, and I tell that story on the lesson 7 page. Later I took a number 9, and I said it looked like it needed a strop. It's a Mirror Paste by Trend, I said, a really good product that helps a lot, and I took that on the inside first.
Right after the strop I excavated carefully, and I said this area is very much end grain, because the grain of the wood runs that direction. A tool must be super sharp there, I said. It just absolutely must. Mine did not leave any trails, and that means the tool is nice and sharp.

Next came a small spoon, maybe about 1/8 inch (about 3 mm), a number 5, to clean inside that section. That tool needed to be sharpened, I said, and I could already see the difference in the wood.

At one point I thought it was a good time to separate the petals, since that way it would be easier to identify what was going on. I counted one, two, three, four, and a small one, and I said the number five goes right on top of the acanthus movement.
In every petal I try to get the main idea of the flower. The middle part is convex and the sides are concave and concave, and that gives me some 3D. I called it essentially four cuts, and I started on them with a quarter-inch number 9 (6 mm). Much smaller tools could then work around and make beautiful movements, if I wanted to.

That Maine lesson says much the same about its petals. Every petal gets concave, concave and another concave, just the four concaves, and the center part gets divided in five. They do not have to be perfect, I said there, but the edge is supposed to be some kind of wavy.
Where does this video sit in the course?
This first video of lesson 7 belongs to Carving Floral and Molding for the Panel, and the whole lesson sits on the lesson 7 page. Relief carving is one kind of wood carving. A gouge gets its sweep by number, and I give the sizes in millimeters and inches. A plywood backing is the reason a hole could go through in workshop 122.
The curls and petals here sit beside an acanthus leaf, and the grain I talked about is wood grain. The middle of that flower became a half sphere, and the stropping step belongs to my sharpening course.
Which slope on your own piece is asking for a right angle?
How it's done
- Look at the slope. Find the direction the wood runs under the spot, like my two flowers that slope in opposite directions.
- Square the gouge to it. Hold the number 9 square to the slope and skip going straight down.
- Rotate and lift the plug. Set the tool in, start a rotation movement and remove the plug from the hole.
- Stop near a quarter inch. About 1/4 inch deep, or 6 mm, worked for me, and a deeper hole does not make the job easier.
- Twist toward a target. When the spot sat off to one side, I twisted a little to the left and hit it.
- Redo the hole after rounding. Once the flower was round, a small nine dug the hole again.
Frequently asked questions
Why not push a plug cut straight down on a sloping flower?
In Maine I said not to go straight down there, and to see how it slopes. On this panel each tool went perpendicular to its slope on both flowers, so that was my aim here. Lesson 13 has me going straight down, 90 degrees toward my surface.
Which gouge makes a plug cut?
A number 9. I called it a true half circle, so it ends up at the same position after a rotation, while a veiner, the number 11, is like a letter U and can't cut a plug. Mine came from one number 9 a quarter inch wide (6 mm) and a narrower one.
How deep were the holes on the two flowers?
Both ran roughly a quarter inch deep (6.4 mm), though the gouges differed. For one flower I used a quarter-inch number 9, and for the other a different tool, an eighth of an inch wide (3 mm), for what I again called a quarter-inch plug cut.
What to carve next