

Alexander Grabovetskiy, woodcarver, School of Woodcarving · Published 2022
How do you pick the gouge size for a small carved flower?
Quick answer: The tool for a tiny relief flower is whichever gouge fits the spot, and it keeps changing. Under one petal I planned a number 11, about a millimeter (0.0394 in), tried a number 9 for the curl, and went smaller when a tool looked too big.
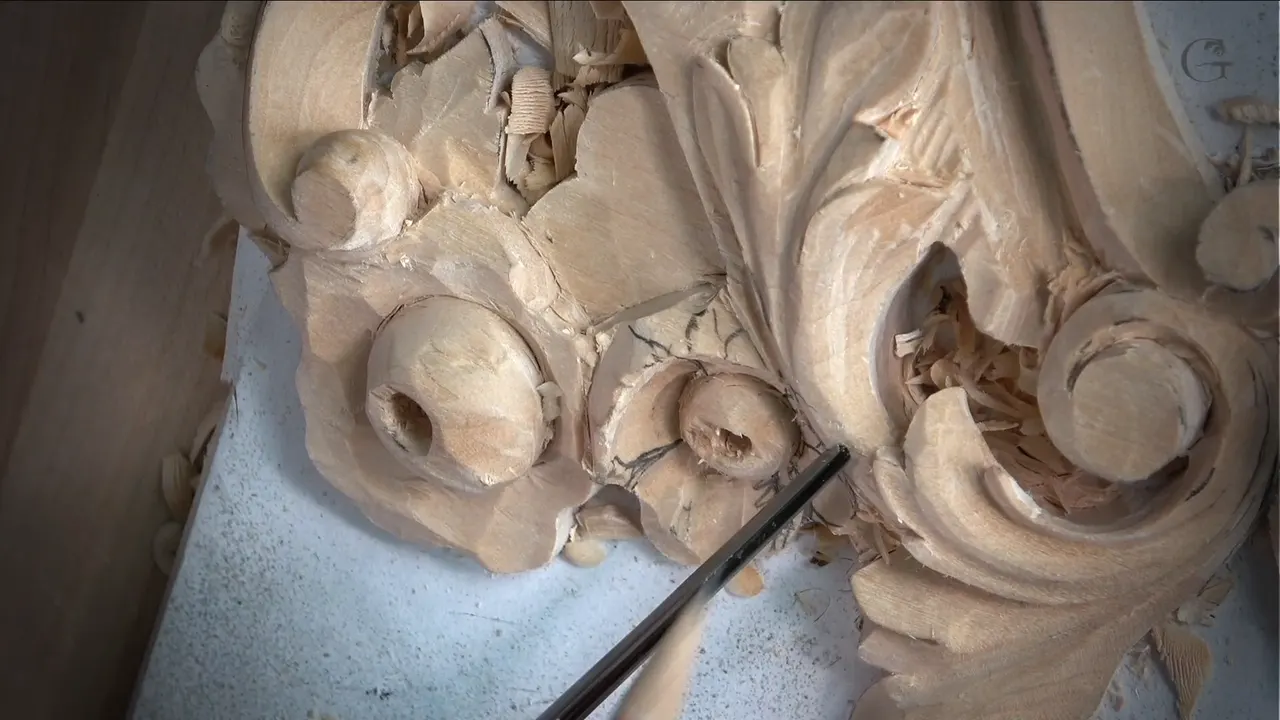
The right gouge size for a small carved flower is the one that fits the spot I am carving, and on this panel I changed it many times. My sizes ran from a quarter inch (6 mm) down to a tool I called 1 millimeter (0.04 in), and I said a half millimeter (0.02 in) might come next.
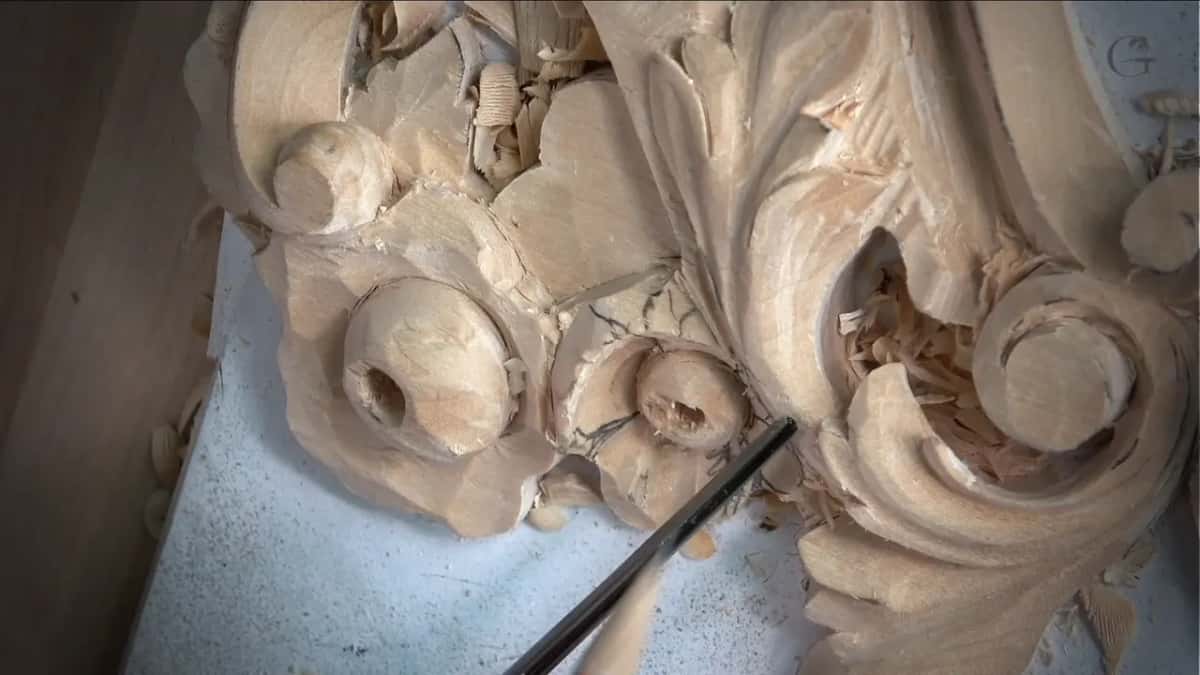
Have you ever picked up a gouge and thought it looked a bit large for the spot? Then you know the choice I make on a small flower, over and over. This page follows the petals through the second video of lesson 7, one tool at a time. After that I check the same habit in lessons from other courses.
One petal goes under a curly one, and a later petal runs right underneath an acanthus leaf. The gouge sizes below are the ones I said out loud.
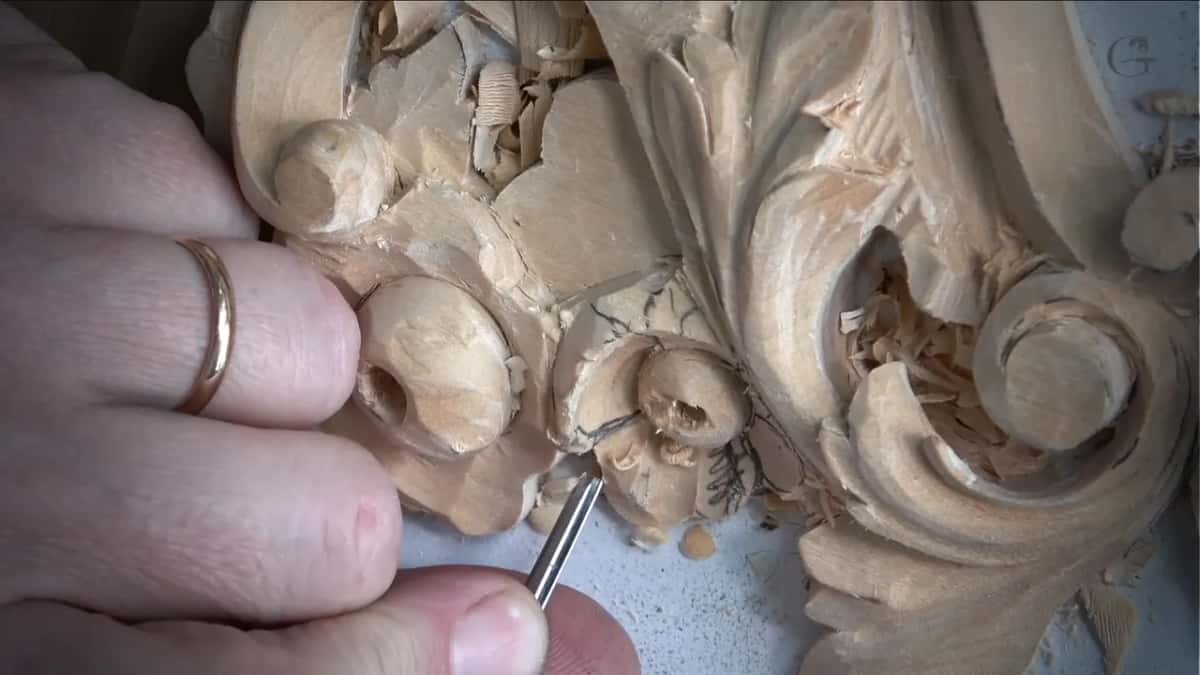
Six size moves from this part
- I planned a 1 mm (0.039 in) number 11 for the petal under the curly one.
- A half millimeter (0.02 inch) tool came to mind for a deeper pass.
- A number 5 as small as an eighth of an inch, or 3 mm, I said, would be really good for the wave.
- The backward curl got a number 9, then something smaller.
- When a straight tool stopped being enough, a short number 8 spoon took over.
- In other lessons the same habit shows up as a step down from 4 mm to 1 mm.
What size goes under a petal that tucks beneath another?
Probably one millimeter (0.039 in) number 11, I said at the start of this part. One of those sides had to go right underneath the other, and this petal was going under the curly one. For anyone who does not know the word, a number 11 here is a veiner. The flute is the groove right in the middle of the gouge.
I placed the flute away from the line and started digging right underneath. Little by little, I said, taking my time.

Maybe I had to grab something smaller, I said, a half millimeter (1/50 in), and do exactly the same but much deeper. That would create a really beautiful shadow. Once the pass was in, I said that is good.

When does the number 5 get smaller?
Right after I reached for the first one. I said I had to get the smaller number 5, or even smaller, like 1/8 inch (3 mm). It would be really good, I said. That pass ran toward the center, a little closer to the center, and then I removed it.
A second number 5 made the movement, and I flipped the tool the opposite direction for another pass. You should be able to detect that wave, I said.

The small number 5 came back, and then a little bigger one. Around the seven-minute mark I took a number 5 of 1/4 inch (6.4 mm) to fill a ridge, and I said I could carry one number 5 cut right to the center part.
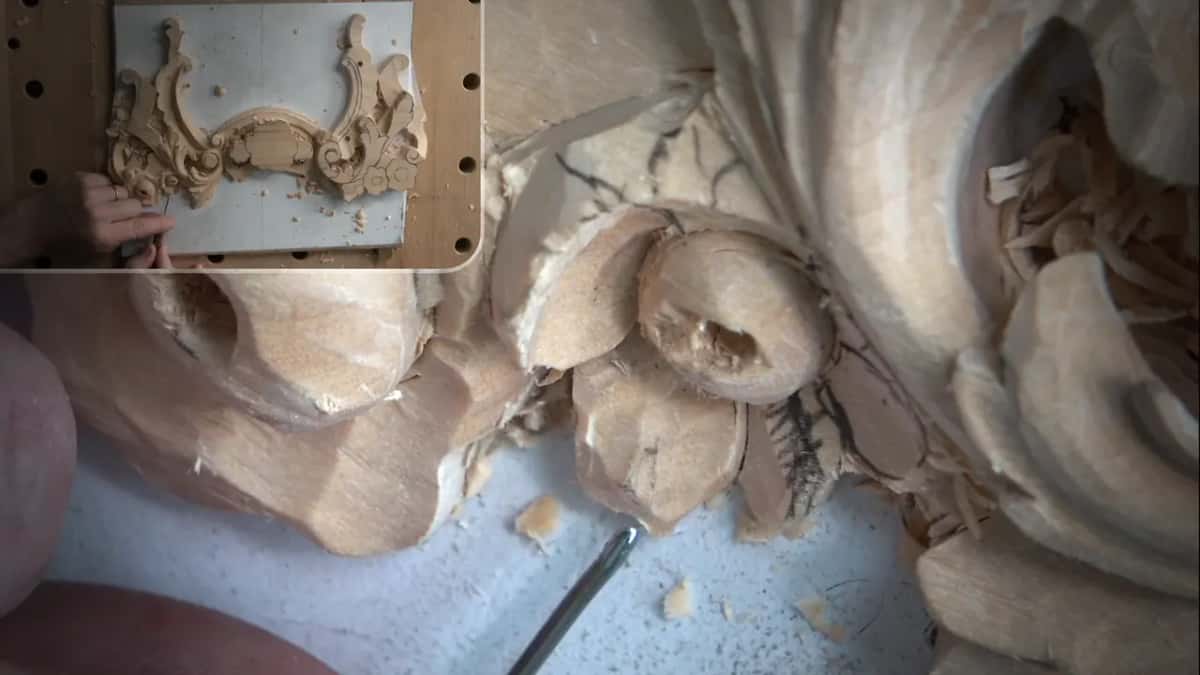
Probably a number 9 would make the movement, I said, and then I changed my mind and decided to curl it backward instead.
Which tool carves the curl backward?
A really small one. To make that curl I had to excavate some material with a really small number 9, an eighth inch (3.2 mm) wide. I made a pass like this on the inside, and then I said an even smaller one would help.

So came a tiny Dockyard tool. I don't know, it is 1 mm (0.04 inch), though it says 1.5, and it's not 1.5. It's much smaller. The marking and the real size of that tool did not agree at all.
With that tool I made the curl. You don't really see it, I said. It just curls backward, and it goes all the way underneath. One more really small concave went in there too, and I called it small but still beautiful.

For that concave I said I would try a number 9 of 3 millimeters (0.12 in) first, to see how it would work. I carved it in one direction and brought it backward a little bit. It creates a folding motion, I said, and again you don't really see it, unfortunately. But it does look really good.
Underneath there it has to be undercut, I said, otherwise it does not look good. I could use a small tool again, really tiny. I was not going to go for a really deep undercut yet, since this part is part of the leaf or petal and goes right underneath.

What does a concave in the middle of a flower do?
It gives me some shadow, I said. I made another concave in the middle of the flower, and I extended it farther and gave that motion. See how deep a shadow that casts? I liked it. You can look from above, and it is already looking like a flower, even though I just worked on one petal.

What do I use between the gouges?
A knife, for now. The next petal folds or rolls backward, I said, and one side of it can go underneath the next one. It is small and I really need to see better, so I used just a small knife, a really small, tiny knife, and started my cut that way.
That petal was going right on top of my future molding and right underneath the acanthus. I had material on my molding, so I could probably carve the first pass right away, and a number 5 was my pick. I wanted a small number 11 to get me right underneath that acanthus. This petal goes under, and the next one goes on top, which makes beautiful motion. I'm kind of having fun with that type of work, I said.

The flatter back bent came next, to remove some of the ridges. It might create the convex, if you wish. I also carved a really sharp line right underneath, though the petal was not developed yet. Down the middle it still needed a convex, with concaves on the sides, since that way it will look good.
For those side concaves I took a number 9 of three millimeters (0.118 in). The concave goes closer to the center part. One, and then a second one, and in the middle the same thing.

When does a straight tool stop being enough?
At the point where my straight tool was not sufficient anymore. I had a wave I was happy with, I said, but I had to be careful how I removed that material. I took it out really carefully using a number 5 at an eighth inch (3.2 mm). Then it looked like I had to switch to some kind of spoon.

I called it a really, really good spoon, a really short one, just an eighth of an inch (about 3 mm), and that would be a number 8. All of that had to be excavated and gone, I said, and that way it would look like it was really curling. After it I grabbed a straight number 9 and said it is 1/8 of an inch, three millimeters, and attacked from that side.
What sizes did the rest of lesson 7 use?
The first video of this lesson starts with the holes, each a plug cut with a number 9. Then I worked around a flower with a number 7, and I told you I would probably need a smaller tool, though I could start with the number 7.
For the cut under the curl I named a number 11 of 3 millimeters (0.12 in). For the roundness I planned a flatter tool, maybe a number 6. Later came a different number 6 with a lot less bevel, a really long one, and I hoped it would dig inside much better.
The center of that flower was about half an inch (12.7 mm), and I said I probably could not go deeper than that, or it would go through. Near the end a small spoon, a number 5, cleaned that section.
The third video added a smaller tool, maybe half the size, to excavate right underneath. A smaller number 8 of 1.5 millimeters (0.06 in) came in for a small concave, convex and concave.
What did other lessons show about going smaller?
The same habit shows up in other lessons. The table lists what I said, with the tool first and the reason beside it.
| Where | Tool | Cue | What I said |
|---|---|---|---|
| Venice workshop 31 | Veiner 11 to 1 mm (1/25 in) | Too big | 4 mm (0.16 in) seemed big |
| Furniture lesson 21 | Tiny number 11, 0.5 mm (0.02 in) | Protect edges | I did not want edges destroyed |
| Hashemi lesson 16 | Ten millimeters (0.39 in) is already small | Too small | 1/8 inch, 3 mm, takes forever |
| Floral lesson 4 | Number 11 near 5 mm (0.2 in) | Shell uphill | Even this looked a little big |
| Lesson 8 here | Tiny number 8, 2 mm (0.08 in) | Go deeper | Maybe even smaller, to go deeper |
| Course lesson 13 | 1 mm (1/25 in) number 9 spoon | Flower underneath | You really need a tiny tool |
In Venice Room workshop 31 I started a division using a number 11 at 4 millimeters (0.16 in) and said maybe it was a little too big for the operation. Next came 3 mm (0.118 in) or so, and I said even that may still be too big. Yep, I said, I need 2 millimeters (0.08 in), and maybe even smaller than that. About a minute later it was a millimeter (about 1/25 inch), to excavate all that junk out of there.

In Furniture Panel lesson 21 the reason was my edges. I don't want to force anything, I said, since it just hooks out, and I don't want to destroy my edges. The answer was another tool, even smaller, like 1 millimeter (0.039 inch), and then a number 11 at half a millimeter (about 1/50 inch). To clean it completely, I said, I would just use one-eighth inch (about 3 mm) and remove whatever I could catch, just the shaving.
Lesson 4 of this course gave a number 11 close to 5 millimeters (3/16 in), because the shell goes uphill. It really doesn't have to be that, I said, and 6, 7 or 8 millimeters (0.24 to 0.31 in) would also work. Small enough was my aim there, and I said this one was even a little too big, so I would probably switch to a smaller tool at one spot.

Lesson 8 had a tiny gouge, a number 8 of about 2 mm (5/64 in), to excavate the inside, and maybe an even smaller one to go deeper. I would get a chance to undercut it from the back side later, and I asked you to see how deep a shadow it creates.
In lesson 13 the flower sat underneath a petal. You really have to use a small, tiny tool, like the one I held. This one is one millimeter (0.04 inch) number 9, a really small, tiny spoon. If you don't have one, you don't have to worry too much, because you can attack from two sides and leave out some of the details.
Does smaller mean better?
No, and I said so in Hashemi lesson 16. When I say smaller tools, I said, it doesn't mean too small. If I were just to take 1/8 of an inch, or 3 mm, that would take me forever, just too long. When I say small, like the 10 millimeters (0.39 in) I was using right then, that is already small.
I got a size wrong out loud in Venice Room workshop 14. First I planned probably 2 millimeters (0.079 in), or even a 1 millimeter number 11 (0.04 in), to get inside and remove all that junk. Five minutes later I reached for a 1 millimeter number 11 and said it was actually half a millimeter (1/50 in). I'm sorry, I said. I should use a 1 millimeter.
What do I keep close for the tiny sizes?
A few of the small tools in different sizes. In the next video I planned on different number 8s and number 9s, and I took my Dockyard ones. Dockyard is of course just a brand, I said. Because the sizes are different, I can grab a few of them and keep them closer to me.
I really, really like those tools, I said. I wanted them for the hole in the middle of a flower, which was a little too round and needed waviness. I said in lesson 13 that a tool like that gets me into the tiniest spots.
Where does this part sit in the course?
This is the second video of lesson 7 in Carving Floral and Molding for the Panel. Lesson 6 comes before it, lesson 8 comes after, and the whole lesson sits on the lesson 7 page. Lesson 12 has me using a small spoon on a molding. Relief work is one kind of wood carving, and the sizes here come in millimeters and inches. A small knife filled one gap between gouges, and light was part of seeing each pass. Venice supplied several of the other lessons.
Which spot on your own carving is asking for the next tool down?
How it's done
- Start with a small veiner. Under the petal went a number 11, with the flute away from the line, and I dug little by little.
- Step down for the shadow. Smaller still was my plan for the same pass, but much deeper.
- Use a smaller number 5 for the wave. The pass went toward the center, and I flipped the tool for another pass.
- Go tiny for the curl. First came a number 9, followed by a tiny tool by Dockyard.
- Switch when the straight tool fails. A short number 8 spoon took the waste so the petal curls.
Frequently asked questions
How small was the first tool under the petal?
Probably a number 11 near 1 millimeter, I said, about 1/25 inch, since that petal had to go beneath the curly one. Something smaller, maybe half that size, was my idea for repeating the pass, only much deeper.
What did the Dockyard tool say on it?
It says 1.5, but it's not 1.5, I said. I called mine a millimeter (0.0394 in), much smaller than the marking.
When did I switch to a spoon?
Once the straight tool was not sufficient anymore. The short spoon, a number 8, took the wood out so the petal would look like it is curling.
What to carve next