

Alexander Grabovetskiy, woodcarver, School of Woodcarving · Published 2022
When should you keep a carved shadow shallow?
Quick answer: A shallow shadow is a hollow I stop short of full depth. Here the petal keeps a wall of roughly a millimeter (about 1/25 in) beside the acanthus leaf, since going deeper might trouble its movement. The shadow came from a concave on the side instead.
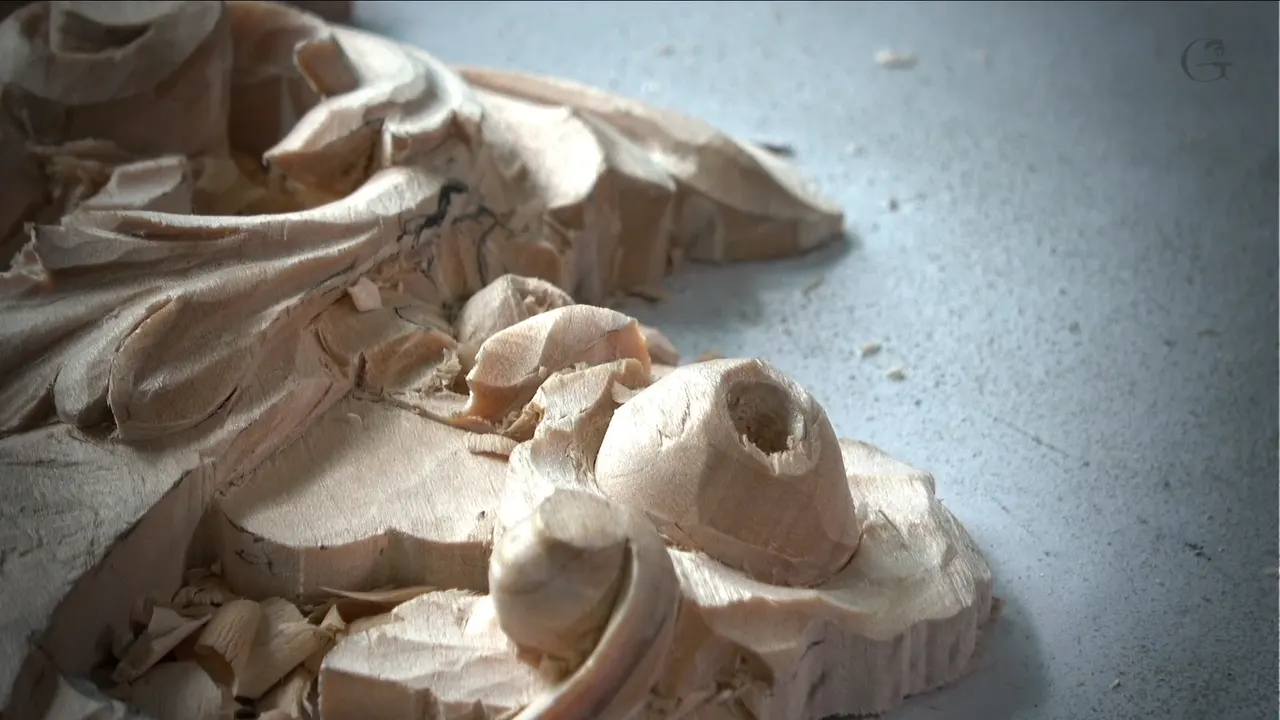
Keeping a carved shadow shallow means I stop the tool well before full depth, on purpose. On this petal, a wall of about 1 mm (0.04 in) stays beside the acanthus. I could have gone deeper, but I said a deep shadow could cause trouble for the acanthus movement. Beside it, a concave did the job.

Have you ever carved a hollow as deep as the tool would go, just because the shadow looked good? Did the edge beside it end up thin, or the leaf next to it lose its flow? In this part of lesson 7 I stopped short on purpose. In other courses I gave other reasons for it.
The petal sits against an acanthus leaf, and a leaf from the flower goes right on top of it. Below I walk through that call first. Then come the times in my Venice Room, Furniture Panel and Gibbons classes when I held a shadow back.
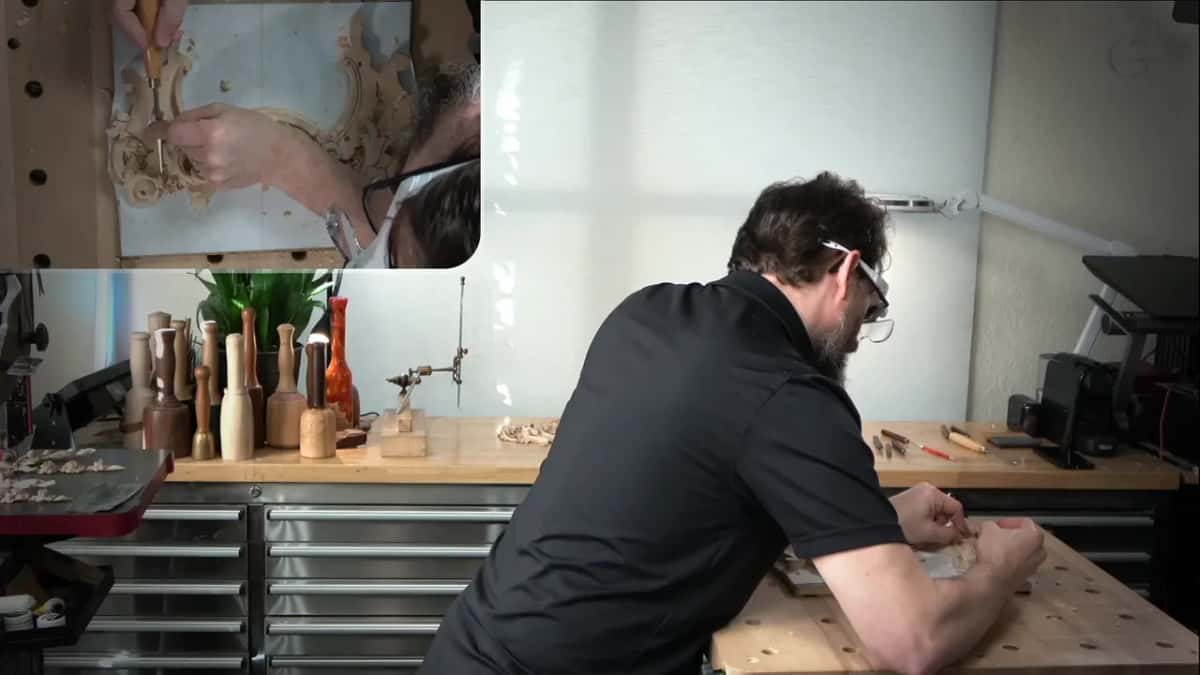
Five moments from this petal
- I broke the edge of a petal and called it okay.
- Concave, convex, concave gave the outside of a petal its movement.
- A smaller petal went underneath, dug with a tool of maybe 1 mm (a bit over 1/32 in) or even half of that (about 1/50 in).
- Against the acanthus I kept a thin wall, about a millimeter.
- The shadow came from a hollow on the side, going with the overall movement.
How did the petals take shape before the shadow?
Concaves on the sides and a convex in the middle shaped these petals. Still, I opened this part with a mistake: I had just destroyed the edge of my petal, which I called okay, absolutely fine. I said I had to be really careful how I approach that spot. Comfortable it was not, with my face really close just to see it.
Next came a curl. I planned to try it from the opposite direction and connect the two. It is not just a simple curl on this side, I said. Somewhat simple, but not as simple.
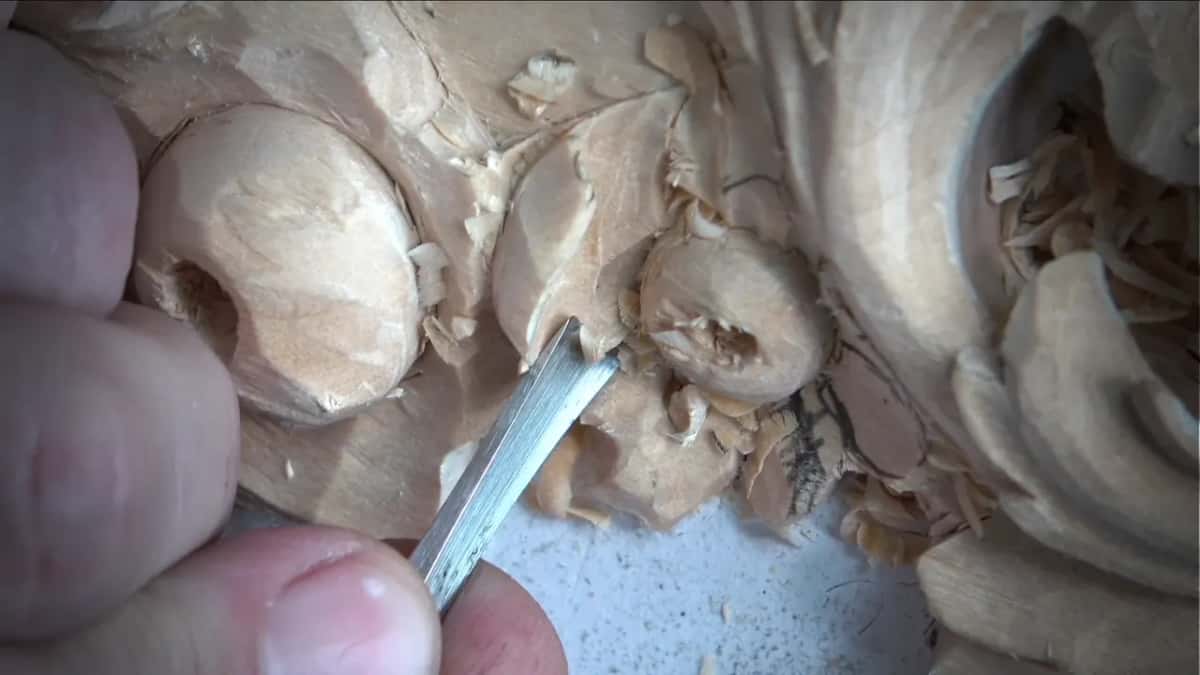
To blend it I took a quarter inch number 5 (6 mm) and curled it even more. The outside of that petal got the same idea as the inside, two hollows around a rounded middle. Not big, but still. With a number 5 I got a somewhat concave movement, and that will look lifelike, I said.
The inside wanted an extra concave too. Where the two met, I lost my movement, and I called that not bueno. A moment later I said that is good now. Overdoing it was off the table.
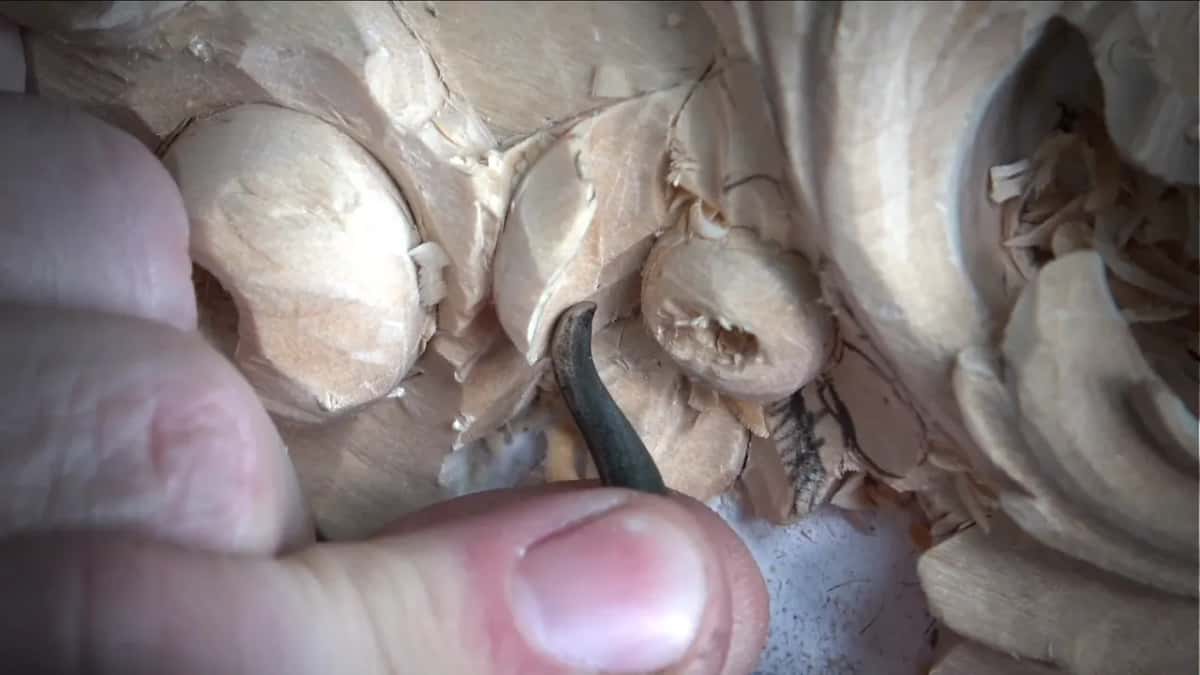
The next petal got the same two concaves with less elaboration, because most of it will be hidden. There I could tuck a small petal right underneath this one. Petals don't have to repeat each other, I said, so this one went underneath.
For that I reached for a smaller tool, maybe 1 millimeter or even half a millimeter (0.02 in). I settled on the half millimeter tool and excavated right underneath. Waviness again, and in the middle a deeper concave that follows the direction of the flow. No ridges or facets should show, and going all the way through was something to avoid, though it is possible.
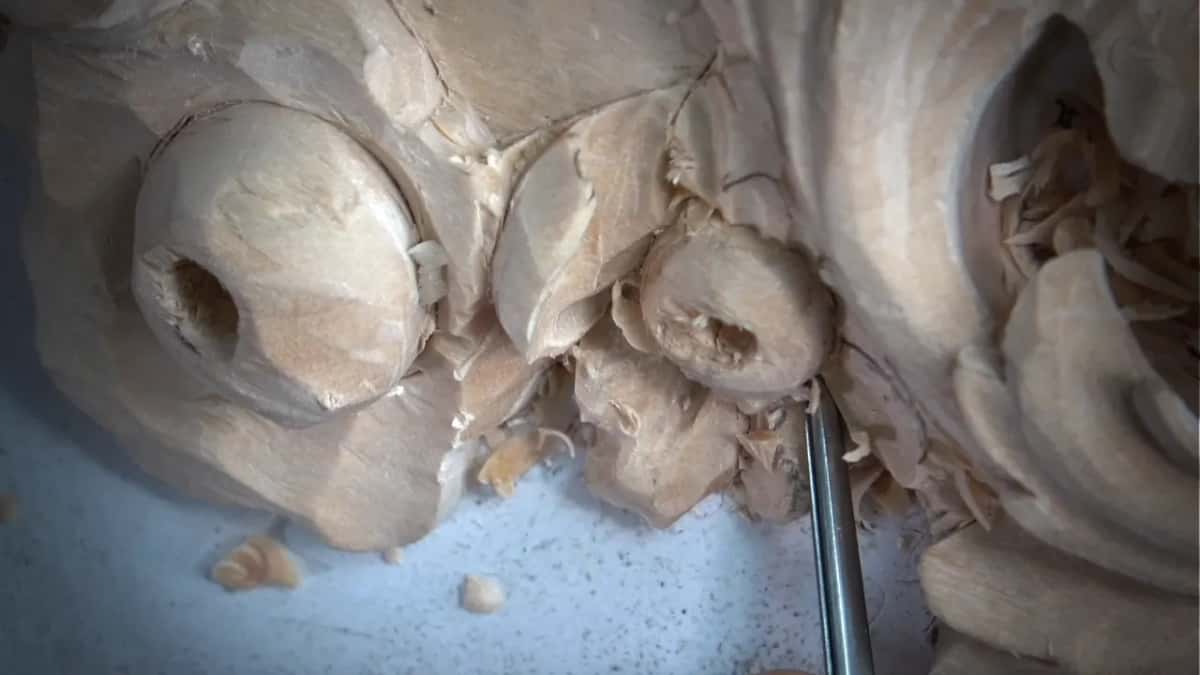
Some wood could come off the edge, too. Once it is undercut, it will look awesome. Not wavy enough, though, so I added a little more waviness. There's no end to what you can make with those flowers. From above I think it looks good. My opinion.

How thin is the wall where a petal meets the acanthus?
Very thin, about a millimeter (0.039 in). A leaf of this flower goes right on top of the acanthus leaf, so I carved around it, with some waviness where the two touch. A number 5 of a quarter inch did that. I didn't want it too deep there, but I still had to make it, just not as deep.
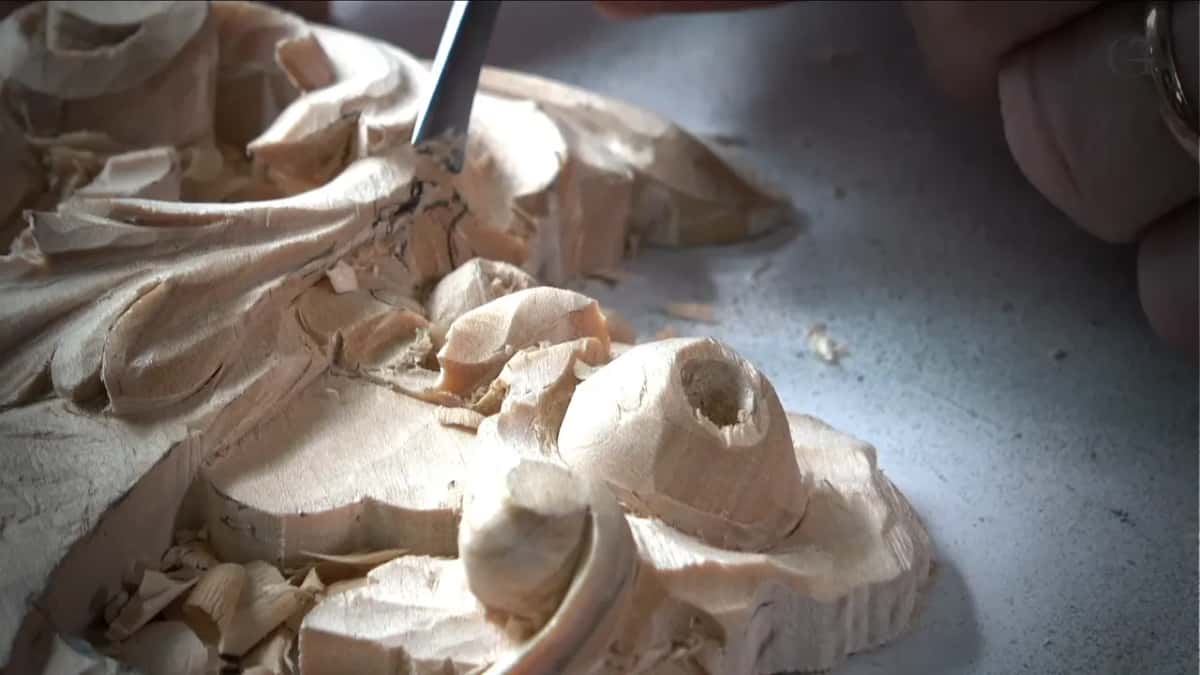
I took out some from the acanthus, then made the concave deeper again, though not as deep, but still. Asked how much wall I'm leaving, I said it's about maybe just no more than that.
Why not carve a deep shadow where the petal meets the acanthus?
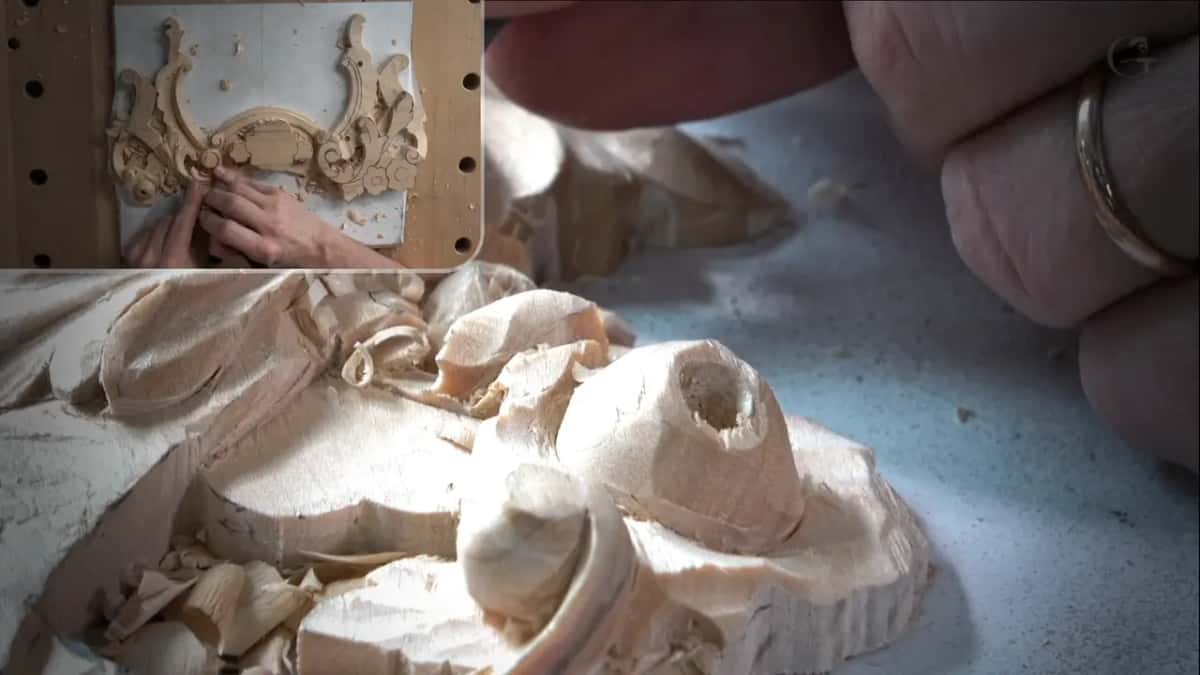
A deep one could create a problem with the acanthus movement, and that is why I held it back. I don't really need to get a deep shadow right there, I said. I could. But I think it could create a problem.
So the shadow had to come from somewhere else. For a shadow I could work with my barrel in the middle part, I said. Next I moved my camera so you could see, and I carved a hollow on this side, following the direction of the overall movement. That is my shadow, I said. Next came a small knife, to blend it.
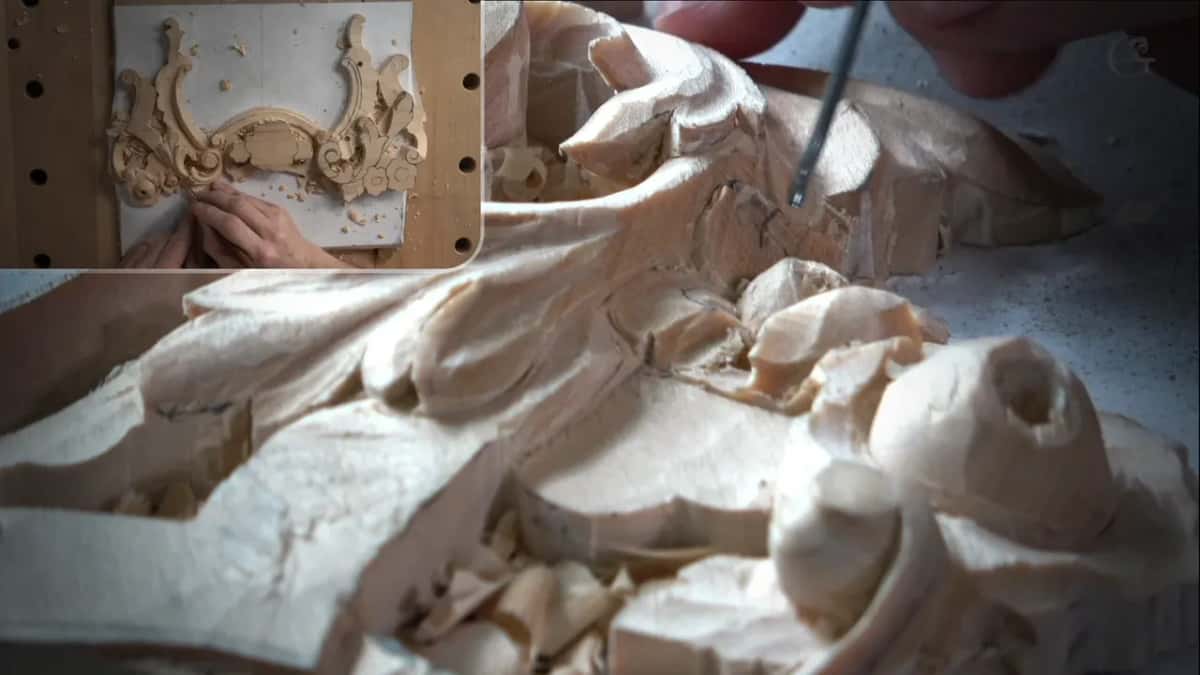
Going a little deeper was possible if I wanted, I said. At this one spot I chose the thin wall and the side concave instead.
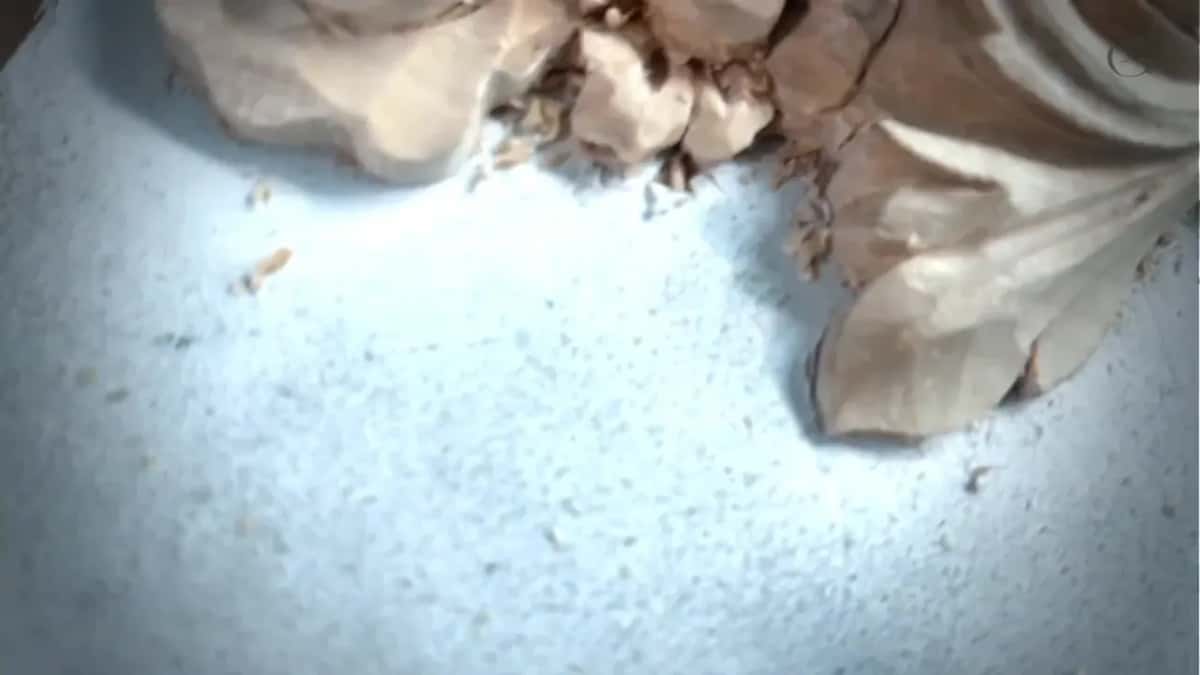
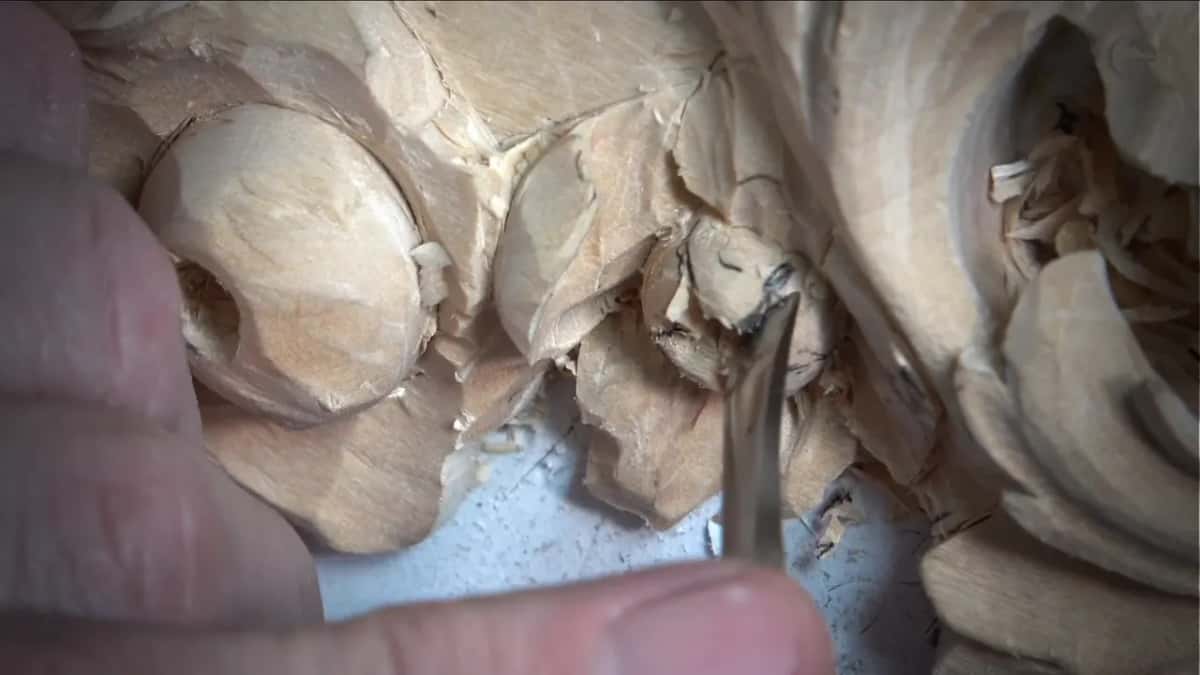
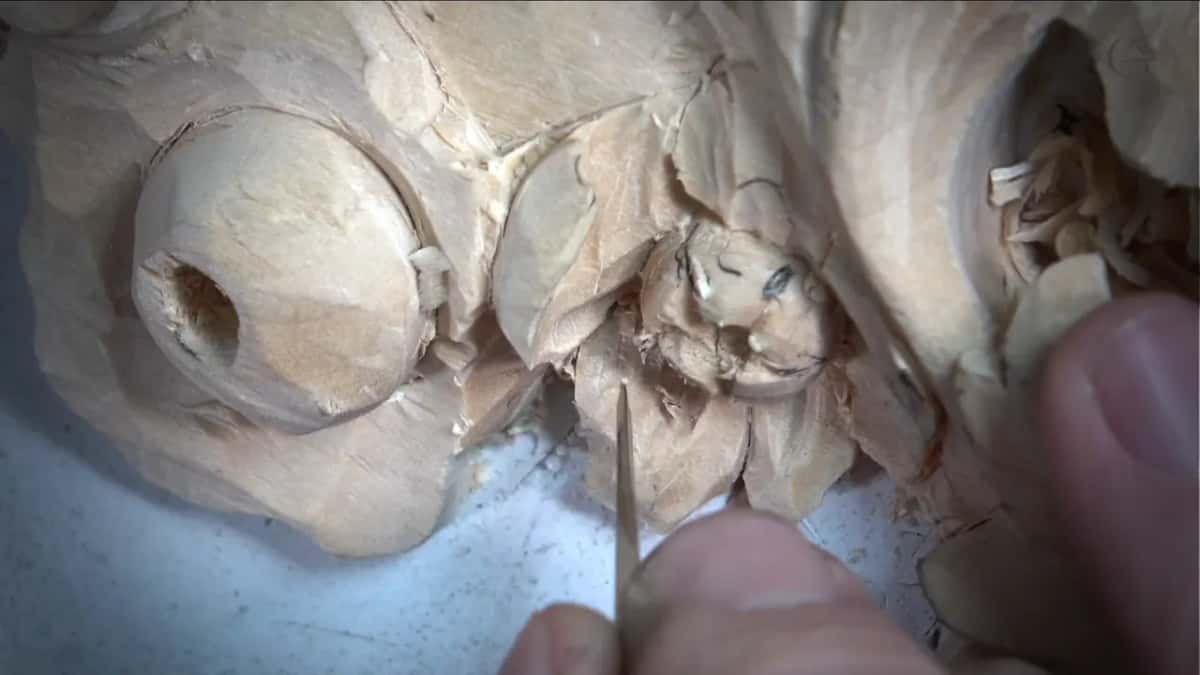
The camera missed the work, so I hooked up my phone and flew around the petal. You can see how little wood stays, one millimeter (0.039 in), no more. It's not really a wall, I said, because I still kind of undercut it. At that point, this is how it looked. I also showed the curl that goes right underneath, and how this petal goes right underneath the acanthus movement.

What stopped me from going deeper in each place?
Other courses show me stopping short too, and each time I said why. Here they sit beside the petal.
| Where | Move | Stop | Reason |
|---|---|---|---|
| Petal beside acanthus | A wall near 1 mm (0.04 in) | Stopped there | A problem for the acanthus movement |
| Venice Room 22.12 | A half millimeter (1/50 in) number 11 | Tight space | No room for a deep shadow |
| Part 41.12 Venice | A light 1.5 mm (0.059 in) pass | Edge strength | Deeper would make the edge weak |
| Venice 64.4 workshop | A little more depth, though not deep | Light direction | No shadow casts on that side |
| Furniture Panel 24.2 | Almost flat number 3 gouge, not deep | Existing detail | Keep the shadow I already have |
| Workshop 74.1 Venice | A 3 mm (1/8 in) number 11 | Too distracting | A deep shadow would distract here |
Does a tight space decide how deep the shadow goes?
In some places it does. In Venice Room workshop 22, at one spot I held off on a deep shadow, and my first reason was that I did not have too much space there. Some shadow was still possible, using a number 11 veiner of maybe 1 millimeter (a bit over 1/32 in), or in that case maybe half a millimeter (0.02 in). That size worked much better. It still gives me the shadow, I said, without excavating too deep.
Two other workshops put it in fewer words. Over in workshop 13 I said a small number 9 could probably excavate a little deeper, but I did not want to go too deep again. Yes, some shadow, nothing heavy. Back in workshop 15 I came at a spot from one side, undercut it a little, and made that shadow with a light touch. Then a small number 3 started removing the waste.
What if I do not need the shadow there?
Then I leave it out. Workshop 40 shows the other side. An upside down number 2, about half an inch (12 mm), was blending a spot, and I said no to a big shadow right there. Really don't, because I don't need it there, and the spot was already nice. A nice concave on one side with the ridge raised a little is one of the ways, I said. Another is a concave that goes a little down, which gives even more roundness and a beautiful movement. Probably what I would do, I said.
Shadow can also pull the eye too hard. Another time, in workshop 74, I checked a piece for too much detail overall. It looked okay, and it would not go deep. In that area a too deep shadow would be a little too distracting, I said. First I needed to relieve that section with probably three millimeters (1/8 in), a number 11.

Does the light decide how deep to go?
Workshop 64 let the light make the call. Excavating a little deeper was fine, but going very deep was not required, since no shadow would cast on that side because of the light. That side did not need my shadow work. One part later, a number 11 of 1.5 millimeters (0.06 in) went in underneath, and again not a lot was needed. The light would hit from above and not cast a heavy shadow. What I had to worry about was a beautiful movement.
Light works the other way too. Shadow can make it hard to see, I said in workshop 6. The light hits, it makes the shadow, and you can't see what is going on. I very often go back and check under a different light, like at night, turning one side and then the other.
A shadow line in workshop 100 was kind of distracting. I repositioned my lights to see much better. The Furniture Panel course has me saying I would turn one of the lights off, so you would see the shadow.

Will a deeper shadow weaken the edge?
And in workshop 41 I could bring the line out with 1 millimeter (about 1/25 in) or maybe 1.5 (0.059 in), and I tried 1.5 first. I went down, but not too much. A pass that was too deep would make this edge really weak, I said, and that was a sight I wanted to skip. Later I could go around and undercut much deeper for stronger separations. For now it was fine, and that was probably the deepest I could go without breaking the edge.
What if the shadow I want is already there?
The Furniture Panel has me cleaning underneath a petal using a number 3, an almost flat gouge, but not too deep. I had that detail, and I did not want to lose my shadow. I really don't, I said. One part later I was barely making a pass, for the same reason. Losing that part, that shadow, was the thing to avoid.
When is a shadow too strong?
In workshop 63 I broke a ridge because I really thought it was just too sharp. A little too strong, I said. Afterward it was much better. Back in workshop 14 a concave that climbed too far was casting too much shadow. No bueno, I said. I went at it with a number 9, ten millimeters (3/8 in).
Sometimes I did not know. In workshop 99 one side of a piece gets more shadow than it should, I think. Maybe yes, maybe no. Lowering it was the plan, I said, and we would see.
Do I ever go deep on purpose?
I do. In part 2 of this same lesson I made a concave in the middle of a flower and said that gives me some shadow. Then I carried it farther along and asked how deep a shadow that casts. I liked how it looked, a lot. Earlier in that part the smaller tool did exactly the same, but much deeper, and I said it would create a really beautiful shadow.
The Roman acanthus course has a veiner of less than a millimeter (well under 0.06 in), maybe half a mil (0.02 inch), going on the inside just to try to create the shadow. Maybe I am saying too much about shadows, I said, but the shadow is really important. The Gibbons class in Maine has my lesson text saying a number 11 of 1 mm (that is 0.039 inch) can exaggerate the shadow even more, but don't overdo it, because you will ruin the petals.
What else happens in this part?
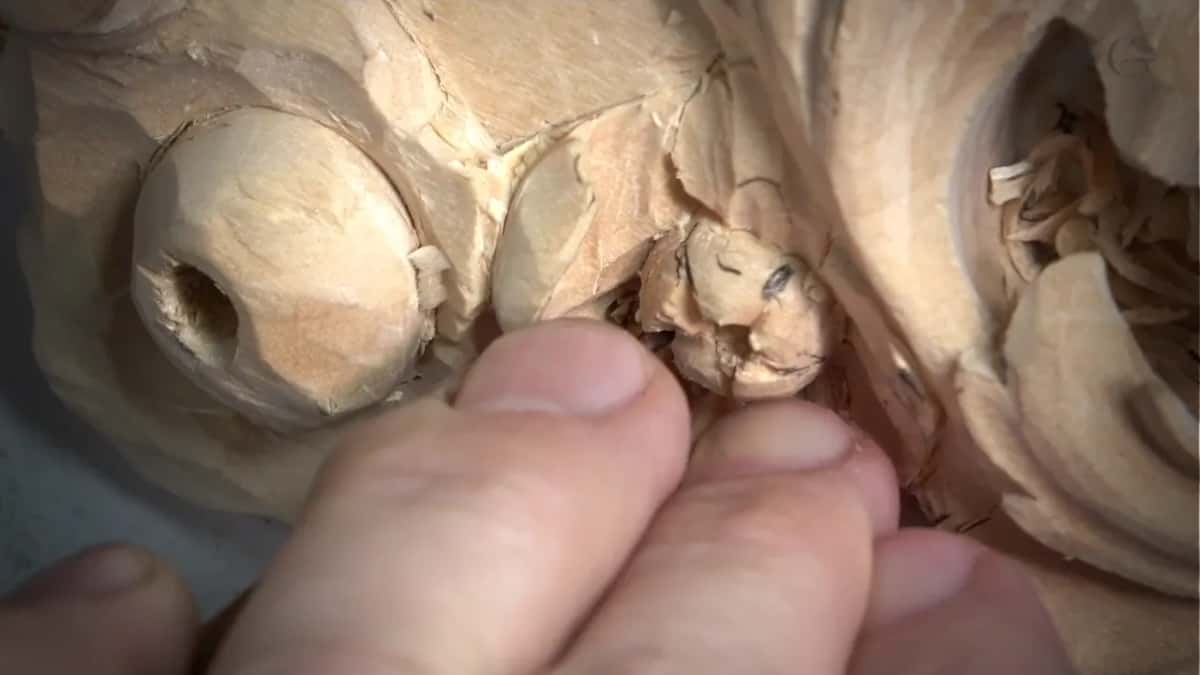
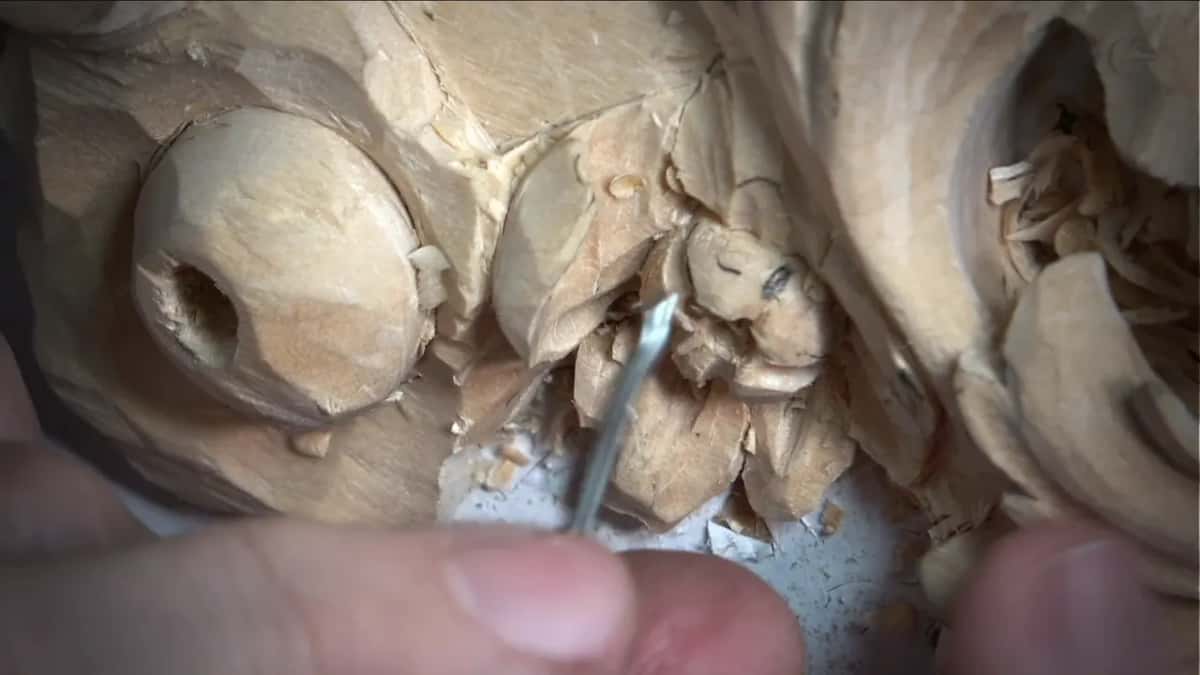
The middle part gets divided in five, and the place where I broke is going to be right there, I said. The divisions don't have to be exactly the same width. The main idea is not a straight line, so make them wavy. Probably a number 5 goes in, carefully, because it is a really tiny spot, and then a smaller one, a number 3 of one-eighth of an inch (3 mm). Don't overwhelm, I said. That detail is important, but not as important.
With the smaller number 8, one and a half millimeters (about 1/16 in), I could make a small concave, a convex and a concave again. The hole was a little too round, so it needed waviness, with different number 8s and 9s. Magnifiers went over my glasses to see the small ones.
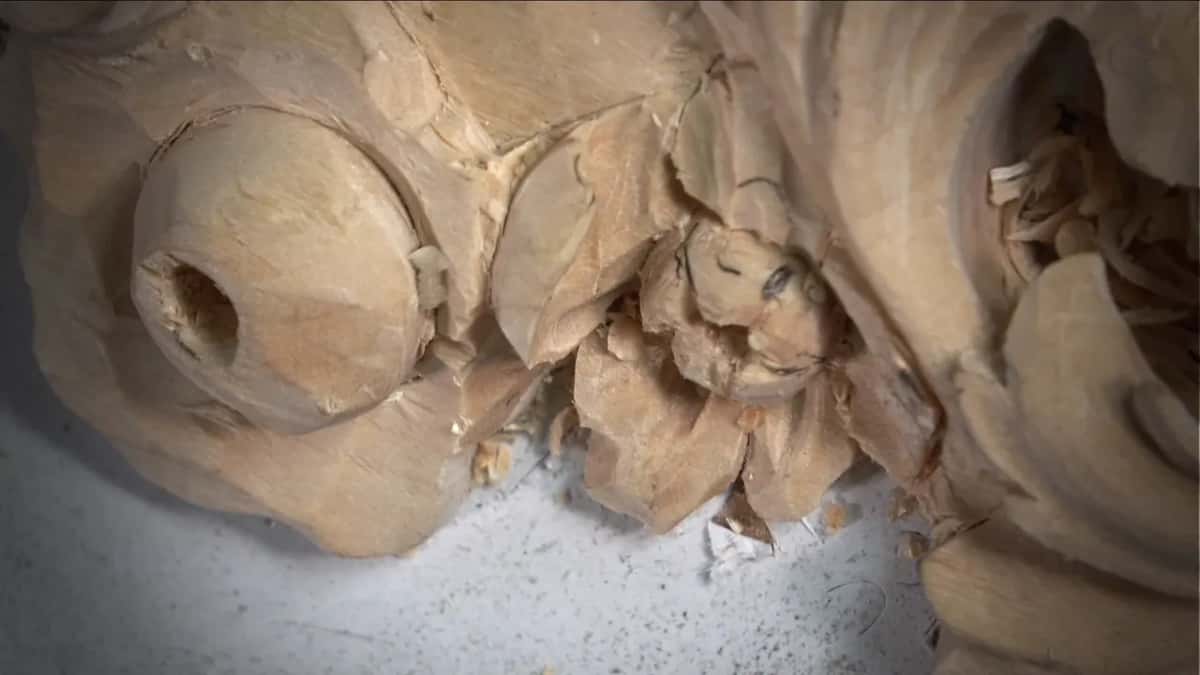
With that type of flower it is all about how creative you are. You can spend all day long on that middle section, and it's all about how many details you want to put to it.
Where does this part sit in the course?
This is the third video of lesson 7 in Carving Floral and Molding for the Panel. Lesson 6 comes before it, lesson 8 after, and the whole lesson sits on the lesson 7 page. Relief work is one kind of wood carving. A gouge is a curved chisel, my magnifiers came with different lenses, and the sizes here come in millimeters and inches under light from my bench lamps. Venice supplied many of the other lessons.
Which spot on your own carving could use a shallower shadow?
How it's done
- Shape the petal first. A number 5 hollowed both sides of the outside of the petal and left a rounded middle, the way I had done the inside.
- Tuck the small petal. A tool of maybe 1 mm (about 0.04 inch) dug under the small petal, and a smaller one went in after it.
- Leave a thin wall. Against the acanthus I kept a thin wall, and part of it was undercut, so it hardly counts as a wall.
- Skip the deep hollow. At the junction I held the hollow back to protect the flow of the leaf.
- Add the shadow beside it. On the side, a concave following the whole piece became the shadow.
- Blend it with a small knife. It softened the transition, so no ridges or facets showed.
Frequently asked questions
How thin was the wall where the petal touches the acanthus?
About 1 millimeter (about 0.04 inch), no more. It is barely a wall, since I still undercut part of it. A deeper hollow there might hurt how the acanthus flows, and I said I could have gone a little further.
Where did the shadow come from if not a deep pass?
A side concave carved with the flow of the whole piece, which I called my shadow. A small knife blended it afterward. Just before that, I had floated the idea of working my barrel in the middle part, but the camera could not show it, so I moved it.
Can a petal shadow be deeper when you want it to be?
It can be. Here I could go a little deeper, I said, and chose not to. In part 2 of the same lesson, a concave in the middle of a flower gave a deep shadow, and I liked the result a lot, so the answer depends on the spot.
What to carve next