

Alexander Grabovetskiy, woodcarver, School of Woodcarving · Published 2022
Which flatter tool lowers and blends a carved section quickly?
Quick answer: Lowering and blending a carved section is work for a flatter tool. I reach for my Sekira, a multi-angle skew I built on the Gonzalez design, because it is much quicker, but a plain skew or a knife will also lower the wood when you do not own one.
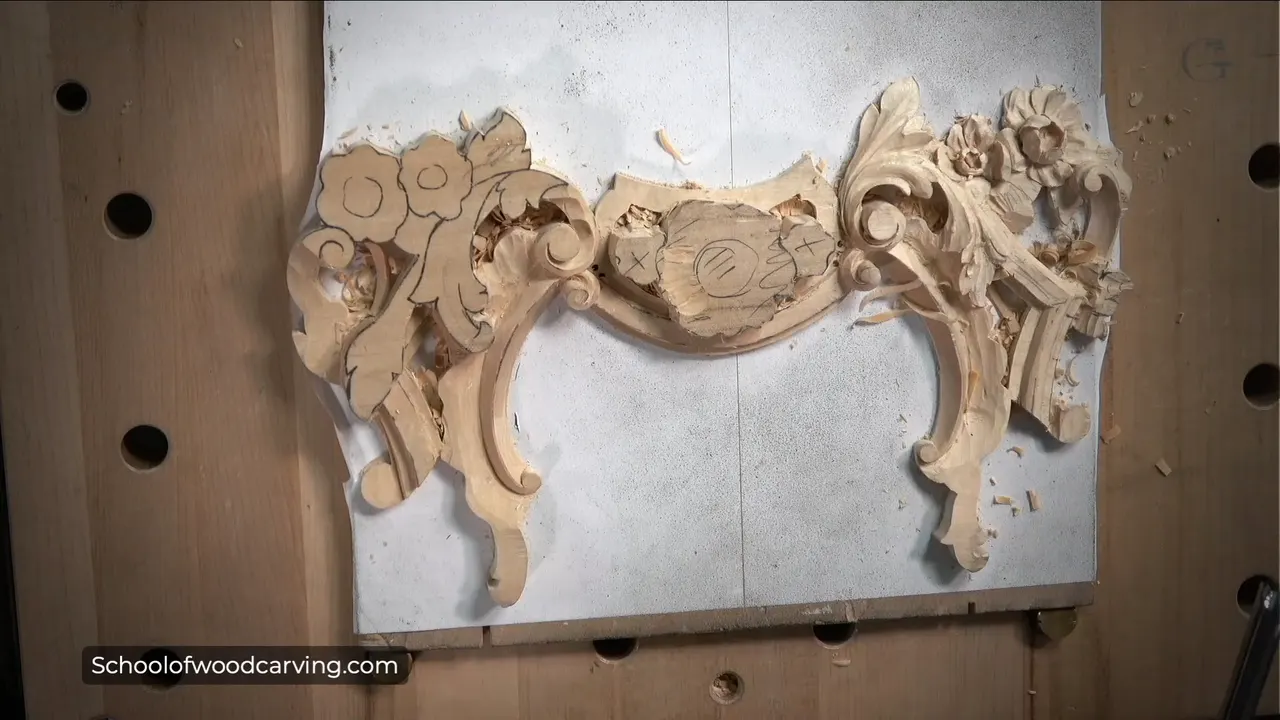
A flatter tool is what lowers a carved section and blends it into its neighbor, and mine is a Sekira, a skew of my own built on the Gonzalez design. My floral panel, part 8-3, had me shave a shell lower next to a molding with it, so the miter could happen. A plain skew, a knife or a number 7 gouge handles the same work.
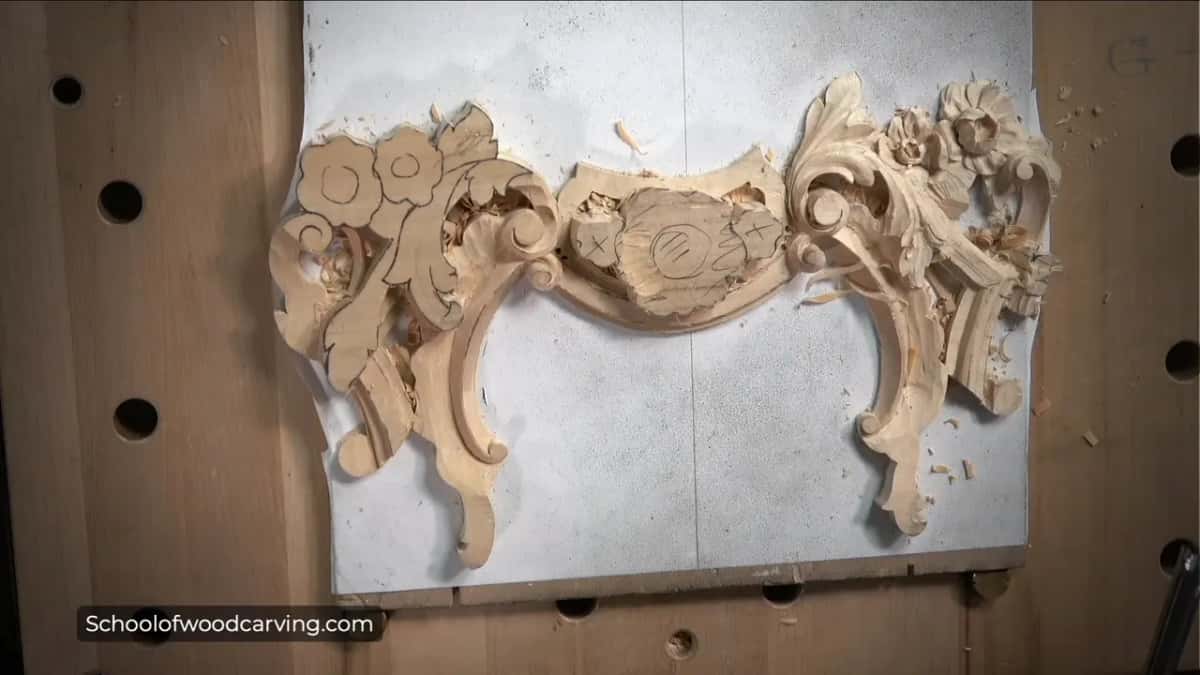
Is there a part of your carving that has to come down, yet still has to flow into the piece beside it? Is the wood around it too weak for a big gouge? Then a flatter tool belongs on your bench. I used mine in this video, and I used it again in a dozen of my other lessons, so I gathered those here too.
Six lines about my flatter tool
- It is a multi-angle skew, and I named it Sekira.
- The design started with Gonzalez, but it is mine.
- A bigger version and a smaller one both live on my bench.
- In this video it took a shell lower so the molding could miter.
- Several tools lower wood, and I name them below.
- The heel of it gets into small triangles, and a dull edge shows up as resistance I can feel.
What is a Sekira tool?
The tool is my own, and I gave it the name. Lesson 4 of my rosette course shows the moment. I started to say I would show you a Gonzalez tool, then I stopped myself. "It's actually not really a Gonzalez," I told you, and then I named what I was holding: "This one is my own, and I call it Sekira." A different tool, then. It rests on the Gonzalez design.
The floral panel course adds a line about the shape. It's like a skew, I explained, but a multi-angle skew, so the edge carries more than one angle. I first said multi-bevel, fixed it to multi-angle and apologized.
I own two sizes. Over in lesson 12 I picked the bigger one to work underneath a volute, and I reminded you that I've got two versions. The rosette course tells the brand story. It's pretty much just like a Gonzalez tool, I said, but this is my own brand, and we renamed it. I also called it a tool you can use for any type of carving.
Where did the flatter tool work in part 8-3?
This video begins with a bit of housekeeping. I worked on another side without filming, since it would be exactly the same. I removed some material on this side, stopped recording, jumped to the left side and did the same thing there. That saved me some time.

The first real job was the convex. I started with a straight tool, a number 7, and I held it upside down. I didn't take the full pass at once. Little by little I made small passes, and they became my first boundary, because I needed to be sure the shape was really round.

The order mattered. As you see, I attacked the edge first. My second pass came a little closer to the middle line, and that way I knew the convex was on track. I didn't want to rush it.
Pressure was on my mind too. For me, it is really important not to create a lot of pressure, and I don't want to remove more material than I need to. I was just shaving, and you can see how tiny that shaving is.

Then one area made me stop. A pass continued there would run against the grain, a wrong position, so that area had to be attacked from the other side. The left-hand side came first, and the other side after it.

Next came the flatter tool. On the other side I told you I would use the Sekira first, and I called it a good tool to use. I went in from this side and carefully removed the wood, because working from the opposite direction did not suit me there. "I hope I'm going to be okay," I said out loud. Soon after, I added that I guess I could work the other side with the same tool and just blend it nicer.
Which tool did the sides of the molding get?
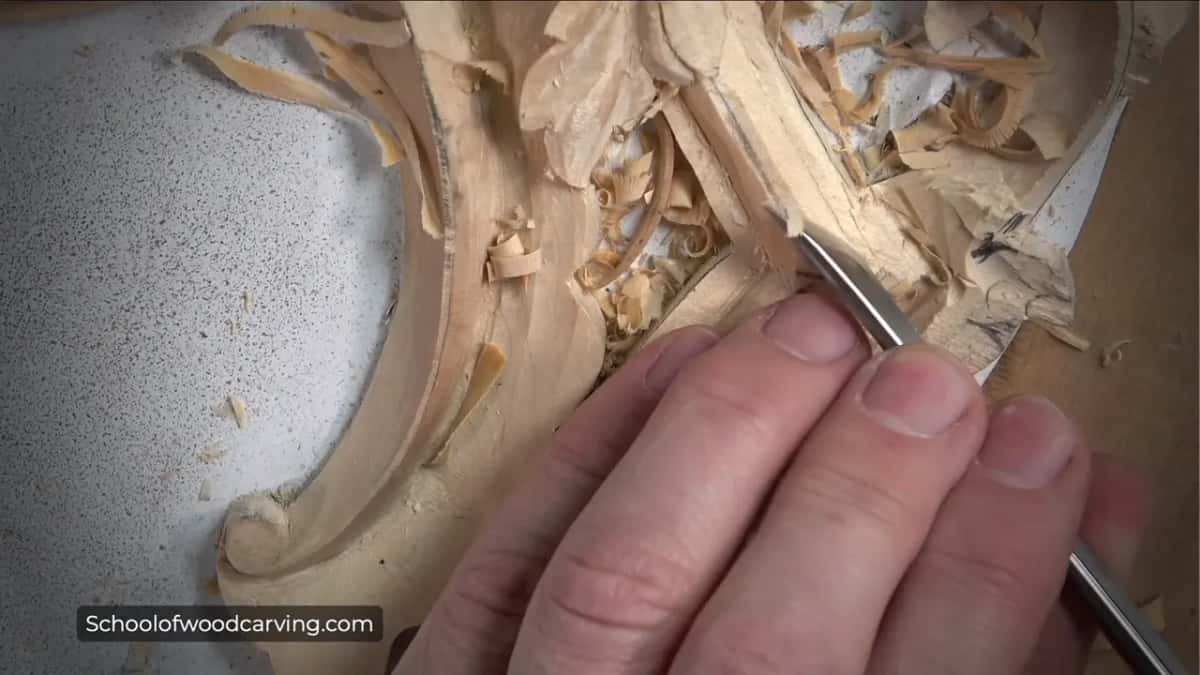
For the sides I could have used pretty much the same tool, a number 7 of 14 millimeters (0.55 in). A back bent made it a lot easier, though, and I told you back bends are always the best tools for that operation. Mine is an antique by Henry Taylor, with a really short hook, so it reaches the tiniest spots.

You don't need that one. Any back bent will work, and I said I could probably get by with straight tools here too. I just felt safer with the back bent. This time it was a number 5, and I attacked that side again without forcing it.
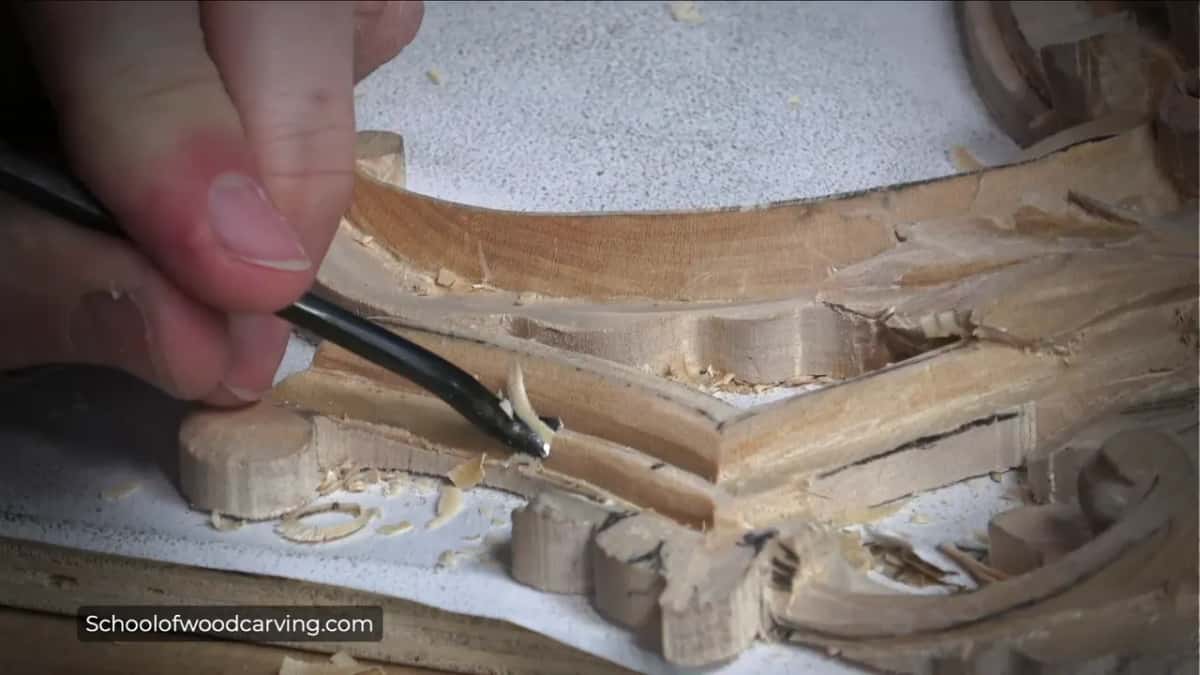
A little left behind didn't bother me. Whatever stayed, I can take out with a number 11, either 1 millimeter (0.04 in) or 2 millimeters (0.08 in). Then I jumped to the other side and repeated it.
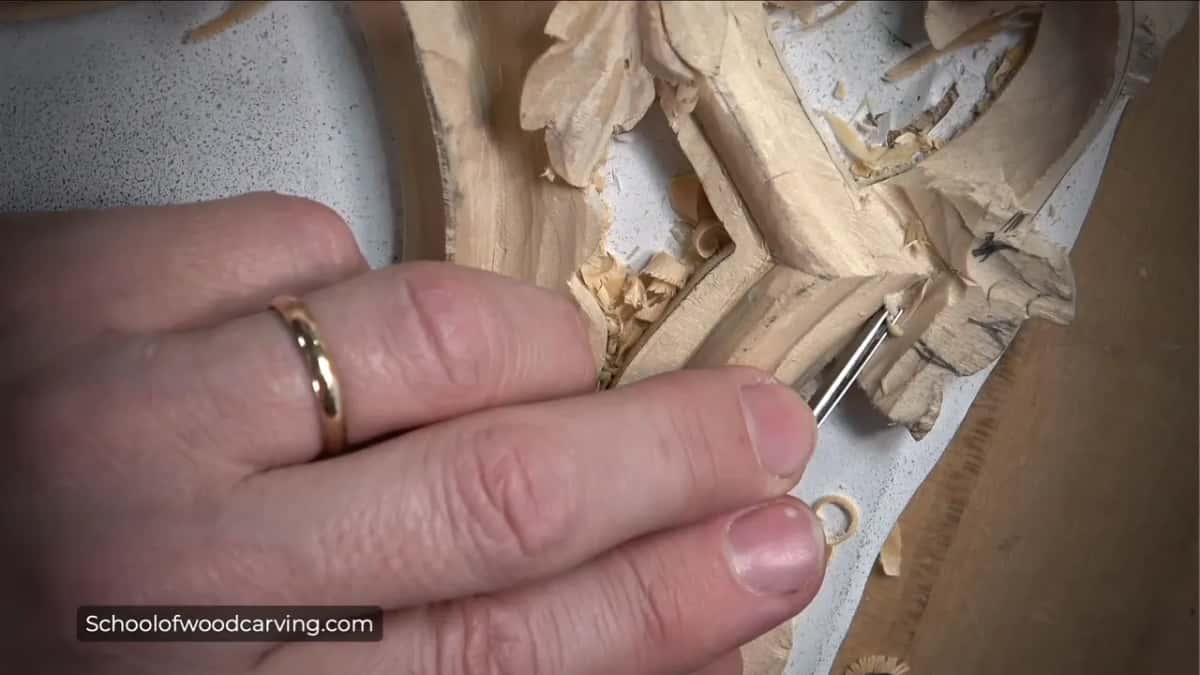
How did I shave the shell lower so the molding could miter?
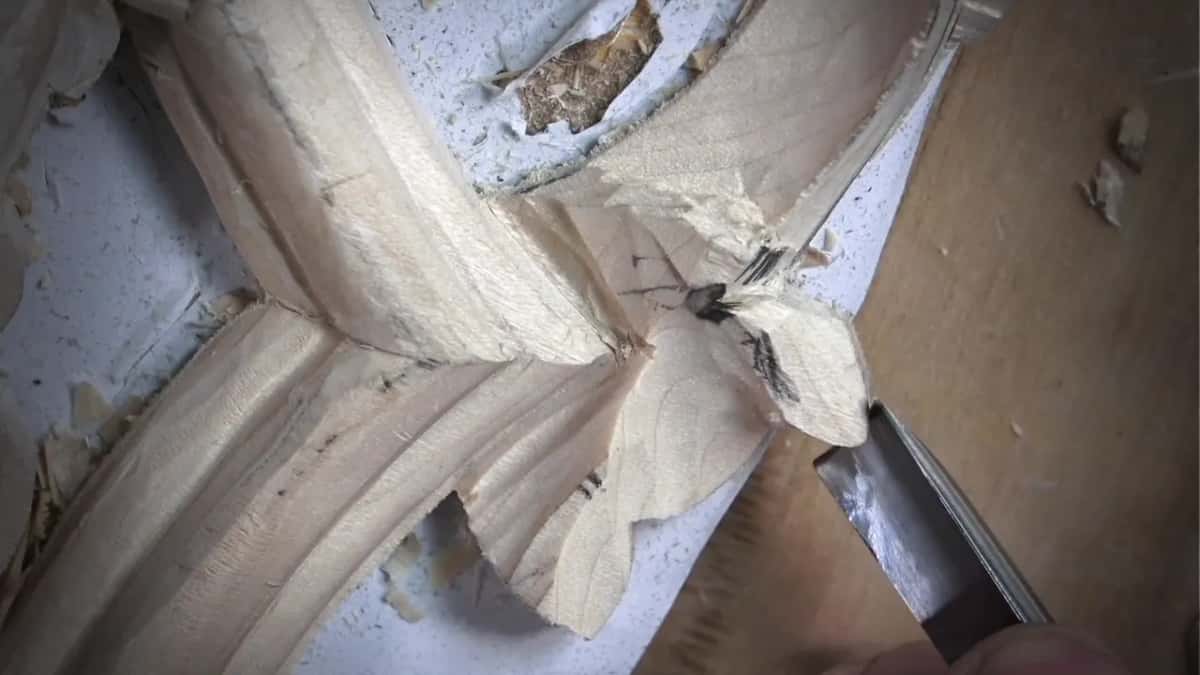
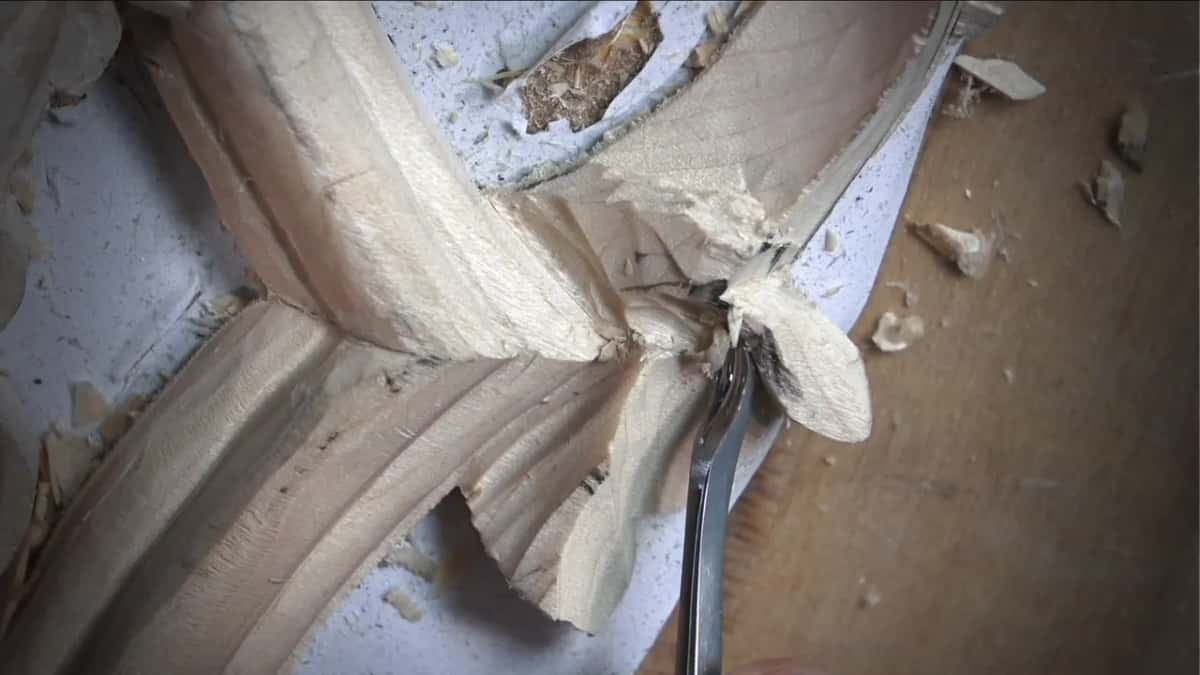
On the second side I stopped to check what I had done on the previous one. It looked like part of a shell would go a little below my molding. I got my pencil and checked. Maybe I had to shave a little of that shell, I thought, and removing the extra material was probably a good idea. Otherwise I wouldn't be able to miter.
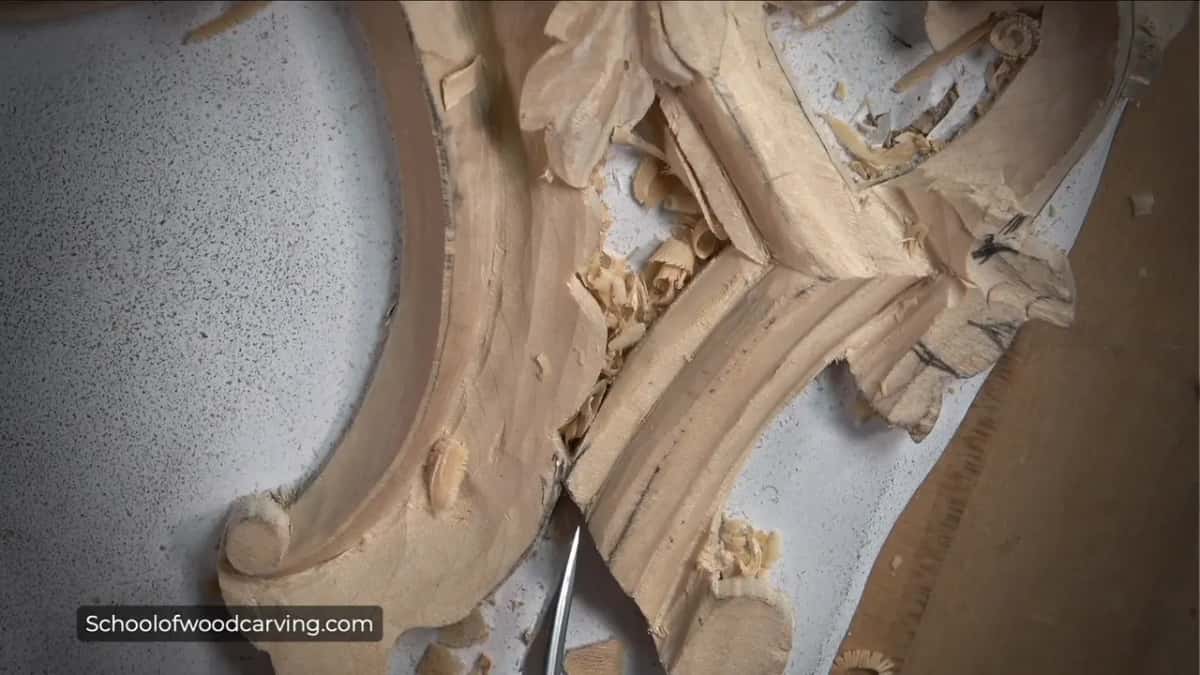
For that job I picked up the Sekira, and I told you it would help me a lot. I took out part of the side, right at that point. Then, with the same tool, I made the convex go downhill. I had said this part would sit lower, so I could pretty much shave it a little lower right away. And even lower. The right side got the same treatment.
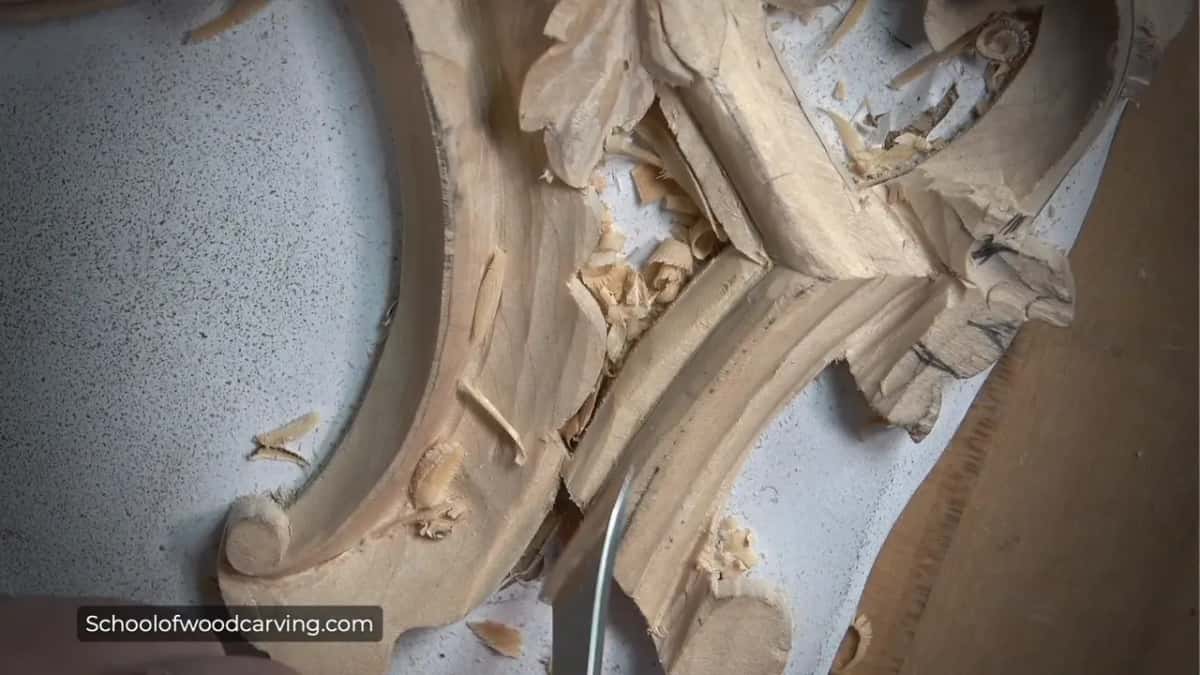
After that I went back to the back bent, and I repeated that it doesn't have to be one. Straight tools work. So does a small, tiny spoon, a number 3 or a number 2, carefully removing material. The result lands close either way, but the back bent makes life a lot easier.

Then came the other half. I finished the opposite side off camera, since I did not need to show that work twice. When I came back, both sides were done, and the idea had not changed at all. There was no difference whatsoever. The molding itself is carved in lesson 8.
Does it have to be a Sekira tool?
No. In lesson 10 I used mine to lower the wood close to a molding, and I told you that if you don't have it, it's not a big deal. Pretty much any flatter tool will do. A normal skew chisel works. So does a Gonzalez tool if you own one, or a normal chisel. Even a gouge will do: I named the number 7, the number 5 and the number 3.
Use whatever is more comfortable, because you are not putting in the details yet. A knife works too. Later in the same part I added that a knife alone can lower that area down.
Lesson 11 repeats it. If you have a knife, I said there, you can carry out the same operation with just a knife, making little chamfer cuts, little by little, until the overall shape appears. My Modern Acanthus course says it about this tool of mine in lesson 6: any tool will pretty much do, and if you don't have that one, take a 7 upside down.
So why do I keep reaching for the Sekira? Part 2 of lesson 10 has the plain answer, and it is short. You could use any flatter gouge, I said, but I really like a Gonzalez tool, a Sekira, or just a skew. It's much quicker. You save a lot of time.
What did the same tool do in my other lessons?
I went back through the floral panel course and wrote down the moments when I took a flatter tool. The last column gives the reason I stated at the time.
| Moment | Tool | Spot | Why |
|---|---|---|---|
| Facets, part 2-1 | Cleaned facets off with a flatter Sekira skew | The facets | I wanted to take out facets |
| The line, 2-2 | Got to the line as a multi-angle skew | The line | I could get right on it |
| A choice, 2-3 | Chose it over a bigger number two here | That line | It gave me a better result |
| Roundness, part 3-3 | Cleaned the surface completely so the roundness shows | The surface | That surface did not look nice |
| Slopes, part 5-2 | Sloped everything for a really nice, smooth transition | The slopes | The transition has to be nice |
| Curl, part 10-2 | Took it again for a transition that curls | The curl | It would be much better there |
| Weak spot, 14-1 | I used a smaller version for something shaky | Weak part | Because the grain made it weak |
Two of those rows say a lot about my reasons. Part 2-3 shows the choice. A skew would do, and so would a bigger number 2, but I took my Sekira, because it would give me a lot better result. Part 5-2 asked for a transition that was really nice and smooth, so I grabbed the Sekira to start the slopes.
What does the heel of the tool do?
Acanthus over Moldings, lesson 2 has my answer. What I like about this tool is that I can use just the back side, the heel pretty much. Lesson 4 of the floral course needed a flatter tool, and I chose this one, saying I kind of like it and it is such a wonderful tool. A really good job comes out of it, I said, and the heel part is what I like. I sliced with it.
The best example sits in the rosette course, where lesson 3 has my heel going right inside those small triangles to clean them. Blending everything got a lot easier that way. A lot easier.
How do I slope and clean with it?
Sloping is where the tool is quick. Lesson 5 has the smaller version, and I started my sloping carefully. The key word is carefully, I said. In part 5-2 I grab it to start sloping everything, since that transition has to be really nice and smooth.
Later in that part I picked it up to make a section flatter, just some cleanup, and again to clean a little right to the line. Part 3-3 used it on a whole surface that did not look nice, so I took some material out, and then I could see much better what I had to fix as far as the roundness.
Lesson 2 gave me one more case. I wanted to clean a little and take out those facets, and the flatter tool for that was a Sekira skew. A minute later I talked about a router plane, such a beautiful tool if you are planning something for furniture.
How do I know the edge is going dull?
I felt it in lesson 3, on end grain. The color shows the difference, I said, between a super sharp tool and a tool that needs to be sharpened. My Sekira needed sharpening, or buffing, I should say. Okay for now, I said, but I would really soon have to buff it. I could feel the resistance of the tool, and that was not good.
Sharpening comes up in other parts too. Part 12-3 finds the smaller Sekira in my hand, and I said, okay, it should be sharper, so we'll see.
When do I switch to the smaller one?
The smaller one is for weak places. In lesson 14 I asked myself what the right tool was, and I decided even the Sekira would work, in the smaller version. Then came the warning: kind of shaky, and really weak, because the grain runs that direction. I had to be really careful how I approached it.
The smaller size sloped in part 5-1, carefully, while the bigger one in lesson 12 went around and underneath a volute.
What happened under the leaf at the end?
The last job was a leaf that sticks out from underneath one of the flowers. Excavating right underneath it, I thought, would look really nice. First I took a number 9 and removed that part, just to expose the material, because I would need that extra material right there.
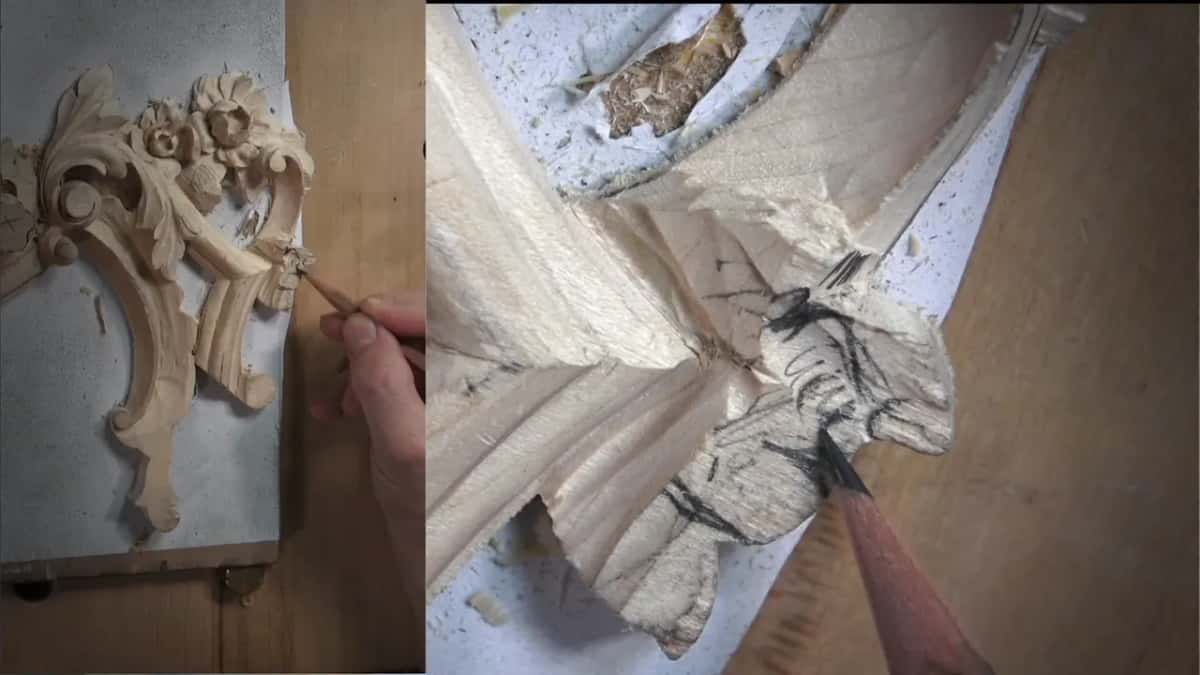
Along the side I would leave approximately a couple of millimeters, roughly 1/12 in, so maybe even less. After that I rolled the leaf using a number 7 of 14 millimeters (0.55 in), and it did get that movement backward. The hollow underneath started with a number 11 of 3 millimeters (0.12 in). Then I switched to a really tiny spoon.

I called that little tool absolutely among the best, and I told you I had opened its package on the live stream that day. After it, I reached for another spoon of about two millimeters, and worked the same way.
Which section of your own panel has to come down first? Is it near a molding, a flower, a volute? Then take a flatter tool and remove no more material than you need to, as I did.
Where does this part sit in the course?
This is part 3 of lesson 8 in Carving Floral and Molding for the Panel. The first part of that lesson works the petals from the side, and the second part lays out the miter. If you want the Sekira story first, the rosette lessons tell it, and the Wikipedia page on wood carving covers the wider craft.
How it's done
- Check the neighbor. Before the second side, I looked back at the first one. A piece of the shell would go a little below my molding.
- Pencil it. A pencil check told me some extra material had to go.
- Pick the tool. My Sekira did this job. A skew, a chisel or a knife would be fine too.
- Shave the shell. I took part of the side out, right up to that point, then let the convex run downhill. A little lower, then even lower.
- Mirror it. I did the opposite side off camera, and nothing about it differed.
- Clean the leftovers. A small number 11, 1 mm (0.04 in) or 2 mm (0.08 in), clears whatever stays behind.
Frequently asked questions
What is a Sekira tool?
Sekira is my name for a multi-angle skew of my own. I built the idea on the Gonzalez design, and I keep a bigger size and a smaller size. The rosette lessons call it a tool for any type of carving.
Can a plain skew do the same job?
Yes. For lowering wood in lesson 10, I told you that whatever feels more comfortable is fine while you are roughing: a normal skew chisel, a Gonzalez tool, a chisel, a gouge such as the number 7, 5 or 3, even a knife. The details come later.
Why shave a shell next to a molding?
A stretch of my shell would sit a little below the molding. After a check with a pencil, I shaved off some extra material, because otherwise I would not be able to miter. My opposite side followed off camera, and it came out the same way.
What to carve next