
Alexander Grabovetskiy, woodcarver, School of Woodcarving · Published 2026
What do you carve in the Carving Hazelnuts course?
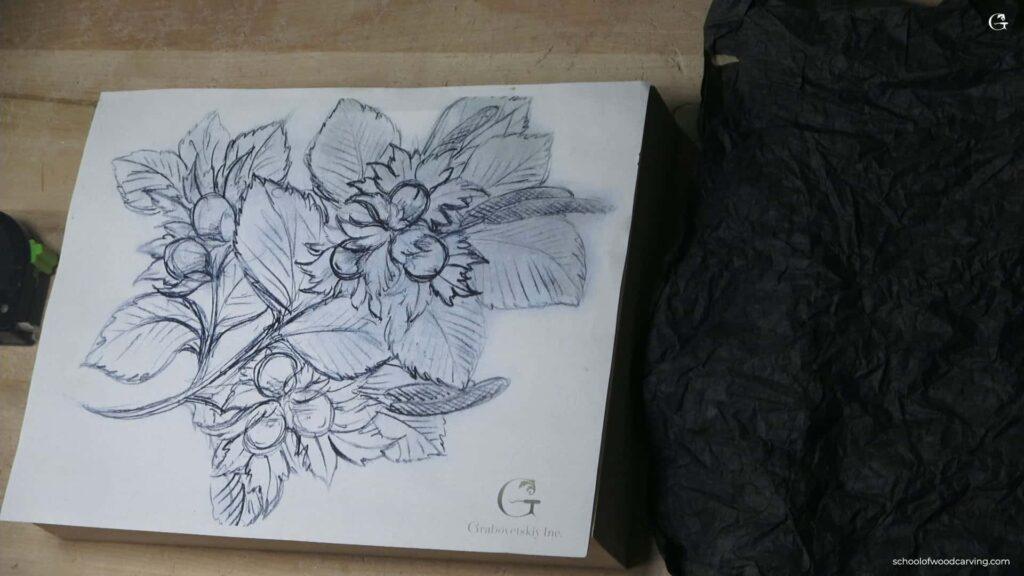
Quick answer: You carve a cluster of hazelnuts in high relief from a solid basswood board, with 25 mm blocks glued on top where the high spots need thickness. The background and the design both come from that solid wood. Nothing is cut out on a scroll saw or bandsaw and glued onto a background.
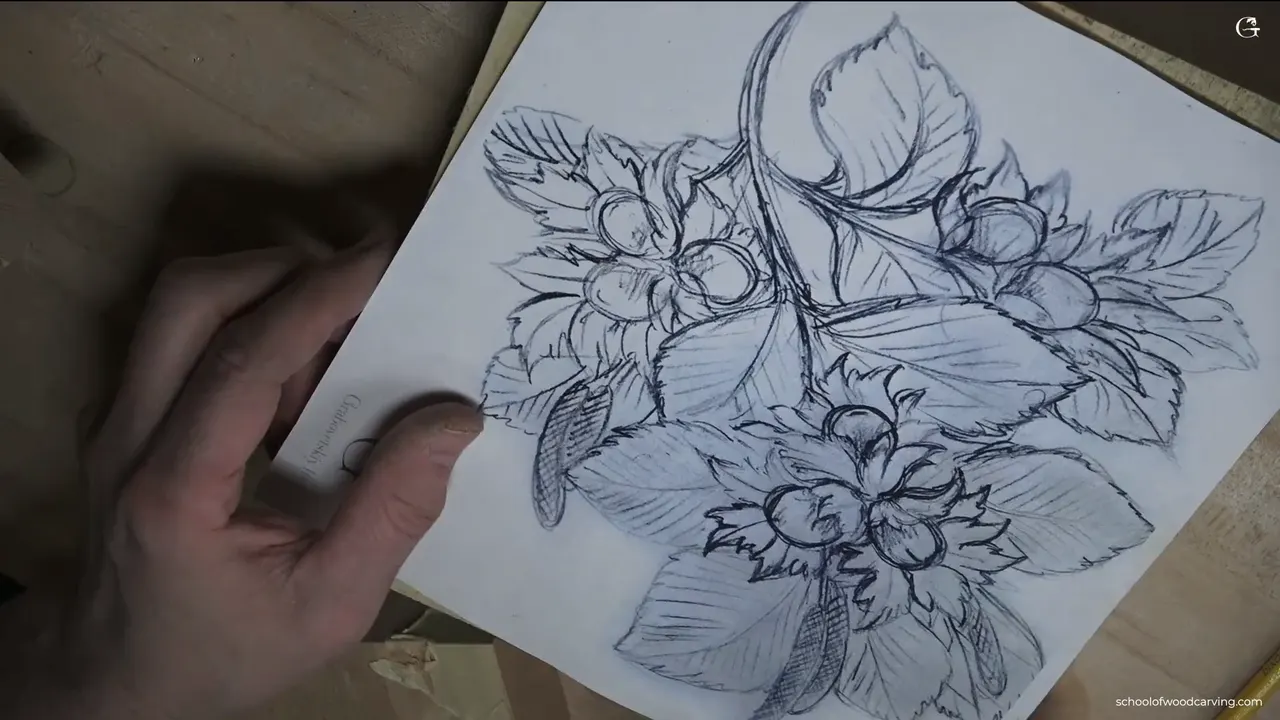
The finished panel is about the size of a sheet of printer paper. In inches that is 8 1/4 by 11. In centimeters, near enough to 21 by 28. Nothing here has to land on the exact number, and I say so on camera again and again. A lot of those lines get carved away anyway.
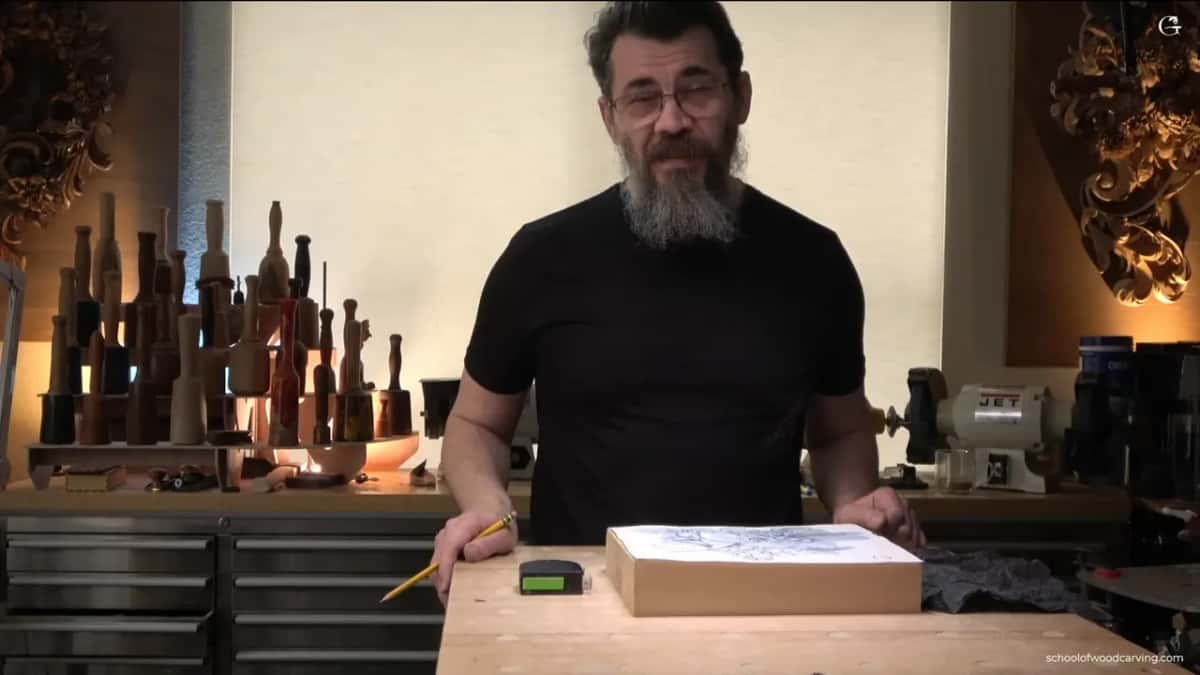
These nuts are personal for me. I was born in Russia and we had hazelnut bushes all around. Not trees. Bushes. We made fishing rods out of them and whatever else a boy makes when he has a knife and time. So I am not carving from a photograph.
I taught this same project years ago at the Marc Adams School of Woodworking and people kind of liked it, and they got really good results. This time I go further into the round.
What wood do you carve this on
American basswood. In Europe it would be limewood or linden, the same kind of tree under other names, so use whichever one you can get.
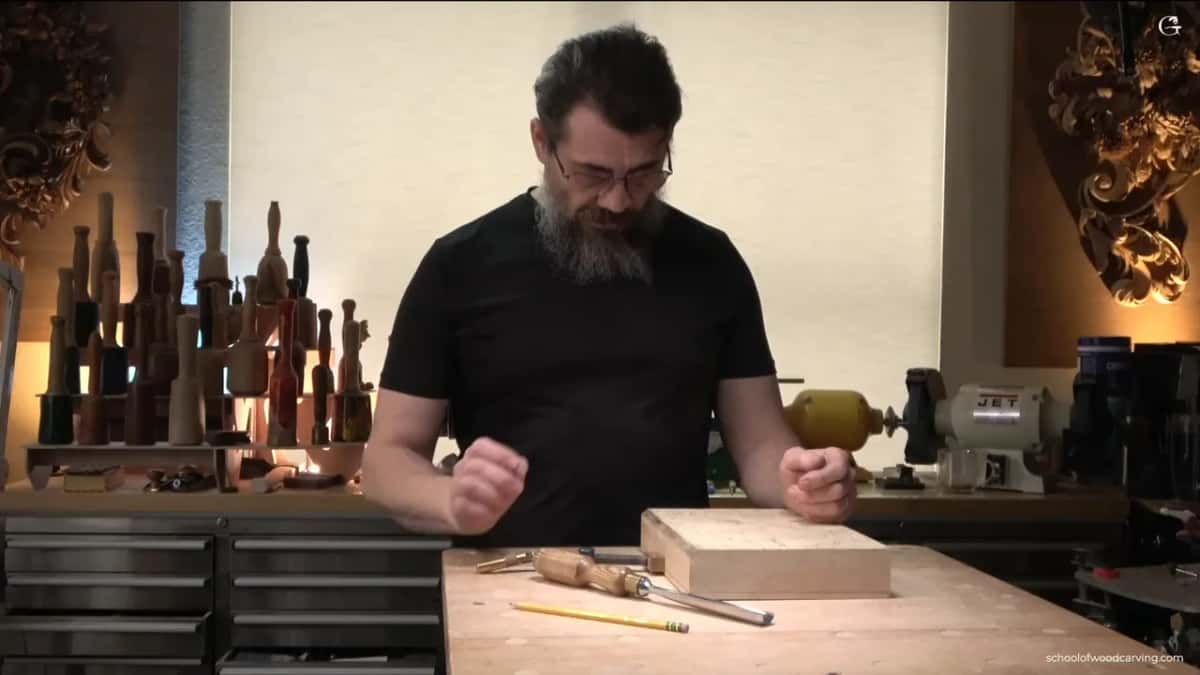
Two of my glue blocks came from opposite ends of the country, South Carolina and Washington state. Same species, but one came out pinkish and the other yellowish. It does not bother me at all. Later I may cook up some natural stain to create a beautiful look, though I am not promising it, because I stay busy and I do not like to promise and then not deliver.
What you need | What I actually used here |
|---|---|
Main block | Basswood, about 2 inches thick, roughly 50mm |
Glue-on blocks | 25mm offcuts, cut around 80 by 80mm |
Glue | Titebond II |
Pattern transfer | Carbon paper or graphite paper |
Holding | Screw clamps and two bench stops |
Why glue blocks on top instead of buying thick stock
You could get solid 16 quarter stock if you wanted to and carve the whole thing from one slab, but it is going to be double work to remove all those extra fibers.
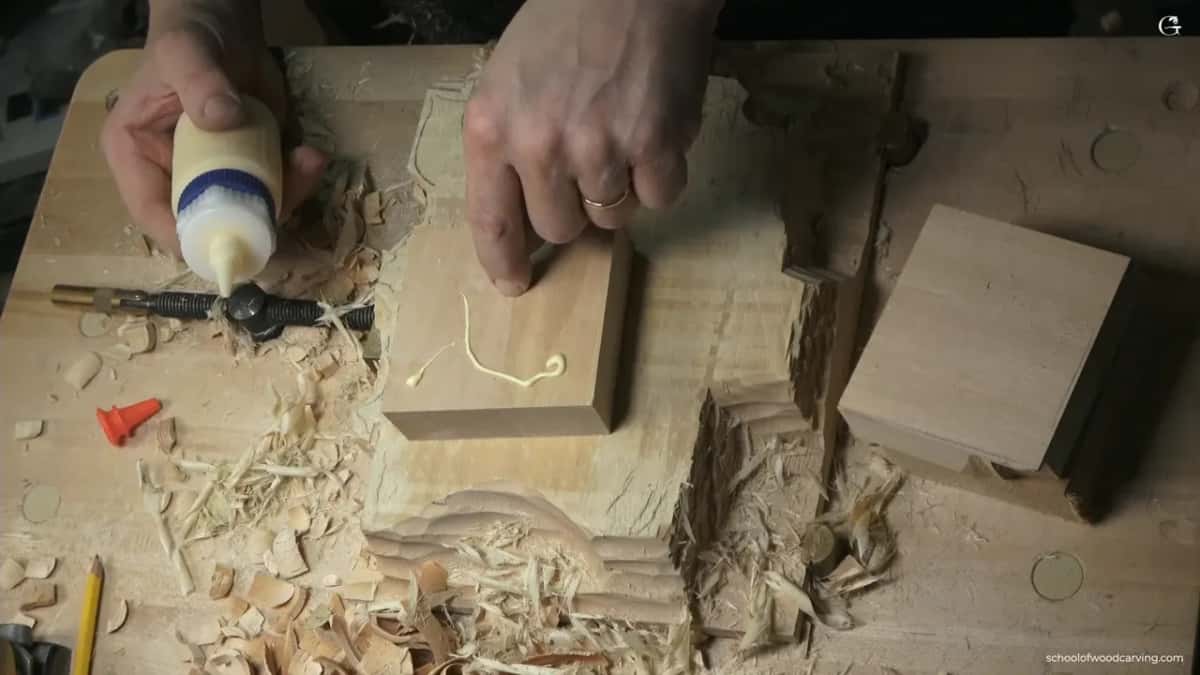
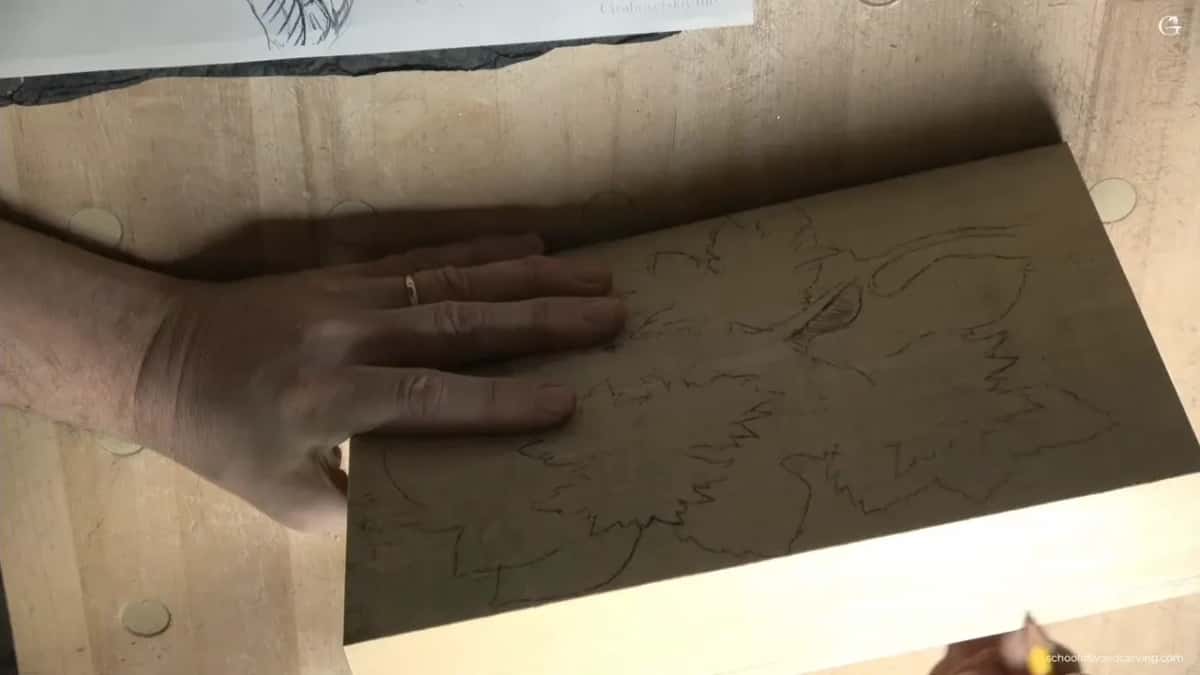
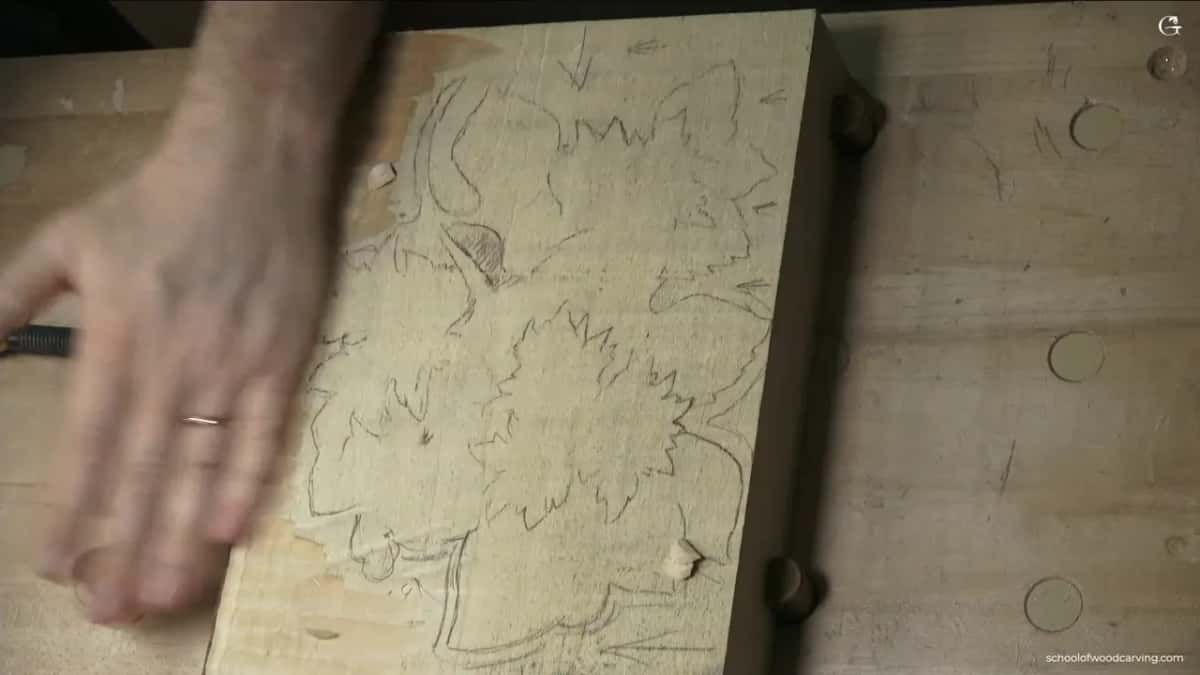
There is a second reason and it matters more than people expect. Tracing your pattern onto one flat board is easy. Nothing sticks up in your way and the carbon paper lies flat, so you see every line you drew. Mine is a really old piece of carbon paper, and I used the same one again on the glued blocks.
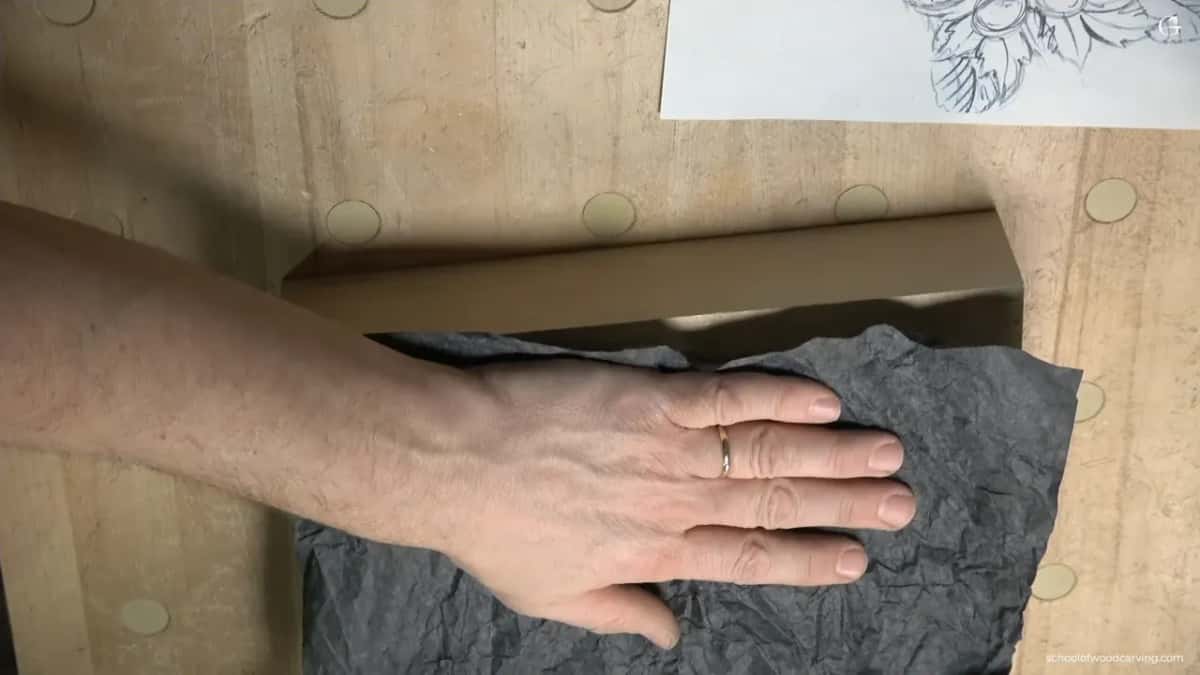
I glue the blocks on after the tracing, not before. Where the nuts and the leaves need height, that is where a block goes.
How thick is the block and how deep does the background go
The main board is about two inches, roughly 50mm. Glue 25mm on top where you need it and you are sitting at about 75mm of wood to carve into, on paper. When I measured my glued stack, it came to about 84mm. The background comes down to 5mm, which is 3/16 of an inch.
Not 6mm. I know you may ask why. I want the thickness for the carving, and 5mm still lets me drop the finished panel into a groove in a frame later if I decide to frame it.
Before the first gouge touches the panel I draw a line about 6mm up from the back, all the way around the edge, and that is my rough background. The final 5mm comes later.
Which gouges actually do the work
A number 9, 20mm, does most of the heavy removal. At the roughing stage the bigger tool is always better, because you do much quicker work with it.
Then it gets smaller. Number 7 gouges in a few sizes, from 7mm up to an inch and a quarter. My veiners go down to a half millimeter number 11, and that tiny one is what cleans inside the husk where nothing else will fit. There is a number 5 on the bench, a number 3, a number 2, and a one inch skew chisel I keep picking up. My V tool is a number 16 ground at 35 degrees, an old one that I said is from the 18th century, though the number 11s handle that work if you do not own a V tool.
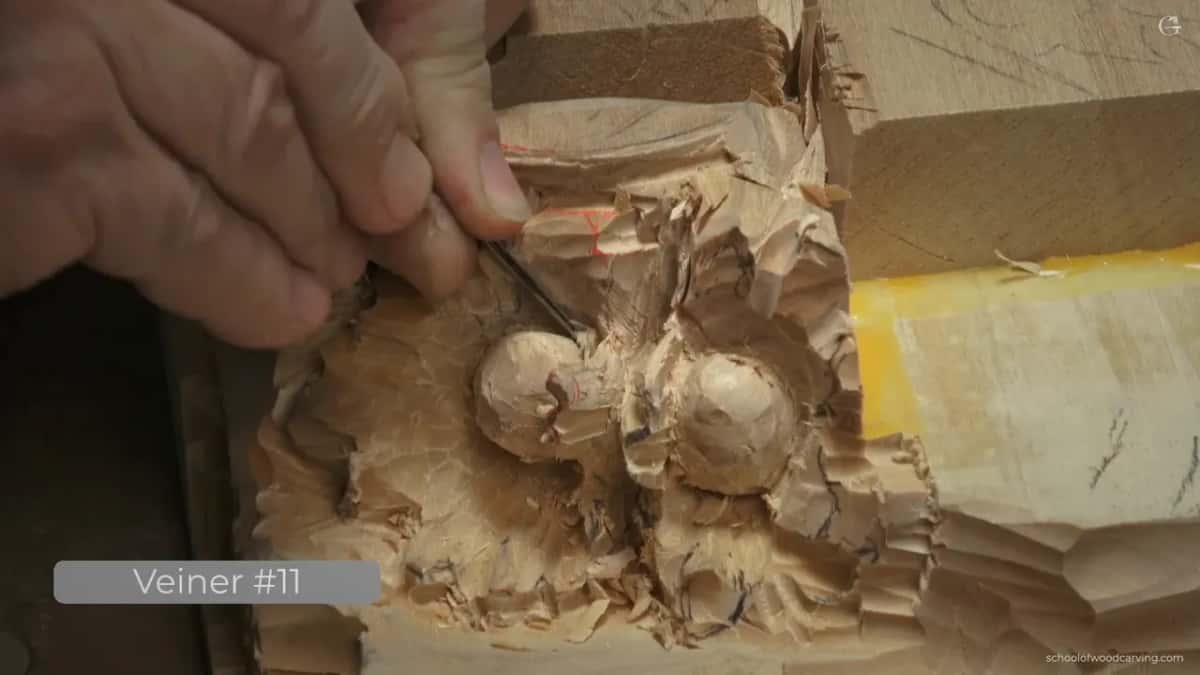
A note on numbers, because it trips people up. My number 3 is an Ashley Iles. Buy the same shape from a European maker and it comes stamped as a number 2. Match the curve of the edge, not the number on the handle.
Sharp. All of them, sharp. We carve into end grain on this project, and with dull tools I do not know how it is even possible to carve. The strop and the sharpening course are there for exactly that.
How do you hold the panel while you carve
Clamp it solid. I run the grain away from me and attack from the side, which gives me far better control than working from the front, though it does not work for me every time.
I hold the panel with screw clamps from Veritas and a couple of bronze stops that drop into the 3/4 inch holes in my bench. A magnet inside lets me pull them out, so they do not clog up my bench. You do not need Veritas. Any solid stop holds a panel just as well, and I know most of you will find something cheaper.
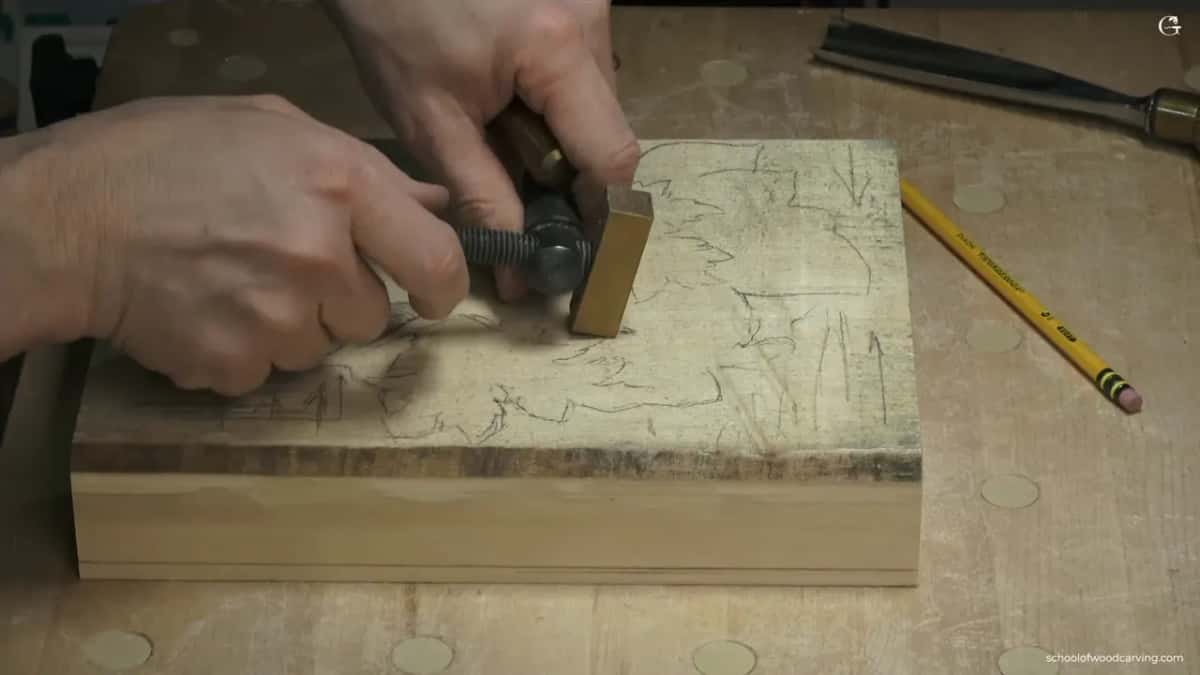
Watch that you do not run the gouge into the bronze. I say it twice.
What is the one rule that saves your wood
Carve across the grain, and always from the outside edge in toward the center. Go along the grain and the wood catches the edge and splits off the piece you needed.
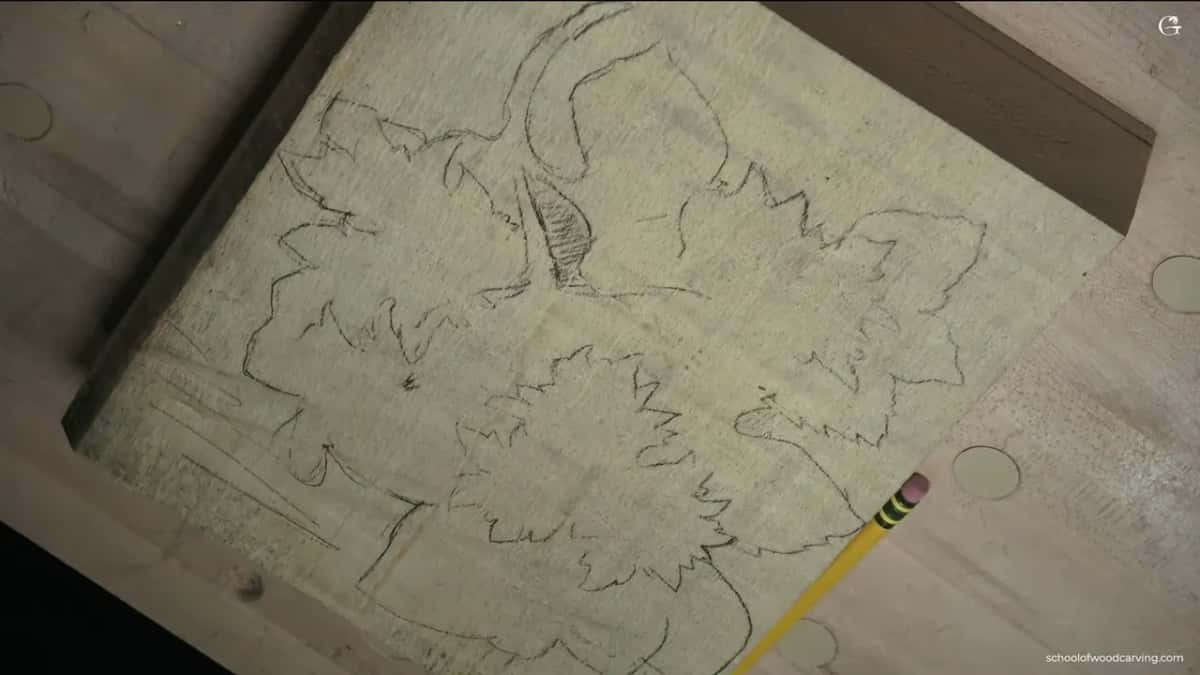
Never take more than about 1/8 of an inch at a pass, roughly 3mm. Sometimes a quarter inch at a time.
And put the mallet down for the bulk removal. I see a lot of guys hammering the waste out, and it works, but the bevel is a wedge, and every hit builds stress inside the wood you cannot see. Take it out by hand with a slicing motion, and let the tool do the work, not you.
Sometimes the shape sends you straight into the grain. When that happens, come in at 45 degrees rather than straight on. Break the rule at an angle and the wood usually forgives you. Head on is how you lose a leaf.
How do you take the waste out without splitting the panel
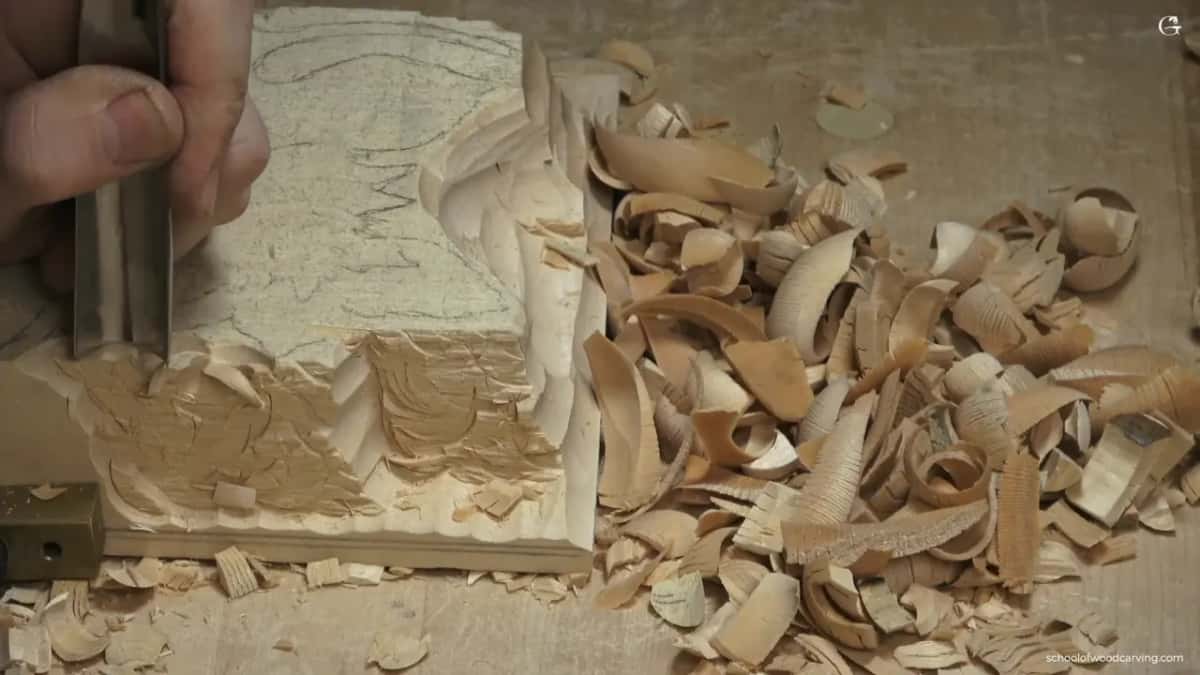
Land the corner of the tool on one side and finish on the other side. That is a slicing motion, and it is why the tool goes through basswood instead of fighting it.
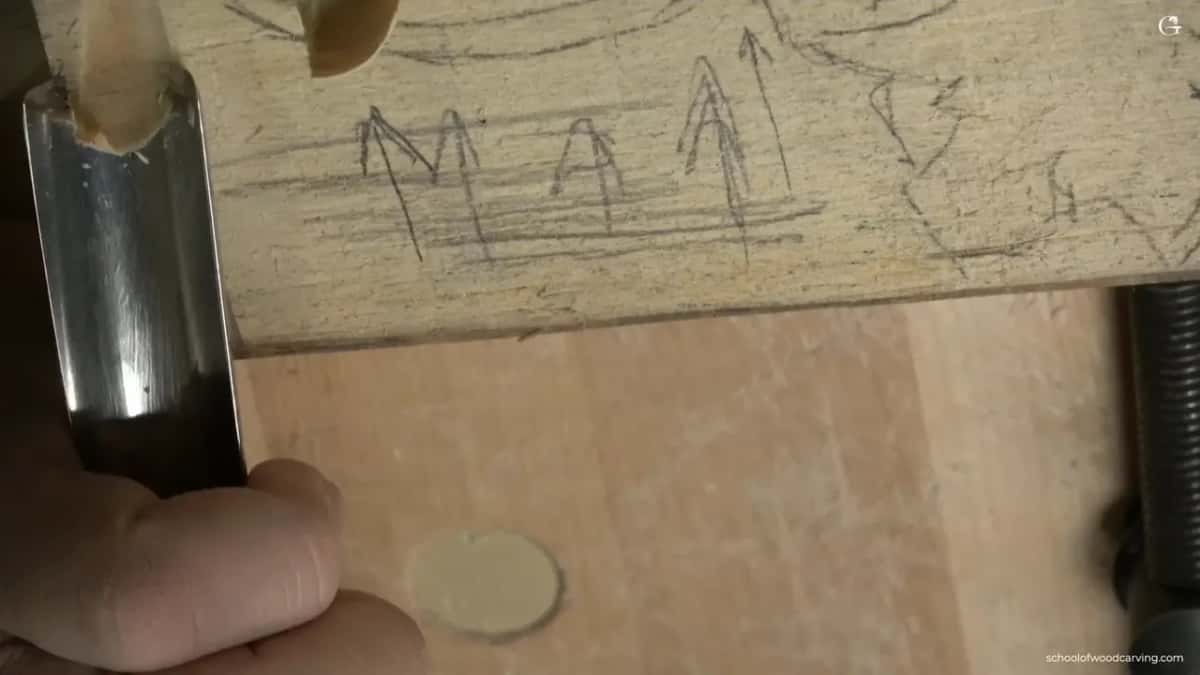
The next pass starts with your edge about halfway across the last one. Take the same thickness every time. Do not scoop. I call that the spooning effect, and I want all my passes consistent.
Stop before you reach the far edge. If you drive the whole width with force you can catch a micro crack and split off some of the material. Take about three quarters of the way, flip the piece, come at it from the other side, and the two passes meet in the middle with no drama.
Once the waste is gone, come down from above and square your wall. Ninety degrees, straight down, no undercutting yet. It is actually better to slope it slightly outward, because you can always take material out later.
The mistake I made partway through
I left the two nuts too close together. The husk has to wrap around each nut on its own, and I did not leave the space for it. My error, and I admit it on camera right at the start of the third lesson.
I say it out loud, because it happened.
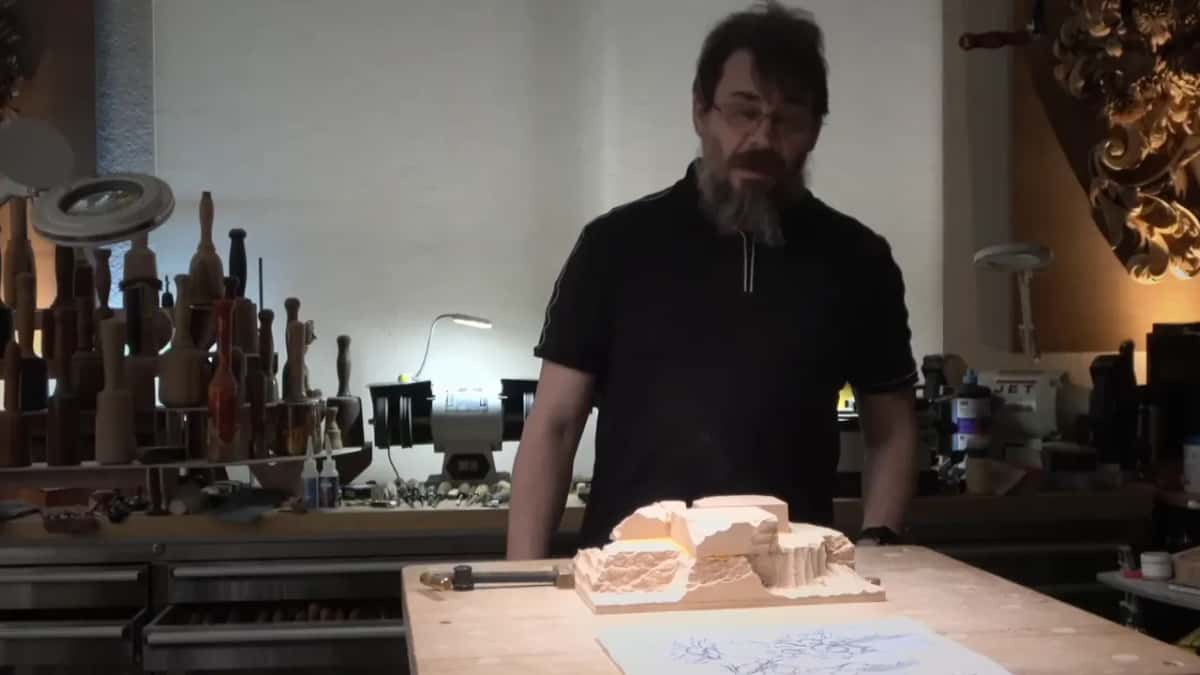
The mistake stays in the video, and so does the fix. When I set that up wrong, you watch me sit there and work out whether I can save it or whether I have to chop the whole thing off and glue on a fresh block. It looked awful for a while. I told the camera it looked awful.
I fixed it. Mostly. Opening the husk and curling it back on itself let me blend the whole area into the rest, and it may end up looking better than my drawing did. I am not promising that, because I do not know yet.
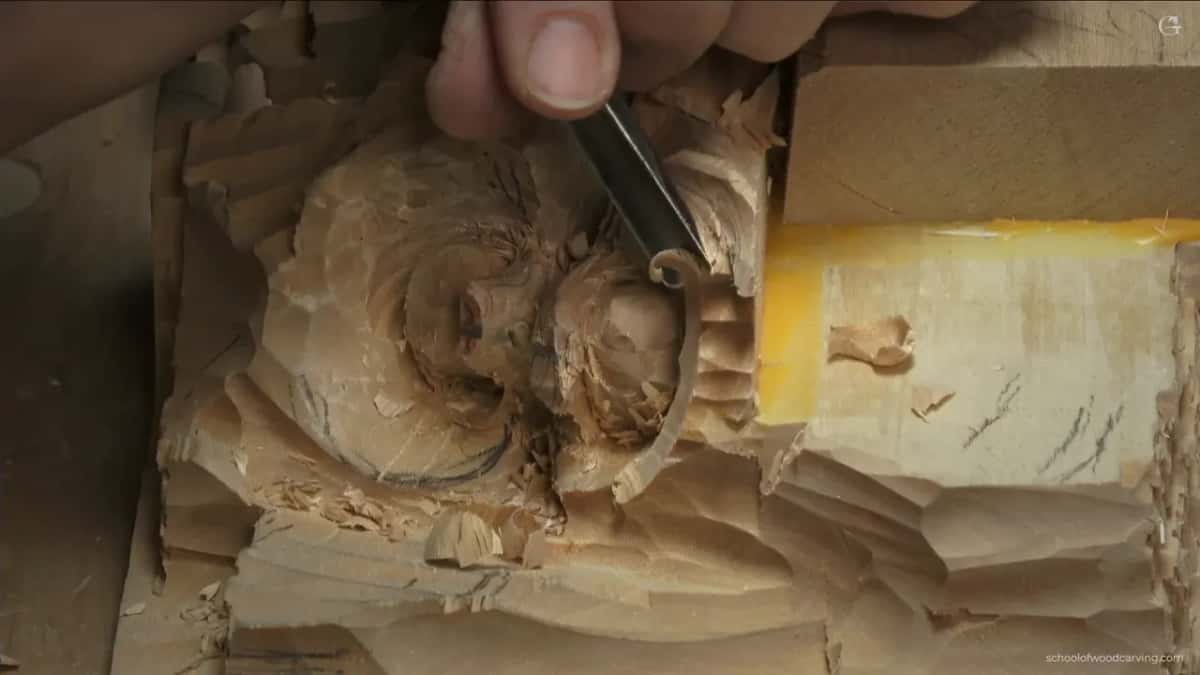
Fortunately I had left about an inch of extra material there. Leave the meat on. You can always make a shape smaller, but it is hard to add on.
How does the husk get its shape
Five main motions on each husk, then each of those five subdivided into three. Inside every main motion I leave a convex in the center and hollow a concave on each side of it. That is how you build an acanthus leaf, and the husk of a hazelnut wants the same logic.
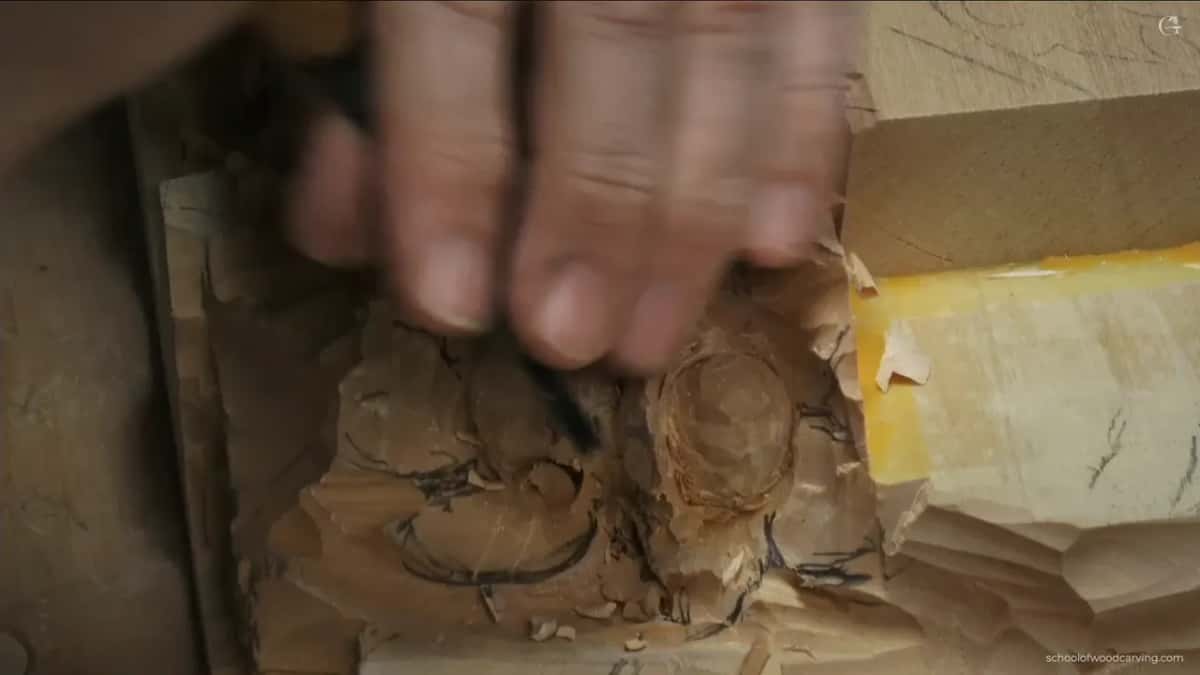
The more wave you put into it, the better it looks. Exaggerate.
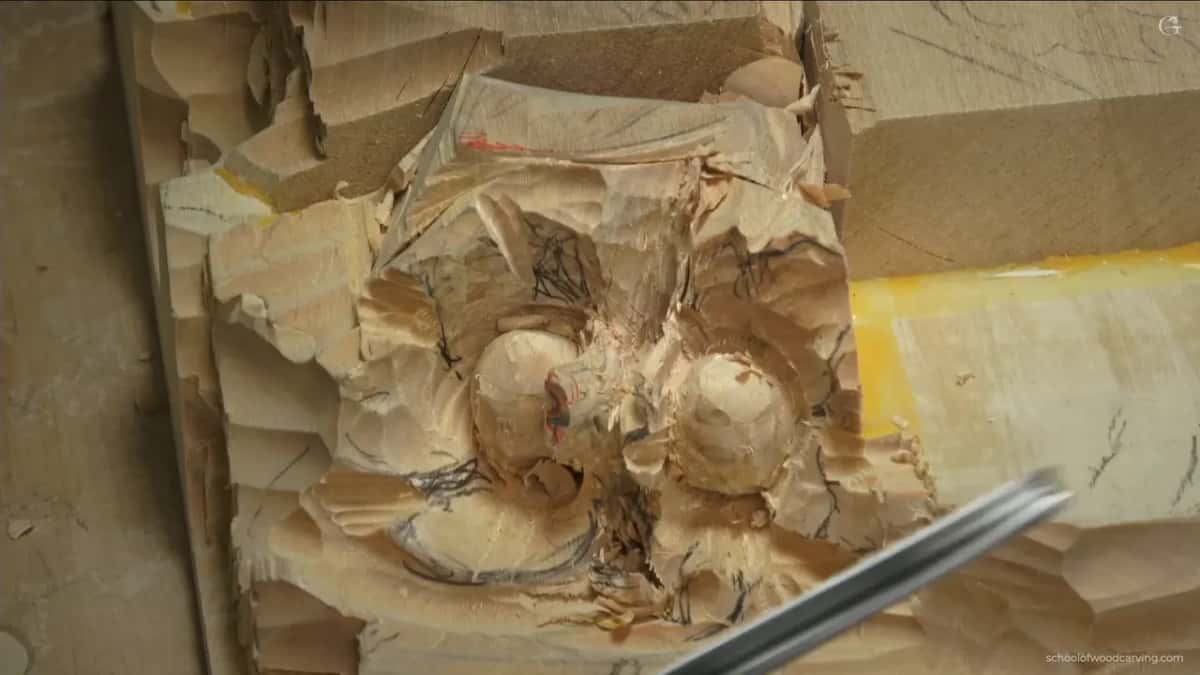
Where two husks meet, aim for a triangle. A triangle is always better than a four sided shape, and I do not want to lose that meeting point.
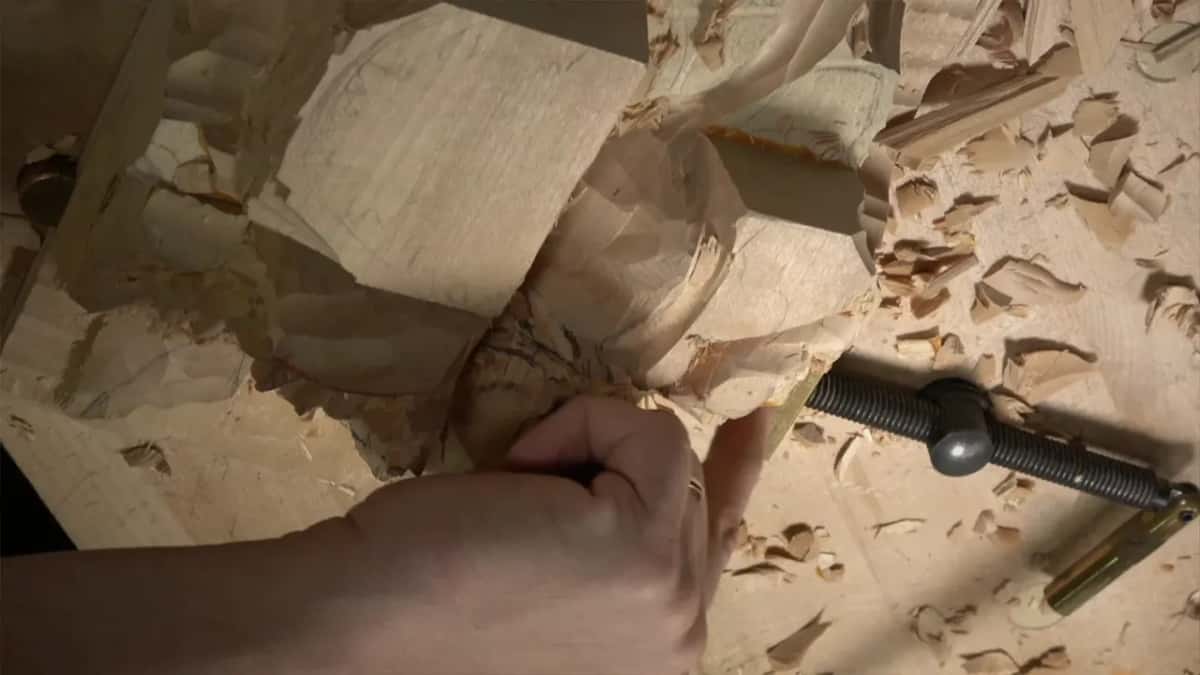
Get the pencil marks off as you go. They create a lot of mess, and they make my work look really dirty.
What makes carving in the round harder than relief
You will be looking at the piece from the side far more than from above. From straight on it barely shows anything. Turn the panel sideways and it has to hold up as a full round.
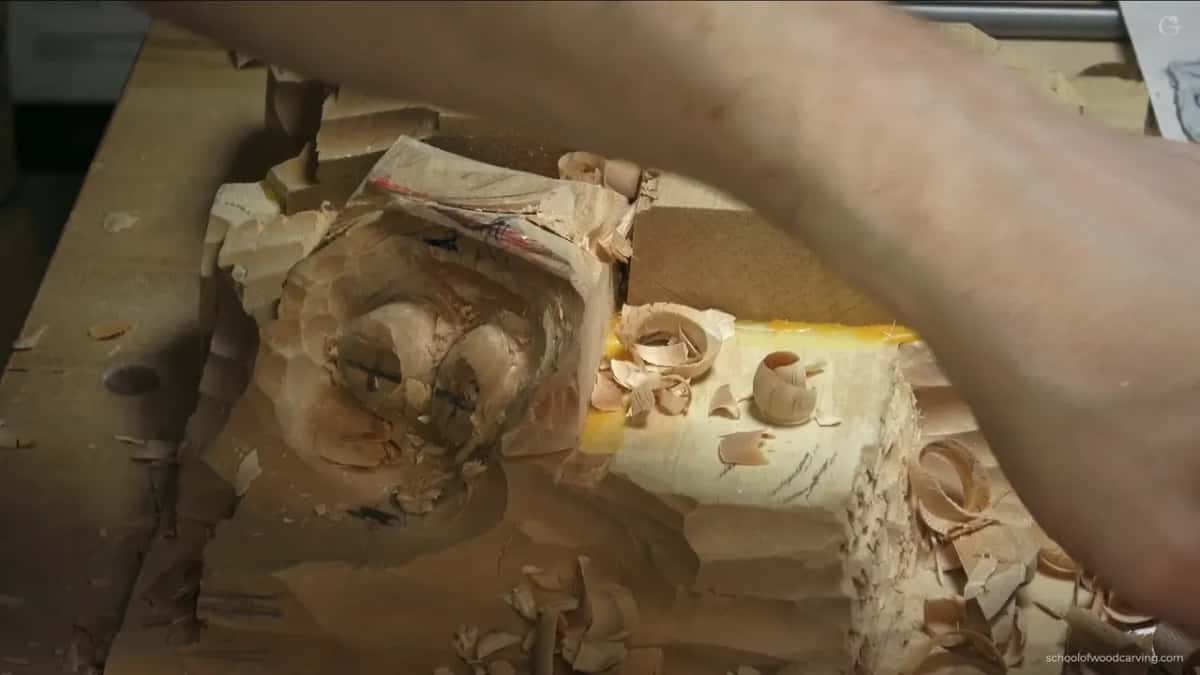
Depth is the whole difficulty here, and it is the whole point of the project. I want this relief to have a full 3D look, so I even use my paper as a measuring device until the round comes out equal.
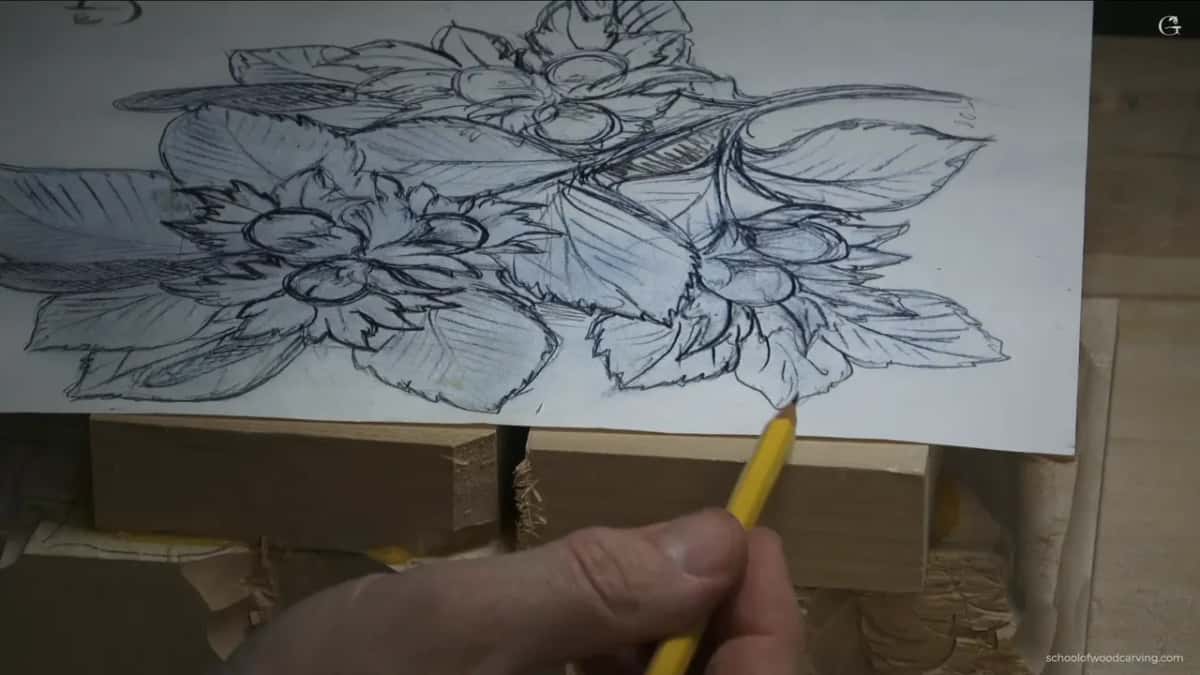
Keep a copy of the pattern lying on the bench beside you, and never try to replicate it exactly. I drew that pattern years ago for a different class, and I change some of its movements as I work.
What about carving into end grain
Most of the husk work happens in end grain, and that is a tough area to carve. Your tools have to be genuinely sharp, not sharp enough.
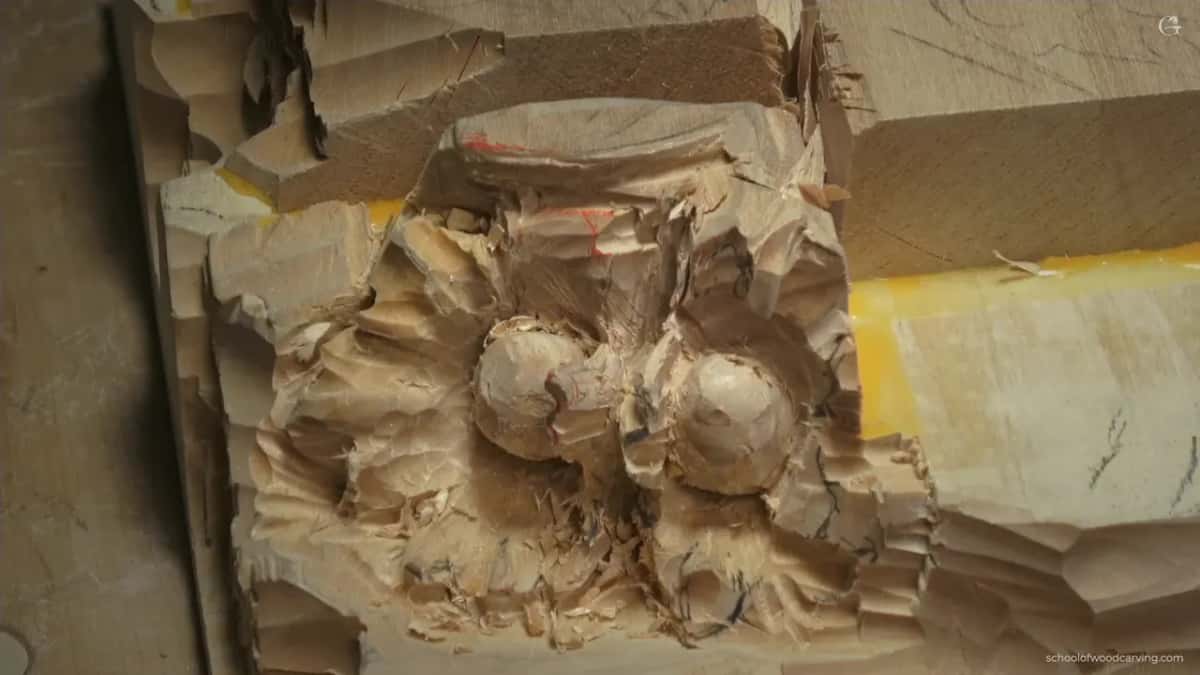
I barely put pressure on the tool in those areas. Slicing, slicing, and slicing again, tiny passes, coming at the same spot from two or three directions until it gives. I still catch the grain sometimes and lose a chip. You see it happen in the video and you hear me say so.
Chasing a perfect surface on the first pass is wasted work. The wood will oxidize a little, and you want something left to clean up at the end. Leave yourself that chance.
Do you need experience for this one
It is challenging, and it is more challenging for someone who has never carved. That does not mean you cannot pull it off.
Follow the rules and you can. Take small amounts and leave yourself extra material. Watch your center points.
The mess is normal. Halfway through, your bench is a pile of chips with something buried in it, and I say so on camera more than once. I know it doesn't look too appealing, but we are getting somewhere.
Tools and supplies I use in this project
Titebond II for the glue blocks. The III is a good glue outdoors, but it leaves a black line you will carve right into, and the Original is not what I reach for either.
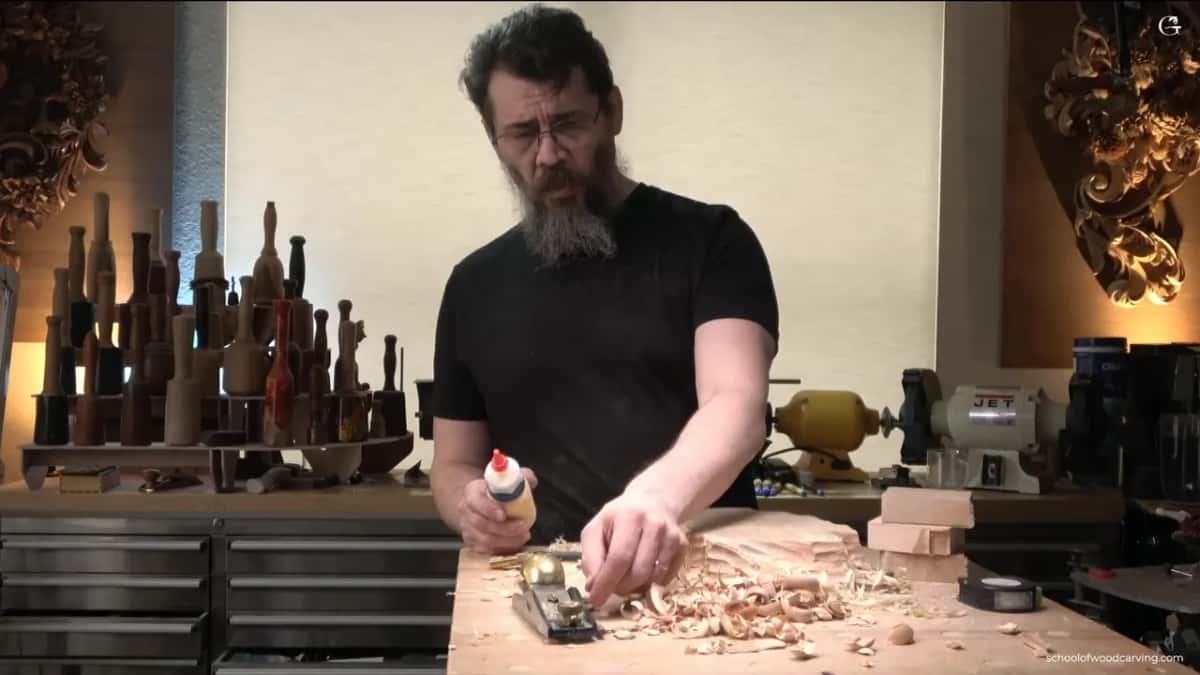
Do not save on glue. Put plenty on, spread it with your finger, and wiggle the block until it sucks down. Squeeze out is fine, we carve it away anyway.
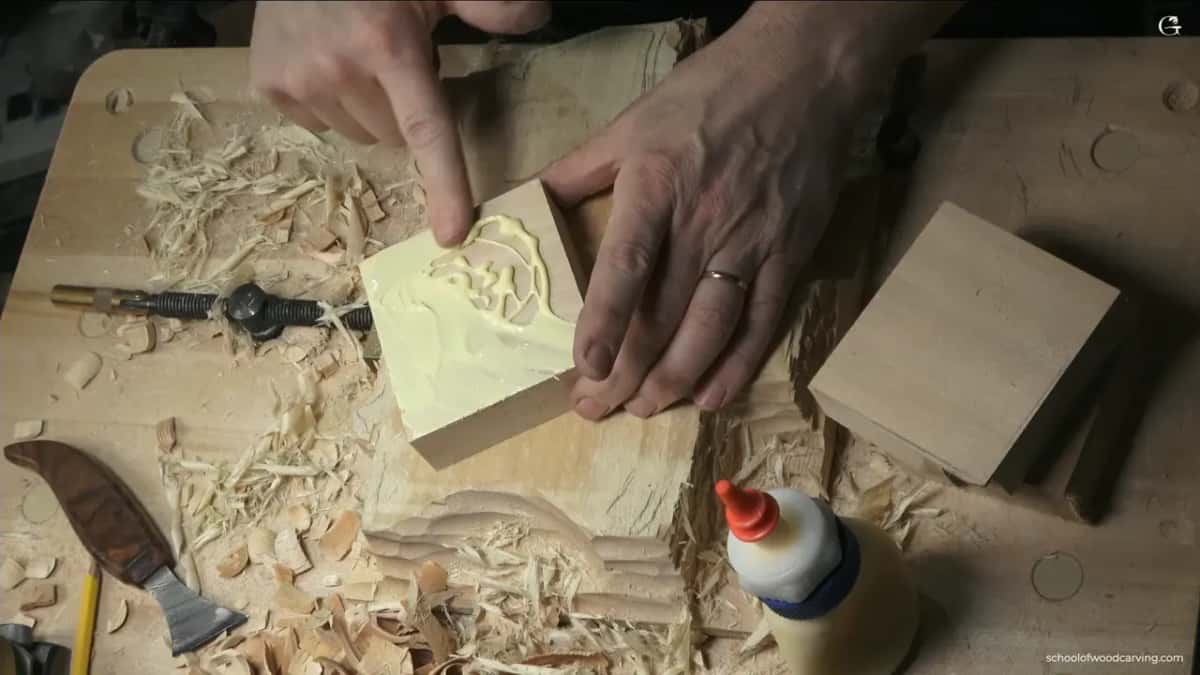
Clamp it overnight. Light pressure is enough. A lot of woodworking shops move on to the next step in half an hour. Don't be tempted.
I also keep a little blower on the bench now, the kind you find on Amazon, because I got tired of blowing chips off the carving with my own mouth all day.
The rules that carry this project
Work across the fibers, never along them, and start at the edge, working in.
Never take more than about 1/8 of an inch in one pass.
No mallet for bulk removal. The bevel is a wedge and it stresses the wood.
Leave extra material everywhere. Shapes shrink easily. Adding wood back is the hard part.
Turn the panel sideways to judge it, and keep looking.
Five sweeps per husk, each broken into three, rounded at the middle of every sweep.
Use the II and not the III, or you carve into a black glue line.
Sharp tools or nothing, because the husk work is end grain.
Grab a piece of basswood. Shall we carve?
How it's done
- Trace the pattern while the board is still flat. Carbon paper lies down properly when nothing stands up in its way, so every line shows. Put the main nut positions on now and ignore the little notches, since those move around later anyway.
- Mark the rough background depth on the edge. Six millimetres above the bottom face, drawn on every side of the board. Treat it as provisional. The final background is five, and that comes later.
- Fix the panel down hard. Grain pointing away from you, held by whatever solid stops your bench takes. Keep a note of where the metal sits, because a gouge that finds it will not thank you.
- Remove the bulk with the biggest gouge. A 20mm number 9, always travelling from the outer edge toward the middle, roughly three millimetres deep each time. Begin on one corner of your edge and finish on the far one, so the steel slices rather than shoves.
- Bring the wall square. Straight down from above, a sixteenth shy of your drawn line, no undercutting at this stage. Sloping it a little outward is better, because you can always take more out later.
- Add height by gluing blocks where you need it. Flatten the glue face, spread the yellow PVA with a fingertip, work each block down until it grips, then leave it clamped overnight under gentle pressure. The waterproof version dries dark and you would be carving through that colour.
- Redraw, then take the large shapes down. New lines across the fresh blocks, and the big masses roughed out before any detail happens. Keep spare thickness on everything, since a form is easy to reduce and hard to build back up.
- Carve each husk in fives and threes. Each husk carries five sweeping moves, a count I take from the Fibonacci sequence, and each breaks into three smaller ones, rounded at the middle and hollowed on either side. Nearly all of that is the hard end of the fibre, so take very small passes and approach one spot from two or three directions.
Frequently asked questions
Can a beginner carve this project?
Yes, as long as you keep to the rules. Remove little, keep spare thickness, and rotate the panel to judge depth. The hard part is the full round, because the front view never shows it to you.
What wood should I use if I cannot get American basswood?
Limewood or linden. I name both in the first lesson, right after American basswood, for anyone carving in Europe.
How many gouges do I really need?
These do the real work here. Heavy waste comes off with a 20mm number 9, shaping wants a number 7, outlining wants a veiner, and a flat number 3 tidies the ground. A 0.5mm veiner earns its keep inside the husks, and I would own that before any parting tool.
More on this: What relief carving is