

Alexander Grabovetskiy, woodcarver, School of Woodcarving · Published 2026
How do you plan the high and low parts of a high relief carving?
Quick answer: Planning the highs and lows on my hazelnut relief is choosing the lowest point before any deep work. In lesson 2 I set a shadow line roughly 3/8 in (10 mm) higher than the 6 mm rough line, so I could undercut every leaf and let it float, and I kept the low point over the leaves.
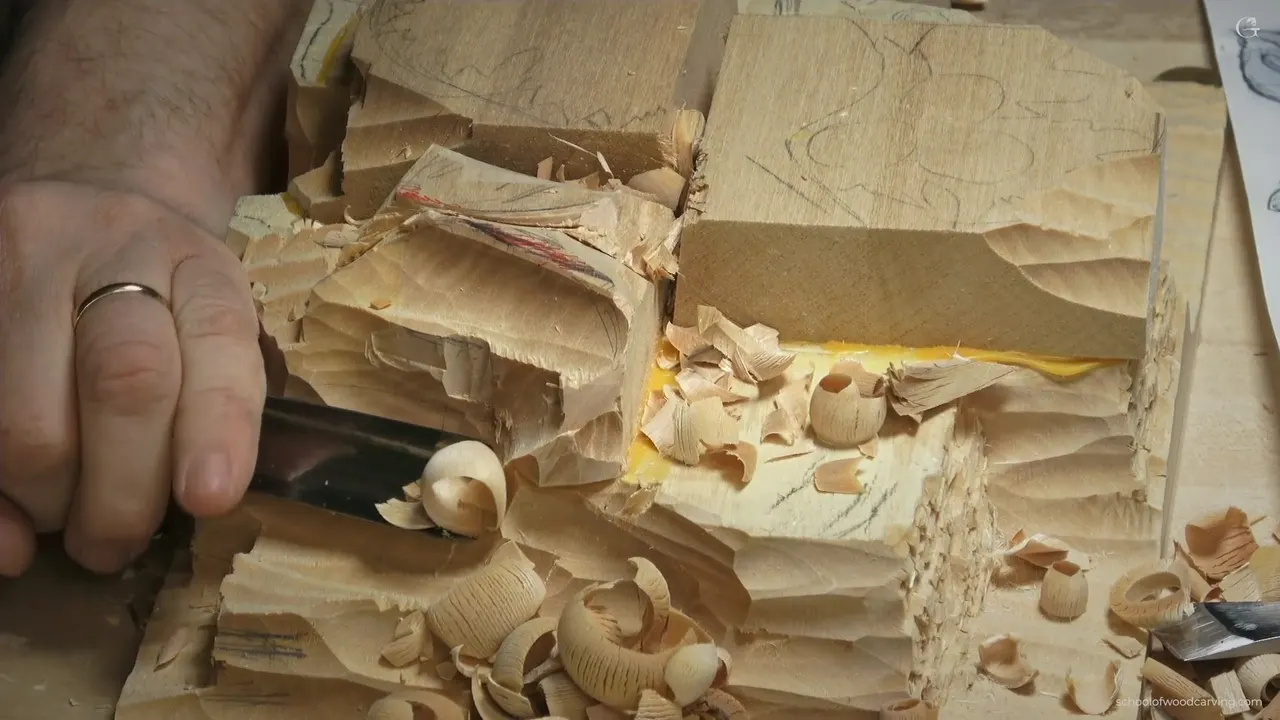
Planning which parts of a high relief carving stay up and which go down is the job of lesson 2 in my Carving Hazelnuts course. Before the deep work on this panel, I put a shadow line about 10 mm (3/8 in) above my 6 mm line. That way I could undercut under every leaf and let it float. My low point had to be worked out next, and it had to stay above those leaves. Okay? I said on camera that it is important.
Have you laid a drawing over a thick board and wondered which part stays up? Want to know what goes down first? Come sit with me for one lesson on a cluster of hazelnuts.
I will give you the numbers I used, the order I lowered things in, the tools in my hand, and the minute the picture did not make sense to me.
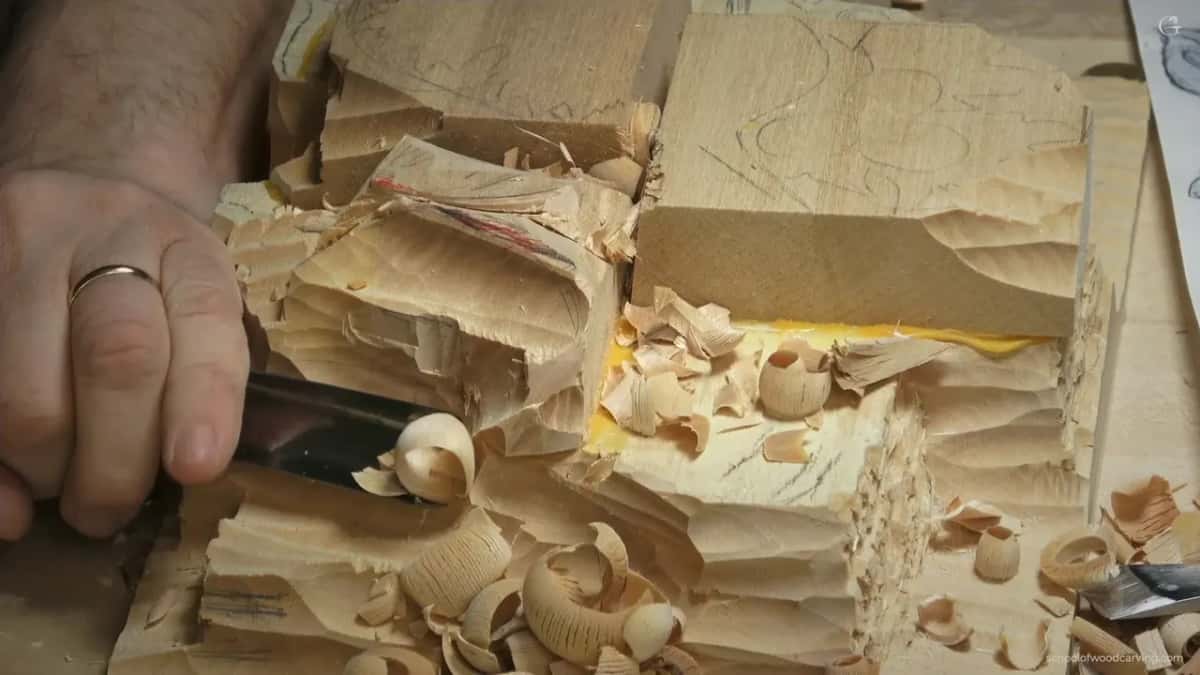
Lesson 2 of the hazelnut panel in five lines
My shadow line sat ten millimeters over the rough line, and every leaf could be undercut from there.
I kept the low point above the leaves and called that important.
The highest bunch came first, and I asked you not to chase every cavity while blocking out.
A 2 mm number 11 outlined the leaf I wanted high, and the husk got marked as a spot nobody touches.
No height was final yet. Some parts, I said, might still come down.
Where does the low point go in a high relief wood carving?
Above the leaves, on my hazelnut panel. I got there in two moves, and the first one was a number. My final background on this piece is about 5 mm, 3/16 in, and for now I had a higher line at about 6 mm, around a quarter inch, with some rough wood still left.
From there I would go up again. First I said another half an inch or so. Well, maybe less. About 10 millimeters, about three eighths of an inch, and that was my shadow line.
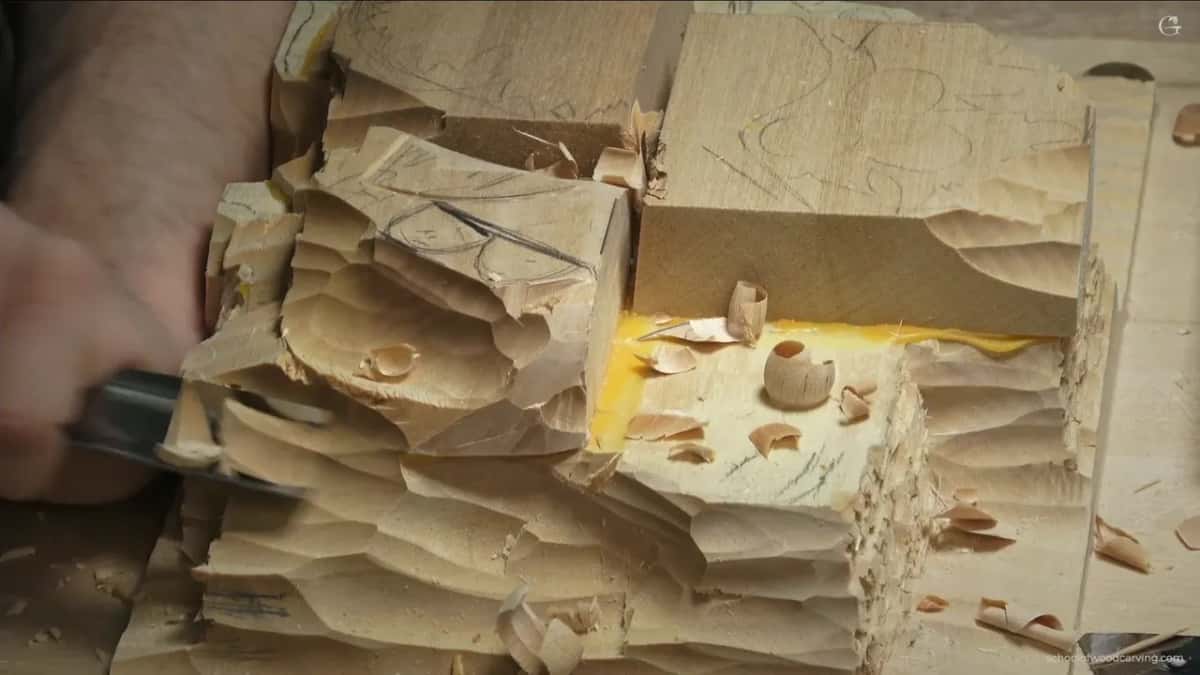
The shadow line was there for the undercut. Under every leaf I planned one, so the leaf would float. Getting in there is a little challenging, I admitted, but I was okay with it. Why was I telling you all this, I asked. It meant I had to calculate where my low point would go.
The lowest one, in this case, was one line. It was the lowest, but it was still above those leaves. I moved on. You get the number, the line and the order, and the rest of the lesson shows you what I did with them.
Before any of that, I settled which way the cluster faces. This end is the top, I said, and that is the bottom. It hangs on the background like a drop, because that makes more sense, I said. A small choice, made in under half a minute.
Which part do you rough out first?
The highest bunch came first on this panel, and I gave the reason in one breath. It was the highest one. A few of those parts, I said, would be really the highest spots.
We will remove a lot of material, I told you, but don't worry about it. A few breaths later came the other half. Double-check, double-check. I don't want to remove too much. Both came out of my mouth inside the same minute.
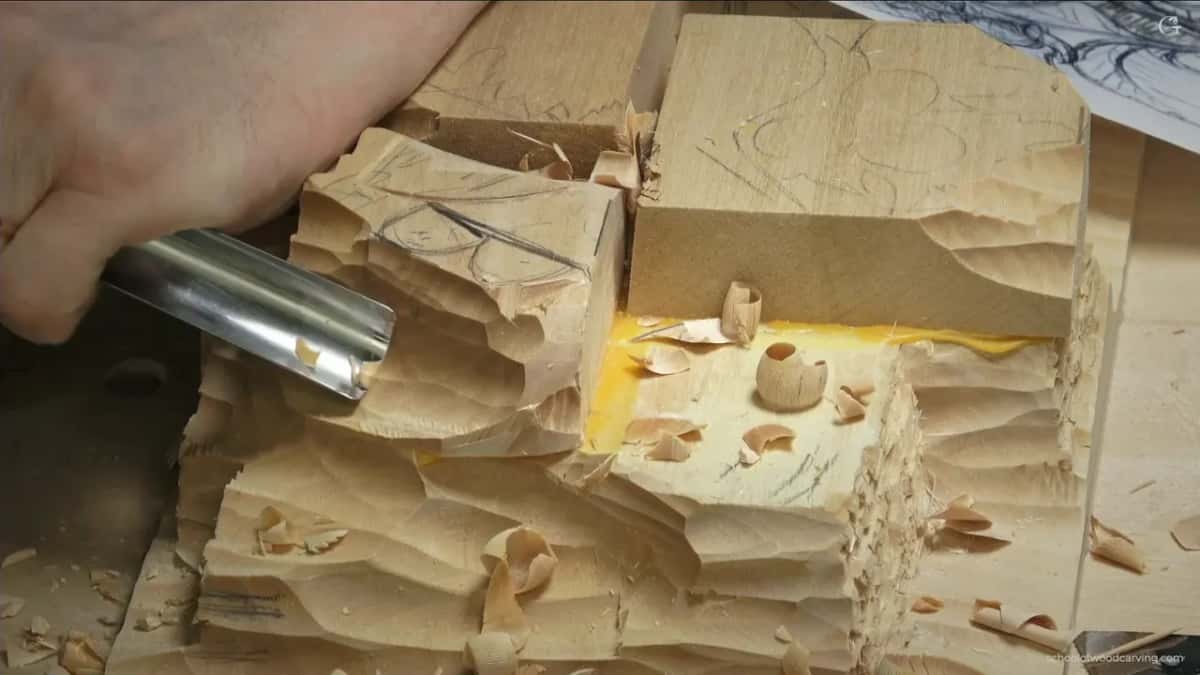
Blocking out came with a warning from me. Please don't be tempted to go into every cavity and every little hollow. There is absolutely no need for it. Once you start the sloping, you lose the geometry of it.
All I needed was to remove around the big material. My number one tool for that was a number 9, 20 millimeters wide, and I told you not to forget the grain direction. Most of the lines I drew would come off anyway, so I asked you not to spend too much time protecting them. Please don't try to be exact, I said. Absolutely no reason.
What keeps a high spot from getting lost?
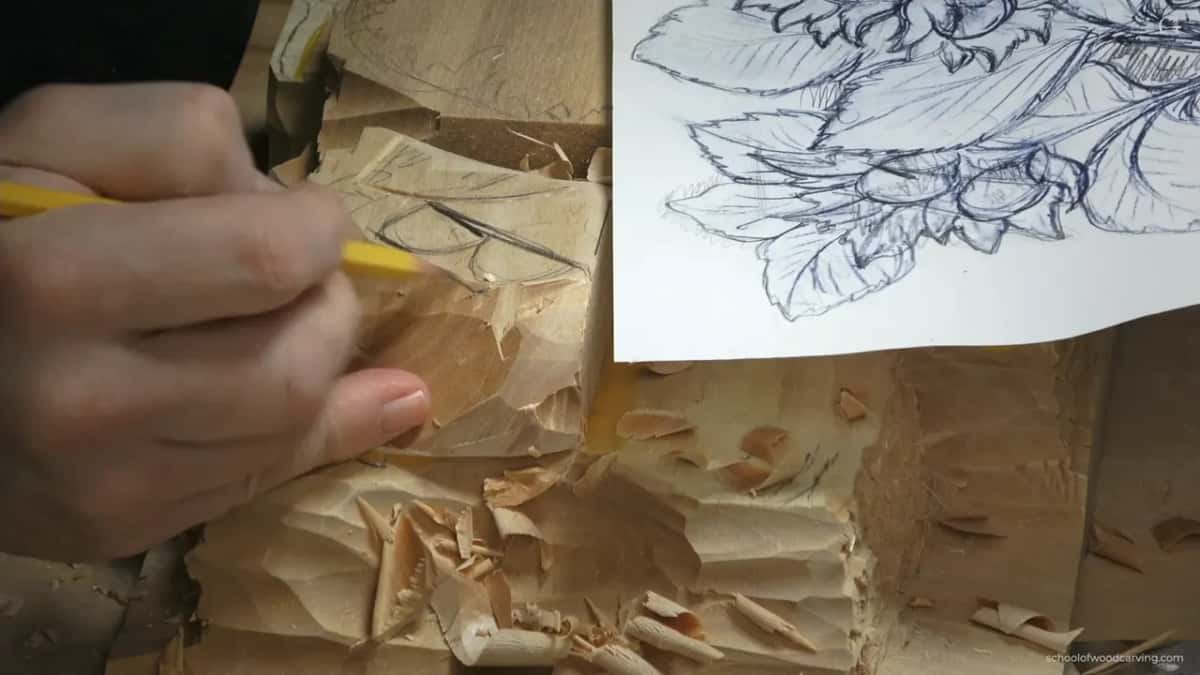
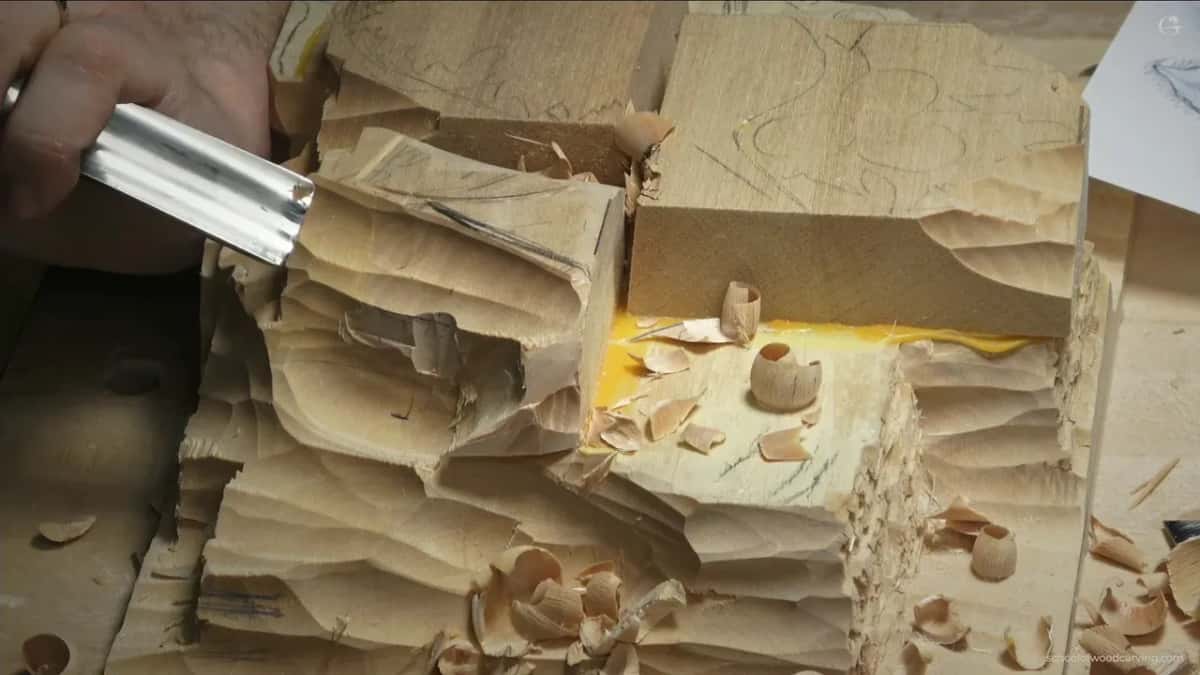
I outlined it before anything else came near. After the first stage I flipped the panel, not sure yet where to start. One option was a leaf meant as a high spot, and the first thing I had to do was protect it.
That future leaf got its outline from a really tiny number 11, a 2 mm one. Its only job was the outline, so the line would not get lost. The leaf was to become a somewhat high spot, and that made the line important to me.
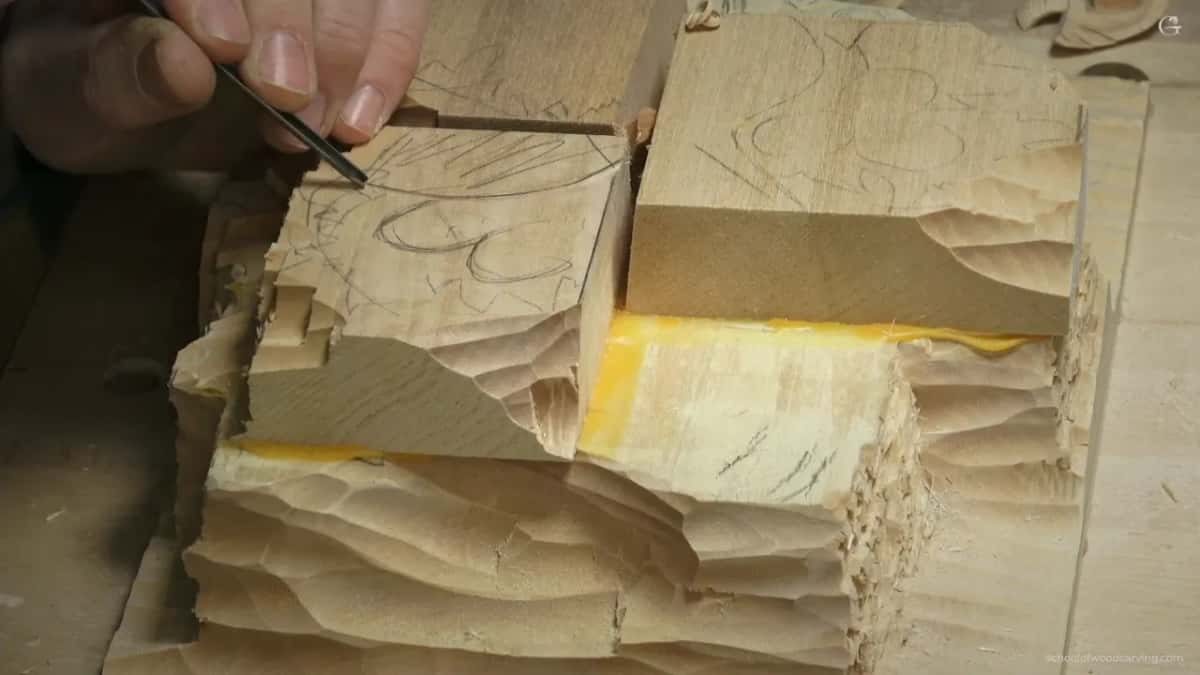
Next came a shape going downhill from it. For that I took a flatter gouge, a number 5 of about 16 mm, five eighths of an inch. It is antique and has no writing on it, so I went by its size. It doesn't have to be five eighths, I said. Any will do.
I also like bigger tools for the shaping. A skew chisel would be better there, and the one in my hand was a three quarter inch skew made by Ashley Iles. During part two I went at the waste from two sides with that skew. Be careful, I warned you then, because right now it is kind of dangerous to put too much pressure on it.
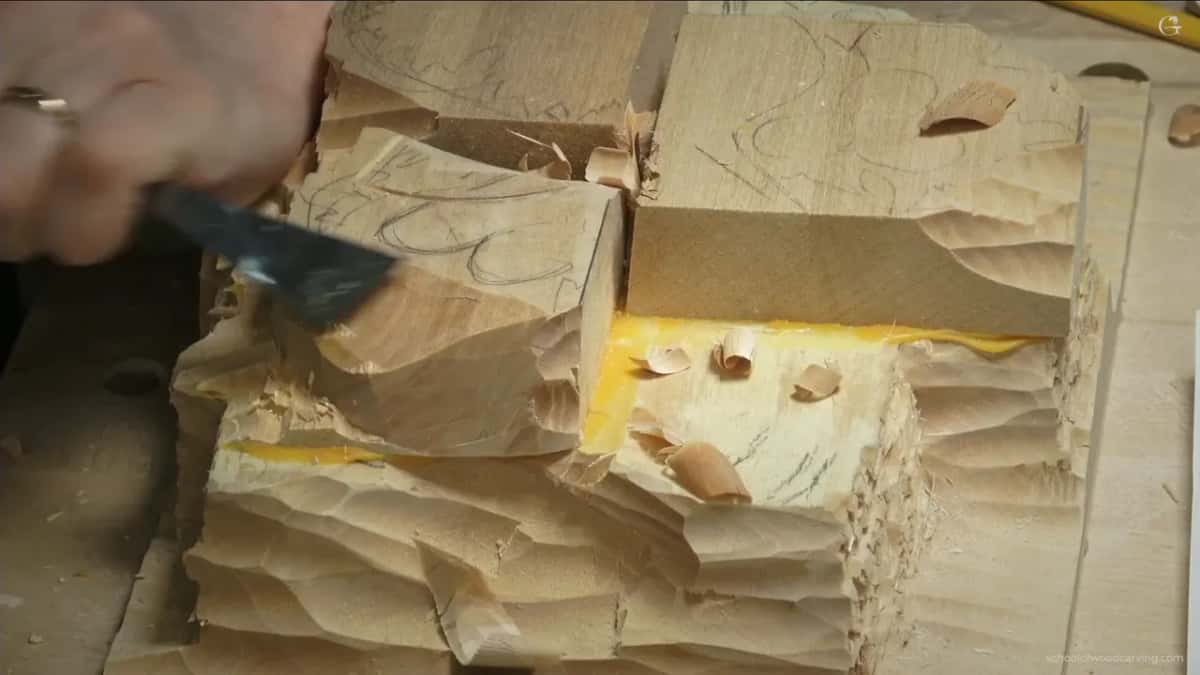
Later, sloping one part down, I gave another warning about the tool in my hand. If I push too much, I can catch the grain and I can lose an important chunk of wood. That's a good tool, I said, but you kind of have to learn how to use it properly. What a high spot is, plain and short, sits on my Venice Room 113 page.
In what order do the sections come down?
Section by section, and I changed the order out loud. After the leaf I had to protect those two future nuts, so I excavated down around them. Right then I wanted the overall picture kept, but I still had to go low enough.
Where they sat mattered. The husk above would sit higher. The nuts would be in a center between one point and another, so it was really important to know the overall size and how I would position it.
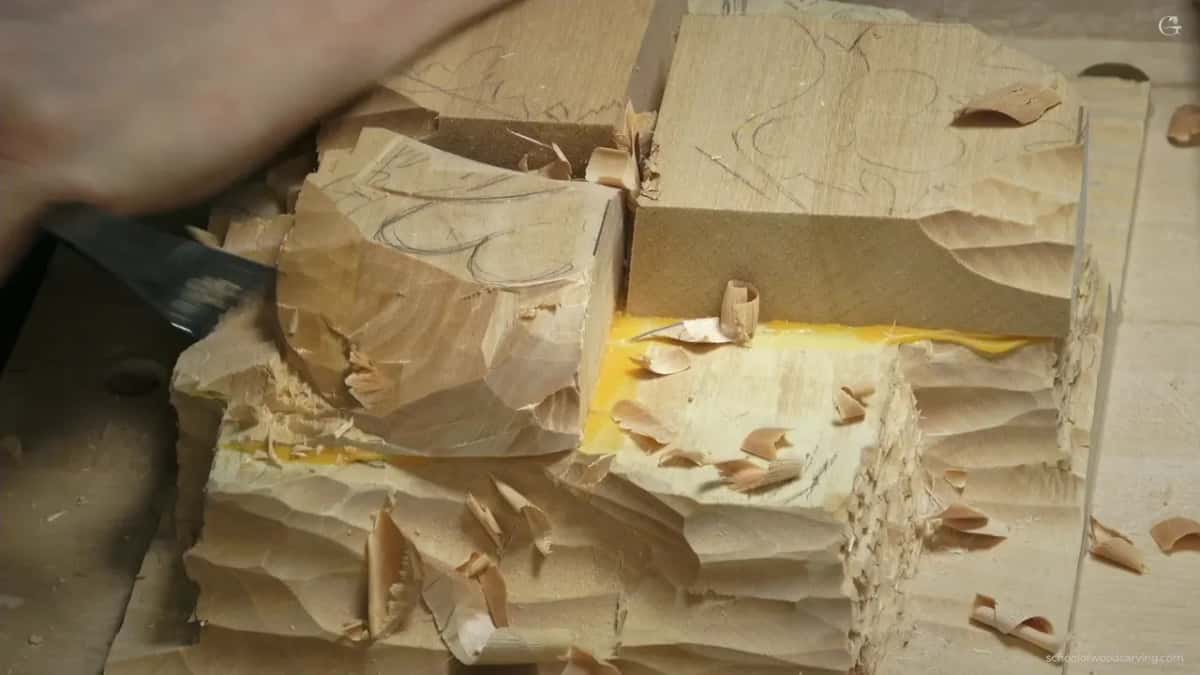
Then came the order. A husk was coming there too, and I would keep this high. Then I would lower this section, and then, well, actually, I would lower that section first. Then this one, and then that becomes the high spot, still a little bit lower than the leaf itself. You can hear me correct myself mid-sentence.
I said not to take too much all the way down. Some of the sides were kind of safe to take off, though. Not sure if it makes sense, I said, but we need an overall shape, the nut and the husk together.
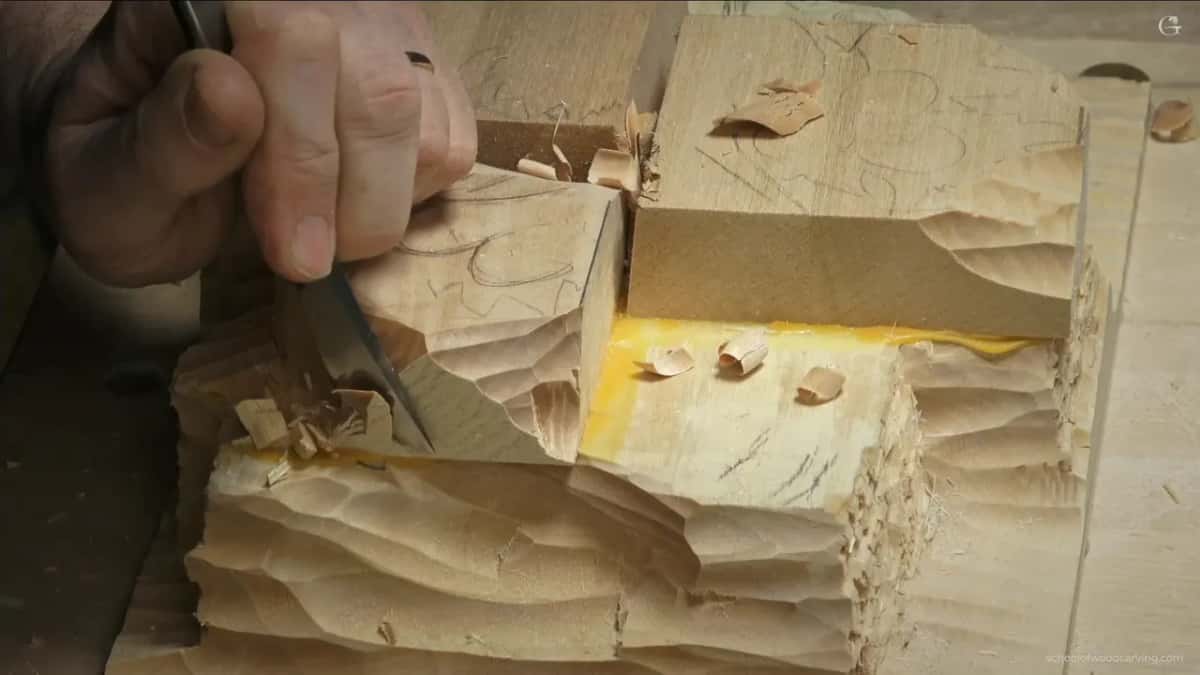
Last, I placed an approximate line, looking for this spot and that spot, and said I would lower one part even more. I'm not going to touch it yet, I said, and then I fixed that. I will touch it, but not shaping it. Let me take a number nine again, I said, and the bigger tool you have, the better it is. Lowering one part while the rest keeps its movement has its own page, built on workshop 150 of the Venice Room.
How far above the ground do the leaves stay?
Part two is where I lowered the future leaves, and I gave three answers in a row. Maybe half an inch from the background, I said. Maybe more, about 16 millimeters, 5/8 of an inch. Or maybe about 3/4 of an inch from the background, and that one would be better. I wanted plenty of material to clean.
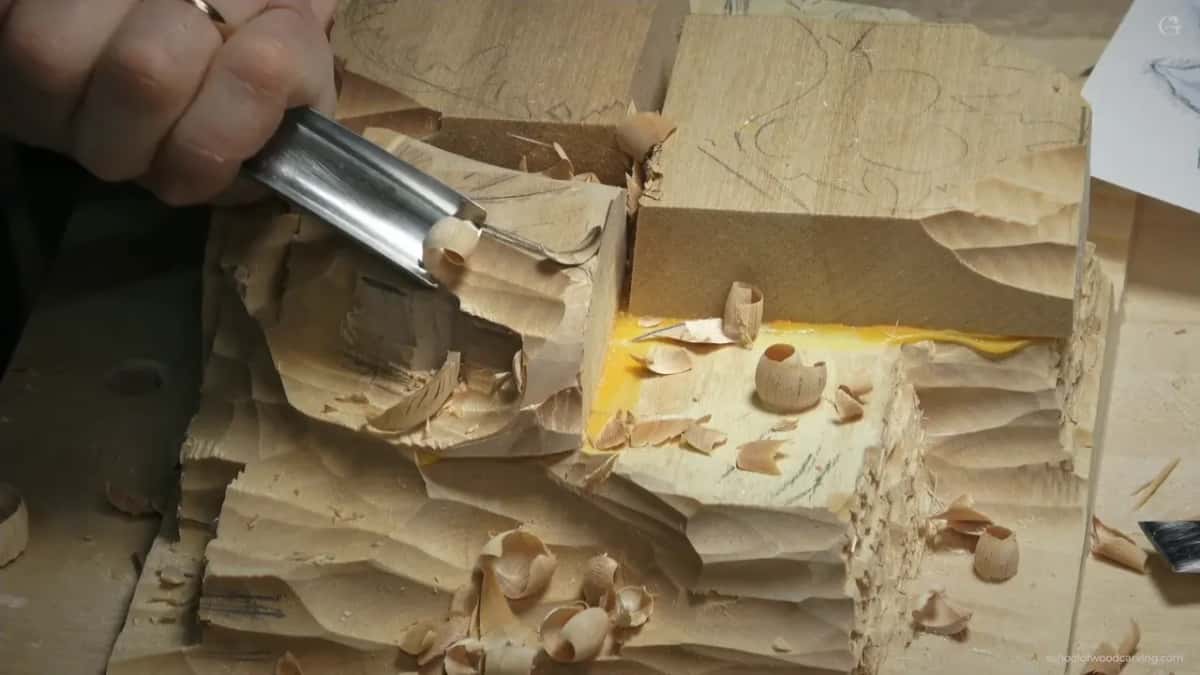
I also needed to see one line, the border, and I said that for me it is not a big deal. But if you never carved 3D, losing it can create a problem.
The nuts got the same care. Back in part one the drawn nuts were about 20 millimeters, 19 millimeters, a little bigger than you would normally see. Each one would end about 3/4 of an inch wide, about 19 millimeters, and I left about an inch, 25 millimeters, since I can always make them smaller later. Adding wood back is the hard part. What full 3D means, with my "equal, equal" from this same lesson, is told on the Venice Room lesson 138 page.
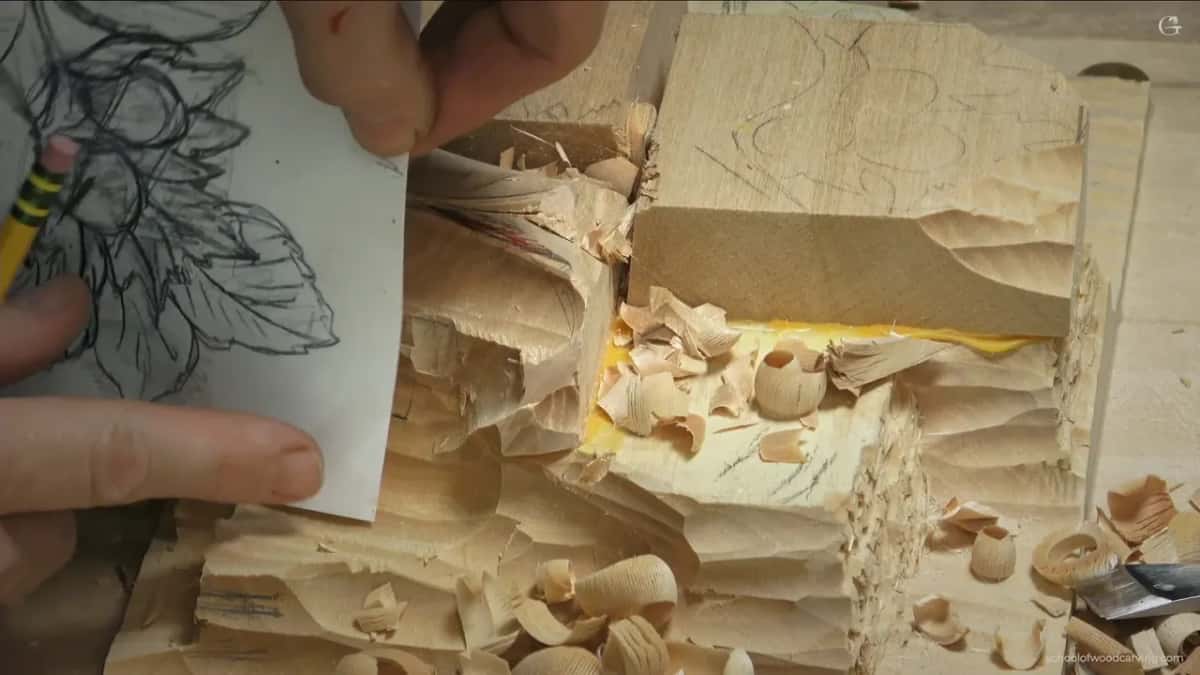
None of these heights was final. Going up about 25 millimeters, one inch, I said that is not the final distance, because I don't know how high we want to leave those guys. It could be a little lower later. Half a minute later I could see it was not enough for me. I needed to get one part lower. From the lowest spot, about 25 millimeters, I had to take out another quarter.
A really good stage, I said after it. I know it doesn't make sense yet, but it will. I hope it will.
Part of panel | Where I set it in lesson two | My word |
|---|---|---|
The final background | About 5 mm, which is 3/16 in | Final background |
The shadow line | Some 10 mm up past the rough line | Undercut, float |
Leaves on top | Lowered to about 5/8 or 3/4 in above ground | Better, I said |
Room for nuts | About an inch where 3/4 in was wanted | Smaller later |
The husk itself | Kept high and marked with colored pencil | Untouchable |
Lowest drawn line | Still higher than all those leaves | That is important |
How do you mark the part you must not touch?
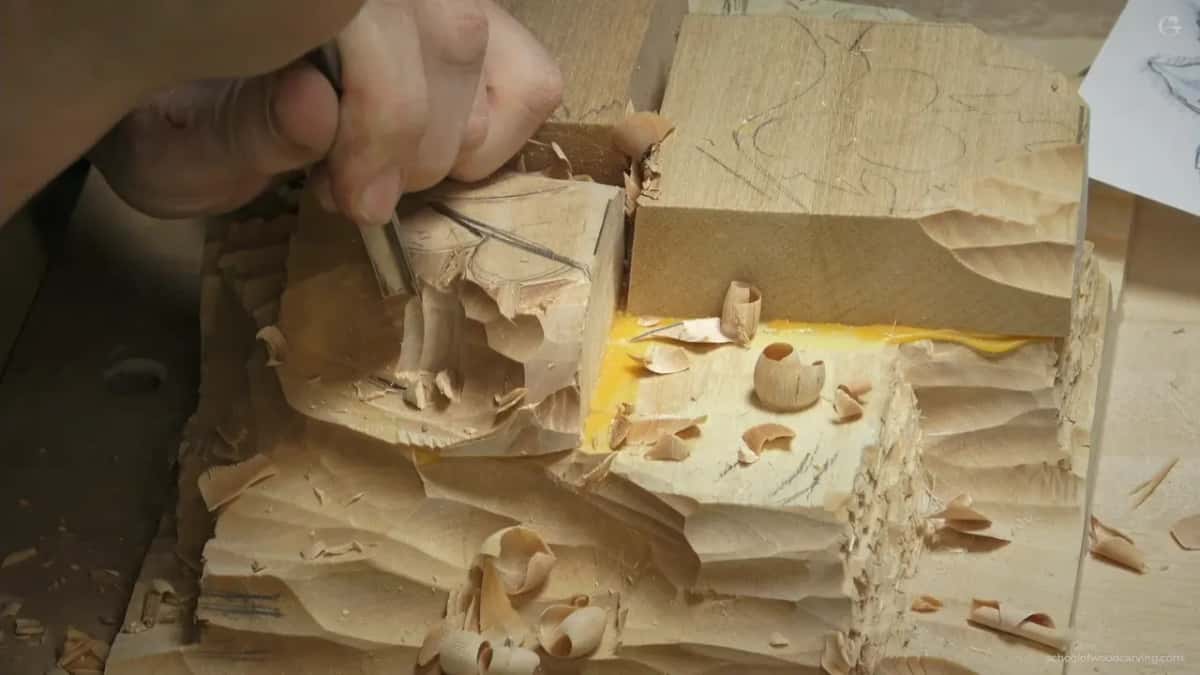
With color. I wanted to keep my high spots, the husk itself, untouchable. With no colored pencils close by, I said, let me actually find one. So that is going to be my high spot, I said, and it was not to be touched while everything near it could come down. A second part got the same words.
Everything around those marks could slope down, I said, with a mass that points one way and still goes down the other.
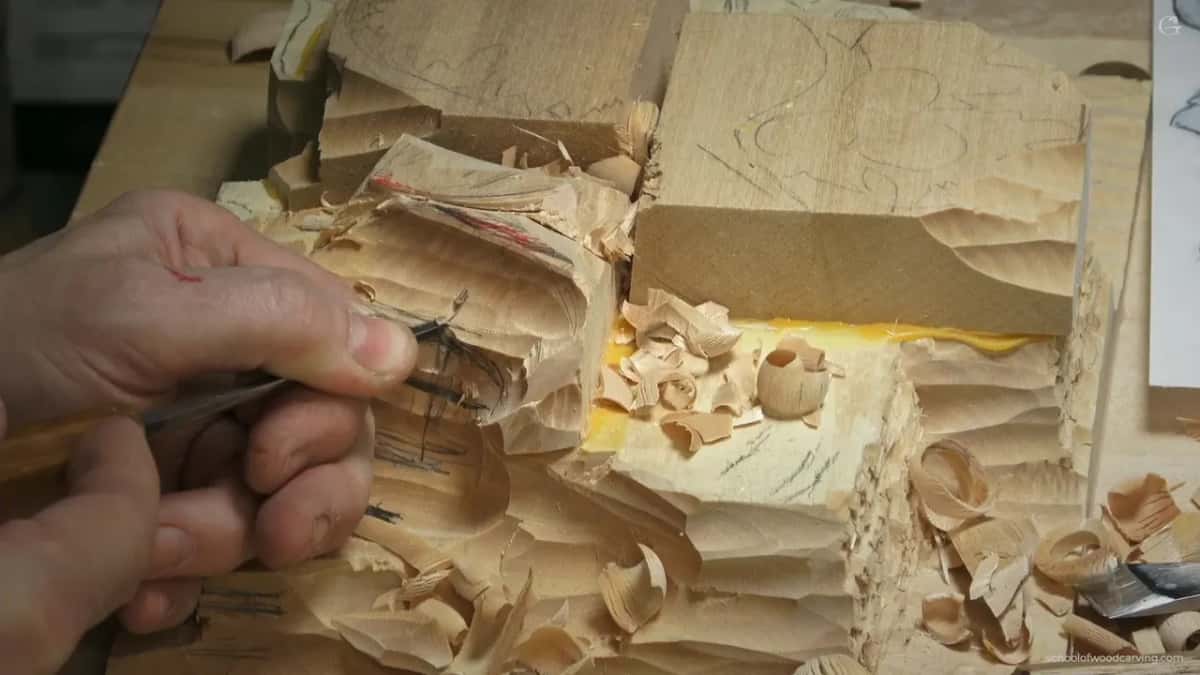
To start the excavating, I set preliminary lines straight down. It is better always to use a number 8 or a number 9 and go straight down, I said, and I took a 10 mm number 8. Just don't undercut it, and make sure it is straight down.
Don't take much off the sides either. They are actually raising up, and the overall opening for the nuts comes later on. Don't remove the material you don't have to remove. A little deeper was next. I was okay with excavating deeper later, all the way to the background, I said. But the outline had to survive too. I would bore down that section until I was happy with the overall size, downhill when you look at it.
I know you got so much material, I said then, and now we are taking a lot of it away.
What do you do when the drawing stops making sense?
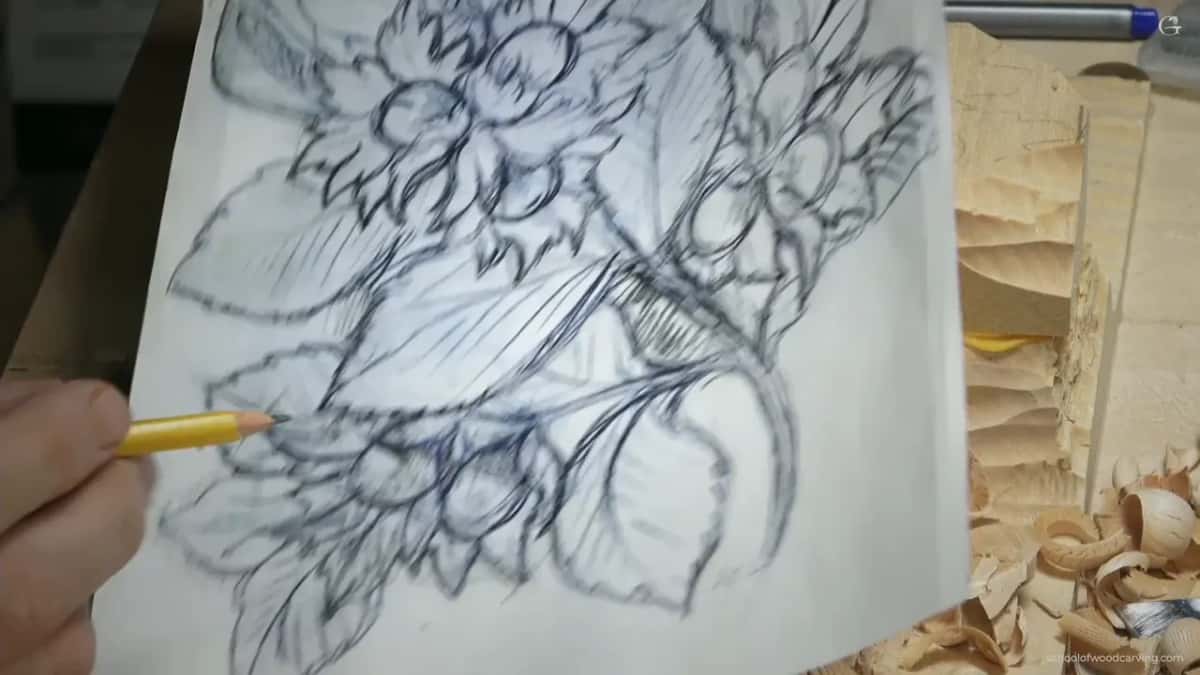
Out loud, and with another look at the drawing. Near the end of the second part I compared the design with the wood, kept two lines about 16 millimeters apart that I meant to keep, and marked my division line between the two hazelnuts. A small number 11 set it, just preliminary. After that I went for a marker to draw the husks.
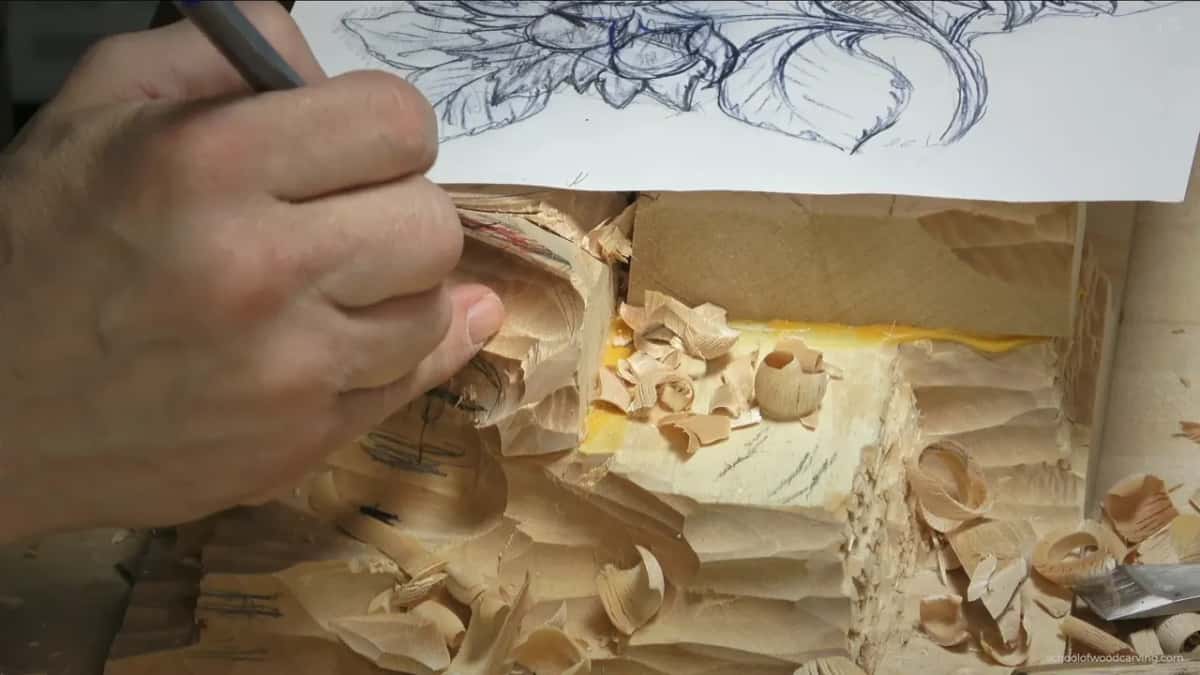
One husk had to go underneath. Again, approximately, I said. I was just reading the picture and didn't have to be exact, but I still wanted the line somewhat accurate.
Then something didn't make sense. So I checked the drawing and read it out. This husk goes over this nut. Another husk goes this direction, and there is going to be a big husk. So I said I would start with the separation of this husk, which was probably already there.
Part three had me saying I didn't want to lose the idea of a husk, because it is double, and there was a husk piece I had to be somewhat careful not to lose. And I told you plainly that I would probably change some of the movements of the design while I worked on it.
When do you stop shaping for the day?
Before the details. In the last part I went at it from outside inward, because the husk has a movement downhill, from that point against the grain with the big tool. I did exactly the same on the opposite side and told you to be careful with the grain, not to catch it.
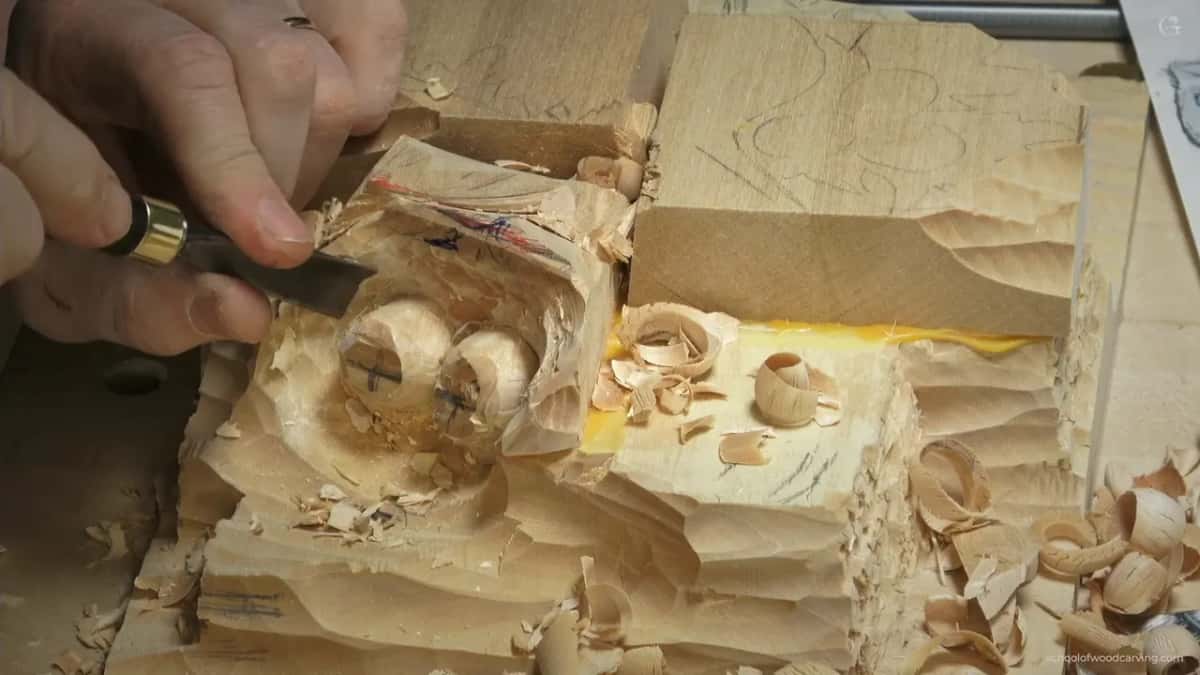
I outlined the future nuts with a number 5, about 5/8 of an inch, made a separation cut between the two, and worked them like barrels with the right direction. When the mess got to be too much, a number 11 excavated it out, and a little more inward underneath. Then a bigger number 8. You can see the obvious advantage of bigger tools, I said. Much quicker work.
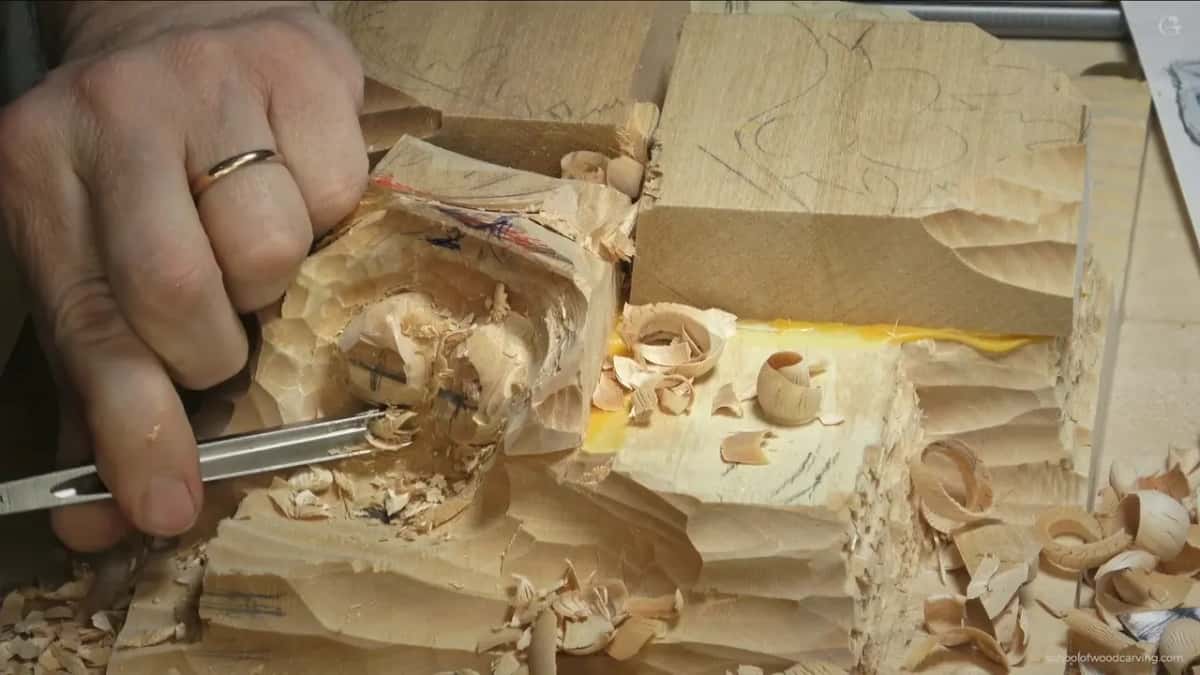
And then I stopped. I'm probably going to end at this stage, I said. I don't want to overdo it. I had about one inch chunks, and the details were too early to worry about.
It doesn't look too appealing, I told you at the end, but we are getting somewhere. Lesson 2 left this wood carving right there.
The whole panel, lesson by lesson, is in Carving Hazelnuts. If you are new, First Cuts for Beginners is where I would start you, with Carving Tool Sharpening right after it, and All about tools for Wood Carving is my course on the tools themselves. Carving Grape Onlay has high spots of its own. Every one of these lessons is open with Access, and the lessons map shows where this one sits. Not sure which course fits you? Start here, or begin with the principles of design.
Got a drawing, a thick board and a colored pencil? Bring all three to the bench.
How it's done
- Settle the top and the bottom. Decide which way the cluster faces before you go after any depth. Mine hangs on the background like a drop, with a top end and a bottom end.
- Set a shadow line above the rough line. Mine went up about ten millimeters from the rough line, so every leaf could get an undercut and float.
- Work out the low point. Find the lowest line on your drawing. On mine it stayed higher than the leaves, and I called that important.
- Start with the highest bunch. Remove around the big material with a number 9 of 20 mm. Leave the cavities alone while blocking out, or the geometry goes when the sloping starts.
- Outline and mark what stays high. A 2 mm number 11 outlined my leaf so the line survived, and a colored pencil marked the husk as a spot to leave alone.
- Lower one section at a time. Keep the overall picture while going low enough. I changed my order mid-sentence, and the high spot stayed a little lower than the leaf.
- Stop at big chunks. Quit before the details. I ended at big inch-sized chunks so as not to overdo it.
Frequently asked questions
How far up did the shadow line go?
Ten millimeters or so, by my own estimate on camera. My first guess, a moment earlier, was a half inch, and then I said maybe less. From that height I planned to undercut under each leaf so the leaves would float, and I admitted getting in there would be a little challenging.
Do the drawn lines need to be exact?
Absolutely no reason for it, I said in this lesson. Most of those lines come off during blocking, so spending much time protecting them makes no sense. Even so, when I drew the husks near the end of part two, I still wanted that line somewhat accurate.
Which tool did the heavy blocking out in lesson 2?
A number 9, 20 mm wide, which I called my number one tool. For the downhill shaping I reached for a flatter number 5 and a three quarter inch skew. A 10 mm number 8 set lines straight down, with no undercut.
What to carve next