
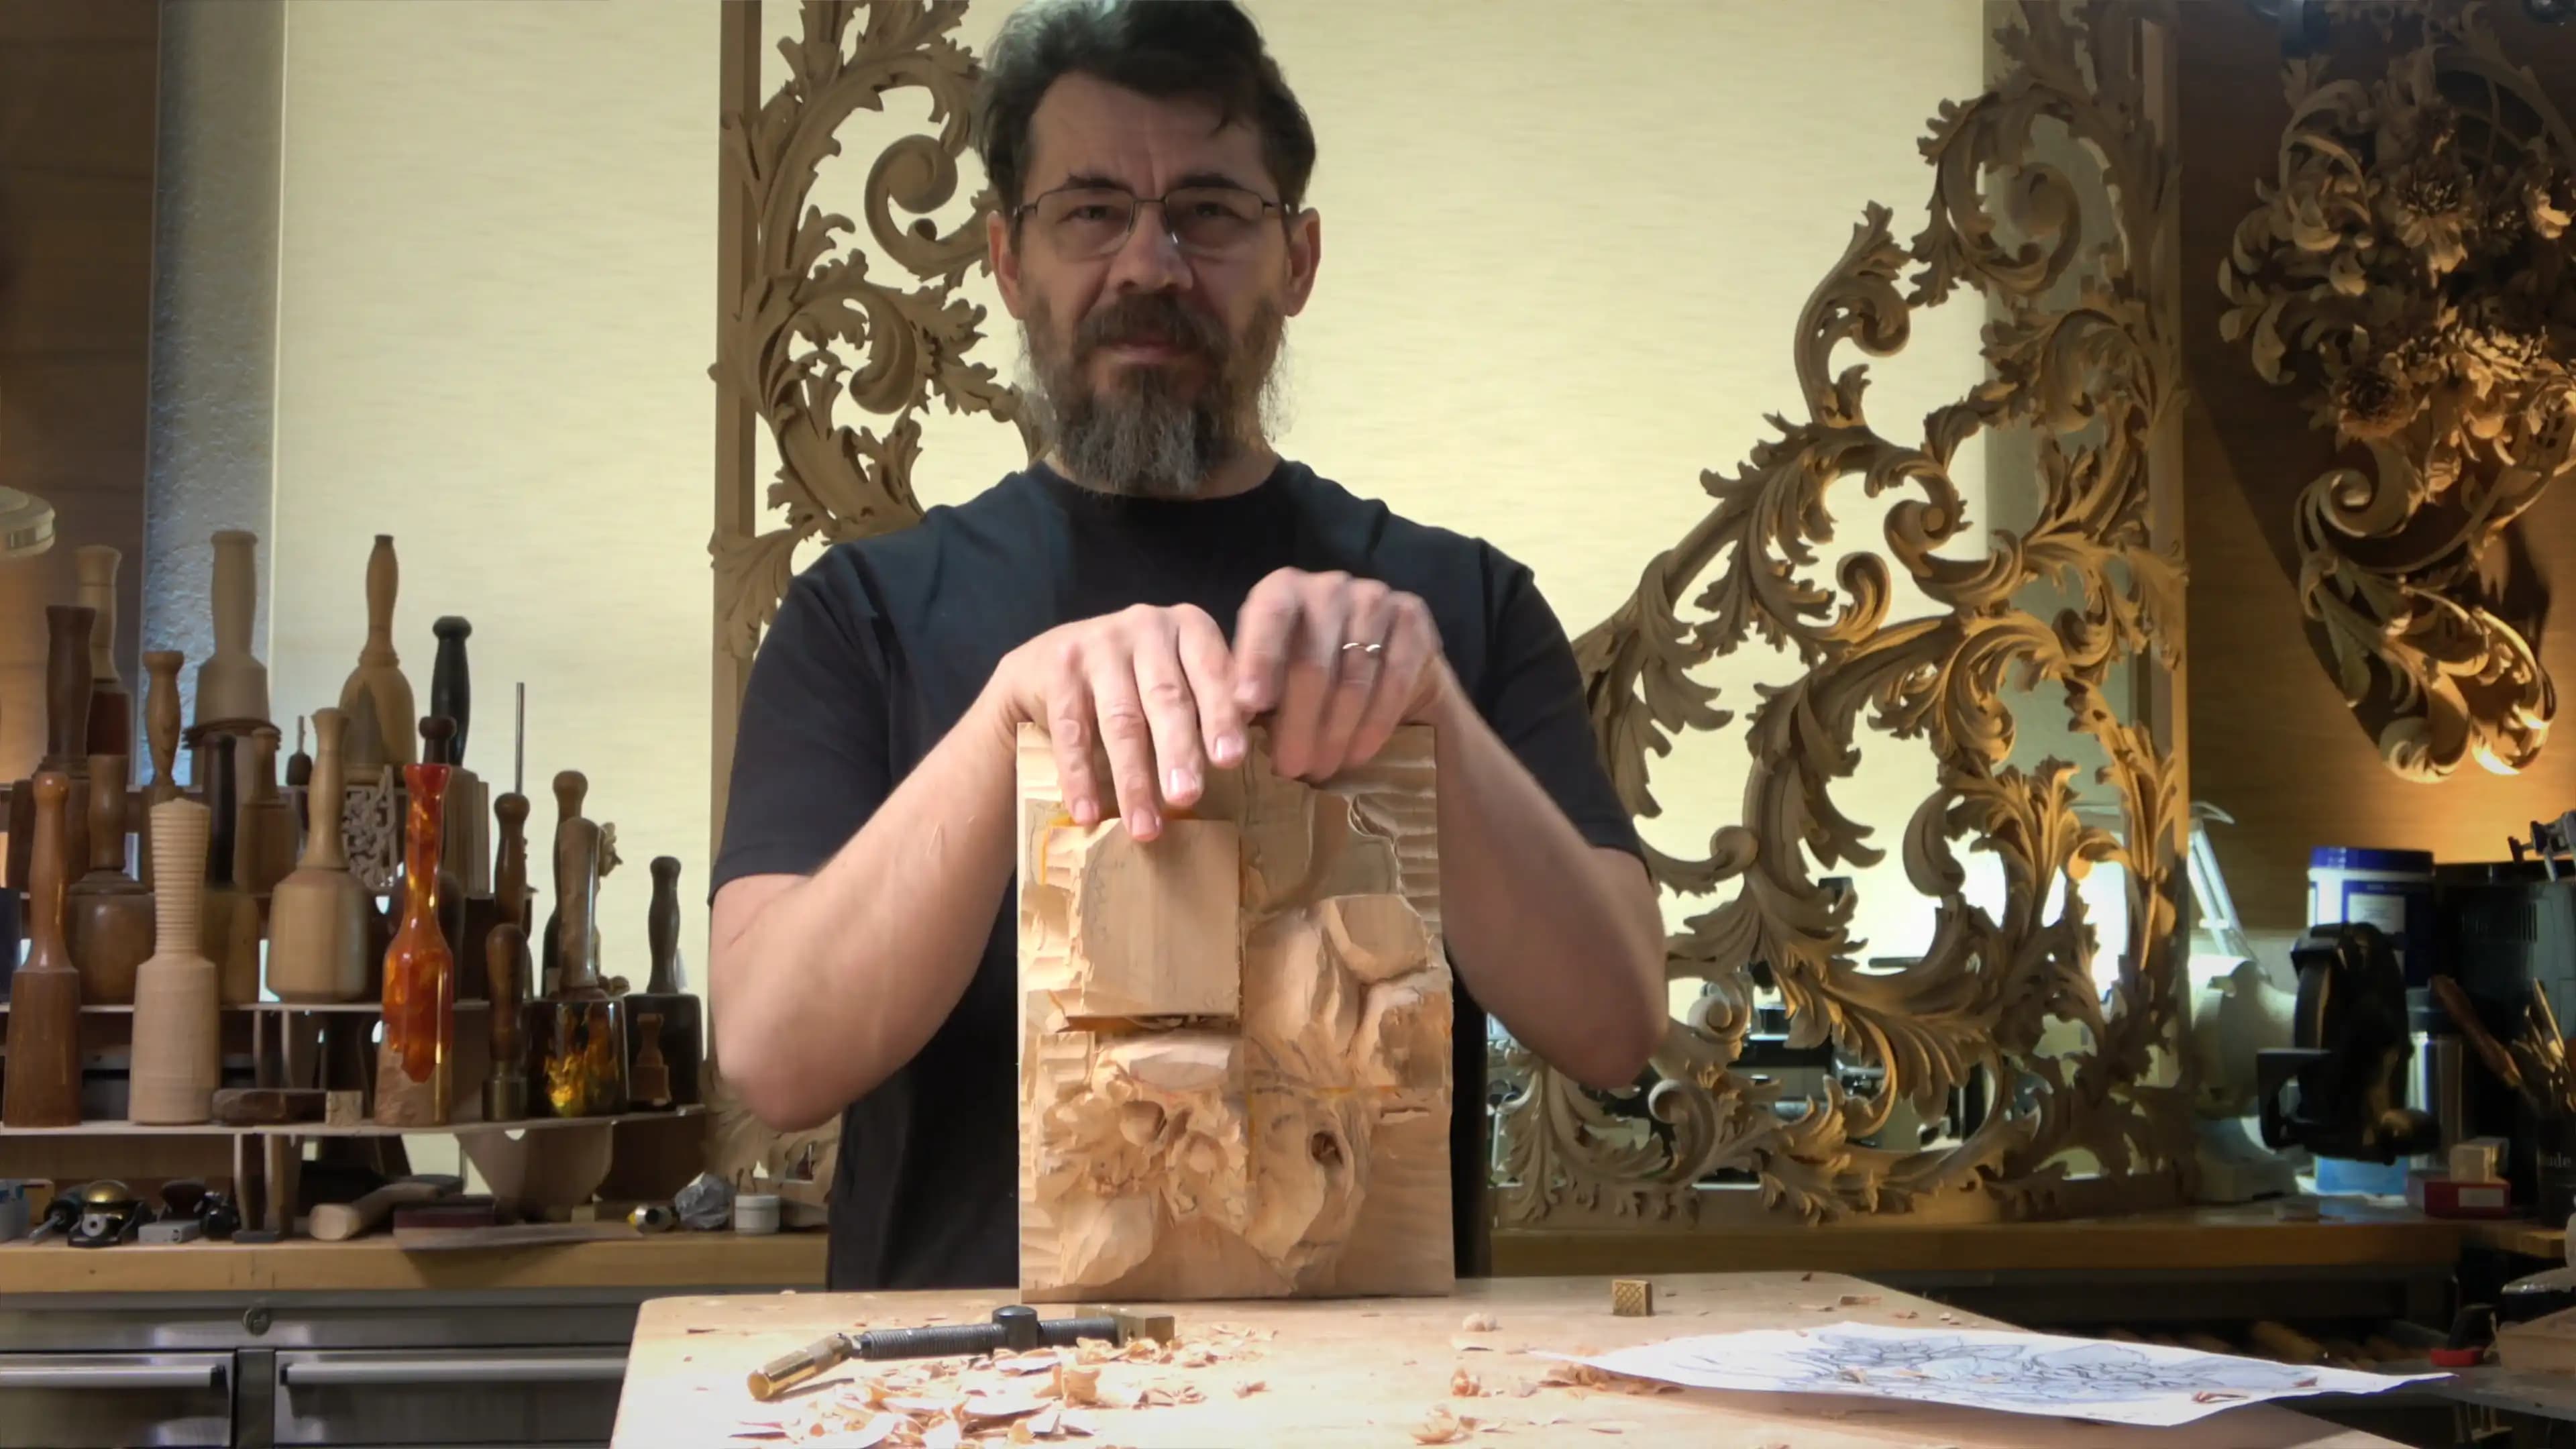
Alexander Grabovetskiy, woodcarver, School of Woodcarving · Published 2026
How do you find where the nut sits inside a carved hazelnut husk?
Quick answer: Placing the nut in a carved hazelnut husk is, on my wood relief, the job that came after the barrel. I kept husk and nut as one even barrel, and then an antique quarter-inch number 11 began to separate what the husk covers from the nut. A good spot for the nut came out about 3/4 in (19 mm) down.
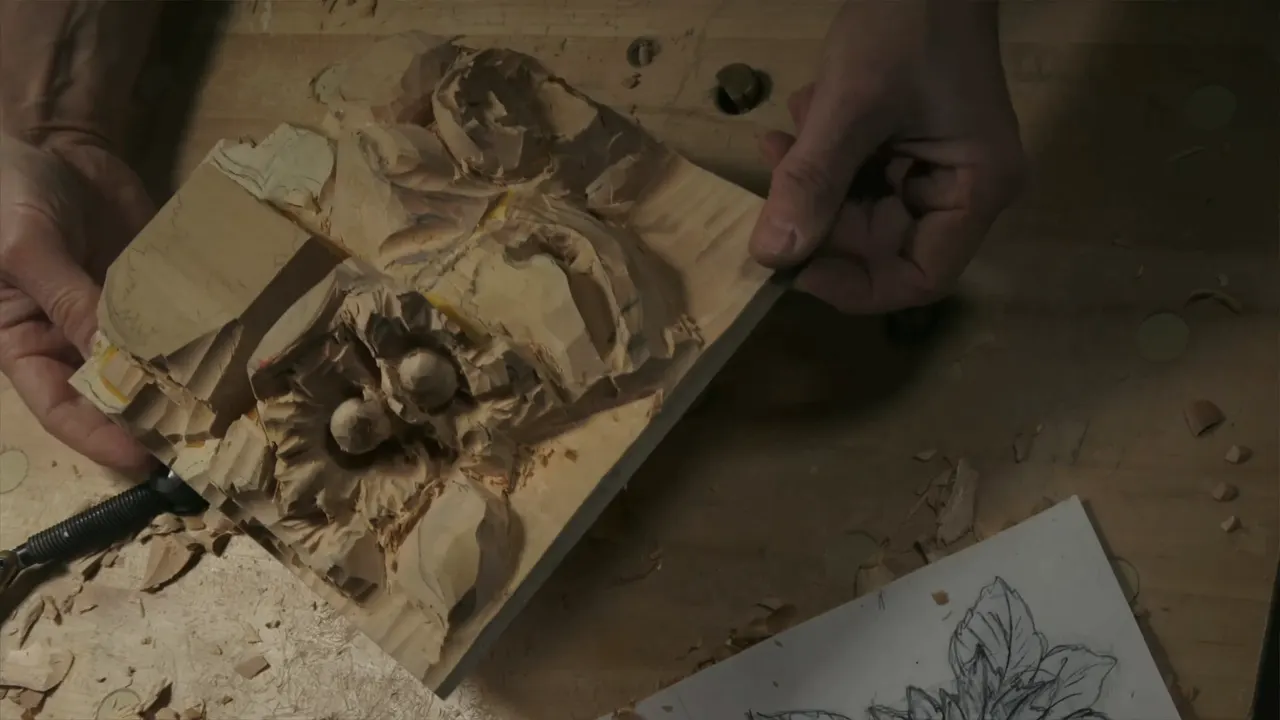
Finding the nut inside a hazelnut husk carved in wood is what I did on the second bunch of my relief, once the husk stood as one even barrel. Then an antique number 11, a quarter inch (6 mm) wide, started to split husk from nut. This is lesson 4 of my hazelnut wood carving course, and the chips pile up the whole way through.
Would you like a carved husk that really holds its nut? And would you like to know where to look for that nut in a lump of wood? On my panel the two were one blob for a while, and this page shows how I told them apart, tool by tool, in the order I worked.
The second bunch in six lines
My outline on the bunch came from a 10 mm Pfeil veiner, and I wanted no more than a quarter inch down in that part.
The heel of my one-inch skew marked a first triangle where the husks meet.
The husk got its room before the nut did, since it wraps all around.
Then the whole lump became a barrel.
An antique quarter-inch number 11 began to separate nut from husk.
A skew gave it a slight clean, and only that, since I was just establishing.
What was on the panel before the second bunch?
Most of the lesson, on other areas of the panel. Early on I fastened the piece and found the right position for myself, because I needed to attack that area and blend it the right way.
I used those guys from Veritas, as I called them. You don't have to buy Veritas, I said. You can get something like them on a Chinese site like Temu, and it's still legit. As for me, I kind of like Veritas personally.
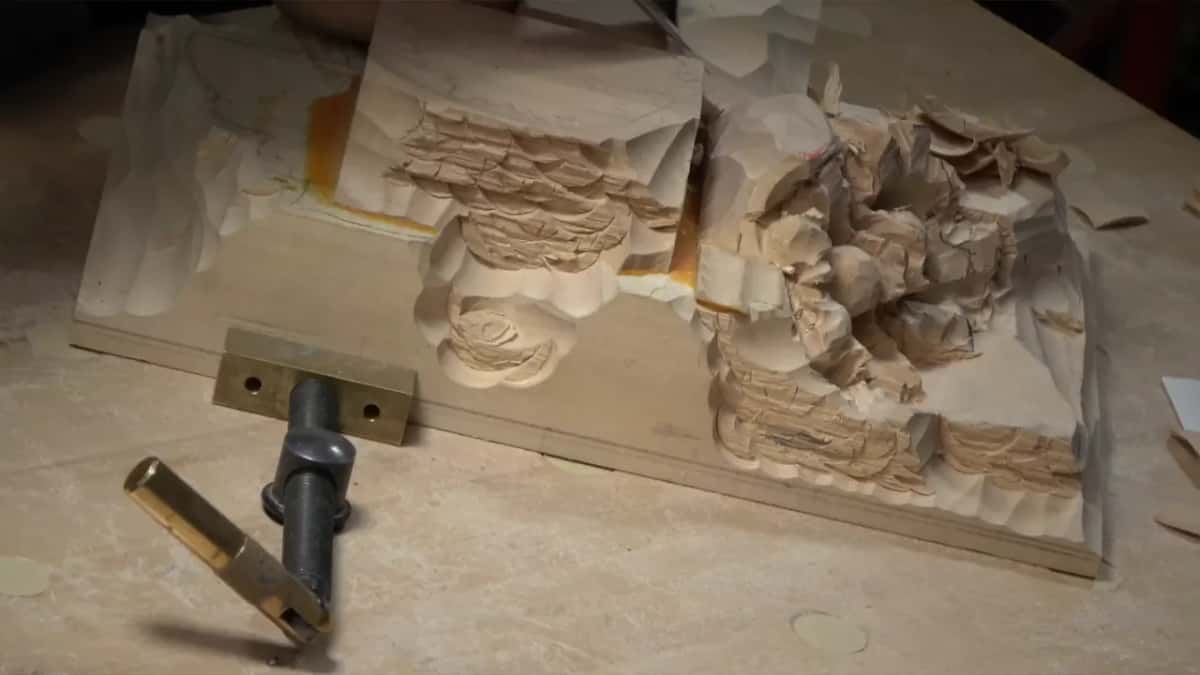
What I like about this bench is that I can mount the work in any position. It's solid.
My first gouge was somewhat big, a number 7 of about an inch and a quarter. The huge one. I used it the normal way, flute up. That is really important, I said.
Later in that part I wanted to drop one leaf below another, since I could see the line, and I said I could use a smaller tool, maybe a number 9 or even the same 11. At the end of that part I said I kind of like how it flows. So it looks good. I think.
What did the leaves need first?
A slope, and some motion kept inside it. Since I was in that position, I sloped a leaf that goes underneath the husk, and I said it was not going to be the whole thing sloped. It would still have some kind of motion, and we would see that later.
That was just the blocking-in stage. I know it looks messy, I said, but that's all right.
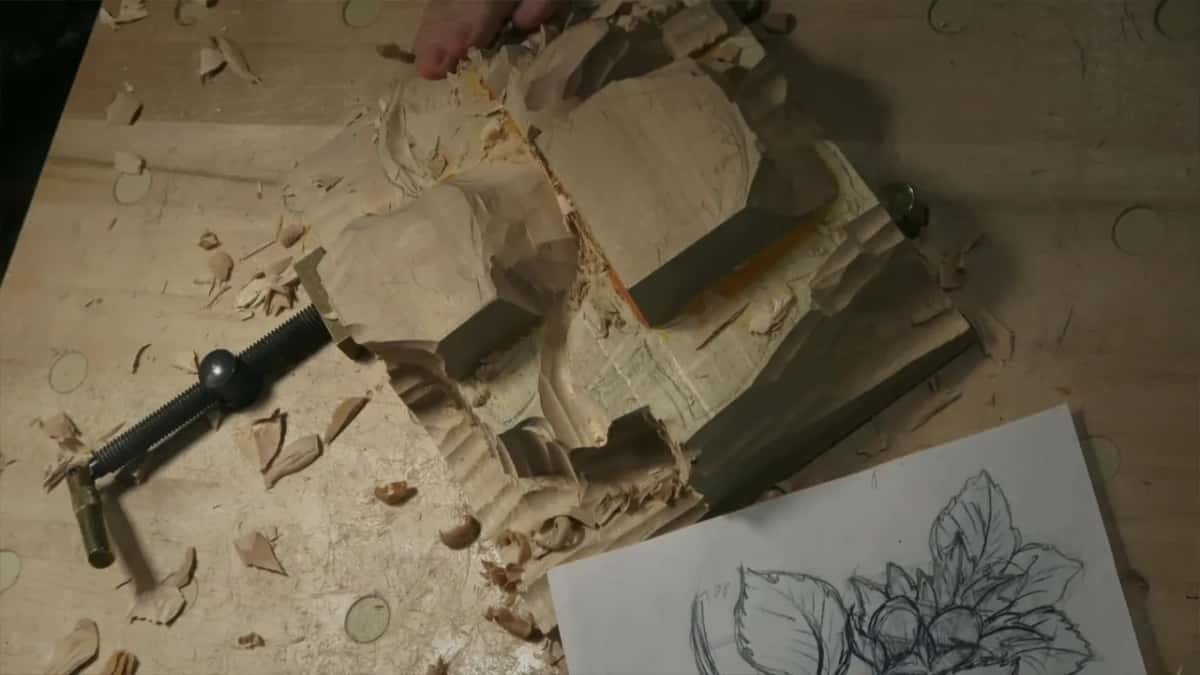
Next came a number 11 veiner, and a 12 mm one could probably do it this time, I said. I put the right lines in after that. Between the two spots I had about two and a half inches (64 mm), and to my edge about 1 1/4 in (32 mm).
For one opening of three-quarters of an inch (19 mm) I picked up a quarter-inch Auriou fishtail number 9 and carved with really small, tiny strokes. I probably could use a bigger one, I said, but I didn't want to risk it.
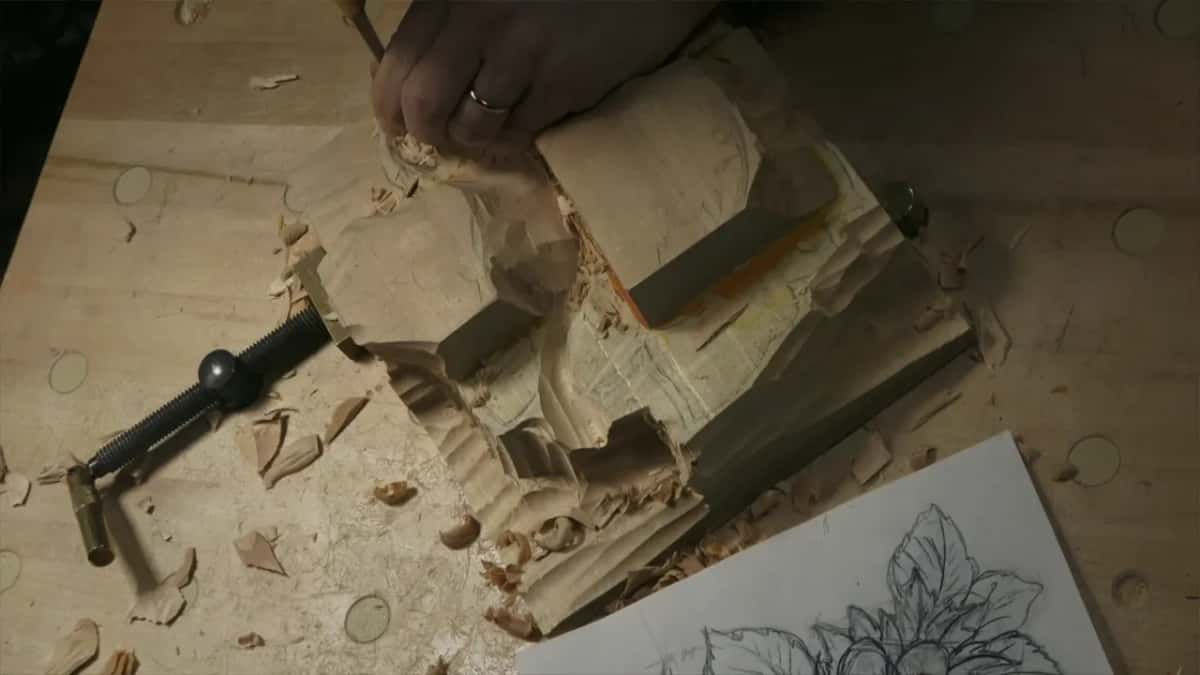
A bigger fishtail came next, still a number 9 but 10 mm wide, for a quicker result. With it I did a plug cut and took maybe about five millimeters (3/16 in), no more, after a warning that you can break the tool if you remove too much.
A little deeper came next, with the same tool. I have to keep an eye that I'm not going all the way to the background, I said. That would be a big mistake.
With the same number 9 I was just blocking in, because there would be lots of different motions and movements. This is a wonderful leaf, I said. Some of the result was already showing.
An Ashley Iles number 3, about seven-eighths of an inch (22 mm), cleaned my background, with one more note to myself about not taking too much material.
Another leaf slopes as well, yet it still sits above the part beside it. It goes kind of downhill. The part left high should give a shadow, or as I put it, I hope it will create beautiful shadow.
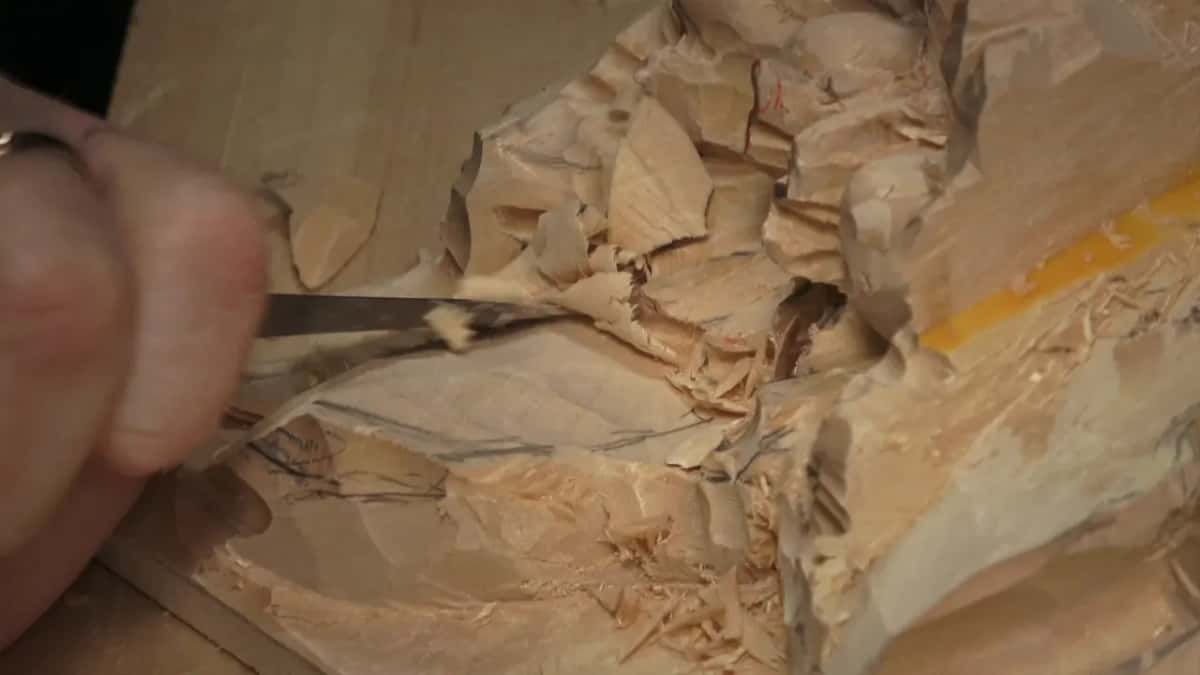
Maybe the same idea would go on the next leaf, I said, a little motion. You barely see that, I told the camera. My apologies.
How did I start on the second bunch?
With an outline. I carved it with a 10 mm number 11 made by Pfeil, about a three-eighths of an inch veiner, as I called it.
Seen on the panel, the whole bunch goes right underneath one leaf. Some parts of it will be raised, so I did not want to remove too much there, and about a quarter inch (6 mm) down was the most I wanted in that part.
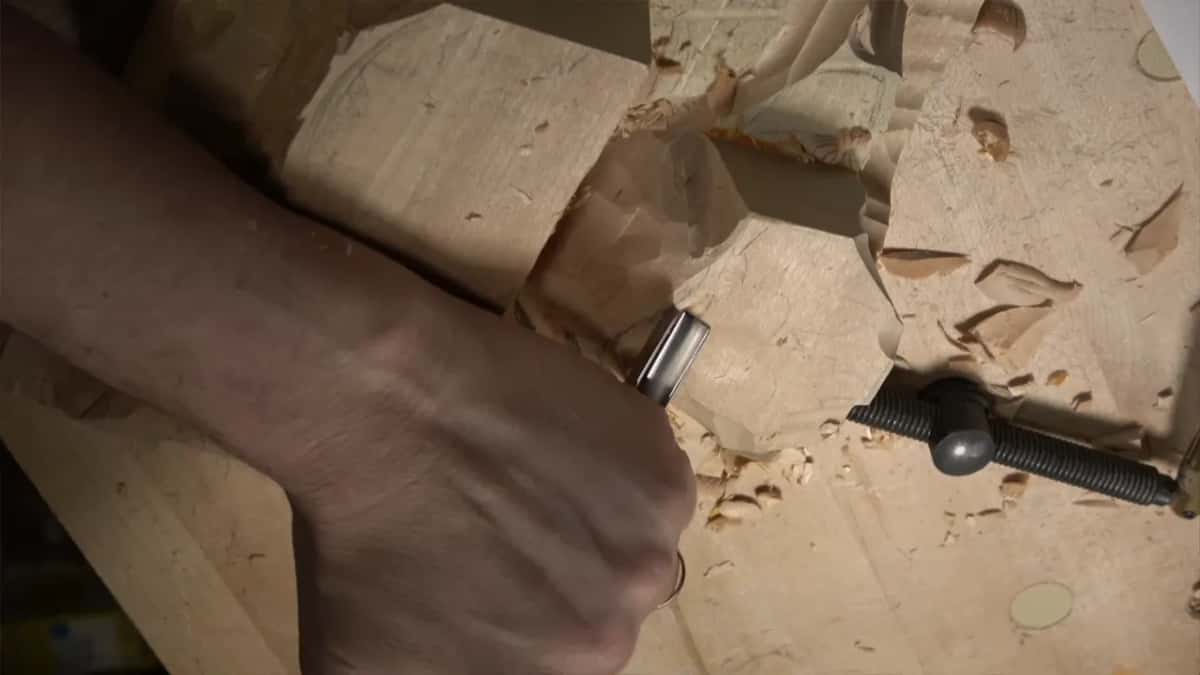
Earlier in the lesson, on a different spot, I had used another 10 mm number 11 and said I don't know why it's called 10 millimeters, because really it's much wider.
I also said one thing out loud. I don't want to do the same mistake I've done previously. I picked the center where the two would meet, and I said the meeting would be the husk.
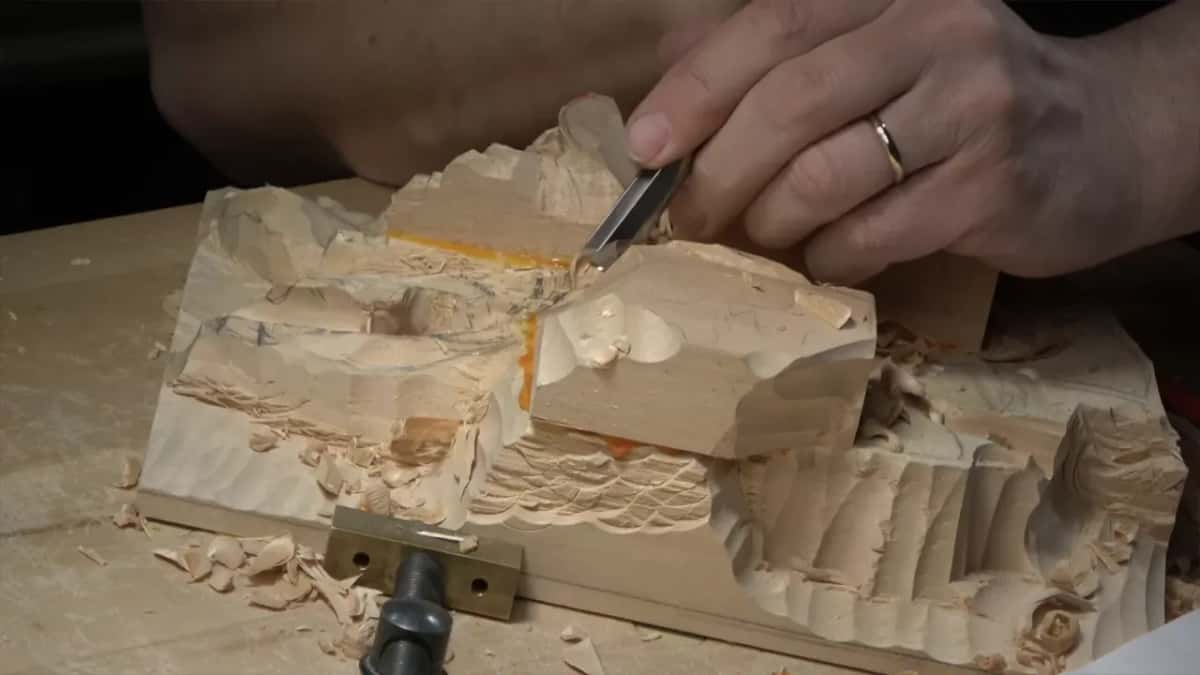
A preliminary triangle went in first, and a triangle is always better than quads, I said. For it I took the same one-inch Ashley Iles skew chisel, a number one, and used just the heel of it, the backside.
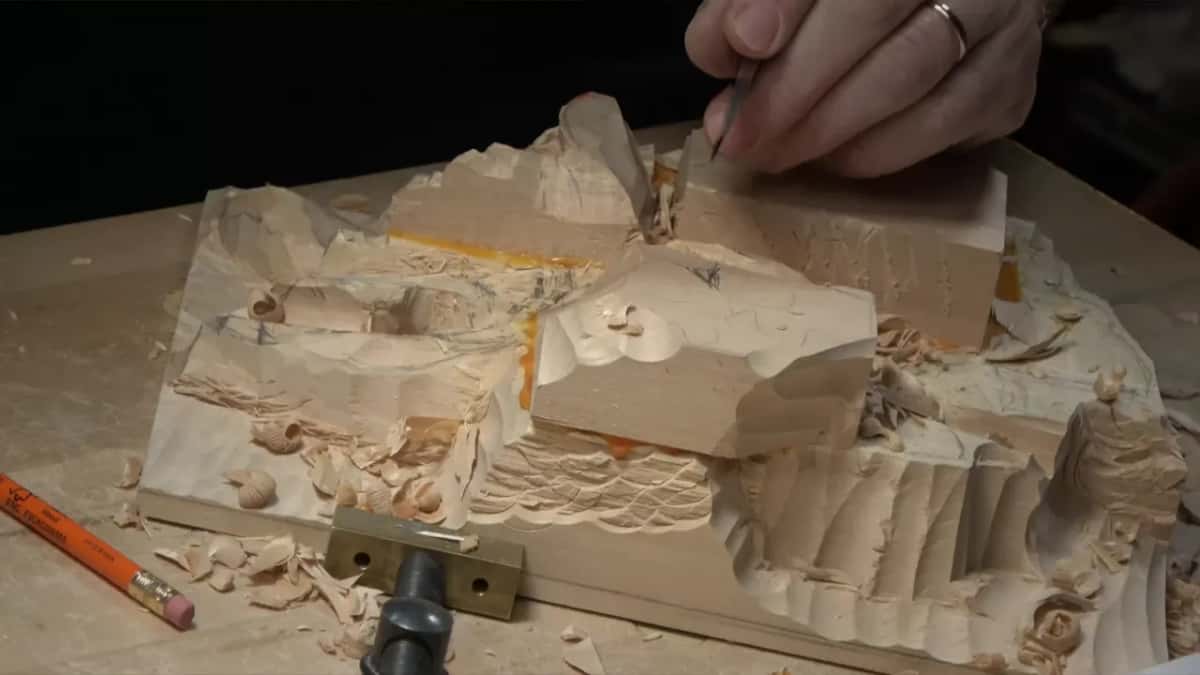
Where does the husk end and the nut begin?
Let me actually change the way I'm going to work, I said, and I settled where the husk ends before I took wood off near the nut.
I needed to know exactly where that husk would end. It wraps all around, so I said I need maybe about half an inch (13 mm) for it. Inside it sits the nut itself.
That meant I could safely chop around in that area right then. The nuts themselves will go much, much lower, so I was safe to remove some of that stuff.
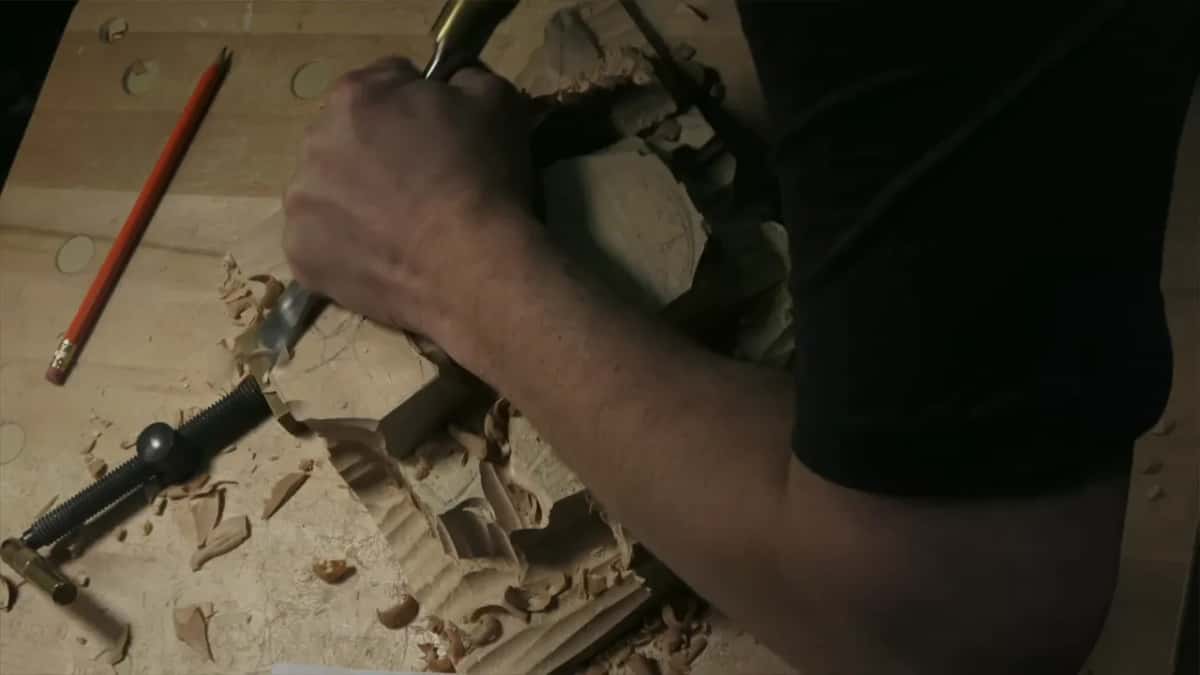
How much wood was under the husk?
About 1 1/2 in (38 mm), and maybe more. By then I had an antique number 9 in my hand, about 19 mm or three-quarters of an inch, and I was working perpendicular to the grain. My bench was kind of shaking that day.
I had plenty of material, and the drawing shows why. Those leaves go all the way down. One leaf lies right on top of the background, and the husk sits on top of that leaf.
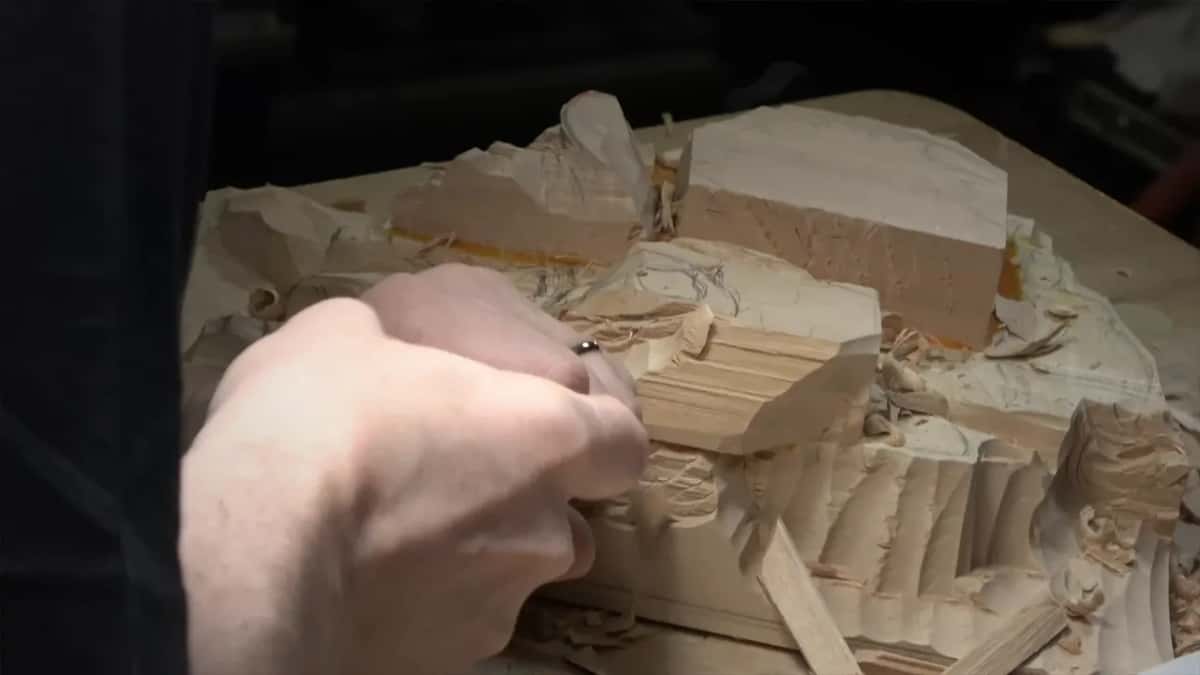
Measuring down from the point I showed, I had that much already. Maybe I could go even more, I said.
Then came the reason it mattered to me. The nut would be lower, and I needed to create some kind of barrel. Maybe it was a better idea just to create the barrel first, I said, and then do something else.
What is a barrel in this carving?
The barrel is the lump that both husk and nut come out of, equal in size as you look at it. Seeing that matters, I said. And inside that blob there will be a nut.
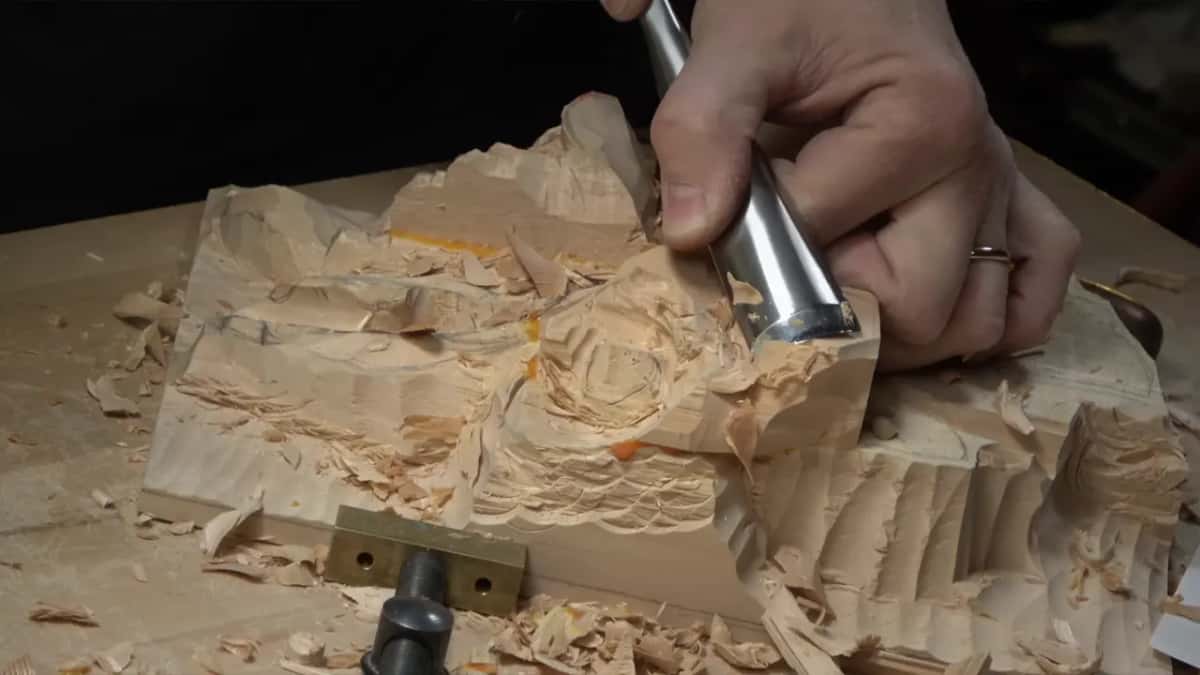
Before those words, I picked up the bigger number 7, the 1 1/4 in (32 mm) one, and started on the husk meeting point. The tool went even closer, using only the corner of it, if you noticed. I could probably remove this side and the opposite side right away, I said.
That spot I called the bunch marriage point. I could have lowered it right away. Still, I wanted plenty of material for the future husk.
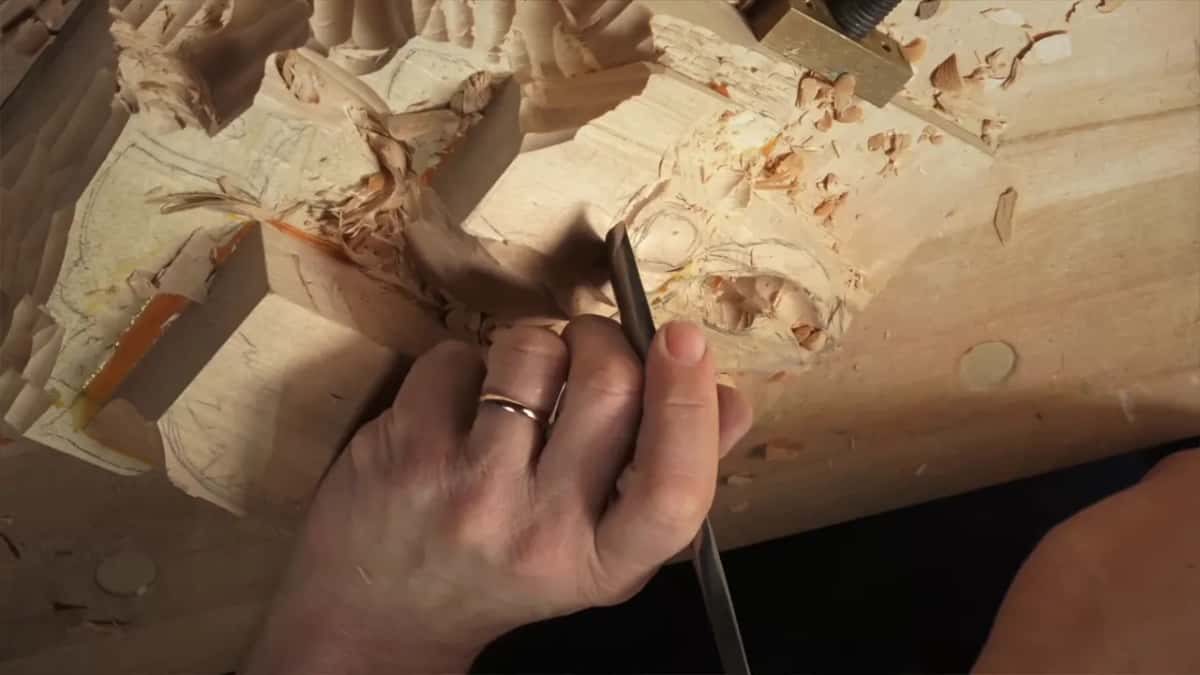
It has a motion one way, I said, so I had to be careful how much I was taking out. It fights me at the grain line, I said, because I'm working with the end grain right now.
Then I said I hope you can see what I am creating. A barrel, equal size from that point of view.
A ball carved in relief is a different job from this one, and it has a page of its own.
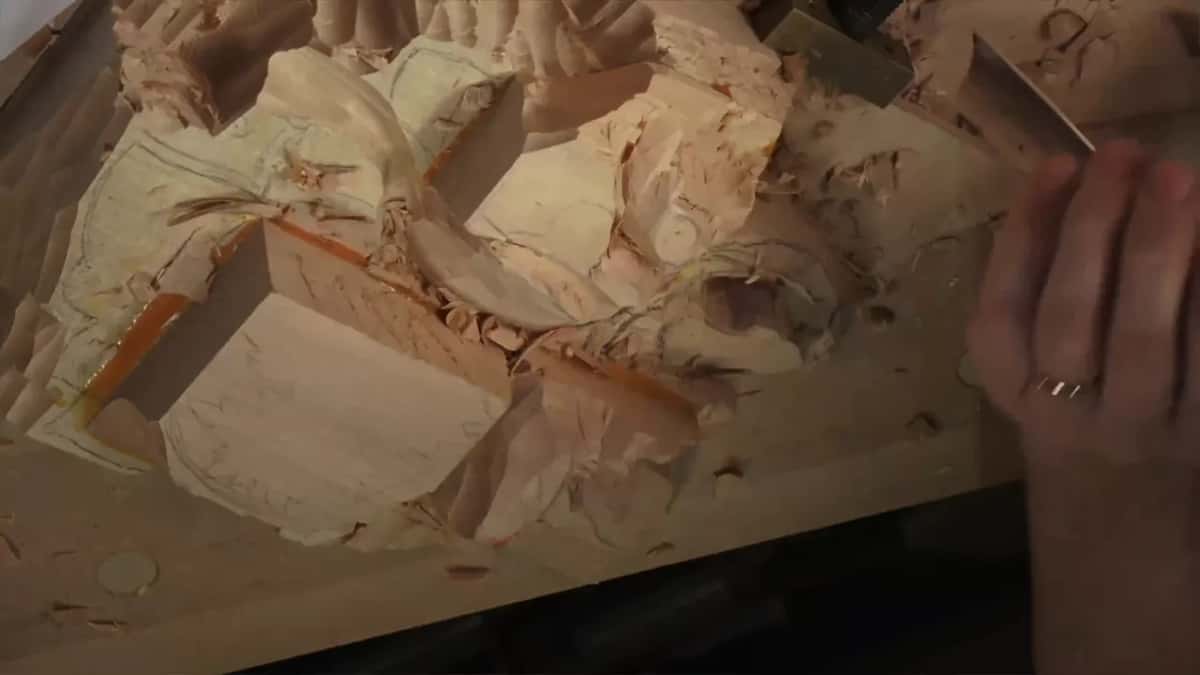
The tools on the second bunch came out in this order.
Tool | Job | When |
|---|---|---|
Pfeil number 11 | Ten millimeters wide, it outlined the bunch under its leaf | First tool |
Ashley Iles skew | Only its heel, setting a first triangle where husks meet | Right after |
Antique number 9 | About 19 mm, taking wood off perpendicular to the grain | Before the barrel |
Big number 7 | An inch and a quarter, worked the meeting point by its corner | Just before |
Antique number 11 | A quarter inch, it began splitting the husk off its nut | After the barrel |
Skew or knife | A slight clean and nothing more, just establishing | At the close |
How deep does the nut sit in a hazelnut wood carving?
On this bunch a good position for the nut was about 3/4 in (19 mm) down from the point I showed, and it still had to be logical. To find it I took a smaller antique tool, a number 11 of 6 mm, which is a quarter inch, and started separating whatever the husk would cover from where the nut would be.
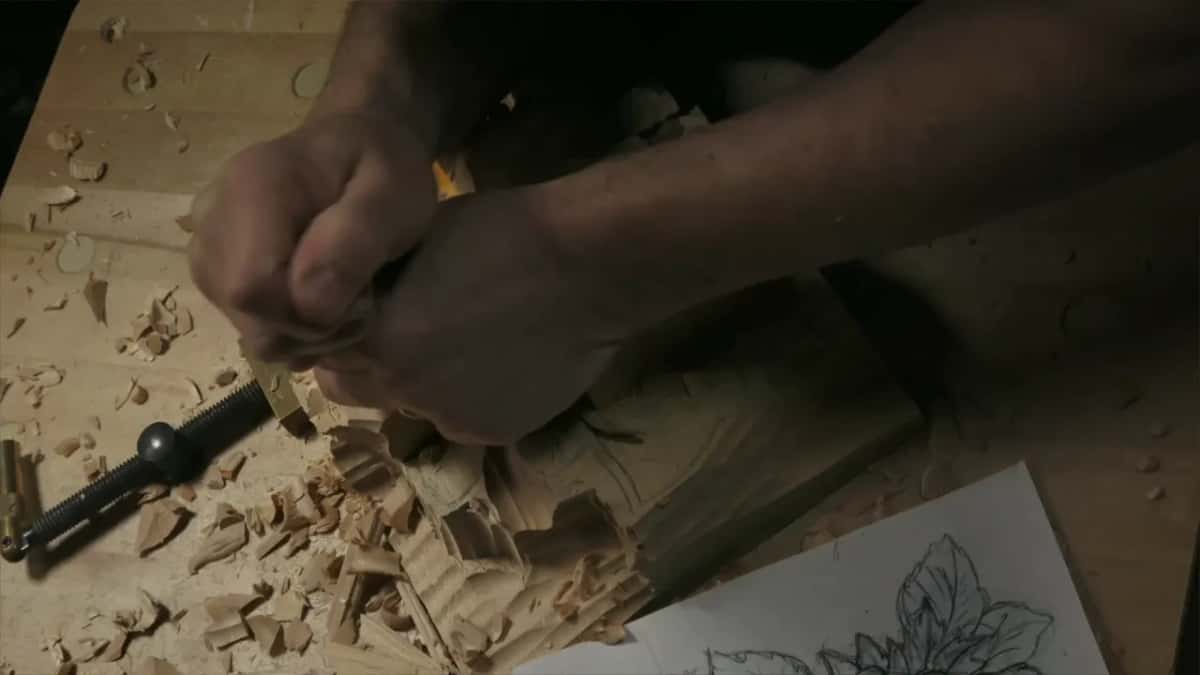
The nut sits in the middle of that blob, so you really have to find that position. Look at how high the husk is. Mine won't look parallel with the background, it goes a little up, slightly, like I showed the camera.
I said I'm not going to do too much to this husk, because I still did not establish my main shape of it. All I was doing was finding where my hazelnut would be, and I asked it out loud once more, where's the hazelnut going to be. A little more wood came off with the number 7 after that, wood I didn't need.
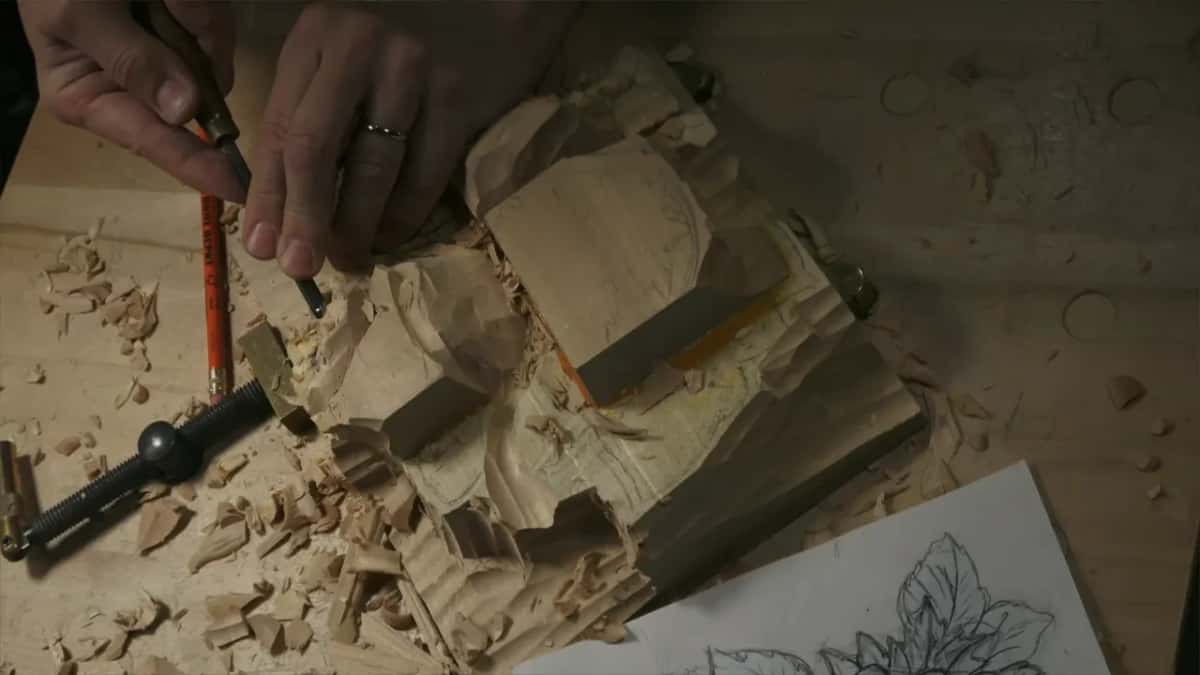
How did the bunch look from the side?
Almost like a flower, with the center and the petals and stuff, is what I said when I looked from the side. Just before that, I said the main position could still change, because I was trying to establish the overall look.
A possible problem showed in one area, which is okay. I'll address that a little later, I said.
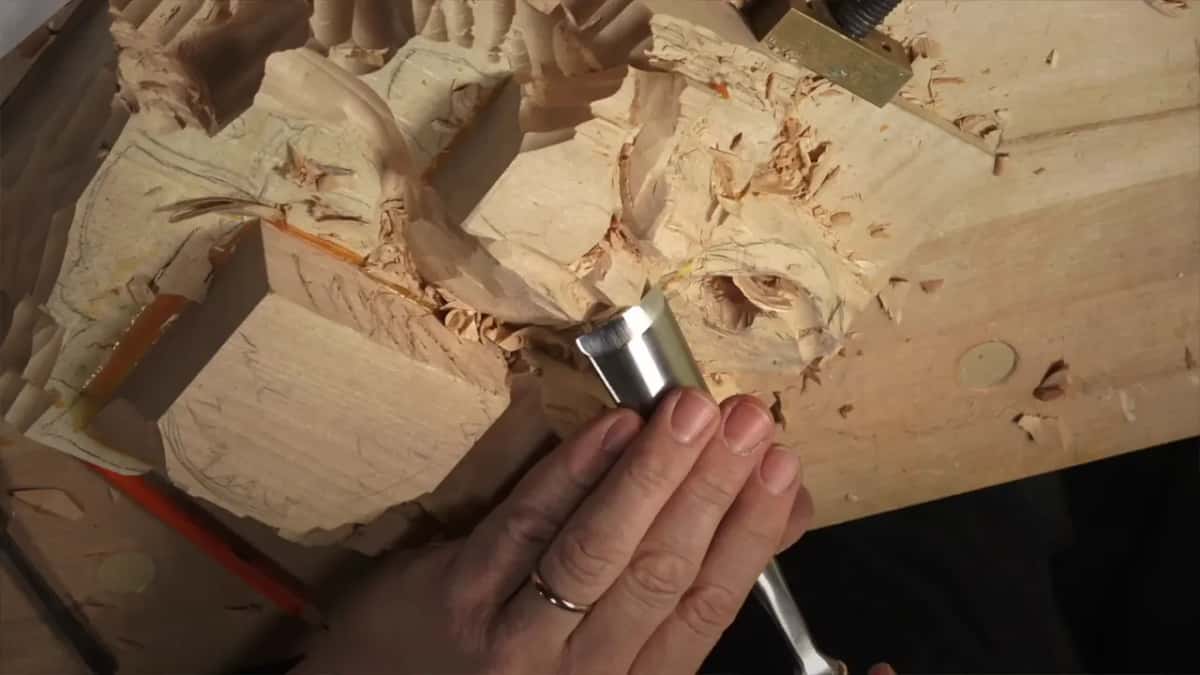
I also wanted the nuts not too far from each other, since it won't look good if they feel too far apart. So some of the husk gets raised up a little more where they meet.
I don't want to lose that meeting point, I said. Really important to get that triangle, and not to lose it.
Side views like this are what full 3D is about, and that question has its own page.
When do you stop on a husk like this?
I stopped at a light clean, with the shapes only established. Either a skew or any knife, I said, and I used a skew chisel, though any knife will do.
I cleaned slightly, not too much, because it's not the final stage. Right now, we're just establishing. By the way, I like those skew chisels a lot. They are helpful.
Earlier in the lesson I had named my skew for anyone who doesn't know it, a skew chisel number one, 25 mm or about one inch, by Ashley Iles. It doesn't have to be that brand, I said. It could be any brand, or you can make it yourself.
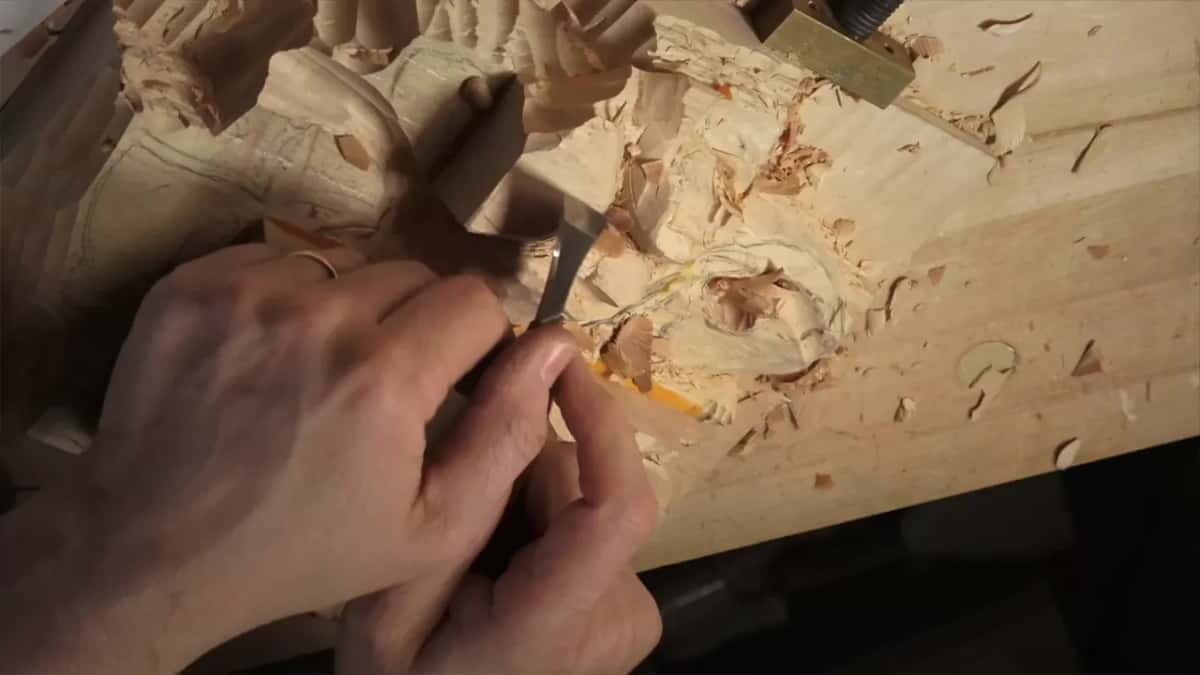
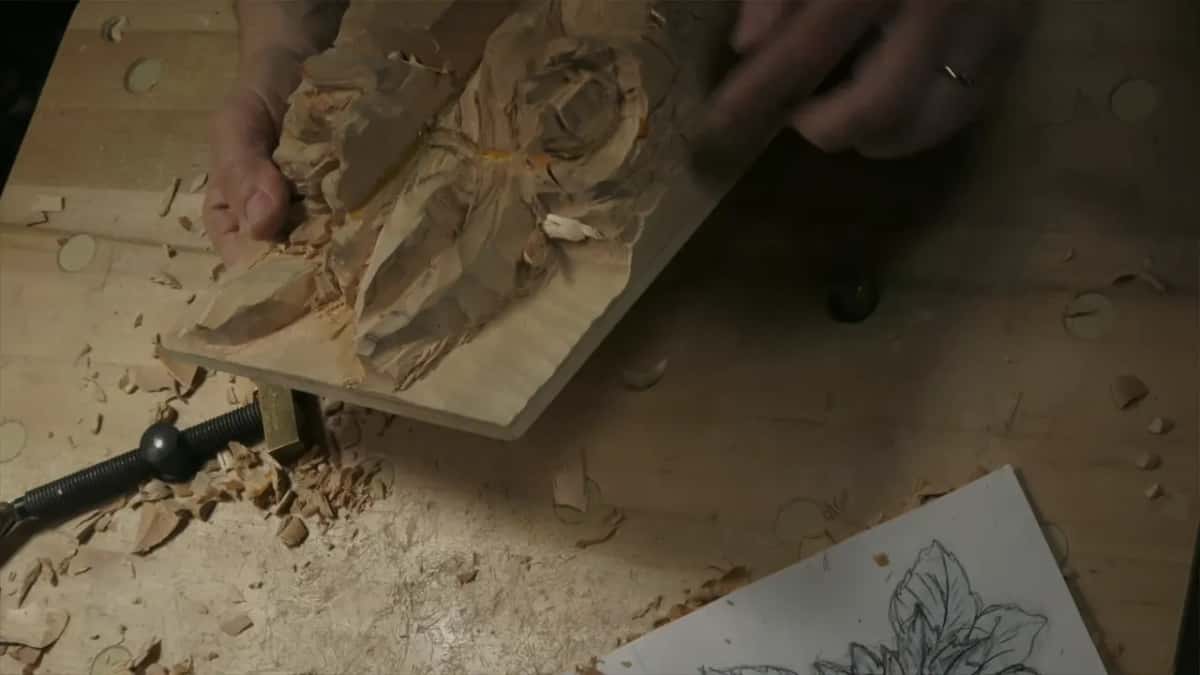
And here you go. That was the stage as of that day, and I know it looks like a big mess, especially with all of those big chips. Look carefully and you can see the part we worked on. I turned it to show you from different points of view, the previous ones and the new ones together.
Side on, you can see the stem that goes down. I didn't blend it well yet, because we were still working on the chopping. But it's coming along.
Grapes in a bunch raise the same kind of question, one berry first or the whole bunch, and that lesson answers it for grapes.
Where can you watch lesson 4?
Inside the Carving Hazelnuts course, in three parts. Lesson 4 is one small part of the wood carving I teach, and the school opens with Access, monthly or yearly, renewing automatically until you stop it.
The tools themselves get a course of their own, All about tools for Wood Carving, and so does sharpening. For someone who has never held a gouge, First Cuts for beginners is that kind of course, and the lessons map shows where this panel sits among the others. Shorter techniques lessons sit in one place too.
Got a rough husk on your bench and a small veiner in the drawer? Bring both out.
How it's done
- Outline the bunch under its leaf. Carve the outline with a 10 mm veiner, and take no more than about a quarter inch down in that part, since parts of the bunch get raised later.
- Mark where the husks meet. Set a preliminary triangle at the meeting point with the heel of a skew.
- Give the husk its width. Decide exactly where the husk ends. I said mine needs maybe half an inch to wrap all around, then chopped around the nut area, which sits much lower.
- Come in with a corner. Bring a wide number 7 close to the meeting point with only its corner, and keep plenty of wood for the husk to come.
- Make the barrel. Bring nut and husk together into one barrel, equal in size as you look at it.
- Separate the nut. Take a small number 11 and start separating the nut out of its husk. Find the position of the nut before you shape the husk.
- Clean lightly and stop. Clean slightly with a skew or any knife, and stop there.
Frequently asked questions
What tool splits the husk from the nut on a carved hazelnut?
The antique veiner I reached for was a number 11 of 6 mm, a quarter of an inch, and it came out only once the barrel stood there. I began to part the nut from what the husk covers, while the husk's own shape was still not settled in the lesson.
How much wood should stay for the husk around each nut?
Maybe about a half inch (13 mm) is what I said this husk needs, since it wraps right around. With that settled I could chop around the nut area safely, as the nuts sit much, much lower than where I was working.
Should the husk sit parallel to the background?
Mine tilts a little up instead of lying flat to it, and I showed that slight rise on camera. A good spot for the nut had to come from that height, and the logic of it still counted. The main position could still change later, too.
What to carve next