
Alexander Grabovetskiy, woodcarver, School of Woodcarving · Published 2026
What is an in-cut in wood carving?
Quick answer: An in-cut is my word for a gouge pushed into the wood, inward or toward the center. In lesson 3 of Carving Hazelnuts I made them with number 11s, number 7s and a number 9 to outline, connect and hollow the husk, and while making some I said I was not undercutting.
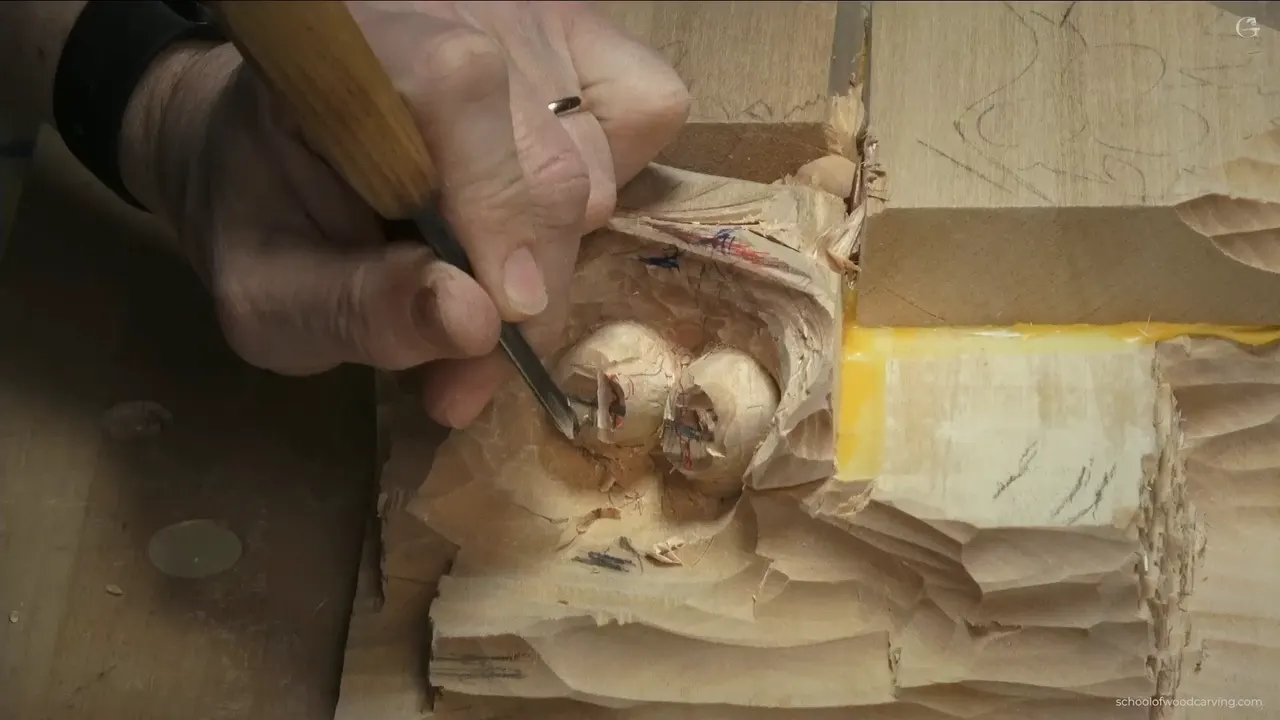
An in-cut is the word I use for a gouge pushed inward into the wood, to outline a shape, connect two shapes or hollow a small concave. In lesson 3 of my Carving Hazelnuts course I said it more than a dozen times while I worked the husk around two nuts. Of the types of cuts in wood carving I named out loud in that lesson, it's the one I said most. And while I made some of them, I told the camera, "I'm not undercutting."
A word you never heard can stop you halfway through a wood carving video. I used mine all through that lesson and didn't explain it. So here it is. You'll get the in-cuts I made on that husk, with the gouge, the size I gave, the depth where I gave one, and the job each one did at its spot.
Five things the in-cut did on this husk
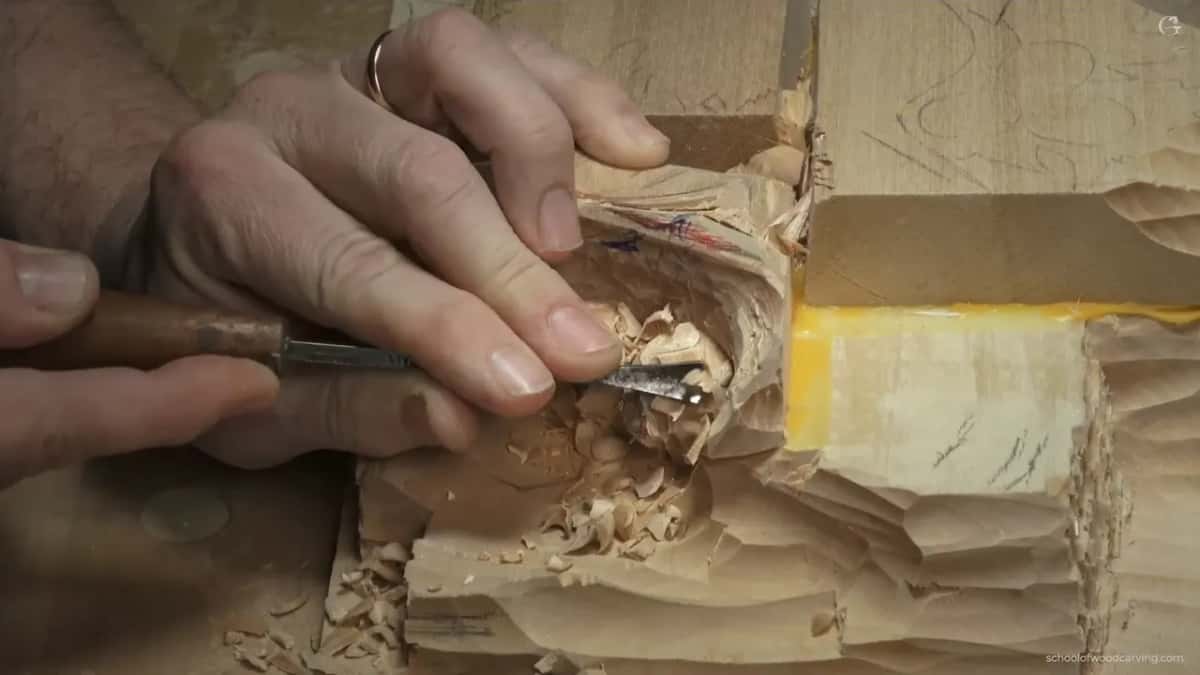
Connected two husks where they meet, using a number 7 turned upside down.
Outlined one flank of a husk while a veiner did the work, at a spot where I said a V tool was right too.
Went deep in two places, and both times I gave a number.
Hollowed a concave, heading for the middle.
Stayed apart from undercutting, which I said out loud while I worked.
What do I mean when I say in-cut?
I mean the gouge going in, and the words I put around it on the video say so again and again: inward, inside, underneath, toward the center. Here I write it one way, in-cut.
Here's the first time it came out of my mouth. Two husks had to meet, and I took a number 7 of about 7 mm, a little bigger than a quarter of an inch. I turned it over. "But upside down now, and I'm going to in-cut, because like I said, I want to connect somehow those two." I called that spot the connecting point.
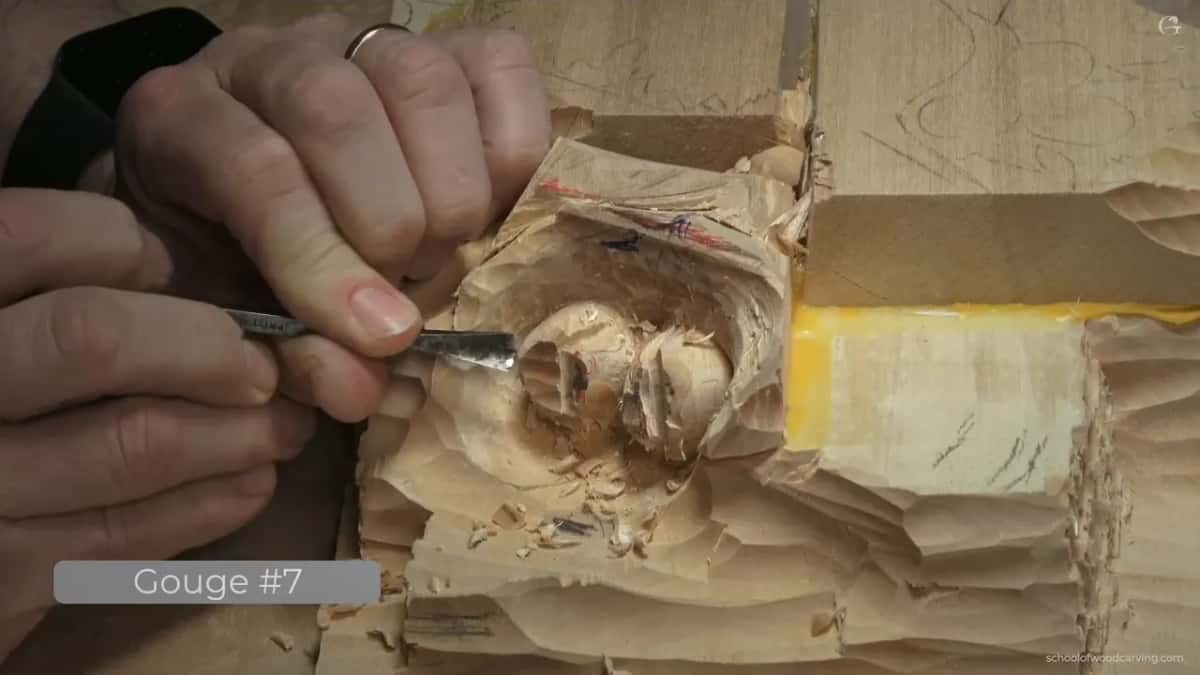
A few minutes later the veiner came out, a number 11 of roughly 1/8 in, maybe 5 mm, maybe 3/16. "I'm going to create in-cut, like so," I said. You got a choice from me right there: a V tool, if you have one, would be the appropriate tool for that in-cut. I went on outlining that flank of the husk with my veiner, and then the other one.
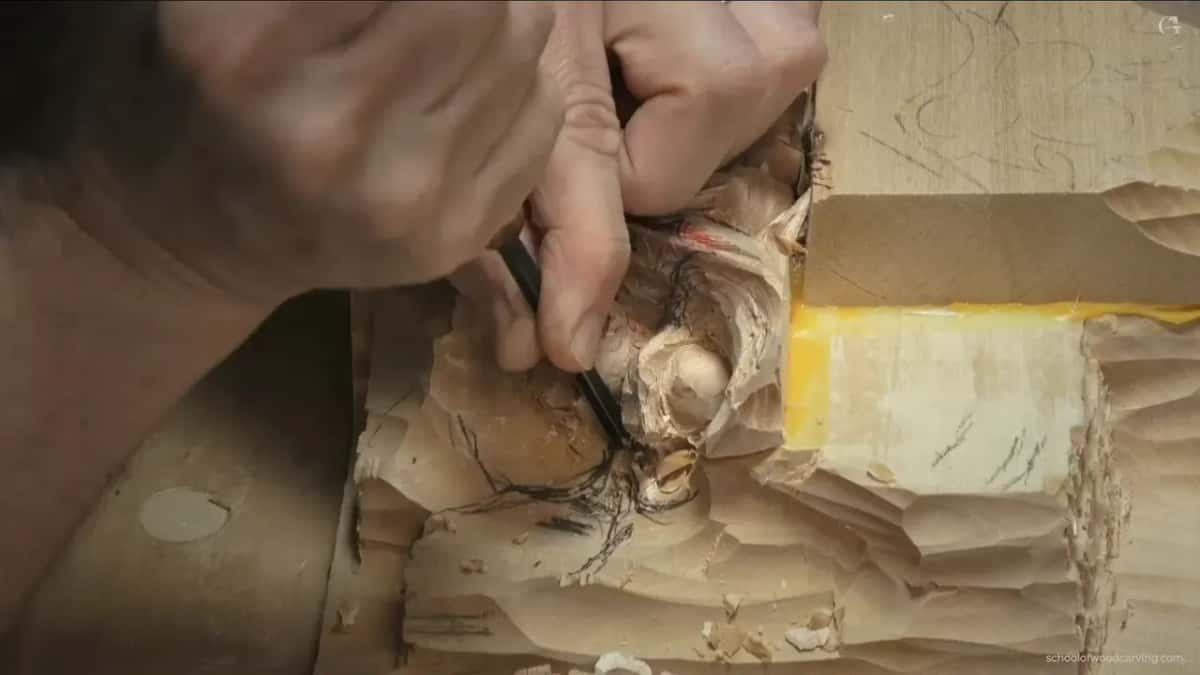
The second part used it for a hollow. Taking a number 9 near 3/16 in, I said I'd in-cut that section to make a concave, and the gouge headed for the middle again. One word, three jobs. The third part used the same word to split each part of the husk into three, and once it pushed a number 11 inward into a letter S.
Which other kinds of cuts did I name in that lesson?
Four more: a preliminary cut, relief cuts, a separation cut and undercutting. The preliminary cut came first, all around the new husk line, made by a number 11 veiner, and there's a whole page on what a preliminary cut is from the Venice Room, so I'll leave it there.
Relief cuts came up on the nut. Carving into the grain there, I thought some relieving cuts were probably the better idea. The separation cut came from a number 11 of about 4 mm, "not quite one-eighth, and it's not quite 3/16," attacking from one side.
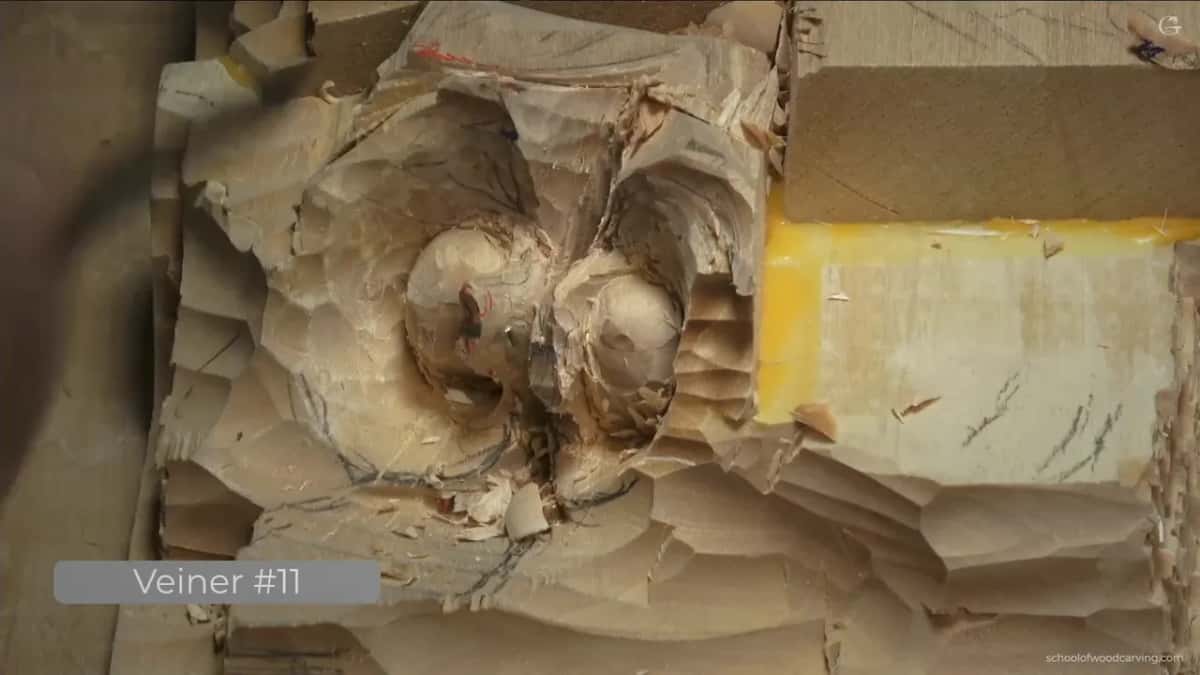
Undercutting turned up late in the second part and through the third. One was "just for the sake of the shadow." Another was slight, so I could see what was going on.
Which gouges make an in-cut?
Mostly number 11s and number 7s on this husk, plus a number 9 and some small Dockyard gouges. Here they are, each beside the spot it went into and a few of my words.
Gouge | Spot | Words |
|---|---|---|
A 7 mm number 7, turned upside down | Where two husks meet | But upside down now |
My veiner, a number 11, about 3 mm | Along a husk flank | that would be appropriate tool |
Number 11s, 10 mm and then 14 mm | Tying this part in | Again, the goal is connecting this part with overall husk |
Small Dockyard tools, an eighth inch each | Inside, between the parts, so they meet | everything connects |
A number 9, near 5 mm | Into the hollow, aimed at the middle | But I really want to connect that messed up area |
In this lesson I didn't fuss over the exact width. For one in-cut I listed "about four millimeters, three millimeters, five millimeters," and said any of them would work. When a 10 mm number 11, close to 3/8 in, looked too small, I said so, picked up a 14 mm one (9/16 in) and went inward again. The last in-cut of the first part got one word from me and then the tool, a number 7 at 14 mm.
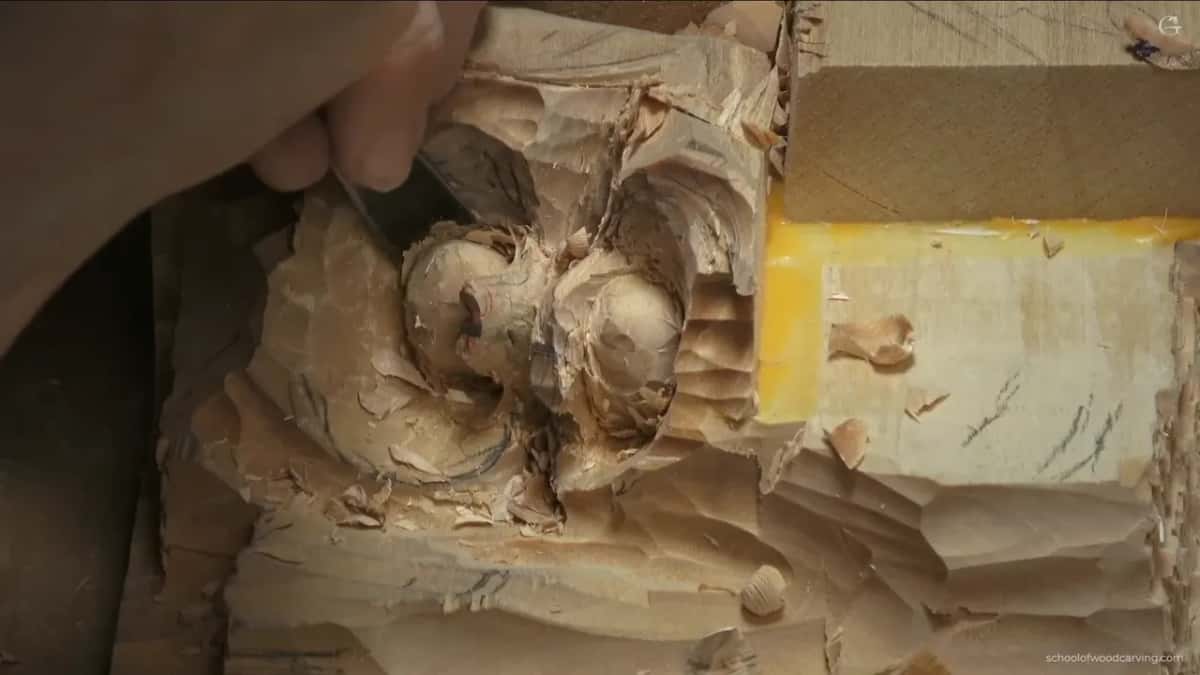
The small ones were Dockyard tools, near an eighth of an inch. Maybe that's equal to a number 9, I said, "but that's just any small gouge." The bigger number 9 was a Dockyard too, I said. I'd also changed the handles, and I told you that's why they look different from yours.
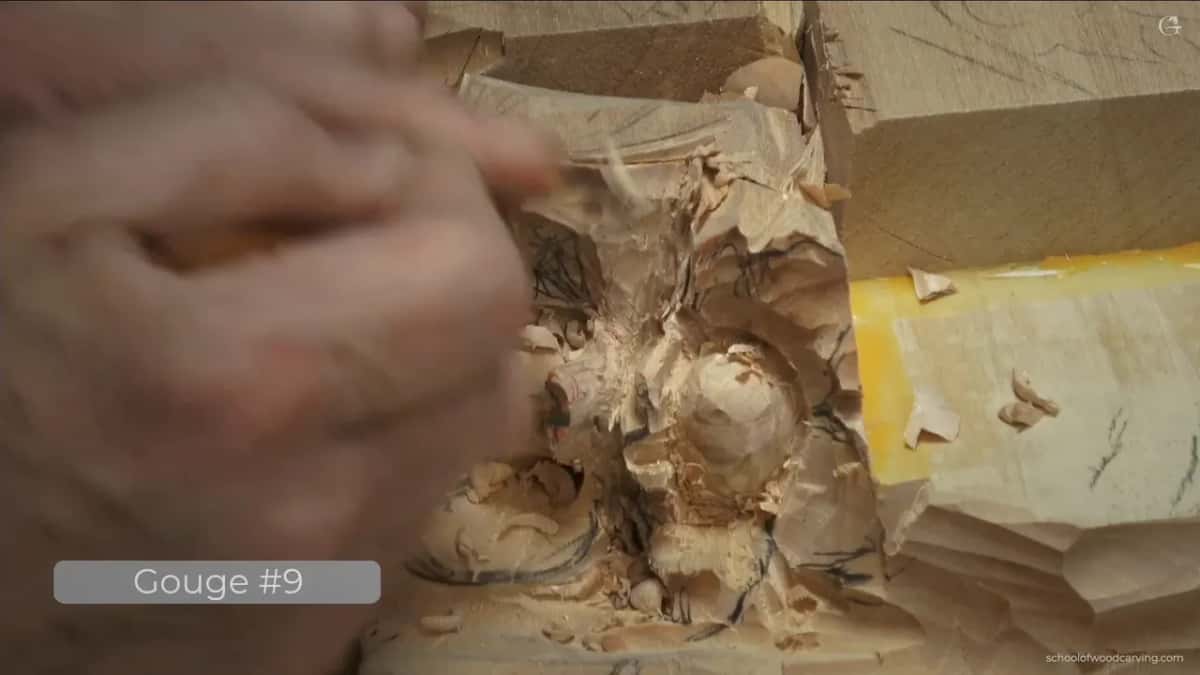
Picking between two shapes came up later too. "Number nine or number 11 going to do the job," I said for the early in-cuts of the third part, and a little after, "Number 11 probably better tool for this." Later I called it a small one, like four millimeters or so.
How deep does an in-cut go?
Where I gave a number, one went a little less than 3/8 of an inch (about 9 mm) and a later one about half an inch on the inside. Outlining the husk, number 11 in hand, I warned you first: "Be careful, though. Really be careful because you are carving right inside." After that I moved closer to you. "I know on the camera sometimes it's impossible to see," I said.
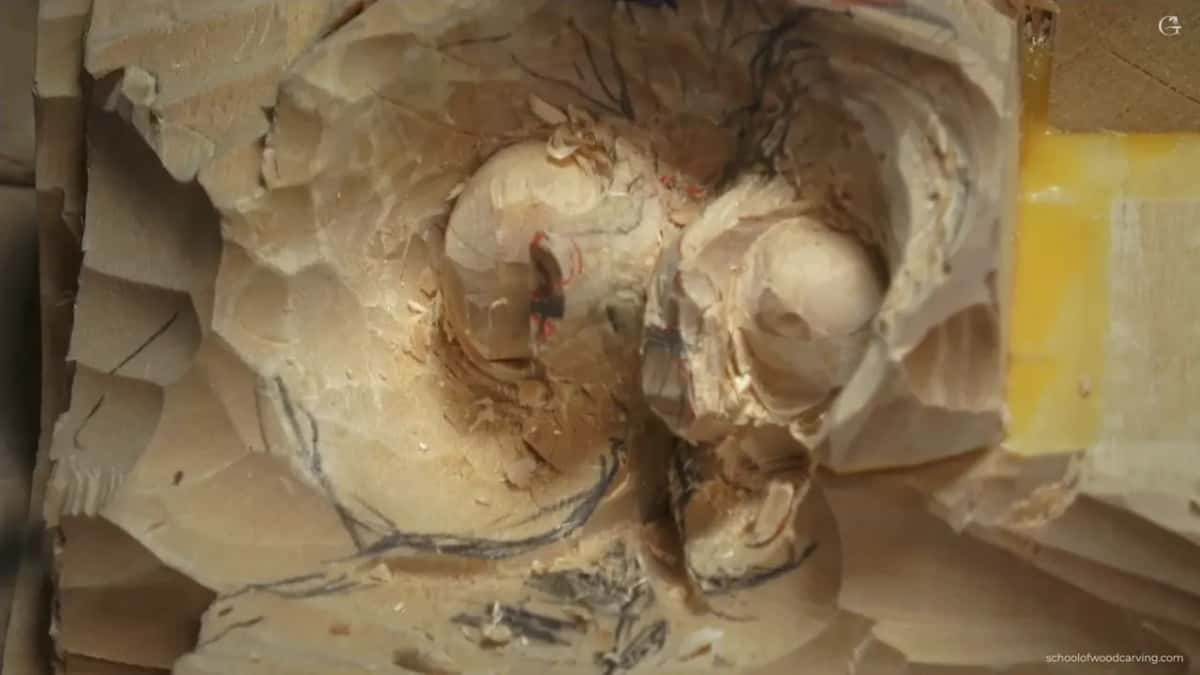
The half inch came where I had to connect a messed-up area with the rest of the husk. Pretty deep, I said. "For me, that's really important to connect that messed-up area," I added.
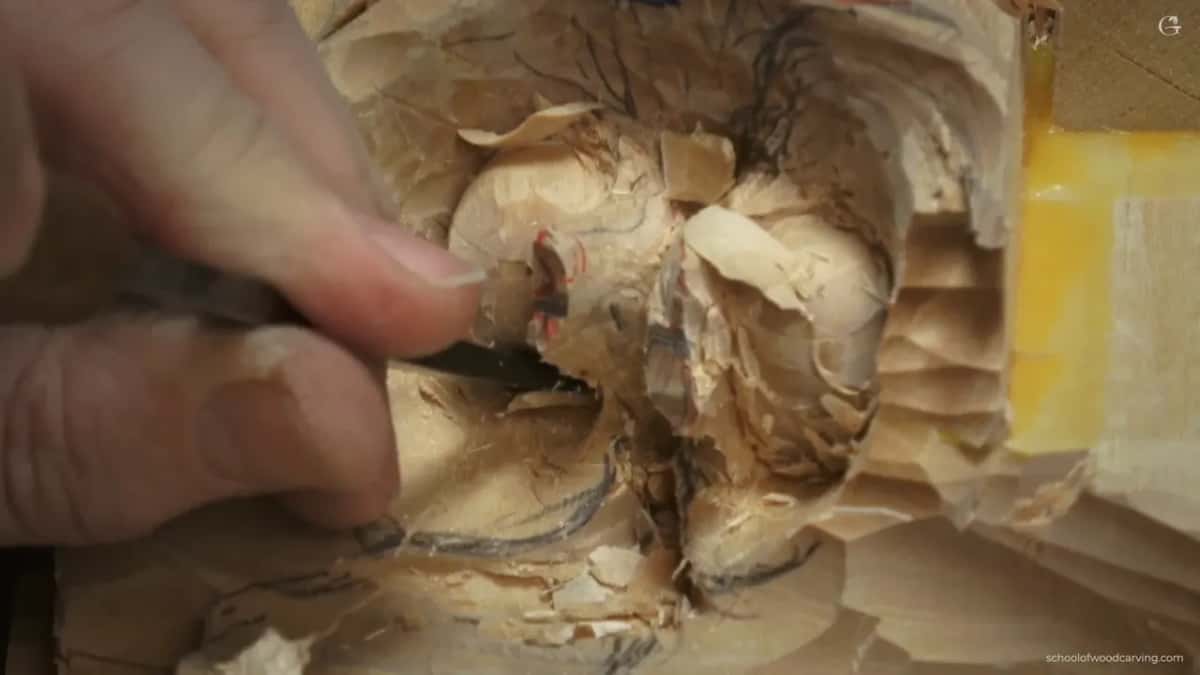
Not every in-cut goes that far. Some I called preliminary: "those are just the preliminary in-cuts because I still want to do a lot more motions." I gave no number for those. A third one, with the small four millimeter number 11, I only called kind of deep too.
Which way does the gouge go in an in-cut?
Inward, to the middle of the shape. "Again, overall motion has to go to the center," I said in the second part, and half a minute later the number 9 went that way again. With the 14 mm number 11 back in the first part it was inward again, "like so."
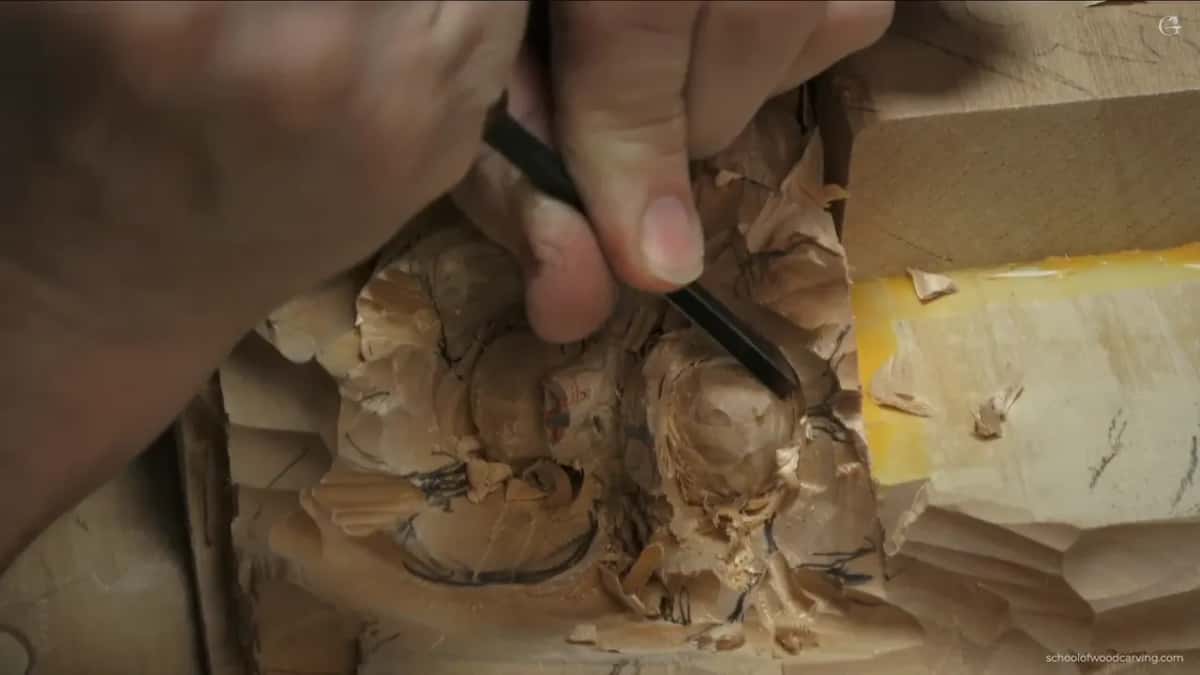
At the connecting point the number 7 went upside down. Later, going in underneath one flank, I said, "Maybe it's upside down too." I didn't say why.
Where I came in from changed too. I changed the position of the tool to attack from the other side, and said I had to be careful how I attack it. That word shows up a lot in this lesson, and there's a page on what attacking the wood means.
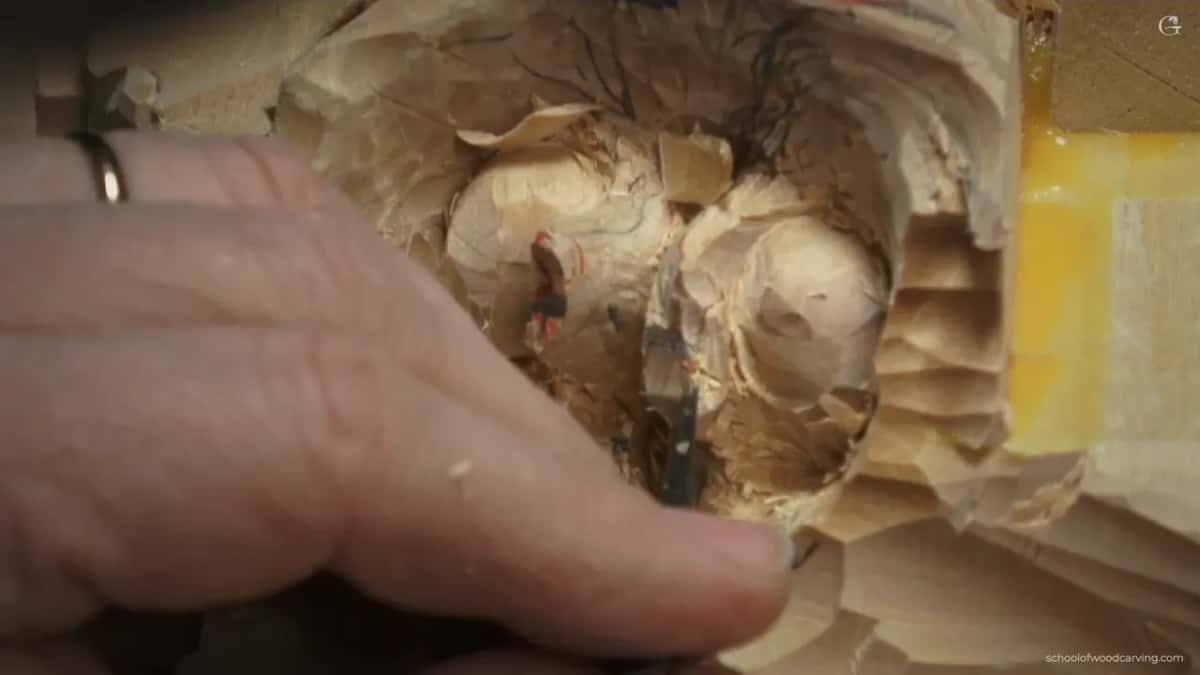
Sometimes I picked wrong. Working a concave with a quarter inch number 9, I stopped: "Oops. No, it's the wrong direction. I should attack that from the opposite side." A spoon gouge was probably a better idea, I said, "But that's okay, I'm just roughing in overall motion."
Is an in-cut the same as an undercut?
In this lesson I kept them apart. Making the early in-cuts of the third part, I said, "And I'm not undercutting because I still want to create more waviness." The undercuts came after.
The two can sit close, though. Back in the first part I'd said, "I can in-cut underneath of this side also." That's an in-cut going under, and right after it came the half inch I told you about.
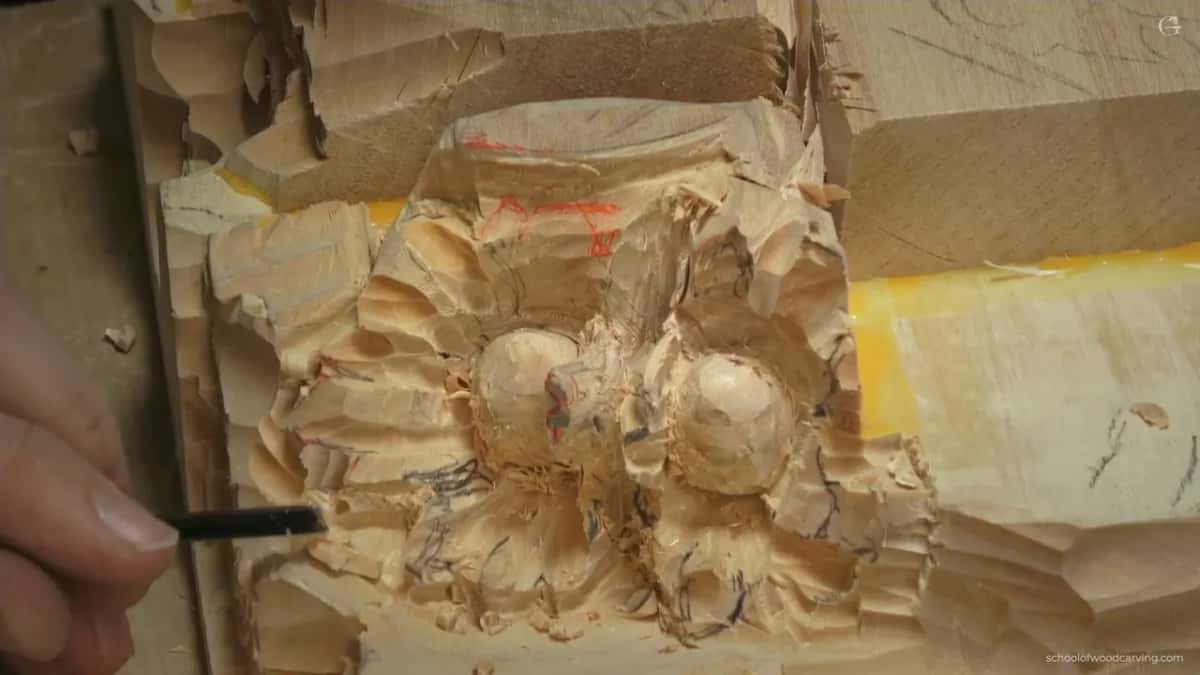
When I did undercut, I named it plainly, and I kept it slight. I also raised an edge for shadow on this hazelnut, and there's a page on raising an edge that tells it.
What does an in-cut do for the husk?
It connects things, mostly. That's the job I named again and again. "Again, the goal is connecting this part with overall husk." The Dockyard gouge went in "just to make sure it looks like everything connects it." And before I went on: "before I do more separations, I want to make sure everything's just really connected."
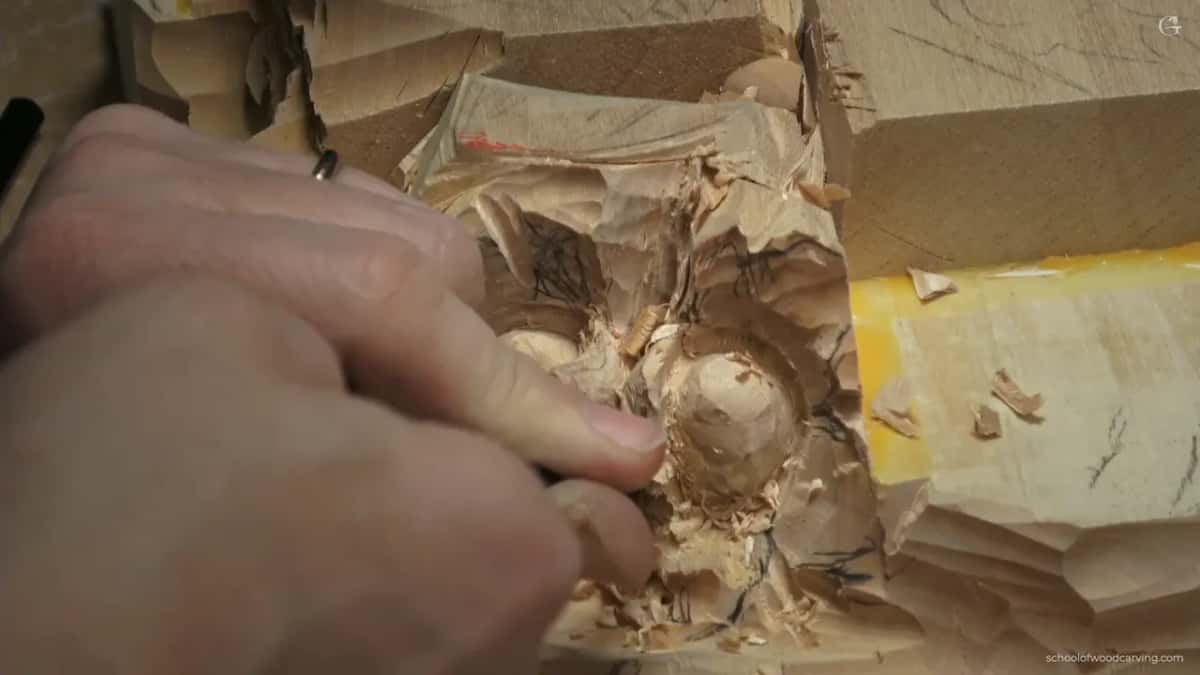
On the fix it was the same. "Same tool, number seven," I said, going for another in-cut, and then, "I know it's kind of scary to fix those mistakes, but whatever. It already happened." Soon after, I said I didn't want to take too much material like I did previously, but that for me it was important to connect this part of the husk to the other one.
It starts things too. My first in-cut of the second part began "from that space where I made the mistake," and I added, "Again, don't force it. Otherwise, you're going to make a huge mistake." And right after: "I still have to make sure it just blends. It really blends."
And shadow showed up after one. After the deep in-cut along the husk I chopped some extra wood beside it, using a 10 mm number 7 (3/8 in), and said, "So now I got my shadow." That was the first shadow I pointed out in this hazelnut lesson.
How do you know an in-cut worked?
You look, and sometimes you can't tell yet. "Sorry, I'm not sure if you can see how it forms already," I said during the first part, the number 11 going inward. Three gouges later, after a 14 mm one went in, I said, "That's much better." After the Dockyard in-cut came "looks like I was able to connect this side," and a few minutes after that, "I'm not sure if you can see the development or not. It's already looking like doing something."
Later still, in the third part, I could say it plainly: "I can see some husk."
What comes after an in-cut?
Twice in the second part, a flatter tool. The number 9 would go in, and then I'd take a number 3 of 1/8 in (3 mm) and clean the thing, as I put it. Next, I said, it would probably be wiser to use a half millimeter number 11, about 1/50 in, to get rid of the mess I'd just made inside. "Try not to break it," I said. "I'm talking to myself."
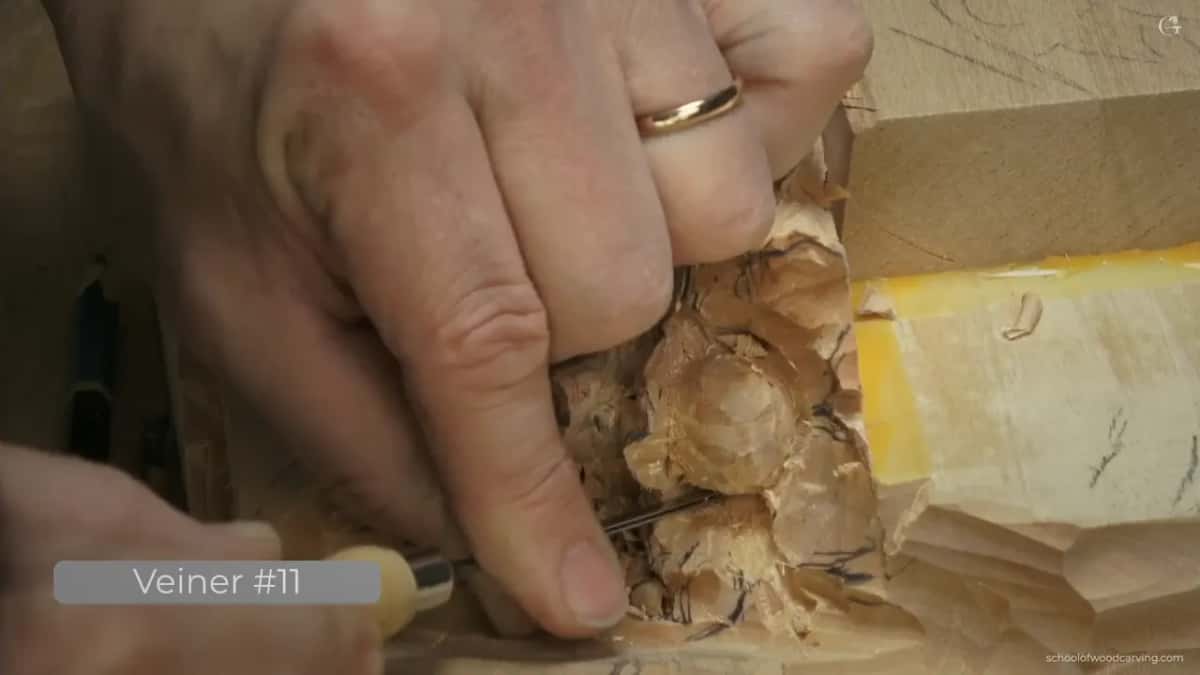
Sometimes a smaller gouge. On a concave beside the in-cuts I said I didn't see enough blending and needed a smaller tool, and took a smaller number 7, 10 mm or about 0.4 in. My next pass would be more careful, I added.
Sharp points got the same treatment. Those had to go, so a number 2 shaped them, carefully, because I didn't want to lose the overall idea. Each of those separations is still going to look like a leaf, I said.
What goes wrong when an in-cut meets end grain?
On this husk, the grain caught. On the side of the nut I said, "That is my end grain," and I called it kind of dangerous to carve into the grain there. It happened on camera in the second part, right after some preliminary in-cuts made by the number 11. "I got the grain. I caught the grain," I said, and right after, "I did the right direction, but still kind of sketchy."
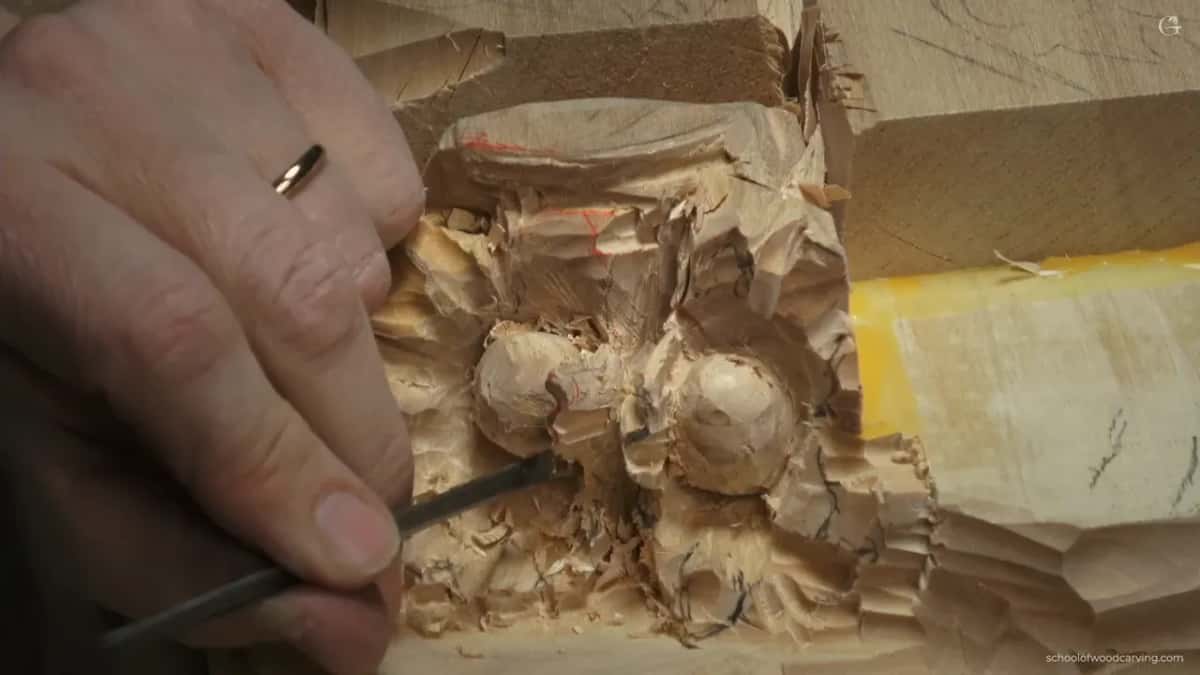
Two things from the first part go with that. The tools have to be absolutely sharp, I said, and with dull ones I don't know how it's even possible to carve. Maybe at some point, I added, I'd bring some back bent gouges into the carving.
Pfeil makes a number 16 V tool, I told viewers in the third part, for anyone who wants to buy one, and right away I said you don't have to.
What does the husk look like after all those in-cuts?
Messy, for a while. Near the end of the first part I said it looks so messy and doesn't look right at all, "But it's okay. It's going to look right once we've done." By the second I could already see some of the motions. And at the end of the third, I turned it to the camera and said it does look chunky, and that it was enough for today.
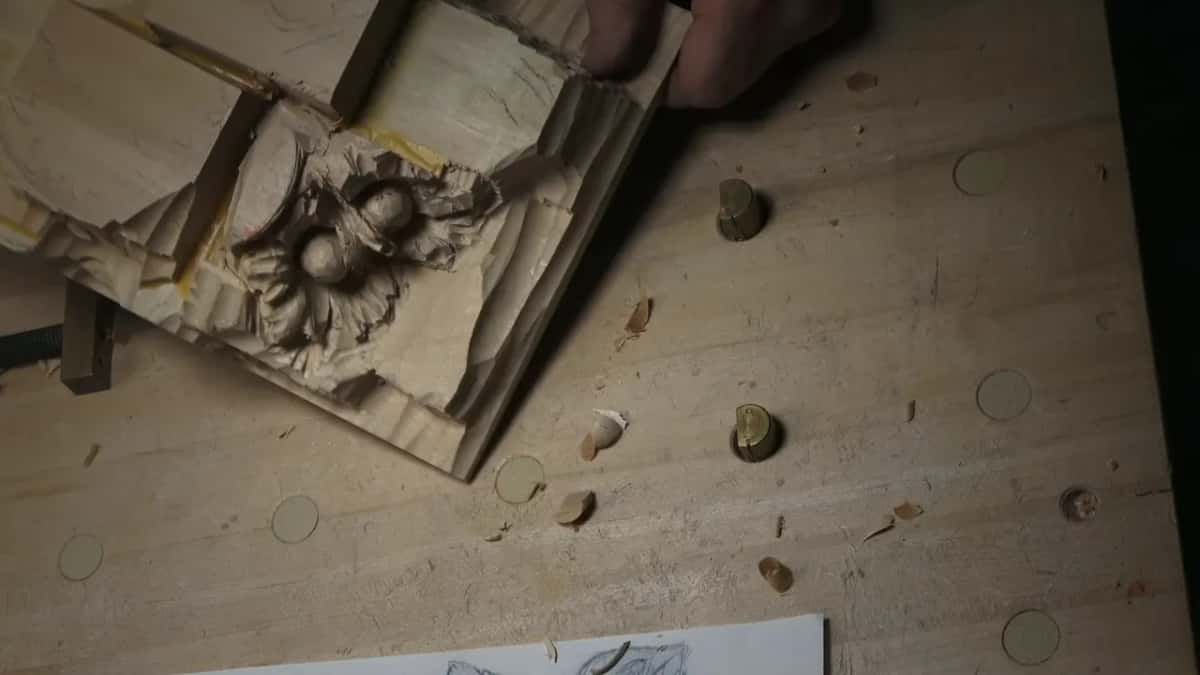
One more line from that lesson. "Just try to watch what I'm doing," I said, "I understand sometimes it's kind of confusing." The whole lesson is on the site, and the tuition and access page tells you how to watch it.
How it's done
- Outline with a small number 11. Run it along the edge of a shape, the way my veiner went down the husk. A V tool works there too, I said.
- Push the gouge inward. Aim it at the middle of the shape, as my number 9 did, 3/16 in wide.
- Call the first ones preliminary. Mine were just preliminary early on, since I still wanted a lot more motions in the husk.
- Do not force it. I told viewers not to force it, or they would make a huge mistake.
- Go deeper where parts must meet. Where the repair had to blend in, mine went a half inch down on the inside.
- Check that it connects. Before more separations, I made sure everything was really connected.
Frequently asked questions
Can a V tool make an in-cut?
On camera I said one would suit the job, along the side of one husk. My own went in with a number 11 near an eighth of an inch anyway, maybe 5 mm, maybe 3/16, and I kept going on the far side.
How deep did your in-cuts go?
About half an inch on the inside, where a messed-up area had to meet the rest of the husk. Earlier, a number 11 went about nine millimeters, a little less than 3/8 of an inch, and I moved closer to the camera for it.
Do you turn the gouge over for an in-cut?
Once in this lesson, at the spot where two husks meet, a number 7 about 7 mm wide went upside down. Later, going in under one flank, I said maybe it's upside down too. I gave no reason either time, so I won't make one up here.
What to carve next