

Alexander Grabovetskiy, woodcarver, School of Woodcarving · Published 2022
How do you critique your own wood carving before you carve it further?
Quick answer: Critiquing a carving is a short list you make before the next pass. After Maine, I looked at my panel and named what bothered me: unfinished work, layers that showed on the edge, and flat flowers. Each complaint got its own tool.
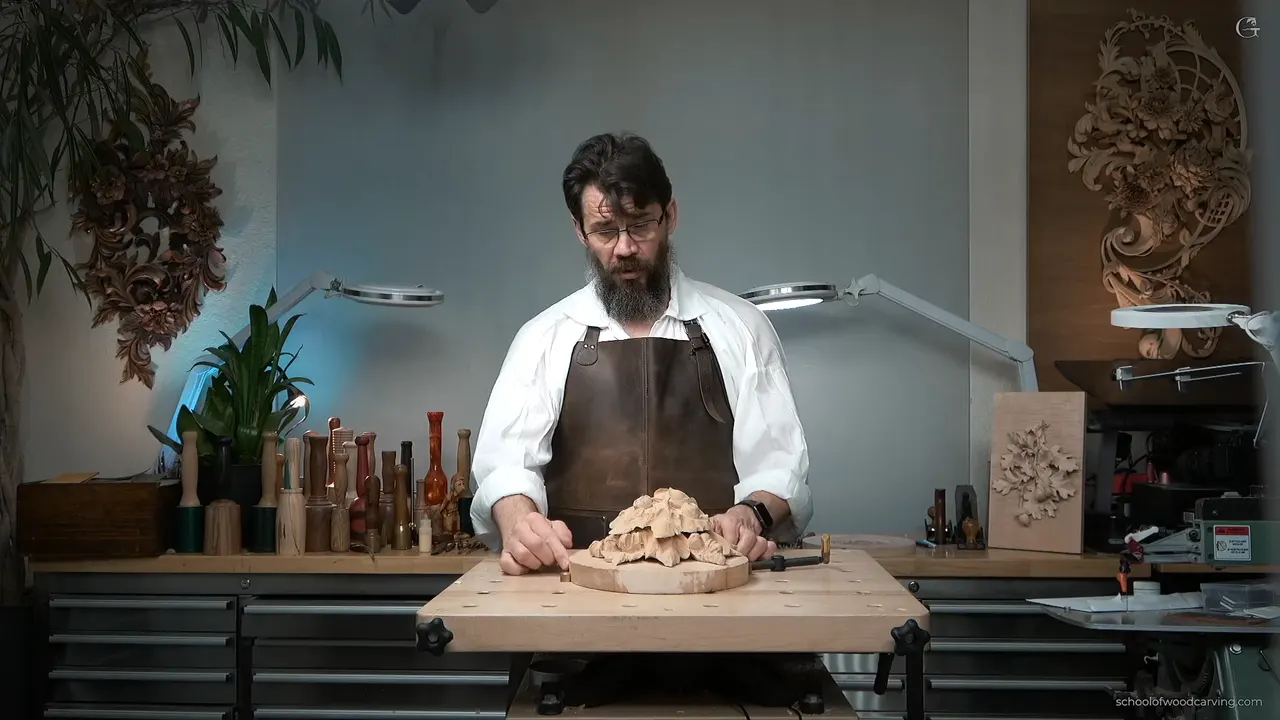
Critiquing a carving is a short list you make at the bench before the next pass, not a feeling about the whole piece. To improve a wood carving at home, I began with that list. My Grinling Gibbons panel had just come home from Maine, and the camera was running.
Ever finish a day of carving, sure that something is off, but unable to say what? A vague feeling gives your hands nothing to do.
This is class 9, part 1. Below you get my list, the first moves I made from it, and the same habit in seven other recordings of mine.

My list for the panel in six lines
- Unfinished, and I said so first.
- Viewed edge on, the layers refused to blend into one.
- Flat flowers wanted movement.
- A deep first pass came before anything else, and it started the excavation.
- A twist in the leaf showed me where to dig.
- I stopped before the hole.
What was wrong with the panel at home?
Five days in Maine, and the relief panel was still unfinished. Four and a half days of carving, really. Now it was home, and I wanted to keep working on it and take it to a better stage. We also sharpened, I explained things, and Friday is usually a shorter day. I had not filmed the whole thing, and I never expected anyone could carve that much in so little time.

My verdict was somewhat okay, with a few things that bothered me. Naturally it was not done. Second, a look along the edge showed two layers, and they did not blend nicely.
I even took a word back. I should not say it does not look nice, I told you.
Why look at a carving from the side?
Looked at from the angle, it is obvious: two pieces glued together. I told you that does not look appealing.
At the Marc Adams School I had taught another Gibbons class, and there we blended everything a little better. I did not film that one, so I could not show you. The Maine panel, which I did film, was the one I could take to the extreme. In some Gibbons work seen edge on, you can detect the layers too.

The lesson on making two glued layers look like one carving tells the larger story. Here I only want you to see where it started, with me studying the edge of the piece.
How do you improve a wood carving you already finished in class?
First came the question of how far I wanted to go with this piece. Mine was a better stage, and then the extreme. In class we used only a simple set, a few tools. Going further meant a lot more than a few, and I told you so.
The full list of tools I leave out of this project. It is somewhat more advanced, and most likely a simple set will not get you there. The extreme version is where extra tools come in.
The third video adds a small point about that. I was using a big tool, and a straight one at that. A really good, tiny spoon would help in an area like that, because it works with the grain. Without one, you can still carve it the way I just did, I told you.
What do you do about a flat surface?
A flower was the first thing I picked to attack on the panel. I wanted some kind of movement, and then to separate this layer. My complaint was that the surfaces were too flat, and what I wanted was a downhill, if you wish, and full 3D.
A number 7 gouge came to mind first, and I figured a six or a five would work too. Before long I changed my mind and grabbed a number 5.

Which gouge made the first deep pass?
That number 5 is about half an inch wide, maybe a little more. My guess was 14 millimeters (a little over 9/16 inch). Out loud I even fixed the tool number: seven, or rather, apologies, five.
My excavation began with a bit more roll of the tool, because depth was the point. Upside down, it made a really deep pass, and the same tool could probably clean the spot afterward. Breaking through is possible there. None of it was wanted. I hoped you could see all this on camera, and I called that a good point to stop.

Right on the inside, a small twist was showing, though I was not sure you would catch it.
What do you do with a twist already in the leaf?
I wanted to take advantage of that twist. A pencil helped me show it, and I wanted the leaf to go just like that, with an excavation right inside. Digging came after.

For that I reached for a number 9, about 3 millimeters (1/8 inch), and made a plug cut. The tool sits inside, at roughly the angle of the leaf, because it only has to be approximately the same. A hand drill or an electric drill could make the opening too, and that should be okay.
Somewhere in there I went right through. There was an excavation on the inside, and I hoped I had not messed up.
What is the rolling back effect?
Rolling back is my name for the effect I was after. In that section, maybe I could roll it backwards. Another number 9, this time at 10 millimeters (about 3/8 inch), made a deeper pass on the side.
The rolling back effect was my target. With the same tool I attacked the side and undercut it. Hope you see that movement, I said. It just curls nicely.

Next to it, an area got the same thought, and a little drop there would give me a concave moment. Against the grain in some places, I admitted, and I would fix that later. A straight line had no place in it. That is why the curve goes downhill, then up again.
Where do you stop before the hole?
Watch for the hole. Breaking through was something to avoid, in part 1 and again later. Another section needed a little more depth, so a smaller number 9, 3 millimeters (an eighth of an inch), did that excavation.

The third video put it plainly. Little by little, I said, keeping an eye on whether I was hitting the hole. I can always take more a little later, and I did not want to until the last moment. One spot ended up paper thin, and that is what I wanted to see.
Near the end of this part, the movement did not have to stay as it was. Somewhere close by I could drop it even more concave. First I found the best position for you to see it, and then that section went down a little more.
What did the rest of class 9 add to my list?
Both later parts kept the habit. At the start of part 2, a rough surface did not worry me yet. Shape was what I was after, not a clean finish, though too rough was not the idea either.
Number 11, 4 millimeters (a little bigger than 1/8 inch), cleaned the inside and gave me what I called a curly curl. A really crazy excavation could run there, up, down, then back, for a gorgeous movement. The overall shape of the leaf was going to be wavy, with no straight lines in it, and an extra concave on one side was an option.

Then I raised one area slightly. Number 9 again, 10 millimeters (about 3/8 inch), did it, the same tool I used when I was teaching, and I thought it would give me an interesting movement, though not a crazy one. Blending came next, and I checked the grain direction and followed it.
The hole turns up in part 2 as well. I had excavated all the way through, and it was pretty close, so care was needed. I left it. Okay, I thought, I would work with it. Later, my number 11 at an eighth of an inch (about 3 mm) met another hole. Absolutely fine, I said. Lots of holes like that would come in the future, I added, though I had to be careful.
In the third video I start at a bulging area. Right in the middle of it, I wanted a concave. Petals and flowers grow from the center and are not fully developed at first, so that middle is always concave, and I wanted to copy it.
Blending was the whole job at that point, and excavating more than I needed was out. An indication was enough.
Facets showed on the leaf next. They needed cleaning, but not all of them, since some movement had to stay. Somewhat was my word for it.

Small passes under the leaf went the same way. A hole was already there, so overdoing it was out, and the work was only an indication of that undercut. Then another hole showed up, and I guessed I had overdone it on the backside. That was all right.
Look at that leaf, I said at one point, how crazy I got with it. That is what makes a flower alive.
Another spot was the edge, which did not look good yet. A small, tiny tool, any one you own, was needed. For the edge I took a number 3, roughly 3 mm (1/8 in). A hole inside, I said, would get cleaned a little later, no problem there.
One part had my full approval. I was really happy with its overall movement, and cleaning it could wait. It is probably one of the areas where you can be creative and really express yourself.
One side of the petal looked too high near the end of part 3, so it had to come down closer to the center. Chisel number 1, a skew, did that, a quarter inch (about 6 mm) in my case. It can excavate really deep.
Do I judge my work this way in other courses?
The same few words keep coming up. Each line below is mine, from another recording, and I name the lesson.
In the Furniture Panel design course, lesson 9, a really good idea is to step back, look, and stare for a few moments to check whether you like it. One area was not looking too good in my opinion. The movement itself was really good, but too crowded for the spot, and it would draw my eye away. I would keep the main outline and change the double acanthus so that one hid under the second.

Lesson 14 of that course, on the same panel, had a couple of things I wanted to fix, though overall it looked really good. One simple element I really did not care for. I planned to hit an existing line with a movement and repeat that curvature nearby.
A flat surface turned up again in lesson 23, in the carving stage. Too early yet, I said. I would establish a few concaves and convexes along the edge, and in 3D too. My number 8 at 3 mm (1/8 in) went to work on that, going toward the center.

Background work in lesson 19 had a different problem. The movements pleased me, but the look and feel did not, and it was too stripey for my taste. A slight softening fixed it, and for me it looked much better.
A movement too straight came up in lesson 29. Number 11, at 2 millimeters (about 5/64 inch), supplied the waviness. It also came out a little too weak, I admitted, but that was okay.

Over in the Hashemi Flowers course, lesson 15, a part looked messy and I disliked it, but it was not the final stage yet. A minute later I explained that in most cases a detail like that would be left alone because it is stable. We were making a piece of art, though, and we would take it to the extreme.
The Lily Box course gave me a movement I was not too happy about. A pipe I had planned there looked wrong, so I would make it part of the overall leaf instead. A notch would flip downward, and an undercut underneath would make it look as if it grows from underneath.

Where each complaint went in other lessons
| Complaint | My move | Where |
|---|---|---|
| Too crowded | keep the outline, hide one acanthus under the second | Furniture 9 |
| Flat surface | a few concaves and convexes with a number 8 | Carving stage 23 |
| Stripey look | softened it slightly and liked it better | Background 19 |
| Straight movement | added waviness with a number 11 | Late panel 29 |
| Odd pipe | make it part of the leaf, with a notch | Lily Box 6 |
What does it look like when the list works?
In these three videos my habit was the same: look, name the problem, pick a tool, take a pass. Once one more pass would have made a hole, I called that my stopping point.
The Grinling Gibbons course shows the whole panel, and every class of it opens with Tuition. You watch me judge it, carve it, and judge it again.
How it's done
- Say what is unfinished. Unfinished came first. After that I named a second problem, layers that did not blend, and a third, flat flower surfaces.
- Look at the edge. Turning the piece on its edge showed me two boards glued together. That looked unappealing to me, and full 3D was my goal.
- Take the first deep pass. My choice was a number 5, a little over half an inch wide. Upside down, it made a really deep pass, and the same tool cleaned it afterward.
- Follow the twist. A pencil marked the twist already in the leaf. Number 9, about 3 mm, made a plug cut inside it, at roughly the angle of the leaf.
- Roll the leaf back. Number 9 again, at 10 mm, made a deeper pass along the side, then an undercut. A curve that goes downhill and rises again was the goal, with no straight line.
- Stop before you break through. Going through the wood was something to avoid. A turn of the piece gave me a better view, and I dropped one more section down.
Frequently asked questions
Is it okay to criticize a carving you made yourself?
On camera, in the first minute, I did exactly that. It looked somewhat okay to me, and I listed what bothered me before carving anything.
What did I look at first on my panel?
Whether it was finished, how the layers blended at the side, and how flat the flowers looked. That made up my plan for part 1.
Do you need a lot of tools to take a carving further than class went?
For class we kept a simple set with only a few tools. This piece is somewhat more advanced, and for the extreme version I told you to expect a lot more.
What to carve next