

Alexander Grabovetskiy, woodcarver, School of Woodcarving · Published 2022
How do you carve a hollow in the middle of a bulging petal?
Quick answer: A concave dug into a bulging petal is a shallow dip that makes the petal look as if it grew outward from its core. On my Gibbons panel I removed a mere indication of wood, blended it, and quit the moment the carving came near to opening up.
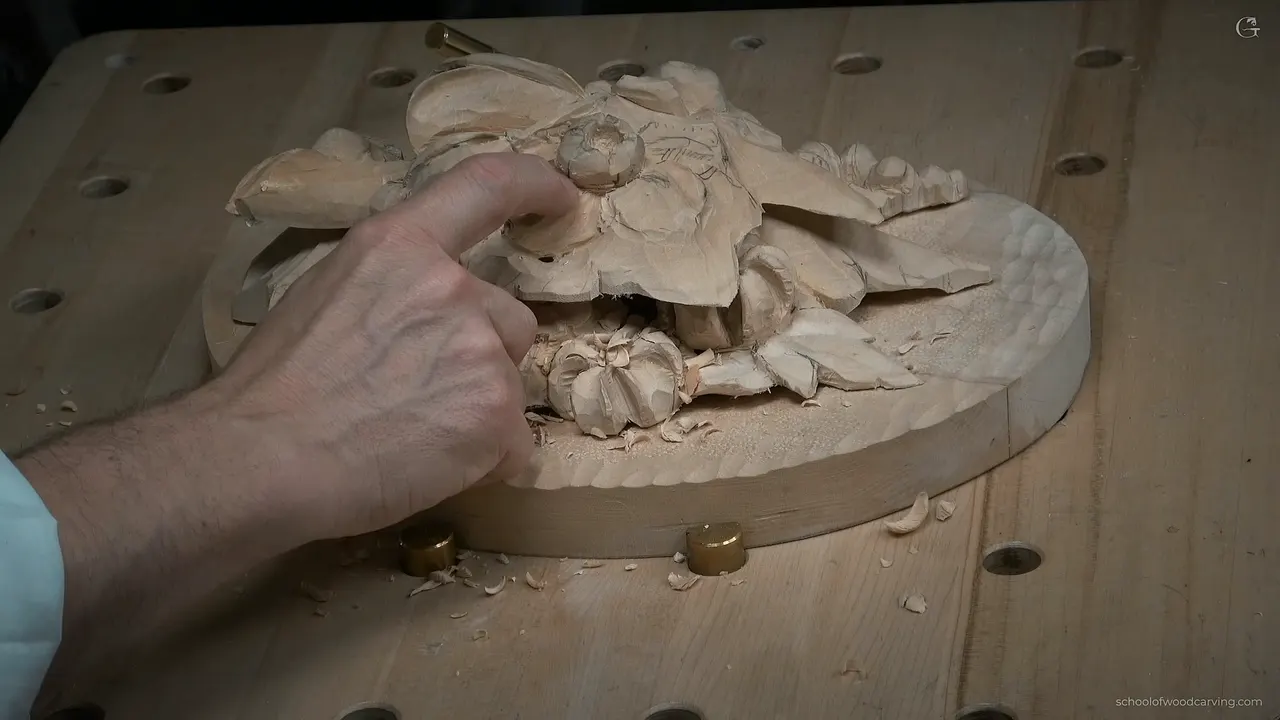
A hollow in the middle of a bulging petal is a shallow concave set into the bulge. On my Grinling Gibbons panel I carved one in class 9, part 3. My reason came out on camera. The petal had swelled into a bulge, and I wanted the dip in the middle of it.
Ever carved a petal round and smooth, then felt that one thing was missing? Could it be a small dip? Below is what I did on the relief panel I brought home from Maine, followed by the same dip on five other pieces.

Six lines on the petal hollow
- Plan a concave inside the bulge.
- Go shallow, take no more than you need, and blend it.
- A tiny spoon is a help, though a big, straight tool can still do the job.
- Some facets stay.
- Stop when the next pass would open a hole in the petal.
- A skew chisel lowers the high side.
Why hollow the center of a bulging petal?
Petals and flowers grow from the center, I told you, and that growth is what I wanted to copy. Before a petal is fully developed it rolls one way, and later it develops another way. That area, in my words, is like a concave. My plan was a second dip, right in the middle of that bulging area.
How deep should the hollow go?
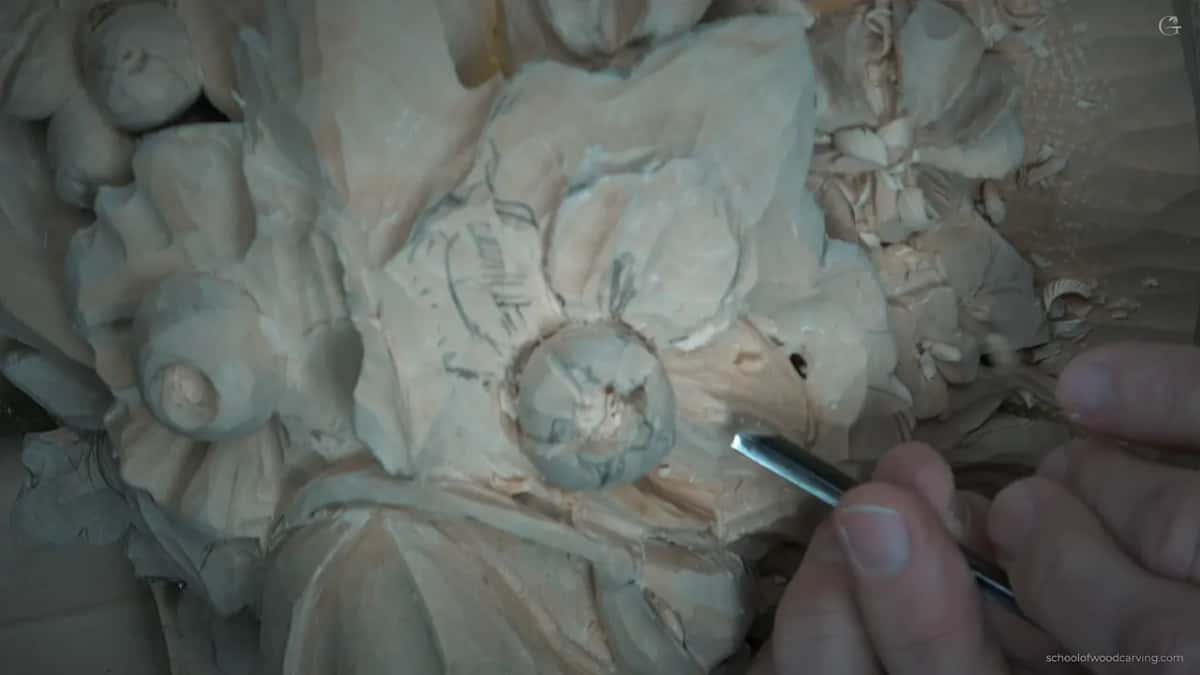
Only to an indication. With a tool already in my hand I took a little wood out of that spot, and I reminded myself to be careful. Blending came next. I wanted to avoid removing more than I needed, and I used the word indication twice.
Which tool helps most with the grain?
A good spoon. My tool for this stretch was a big, straight one, and I told you a really good spoon would help in an area like that, since it can follow the grain. My spoons are tiny. Without one you can still carve the spot, the way I just did.
A spoon lets me really attack that along the grain. Then the wood told me where to quit, because I was almost through again.

That was a stopping point. The hollow had left facets that needed cleaning, so I reached for a back bent gouge, a number 3. Any back bent would work, I said.
What happens to the facets after the hollow?
Part of them stay. Eliminating them completely was out, because I still wanted to see some movement, but somewhat. After that I wanted to undercut a little more, add a bit of waviness at one spot, and maybe a little more in a second one.

My first guess for the next tool was a number 8, about five millimeters (about 3/16 in). Then I decided I needed something smaller, a number 11 at about two millimeters (about 0.08 in). Small passes joined it right underneath.
The hole I already had changed how far I would go. Overdoing it was off the table, and the undercut stayed a mere indication. Everything else I could bring over to that hole.
What does crazy look like on a leaf?
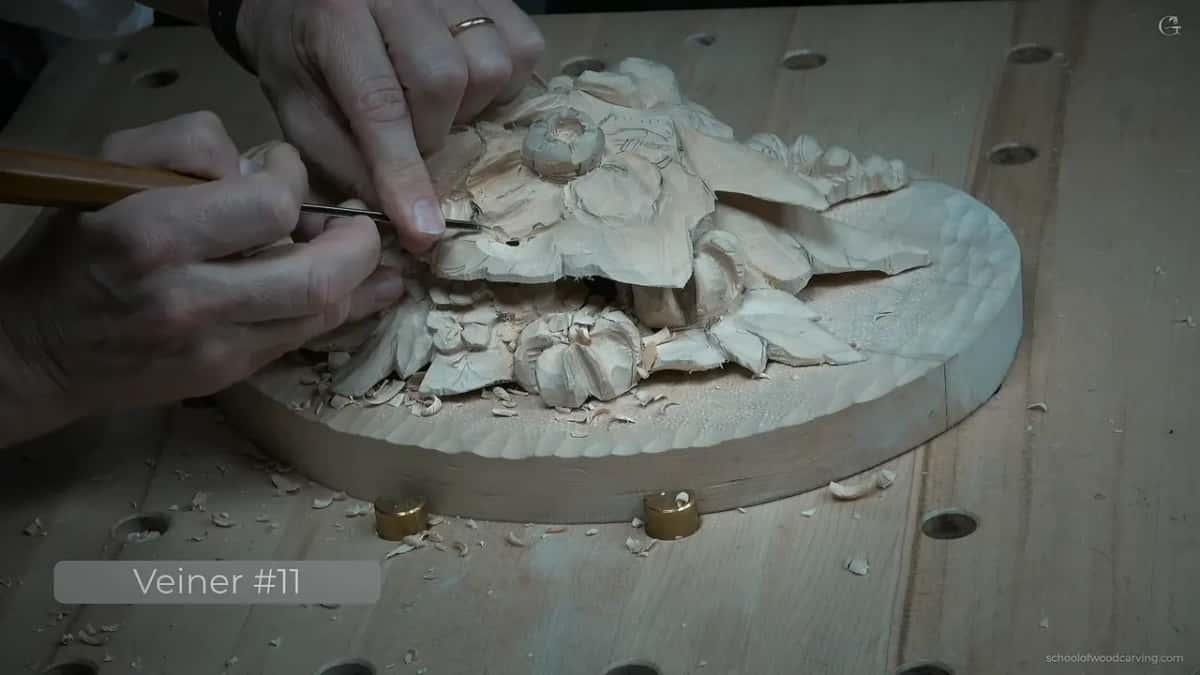
See how crazy I got with that leaf, I told you, but that is what makes a flower alive. After that I attacked from the edges and removed wood little by little.
Watching for the hole stayed the job. Breaking through was the thing to avoid, and more wood can come off a little later, just not until the last moment.
Can you leave a hole that opens up?
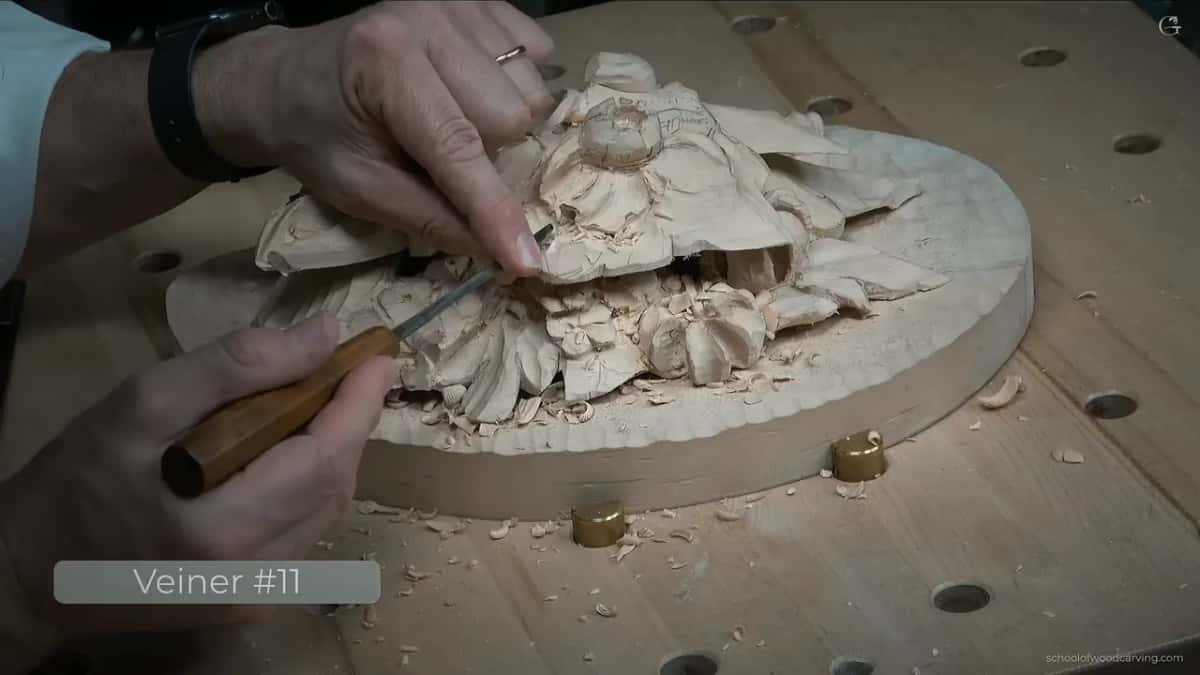
Probably so. I planned to leave the inside as it was for now, I said, and clean it a little later, which should not be a problem. The edge did not look good yet, so I turned to it with a number 3 at about three millimeters, which is 1/8 of an inch. In my case that was a spoon, and which tool you own does not matter. At one point I showed you the inside of the hole and held my hands back so the camera could look, though I was not sure you could see it.
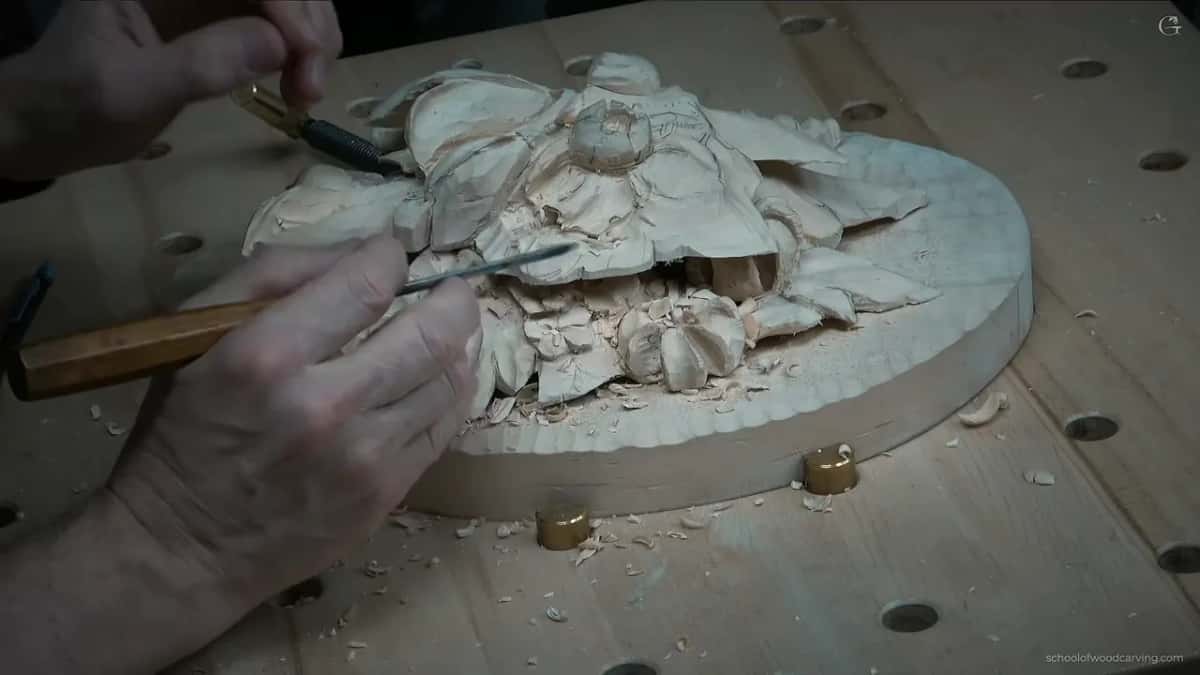
Later I told you to stop worrying about the hole. A bunch of leaves would sit around it, and it could become one of the separations between them. Then another one showed up, and I guessed I had overdone it on the backside. That was okay.
A small number 8 came back out and went carefully to the edge. Paper thin, I said, and that is what I want to see.
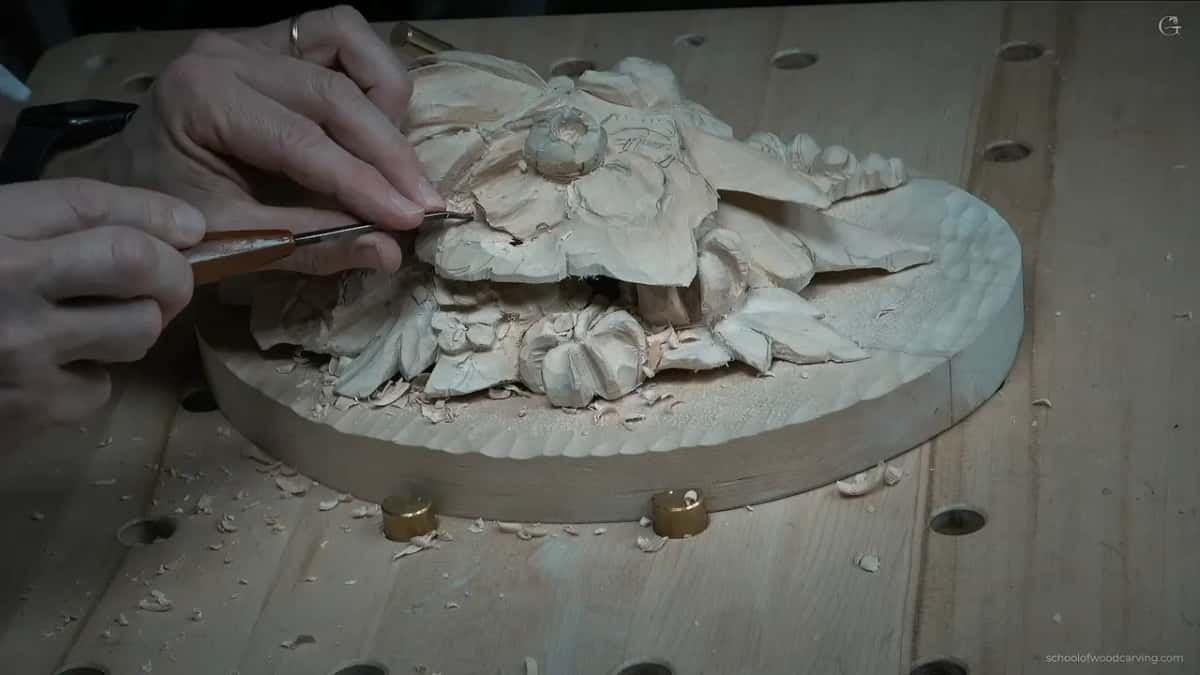
Is the petal finished after the hollow?
Not yet. I told you I liked the overall movement of this, then admitted I did not need to clean it yet. Really happy, I said, with the overall.

This is probably one of the areas where you can be creative, I said, and really express yourself. One more curl waited right there, though I wanted to stay out of deep wood, since I was nearly through.
How do you lower the high side of a petal?
Use a flatter tool. One side of that petal sat a little too high, so it needed to come down toward the middle. My pick was a skew chisel, number 1, a quarter inch, about 6 mm in my case, because I wanted the petal to feel like it was rolling.
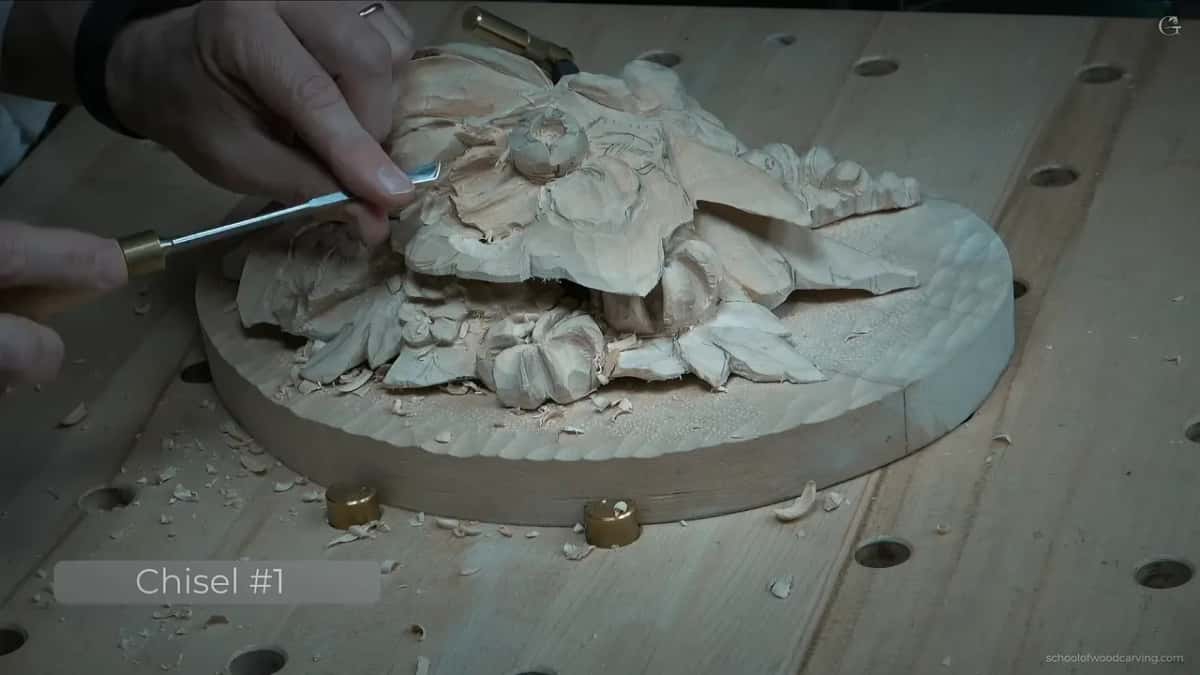
The skew could get that shape done. The number 11, four millimeters (about 5/32 in), might handle a preliminary clean, I said, so cleaning could stay on the list for later. Then came the skew again, and with it I could excavate really deep and create the shape.
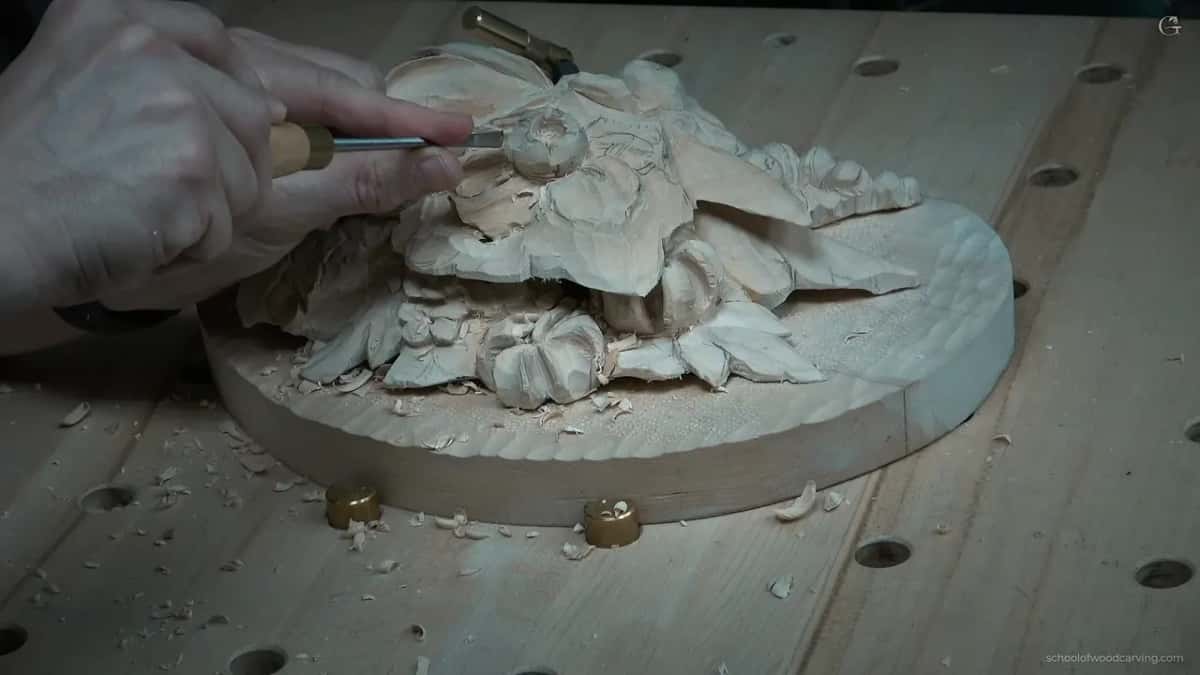
Tools in the order I picked them up: the back bent number 3, a number 8, the number 11 for two millimeters, a number 3 at 1/8 inch, a small number 8 again, and the skew. A number 11 for four millimeters was the maybe after that.
One more petal was going to go underneath, but for now the carving was good. Which petal goes over which is the subject of the class 8 page.
Where else did I carve a dip into a petal?
Five other pieces, in other courses. Each one shows a different tool, so a table comes first, then one piece at a time.
| Piece | Hollow | Result |
|---|---|---|
| Gibbons panel, Maine | took a shallow dip from the bulge | just indication, then blended |
| Floral panel, 13 | a concave running down each petal's center | going downhill, small tool |
| Furniture panel, 19 | a deeper pass heading to the center | grows outward from there |
| Lily Box, 12.1 | one big concave filleted to each side | then a number three |
| Hashemi flowers, 33 | number nine gouge, a quarter inch wide | deep concave, maybe middle |
| Venice Room, 135 | somewhat deeper concave placed in the middle | blended out with convexes |
The floral panel. In lesson 13 of the Floral and Molding course, part 3, I asked you to think about how a petal is going to grow. There is the middle part. A petal starts from the side of the middle, goes up in a bulge, then goes down, and seen sideways, like a section cut, that is how it looks.
My small tool there was about three millimeters (about 1/8 in), a number 8 or 9. Every petal was due a concave sloping downhill through its center. I began one on camera. From another side I showed you the starting point and mentioned a second concave leading to the center, and the same would be done on all of them.
A smaller tool came next, maybe the one from before, at one and a half millimeters (about 1/16 in). Careful, I warned, because this can become fragile. Right now it is solid, and I can just beat on it. The plan was to keep my poking pass away from the middle part so it would not break, and to attack from two sides, little by little.
Another groove was planned with a half millimeter (about 0.02 in) number 11, a concave down the petals' middle for an extra shadow spot. The edge was not the place to begin. I planned to start at what I called the golden spot, 60 and 40, although the camera does not show that. Some petals went right underneath their neighbors, I said, this one under that one and so on.

That flower had five petals, and I planned to eyeball them. Earlier I planned to take some wood from nearer the middle with the small tool, a somewhat deeper pass, since I wanted some shadow. Upside down, the tool carved inward on an angle, the way I work on the eyes of an acanthus leaf. A really deep line there cast what I called a beautiful shadow.
Part of the recording lost its audio, so I drew what I was working on with a pencil. I wanted a lot of waviness on all the petals. A couple of concaves went on both sides of every petal. In the middle, I said, goes a concave, then another one there, and the sides carry a convex before a little concave at the ends. Those moves are the main idea of the petals, I said. The piece was not clean yet, and I planned to finish it off camera with a magnifying glass, since I had to get really close.

The furniture panel. Lesson 19 of the Carving Furniture Panel course has two moments. In part 9 one movement got a little concave set in the middle, and it goes up again. Not much, but still. I used just the back side of the tool.
Part 15 brought a number 7, heading for the center. The idea, I said, is that everything is supposed to grow from the center out, and every cut will count. Just before that I had described the carving going in, then up, then down, but in one spot I could go deeper.
The Venice Room. In workshop 135, part 2, one concave went close to a little detail. There is some dip there, I said, and it does not have to sit on the same level. The next one was planned in the middle, somewhat deeper. It would go a little inward, then be blended out. Blending convexes could follow right away, and just blending is all it is going to take. Afterward a number 7 could refine the overall movement, and nothing is wrong with spending time on that.
Workshop 41, part 5, had a quieter version. Too much was not what I wanted, and I still wanted to see some movement on the inside. There were a couple of ways to bring that movement out, I said, and maybe one was just a little bigger concave there, centered.
Workshop 38, part 3, matches my Gibbons petal. At the beginning the hollow looked really deep, I said, but once we started developing the convexes, it did not look too deep at all.
The Lily Box. Part 1 of lesson 12 in the Lily Box course included a boundary cut for the petal on the right-hand side of my tool. Then I wondered aloud whether one big concave in the middle could go all the way down. I apologized that you could not see it, and a different angle of the piece fixed that. Just one concave in the middle, I said again.

Next a number 3 filleted toward one side, then the other. I blended a little, and from the backside I showed what we had done: we created that concave.
The Hashemi flowers. In the Hashemi Flowers course, lesson 33, I said I would take a number 9 at a quarter inch (6 mm) and make a deep concave. I thought it over first, and it looked like I was able to make one there. Where else could I do that? One piece might flip the other way, with the concave going all the way down. Maybe, I said, we can put a concave right in the middle.
What about the next hollow on the Gibbons panel?
Openings between petals come later, in class 15, and a swirl inside a small flower comes in class 17. Class 9 holds the glued layers this petal belongs to, on the class 9 page.
Will watching me hollow a petal teach you to do it?
The words give you the order: plan the dip, take an indication, switch to a smaller tool, watch for the hole, and lower the side that sits too high. The moment when the wood gets thin under your hand is the part words leave out, and the video shows it several times: where the first hole opened, where I stopped, and which small tools came next. The Tuition page tells you how to watch it, along with the rest of this wood carving course.
How it's done
- Plan the dip. Find the peak of the bulge and pick the spot for a concave. Mine went in the middle of the bulging area.
- Go shallow first. Excavate a little, carefully. Blending matters more than depth, and I wanted to remove nothing extra.
- Switch to a smaller tool. Mine went from a number 8, about 5 mm, down to the number 11, about 2 mm. A tiny spoon suits the grain.
- Watch for the hole. When one more pass would break through, stop there. More wood can come off later.
- Lower the high side. The skew chisel brought that side down and kept the rolling feel.
- Leave the cleaning for later. Some facets stay, because movement needs them, and the rest of the petal could wait for its clean.
Frequently asked questions
Why carve a dip into a petal?
On camera I said petals and flowers grow outward from the middle, and I wanted to replicate that. Before they are fully developed they roll one way, then they develop another way, and that area is like a concave.
How deep did I go with the first hollow?
An indication, nothing more. A little wood left the center, and I told you to be careful. Blending was the next step, since I wanted to remove no more than the spot needed.
Do you need a spoon gouge for a petal hollow?
A good spoon follows the grain, and I own tiny ones. My tool in this video was a big, straight one, and you can still carve the spot the way I just did if you have no spoon.
What to carve next
- Grinling Gibbons, class in Maine, the course page
- Grinling Gibbons, class in Maine, class 9
- Grinling Gibbons, class in Maine, class 8
- Grinling Gibbons, class in Maine, class 15
- Grinling Gibbons, class in Maine, class 17
- Carving Floral and Molding for the Panel, lesson 13
- Carving furniture panel, lesson 19
- Lily Box, lesson 12
- Carving Hashemi flowers, lesson 33