
July 23, 2026
By Alexander Grabovetskiy — Master Woodcarver · Founder, School of Wood Carving · 10 min read
Are there video lessons for advanced wood carving techniques?
Yes, there are video lessons for advanced wood carving techniques, and they are the best way to learn high-level skills without standing in a freezing workshop. You learn to handle deep undercuts, acanthus leaves, and stubborn grain right at your own bench.
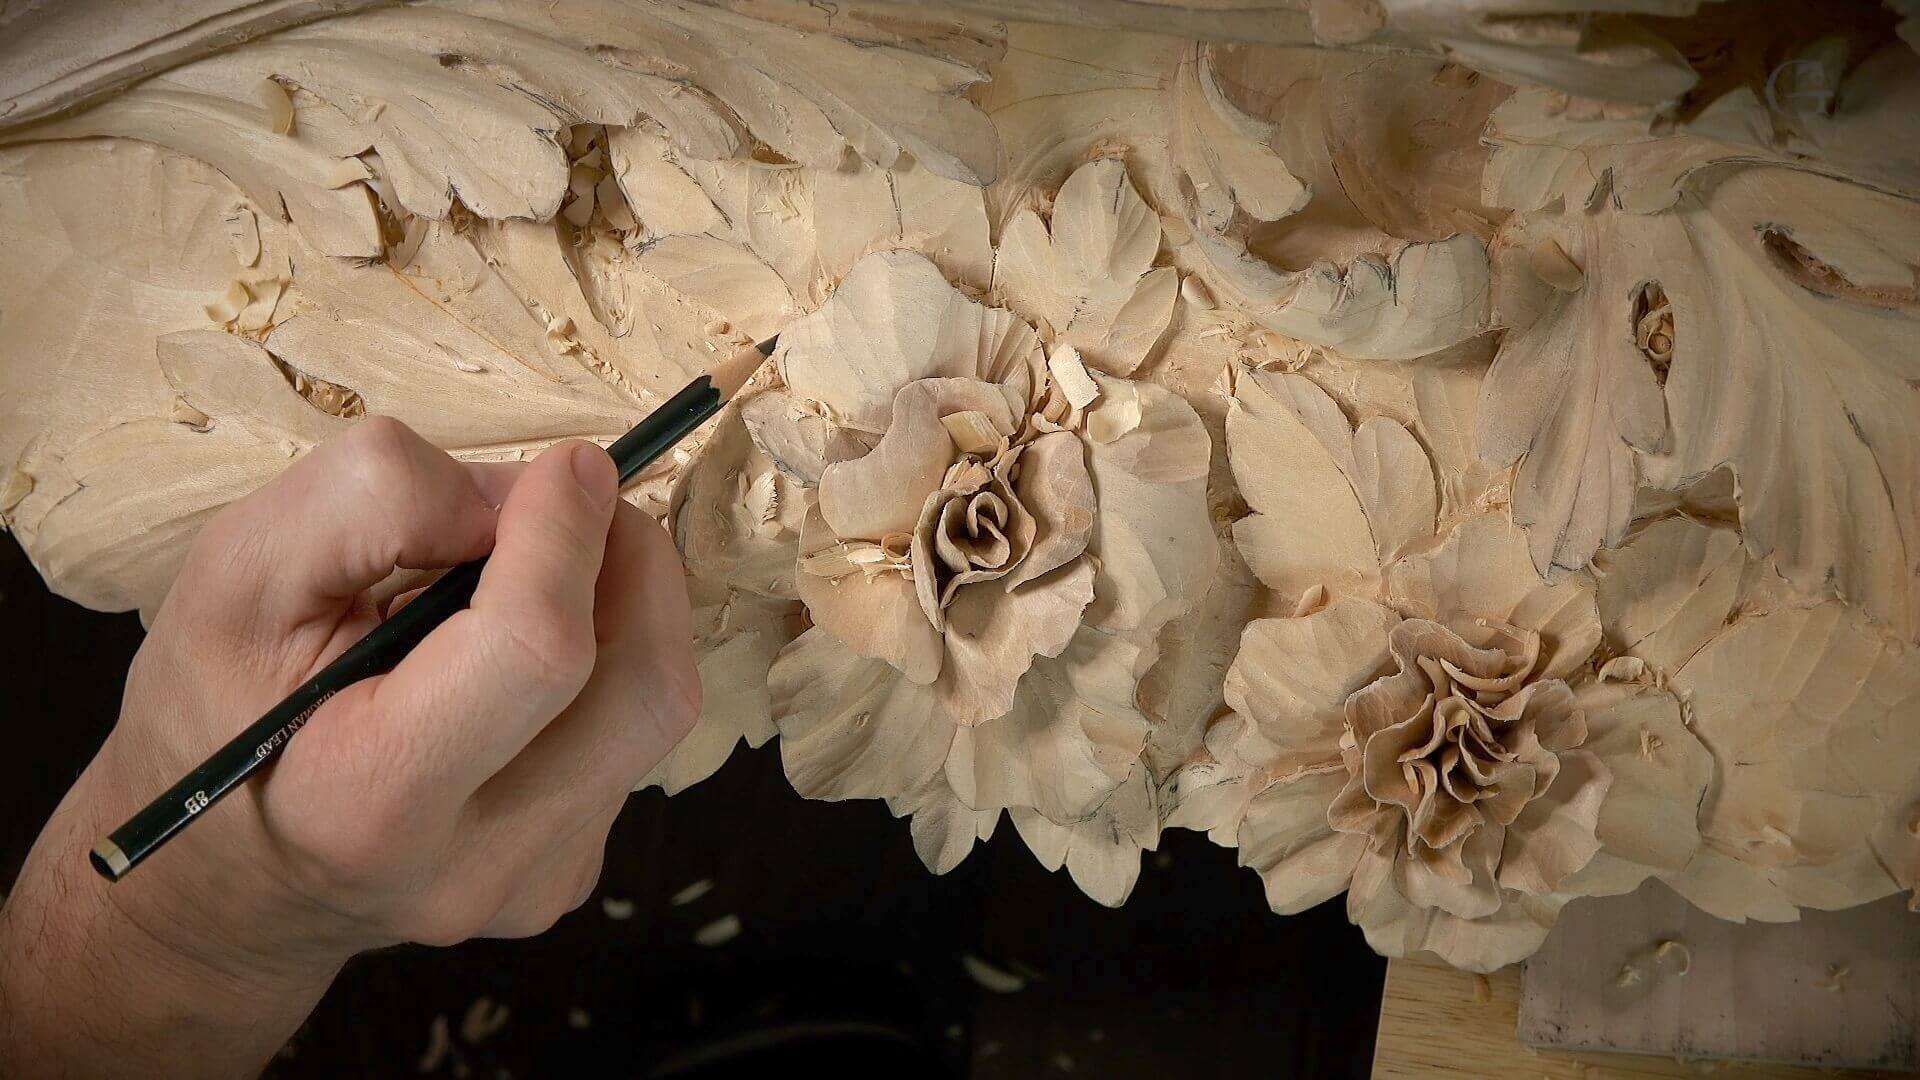
Many people think you have to stand next to a master carver for ten years to learn the real secrets of the trade. That used to be true. When I was 16, I became the sole apprentice to a fine art master in Russia just to pick up the way a tool thinks. He taught me to think like a tool. Today the camera can sit an inch from the cut and show you exactly where the steel meets the wood, the angle of the V-tool, the pressure of the mallet. Watch the same cut ten times in a row and your hands start to understand what your eyes just saw.
Can you really learn advanced wood carving techniques from a screen?
Video lessons work for advanced wood carving techniques because a camera can get closer to the tool than your own eyes can in a crowded classroom. The wood fiber pops right in front of you. You see how the carver handles the grain when it starts to fight back, and you can watch that moment again and again until it makes sense.
In a big class you might be in the back row, and you miss the small move of the wrist that makes a leaf look alive. On a screen you are always in the front row. Pause it. Watch a difficult undercut five times until your brain understands the geometry of the cut. Working in 3D and thinking through the space builds new brain cells, and that is how we grow.
But be real about the work. Watching is not carving. The gouge has to go into the basswood by your own hand, your hands will get tired, and you will make mistakes. Fine. That is how you learn. The video is a very honest teacher that never gets tired of repeating itself.
What makes a wood carving lesson advanced?
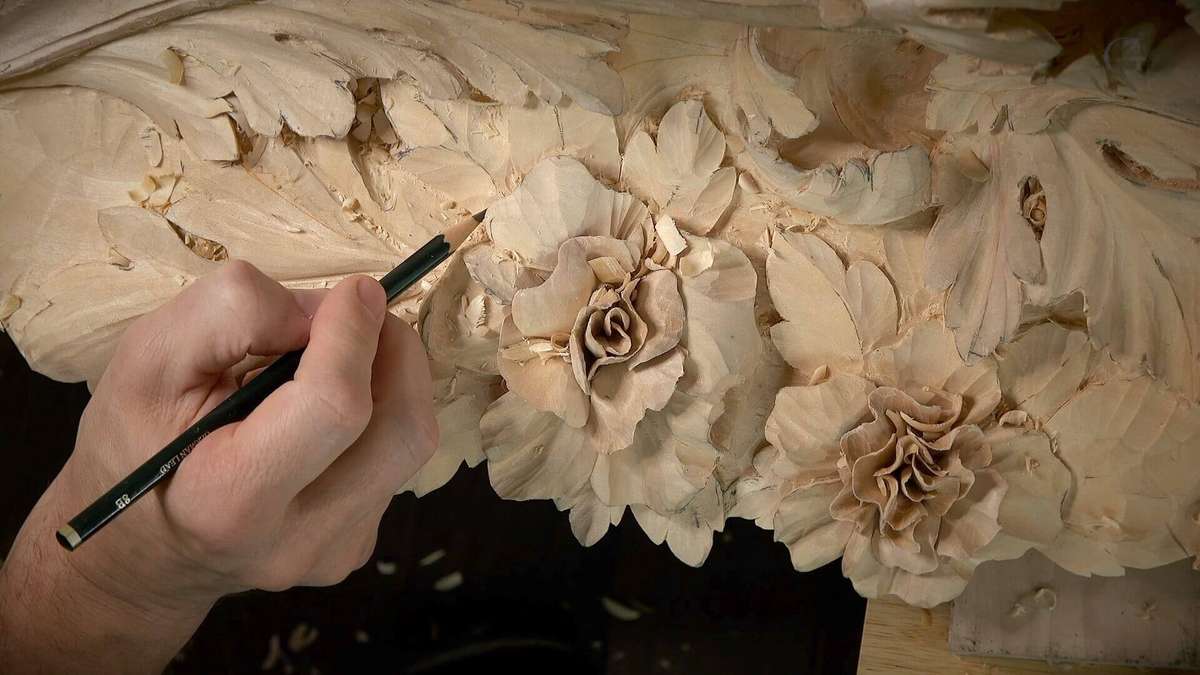
An advanced lesson moves past simple shapes and teaches you how to manage deep relief, complex shadows, and the laws of space. Going from a flat drawing to a sculpture that has real depth and weight is what separates the beginner from the advanced carver.
Carving high relief without breaking the delicate parts of the design.
Using a #7 gouge to create soft folds in fabric or skin.
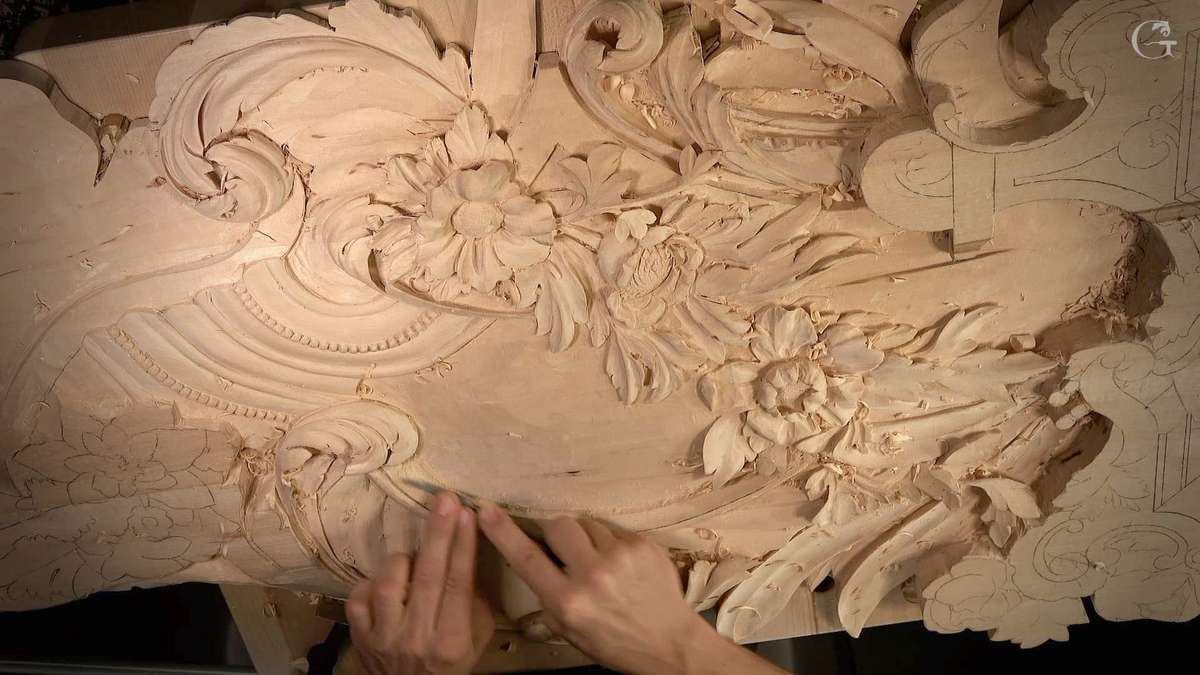
Getting the flow of acanthus leaves right so they look like they are growing, not just glued on.
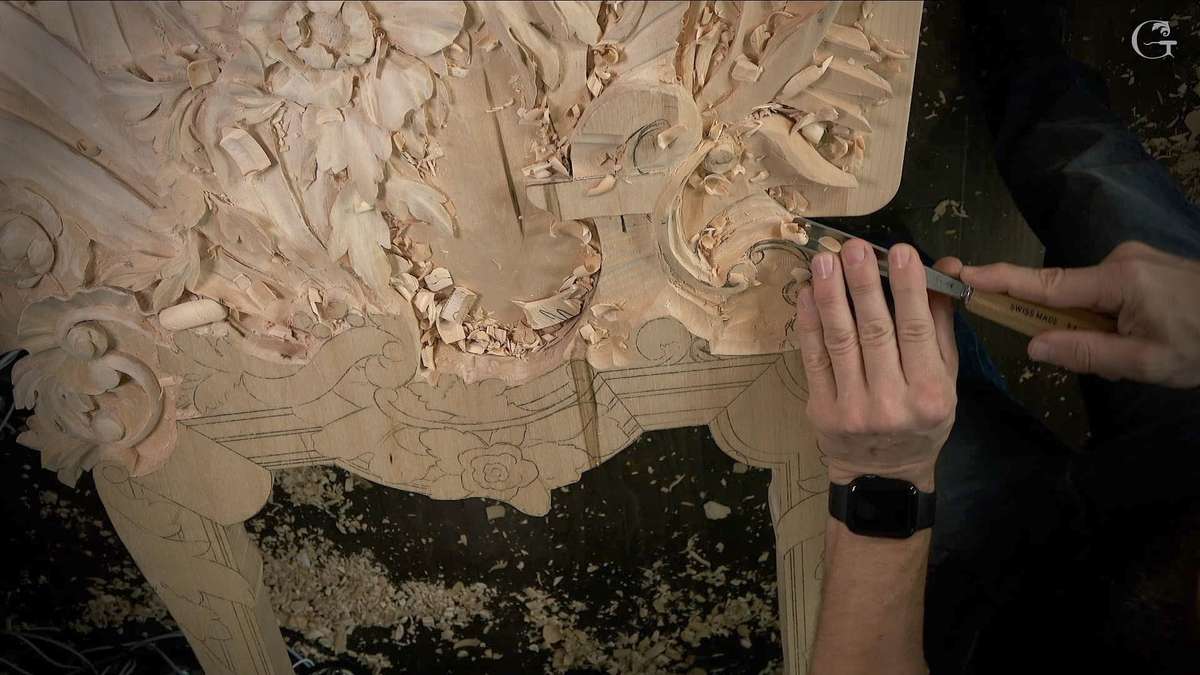
Working with Baroque and Rococo styles where every part of the carving has a specific rhythm.
Advanced work is hard. You have to think before you strike the mallet. Chop away at the wood without a plan and you end up with a mess, so a good lesson shows you the order of operations, which part to carve first, so you do not ruin the support for the next part. I tell my students the truth about where they are. Here is how I see it:
But I would say it's more advanced beginner. On the way to more advanced because I'm showing you a little more difficult, you know techniques.
That patience and planning is what separates a hobbyist from a master carver.
Why is high relief carving so difficult to learn?
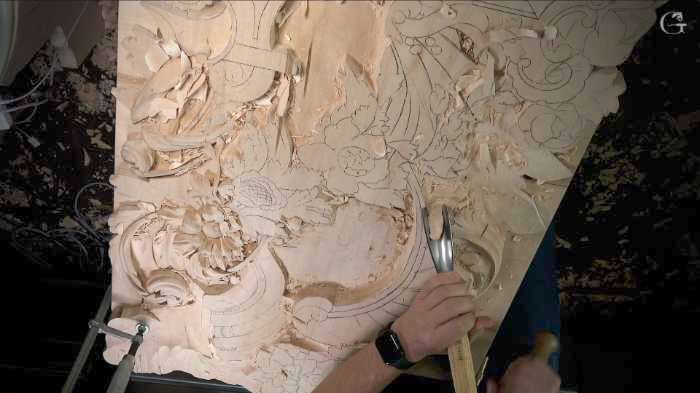
High relief is difficult because you are carving deep into the wood, which creates fragile bridges that can snap if you hit the grain the wrong way. You are removing a lot of mass to make deep shadows.
Deep carving makes the wood want to split. You have to know exactly where the strength of the board is. I remember pieces where a single slip of a skew chisel would have ruined forty hours of work, so be very careful. In high relief carving lessons you pick up the way to support the wood with your hand while you slice through the fibers, and you learn to listen to the sound of the cut. If the wood screams, you are doing it wrong.
People also mix up the names, and the names matter because the approach changes with the depth. Let me explain it:
You said low relief. Is this considered medium relief? No, that is a high relief.
And patience is everything. You are not just making a shape, you are managing light. The shadows give the carving its power. Too shallow and the carving looks flat. Too deep and messy and it looks like a hole. The steel and the grain have to work together, and it takes years to get it right every single time.
How do you master acanthus leaves through a tutorial?
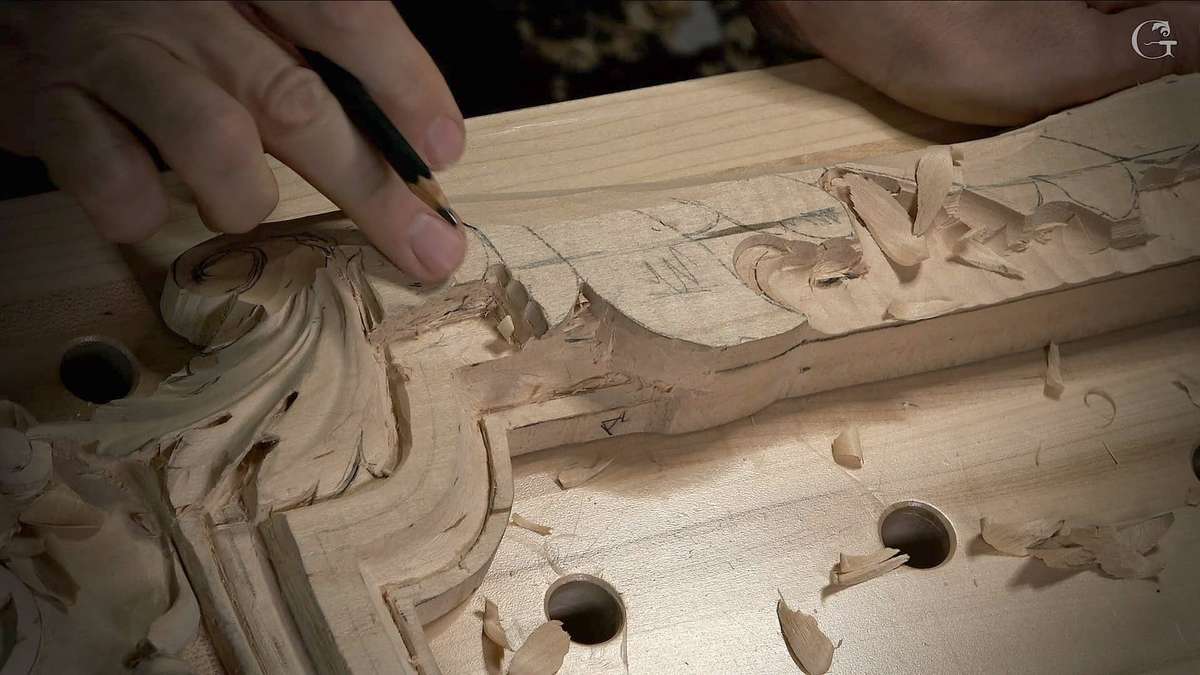
You master acanthus leaves by learning the specific rhythm of the leaf, from the heavy base to the thin, flickering tips. An acanthus carving tutorial breaks the leaf down into small, manageable sections that follow a logical flow.
The acanthus leaf is the king of ornaments. Most beginners make it look like a dead cabbage. To make it look alive you have to understand the tension in the leaf, where it is heavy and where it is light, and you use a V-tool to define the veins and a gouge to roll the edges over. The little details are a whole study by themselves. Alexander puts it this way:
An eye of acanthus, okay? And I'm explaining a little more about the eyes and pipes, like anatomy of acanthus leaves in different acanthus lessons I have.
Watch how the carver turns the wood. Sometimes it is easier to turn the board than to turn your wrist. Small trick, big difference. And there is more than one way to build the leaf. Alexander puts it this way:
So this is not the only approach. There is a double layer, which I planning to do in another lesson on a smaller scale acanthus, like Byzantine style acanthus.
Once you understand the logic of one leaf, you can carve a thousand of them. That first one is always the hardest.
Is Baroque wood carving design too hard for video?
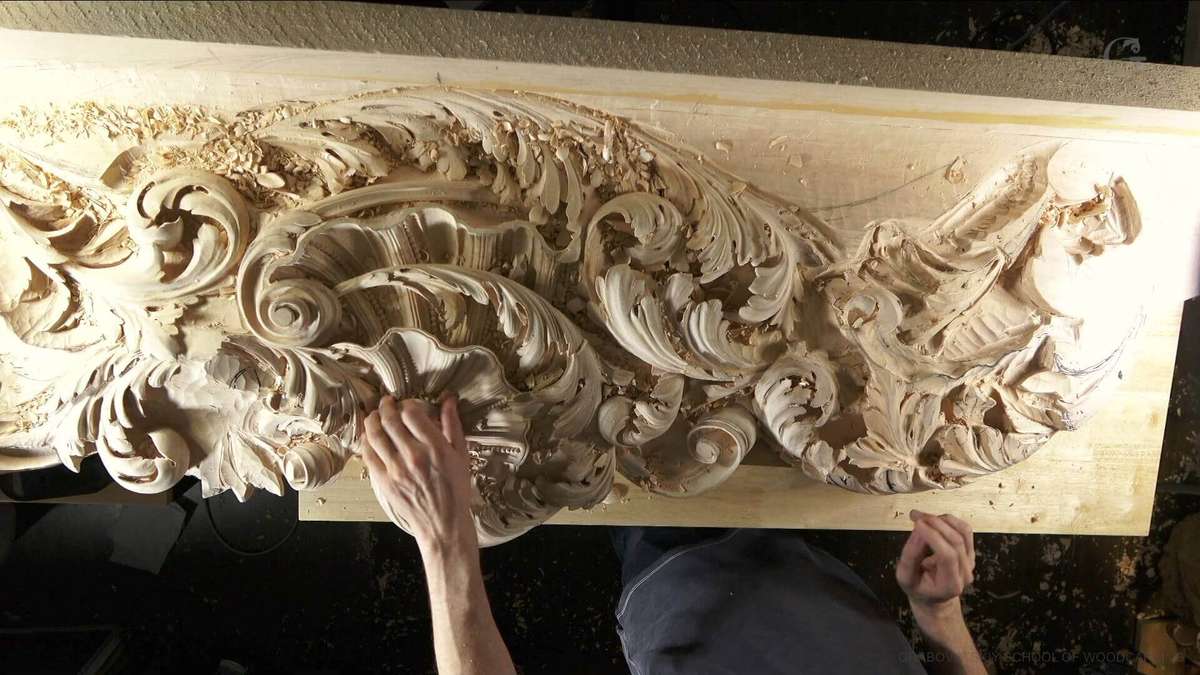
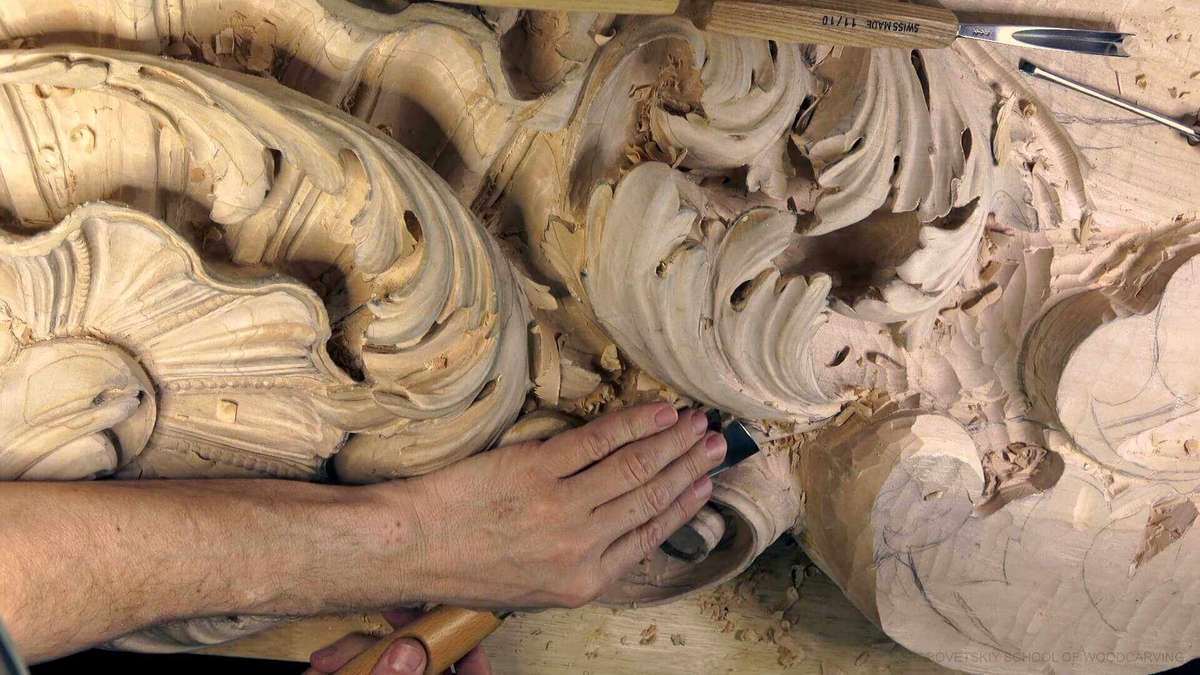
Baroque design is actually perfect for video because it relies on complex layers and overlapping shapes that are hard to explain with just words. You need to see how the different elements fit together in 3D space.
Baroque is about drama and movement. When you look at a Baroque carving, your eye should travel around the piece and not get stuck. In my school the lessons cover how to design these movements, the rules of space, and how to use repetition to create a sense of harmony. It is a calculated effort to make something that feels grand and permanent, and it takes a lot of practice to get it right.
You will learn to carve deep scrolls that look like they are spinning and shells that have real depth. This kind of work needs a sharp tool and a steady hand. A dull tool will tear the wood, and if your hand is shaky the lines go crooked. Video lets you see the correct posture and the correct grip, how I hold the mallet and use my whole body to drive the gouge through the wood.
How do you handle difficult wood grain in advanced work?
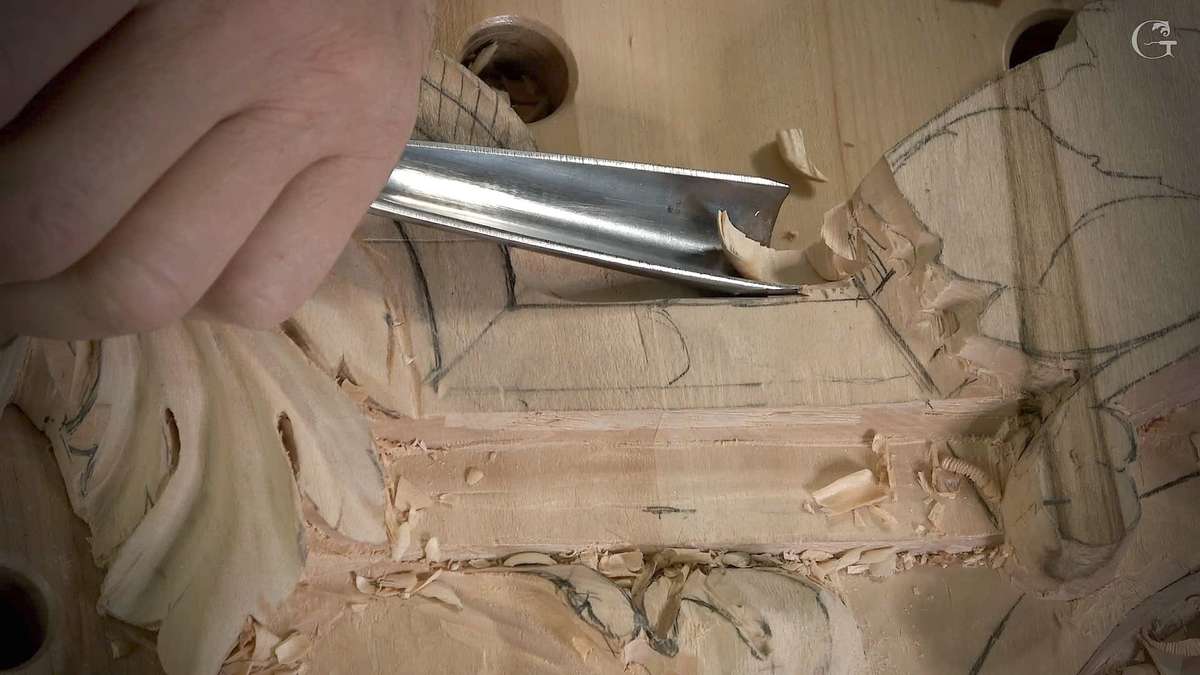
You handle difficult grain by reading the direction of the fibers before you ever touch the wood with a tool. Advanced wood grain carving techniques come down to slicing across the grain or with it, never against it in a way that causes tear-out.
Wood is a living thing. Even after it is cut into a board it has a memory and a direction. Force the gouge against the grain and the wood will fight you, it will chip and tear. Be smarter than the wood. Look at the board and read the map of the fibers. Sometimes you carve from the left, sometimes from the right, and a skew chisel helps you get a clean slice.
I always tell my students to use basswood or lindenwood for their first advanced projects. These woods are predictable, soft enough to carve but hard enough to hold a detail. Try to learn advanced techniques on oak or a scrap of pine and you will get frustrated. Pine is junk for fine carving. Too soft, and the grain is too uneven. Use the right wood for the job.
What is the difference between hobby carving and master carver techniques?
The difference is the level of precision and the understanding of classical design principles. Master carver techniques rest on the three pillars, in this order: Design, then Carving, then Sharpening.
Feature | Hobby level Carving | Master Carver Techniques |
|---|---|---|
Design | Copying a simple pattern | Understanding space and rhythm |
Tools | Basic set of palm tools | Full set of long-bent gouges and V-tools |
Sharpening | Occasional stropping | Daily Stropping |
Depth | chip carving | High relief and deep undercutting |
Sharpening is the hardest part. It takes years to get a perfect edge on a gouge, and a dull tool cannot do advanced work, it just bruises the wood. A master carver spends a lot of time at the strop. The videos cover the exact angle to use on the stone. We do not hide the boring parts, because the boring parts are what make the beautiful parts possible.
Why should you choose the Grabovetskiy School for advanced lessons?
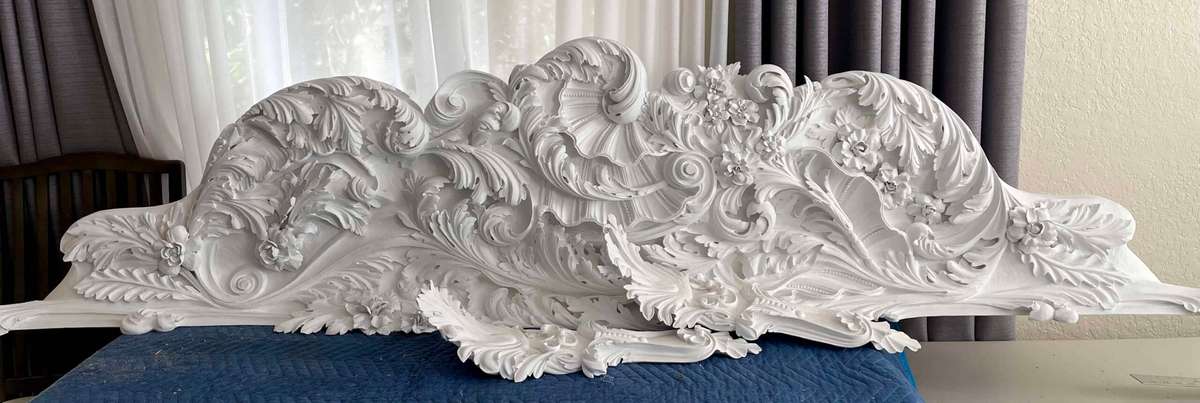
You should choose this school because we focus on classical European traditions that are hard to find anywhere else. I am going to be honest with you. I do not teach you to carve little spoons or birds. I teach you to carve furniture that matches Chippendale and architectural ornaments that belong in a palace.
My life has been about carving. I carved in a Soviet prison with a tiny gouge made from a nail and a handmade knife just to survive, so I know what it means to work hard. When I came to America I built a business and then realized carving was my true calling. I want to pass that on to you. Our school is a non-profit, and the money goes to help orphans and widows, and to sponsor talented children who cannot afford an education. When you learn with us, you are part of something bigger than a hobby.
We have students all over the world. Some are 14, some are 90. They all want the real way to carve, and we just show them the work, no slick words. You can see the results in the projects our students finish. Do you want to understand the rules of space? Are you ready to stop making simple cuts and start making real sculpture? Shall we carve?
Frequently asked questions
Do I need a lot of tools for advanced lessons?
You do not need a thousand tools, but you do need a few high-quality gouges and a of-course U-Veiner #11. Five seven that hold an edge. Start with a carving knife a good #7 gouge.
Can I learn advanced carving if I am a beginner?
Yes, but you must start with the basics of design and sharpening first. You cannot run before you can walk. We have lessons for every level, but the advanced ones require you to know how to hold a tool safely.
What wood is best for high relief carving?
Basswood or lindenwood is the best choice for high relief. It has a very even grain and does not split easily when you carve deep. Avoid pine or cheap lumber from a big box store.
How long does it take to learn acanthus carving?
It depends on how much you practice, but most students see a big change after three or four projects. You need to carve many leaves before they start to look classical. Do not give up after the first one.
Are the video lessons live or recorded?
Most of our lessons are recorded so you can watch them whenever you have time at your bench. This lets you pause and rewind the difficult parts as many times as you need.
Filed under
- advanced carving skills for wood
- advanced wood carving methods
- advanced wood carving methods
- artistic wood carving methods
- complex wood carving methods
- decorative wood carving techniques
- expert-level wood carving techniques
- expert wood carving techniques
- fine wood carving skills
- hand wood carving techniques
- intricate wood carving skills
- master wood carving techniques
- precision hand-carving methods
- precision wood carving techniques
- professional wood carving methods
- relief wood carving methods
- sophisticated wood carving approaches
- specialized wood carving skills
- traditional wood carving techniques