
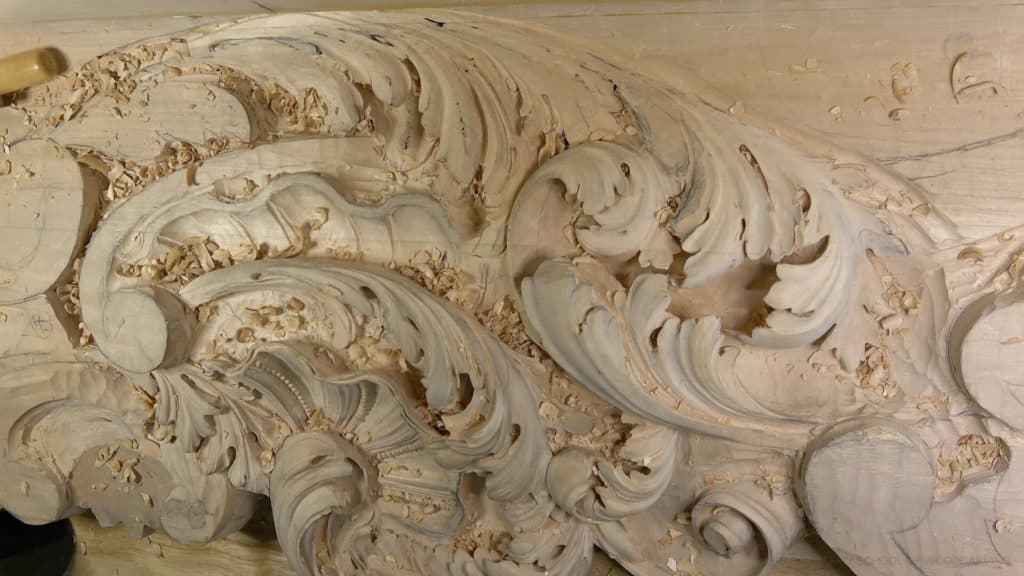
Alexander Grabovetskiy, woodcarver, School of Woodcarving · Published 2020
Can you carve too many separations on an acanthus leaf?
Quick answer: Crowding one spot with separations is a real mistake on an acanthus leaf, and it shows fast. Each separation adds curl, yet pack them together and the area stops looking organic, almost like a pine tree with needles. In workshop 35 I merged that spot back into one part, and spare wood made that possible.
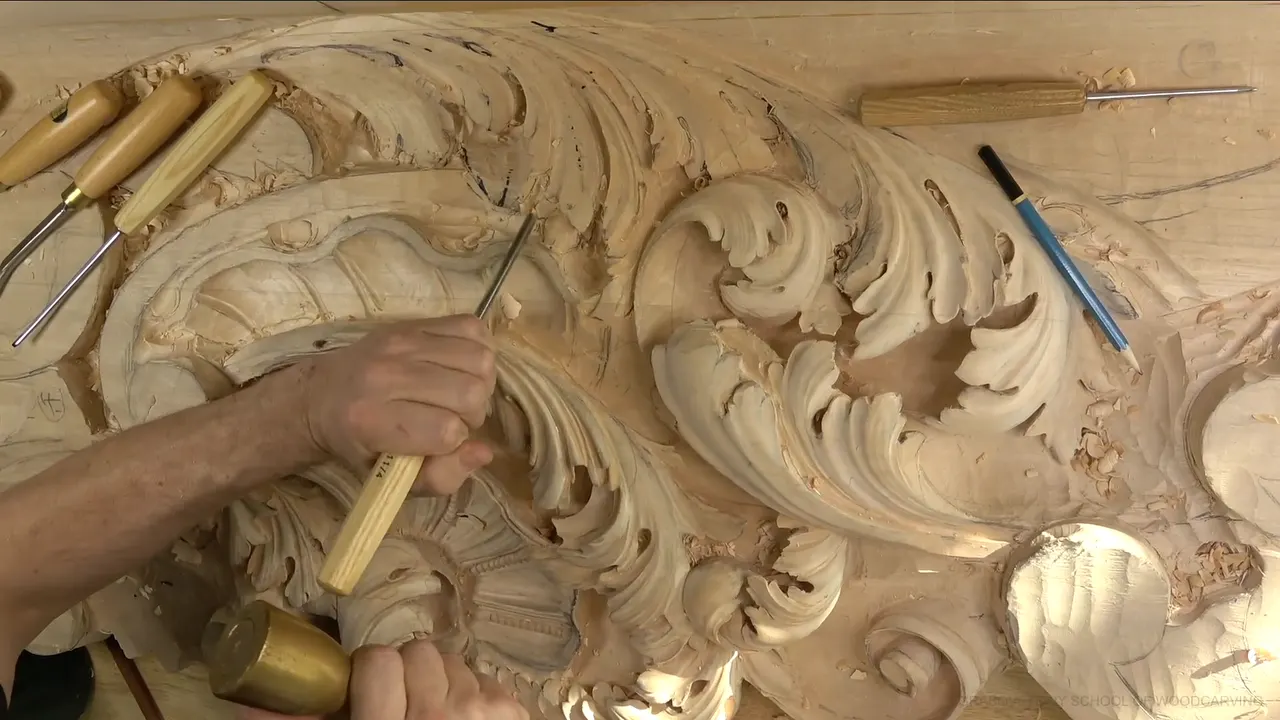
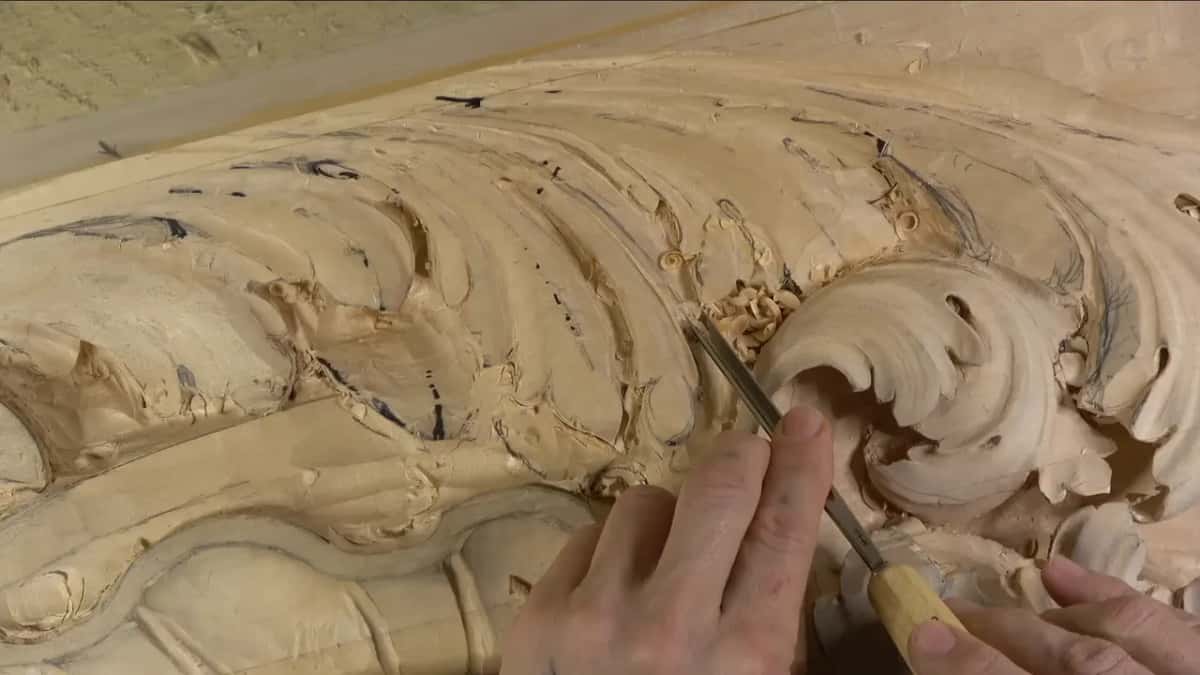
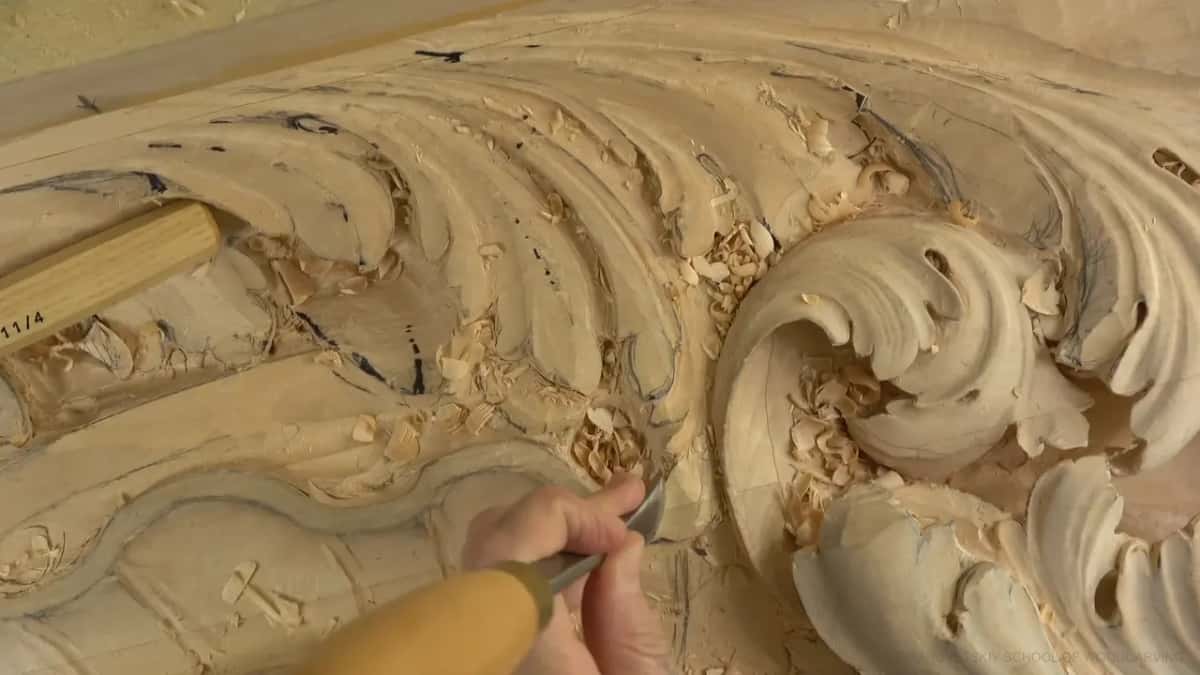
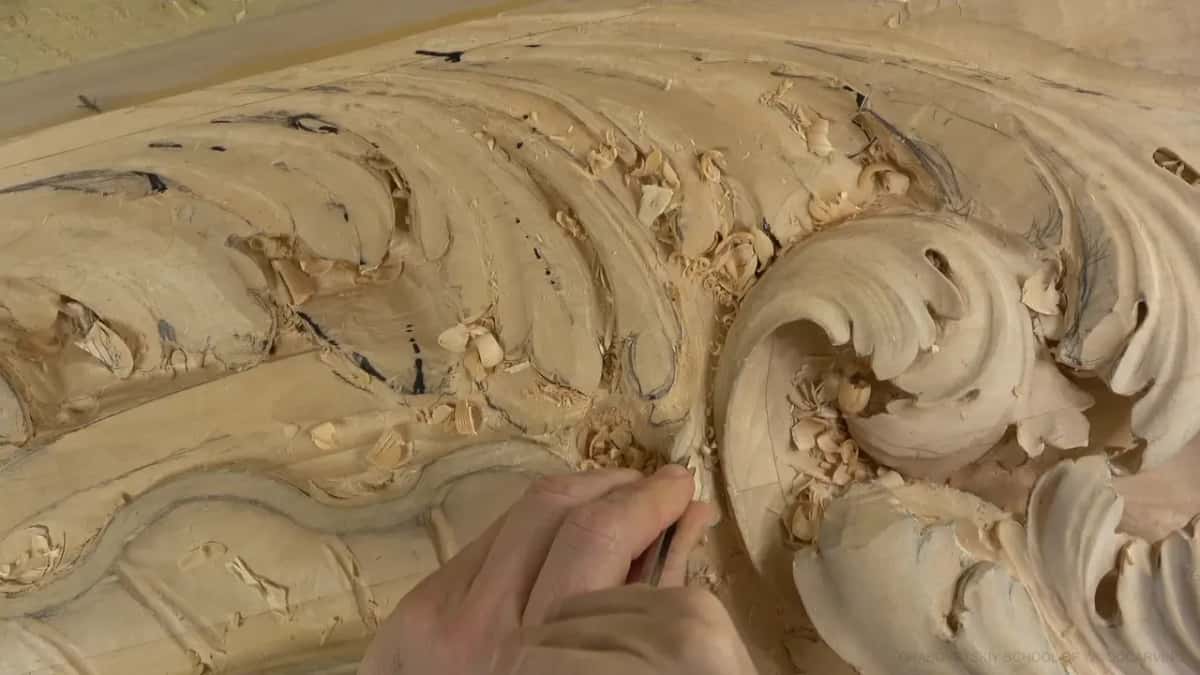
Crowding separations into one spot is a mistake any acanthus leaf will let you make. Each one gives a lobe a little more curl, so the next one always looks like a good idea, right up to the moment it stops being one. I got carried away with them in the sixth part of workshop 35. And I stopped. The spot looked like a pine tree with needles, and in carving leaves in wood, that is the look worth catching early.
Do you like the small curls along the edge of an old carved leaf? Would you want your own leaf to have them? Then you need separations, and you need to know when one more turns into one too many.
I'll show you the spot, what I said while it was still on my bench, and how little wood the fix cost me. The details I turned down in the same workshop come after that, with my own words beside each one.
Six things the pine tree spot showed me
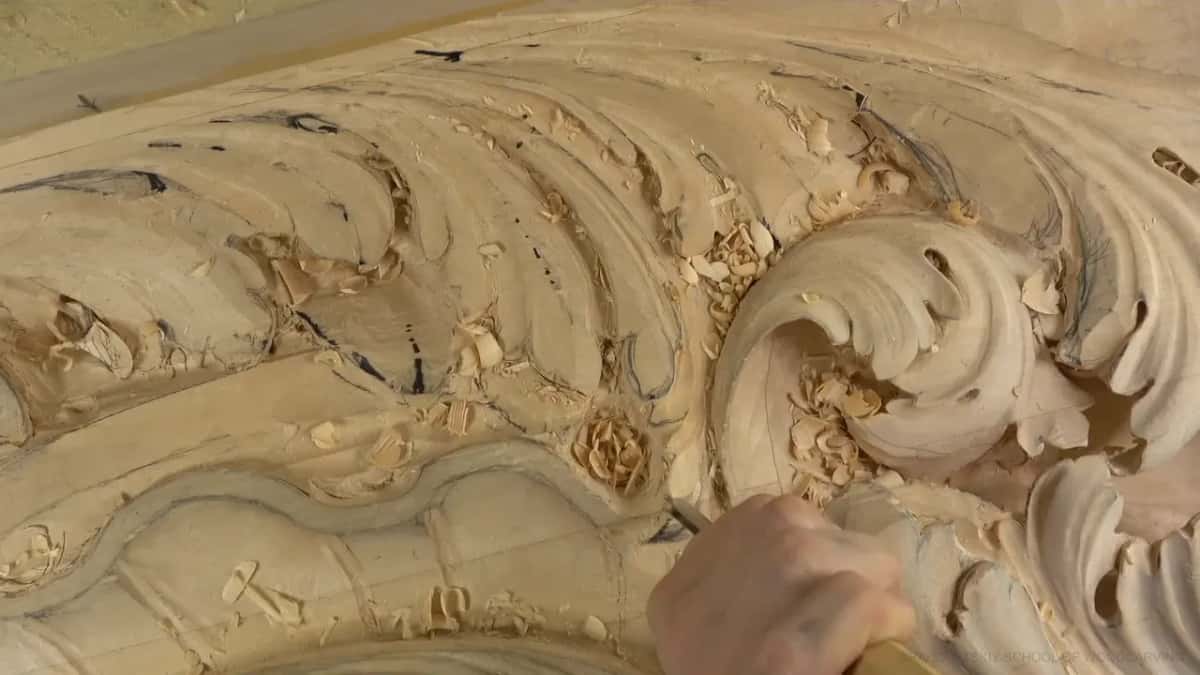
Separations give a lobe its curl, and I love them, but a crowd of them in one spot stops looking organic.
My own name for the cause was overthinking, overdoing it.
Two busy areas each became one single part, and I chopped one section out.
Spare wood made that fix possible.
Elsewhere in that workshop I passed on a half-round pipe and a bigger twist, and I questioned a small eye right after carving it.
A leaf still moves without its main separations, concave, convex, concave.
What is a separation on an acanthus leaf?
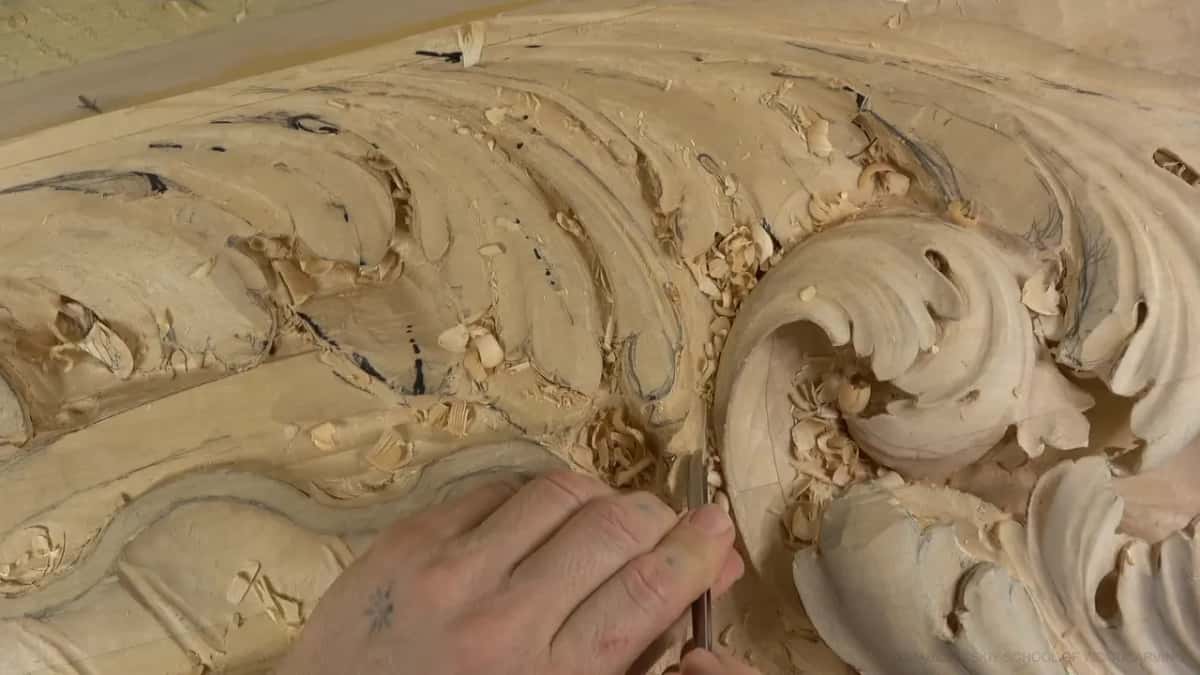
A separation is a line carved into one lobe of an acanthus leaf, so the lobe reads as smaller movements of the same leaf. I put each one in for movement.
The first part shows a 3 mm (1/8 in) number 11 going to an eye and around a separation that did not exist yet. I called it the future separation.
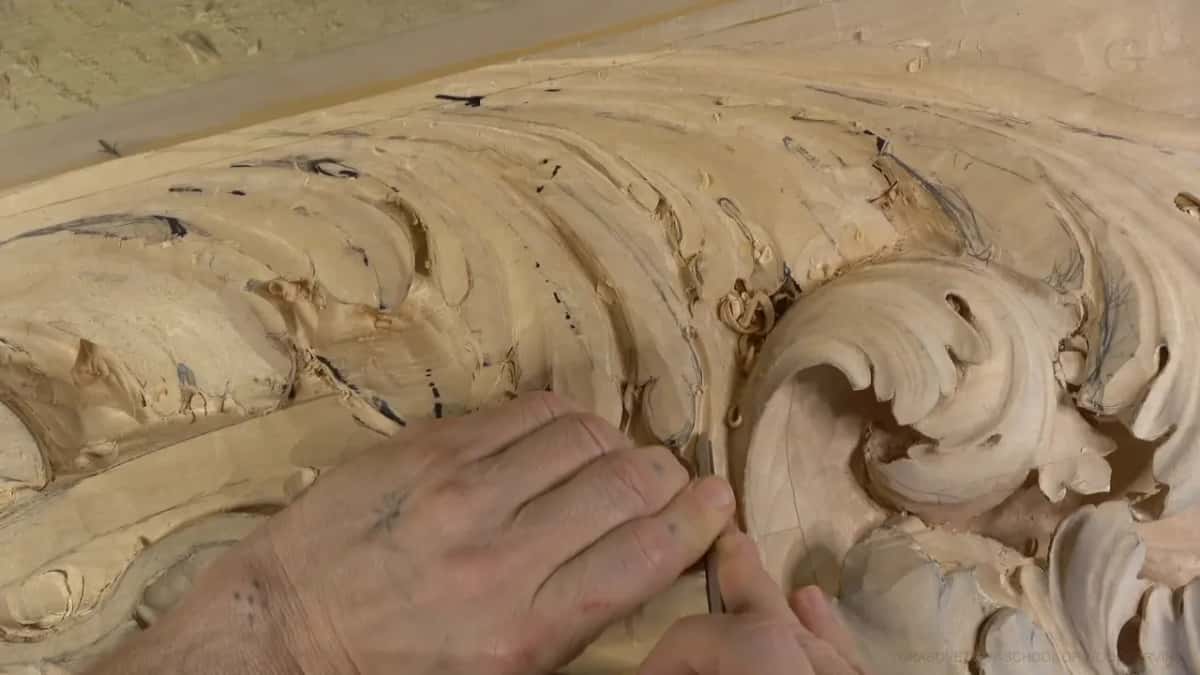
Some come out of a hollow I was carving anyway. In that same part a concave I blended across to the other side became a separation too, and I said I hoped you could detect the idea.
In this workshop I use both words, division and separation, for these lines, sometimes a breath apart.
When do the separations go in?
After the main movement, on this relief. I left a shell half done on purpose in the fourth part, because I wanted the main movements around it finished first, and I said I did not worry about losing some material inside it.
The secondary separations came in part five, once the concaves of that piece were nearly settled, which matches what I wrote on a page from part 1, that leaf detail is carved last, after the hollows and rounds are right.
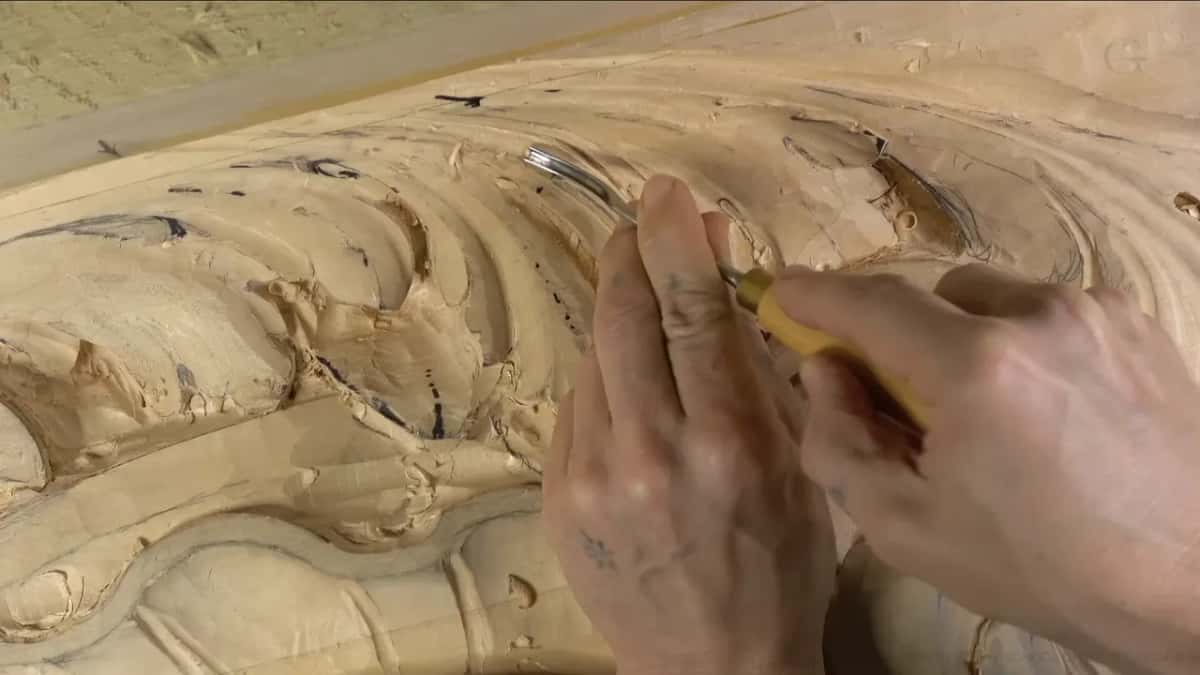
Others wait on purpose. A new leaf got preliminary separation cuts in part eight, and then a 4 mm (5/32 in) number 11 gave it a preliminary outline, but I worked on that leaf only to a certain degree, not to completion yet.
Once a big number 5 had set a boundary in part ten, the extra separations were left for a little later.
How many separations can one spot hold?
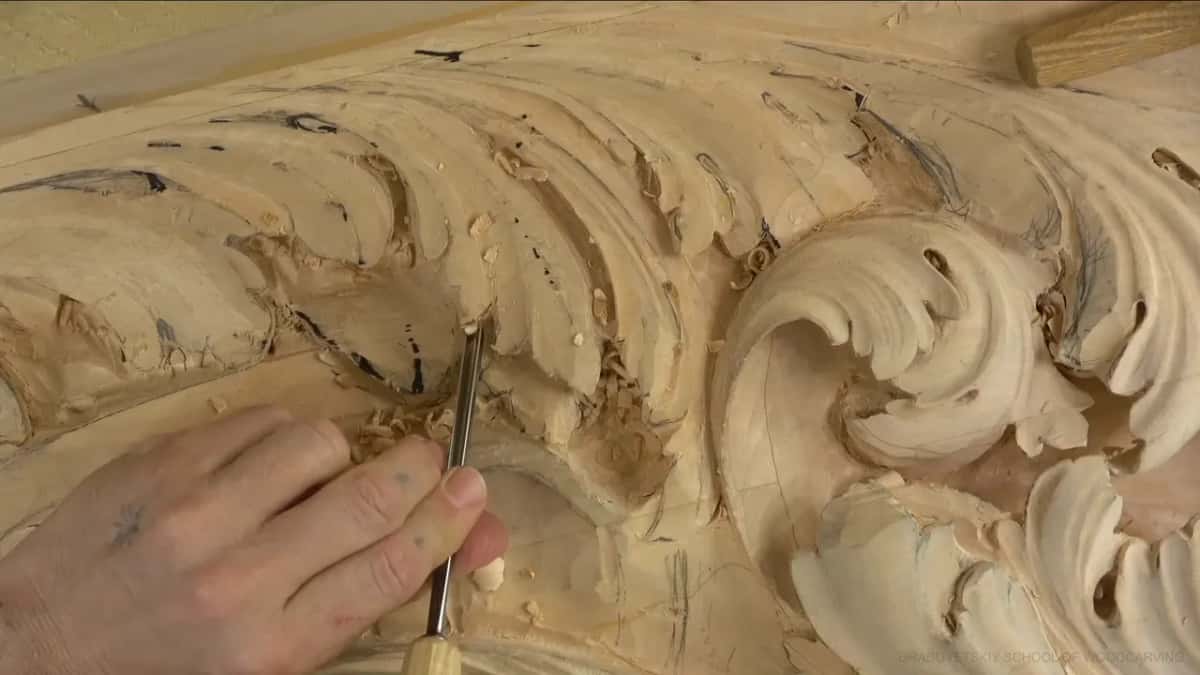
One spot holds only so many before it loses its organic look, and I went past that point in the sixth part. Nothing in that part gives a number. My words were about crowding, too many in one spot, and about how it looked.
It started badly. Right at the start I rushed, called it no bueno, and fixed it on the spot, since it was still fixable. Next I asked whether I should finish a piece like that, said I should, for more curliness, and gave another small detail a convex. The change got more gradual with a number 11.
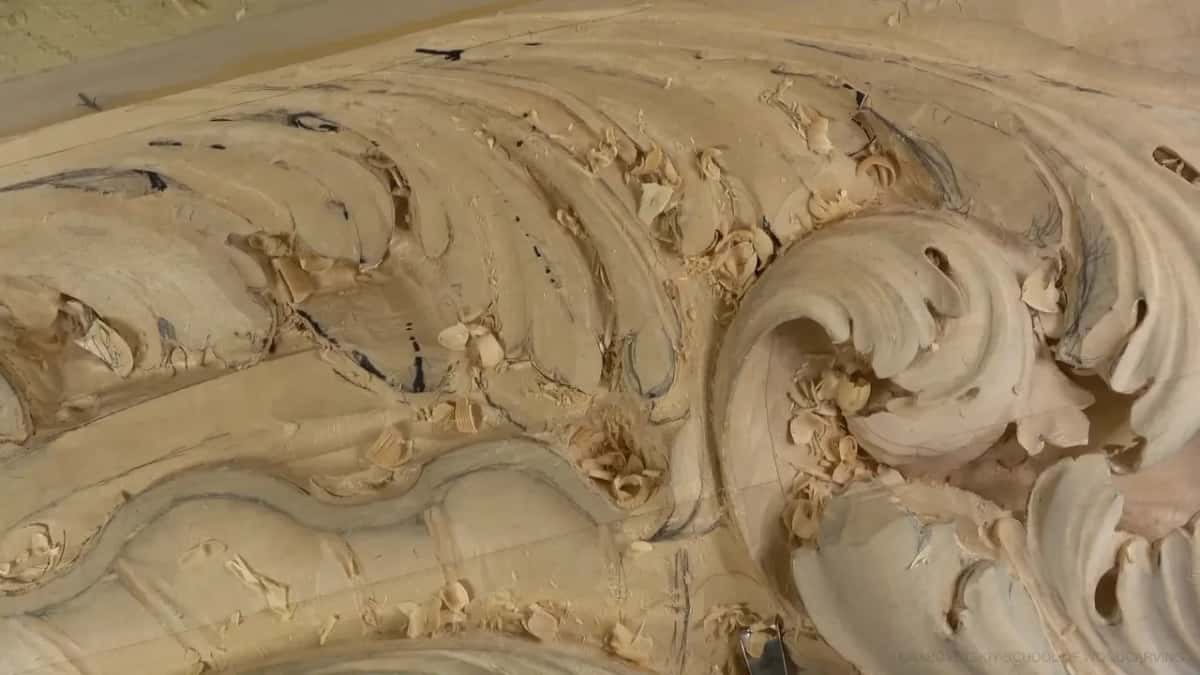
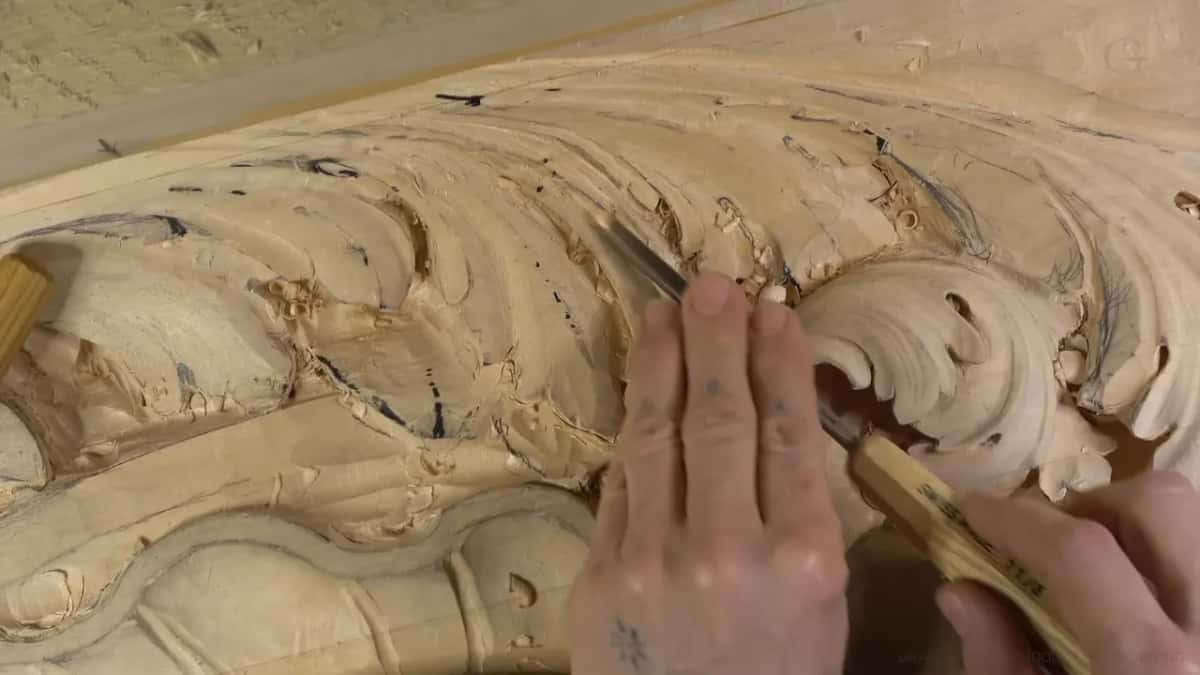
And then I looked. It gave me something different, and I told you I was not sure I liked it. Overall it looked okay, but maybe I had too many separations in that one spot, and the only way out was to lower the area and lose a separation.
I even apologized for thinking out loud, then called it a good problem to be solved. I love those separations, I said, but too many is no bueno, and left alone the spot would not look too organic.
Once the fix was done, I compared it with what I had before, almost a pine tree, needles and all. The whole fix takes under three minutes of that video.
What makes you overdo a leaf?
Overthinking, in my case. We had a problem and we solved it, I said, and then I corrected myself, because I had created the problem, by overdoing it.
Getting carried away is how it happens. A separation is a small thing, it looks good, and the one beside it looks good too, until the spot holds more of them than it can carry.
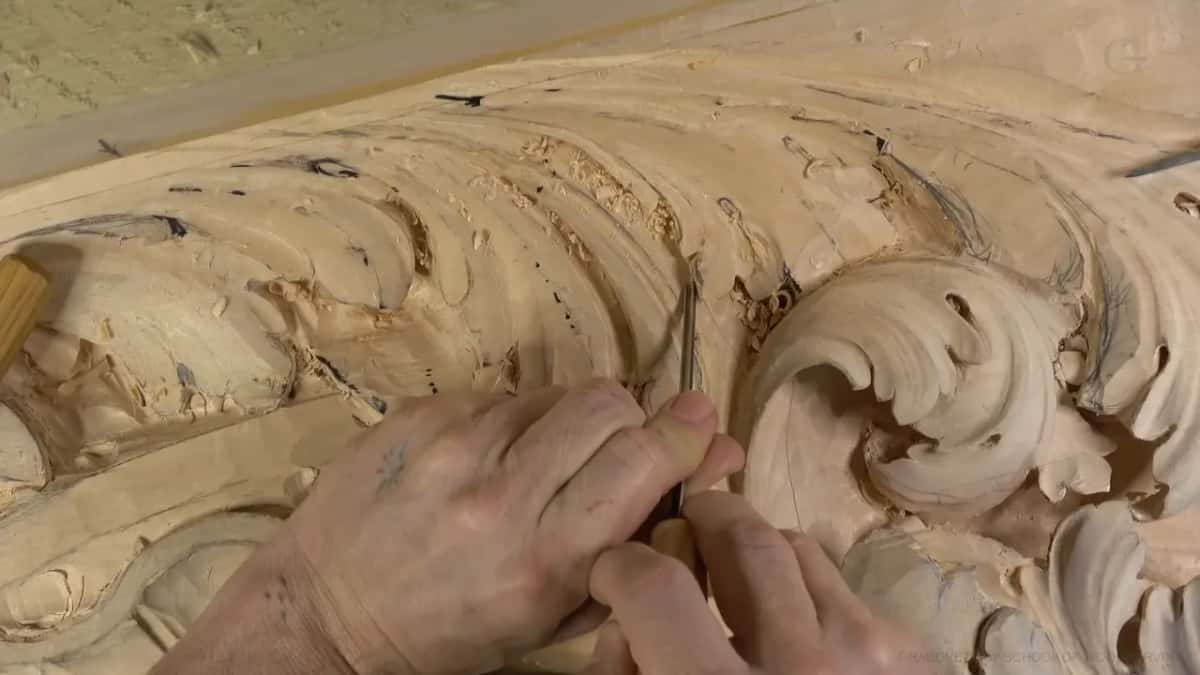
The same thing caught me again in part nine, while I was excavating. Oops, that is bad, I said, I got too carried away, and then I told you that if you didn't see it, I didn't make the mistake.
Rushing is its cousin. The grain made some spots much harder than others in part three, so I dug one corner first and went in with a small slicing motion, taking my time on a spot I would not even be able to see below that element.
Wanting more is the other pull. Late in part five I said I kind of liked a spot, but not as much, and wanted more extreme movement there. Just a little more details, I said, twice.
Near the end of that part I said I really loved the idea that one piece was raised up, that I did not want to lose it, and that it was what I was trying to communicate. A crowd of separations can bury an idea like that. The same care shows in part one, where I went in with a 5 mm (3/16 in) tool beside an edge I meant to keep, hit a limit, and switched to a long bend.
Where does the fix come from when carving leaves in wood?
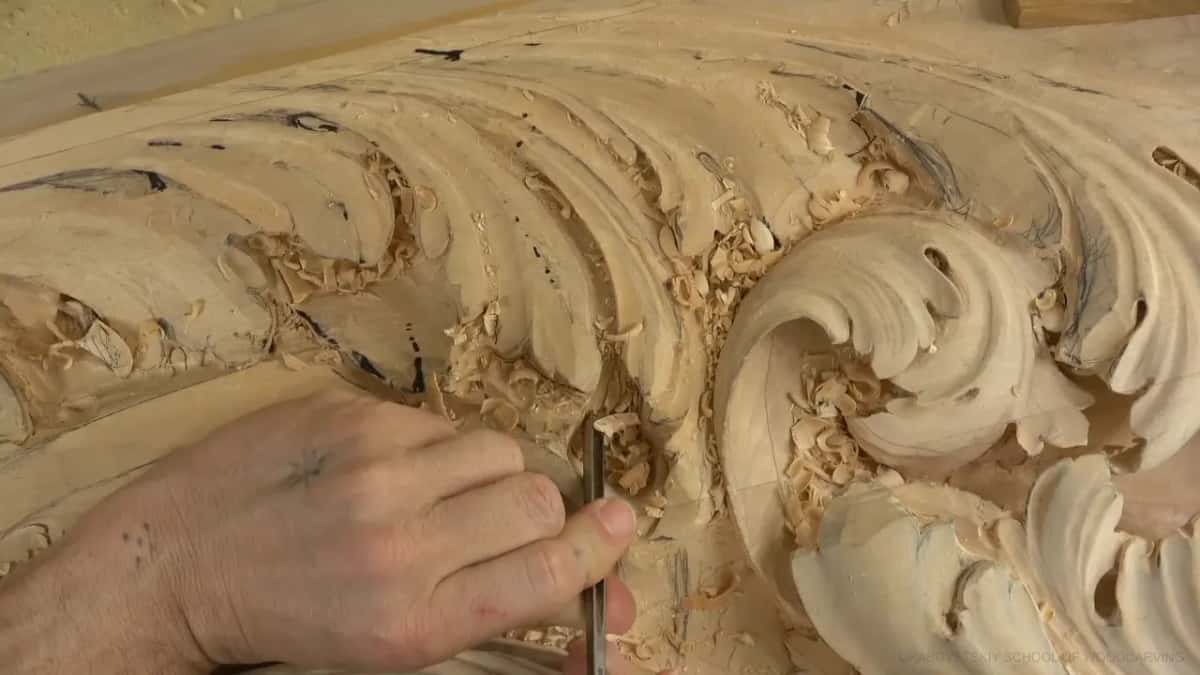
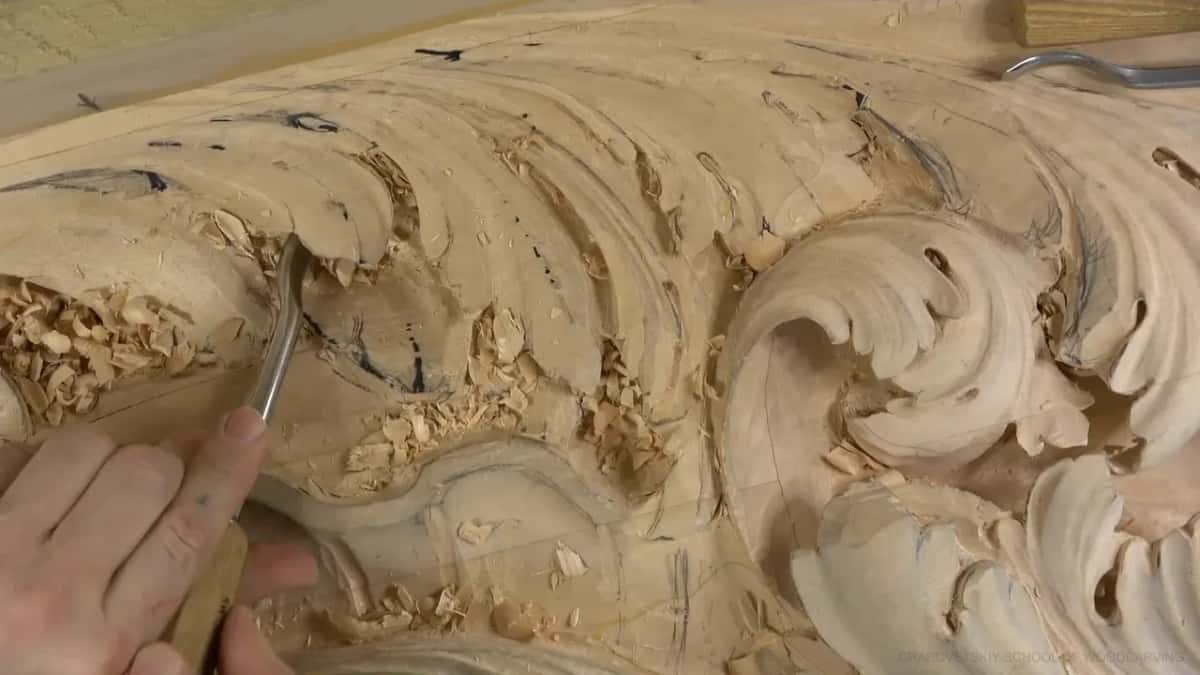
Spare wood, mostly. I made one piece a single part, then a second one, and chopped a section out so the area would look organic again. I rounded it up a little after that.
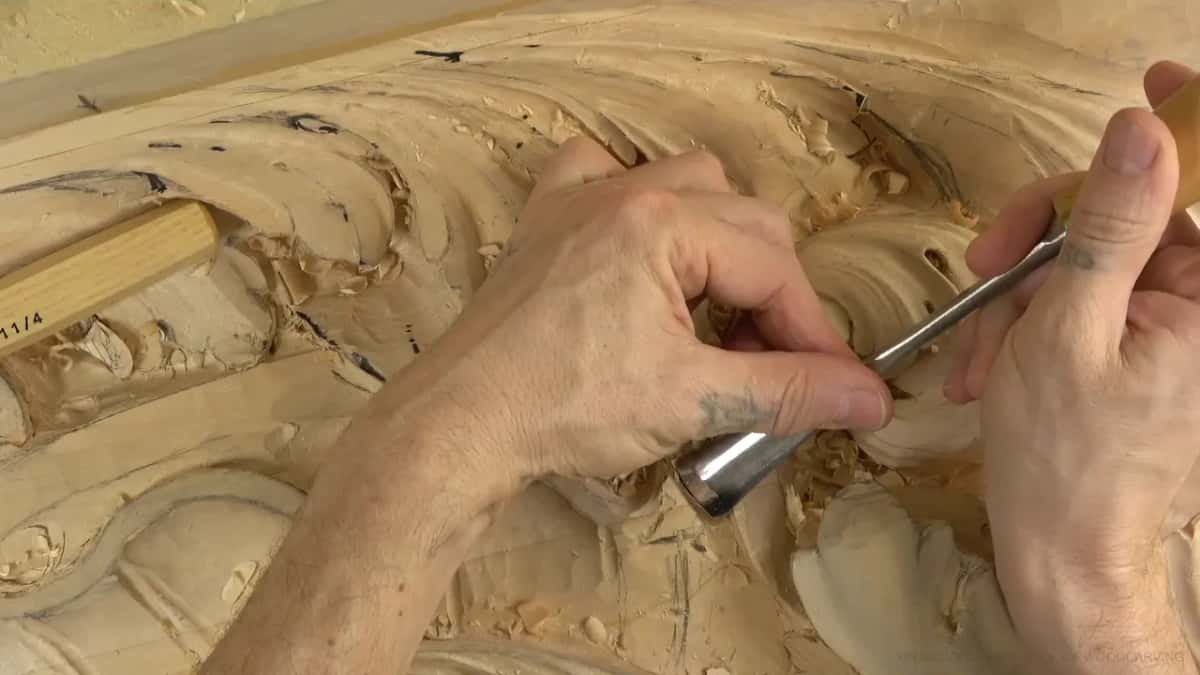
That is a good thing, I said, that I had extra material there. The shell there could go a little under, so I let it, and then I checked what the fix had cost. Not too much.
That was how I wanted to see it, I said, no more than that, at least for now, and maybe later on something else. It looked much better.
The shaping went on after that, but it went on small. I said I didn't want to do too much to one piece, and that was probably plenty, except for a slight concave that had to be really slight, not big at all, almost none, and still something you can detect.
The number 5 I picked up for that concave was dull, and I said I needed to buff it.
A mistake stays fixable while the wood for a second try is still there, and my page from workshop 25 tells that story on an acanthus head. Wood has to be saved for later work too. I left room in part five for beads that will sit somewhere inside, because those beads are going to give me a really beautiful detail, and I can't take too much material. At one fragile spot in that part I also thought about soaking in diluted glue first.
Which details did I turn down in workshop 35?
A half-round pipe and a bigger twist stayed out, a sharp turn got blended back, and a small eye got questioned the moment it was carved. Three of those choices began with the same few words, a couple of ways I could do this, in the first, second and fifth parts. The table keeps my own words next to each one.
| Option | Said | Outcome |
|---|---|---|
| Bigger eye, long pipe | Simpler without it, but it would look nicer | Kept, for more movement there |
| An almost half-round pipe | I did not need it in this case | Ridges knocked down, back bend |
| Twisting the leaf more | It would look just a little too unnatural | Left out, movement left alone |
| A number 6 turn | Maybe the six was a little too extreme | Blended back a little more |
| Another separation, part five | Why chip it out when I have wood? | Added, and I liked it |
| An extra small eye | Maybe I don't need that eye, I think | Questioned right after carving it |
| Crowded separations, part six | I love them, but too many, no bueno | Merged back into one part |
Look at the reasons, because they repeat. When a detail gave movement, it stayed, like the bigger eye in the first part. When the shadow already worked, the extra shape went, as with the pipe in the second part, where I knocked the ridges down with a back bend and it still cast a shadow, which was what I was after.
Anything unnatural went too. Everything on a carved leaf is unnatural anyway, I said about that twist, but a bigger one would have been a little too unnatural.
Holding back counts as a choice. Back in the first part I said I did not need to exaggerate a pipe a lot, only a little. Looking at a movement in the second part that I could have pushed further, I said I shouldn't do anything there except clean it a little better.
Do extra separations make an acanthus leaf richer?
Up to a point they do, and I have a page on why old acanthus carvings carry extra separations, small second divisions put in for curl. I stand by it.
What this workshop adds is the limit. Extra separations help until they crowd one spot. A page from the furniture panel course says the same about wood carving details on a whole drawing, that too much is whatever pulls the eye off the principal movement.
How many a leaf carries also depends on who carved the original. I work this way because I want to be as close to the original ideas about acanthus as I can, the leaf carved on Corinthian capitals, and of course that depends on the master who did it.
The last part of this workshop shows the other side. I said I had achieved what I wanted, and even where you cannot see the main separations, the leaf already had beautiful movement, concave, convex, concave.
Spacing is a separate subject. My page from workshop 34 covers how far apart the divisions sit and how the spaces between them change, and rhythm, like the other laws of design, is what my design course is about. In part eight here I said only that they should be not too small, but not too big also.
Why carve a shadow under a separation?
Shadow is what I am after, again and again in this workshop, and this ceiling board will be seen from below. Part seven has me making a shadow under a leaf and undercutting beneath a separation with a number 5 about a quarter inch (6 mm) wide, and I said I could use a mallet if I had to. The tenth part goes under another separation using a number 5 again, and the last part undercuts beneath a division.
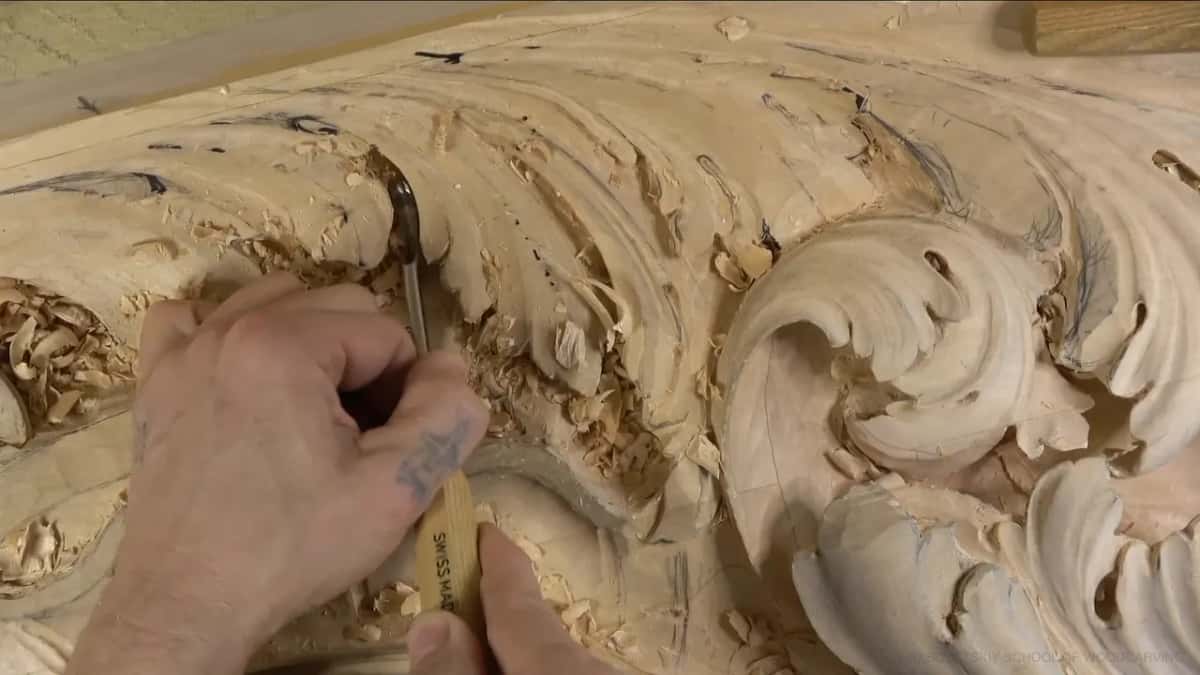
Once you start undercutting, I said in part seven, gorgeous movements just show up, whatever you want to show. There is a leaf in that part you cannot see from above. Moving one line on it gave me extra dimension that only shows from the bottom, and it is going to be beautiful in real life. Carving a ceiling panel people see from below has its own page.
How do you check a leaf before adding one more?
Step back first. Early in the first part I looked from a farther point and liked what I saw, and in the fourth I checked the leaf from above, where it looked just fine. Then ask what I asked in part six, should I finish like that, and answer it before the gouge moves again.
Clear the chips before you judge anything. At the end of the last part I blew them off so you could see much better, and only then called it a gorgeous composition. When it looks right, say what I said twice in this workshop, no more than that.
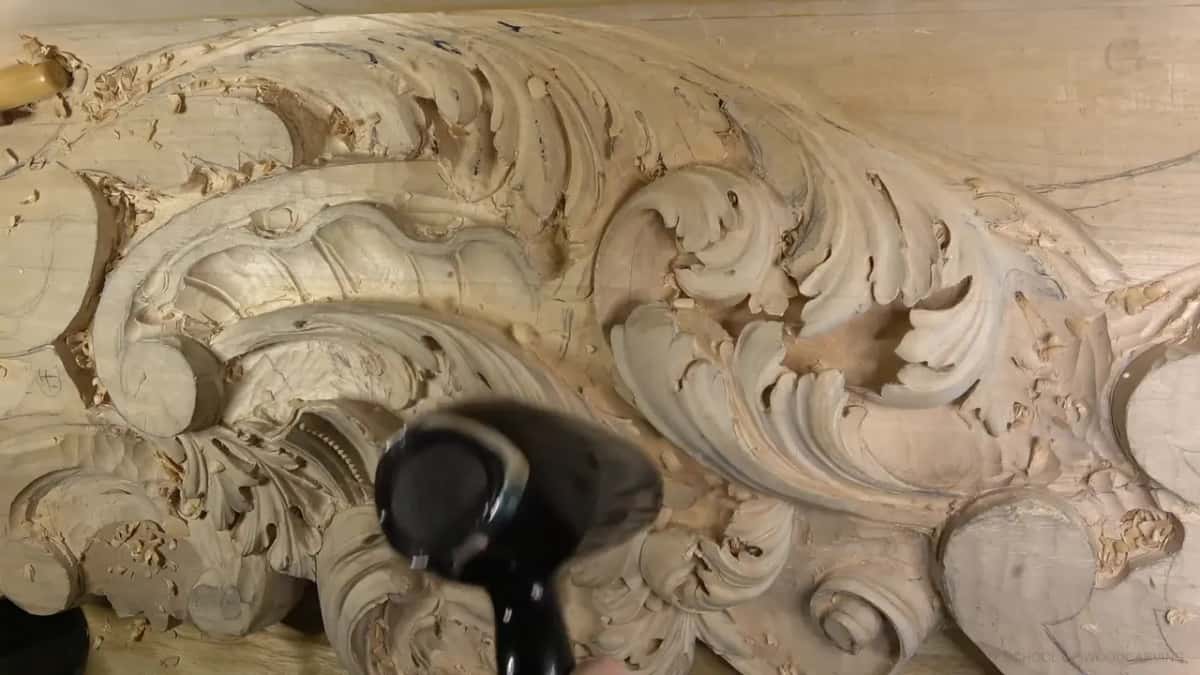
Would you rather take one separation back than live with a pine tree? And would you like to watch that whole fix, pass by pass? The sixth part of workshop 35 shows it, with eleven more parts around it in the Venice Room course, part 3.
Start here if you want to carve along with me, and workshop 36 picks up from another spot.
How it's done
- Walk back and look. Study the leaf from across the room first, and from above too if you can get there.
- Find where it crowds. Hunt for lines packed so tight that a lobe blurs.
- Pick what merges. Decide which pieces go back to being a single part before any steel moves.
- Take the section out. Lower that area and chop the extra section away, but only where spare wood is left to do it.
- Round and blend. Round the new part a little. Then a number 11 makes the change gradual.
- Let the neighbor tuck under. A shell or leaf beside it can slip a little under the new part.
- Stop for now. Leave the rest for another day.
Frequently asked questions
Which gouge carves the eye of an acanthus leaf?
For an eye I usually like a number 8, one-eighth of an inch (3 mm), or even 2 mm (3/32 in). Set it in, lift the plug out, and repeat wherever an eye will sit. At the end of workshop 35, that same number 8 went back inside an eye, then a small number 11 cleared the chips.
How do you blend a carved detail that came out too strong?
Lightly, and without forcing the tool. My number 6 turn came out a little too extreme in part three, so more of it got blended away. Elsewhere I held a skew, pushed gently, and only smoothed the tool marks that did not look good to me.
Does paint make thin carved wood stronger?
On this ceiling board I counted on it. The board will be painted, and in the fourth video I said the paint itself will soak in and make a weak spot harder. That made a weak spot there acceptable to me, for exactly that reason.
What to carve next