
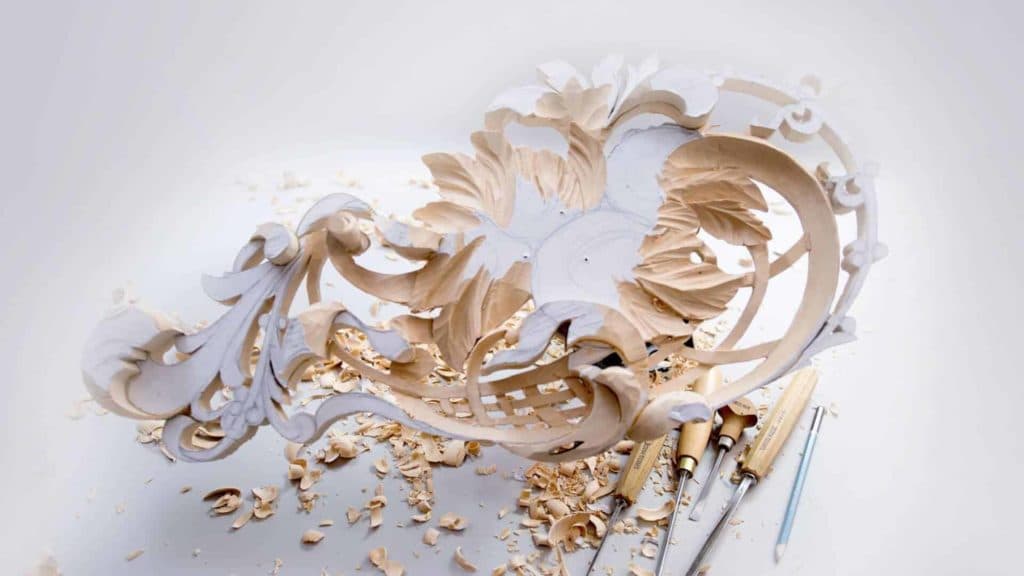
Alexander Grabovetskiy, woodcarver, School of Woodcarving · Published 2018
What are background leaves in a wood carving?
Quick answer: Background leaves are the secondary foliage set behind a panel's main flower, shaped to carry movement rather than to be studied. They still receive veins, separation cuts and a full undercut. Most of them finish half hidden on this Hashemi panel, and the whole design reads richer for every stroke they were given.
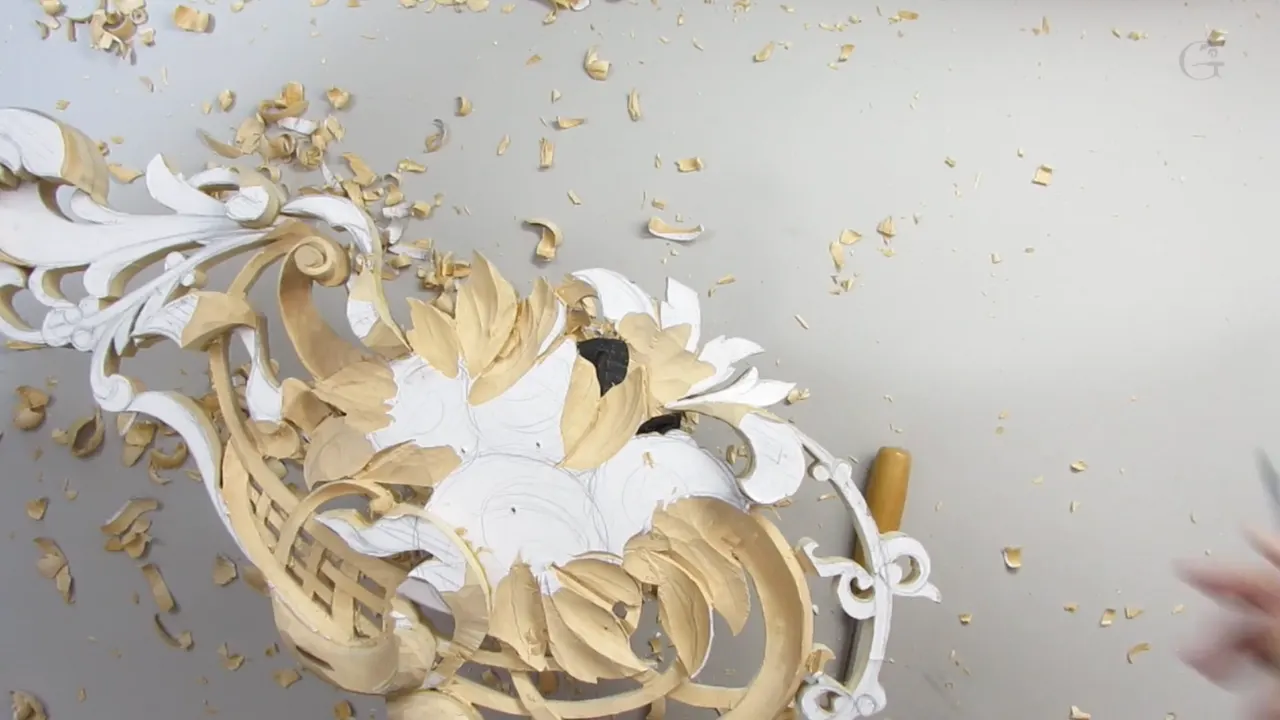
A background leaf is foliage set behind the main flower whose job is to move your eye along, not to hold it. Every one on this panel got a ridge, veins, a separation line and an undercut. Half of that work will never be looked at straight on. The panel would be poorer without any of it.
How long would you spend on a leaf that a flower is about to sit on top of? Would you vein it at all? For years I hurried straight past mine.
It showed. Foliage left as rough lumps makes the whole thing read like one good flower glued onto a board, because that is exactly what your eye reports back. Detail behind the subject is what tells the eye there is room back there. Workshop 6 of Carving Hashemi Flowers is six parts of foliage that most students would rush, and I want to show you what each leaf is being asked to do, which gouge does it, and where the work should stop.
What a half hidden leaf still earns
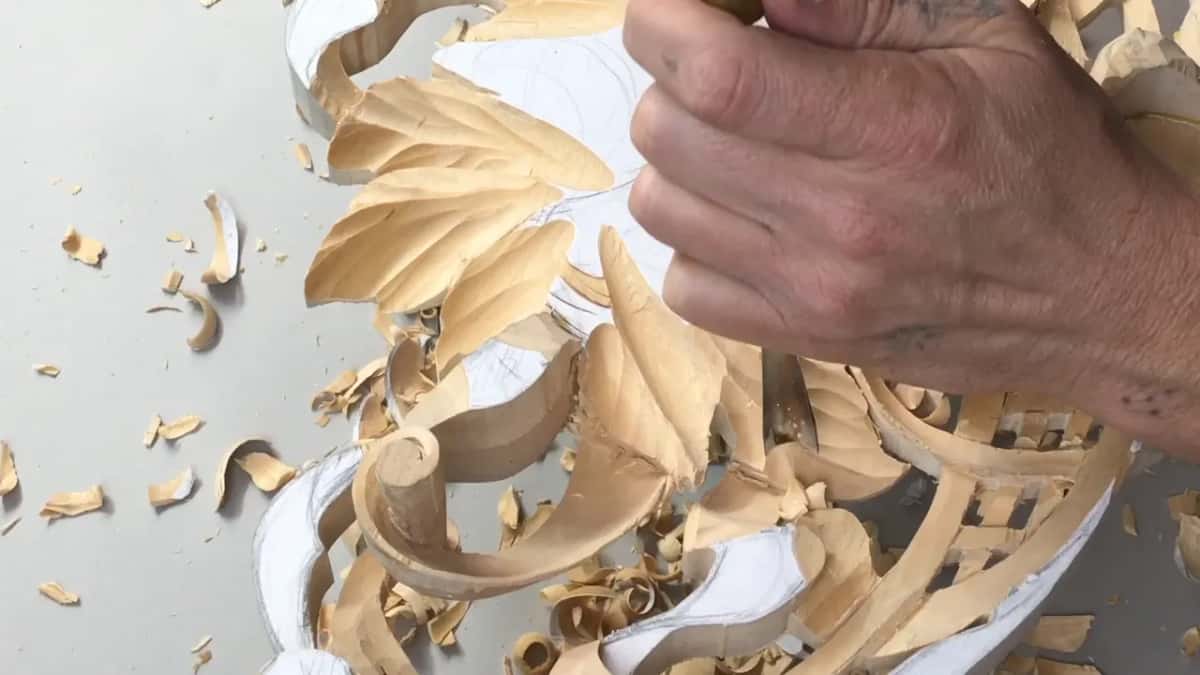
- A ridge, and never down the middle of the leaf.
- Veins driven outward off that ridge with a number 9, thirteen millimetres.
- A couple of deeper strokes.
- A separation line wherever one leaf passes under another one nearby.
- A full undercut, even on an edge the flower will cover.
- Flat spots left alone.
What does a background leaf actually do?
A background leaf carries movement. Your eye follows the run of foliage until a flower stops it, and giving the eye that run is the entire reason the foliage exists. On this panel the leaves travel under and around a woven basket, so they settle the direction of the whole design before a single petal is roughed in.

Which is why I say out loud, while I am carving them, that these are the background leaves. They will be seen, but not much. Naming the job keeps me from turning one of them into a second hero and wrecking the hierarchy the drawing already settled. Every panel wants one main subject. Everything else is there to deliver you to it.
The acanthus tradition has worked this way for two thousand years. Study the carved furniture in the V and A collection and you will find whole fields of foliage behind one rosette, all of it modelled, none of it competing.
Which gouge carves a leaf vein?
Mostly a number 9. I start with a number 8 at about 13 mm, find where the ridge wants to sit, and then usually swap to the 9 because the deeper sweep leaves a stronger shadow. Cuts travel outward off the high line toward the rim, one after another down the whole length of the leaf.

What you are really making is the little wall left upright between two neighbouring strokes. Those little walls of wood catch light along their tops, and they read as the veins of a leaf from any normal distance. Nobody counts them. The eye simply accepts that the surface is organised.
Where a straight gouge cannot reach the bottom of a hollow, a five eighths spoon gouge, sweep 9 at 16 mm, goes in at an angle a straight tool cannot manage. The number 3 skew at 13 mm cleans a corner. A 10 mm number 7, three eighths, smooths the rough passages the bigger sweeps leave behind.

Where does the ridge on a leaf belong?
Off centre, always. If one flank of the leaf rides higher, the ridge moves toward that high flank, which leaves the other flank wider and turning away from you. A ridge parked exactly down the middle gives you two equal halves and a leaf that looks pressed out of a machine. I wrote about that shift in detail on the acanthus middle line.
No pencil comes near the leaf for this. I look at the shape, decide by eye where the high side is, and put the tool in. We are carving flowers here, not machine parts, and a small inconsistency between one leaf and the next is doing you a favour.
Can you add a leaf that is not in the drawing?
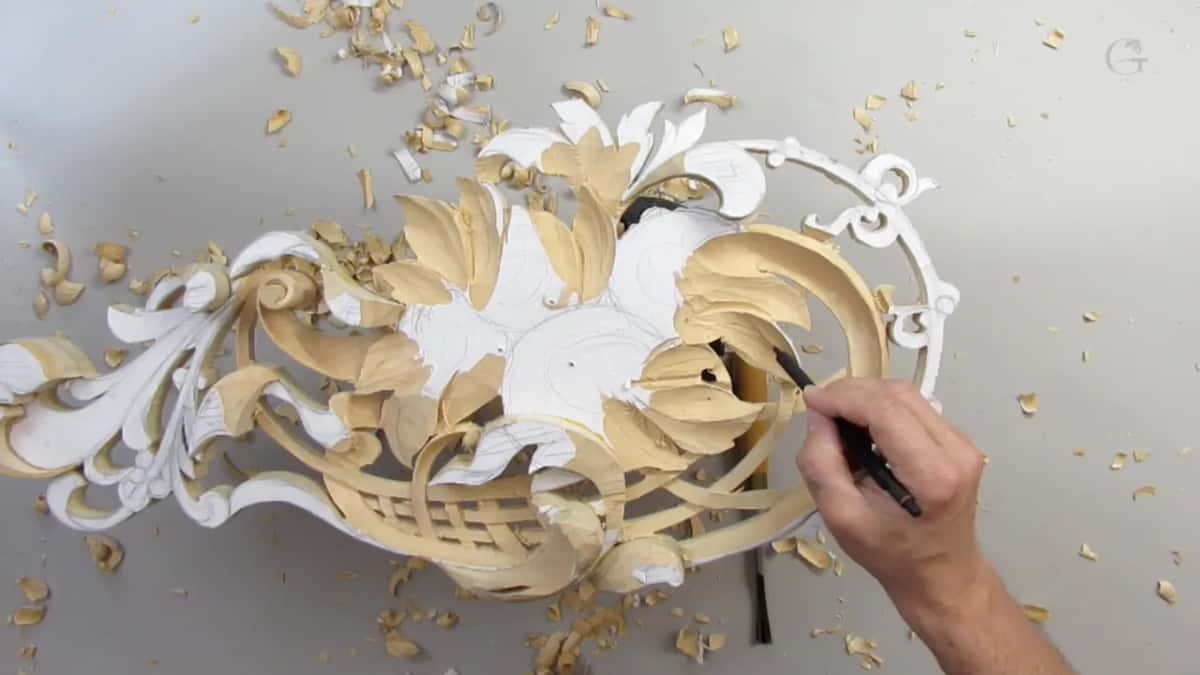
Add it. A space opened on this panel that wanted something in it, so I took the V tool, ran a separation line across the area, and there was another leaf. Nothing on the paper told me to. The wood asked.
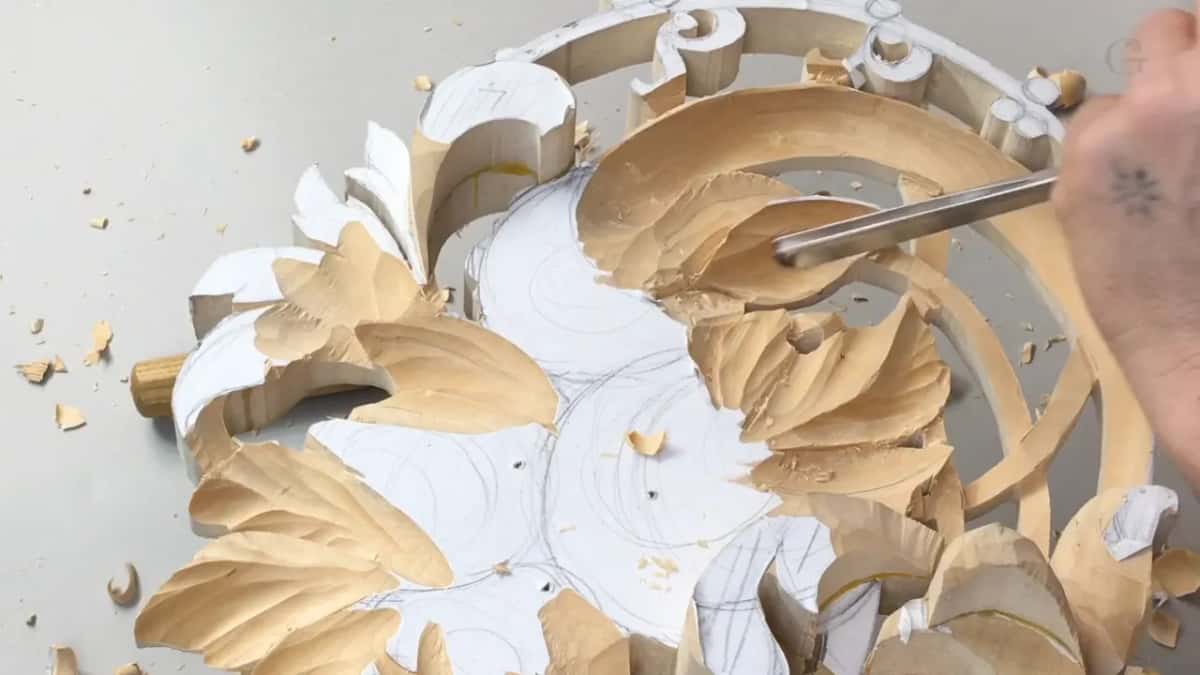
By now the original drawing has mostly been carved off the panel anyway. Mine had gone and I was not worried, because the design lives in my head and the grid under the whole piece rebuilds it whenever I need it back. Holding on to the lines that matter is a separate skill, and I covered it in keeping a relief carving on its design.
What a new leaf must do is obey the same rules as the drawn ones. Ridge off its centre. Veins running out from that ridge. A separation line where it crosses a neighbour, and an undercut underneath. A leaf you invented and a leaf traced from paper should be impossible to tell apart when the panel is finished.
Students find that permission hard to take. You bought a pattern, you glued it down, and now I am telling you to leave it behind. Leave it behind. The pattern handed you a sound composition, and your own eye over the wood is what turns the composition into a carving that belongs to you.
What is an exaggeration cut?
An exaggeration cut is a second, deeper stroke placed inside a vein groove that is already there. A quarter inch number 9, about 6 mm, goes back into the middle of a cut I made a minute ago and takes it further down. Nothing about the leaf changes except that one line now throws a real shadow.
Two or three of those on a leaf and the whole thing wakes up. I have no clean explanation for why so little makes such a difference, only twenty five years of watching it happen. A panel lit by a lamp on one side needs the modelling pushed past what a real plant does, which is a rule I unpack on exaggerating a carved shape.
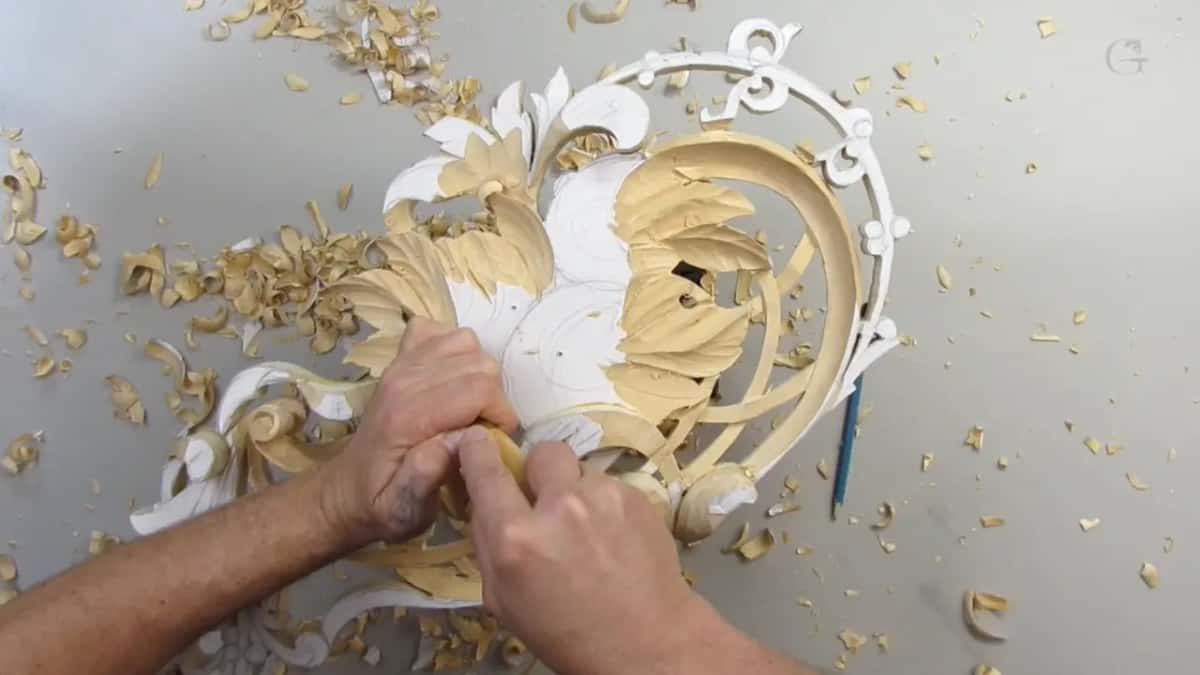
Smaller tools take it further still. A spoon gouge at 5 mm, three sixteenths, or even an eighth inch version, will drop a groove deeper than you think is sensible. Go ahead. A deeper groove has never once hurt a leaf of mine.
How much of this detail is too much?
Stop when the small cuts stop meaning anything. Put an exaggeration cut in every groove on every leaf and they cancel one another out, the surface turns to noise, and a viewer has nowhere to rest. A few spots. Never everywhere. That restraint is the same judgement I apply to a whole panel in how much detail is too much.
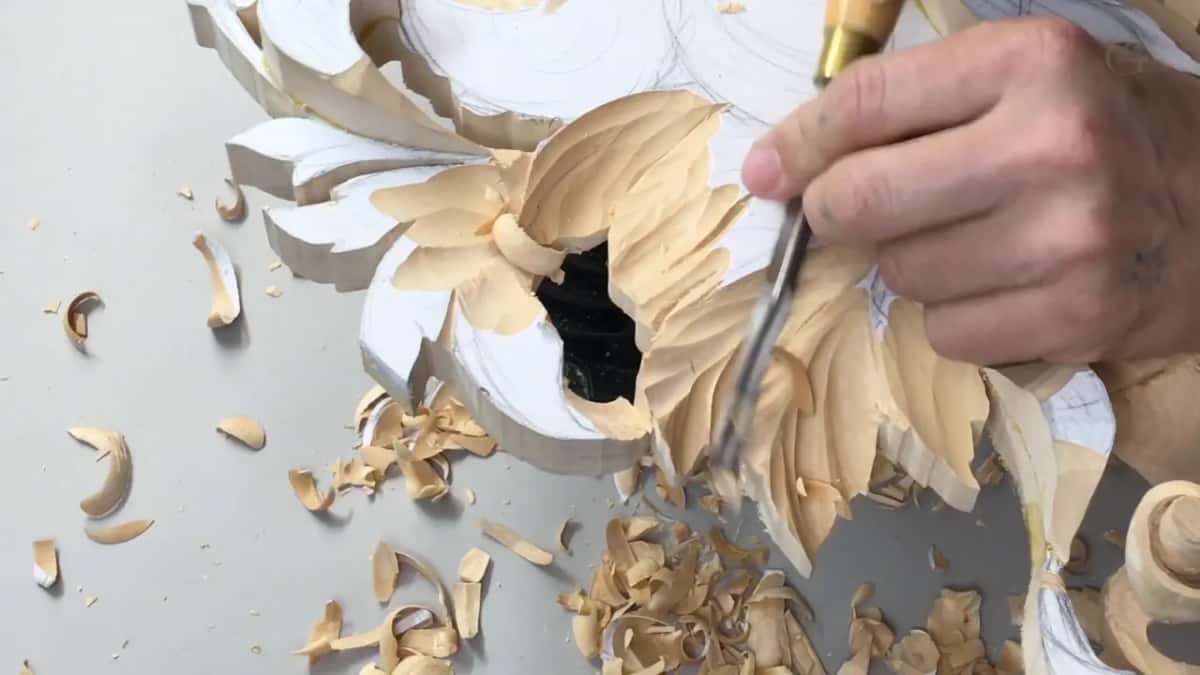
The test I use is this. Stand back four or five feet, about a metre and a half, and see whether your eye lands where the design wants it to land. If the foliage is pulling at you, one of those leaves has been overworked and needs calming down.
Why undercut a leaf a flower will cover?
| Tool | What it does on a background leaf | Tool size | The moment I pick it up |
|---|---|---|---|
| Number 9 | Runs veins outward off the ridge to the rim | Half an inch | Once the ridge is settled |
| Number 8 | Finds the ridge line | Thirteen millimetres, which is about half an inch | First pass |
| Spoon gouge 9 | Reaches a hollow a straight gouge misses | 16 mm | Leaves too deep for anything else |
| V tool | Parts one leaf from its neighbour, then undercuts | Six millimetres, a quarter | Wherever two shapes overlap and a shadow is wanted |
| Number 1 | Slices the last wood away cleanly | A double bevel | Under the basket, when everything is fragile |
Because light travels under an edge whether you shaped that edge or not. An undercut leaf stands clear of what is behind it and reads as though it were paper, even when the stock is solid. Leave the underside as a slab and the leaf looks glued down. I go into the shadow argument properly in undercutting work nobody looks at.

My V tool starts it. The one ground at forty five degrees is where I keep going back, since the angle of its wall is already the angle I want under the leaf. The mallet follows, barely tapping, and the edge lifts away from the ground behind it. That first pass is preliminary. The final undercut waits until the flowers above are carved, for the reason I give in why undercutting comes last.
How do you undercut a basket that has gone fragile?
Slowly, and with a tool that is genuinely sharp. Underneath these leaves runs a woven basket, and by this stage of the panel it is thin enough to snap under a firm push. Patience is the only technique on offer. I cannot rush it, and neither can you.

My number 1 chisel does the last of it, a double bevel so I can work from either face, taking one thin shaving at a time. Most of that work is against the grain, which is exactly when a dull edge tears instead of slicing. Sharpen before you start, not after the first split. Barely any pressure goes into the handle.
Hands get in the way at this stage and there is nothing to be done about it. Sometimes the only route to a cut is from the opposite side of the panel, so I turn the whole thing around and come at it backwards. A 1 mm number 16 V tool cleans the corners nothing else can enter.

Break something here and you have not ruined the panel. I break pieces regularly. A broken carved part goes back on with glue and nobody ever finds the repair, so let that worry go and keep carving.
How do you know you have not gone below the high point?
Look for the paper. The pattern is glued to the face of the panel at the start, and wherever a scrap of it is still showing, that surface has never been touched by a gouge. Paper means the high point survives. Bare wood underneath means the gouge has been there and you are already below it.

Free, and better than any gauge. I check it constantly on a panel like this, because the flowers still have to be glued on top and they need something flat to sit against. Carve those flat spots away by accident and the layer above has nowhere to land.
The openwork technique this course teaches depends on that discipline. Workshop 1 glued offcuts on to gain height, and every workshop since has been protecting the flats where the next layer goes.
Does any of this show in the finished panel?
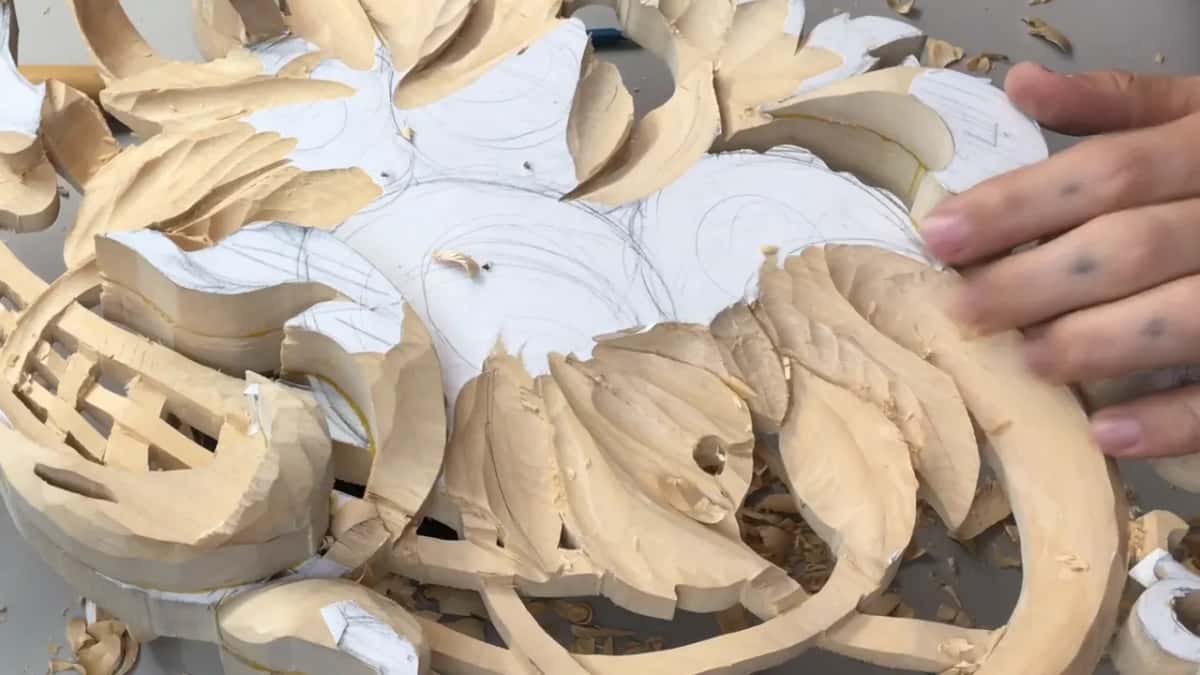
Yes and no, which is the honest answer. Pick one leaf out of this panel and hold it up and you would say the veining was wasted, since a flower covers most of it. See the finished carving from a chair across the room and you will not be able to say which leaf you are looking at. You will only notice that the thing has depth.
That gap between what you can point to and what you can feel is most of what separates carved work from stamped work. Grinling Gibbons understood it. So did every workshop whose panels sit in museums today while their contemporaries went for firewood.

Basswood takes this kind of work well, which is why I use it here. The grain is fine and even, so a 5 mm groove holds its wall instead of crumbling. Butternut behaves similarly with more colour in it. Oak will fight you on a leaf this small.

What should you carve next?
Take the leaf on your own bench that you were planning to leave rough. Find its high side, put a ridge there, run a number 9 out from that ridge, and add two deeper strokes. Then stand back a metre and a half and look.
If you want the whole sequence, with my hands on the wood and the mistakes left in, the 49 workshops of this course are inside the school. Workshop 6 is the one where the foliage stops being filler.

Tools for it are ordinary. You need five. Number 9, number 8, a V tool, number 1, and a spoon gouge for the deep places. Ashley Iles and Henry Taylor both still make them in Sheffield, and a good gouge outlives the carver who buys it.

One last thing about the leaves you are tempted to skip. They are where you get to be loose, because nothing there is precious. My best foliage has always come from the workshops where I was not trying very hard, and that is not an accident.
How it's done
- Read the leaf. Look along the shape and settle which flank sits higher. Nothing gets drawn. The ridge belongs toward that raised side, and the opposite half stays wide.
- Open the grooves. Drive a number 9 at thirteen millimetres away from the high line and out to the rim, stroke beside stroke. Whatever wall survives between a pair of strokes is the vein.
- Reach the hollows. Change to a 16 mm spoon gouge, sweep 9, wherever a straight tool bottoms out before arriving.
- Deepen two spots. Bring the same tool at 6 mm back into one or two grooves and drop them further than feels sensible. Leave the rest alone.
- Part the leaves. Lay a V tool along every place where one leaf travels beneath its neighbour.
- Begin the undercut. Tip the V tool onto its side, tap with a rubber mallet, and free the rim from the ground behind it.
- Clear the fragile ground. Swap to a double bevel number 1, honed first, and lift one shaving at a time from beneath the woven basket.
Frequently asked questions
Do background leaves need veins?
Every leaf on a panel earns veining, even one that a flower will half cover. Veins tell your eye the surface is organised rather than blank. Skipping them on secondary foliage leaves a flat patch that reads as unfinished at first glance.
What gouge carves leaf veins?
Nearly all the veining is done by a number 9 at roughly 13 mm. Strokes move off the high line toward the rim, and the narrow wall left between a pair of neighbouring strokes becomes the vein your eye reads.
Should the ridge sit in the middle of a leaf?
Put the ridge off centre, toward whichever flank rides higher. Splitting a leaf into equal halves makes it look pressed from a mould. Shifting the line leaves one half wide and turning away, which gives the shape its roundness.
What to carve next