
Alexander Grabovetskiy, woodcarver, School of Woodcarving · Published 2018
How do you make carved lines look organic instead of stiff?
Quick answer: An organic line is one that arrives somewhere rather than stopping in mid air. As a curl finishes, the following line starts at that same point and carries the movement forward, along the original path or along a second one. Either choice reads as natural, and both follow one rule.
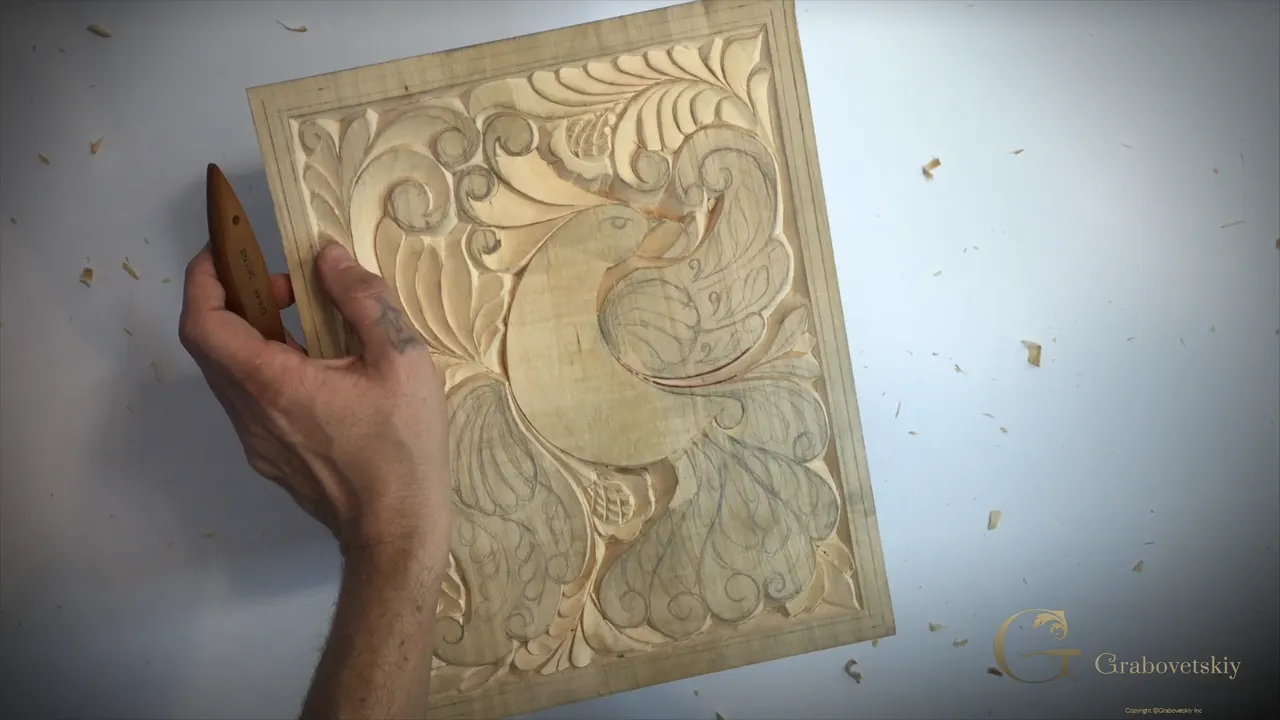
A line looks organic when it goes somewhere instead of stopping in mid air. Where one curl finishes, the next line begins at that exact point and carries on, either along the original path or along a second one. Both choices read as natural, and both obey the same rule.
Ever drawn a curl that looked right on paper and wrong once it was carved? Do you know where each line on your board is supposed to end up? Then the tail of this bird is worth watching closely.
My teacher put a knife in my hand ahead of every other tool. Not gouges, not chisels, just knife technique until my hands understood it, and that is why I still reach for a blade however complicated a carving turns out to be. Workshop 11 carves the tail, and the whole session is about lines arriving where they should.
What the tail is teaching
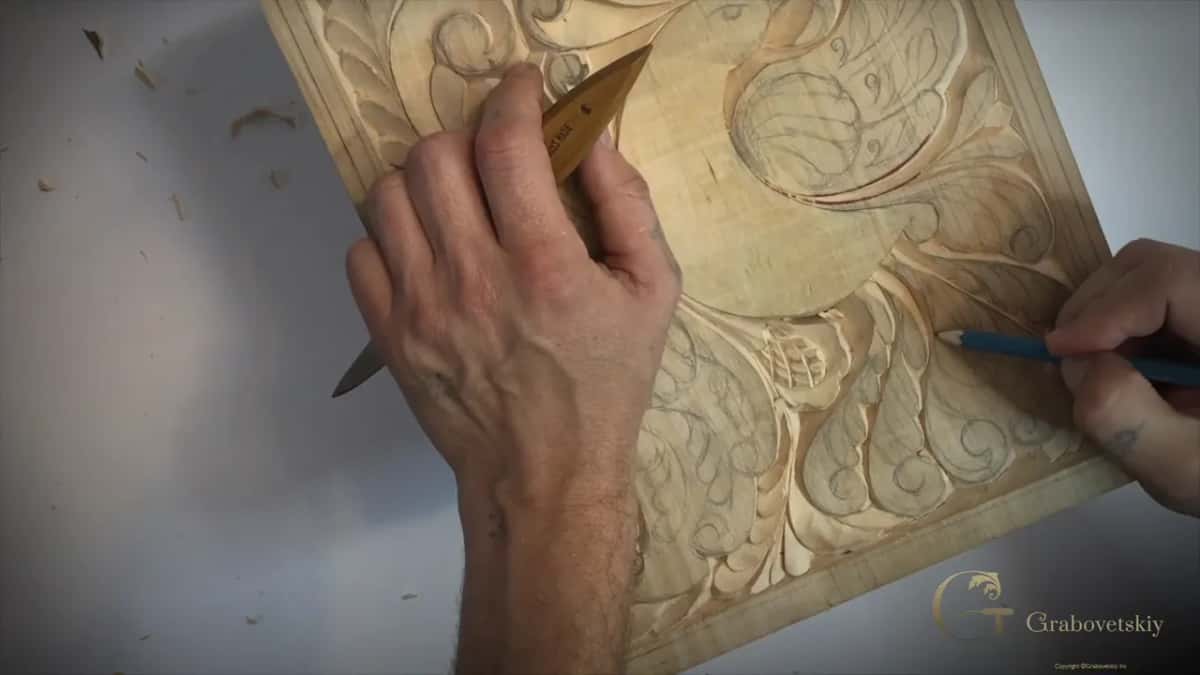
- Subdivide before you carve. A pencil splits this tail into four matching sections first.
- An upright pass is rarely a true ninety degrees, and a slight lean looks better nearly everywhere on the board.
- Whatever bevel sits on the wall beside you, the new one has to match it. Turn the board to manage that.
- Two ways carve a curl. Follow the whole line in one stroke, or take the triangles out first and refine afterwards.
- Depth on the tail runs near 6 mm, a quarter of an inch, top surface to bottom.
What makes a carved line look organic?
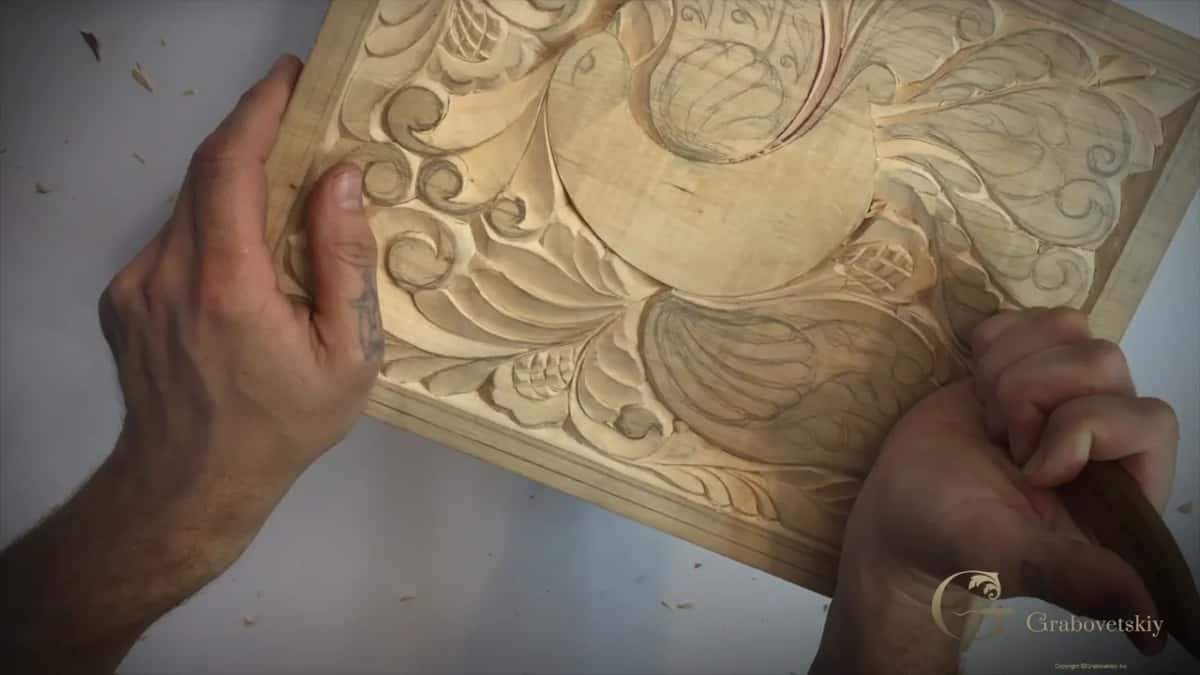
Continuation. Every line on this panel has to reach another line, and where a curl ends, something must pick the movement up and carry it forward. Do that everywhere and the ornament reads as one growing thing. Miss it and the panel looks like separate shapes parked beside each other.
There are two honest answers at any given point. Carry on along the line you were following, or start a fresh line from the same spot and let that one travel instead. Both flow, and choosing between them is taste, and that is as close to a formula as ornament of this kind offers.
Did the old carvers work it out mathematically?
Some did, most did not, and the honest answer shifts depending where you stand. In ancient Greece they absolutely worked with proportion and number, and anyone who has read about the golden ratio knows the argument. Scandinavian carvers had no such system and were not interested in one.
Yet look at the old work in Germany, in what was ancient Poland, in ancient Russia, and every curl still flows. No formula produced that. What produced it was the feel of flow sitting inside the person holding the knife, built up over years of carving the same family of shapes. Do not take it too philosophically, though.
Why subdivide a shape before carving it?
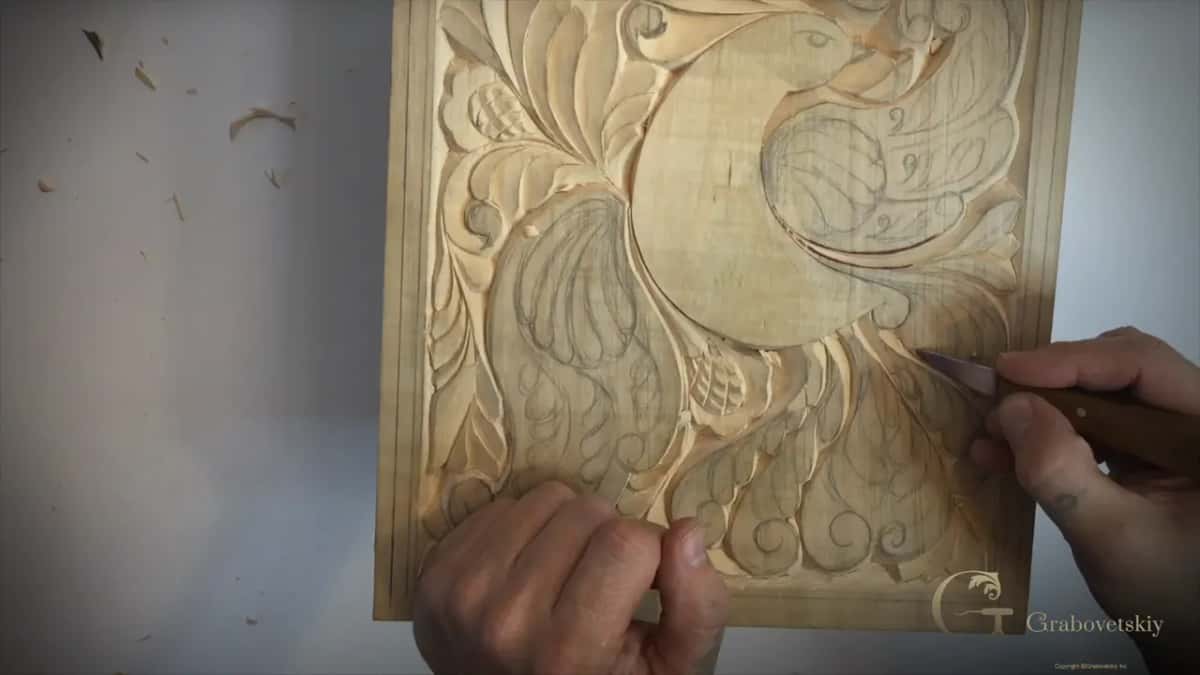
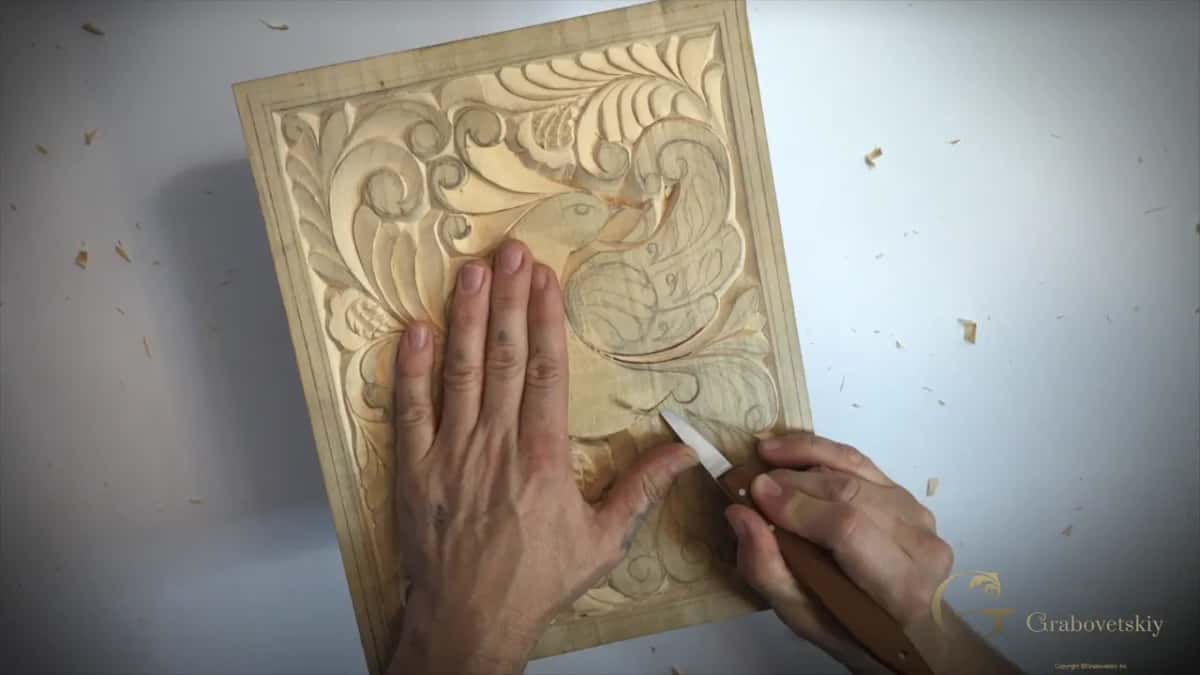
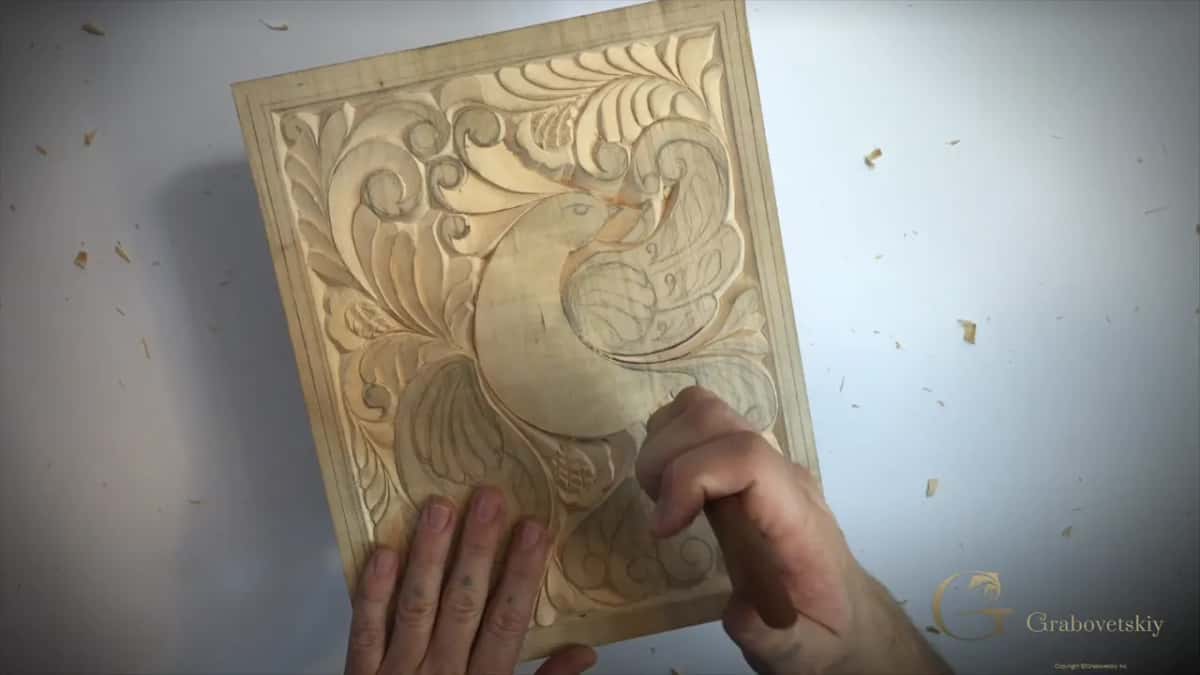
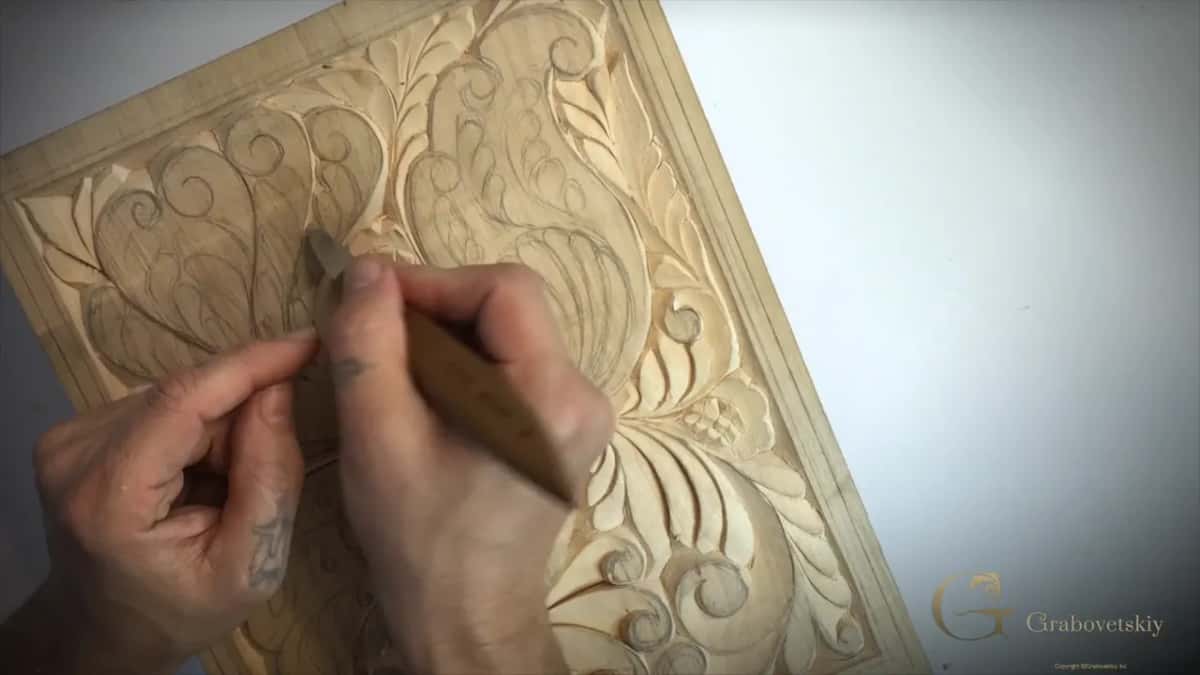
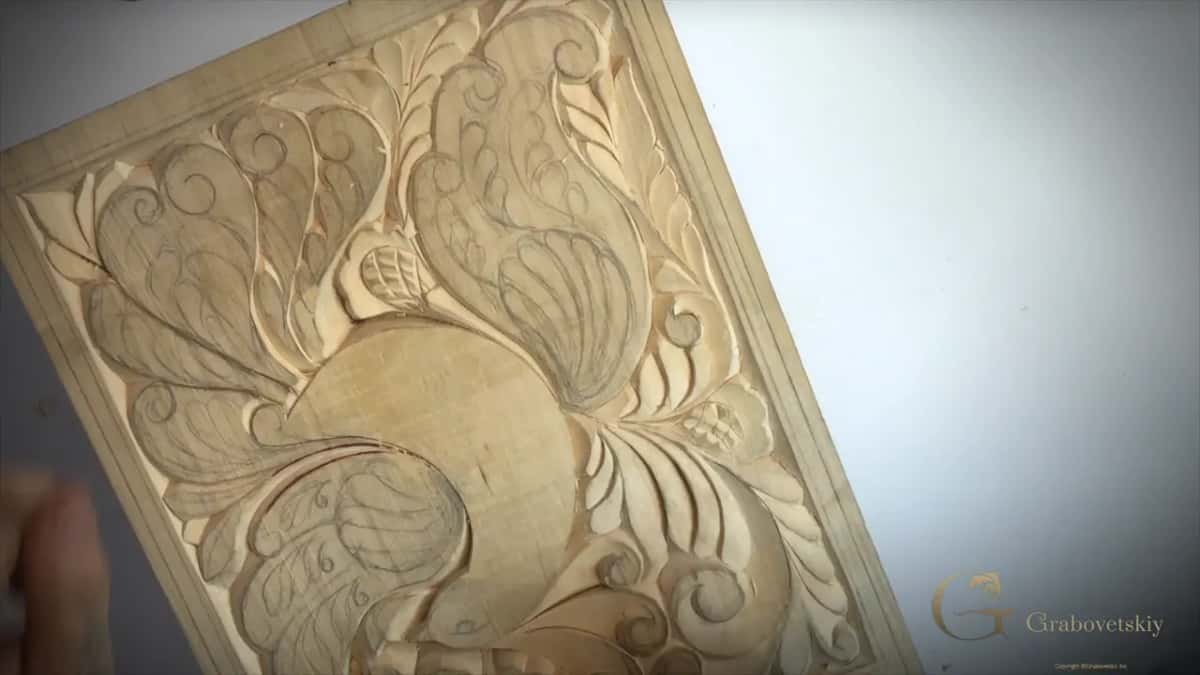
Even spacing is almost impossible to judge by eye once the blade is moving. So the tail gets carved around first, purely to set it apart from the ground, and then the pencil goes back on to divide its whole length evenly. One, two, three, four, and only then does any carving start.
That single habit prevents the commonest fault in a carved tail, which is three generous feathers and a cramped fourth one squeezed in at the end. Look at any tail on old work and the divisions are regular. Somebody counted.
Is a straight down pass really ninety degrees?
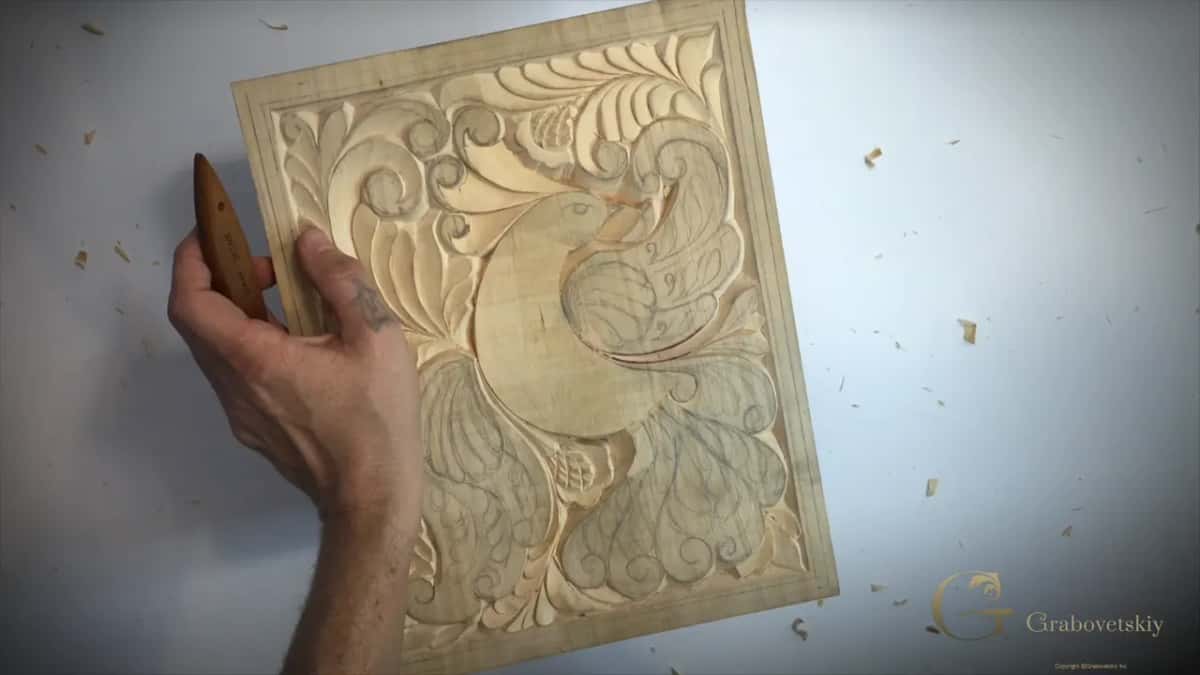
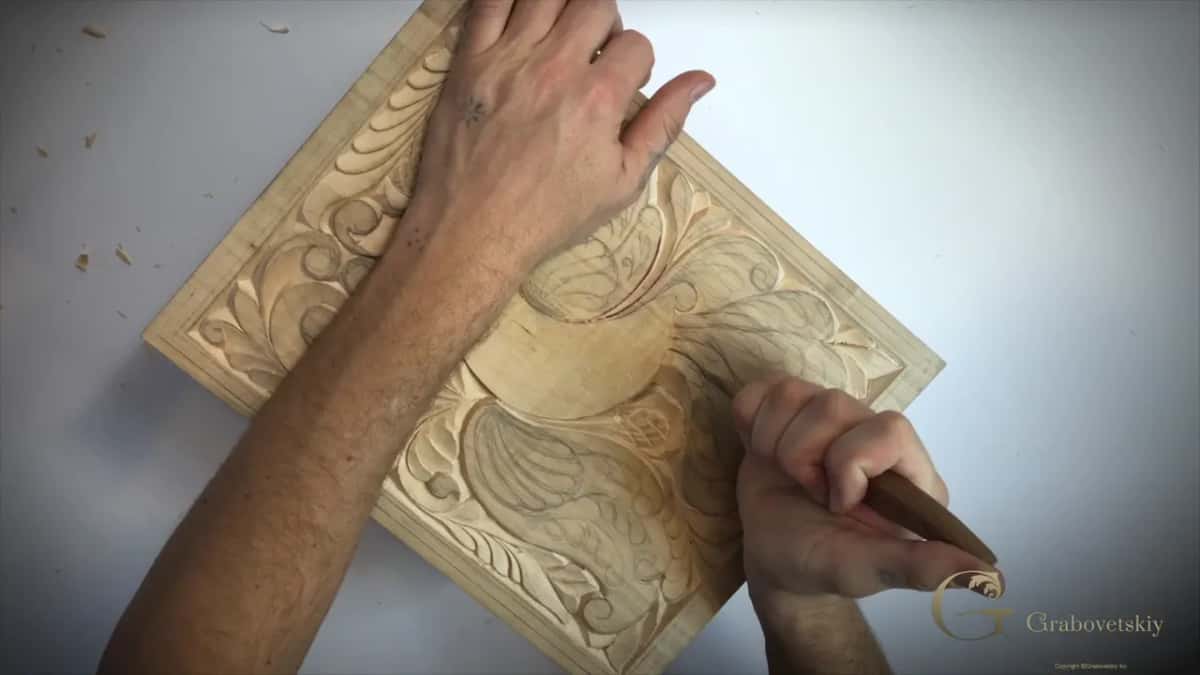
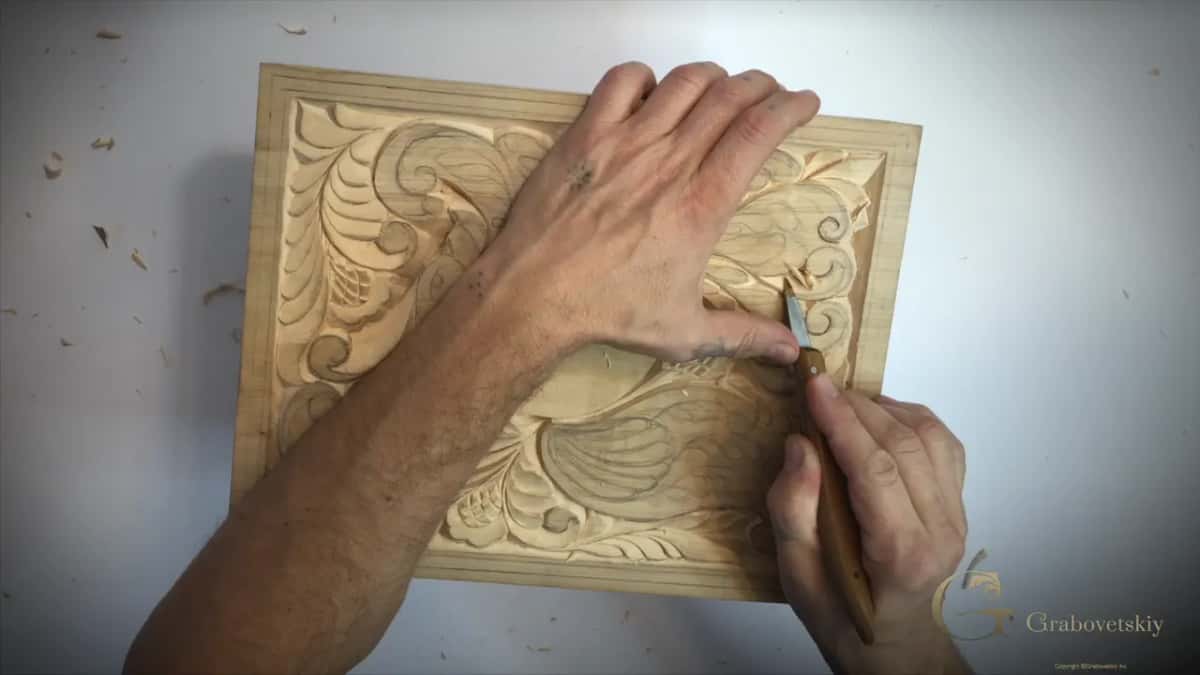
Rarely, once you look closely. Around the bird's body it genuinely is, because that hard shadow does a job nothing else can. Everywhere else I let the blade lean a few degrees, and the wall softens just enough to stop the panel looking mechanical.
Almost straight down, with a slight bevel. That phrase covers most of the passes in this session. There is no rule about how many degrees, and a small lean is easier to control than a dead vertical anyway.
| Where you are | How far over the blade leans there | The shadow | Why that angle belongs right there |
|---|---|---|---|
| Against the bird itself | Upright at ninety degrees, held the whole way along it | Hard line | The bird has to sit above everything else |
| Between tail feathers | Almost upright, but with just a slight lean | Softer edge | Divisions that read without shouting at you |
| Curl interiors | Low, matching the neighbouring wall exactly | Gentle only | A curl reads by shape |
| The open ground behind | Very low, carried right out to the boundary line | Almost none | Ground that has to fall away quietly |
Matching a bevel to the wall next to it
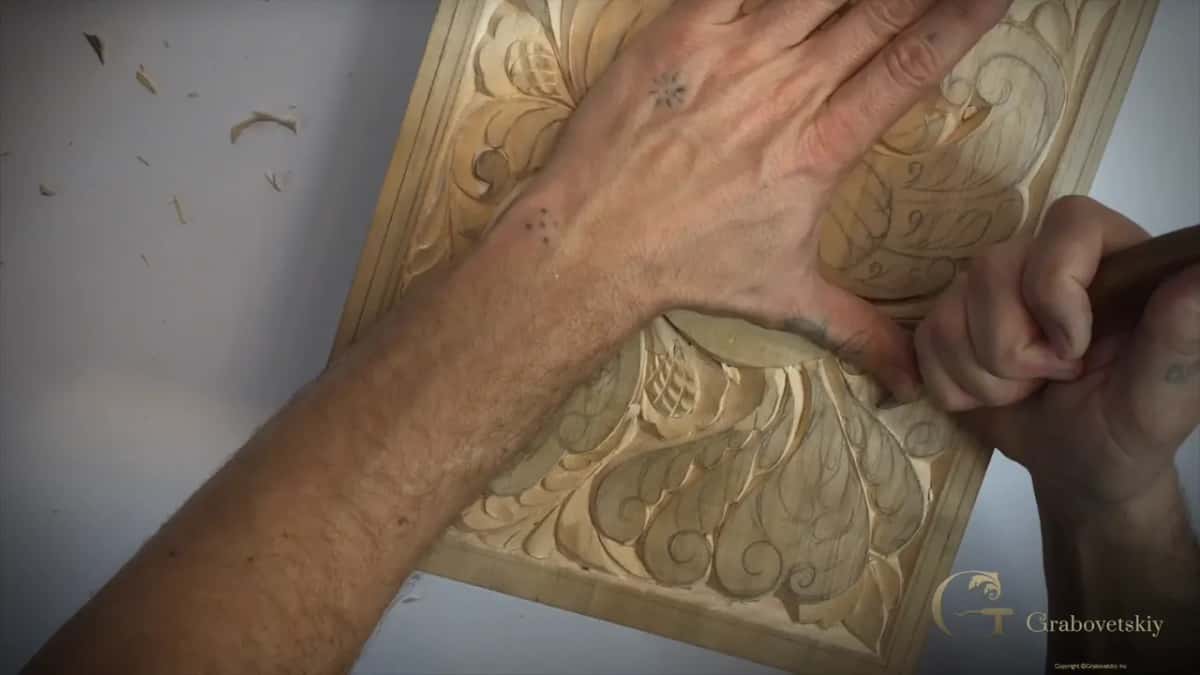
Move the board, not your wrist. Each new pass has to arrive at exactly the angle of whatever it meets, and nobody holds an awkward angle accurately by twisting an arm into it. So rotate the panel until the angle you need becomes the comfortable one, and only then start carving. Two seconds, and it saves the whole shape from a wandering wall.
Then check it by eye, looking along the surface the way you would check a planed board for flatness. Two bevels that almost match show up as a kink in the shadow line, and once you have seen one of those you never miss it again.
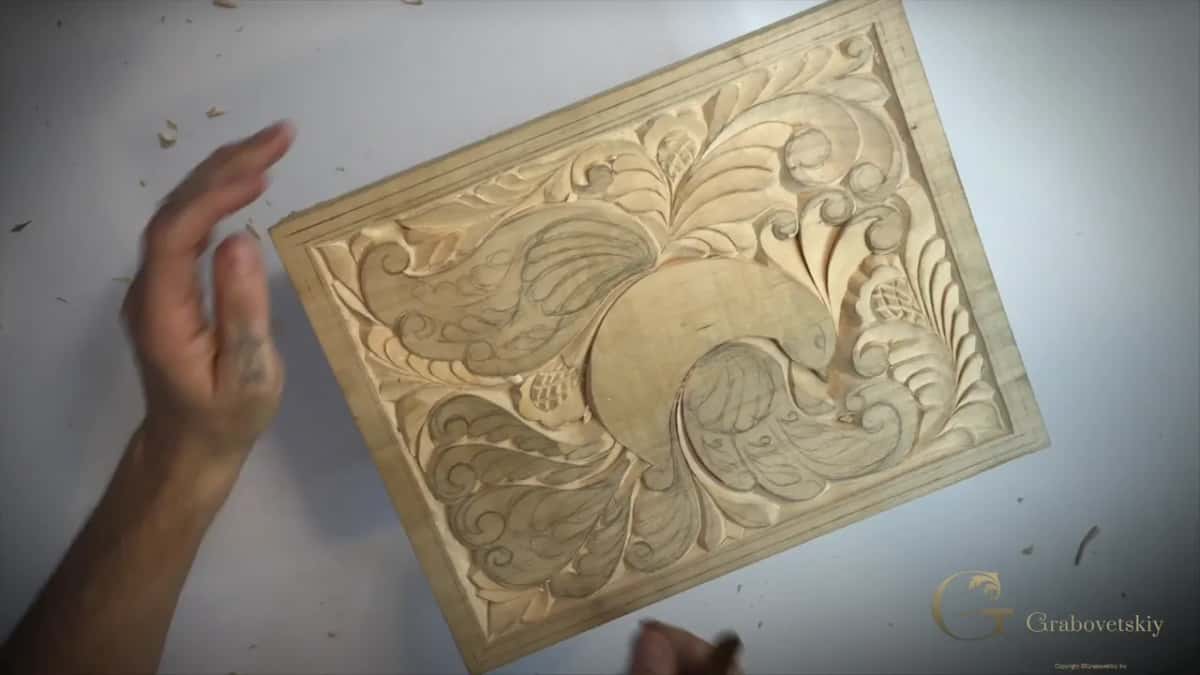
Two methods for a curl. Which is better?
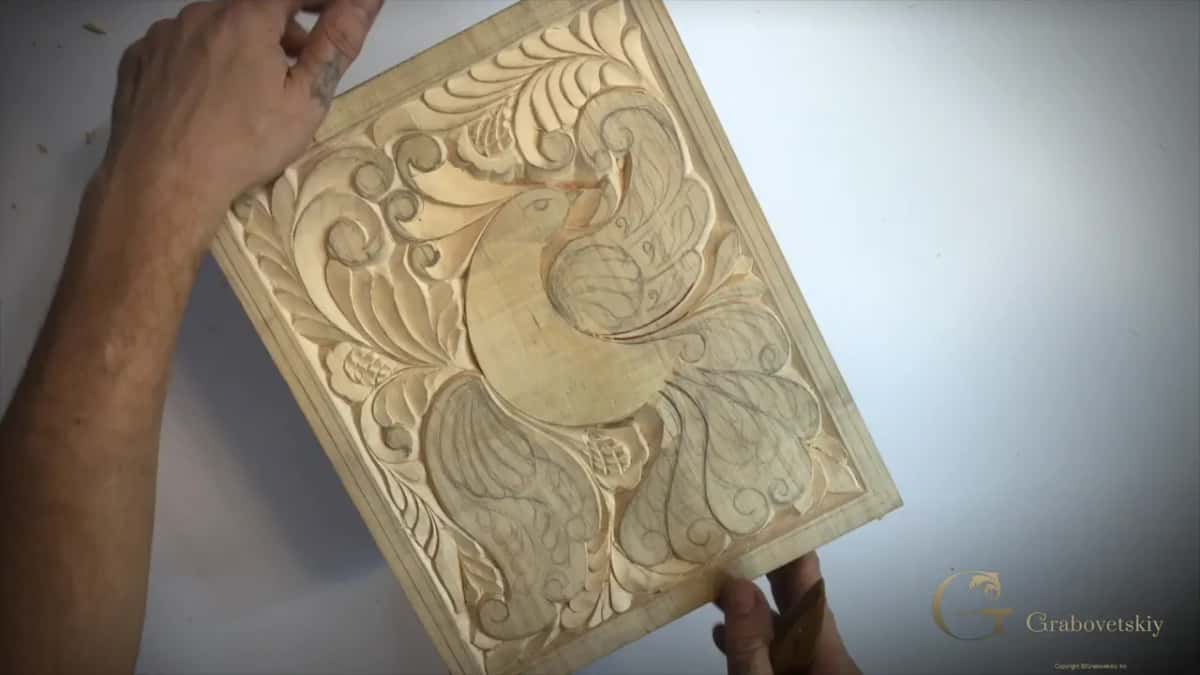
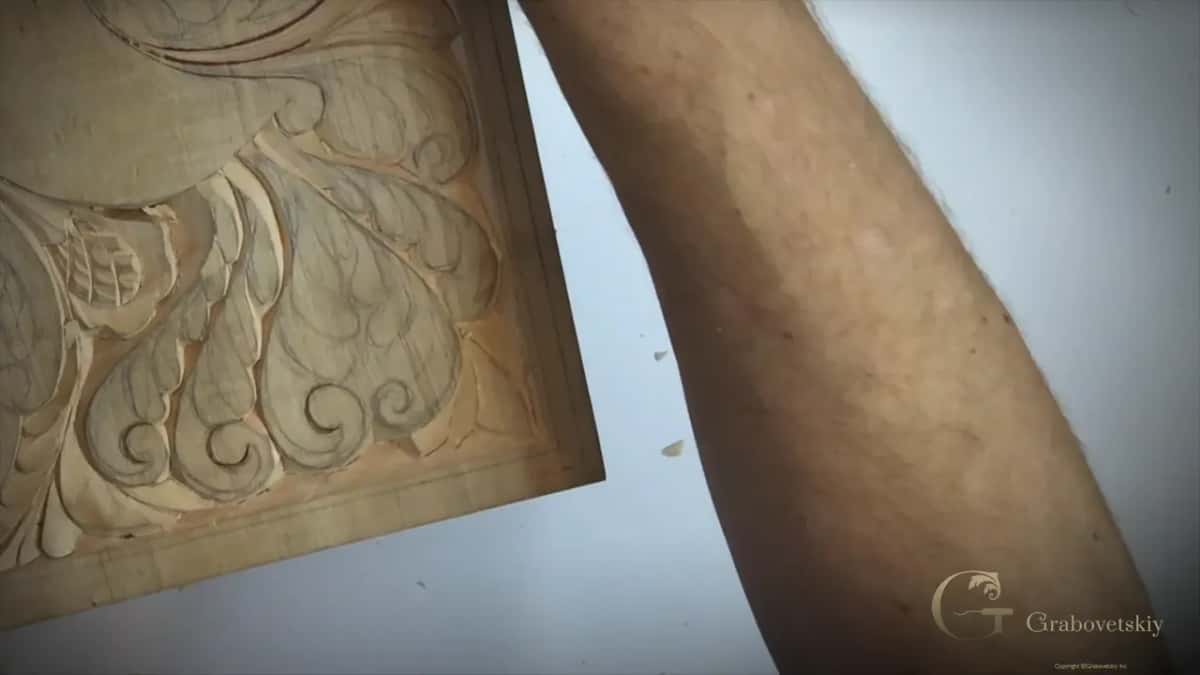
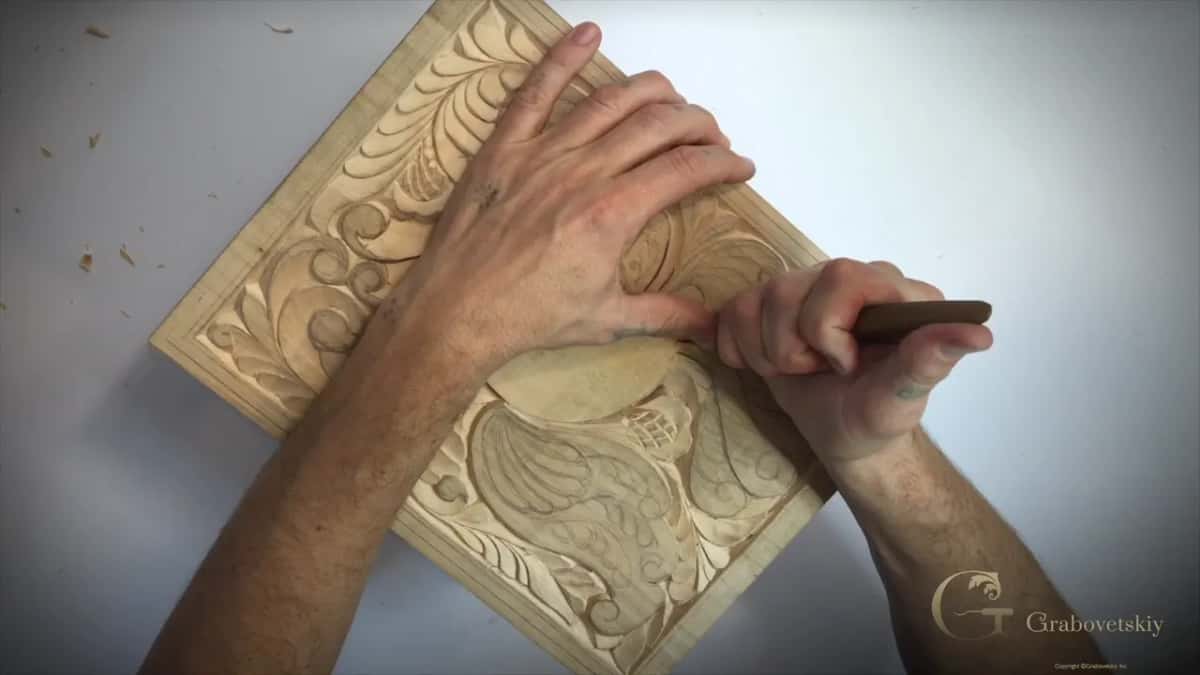
Neither, and you should try both. The way I mostly work is to follow the drawn line straight through with the knife, one continuous movement, which is quick and demands a steady hand. The other way lifts each small triangle out on its own, section by section, and refines the whole shape with a round pass afterwards.
That second method takes longer and it is often the better choice, particularly on a tight volute where one long stroke would be asking a lot of a beginner. Whichever suits your hands is the correct one. Nobody is marking your method.
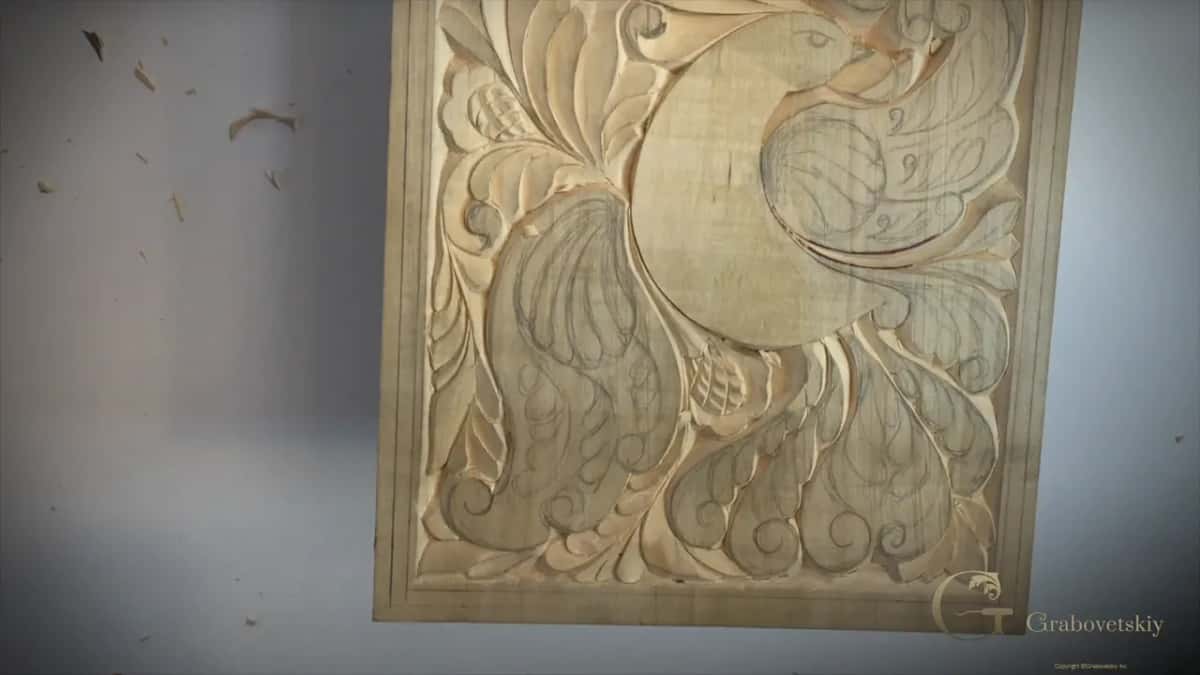
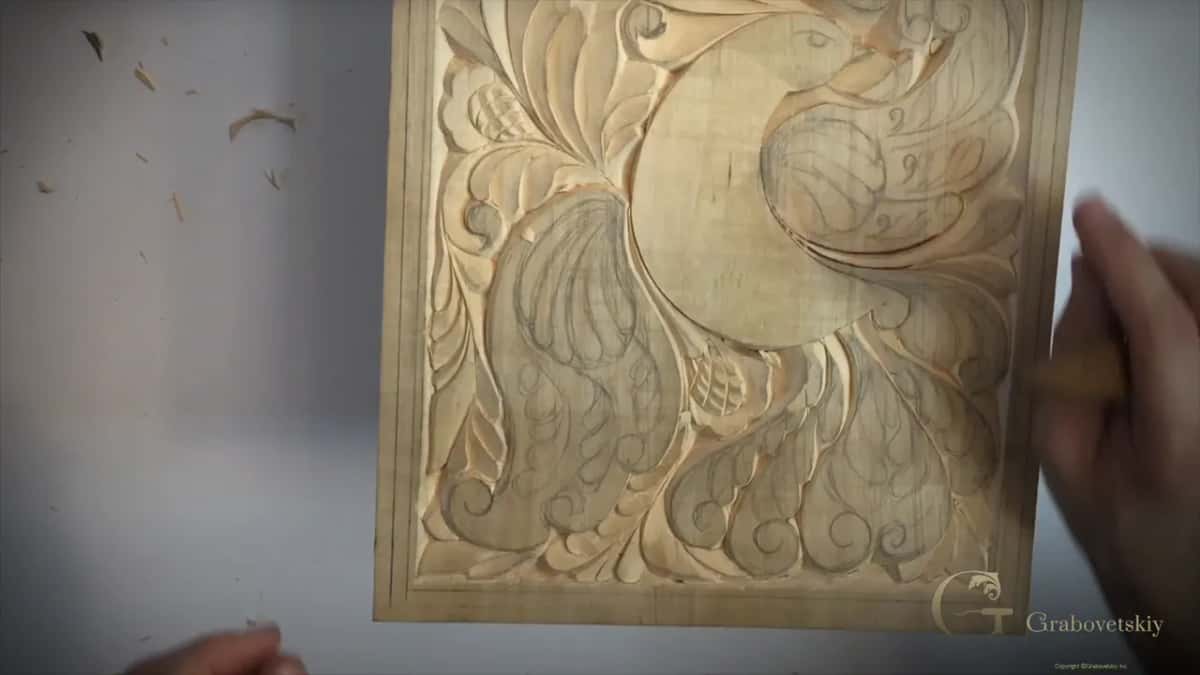
How deep does the tail need to go?
Near 6 mm, measured between the highest surface and the lowest. That matches what was carved beside it in the previous session, and matching matters more than the number itself.
Take the corners down to depth first, then work the middle outward until it meets them. Going the other way leaves you guessing how far you have travelled, and guessing in soft lime usually costs a millimetre more than you wanted.
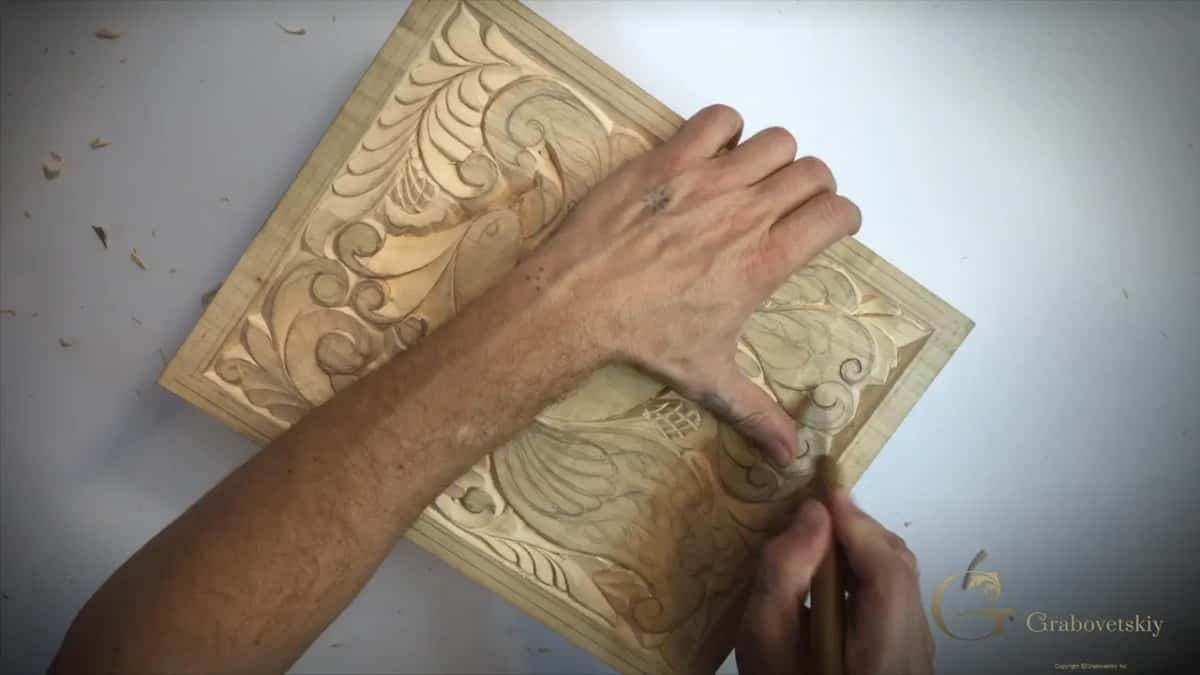
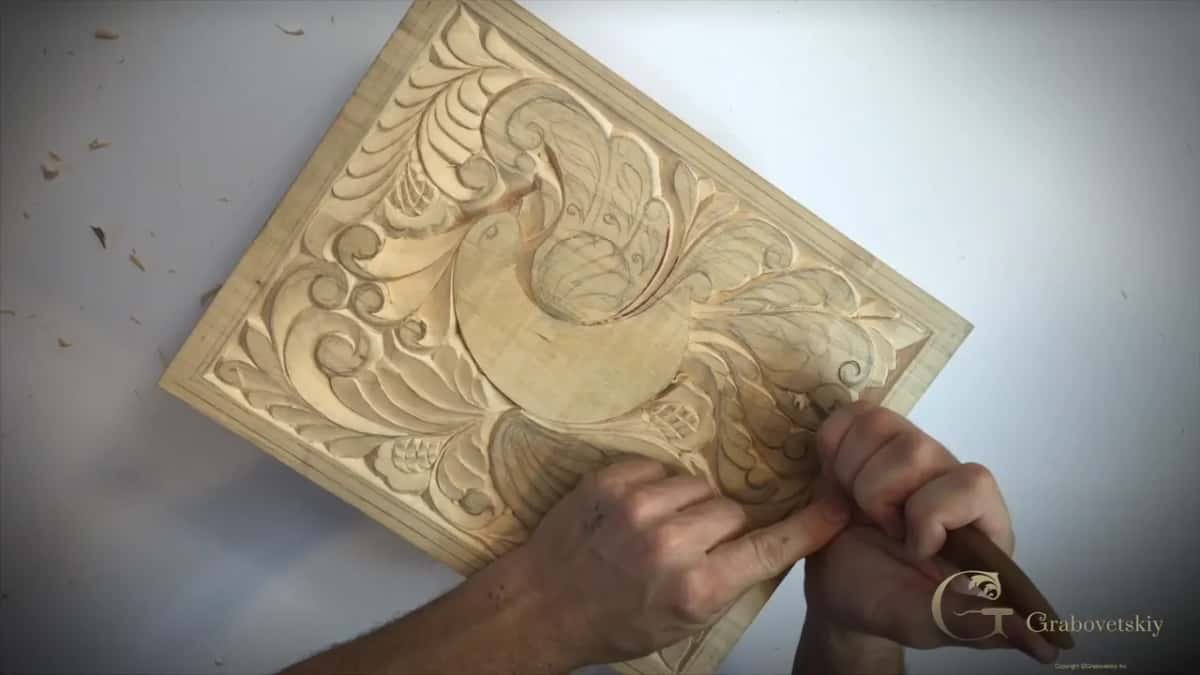
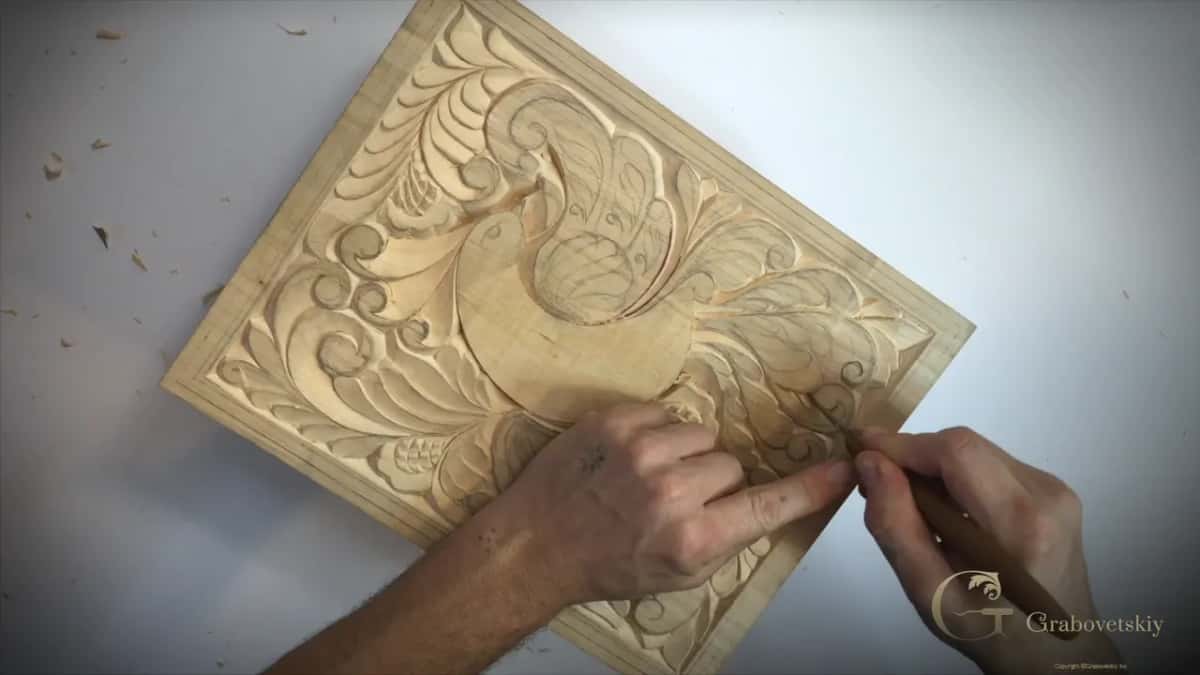
A piece just snapped out of my carving. What now?
Work out what caused it, then carry on. One piece snapped out of mine during this session, and I said on camera that I should not do that again, because the grain was running straight through the area and I pushed when I should have eased off.
Small breaks nearly always repair themselves once the surrounding ground comes down a little further. What you must not do is chase the damage deeper in a panic. Stop, look at which way the fibres run, come at the same spot from the other direction, and most of the time the fault carves away.
What happens when you carve a detail you did not want?
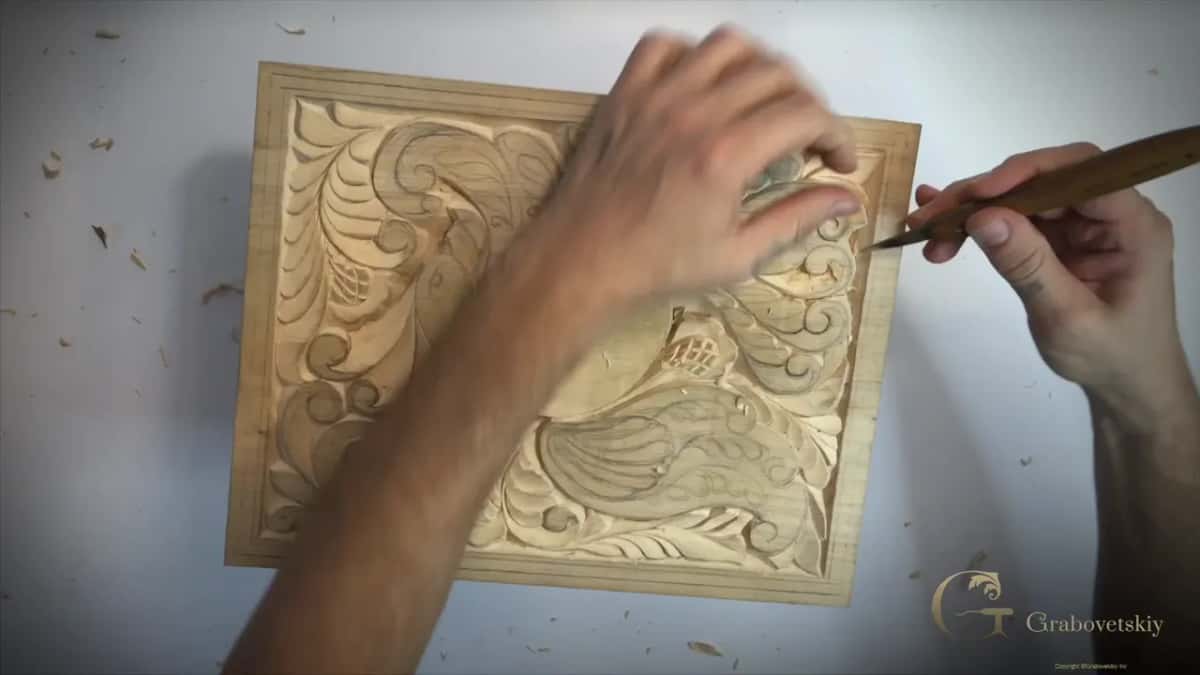
You live with it, mostly. I put one extra line into this tail that was never in the drawing, and rather than edit that out I said so and turned it into one long shape instead. It happens, it is not a disaster, and a viewer who never sees a mistake learns nothing about recovery.
Perfect work is not the target. Handwork with confident marks is. An extra line absorbed into a bigger shape disappears completely once the panel is finished, whereas a nervous attempt to undo it leaves a scar you can see across the room.
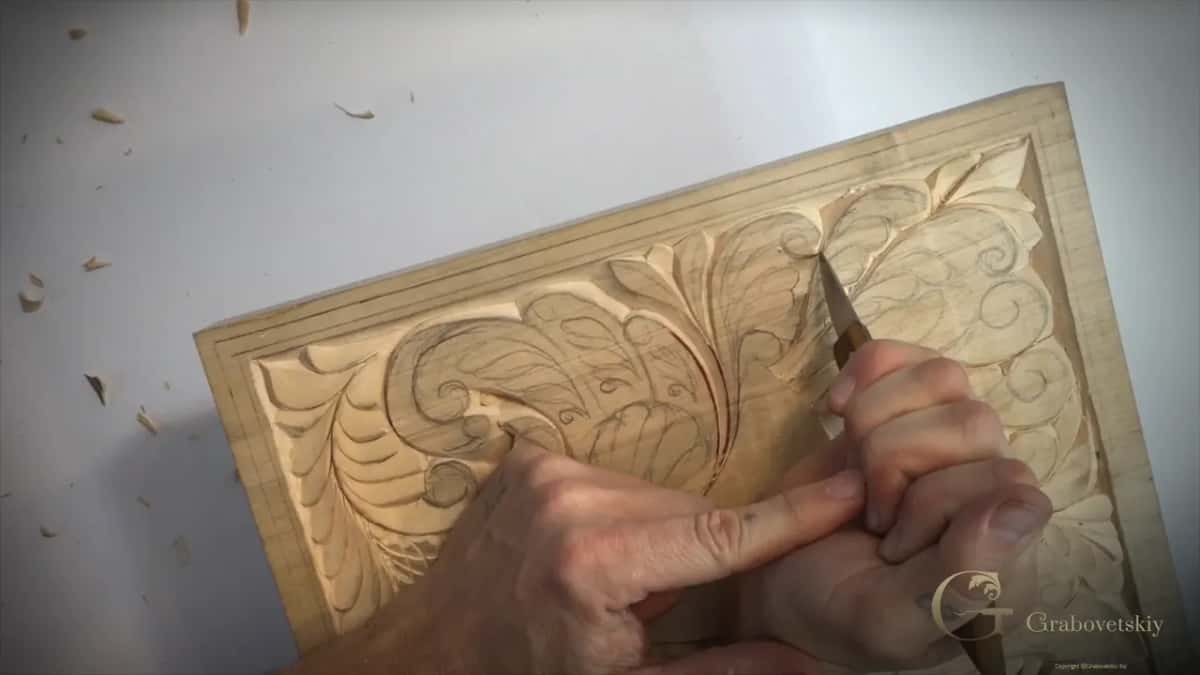
Where do beginners usually go wrong on a tail?
Spacing first, depth second. Four feathers drawn freehand come out as three roomy ones and a squeezed fourth, because nobody measured before the knife arrived. Divide first with a pencil and that problem disappears entirely.
Depth is the second trap. A tail carved deeper than the wing beside it fights the bird instead of belonging to it, and shallow relief gives you almost no room to correct that. Match what is already there rather than deciding afresh each session, which is the same discipline that holds together any piece of interlace ever carved.
Hours a tail like this really takes
An evening, and probably two. Three video parts run about twenty two minutes, and that is unedited carving at the speed I actually work, which is slower than most people expect from somebody who has done it for decades.
Speed arrives from not making mistakes rather than from moving the blade faster. Every one of those passes is three or four light travels, and the whole method of chip carving runs on repetition instead of force. Budget the time honestly and the work stops being frustrating.
Checking work your eyes keep missing
Pick it up and move it around in your hands. A ridge left where two passes failed to blend is invisible from the angle you carved at and obvious from most others, so turn the board, tilt it, and let light arrive from a different direction. Every time I do that I find something.
Then repair whatever shows while the knife is still in your hand. Waiting until next week means setting up again for a job that takes four seconds now. The aim is a field so even that somebody assumes it was sanded, reached without any sanding at all.

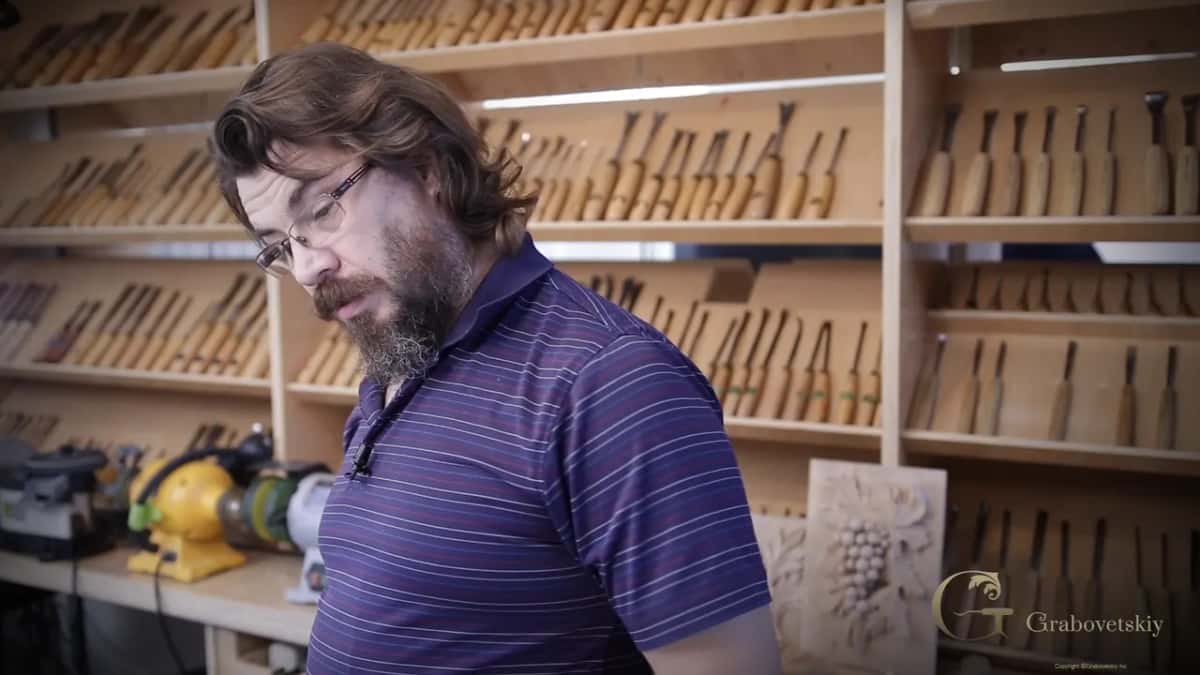
Why did your teacher start you on a knife?
A knife hides nothing. That is the short answer. A gouge brings its own curve, so half of every shape is decided by the tool before you begin. With a straight edge the shape, the depth and the angle are all yours, and that is uncomfortable for about a year and then becomes the thing everything else rests on.
Traditional apprenticeship understood this and took its time about it. I carved panels very much like this one many times over before anybody handed me a gouge, and I have never resented a single hour of it. Nothing in woodcarving afterwards felt hard in the same way.
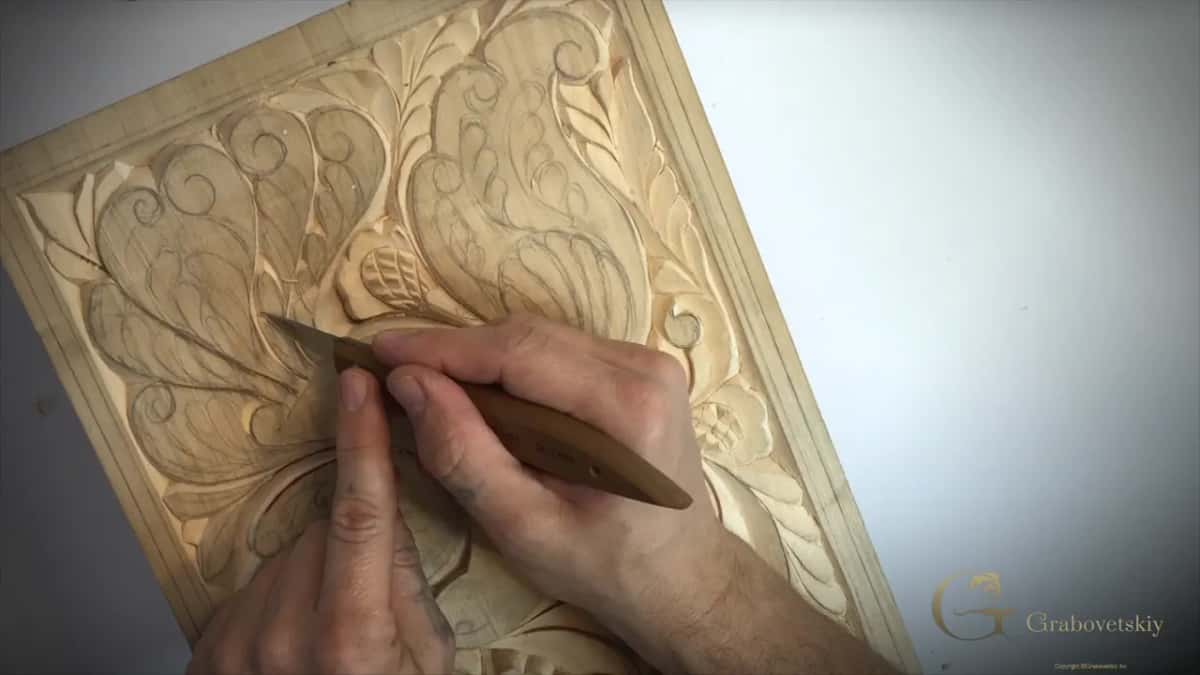
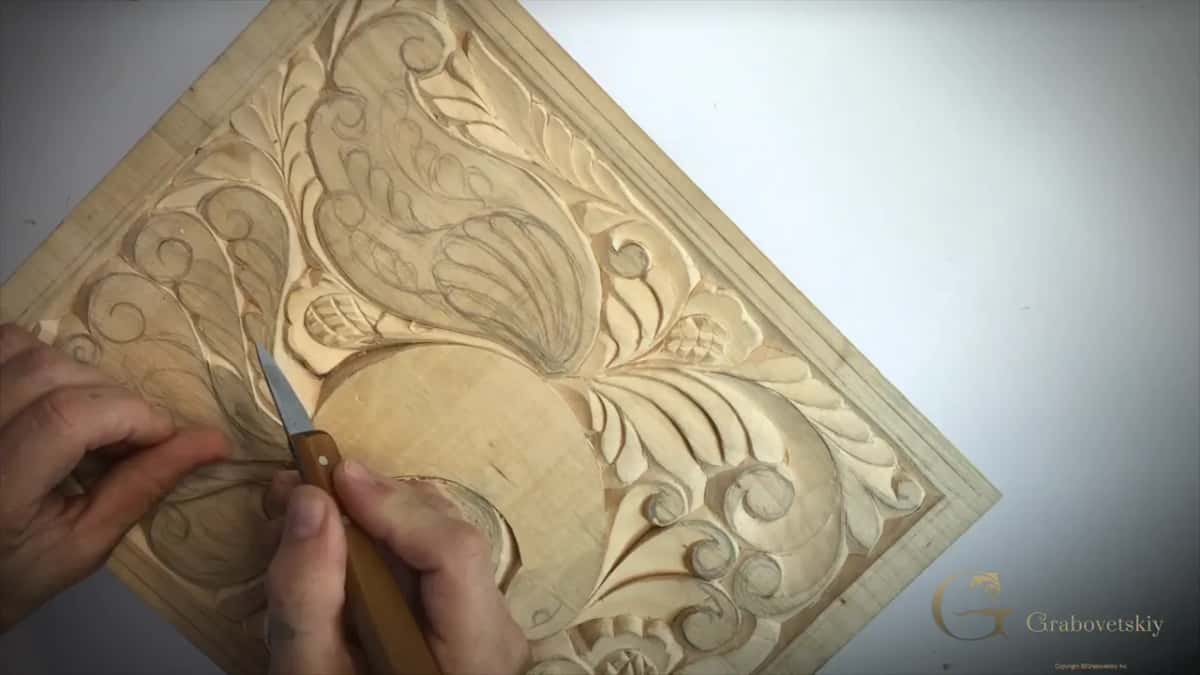
Does any of this transfer to bigger work?
All of it does, and that is why the course runs in this order. A tail marked into four matching sections is the same judgement as a frieze divided into repeating bays, just smaller. Matching a bevel to its neighbour on a cutting board is the same problem as matching one on a Venetian panel with four hundred hours in it.
Scale changes the time and nothing else. Everything you learn on this little board about spacing, depth, angle and flow is carried straight into whatever you carve afterwards, which is why my teacher made me repeat work of exactly this kind before anything larger was allowed near my bench.
Would you like me to see your board?
Genuinely, yes. Students upload photographs of their panels at this point in the course and those are the best part of my week, because no two boards ever look the same even when everybody drew from the same video. Post yours when the tail is done.
What I look for is not neatness. It is whether the lines arrive somewhere, whether the levels separate, and whether the marks agree with each other, which are the three things this entire project has been teaching since the pencil first touched the wood.
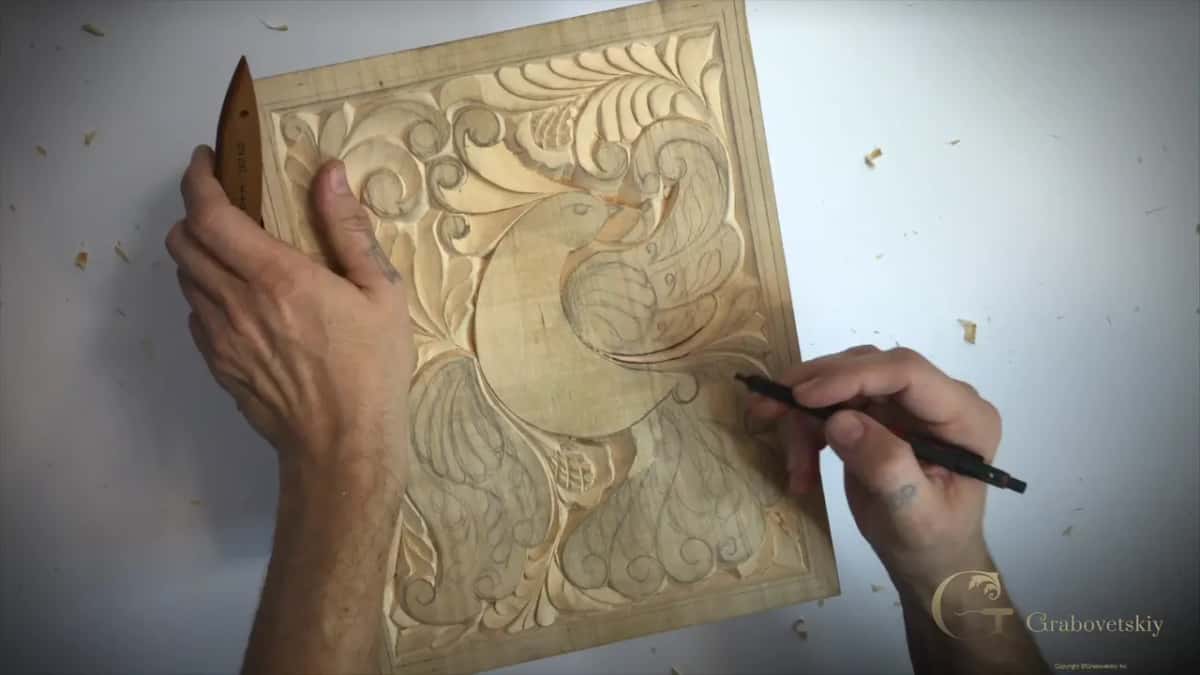
The bench, and what is left
One knife still, a pencil, and the board from Workshop 10. An edge that will not free a chip makes every judgement above impossible, so the sharpening course comes first if yours is tired. The whole run of this project sits in the beginner course.
Why one element belongs above another is taught properly in principles of design, and what to buy is answered in the tools course. Everything lives behind one door at the school, and the earlier sessions on carving around a flaw are worth a second look.
Three parts, about twenty two minutes. Part 11.1 divides the tail into four, 11.2 covers the organic line and the two methods, and 11.3 takes the curls down to depth.
One more thing. Carve along with the video rather than watching it through first, because pressure is the part nobody can put into words for you.
Your board is in front of you and one line is waiting to go somewhere. Where should it end up? Shall we carve?
How it's done
- Carve round the shape first. Take a pass all the way around the tail to begin with, purely to separate it from the ground so you can see what you are actually dealing with.
- Divide it with a pencil. Mark the length into matching sections, four of them here. Judging even spacing by eye once the knife is moving is close to impossible.
- Lean the blade slightly. Set each dividing pass almost upright but not quite. A few degrees of lean reads better anywhere except beside the bird itself.
- Match the neighbouring wall. Rotate the panel until the angle you need becomes the comfortable one, then carve. Two bevels that almost agree show as a kink in the shadow.
- Corners first. Drop the corners to about 6 mm, then bring the middle outward to meet them rather than guessing your way down from the surface.
- Look at it in different light. Lift it, tilt it, let light arrive from another direction, and repair whatever appears while the knife is still in your hand.
Frequently asked questions
What does organic mean in carved ornament?
Every line reaches another line rather than stopping. Where one curl ends, the next movement begins at that exact point, so the whole panel reads as one growing thing.
Did old carvers use mathematics?
Greek work certainly involved proportion and number. Scandinavian and other northern carvers used none of it, and their ornament still flows, because the feel was in the hands rather than on paper.
Should a dividing cut be exactly vertical?
Only against the bird itself, where the hard shadow earns it. Elsewhere a few degrees of lean looks better and is easier to control than a perfect ninety.
What to carve next