
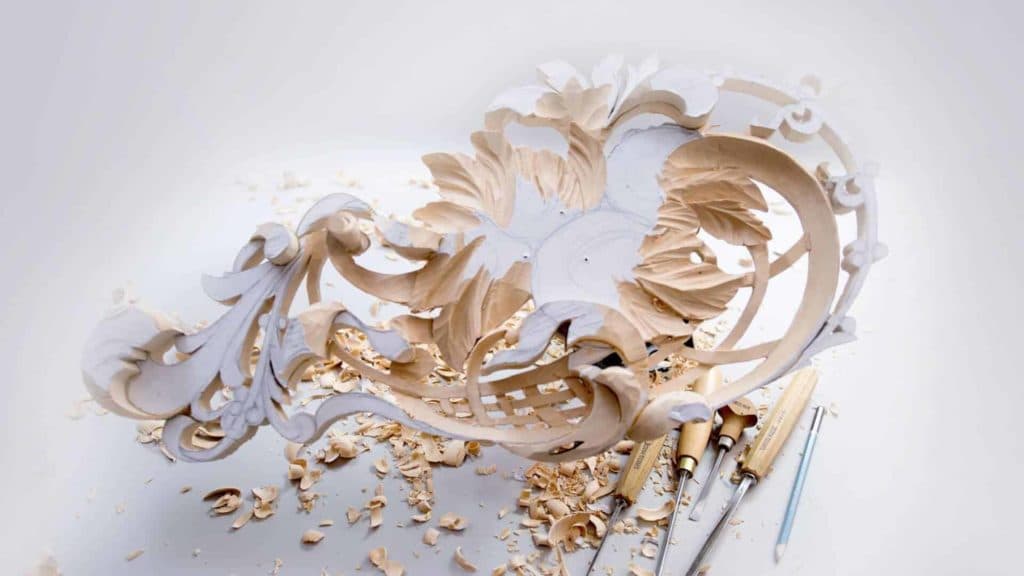
Alexander Grabovetskiy, woodcarver, School of Woodcarving · Published 2018
How thin should a carved leaf be?
Quick answer: A carved leaf is taken down to about a sixteenth of an inch, roughly 1.5 mm, with its rim thinner still. Work that thin lets light pass behind the edge and lay a shadow on the ground. Solid stock then reads as paper. Anything thicker looks glued to the board.
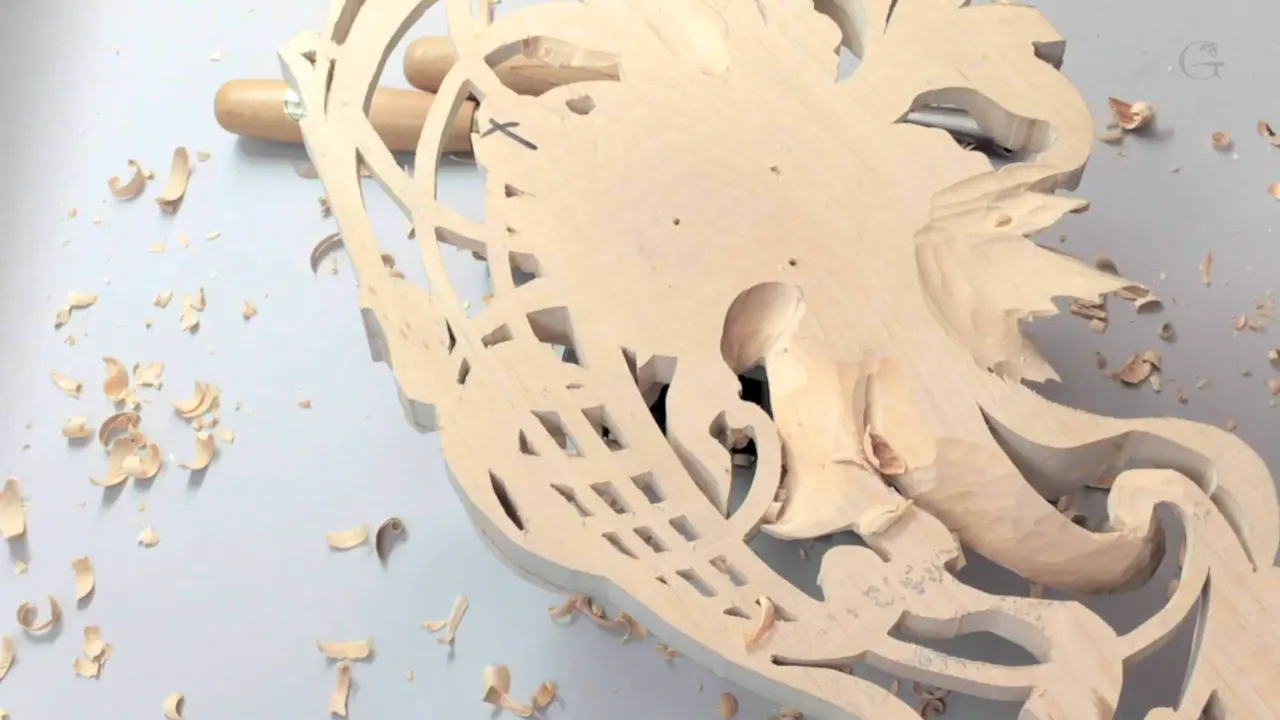
A leaf in openwork comes down to roughly 1.5 mm, a bare sixteenth of the inch, and its rim goes thinner than that. Light then slips behind the edge and drops a shadow onto whatever is back there. Heavy stock starts looking like paper. Leave the leaf thick and it stays a lump stuck on a board.
Have you ever held a carved panel up to a window? Did any of it glow? Mine does by this stage, and the glow is the whole point of workshop 7.
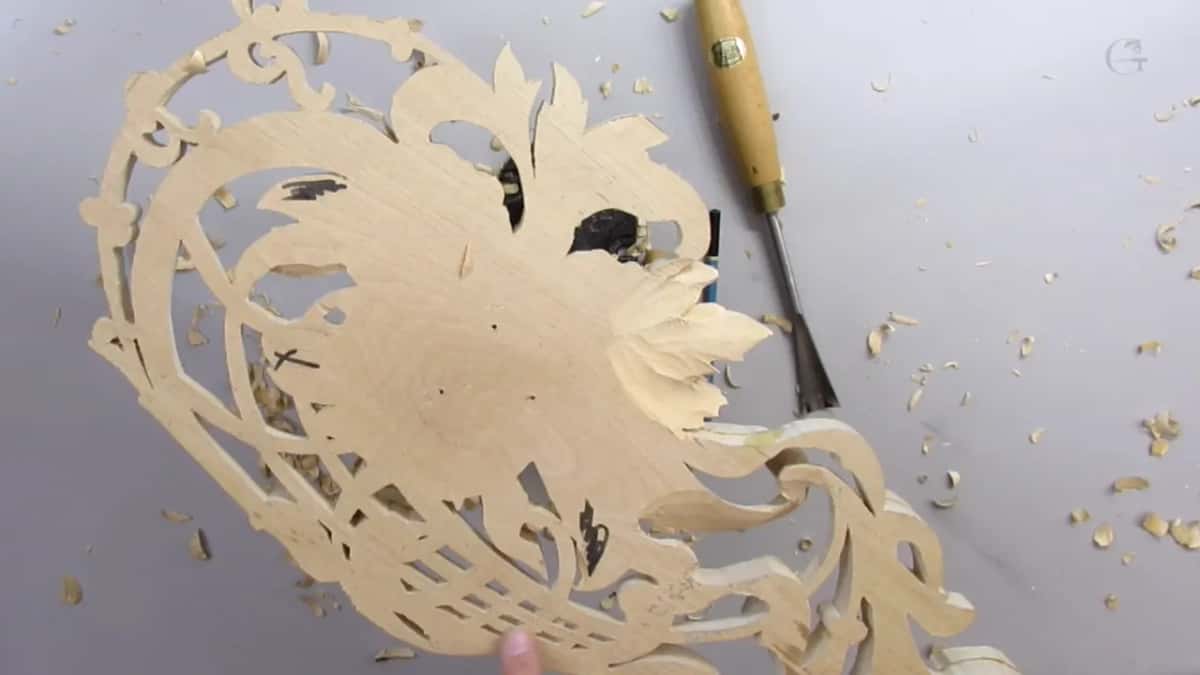
Carvers get stuck here for a sensible reason. Thinning a leaf from the front means attacking the surface you spent a week modelling, so the tool has nowhere safe to go. The answer is to stop working from the front. Turn the panel over, take the waste off the back where no finished surface exists, and the leaf arrives at its thickness without a single risky pass across the face. That is most of what Carving Hashemi Flowers workshop 7 shows, and it is the closest thing I have to a secret.
What a bare sixteenth buys you
- Light travelling behind an edge instead of stopping at it.
- A panel that weighs noticeably less.
- Rims you can read from across a room.
- Freedom to set the final edge, since almost nothing is left to remove by then.
- Breakages.
Why does thinness matter if nobody looks at the back?
Light is the reason, not the back. A viewer never inspects the underside of a carved leaf, and a viewer does not have to. What reaches them is the dark line the thinned edge lays down on the wall behind it, and that line is the difference between foliage floating in front of a surface and foliage lying on one.
Even a small amount of light getting behind an edge will build a shadow. You will not consciously register the mechanism. Something in you detects it anyway, which is why a panel carved this way feels alive in a room and a photograph of the same panel often does not. Carving shadows deliberately is a whole subject of its own.
Weight matters too, and carvers forget it. An unthinned panel of basswood this size is a heavy object to hang. Taking the back out of every leaf removes a surprising amount of material, and what goes on the wall afterwards is light enough to handle on your own.
How do you take a leaf that thin without losing it?
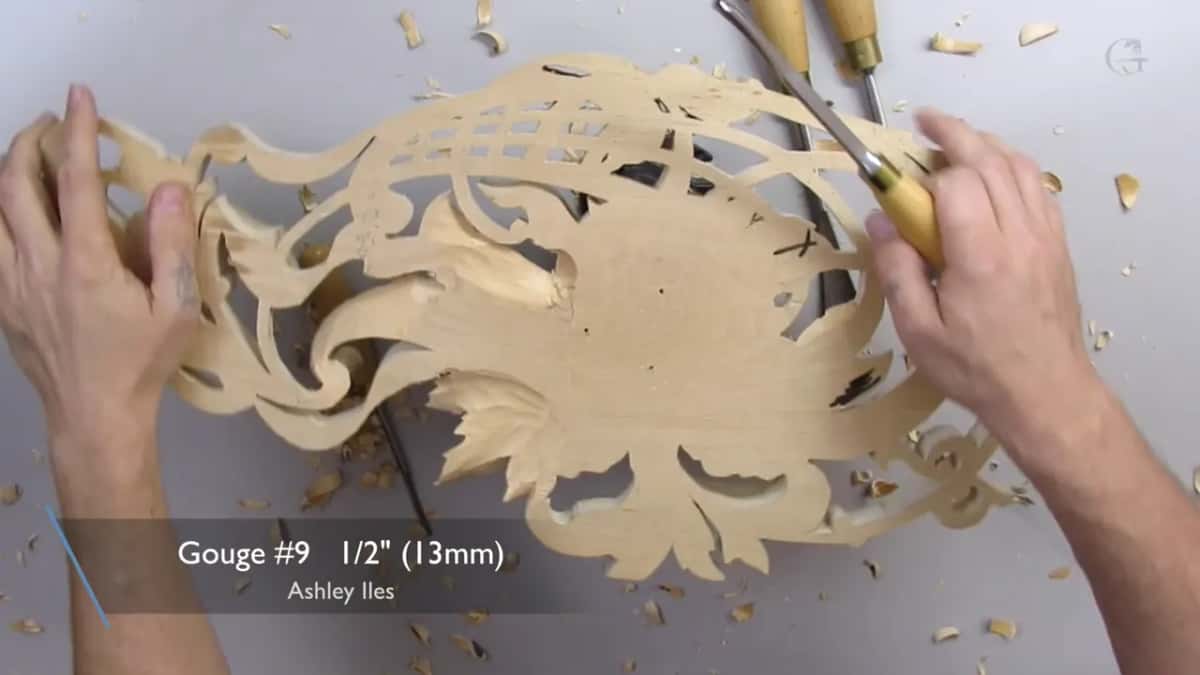
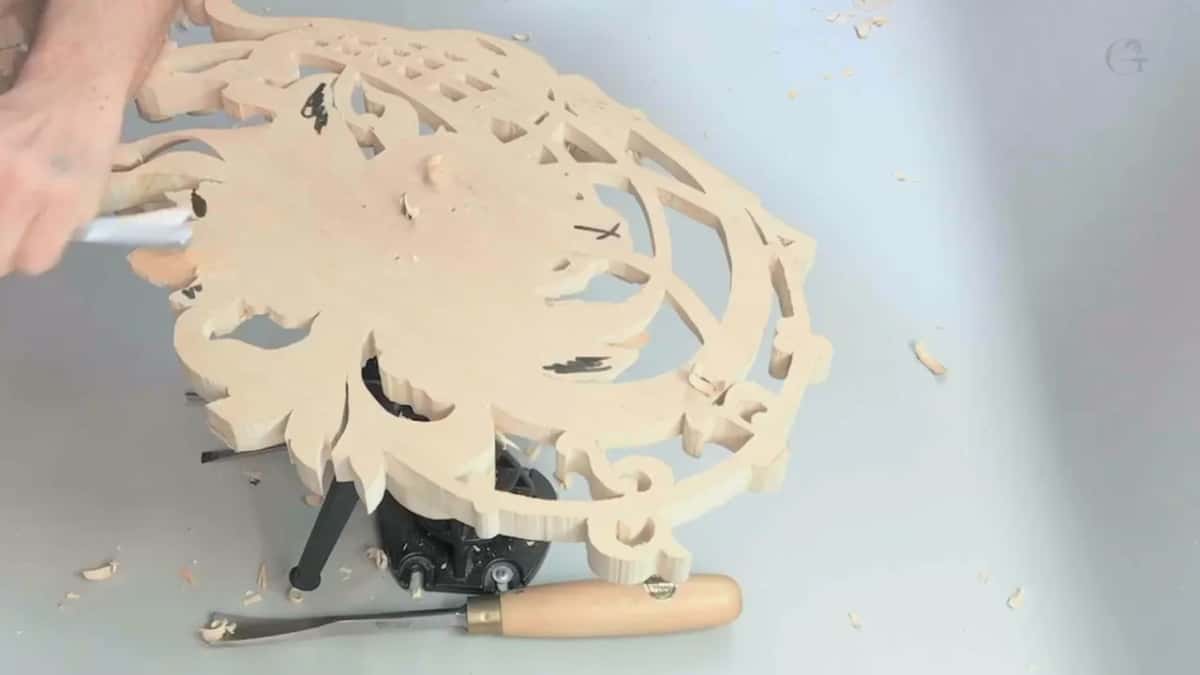
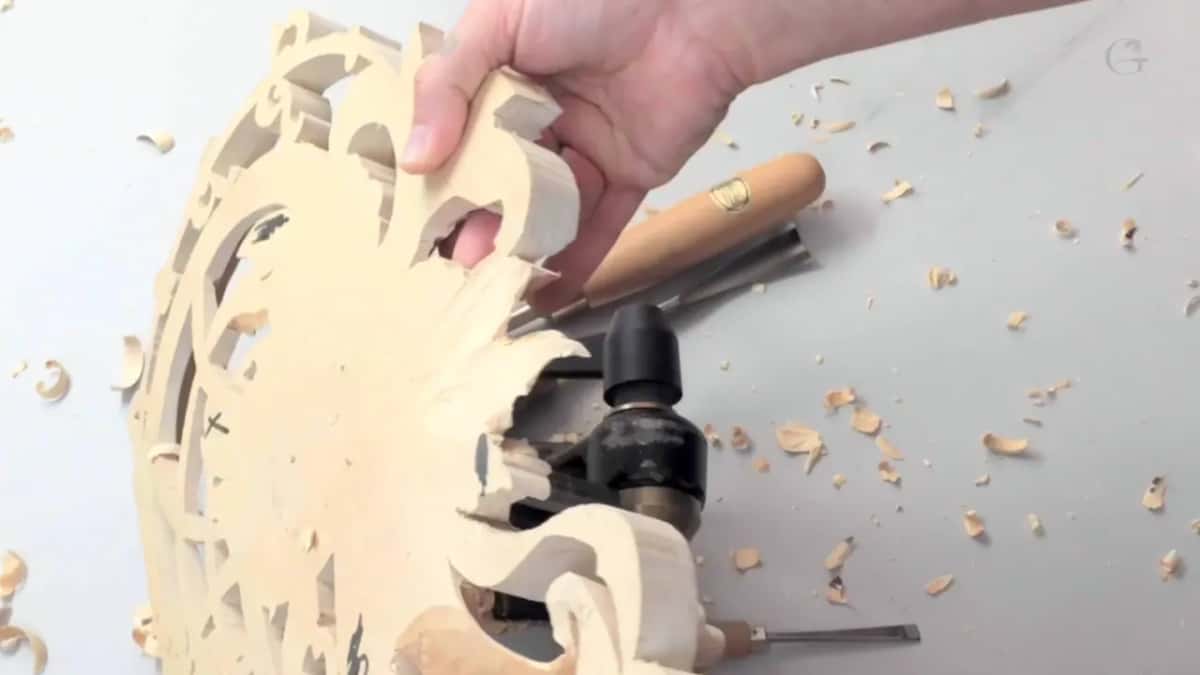
Turn the work over and go at it from behind. My panel comes out of the vice, the drill puts screws through the middle section that will end up solid and hidden, and the whole reverse opens up. Those are the same holes from earlier workshops, so nothing new gets made in the face of the piece.
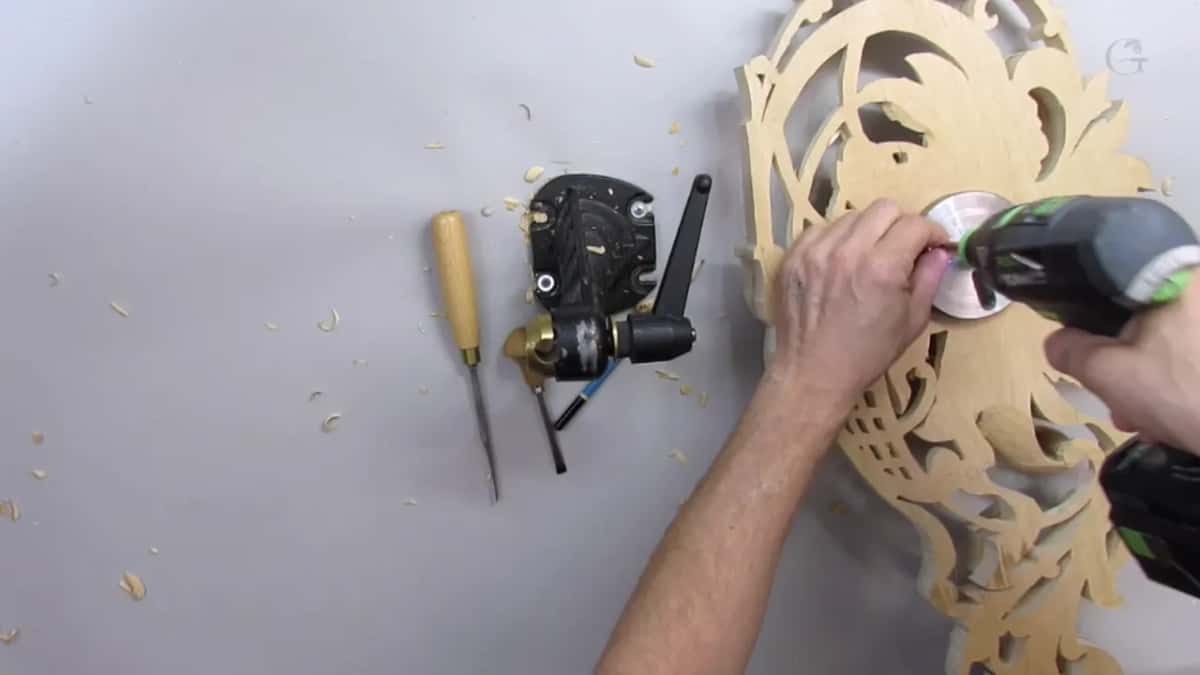
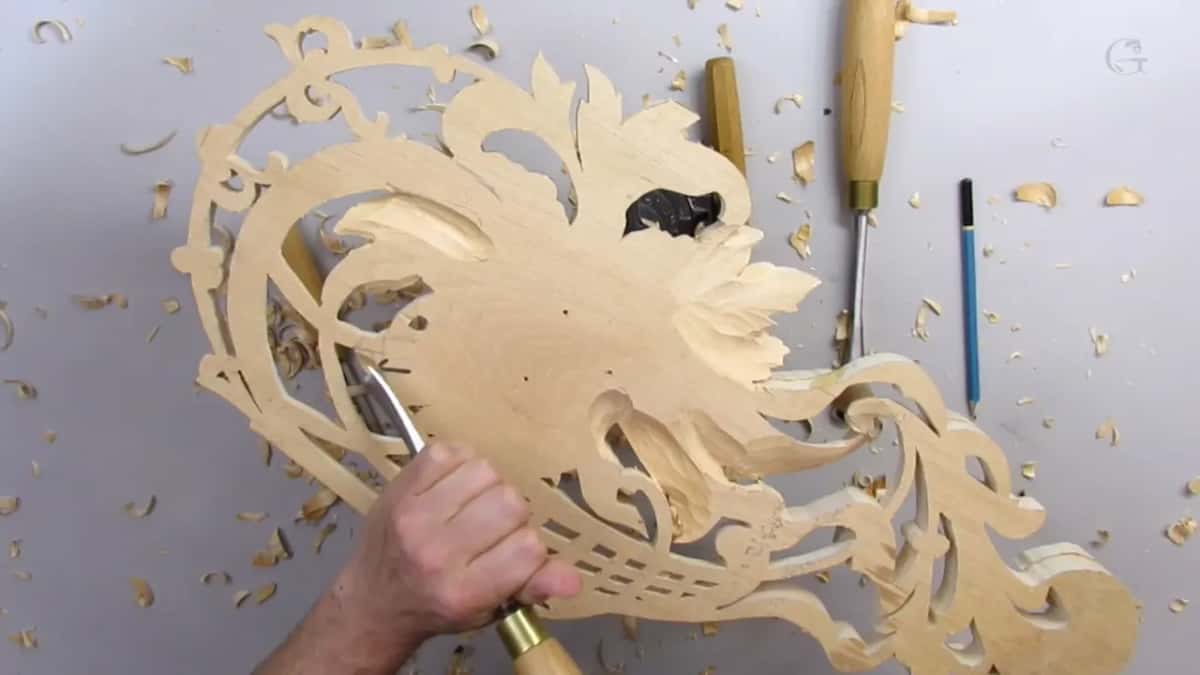
A black marker comes next. I go over the back and mark which leaves can be taken down right now and which ones have something fragile sitting above them that says wait. Planning with a marker takes two minutes and saves a leaf. Workshop 4 covered the reverse of a pierced panel in general terms; this is the pass where the numbers get serious.
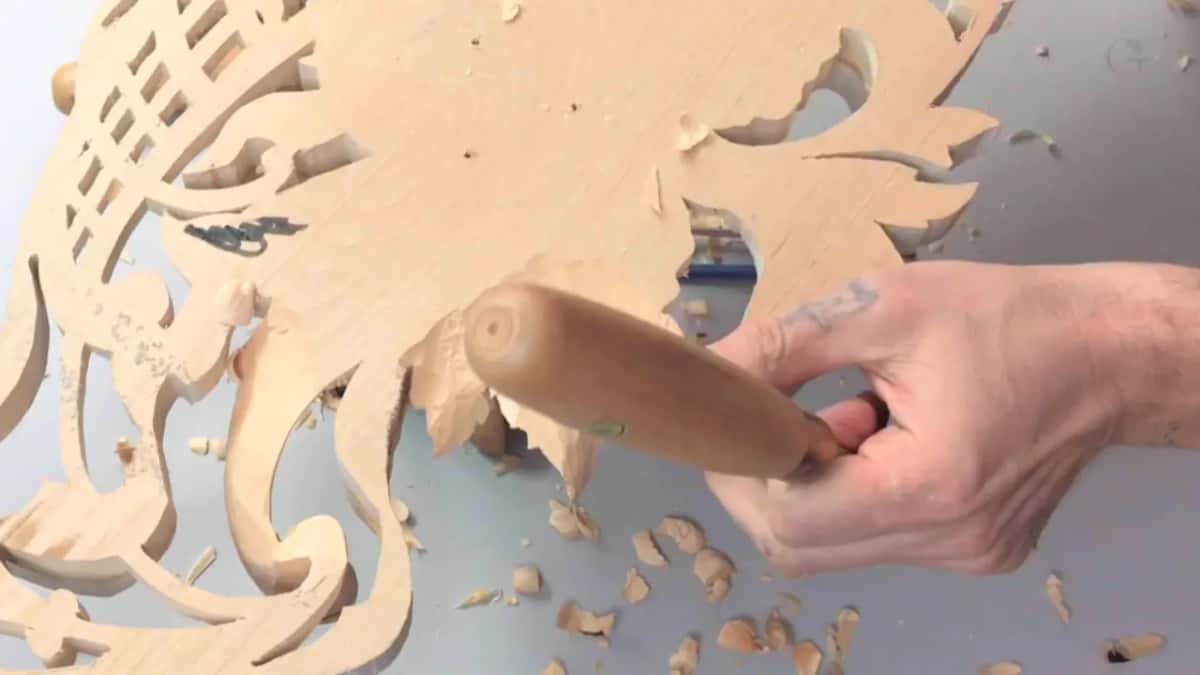
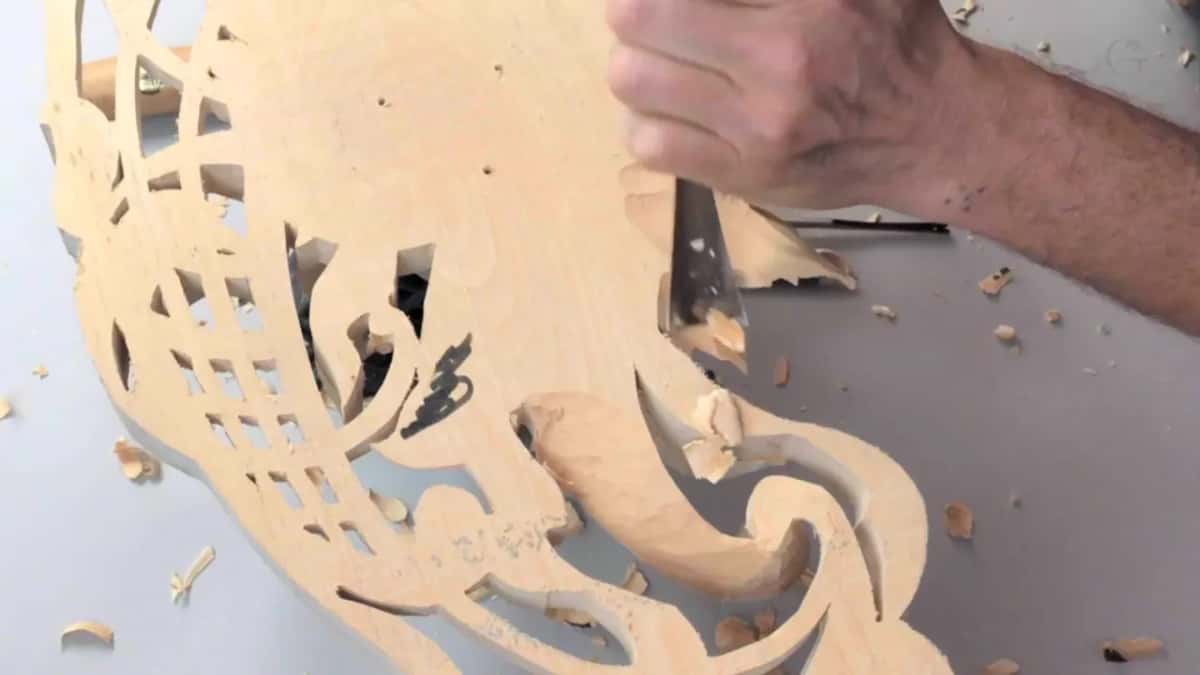
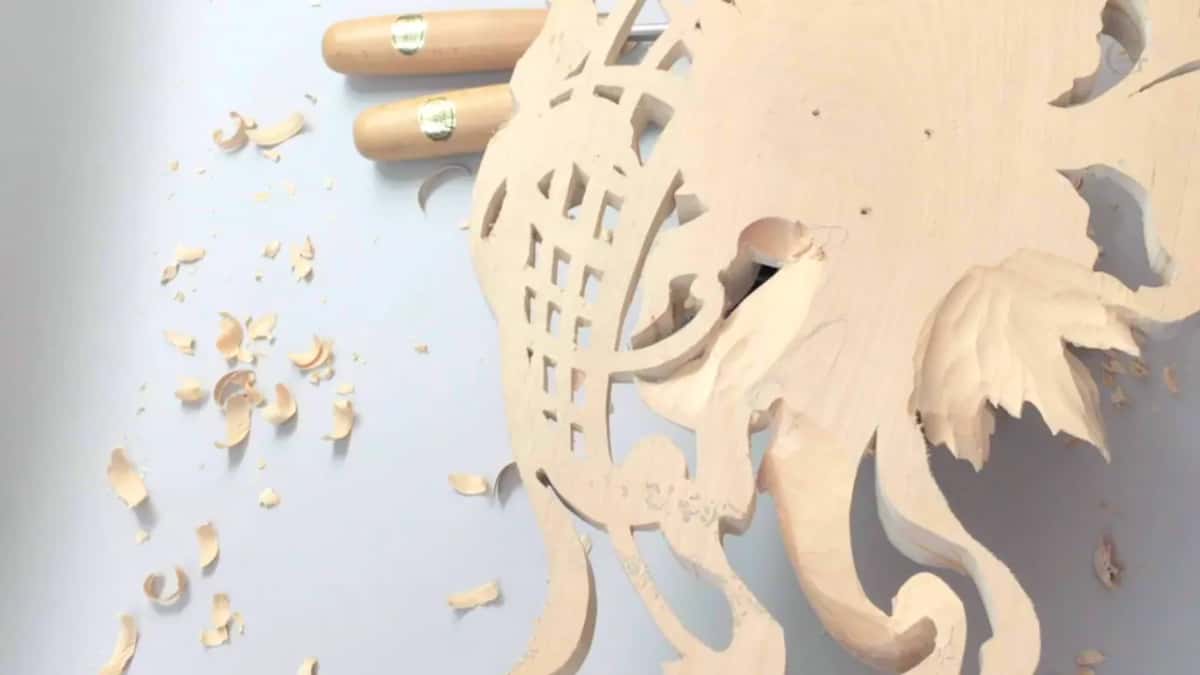
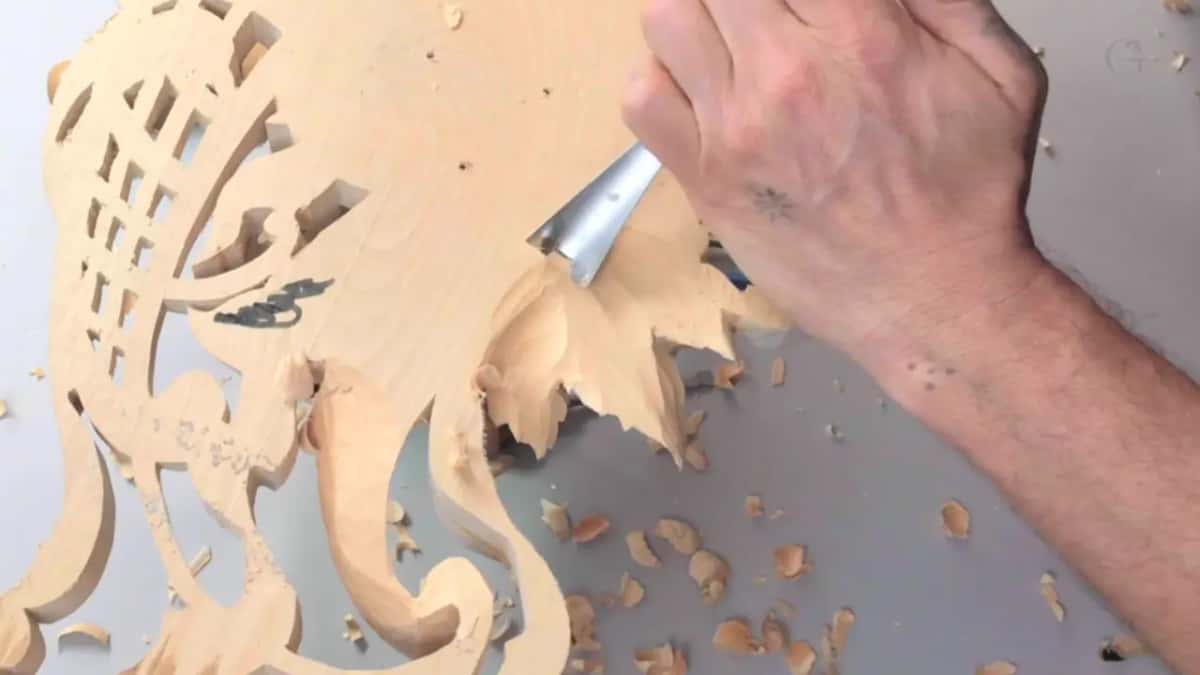
Tools are big for this, not small. A one inch number 8 shifts material fast, though on a delicate leaf I drop to a number 7 of the same width because the shallower sweep is less likely to dive. Both are worked upside down, mostly against the grain, which sounds wrong and is fine as long as the edge is sharp.
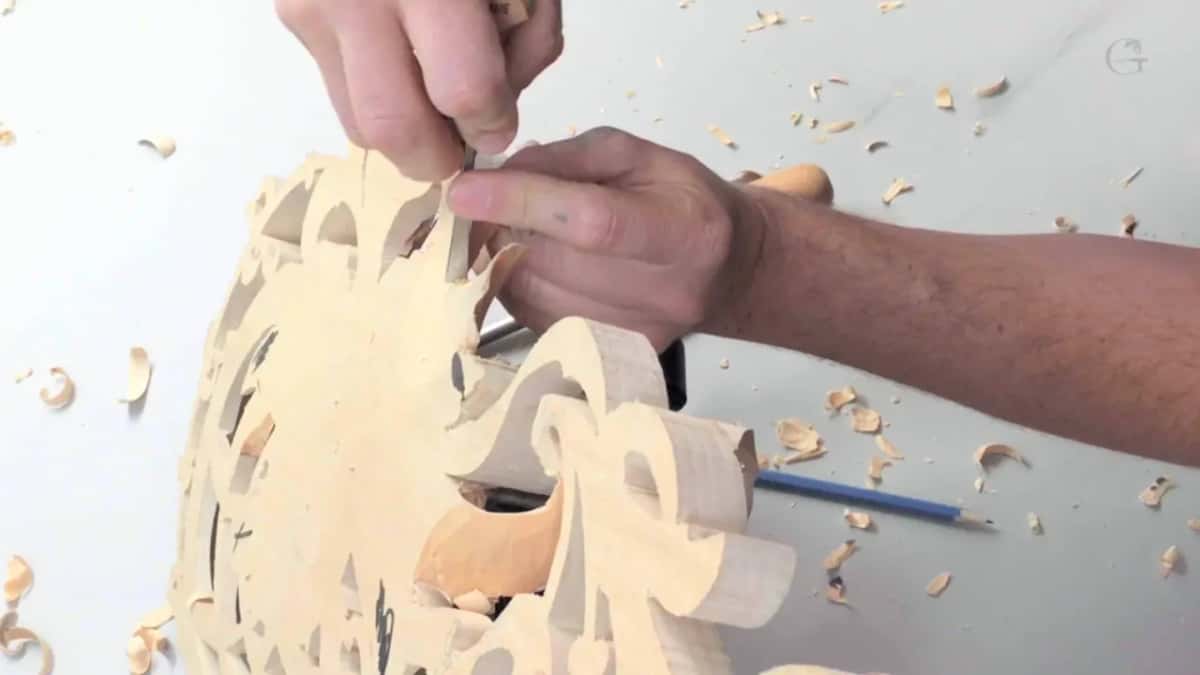
Then you check, constantly. Flip the panel, look at the front, flip it back. From the reverse you genuinely cannot tell how close you are to the edge of a leaf, and the guess costs you the leaf. When I flip mine I usually find there is another eighth of an inch, 3 mm, still to come off.
What is a shadow cut?
A shadow cut is a groove made for no reason except to let light in. Nothing about the form needs it. I place one right alongside a main movement, angled so the light can travel further under the detail than the shape itself would allow, and the result is a darker, cleaner line beside the thing I want you to notice.
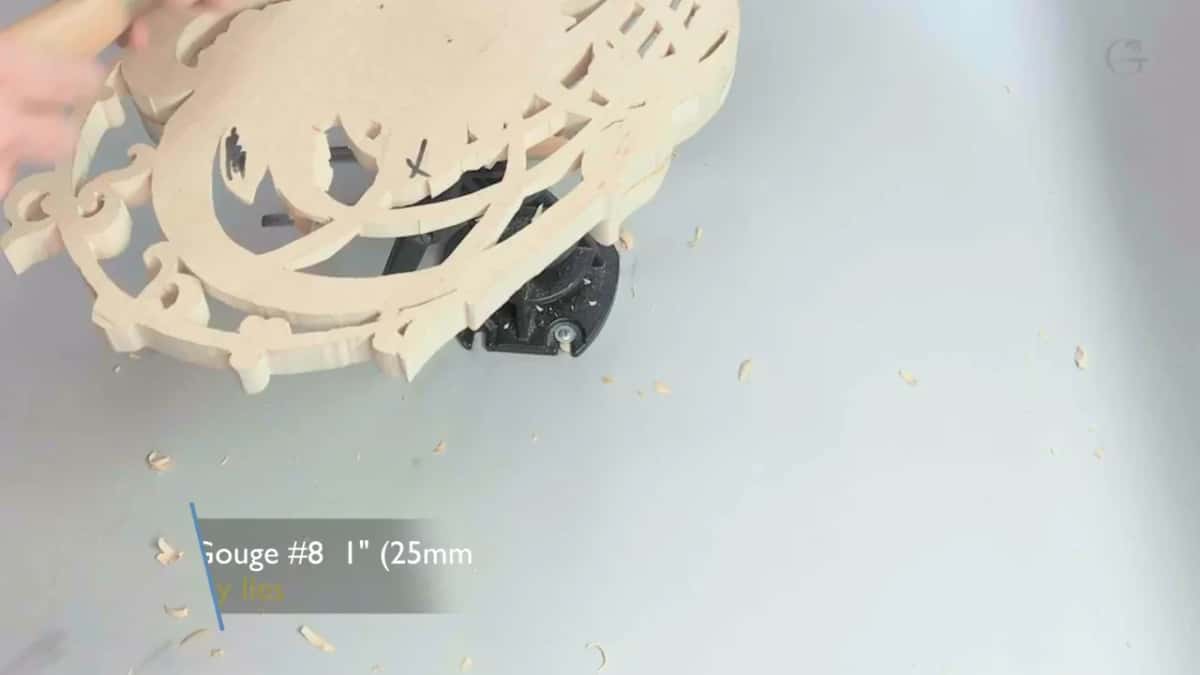
Plenty of carvers would call that overkill, and honestly I agree with them. Making it overkill is the part that makes sense to me. A 10 mm number 9, three eighths of an inch, cuts one in about four seconds, and the panel keeps that four seconds for three hundred years.
Placement is the only rule. The shadow cut belongs immediately at the side of the main detail, not out in open ground where it becomes a random groove. Put it wrong and you have added noise to a design that was working. My section on making a leaf catch the light deals with the ridge that does the opposite job.
When do you shape a leaf's final edge?
| Stage | How much wood is left under the leaf | Tool for it | What can go wrong here |
|---|---|---|---|
| Modelled front | Solid ground the whole way beneath | Number 8 | Nothing much to worry about |
| Rough back | An eighth of an inch, three millimetres | One inch 7 | A dive straight into the finished face |
| Thinned | A sixteenth, and daylight shows | Number 1 | Points snapping clean off the rim |
| Final rim | Almost nothing | Micro knife with a fresh edge | Everything |
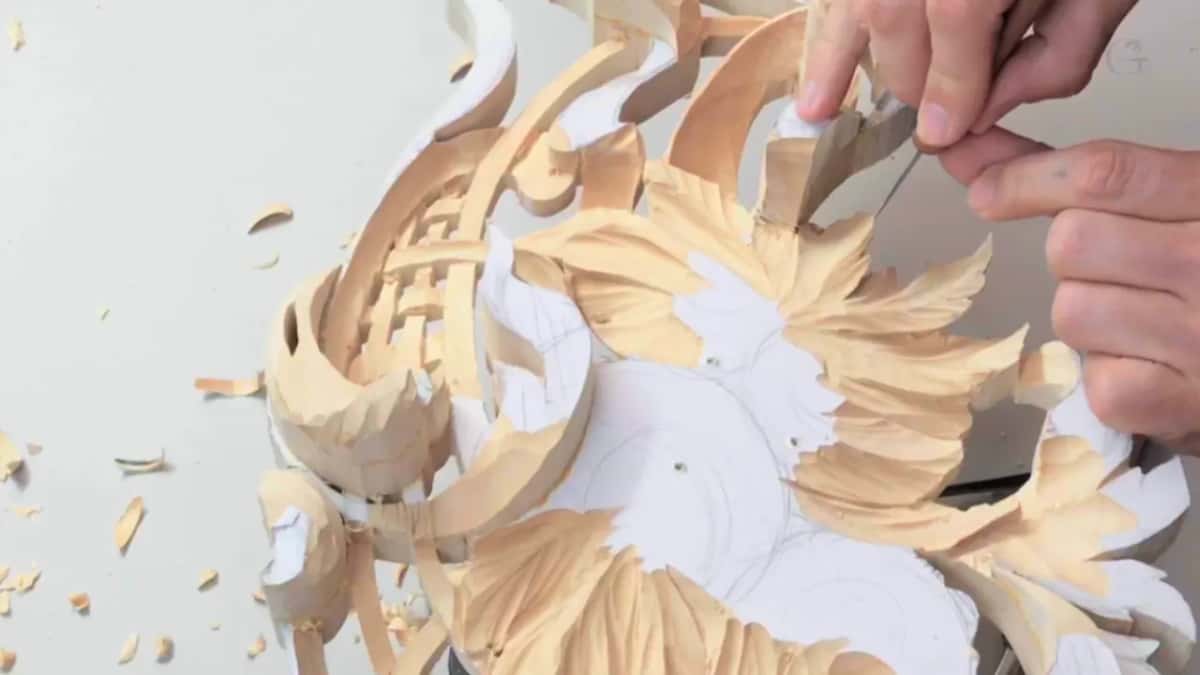
After the back is down, never before. Once a leaf sits that thin the final rim becomes easy. Barely any wood is left to argue with. The edge can then be carried out to something close to paper while the leaf stays solid enough to survive handling.
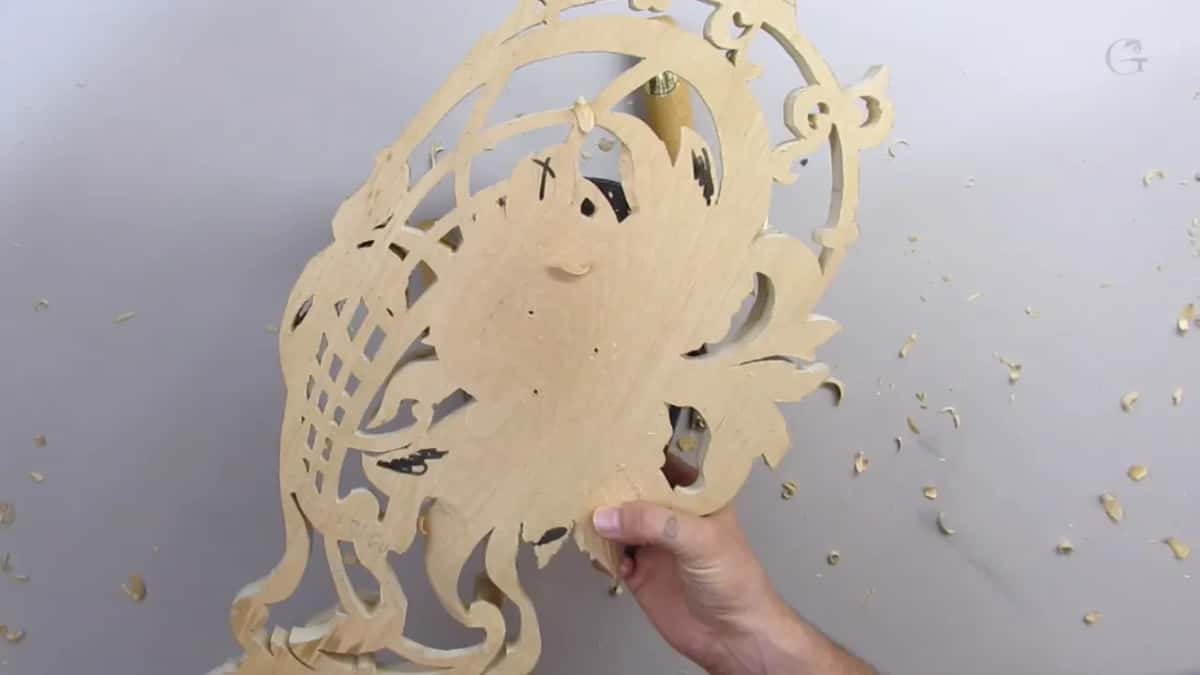
Work the other way round and you will suffer. Set a beautiful rim first, then start hogging material off the back, and every pass runs toward an edge that has nothing behind it. The order protects you. It also explains why I leave the rims rough and ugly for so long, which students find hard to watch.
On delicate work I carry every cut right out to the edge of the leaf. Always to the edge. A cut that stops short leaves a small shelf of wood that catches light in a way nothing in nature does, and your eye finds it immediately even though it cannot name what is wrong.
A small carving knife earns its place here. My micro knife goes where a gouge cannot be steered, and for the last shaving on a rim I have more control with a knife than with anything else on the bench. One knife carving teaches the grip if you have never used one this way.
How do you know you have gone far enough?
Hold the panel up. Daylight through a leaf means the wood is thinner than a sixteenth, and on this panel several of them had reached the point where I could see straight through. Past that you are into genuine paper and the leaf will not take being handled.
The second test needs a background. Stand the panel against whatever it will eventually hang on, a board or a bare wall, and the shadows arrive all at once. Until you do that, a thinned panel lying flat on a bench looks like a mess of grooves and you have no way to judge your own work.
Keep a caliper nearby if you want numbers. I mostly go by feel and by light, though there are stages of a large panel where measurement beats opinion every time.
What happens when you take off too much?
Very little, usually. I nicked the edge of a leaf twice in this workshop and left both nicks alone, since the shape they produced looked more like a real plant than my own careful outline did. Wood decides some of the design. Let it.
Mistakes at this stage bother students far more than they bother me. In one sitting I took too much off a rim, said so out loud, made a second mistake, and kept going. Twenty five years in and I still lose pieces of leaves. What I have learned is which losses matter, and most of them do not.
A leaf that actually breaks off can be glued back so well that no one finds the joint, and thinned glue brushed into a rim before you go further will hold fibres together that would otherwise crumble. My method for that is in stopping a thin edge from breaking.
What actually holds a pierced panel together?
Contact points hold it, and you have to plan them. Wherever two leaves come close enough to touch, that meeting is structure, not decoration, and once you have thinned everything around it the panel is hanging off a handful of those junctions. Lose one and a whole limb of the design drops away.
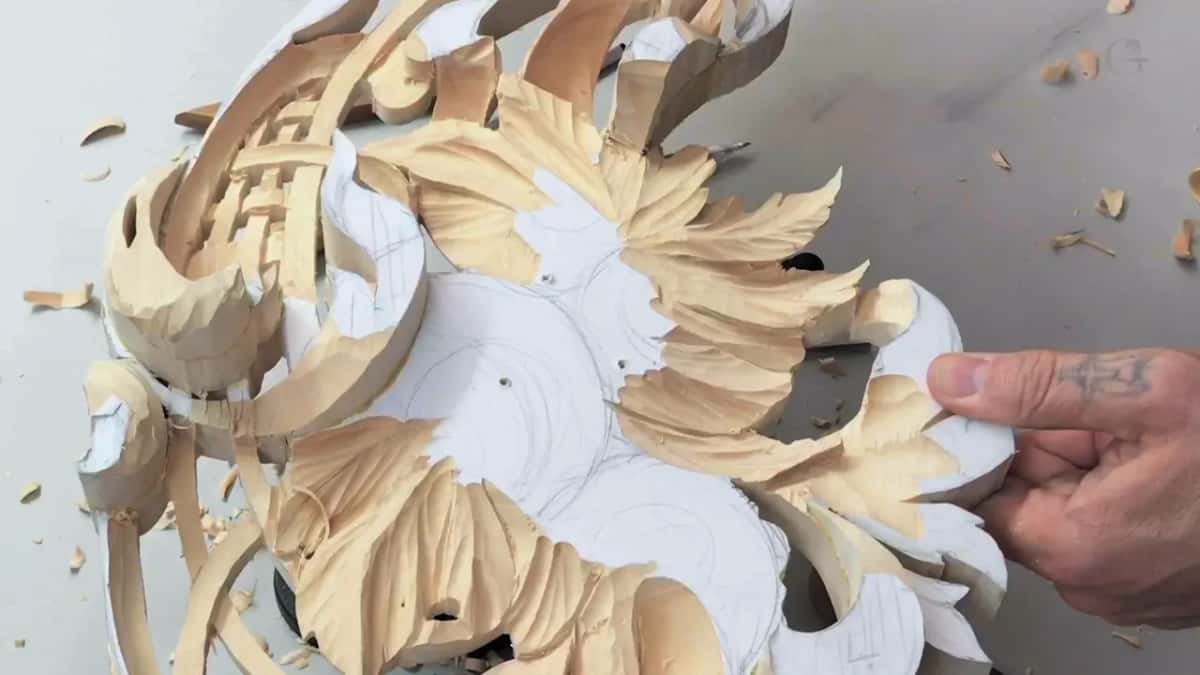
So I look before I thin. There was a leaf here I wanted to reshape, and I left it exactly as it was, because reshaping would have broken the only place where it met its neighbour. The shape I wanted was worth less than the join. Grapes have the same problem and I worked through it in carving a small flower without breaking it.
Underneath these leaves the woven basket runs down through the panel. Cutting hard in that area would be asking for trouble, so I stopped short there and accepted a weaker shadow. Knowing when to stop undercutting is as much of the craft as knowing how.
Carvers who work this way have always thought like this. David Esterly, who spent a career on limewood in the Gibbons tradition, wrote about planning a panel around the places it would be allowed to touch. A relief carved from one solid board has no glue joints to rescue it, which is the argument I make in carving the second side.
Tools for the risky areas should be small and sharp. A 3 mm number 16 V tool, one eighth wide, does more careful work near a junction than any gouge, and Auriou and Ashley Iles both make one worth owning.
Why carve a surface that will face a wall?
Tilman Riemenschneider answered that five hundred years ago. The German master finished the backs of his figures, and when people asked him why he was working where no human eye would ever arrive, he said that a human would not see it, but God would.
His work is still standing. Go and look at what survives of Riemenschneider in Wurzburg, or at the limewood altarpieces of his generation, and the finish on the hidden faces is the same as the finish on the front. Those workshops were not being pious for show. They had worked out that the invisible half changes the visible half.
My own version is less grand. I do not want a piece of mine to look like production work where somebody cut the corners nobody checks. Speed matters to me, and I would rather finish a commission early than late, but the thing that makes sense at the end is how beautiful it turned out.
Does this only work on basswood?
Almost any carving timber will go this thin, though some make you work harder. Basswood and European lime are the traditional choices for openwork exactly because the fibre is fine and even, so a rim that thin holds instead of crumbling away under the tool.

Butternut behaves well and brings more colour. Walnut is harder and rewards the patience. Oak has ray fibres that will lift a thin rim clean off, so I do not take oak to this thickness unless a client insists, and then I leave more wood and accept a shallower shadow.
Grinling Gibbons built his reputation on limewood taken this far, and you can stand in front of his panels in London today. The sculpture collection at the V and A has pieces where a carved flower sits a full inch clear of its ground on a stem thinner than a pencil.
What should you try on your own bench?
Take a leaf you have already modelled, screw the panel down through a part that will be hidden, and turn it over. Mark the back with a pen. Then remove wood from behind that leaf until you can hold the panel to a window and see light in it.
You will break something. Glue it, carry on, and the second leaf will go better than the first. Every one of the 49 workshops in this course is inside the school, with the mistakes left in the recordings where they happened.
One more habit worth stealing. No pencil mark of mine stays on a finished panel, because cleaning pencil off carved grain is miserable and it never comes fully out. Mark on the back, mark lightly, and carve the mark away as you go.
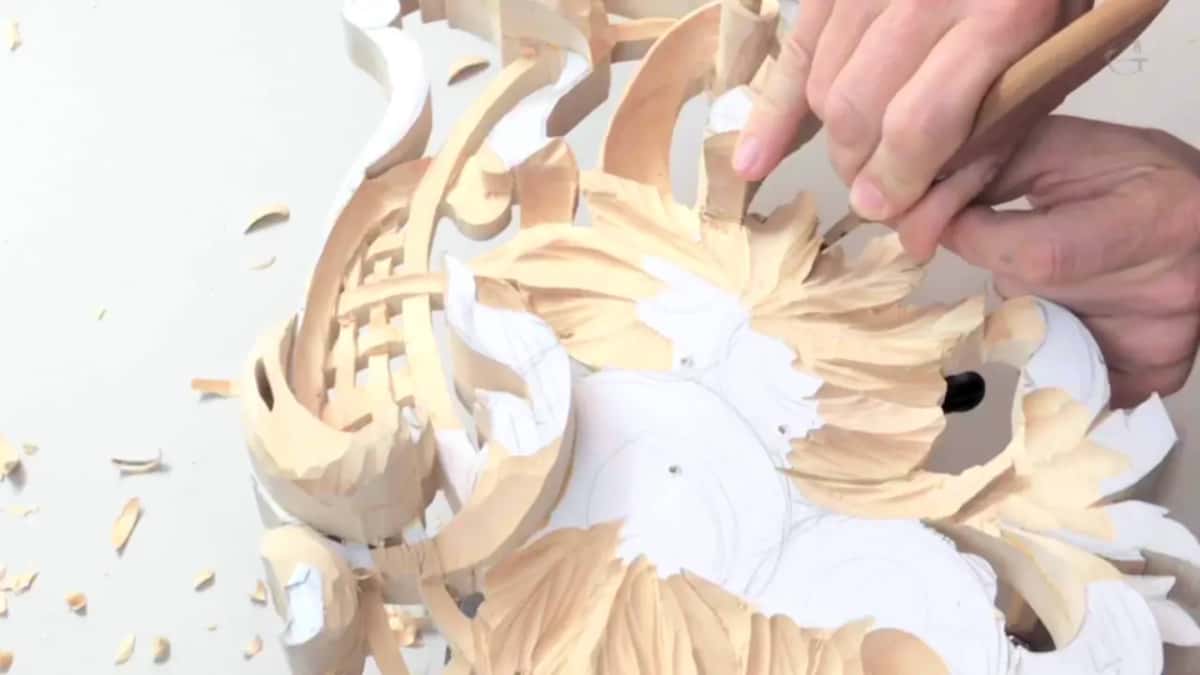
My hands still shake slightly at the last few passes on a rim. After all these years that has not gone away, and I have stopped expecting it to. You steady the work, you breathe out, and you take the shaving.
How it's done
- Mount through hidden stock. Screw the panel down through a section that stays solid and covered, reusing holes already present rather than making fresh ones.
- Plan with a marker. Go over the reverse with a pen, noting which leaves are safe to thin now and which carry something delicate above them.
- Hog from behind. Take the waste off with a one inch number 7, worked upside down and mostly against the grain, with a freshly honed edge.
- Turn it face up often. Distance to a rim cannot be judged from the reverse. Guessing costs you the leaf, so flip the panel every few minutes.
- Stop when the light shows. Carry on until barely a sixteenth remains, then hold the piece toward a window and look for light.
- Set the rim last. Shape the final edge only now, with a micro knife, carrying each pass right out past the edge instead of stopping short.
- Read it on a background. Stand the panel against whatever it will hang on and judge the shadows before calling any part of it finished.
Frequently asked questions
How thin can a carved leaf go?
Around a bare sixteenth of the inch, with the rim finer again. Beyond that the wood stops tolerating handling. Daylight passing through a leaf held toward a window is the simplest confirmation you have arrived.
Why undercut from the back of a panel?
Removing stock from behind never touches the modelled face, so nothing built over a week is at risk. On the back no finished surface needs protecting, and large gouges can shift material quickly.
What does a shadow cut do?
A groove placed beside a main movement purely to let light travel further underneath. Form never requires one. What you gain is a darker, cleaner line next to the detail a viewer should notice first.
What to carve next