

Alexander Grabovetskiy, woodcarver, School of Woodcarving · Published 2022
What size gouge carves the hollow under a small leaf curl?
Quick answer: The gouge for a tiny curl on a leaf is a small one, near 3 mm (0.12 inch) wide. On my floral panel a number 8 dug under the curl. A 4 mm spoon (0.16 in) waited for the cleaning, and a number 11, one millimeter (1/25 in) wide, made the deeper spot near the molding.
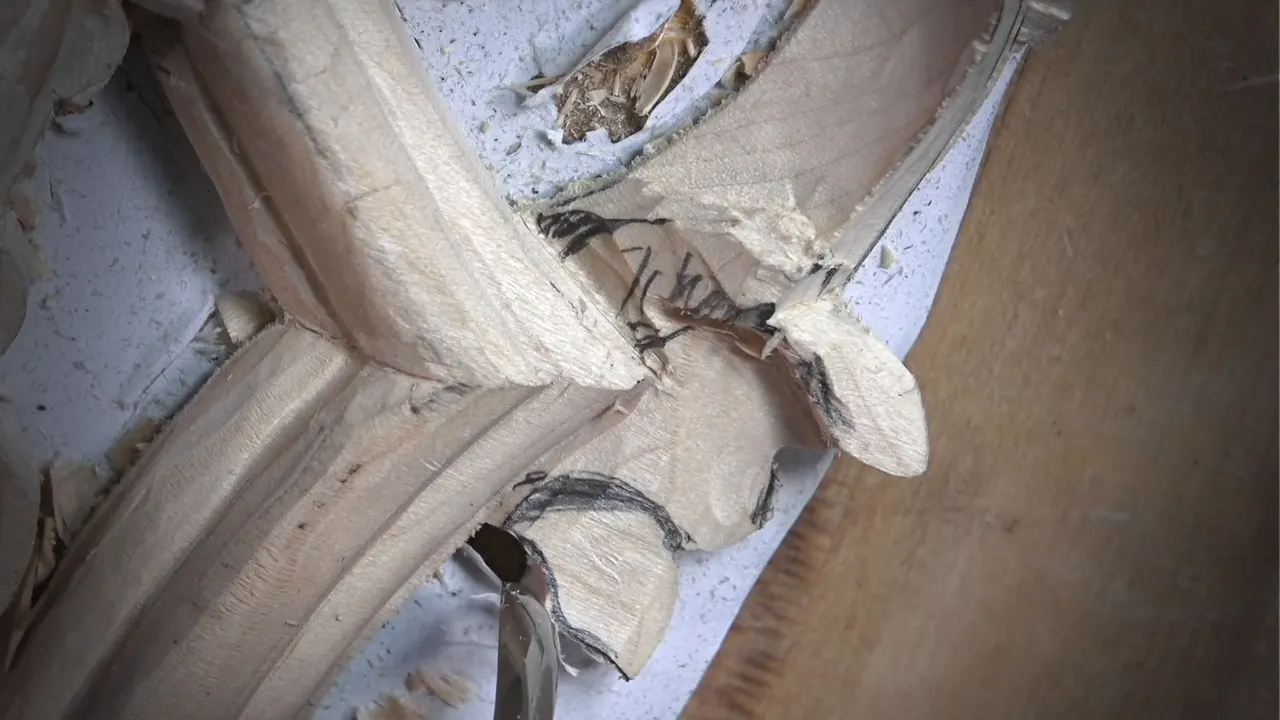
The gouge for a small leaf curl is a small one, and on my floral panel the job took a handful of sizes, from about 3 mm (1/8 in) down to half a millimeter (about 0.02 in). I worked through them in part 1 of lesson 9 of my Carving Floral and Molding for the Panel course, and a number 8 came first.

Have you looked at a carved leaf and wondered which tool fits under its curl? Does a gouge in your set feel too big for that spot? On this panel, one of mine did. Here is each size I named, mostly in the order I picked it up.
What went under one curl, in six lines
- Under it goes a small number 8.
- Turning it in, I did not force it too much.
- My phone showed the curl going backward.
- A tiny number 9 spoon came out for the cleaning.
- For a curl I disliked I named a number 5, then 4 or 7.
- By the molding I went down to my smallest number 11, and I said half of that size was possible, for a deeper spot there.
Which sizes came before the curl?
In the first minute I went after a triangle. I used a number 11 at 3 millimeters (about 0.12 in) and said, "3 millimeter will work." Small bites came next, "just like that." One more line closed it. "It's enough."
Next I reached for a number 9, and I doubted it. "Maybe not that big. I'm going to need the smaller one. I'm going to need number nine, but only quarter inch." That is about 6 mm. Straight down it went, I said, to create that motion.
Which gouge goes under a curl first?
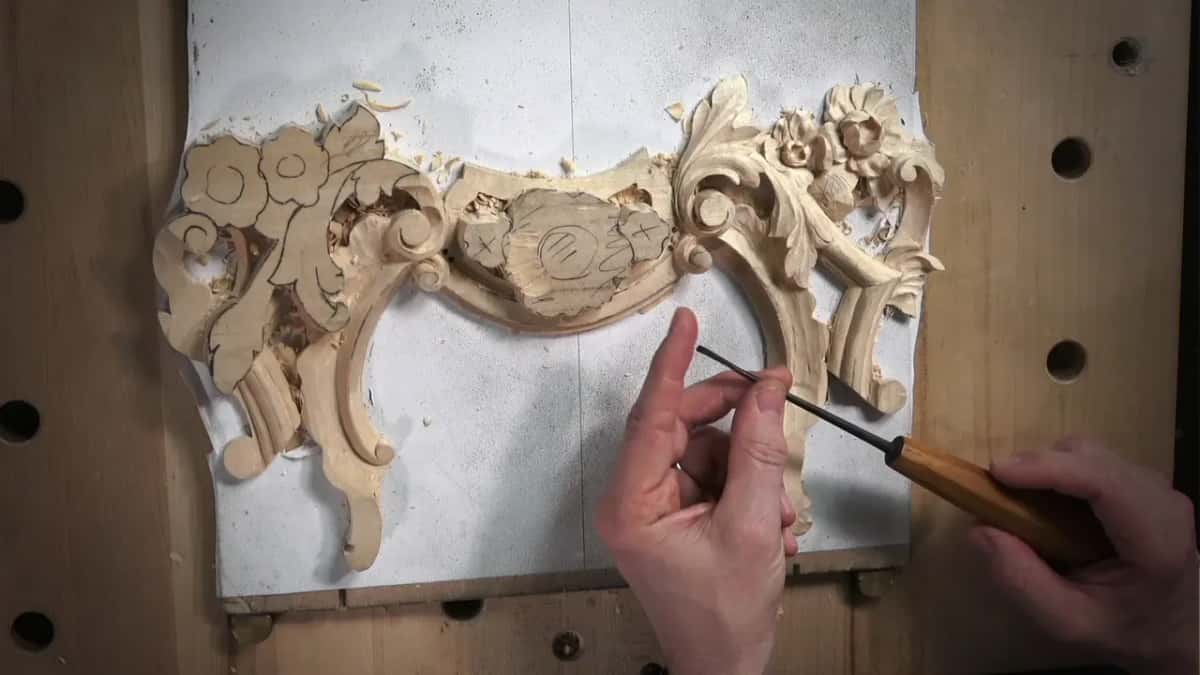
The leaf could curl one way, I said, and I wanted that motion. "And backward." Under it, I said, "I got to excavate right underneath of here." For that I wanted "a small gouge, three millimeters or so, like number eight" (about 0.12 in).
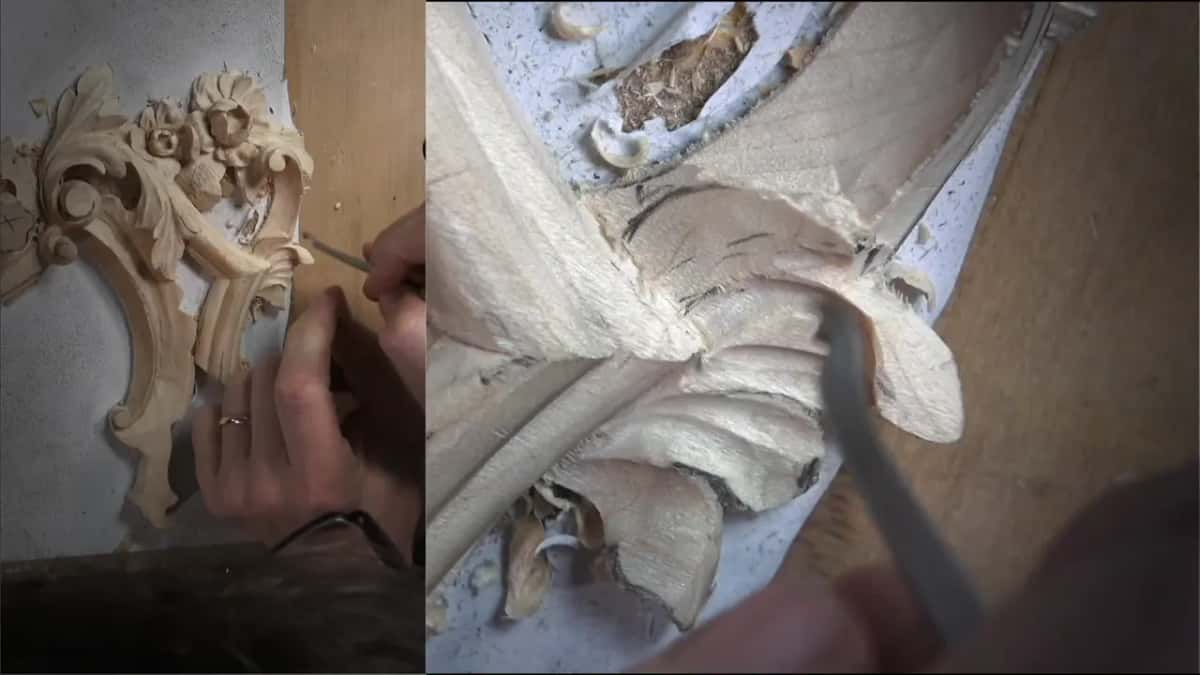
"I can just wiggle. Not wiggle, but like a drill, without forcing too much." So the number 8 did its work there, and out came what I called "really wonderful curl." Next I grabbed my phone, so I could show you what was going on. "See that curl right here? It just curls backward." That is how the curl turns, I said, and "I hope it helps you people."
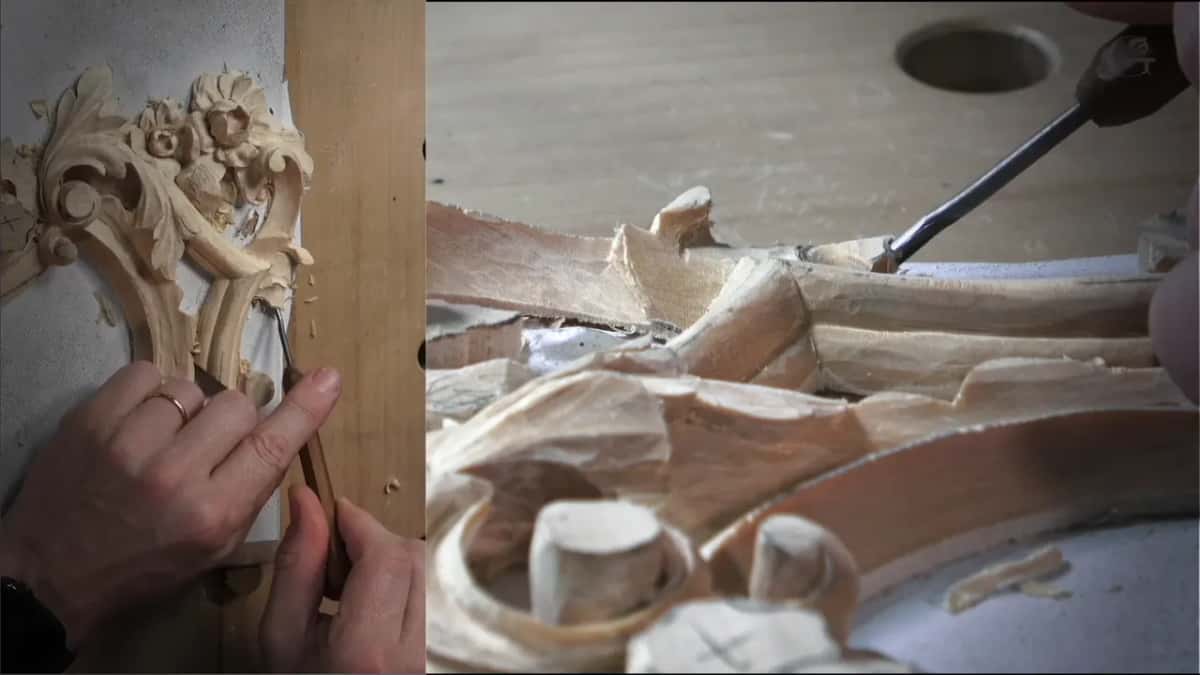
Which small tool cleaned up around the curl?
A little of that section still needed cleaning. The same small tool could probably do it, I said, but I changed my mind and went for "my new addition, like a four millimeters number nine" (about 5/32 in). "A really tiny, small spoon."
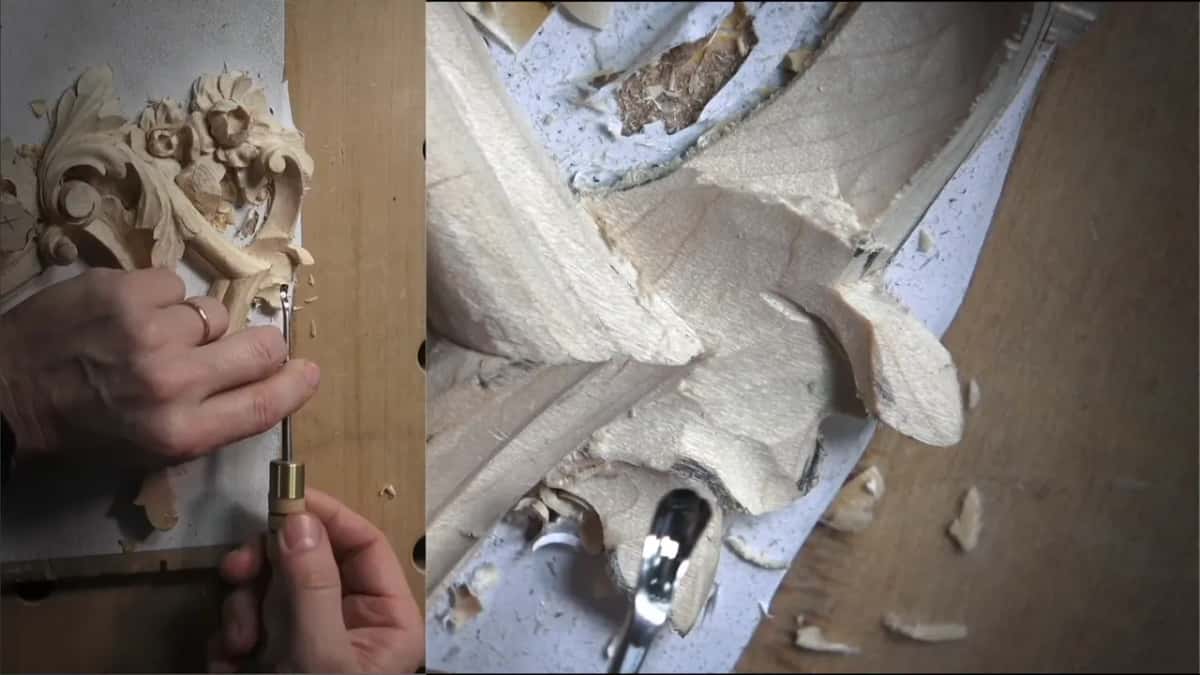
Earlier in that video I had wanted some kind of spoon and picked an antique one. A prize medal, I said, and a "really, really good one." Part 3 brought the four millimeter number 9 out again. "It doesn't have to be that tool." I could use a straight one, I said, but "it's kind of fun to use new."

What do you do when a curl is not nice?
Sharp lines came first. "I don't need those sharp lines, so all I have to do is just blend them nicely."
In part 1, one curl looked wrong to me. I called it "not too nice" and said I kind of had to change it. My plan was a small number 5, but I eased off the number soon after, and I said so out loud. "Number four will work. Number seven also going to work." So it "doesn't have to be just five," and the line I keep from it is this one: "You can just use any tool." A nicer transition came next, and "maybe add curvature."

After that I attacked it from the backside, brought everything to the point, and fixed a little bit of the movement.

How small can the tool get where the leaf meets the molding?
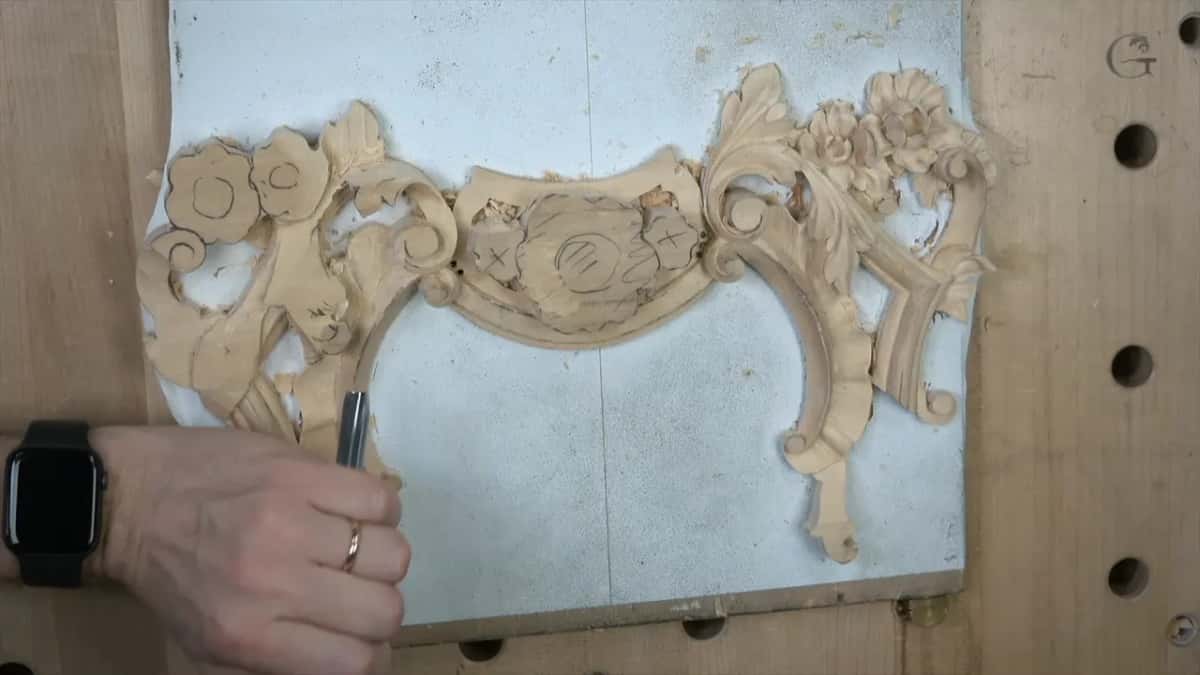
Back at the molding, the job changed. I had to clean and "adjust the butts to the molding," and I wanted a deeper spot there "for just the feel it is actually growing from right underneath." The first pass came from an 11, one millimeter wide (0.04 in).
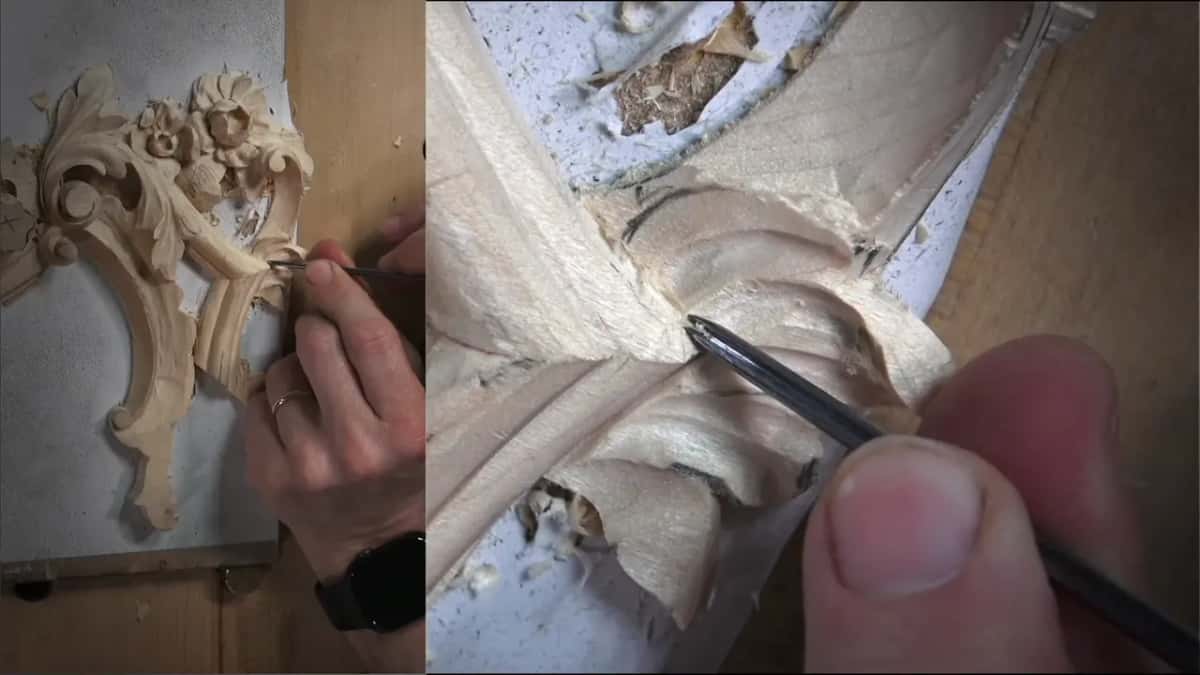
Smaller was possible, I said. "I could actually get even half a millimeter and just to get little deeper excavation." That would be about 0.02 in. It was a thought on camera, and I did not say I used it.
Cleaning came last. The facets had to go, and for that I picked a spoon "but flat, really flat, pretty much like number one, just almost like a knife." I did it off camera, so you would not have to watch the whole cleaning process.
What was too big, even in this same lesson?
Part 3 of lesson 9 squeezes the same problem into a few minutes. I opened with an 11 at "two and a half to be exact" (about 3/32 in), and added that exactly that size was not required. Soon after, I dropped to a smaller 11, about one millimeter (0.04 inch), an antique one "just for fun of it." Going really deep was not needed, I said. "As you remember, that is going to be paint grade."
Still, I wanted a deeper pass and a beautiful shadow, so I grabbed a bigger tool, "again, two and a half" (about 3/32 in). I looked at it. "I know it's huge on the camera, but it's not in real life." My verdict on that size came a few lines later. "It's a little too big. Got to use a one millimeter."
Which size fits a small volute in lesson 9?
Part 2 asks the same question about a volute, about six millimeters (1/4 in) across. The first tool I named was "a quarter inch, I would say, a number five, or number seven will work, but I'll get number five." After that a small spoon gouge came out, with a spoon part that was really tiny.
On the screen it looks huge, I said. In real life the detail was really small, "only six millimeters, quarter of an inch." Later I made a relieving cut, to set it in. I named a number 11, six millimeters (about 0.24 in), and then fixed myself. "It's actually not number 11. This one is a number 10." Its shape is "like a U shape, but not as tall."
What did lesson 7 use for a curl?
In lesson 7, part 1, a curl was going to flip almost on top. Starting with a number 7 was possible, I said, "but smaller tool probably be better." The work underneath got a number 11 at 3 mm, which is one-eighth of an inch, with a small tool.

Part 2 had the job again. To start a curl I had to excavate some material "with a really small, like number nine and one-eighth of an inch." One tool had a label that was off. "This one is one millimeter. It says 1.5." In fact it was much smaller than the label.
Then I made the curl, though you could not see it well. "It just curls backward, just like that. Goes all the way underneath." The next small concave got a 9 and, as I put it, "first and see how it's going to work." And under that spot, I said, "it has to be undercut, otherwise it does not look good."

What did lessons 8, 11 and 14 use?
In lesson 8 I connected my phone, as I did here, so you could see which curl I meant. Doing that all the time was not my plan, I said. The tool was a "really small, tiny gouge," I would say 2 millimeters (about 5/64 in), a number 8, and I dug on the inside. Maybe an even smaller one, I said, "maybe 1 millimeter, and excavate even deeper" (about 0.04 inch).

One part in lesson 11 had "a really interesting movement. It has a curl." I had to dig under it, and it would curl uphill. For that I said a number 9, ten millimeters (3/8 in).
Over in lesson 14 I went after the end of one part, and I said twice that it "has to curl." I held a number 7 at 14 mm (9/16 in) with my thumb. One point could go almost all the way down, so I lowered it there. "That way, I don't have to undercut too much."

Which size worked for a curl in my other courses?
My furniture panel had little thickness, I warned, so "you can sometimes do it too extreme." Six millimeters, a quarter inch, and a number 7 flipped the piece. "And I'll curl it backward." That gave me more space underneath, I said, for an 11 at 0.5 mm (1/50 in) on its side, and "even deeper shadow casting."
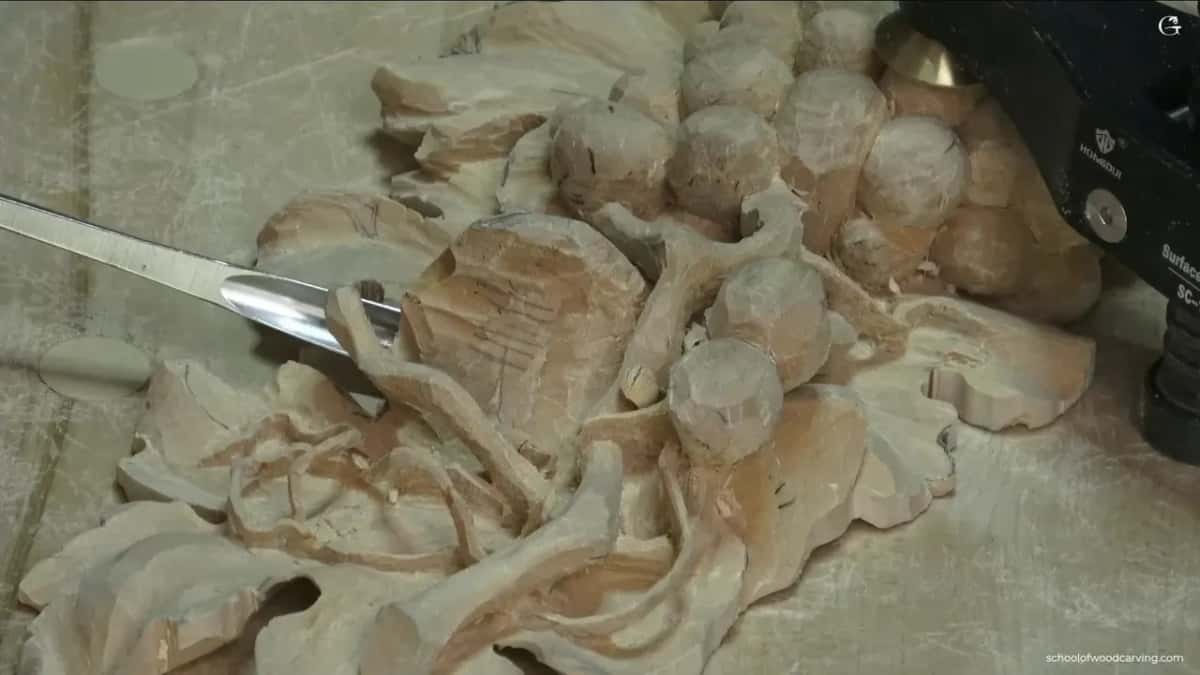
My grape onlay course has a mistake I see "very often." People dig only from the inside, which makes a spoon effect that "does not look natural." So I dug from the side as well. "Any gouge, like number eight or number nine, will work." For my number 9 I used ten millimeters, three-eighths of an inch, and I went in carefully. Underneath, the piece was "somewhat fragile, so you cannot create too much pressure." My tip there was to slice. And if the wood "just gives you too much resistance, just change the tool." Smaller tools take smaller chunks, I said.
My Hashemi flowers course had a fragile piece too. Heavy passes were out, I said, and even big tools needed care. Then I repeated myself. "Bigger tools you use, cleaner the cut going to be. So much less to clean later." I made sweeping cuts, rotating the tool, and I was not forcing it.

Hazelnuts lesson 3 went another way. For blending I took a number 7, 14 millimeters (0.55 in) wide. I wanted it to open slightly outward and curl backwards slightly, so a couple of concaves came next, "same idea, same tool, number nine" and a quarter inch (about 6 mm).
In Venice Room workshop 22 I added a small curl in a spot that would hardly show. Smaller was better, I said: four millimeters (0.157 in), a number 8. The grain was not in my favor, so I switched. "Number seven, or actually, number five will work too," I said, to round that section a little. "Otherwise, it doesn't look like a curl."
In another part of that workshop I asked whether a curl was worth it at all. "The question is, do I want to do that or not? Maybe yes, maybe no." From below, that spot was a little too high, so "you're really not going to see too much."
Workshop 14 made me watch the wood. "I don't want to make this part too weak, which is always a possibility." I still liked the curl, and I said so. "Maybe just a little bit."
A slip of the tongue shows the size too. In my lily box course I first said 3 millimeters, then fixed it. "No, it's actually 3/32nds. I apologize." What I meant was "a couple millimeters," on a number 8, so call it 2.4 mm.
My chamomile and bow rosette kept some sections because a curl was going back. Maybe "slightly smaller number 11," I said. "I'll take 3 millimeters" (a bit over 0.1 in). Later came a number 3 at about 6 millimeters, a quarter inch, to chop down to the final look, and I said how wide it would be: about 10 millimeters (close to 0.4 in).
Every curl and its tool in one table
Here is each tool, where it went, and what I said.
| Tool | Job | Where | My words |
|---|---|---|---|
| Small number eight | Under the curl, 3 mm (1/8 in) | Hollow stage | The curl was wonderful, I said |
| Spoon, number 9 | For cleaning, 4 mm (5/32 in) tiny | Cleaning stage | I called it a tiny spoon |
| Five, four, seven | Number five first, then four or seven | Redo stage | Any tool will do, I said |
| Eleven, small one | At the joint, 1 mm (0.04 in) | Molding stage | Growing from underneath was the feel |
| Even smaller eleven | Only a thought, 0.5 mm (1/50 in) | Molding stage | Could even go smaller, I said |
| A flat spoon | To clean all those facets, off camera | Last stage | Almost like a knife, I said |
| Eleven, bigger one | Too big at 2.5 mm (0.098 in) | Part 3 | Got to use a one millimeter |
| Smaller eleven again | Beneath the curl flipping almost on top | Lesson 7 | But smaller tool probably be better |
| Number nine, small | To excavate some material for the curl | Same lesson | It curls backward and goes under |
| Tiny number eight | Excavating on inside, 2 mm (5/64 in) | Lesson 8 | Really small, tiny gouge, I said |
| Number nine again | Under the part, 10 mm (0.39 in) | Eleventh lesson | It has a really interesting movement |
| Big number seven | Curling the end, 14 mm (9/16 in) | Fourteenth lesson | Don't have to undercut too much |
Where to go from here
I give each size in millimeters and inches, my own figure first. For the wider picture there are general pages on wood carving, the gouge, the chisel, relief work, acanthus and moldings.
This is the first of three videos in lesson 9, and the whole panel runs through fourteen lessons in the course.
Which gouge in your set is closest to three millimeters?
How it's done
- Pick a small gouge. I took a small number 8 and set it in at the curl.
- Turn it in gently. Like a drill, I said, without forcing too much. What came out was wonderful.
- Keep a tiny spoon near. A tiny spoon waited near the curl for the cleaning.
- Fix a curl you do not like. Number five first, or a four, or a seven will do. Any tool works for a nicer transition, I said.
- Go smaller by the molding. I started with a small 11 for a deeper spot. A smaller one was only a thought that I voiced out loud on camera.
Frequently asked questions
What size gouge digs beneath a curl on a leaf?
Small. Under mine went a number 8, about three millimeters (roughly 1/8 inch) wide. The deeper spot next to the molding needed an 11 at one millimeter (0.039 in), and a smaller one crossed my mind there. I did not say I used the smaller one.
Do you need a number 5 for a curl you do not like?
No. I named a small number 5, then said number 4 will work and number 7 would too. A nicer transition came after that, and I said maybe some curvature. I put it plainly on camera: you can just use any tool.
How tiny is a 4 mm number 9 spoon?
Tiny enough that I called its spoon part really small. It measured four millimeters (0.16 inch), and I called it a new tool. A straight one would do, I said. New was kind of fun.
What to carve next
- Carving Floral and Molding for the Panel, the course page
- Floral and Molding lesson 9
- Floral and Molding lesson 7
- Floral and Molding lesson 8
- Floral and Molding lesson 11
- Floral and Molding lesson 14
- Carving Furniture Panel lesson 19
- Carving Grape Onlay lesson 14
- Carving Hashemi Flowers lesson 12
- Carving Hazelnuts lesson 3
- Venice Room workshop 22
- Chamomile and Bow Rosette lesson 1
- Lily Box lesson 10
- Venice Room workshop 14