

Alexander Grabovetskiy, woodcarver, School of Woodcarving · Published 2022
How small can a carved volute be?
Quick answer: A small carved volute is a scroll that measured near 6 mm (a quarter inch) on my floral panel, with a second one near seven millimeters, about 9/32 in. I carved the first with a number 5, lowered a side with a spoon gouge, and did not overcomplicate it.
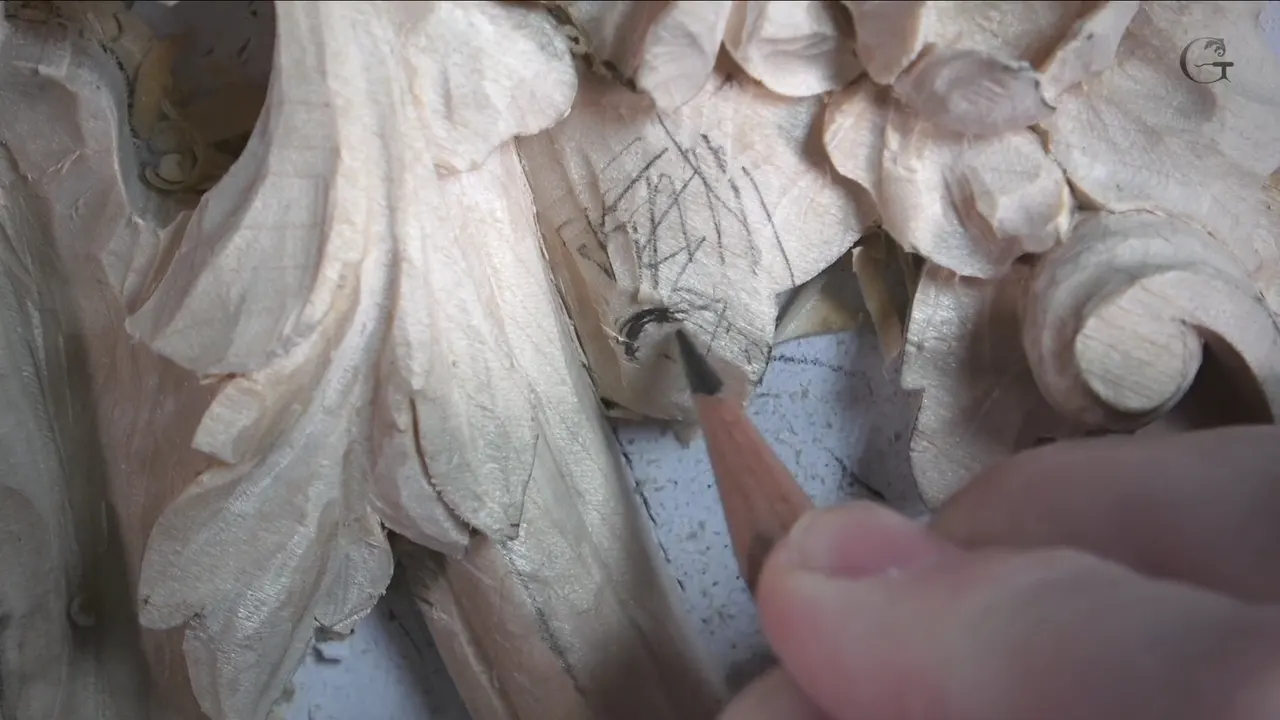
A small carved volute is a scroll about 6 mm (1/4 in) across, and on my floral panel I carved two of them, the second one maybe 7 mm (9/32 in). Part 2 of lesson 9 starts with the first. Before I touched the wood, I checked its size on the first piece.
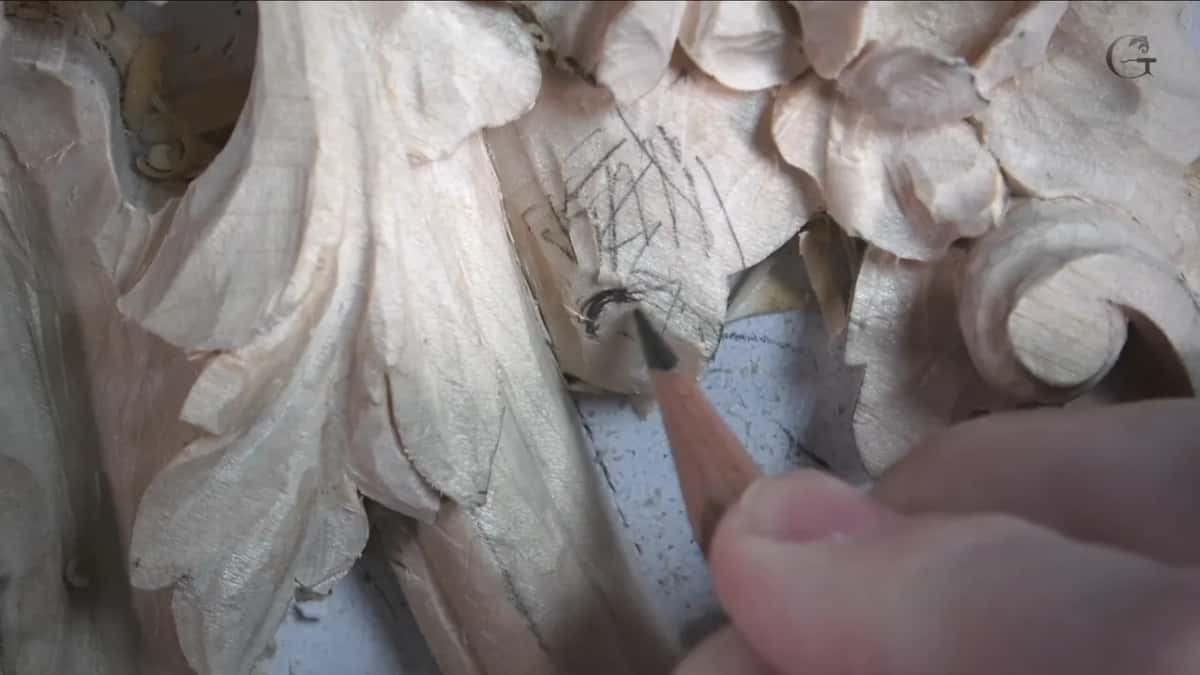
Have you ever stared at a scroll no wider than six millimeters (a quarter inch) and wondered which tool goes in first? Does a detail that small deserve the care a big one gets? This page follows one video. It also borrows sizes from other lessons, and every borrowed line names its lesson and links it.
Six lines on a small volute
- The first volute measured six millimeters, checked on the first piece.
- Carving it took a number 5 of 1/4 inch (6 mm), and a tiny spoon gouge lowered one side of it.
- The second volute ran maybe 7 mm, and a relieving cut went around it first.
- Beside it, I went straight down, no undercut, then sloped that part outward.
- One spot I could hardly see got a small number 1, and I held it with a finger.
- That first volute stayed simple, and I said so on camera.
How small was the first volute on this panel?
The video opens on a small volute going right in that section. "Let me check actually how big it is on the first one," I said. It came out about six millimeters, which is about a quarter inch (0.24 in), and I drew it right there. Everything else I eyeballed.
The volute goes somewhat right underneath, I said, and those ones would be leaves. I looked at the first piece again. One leaf would go below. Another would sit beside it, a small gap between them. "And it should look good."

My tool had to be a quarter inch, I would say, which is 6 mm. Either a number five or a number seven would work, I said, but I picked the five, a quarter inch number five by Ashley Iles. I could probably make a relief cut first. "But I think I should be safe," I said, and I went in. "And number five, in this case, works really good."
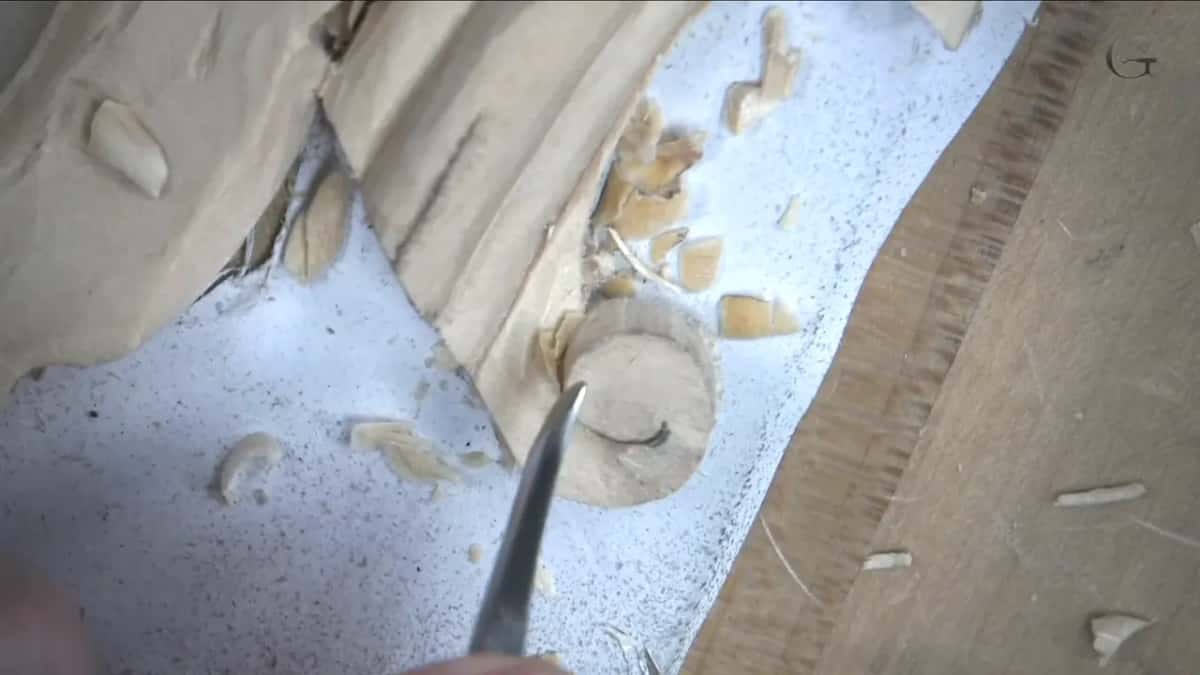
Next came the cleanup, and the leaf had to come down a little. The side of the volute was not going straight down like 90 degrees. So I picked up my spoon gouge, the really small one, with a tiny spoon part, and I lowered that side right there.
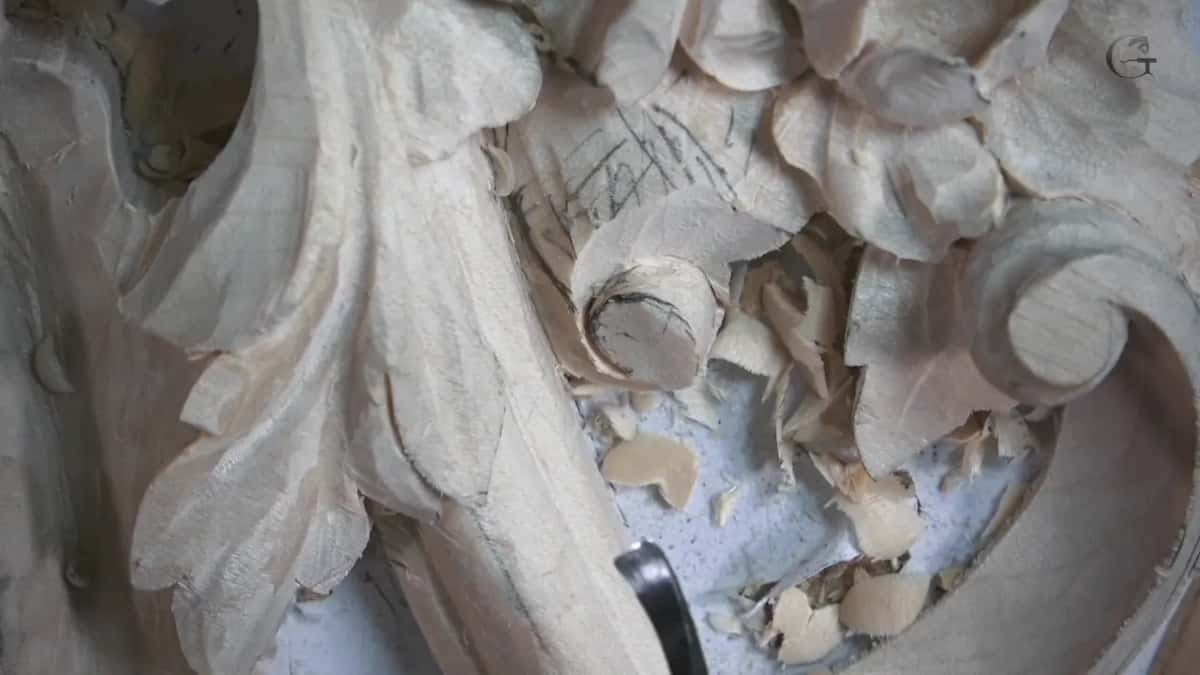
Something about the screen came up while I worked. "On the screen, it looks huge, but in real life, I am working with a really small detail." Estimate the distance between those two points, and you get only six millimeters. A quarter of an inch! So it is not as big as it looks on your screen.

"Again, I'm not going to overcomplicate that volute," I said. "There is absolutely no reason." The outside got cleaned by a small number five, and that finished the first scroll.
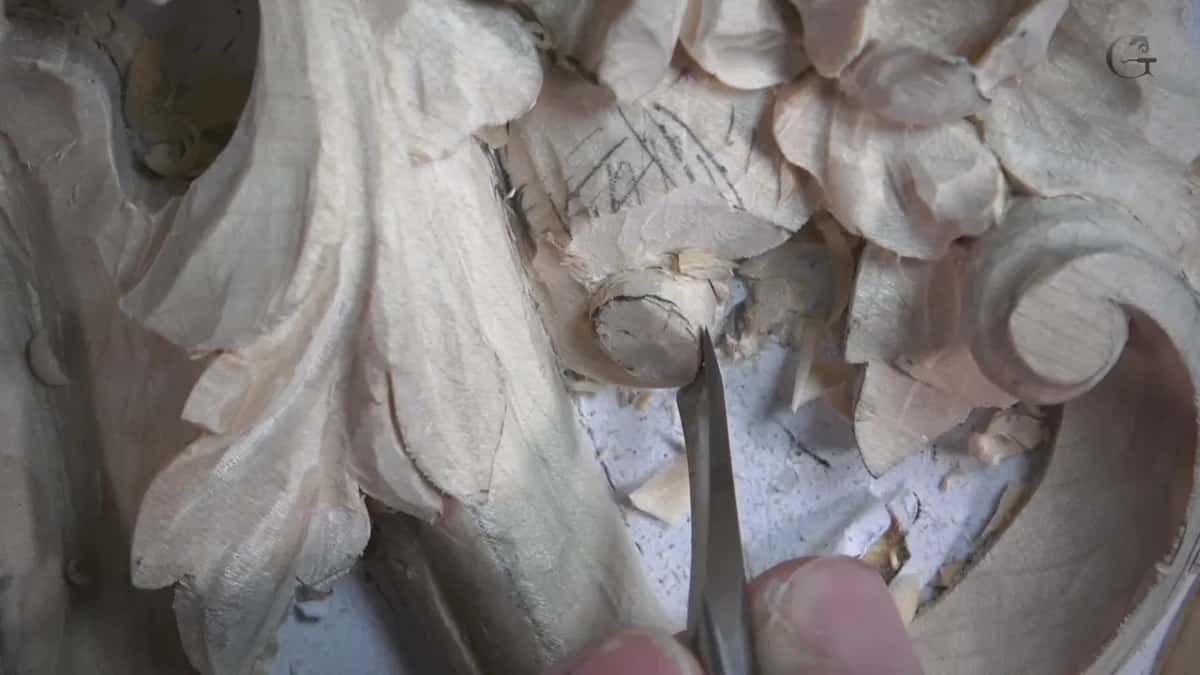
Why did the second volute get a relief cut?
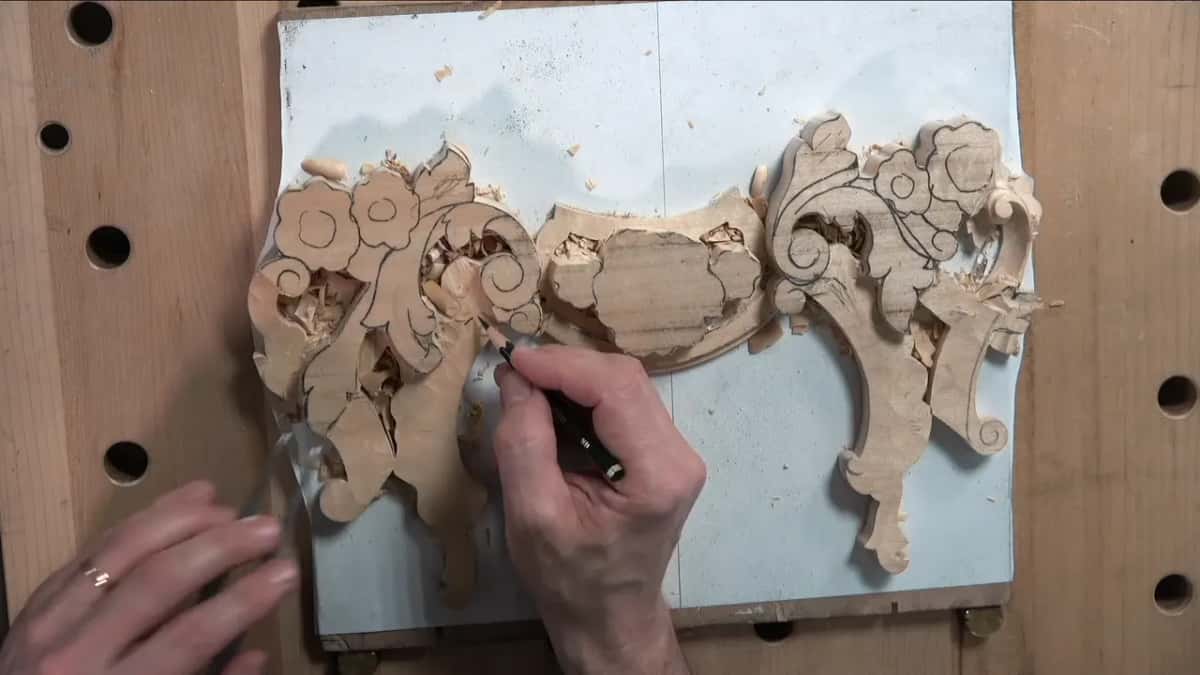
Another volute sat in the same section, a little bigger than the first one. I'd say maybe seven millimeters or so (0.28 in). One sits on each side of the molding, so from above you see that little thing here and again on the opposite side. "I think personally, it's just really such a nice detail, actually, to have that small volute."
I could have taken the number five right away and worked around it the normal way. This time I did not. "Probably because it's a small one," I said, "I would have to make a relieving cut just to get the cut around to set that in." A really smart idea, I added, to do it that way.

For that cut I took a tool of six millimeters. I called it a number 11, and then I fixed myself on camera. That one was a number 10, "still not like a true round." The shape is a U, but not as tall. I went around the whole volute with it.
Then I could have used the number five again, but I took a small, tiny tool that I really like, an Ashley Iles from the Peter Benson detailing tools. I love how it works. Then it started coming apart, or not apart exactly, I said, because that glue was not as strong. I had absolutely no problem with that. All I had to do, I said, was really be careful.
What shape does a small volute need?
Look at that piece, I said, and the volute does not have a nice shape. "So I have to make it really flowing." That part would be excavated as well, and I could fix the overall movement. "And all of that is going to be removed."

How do you carve next to a small volute without undercutting?
The line called for the number seven from before, the 14 millimeter one (9/16 in), and I carved straight down on the line. One corner worried me, so I picked a small number one with a double bevel on both sides. "I don't want to damage this point," I said, "because I still have to get the miters to that thing." The moldings were waiting to be attached.

Next the number seven came back to clean. I would not undercut. "I don't want to make it like it's going underneath," I said. It stayed straight down, since I wanted that part sloping outward. Any straight tool will work for the slope. I chose a number two, and a number three would do.
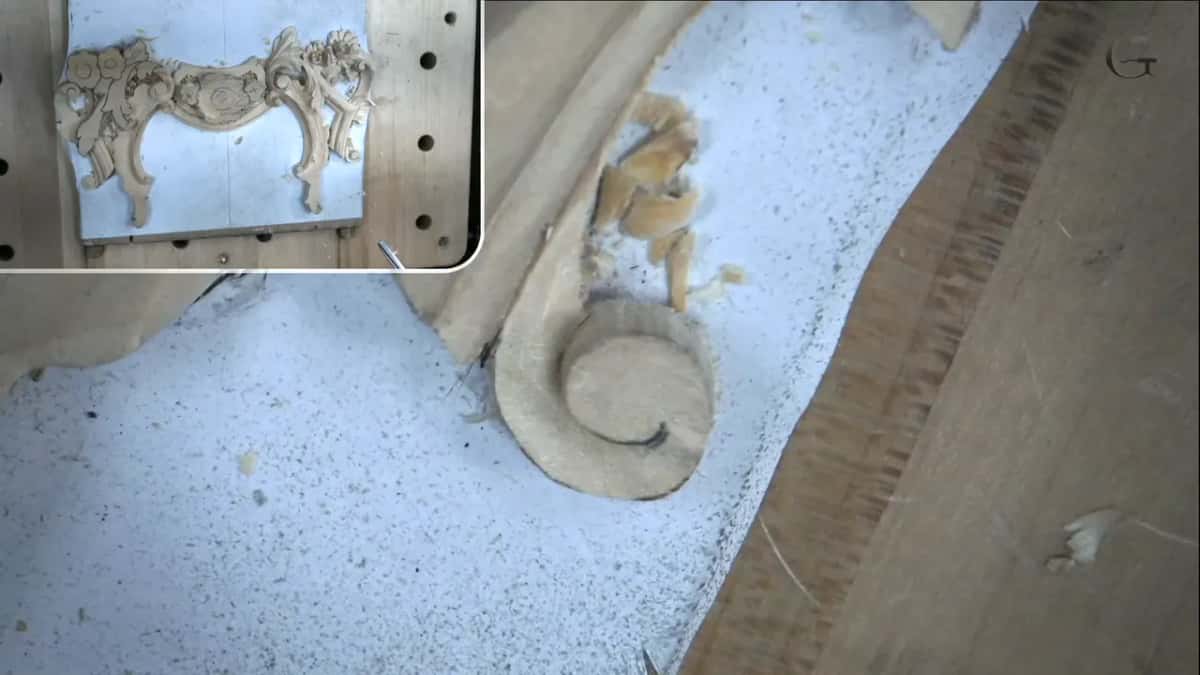
I made the slope from one side and then, obviously, from the other direction. A little cleanup, and that should be good. Now one more part had to go, though it was hard to see. Again I took the number one, the small, tiny one, like a one-eighth of an inch (3 mm), and I worked my way in. I had to hold it with a finger.

What did each tool do on this volute?
| Moment | Tool | Spot | Why |
|---|---|---|---|
| First scroll outline | Five, the quarter inch (6 mm) gouge | Small scroll | It works really good, I said |
| Lowering one side | Really small spoon gouge, tiny spoon part | Volute side | That side was not 90 degrees |
| Relief around second | Gouge number 10, 6 mm (0.24 in) | Second volute | Because it was a small one |
| Carving straight down | Seven, the 14 mm gouge (0.55 in) | The line | Straight down, no undercut, sloping outward |
| Corner near miters | Small number 1 with a double bevel | Corner point | The moldings still had to attach |
| Sloping that part | Number 2 or number 3, straight tool | Slope area | I wanted that part sloping outward |
| Last tiny spot | Number 1 of 1/8 inch (3 mm) | Tiny area | That part was hard to see |
My number five could have been a number seven, I said so myself. For the slope I said any straight tool will work. Each tool above is just the one I held at that moment, on that piece.
When do you stop working a small volute?
After the last small spot I said, "I think it's enough." I would clean it a little bit and make it smoother, "but I'm not going to spend too much time. There is no reason for that." That was the second time in this video that I said there was no reason. The first came with the overcomplicating line, early on.
The leaves were next, on that side. "Nothing complicated, so nothing special about those leaves," I said, and it is exactly the same movements. "It's not like a canvas. Okay? I have more freedom on those leaves." My pencil needed sharpening first, so I showed you the battery-operated sharpener I use.
The last lines of this video go back to the earlier piece. One spot on this piece was kind of a little too big, so I checked what I had on the previous one. There I had that part excavated, and one of the leaves went right underneath. Another leaf took the next spot, and I had to remove that triangle.
What sizes do my other lessons give?
Small volutes come up all over my courses. Here are the ones I can point to, each with its lesson so you can compare sizes yourself.
I measured the size on this panel in lesson 4. I took my calipers to the first piece. Eyeballing was always possible, I said, but I did not need it if I could measure. The widest spot was about half an inch (12.7 mm). Another spot read about seven millimeters or so. "So my volute itself, it's going to be about quarter inch, about six millimeters." In the next video of that lesson I drew it again, six millimeters for the volute itself. In the third video I drew it a third time, "about quarter-inch volute," and then took a number nine of 6 millimeters to take out material first.
Depth shows up in lesson 5. One small volute there "should be somewhere really low. Really, really low." I measured the first piece again with the needle, and I got about seven millimeters (0.28 in), a little more than a quarter inch. I said I was safe to remove the material around it. Still, I really did not want to lose one line.
The word volute names a spiral scroll, a classic piece of the Ionic order. Mine are not on a column. They run along a molding, and they are tiny. The same shape goes much smaller on the leaves of a flower. Over in the Hashemi course, lesson 22, I called them micro volutes, the volutes of the leaves. The shape came from a number seven, 14 mm (0.55 inch). Inside, I used a number eight, 3 mm (1/8 in), and the seven came back for the walls.
Another video in that lesson starts with a little gouge, 3 mm, about an eighth of an inch. I corrected myself, because it was less, a 3/32 (2.4 mm). Next came my seven, and later maybe a smaller tool to clean the top.
On a cutting board it was the depth that shrank. In curly kitchen cutting board workshop 14 I went about a sixteenth of an inch (1.6 mm). "Because the volute is small, and I don't really have any reason to go really deep." The bevel was really low, I was barely taking out any material, and I watched how deep I dug inside that wall.
Furniture Panel lesson 19 has a volute I called really small, but nice. Next spot, I did not know how deep this small thing would go, so I would work around only 1/32 of an inch (0.8 mm), at least for now. Another spot got no volute at all. "Really don't need volute right here." It would be just flipping above, and that was it.

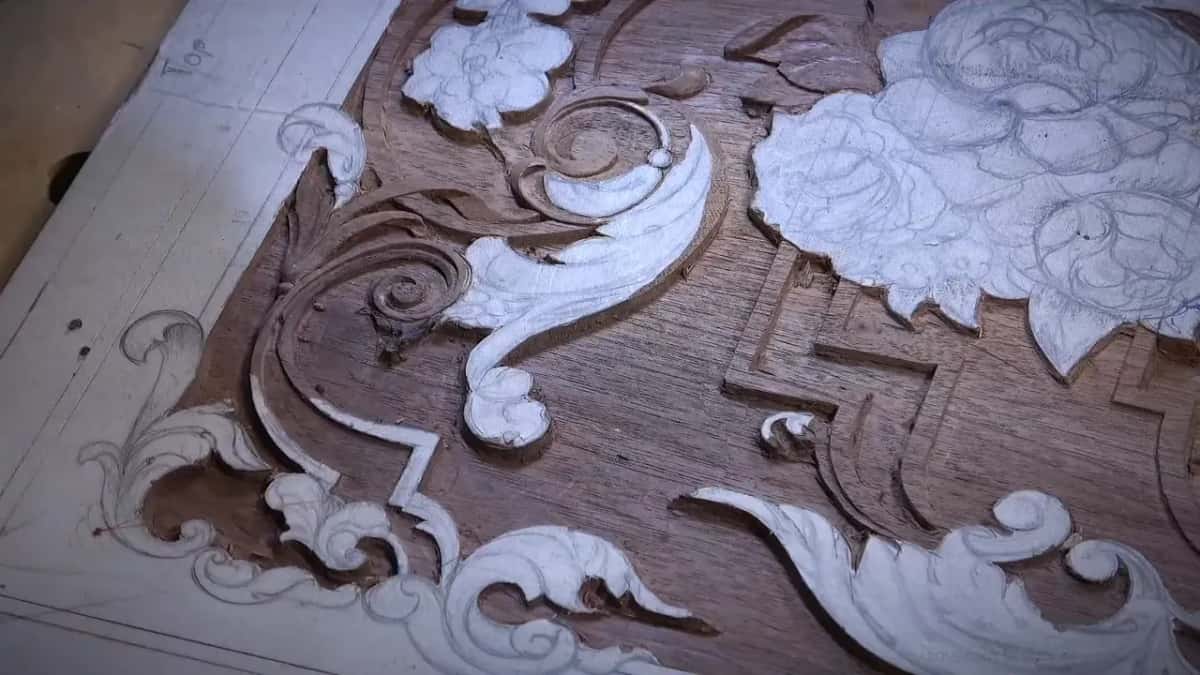
A strip of waste sits beside a small volute in lesson 21 of that course. I reached for the number seven, 14 mm (0.55 in), then stopped. "I need to relief my small volute part. I want to make sure I'm not destroying it." The number eight went in first. Then the seven gave me beautiful movement right away, and I did not hit it all the way to the ground, because I did not want to see any marks. Cleaning went to a number 11 of 3 millimeters (0.12 in).
So how small can a volute be?
I can only give you the sizes I said on camera. On this panel they were six millimeters and about seven. Next to the leaves of a flower in the Hashemi course I used tools of an eighth of an inch and less. The cutting board digging stopped near a sixteenth of an inch, and on a furniture panel one place got 1/32 of an inch for now.
A few moves came back across pieces. In lesson 4 I measured from the first piece. In this video I relieved around the second volute, and I kept that part straight down. Twice I said there was no reason. One furniture spot got no volute, and I said I did not need one there.
Where does this part sit in the course?
This video is part two of lesson 9 in Carving Floral and Molding for the Panel. The lesson 9 page holds all three parts. Right before it comes lesson 8, and in its first video I said a molding would come with a small volute going. A gouge is a curved chisel. Sizes come in millimeters and inches, and a miter is where two moldings meet. The panel is relief work, one kind of wood carving, and heights between two pieces come from the pointing machine.
What is the smallest detail on your own bench?
How it's done
- Measure it on the first piece. I checked the volute on the first piece, and its size came out near 6 mm, a quarter inch. After that I drew it and eyeballed the rest.
- Pick a tool for the scroll. Quarter inch number five (6 mm) did the first one, and it worked really good for me. Number seven would have worked too, I said.
- Lower the side with a spoon gouge. That side was not going straight down like 90 degrees, so my really small spoon gouge lowered it right there.
- Relieve around the second one. Because that one was small, I relieved around it first with a number 10, six millimeters, to set the cut in.
- Keep that part straight down. Undercutting was out. Seven went down on the line, then a straight tool, number two or three, sloped it outward.
- Stop when it is enough. I cleaned it a little, called it enough, and moved to the leaves.
Frequently asked questions
How big is a small volute in wood carving?
Mine measured six millimeters, about a quarter inch, and I checked that on the first piece. A second one beside it came out near seven millimeters. It looks huge on the screen, I said, yet in real life it is a really small detail.
Which gouge carves a volute a quarter inch across?
I used a number 5, 6 mm across, the quarter inch size, for the first one, and I said a number 7 would work too. My spoon gouge, the really small one, lowered the side that wasn't at 90 degrees.
Do you make a relief cut around a tiny volute?
For the first one I thought about it, then said I should be safe and went straight in. The next volute was a small one, so a relieving cut went around it, using a number 10 of 6 mm. I called that a really smart idea, a really smart way to do it.
What to carve next