
Alexander Grabovetskiy, woodcarver, School of Woodcarving · Published 2025
How do you carve a vine that lies on top of a leaf?
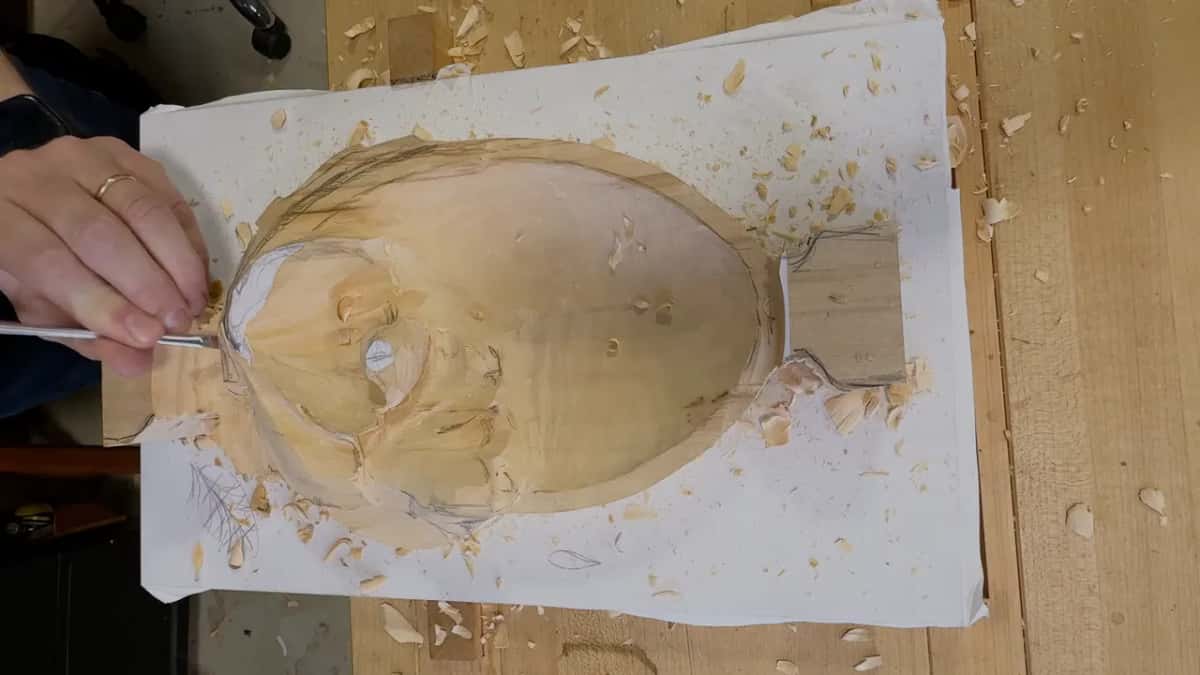
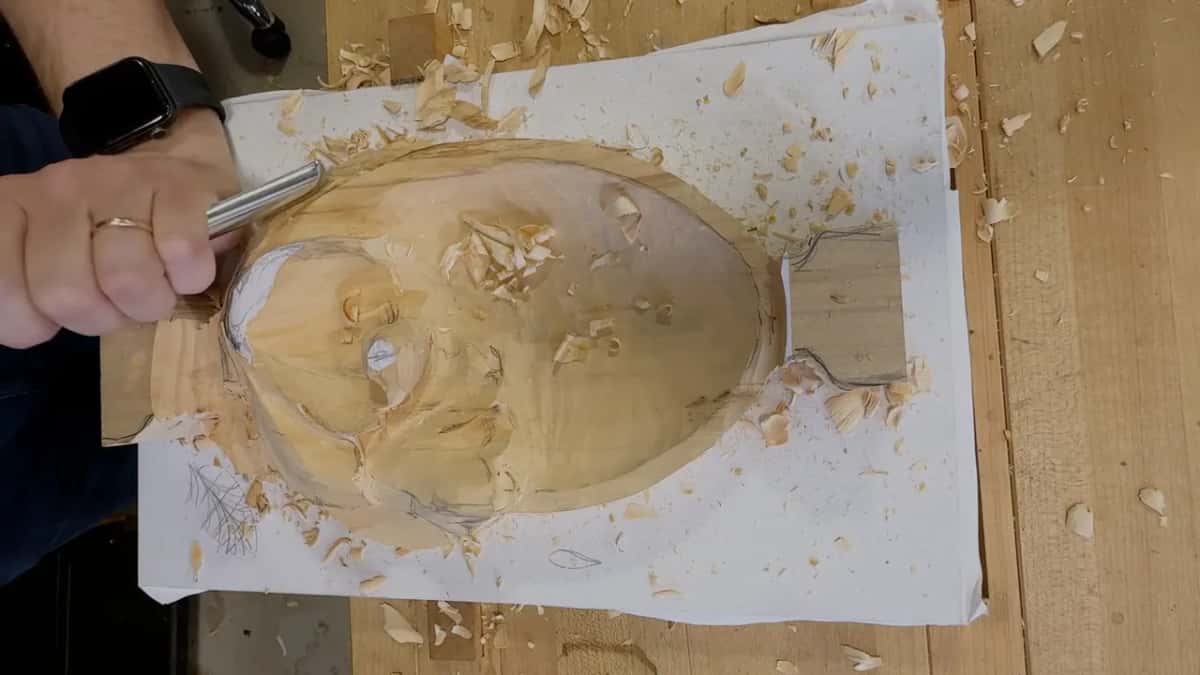
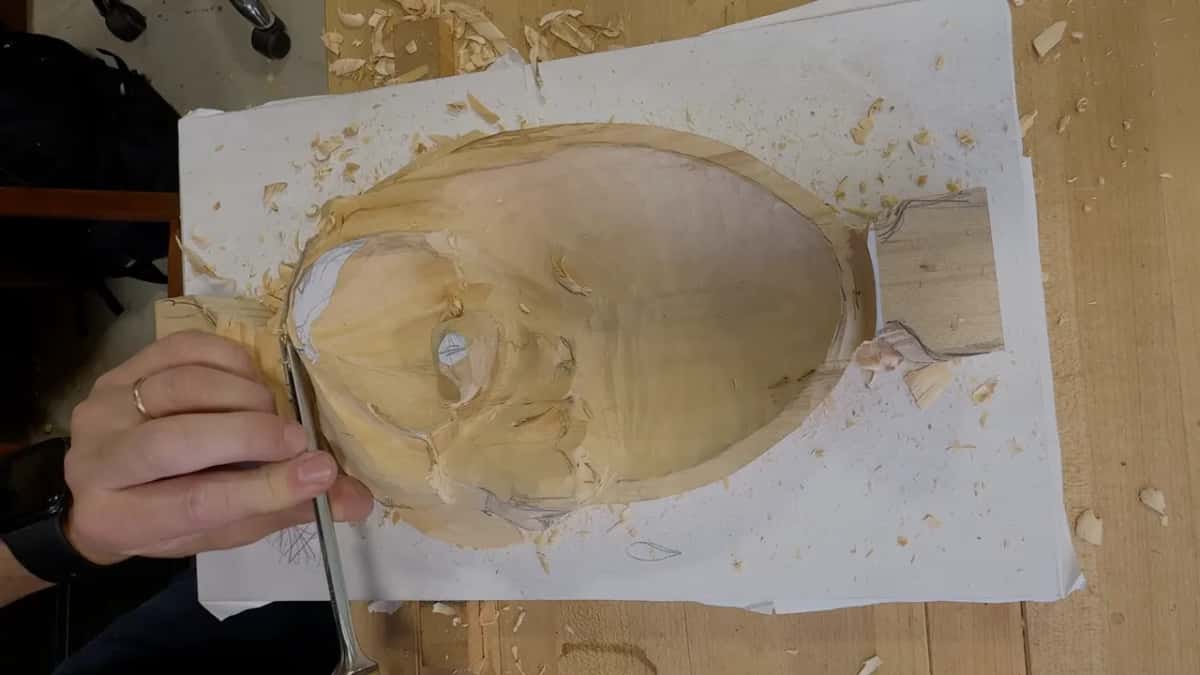
Quick answer: A vine lying over a leaf is what I carved on my grape leaf tray in lesson 4. I stopped at one spot, sliced a slope down to it from both sides with a flatter tool, and dropped the leaf about 3/8 of an inch, or 10 mm, before blending it in.
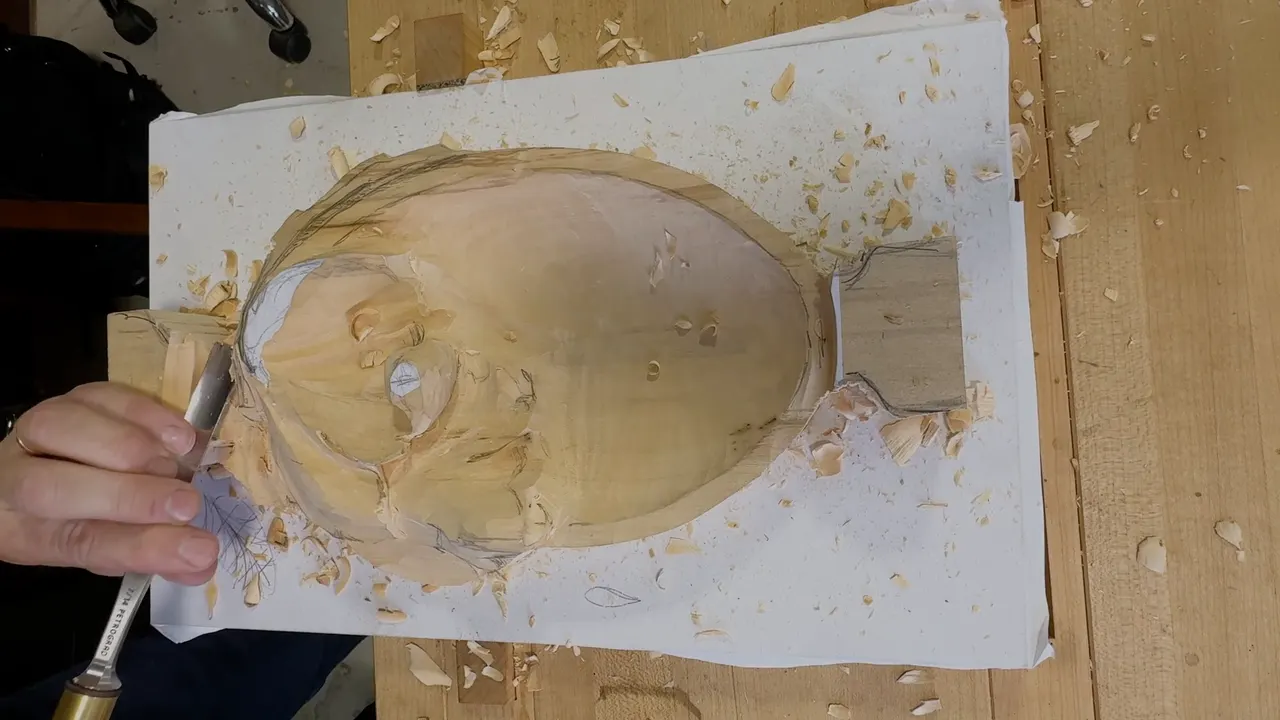
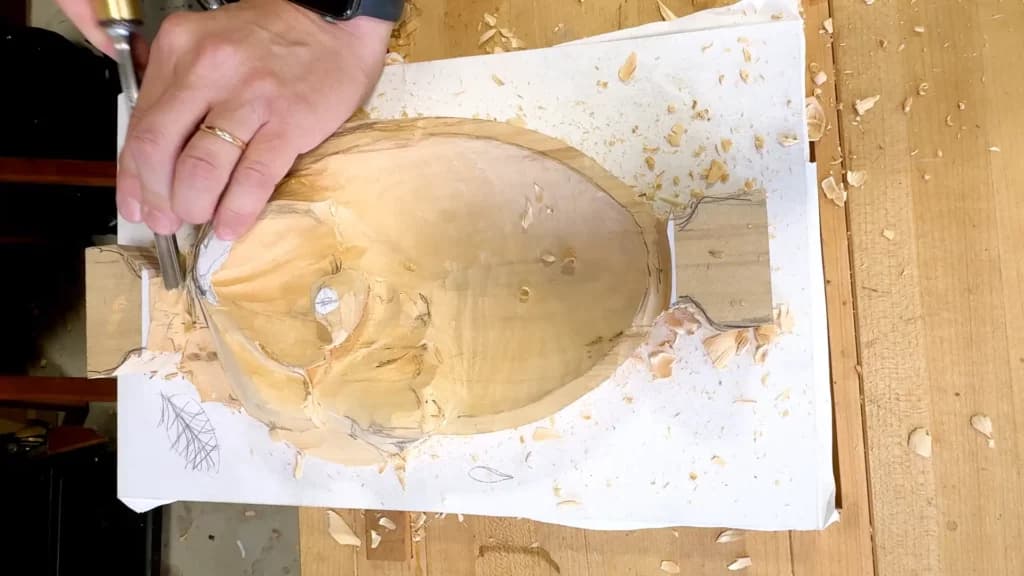
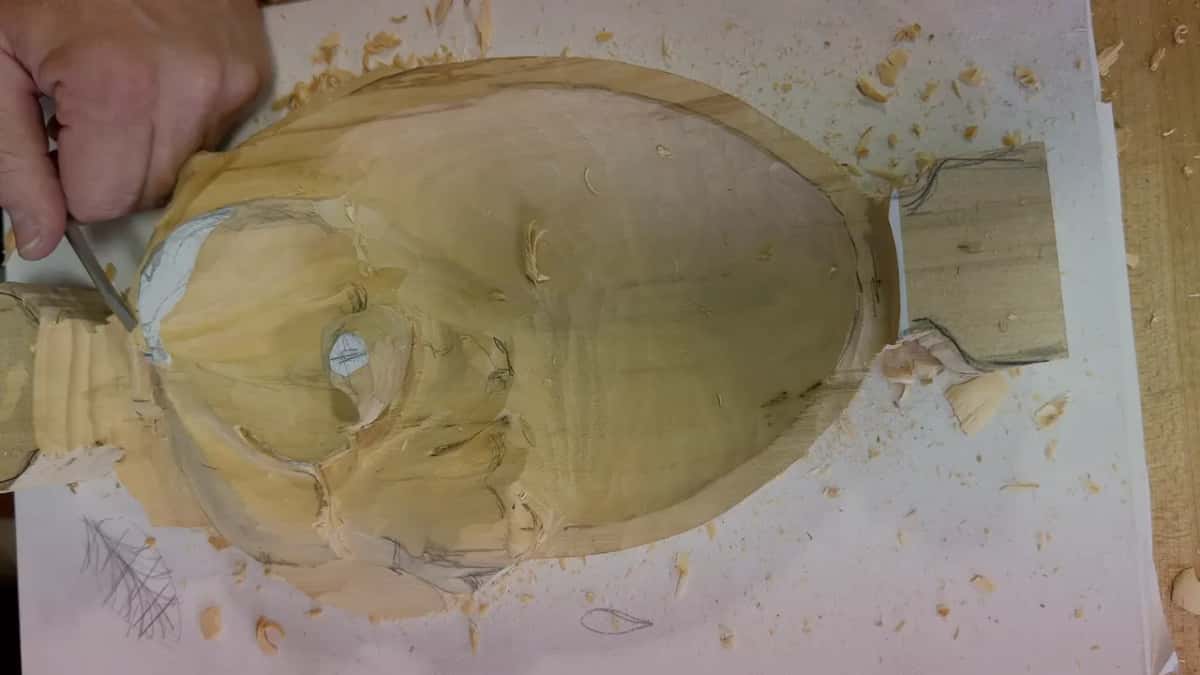
Carving a vine that rides on a leaf is the job I did in the fourth lesson on my grape leaf tray, and the move that made it work was one I called the illusion of the cut. First a stop at one point, then a slope sliced down to it with a flatter tool, and the same again from the opposite direction. Seen from above, it already looked like a vine.
Want to try wood carving vines on a leaf of your own? Want that vine to look like it sits on top when you look down at the tray? Then outline it, slope it, bring the leaf down a little, and let the details wait.
All of that is lesson 4 of The Tray of Blessing, a tray with a Cabernet Sauvignon grape leaf carved across it. It was filmed in a class, and people at the bench kept asking me things while I carved. You'll get the moves I made on that vine, with the tools and numbers I gave them.
Six moves on one vine
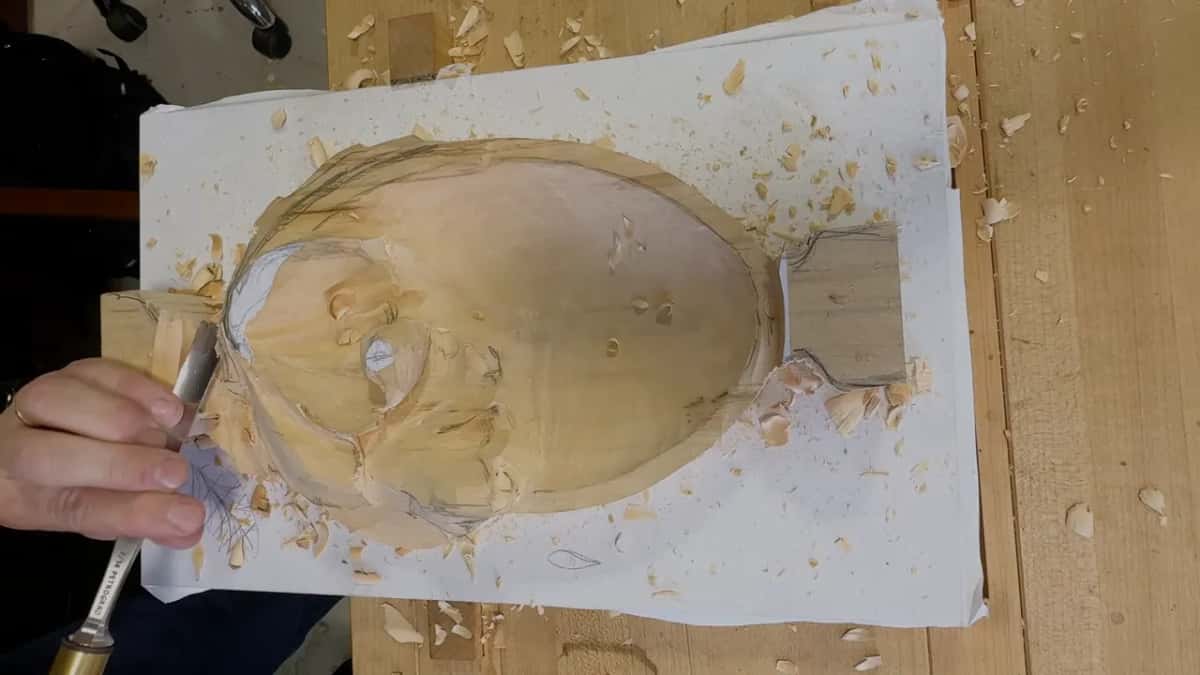
A number 9 gouge went round the vine first, and I dug a relieving cut beside it.
A slope came down to that stop from each side, sliced with something flatter.
The leaf came down about three eighths of an inch, near 10 mm, and got blended into the vine.
Going lower, I held back the space I needed for the feel of the cut.
A second vine stays hidden underneath until the tray is flipped.
The details waited, and I said the full undercutting could come later.
Why lay a vine over the leaf at all?
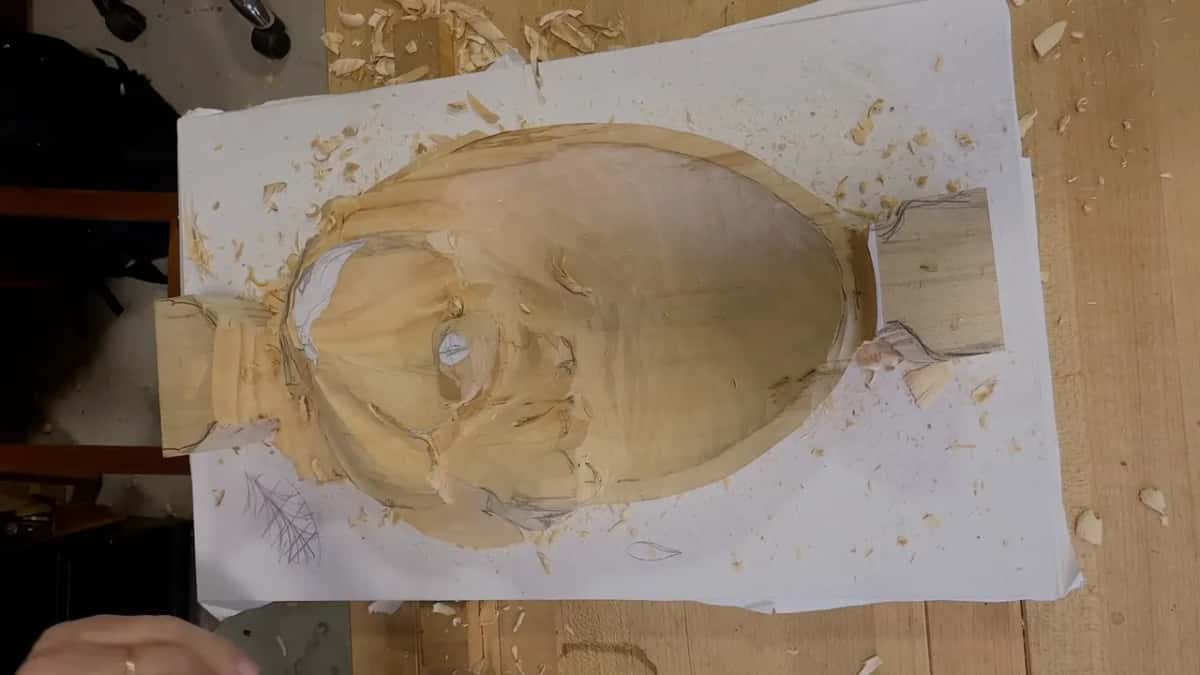
More interesting was the word I used for it. The plan had been a stem coming from the connecting point, as I'd told them. I said I could do something interesting instead, though, and not connect to that point right away, with a short section of vine laid over the leaf and the stem coming off that vine to reach the leaf.
That's why we don't do the details right away, I told them, because I hadn't thought about how far we were going to get. Today I could see the result, and I can actually challenge those people a little more, I said.
The stem itself, I'd said before that, would be an eighth of an inch (about 3 mm), maybe three sixteenths (about 5 mm), just to make it a little more stable. I don't know the people in your family, I said. Where it reaches the leaf, I let one lobe cover the connecting point a bit and dropped the stem slightly under it, the same over and under that Venice Room 133 works through on a whole leaf.
How does a vine on a leaf start?
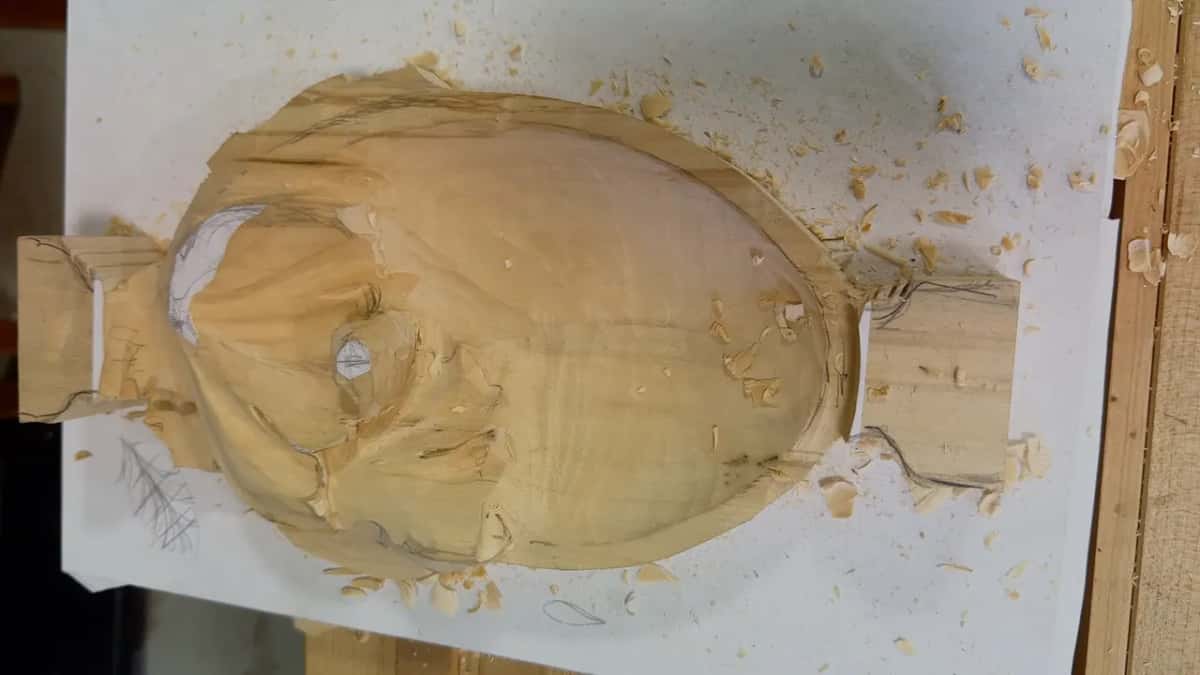
With outlining, and I said it would be the same tool, a number 9, 10 mm (3/8 in) wide. I excavated around the vine and called it the relieving cut. It's becoming cooler and cooler, I told them, nicer and nicer.
Before any of that I'd marked the edge of the bowl again, and that edge was a no-no area for me, one I wasn't going to touch. Earlier still I'd said, let's concentrate right now on the eyes and the undercut, and then we're going to catch up with the rest of it.
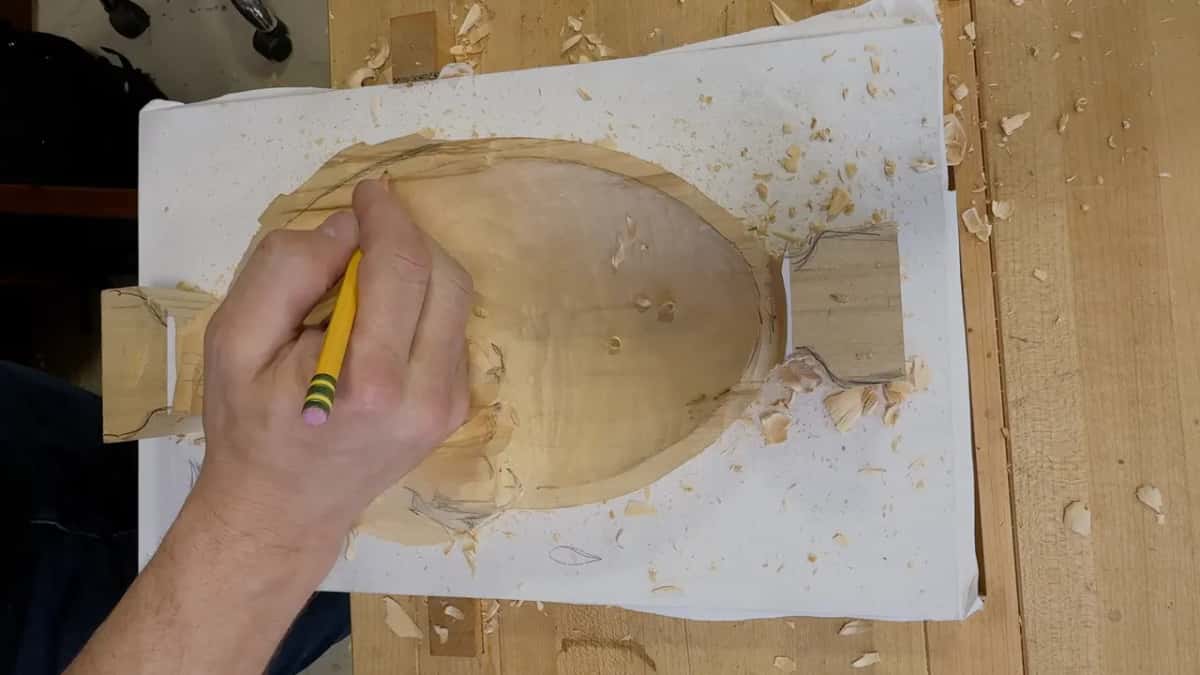
Next to one stem I said I'd also clear out the wood in between. With a scroll saw I could have sawn it out right away, I said, and that would have been easier. One leg was a little too much for me there, so I took some of it off for room and kept enough to use as a surface later on. You have to think logically, I told them, and create the overall shape first.
What is the illusion of the cut?
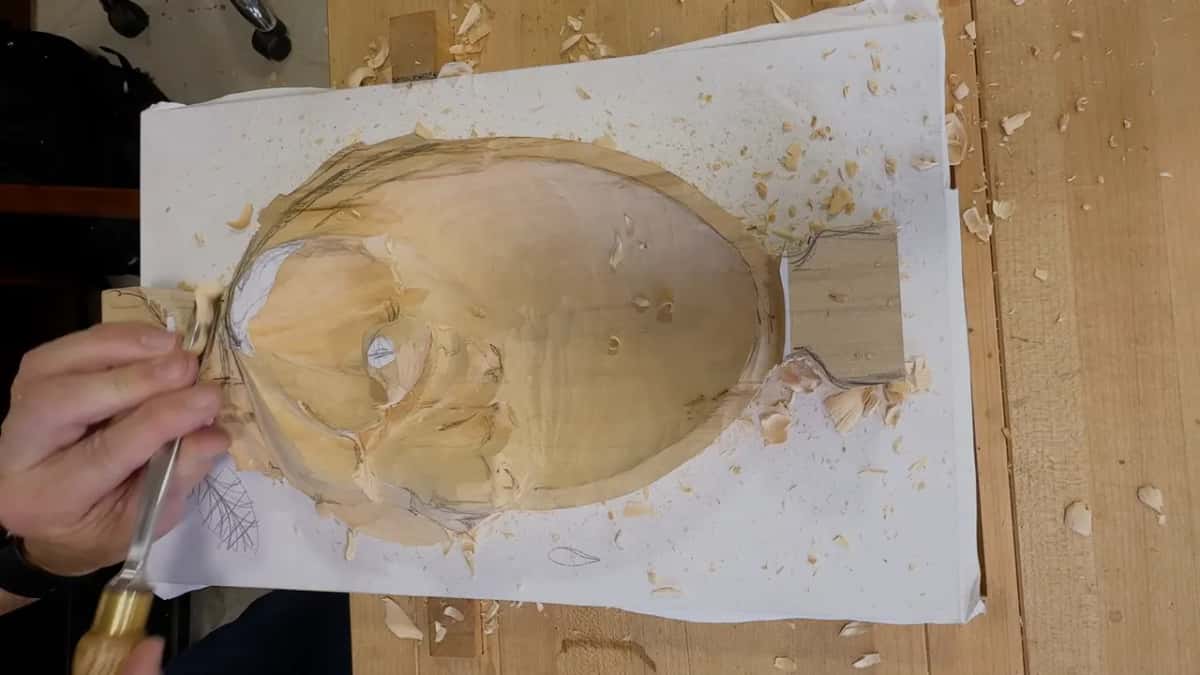
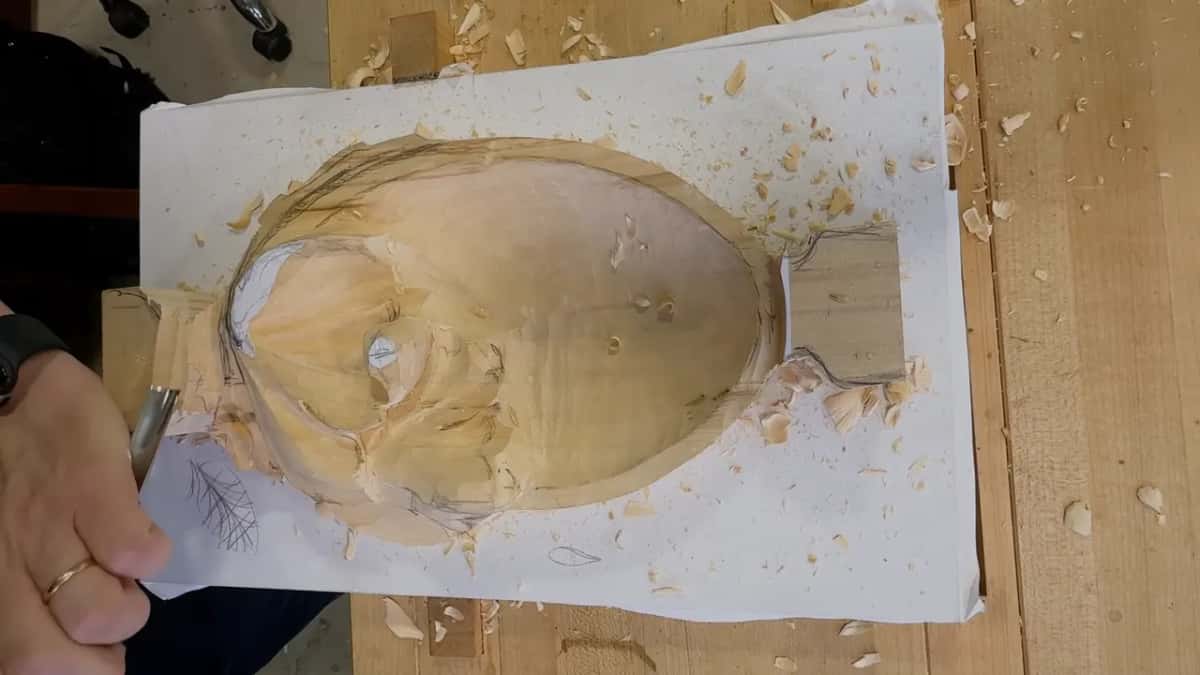
A stop and a slope. I asked everyone to come right in close, and I said you'd see it from above.
See what I'm carving? I stopped at about that point. Then I sliced from that point, sloping, using a flatter tool. Exactly the same went in from the opposite direction, right there.
That way it creates the illusion, I said. Later on you can do all the undercutting and so on, but this is how it's supposed to look, like a vine. Now I'm going to create the look, I said at the end of that part.
In the second part I made sure I didn't lose the sense of the bowl itself. After that I started dropping a little more, and I said I'd go almost all the way, except for the space I needed to create the feel of the cut. Then I did exactly the same with a number 2.
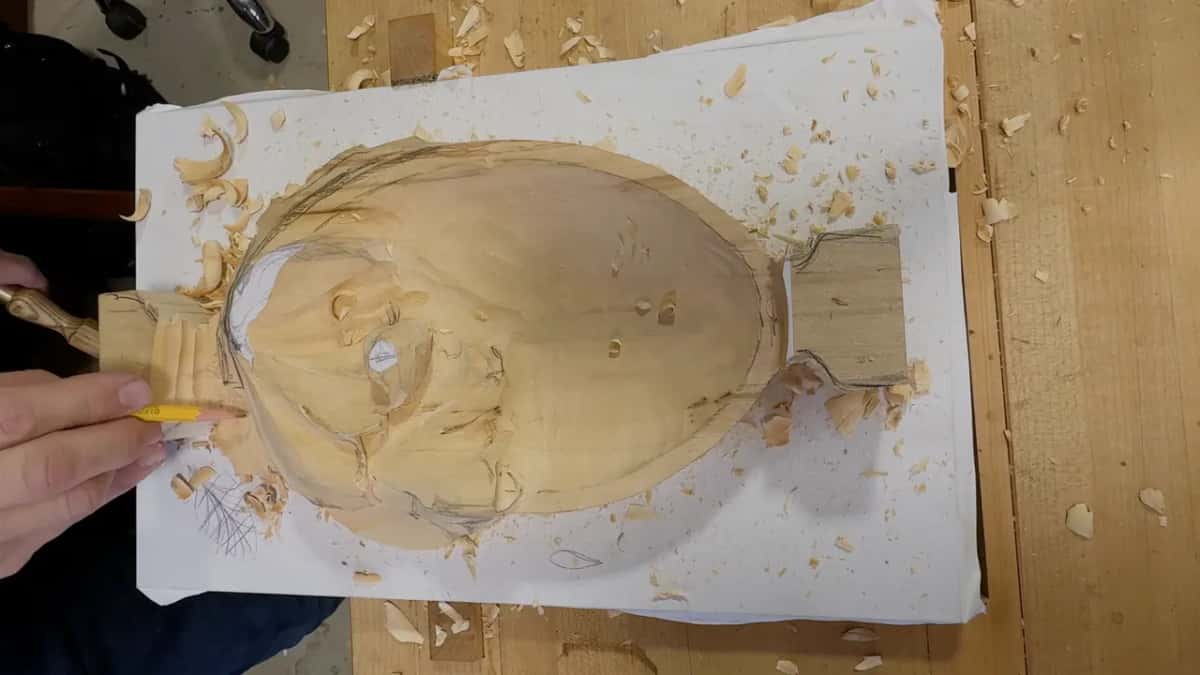
Under one stretch I didn't worry about undercutting at all. The back of the tray still had to be carved, I reminded them, and an opening there might give a really nice light point, with the light traveling inside so you see it from this side. I think it's going to look cool.
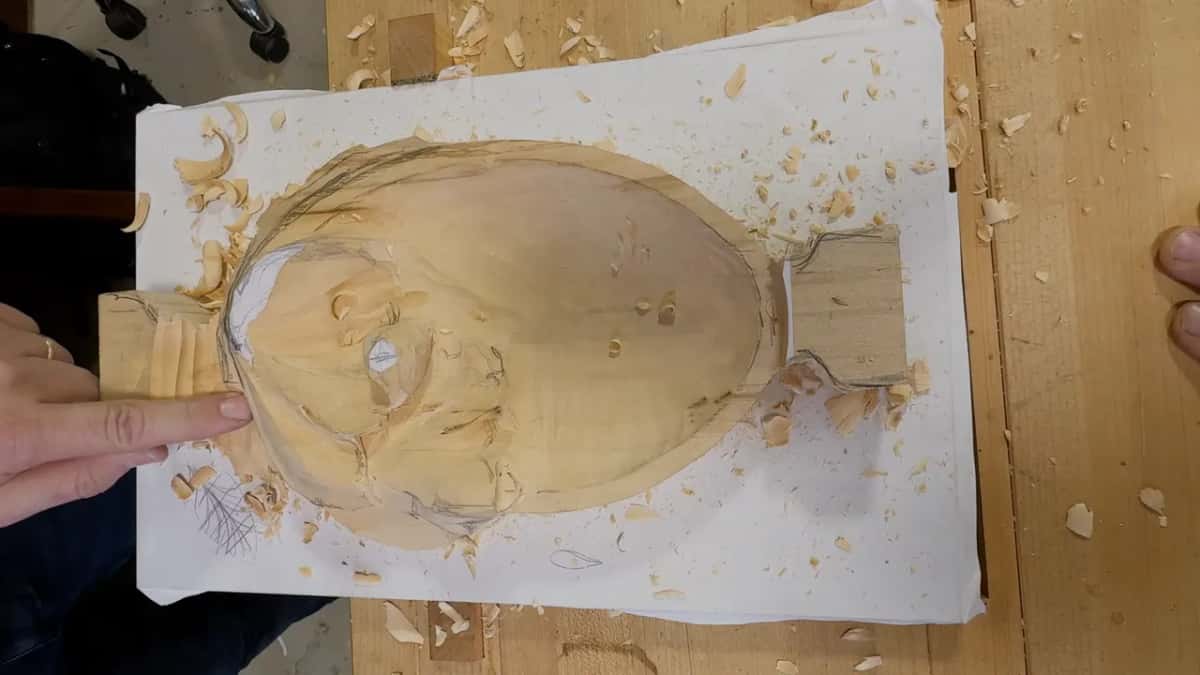
How far does the leaf go down under the vine?
About three eighths of an inch, roughly 10 mm, was the figure I worked out. Someone at the bench said I'd be dropping the leaf down slightly. Not much, I said, I'm going to blend to it.
The second part opened on a number 2, using the same idea we'd done right there with the undercutting.
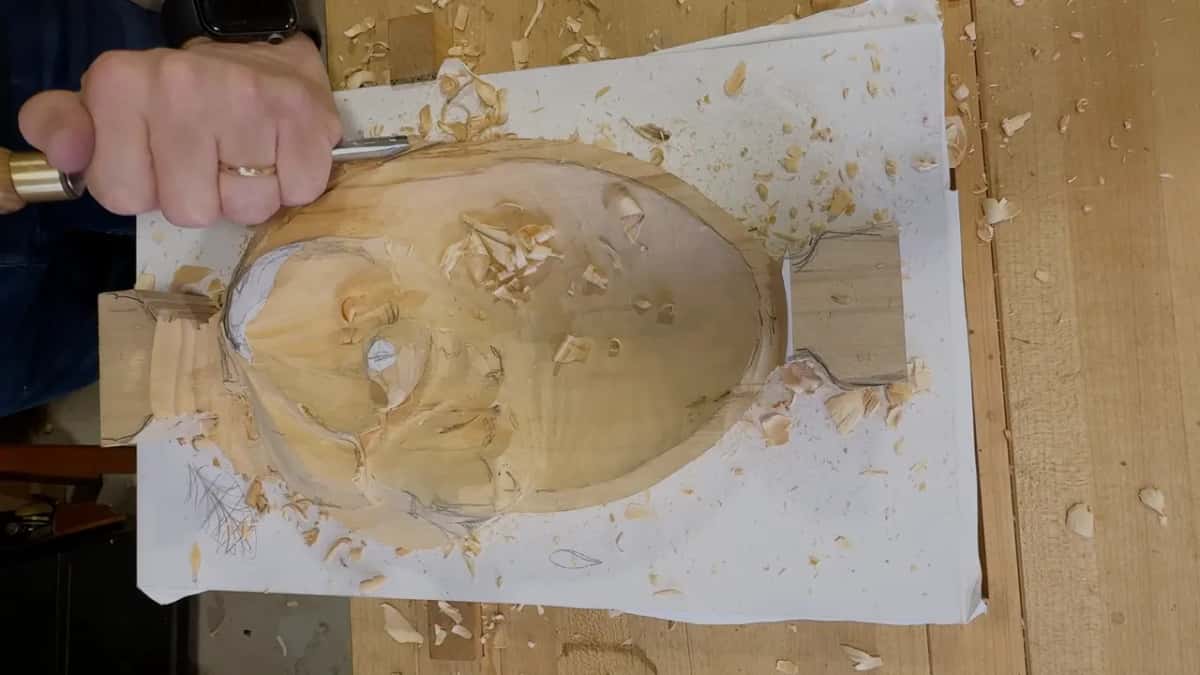
A whole leaf made to sit on the wood is a different job, and you'll find it in Venice Room 82.
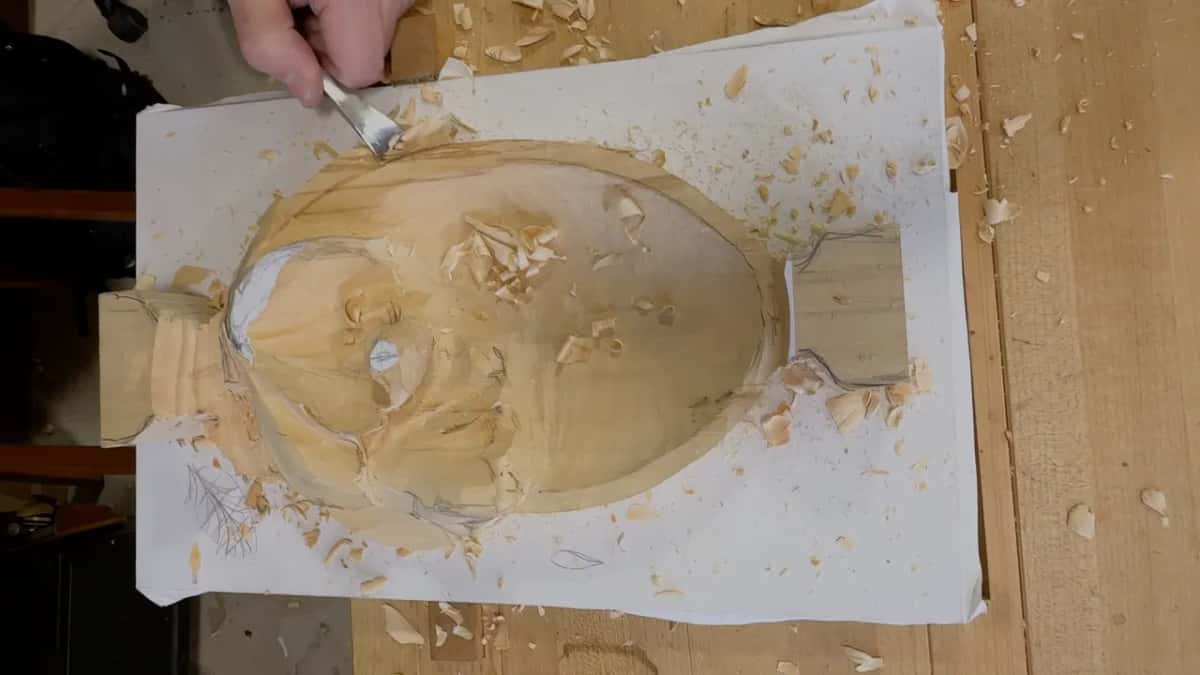
What gives a carved vine its shadow?
From a shadow line, and I started one by raising a part slightly. It would be much easier once the legs come off, I said. See how nice a shadow it casts? It just becomes something else.
Just before that I'd said that further along we could dig underneath right there and get an airborne effect.
The vine shouldn't run like a straight line, either. It can follow the same motion, or you can give it more curvature, and I went with something like that. Makes sense so far, I asked them, and stop me if it doesn't. A tendril that looks alive is its own subject, from Grape Onlay 4.
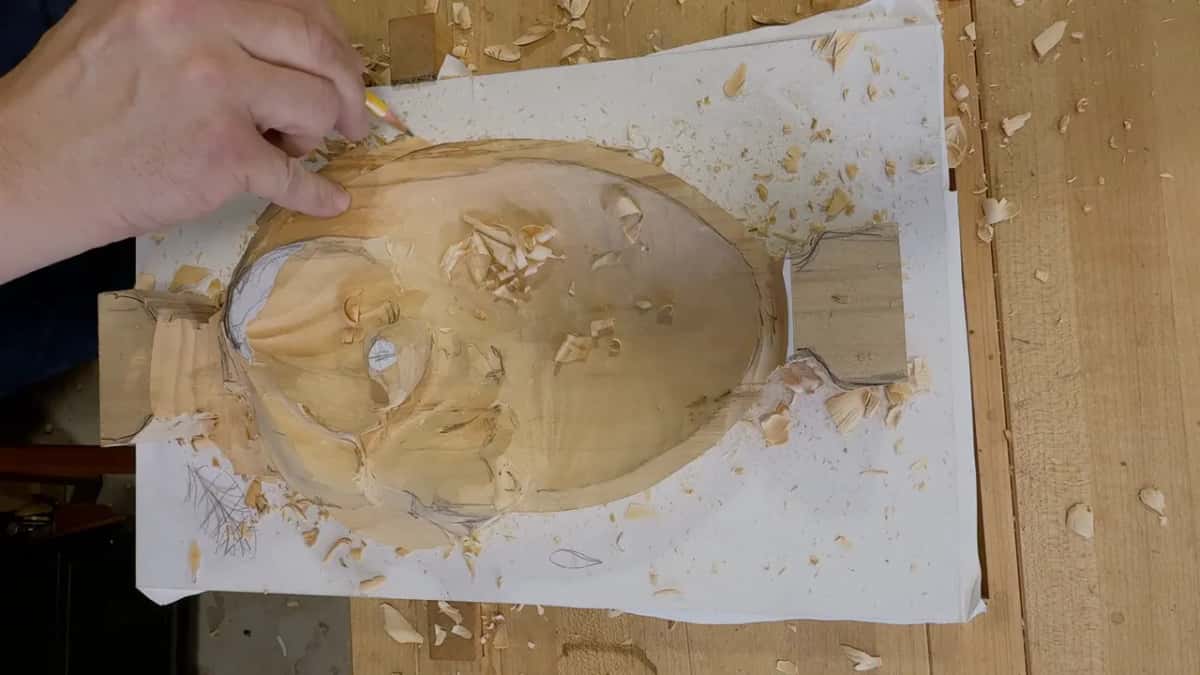
Can wood carving vines hide under the leaf?
One of mine will. Someone asked whether we had to worry about the second vine yet, and I said we'd do it now. That second vine is going to be hidden. You won't spot it from the top, but we'll bring it in from underneath a little later, once we're working from the backside.
It could be one vine with two stems, or two vines, one on top of the other. For now I worried about the first one, and this little piece is the second vine, which gets connected to it. It's below, I said, and I can always do that. Don't forget it's full 3D, I said. We have to flip it, and then we can connect this thing.
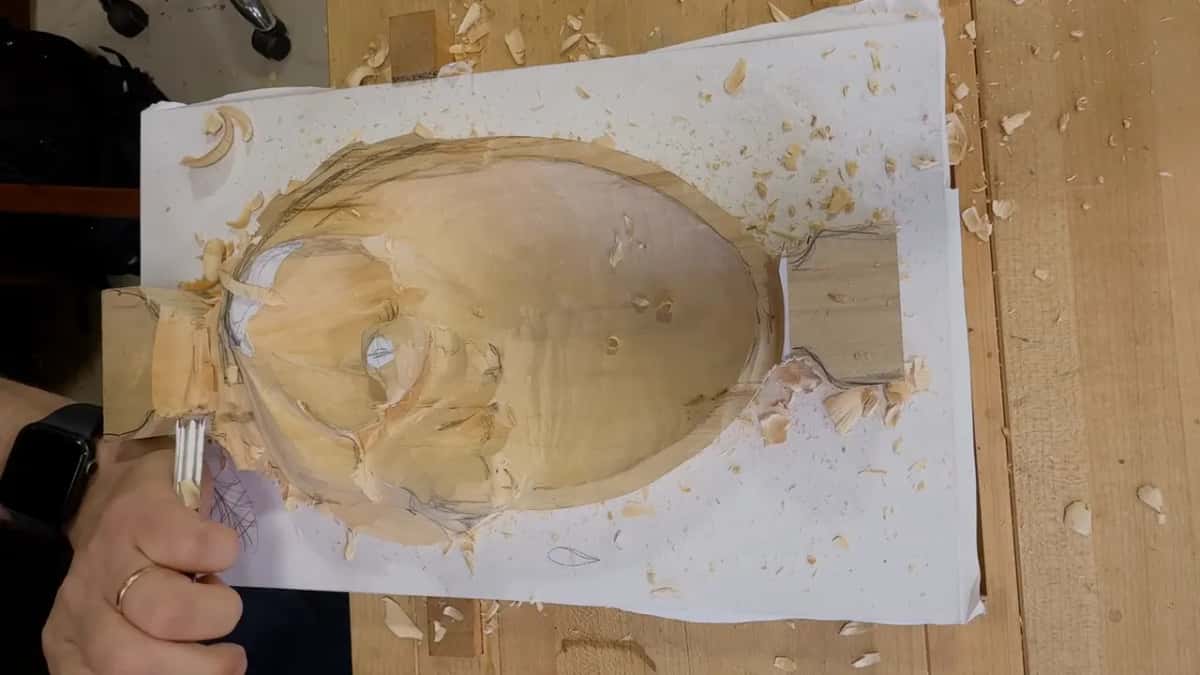
A little later I made a separation between those two pieces and said I'd probably have to flip the tray, because it wasn't convenient for me. With only one camera in the room I stayed where it could see, and I apologized for it. The two don't have to be the same thickness, I told them, with the second going almost underneath, and I brought the golden ratio into it. How thick a carved branch should run is its own page, from Grape Onlay 11.
Where does a skew come in?
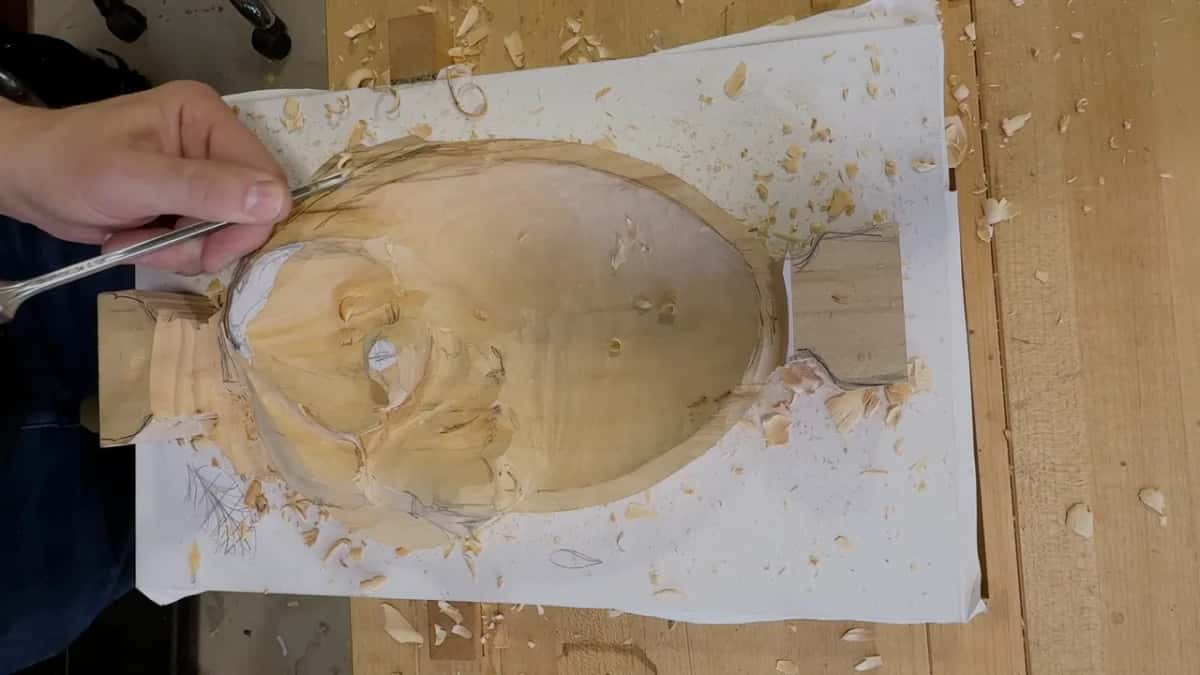
After a preliminary cut right on the line of the bowl, I picked up a skew. With a skew, I said, you can make a really beautiful surface.
Somebody asked its size. One inch, I said, and then corrected myself, not exactly one inch, 25 millimeters. They checked that it's beveled on both sides, and it is. I leave it off the tool list because it's kind of hard to find, but if you can get hold of one, it's a really good tool to have.
What each tool did on the vine
Move | What I did on the tray | Size I gave |
|---|---|---|
Outline the vine | ran a number 9 round it, then dug around | 10 mm wide |
Lower the leaf | took it down a little and blended it in | near 10 mm |
Drop a bit more | went on the same way using a number 2 | no size said |
Plan the stem | picked a size that keeps it stable | 1/8 to 3/16 in |
Clean the surface | a two-bevel skew after the preliminary cut | 25 mm skew |
Why did the details wait?
Concentrate on details and you lose the overall picture, I told the class, so please don't overcomplicate it and don't start on them yet. Later I said it again, I'm not going to do the details yet. What sat there, I said, was the indication of that vine lying right there.
That's a good indication of what I want to do, I said as the last part began, and one part could grow some kind of knot later on. A moment later I started to rush. No good, I said, four times over, and then this is good, I can pull this, come from this side.
Once I apologized for covering it again. That is the vine itself, I said soon after, and now I'll get a motion from the vine all the way to the leaf. When I asked if the camera showed what I was doing, someone said yes. I kept taking it out underneath. The rest of the details would come later, and for now I cleaned it up so they could take a picture.
What did a stem need on the hazelnuts?
Flow, mostly. In lesson 4 of Carving Hazelnuts the drawing showed a stem going right on top of one block and then wrapping around under another leaf, one on the bottom somewhere, and I said that whole section had to be really free-flowing.
Later in that part one piece sat much lower and the husk went right under the stem, and I said that mattered because I wanted it all flowing in the right direction. If I deviated a little from the original there, I said, I was okay with that. Anyway, I designed the thing. Where one part goes under a leaf anyway, I said I could outline it right away with the same tool.
Once more, in the next part, I placed things approximately, a stem here and a leaf there, with the main stem going to those guys, and I wanted it logical. I'd change the anatomy of the carving slightly if I had to, I said, since what mattered was that it flows when I look from above and makes sense where it connects. Later I moved one stem a little closer to the edge. I can always chop it, I said, because I could see a really good area for this leaf.
Why draw a stem wider than it will end up?
I can always make it thinner later, I said on the hazelnuts. I drew the main stem wider than it would stay, about 10 millimeters, 3/8 inch, and that was the reason I gave. Another leaf goes in from underneath there, and I didn't want to lose it.
In the part before, I'd made it kind of wide at one point, about 3/8 of an inch, maybe even 1/2 an inch (13 mm), and said I can always make it smaller later. I left 3/8 or 1/2 an inch for the future stem and called that space an opening, so I wouldn't confuse myself. Well, actually, you know what, I said, let me jump and chop some of that stuff I don't need right now, and it came off with the same number 7, from another side.
That way I'd know exactly where the stem is supposed to be. I could drop it later if I needed to, though my plan was to make it completely airborne, and at least I knew where the boundary was.
In lesson 2 of Carving Hazelnuts I'd asked them not to create the final shape. All I need is just a preliminary movement, I said, and everything goes to the stem, with some parts of the stem higher than the nuts themselves.
If you're new to wood carving, First Cuts for Beginners is where I'd start you, and Carving Tool Sharpening comes right after it. Grapes and vines come back in Carving Grape Onlay and on the vase with grape leaves.
The vine isn't finished at the end of lesson 4, and the hidden one still waits for the back of the tray. Lesson 5 is where the course goes next. Want to see every pass, with the class asking their questions as I go? Access opens all eight workshops of The Tray of Blessing and the rest of the school.
How it's done
- Mark the rim first. Redraw the line where the bowl ends and keep your tools off it, as I did. I called it a no-no area.
- Outline the vine. Outline it with a number 9, then excavate beside it for the relieving cut.
- Stop, then slope. Come to a stop at one spot and let a flatter tool slope into it from there. Repeat it the other way.
- Bring the leaf down. Lower the leaf a little, about 10 mm, and blend it into the vine.
- Keep room for that slope. When you go deeper, hold back the space the slope needs, the way I did.
- Hold the details. Leave every detail for later. Working on details loses you the overall picture, I said.
- Save the hidden vine. Keep the second vine for later, when the tray has been flipped and you can come in from the back.
Frequently asked questions
Which gouge started the vine's outline on the tray?
A number 9, ten millimeters across, which is close to 3/8 inch. Once it had gone all round the vine, I excavated beside it and named that the relieving cut, and only after that did the flatter tool begin any sloping.
Is there a second vine on this tray?
One more sits underneath, out of sight from the top. I said it would come in from below a little later, once the work moved to the backside, either as one vine giving two stems or as two separate vines, one over the other.
Is a skew with two bevels worth hunting for?
I call mine one inch, though it measures 25 millimeters, and both sides carry a bevel. Finding one is the trouble, which is why it stays off my tool list, but I told the class it's a really good tool to have if you can get one.
What to carve next