
Alexander Grabovetskiy, woodcarver, School of Woodcarving · Published 2025
How do you carve a handle into a wood serving tray?
Quick answer: A carved handle on this serving tray is part of the leaf, hollowed out from underneath. In lesson 6 of the Tray of Blessing I clamped the tray face down, undercut beneath the leaf with a number nine, kept 3/8 of an inch of wood for a hand, and thinned only the edge.
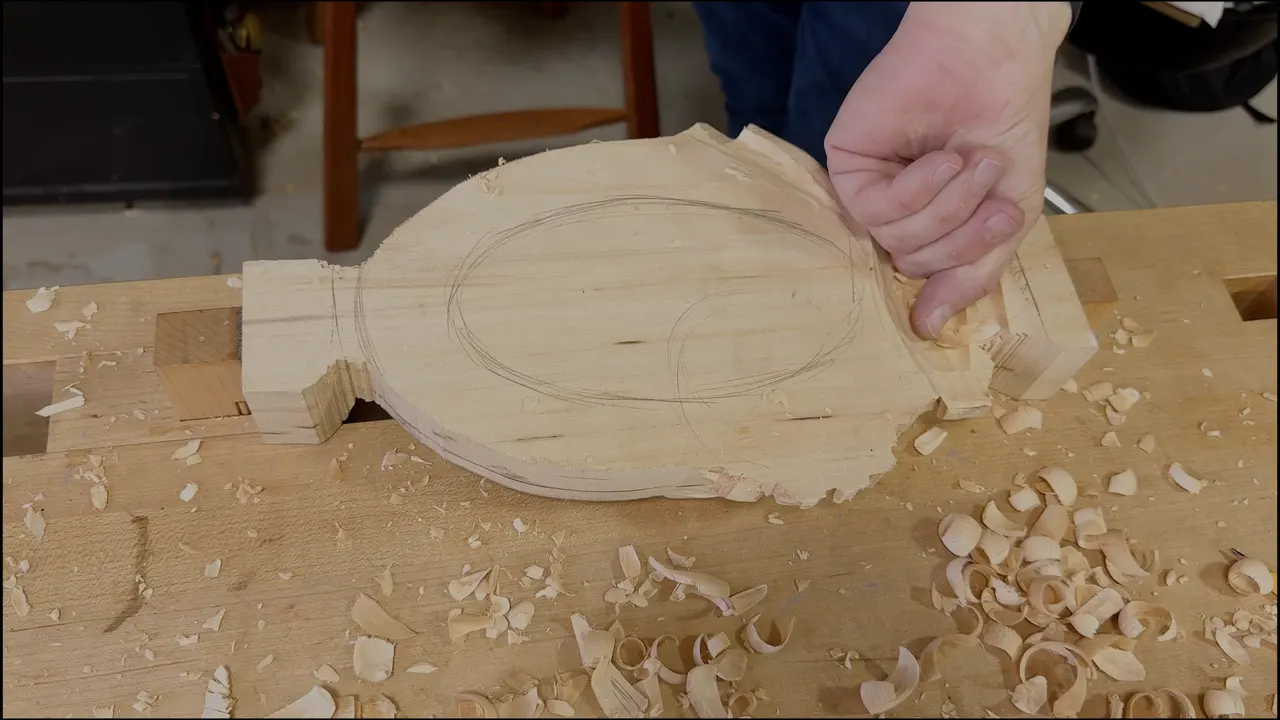
A carved handle on a wood serving tray, the way I made one on the Tray of Blessing, is a piece of the grape leaf that gets hollowed out from underneath until a hand fits under it. In lesson 6 I turned the tray over, clamped it upside down and undercut beneath that end of it. It's going to serve me as a handle, I told the class.
Have you ever carried a full tray from the kitchen to the table? Did your fingers go looking for an edge underneath? On this tray, that edge is the leaf. So a good part of this lesson is about leaving enough wood there for your fingers, and carving away the rest.
You'll get the thickness I kept, in inches and in millimeters. Then which gouges came out, where my fingers sat on the wood, and the one spot where I nearly made a mistake.
What the tray handle needed
It came out of the leaf itself, carved from the back while the tray sat clamped upside down on its old board.
About 3/8 inch of wood stayed in it, around 10 mm, so a hand can grab it.
Underneath I made room to grab it from below.
I talked about a slight inward twist and a valley.
From about 10 mm in, a smaller nine started a knife edge look that is only visual.
My pinky stayed down on the wood as a support point, and I checked the thickness again and again.
Where does a carved tray handle come from?
From the grape leaf, worked from the back. The leaf on this tray is a Cabernet Sauvignon leaf, and lesson 6 is the day the tray gets flipped. If the front is not done yet, I said, it's not a big deal. You're going to have a chance.
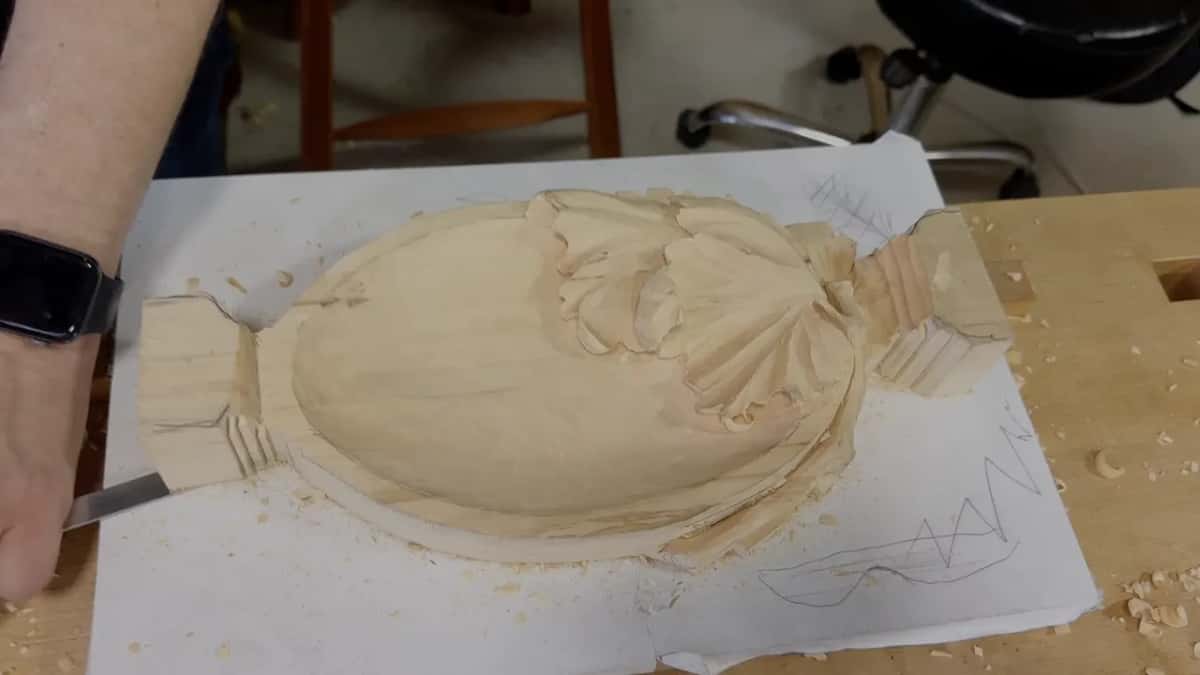
To take it out I'd use a flatter gouge, I said, or even better a number one, along the grain and not from the side. See how clean it goes. That same board stayed. I clamped the tray back down onto it, upside down. I don't want to see anything in my face, I said, and I don't want to hit.
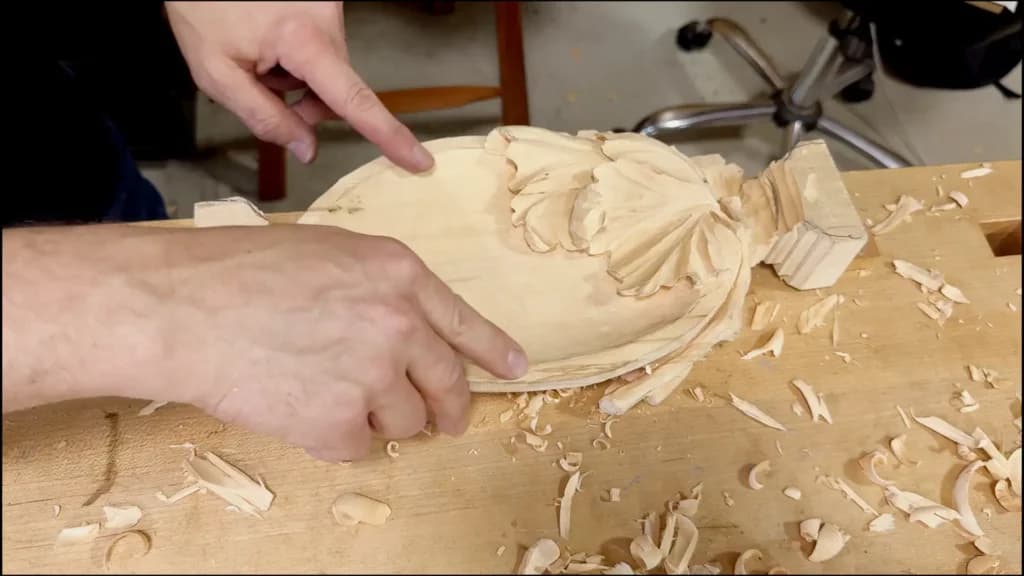
Back in lesson 2 of this tray I had already called that area a handle and left it high. Earlier lessons hollowed the inside of the bowl and put classical rules into the leaf, and a vine went over it in lesson 4. Lesson 6 is where I took away the wood under the handle.
Before the flip, while the front was still up, I added one more small curl to the leaf. That followed the law of repetition from the ten rules of design. Same detail, smaller scale. Number nine and 10 millimeters, the same tool as the day before, and I said to make sure the twist is not as huge.
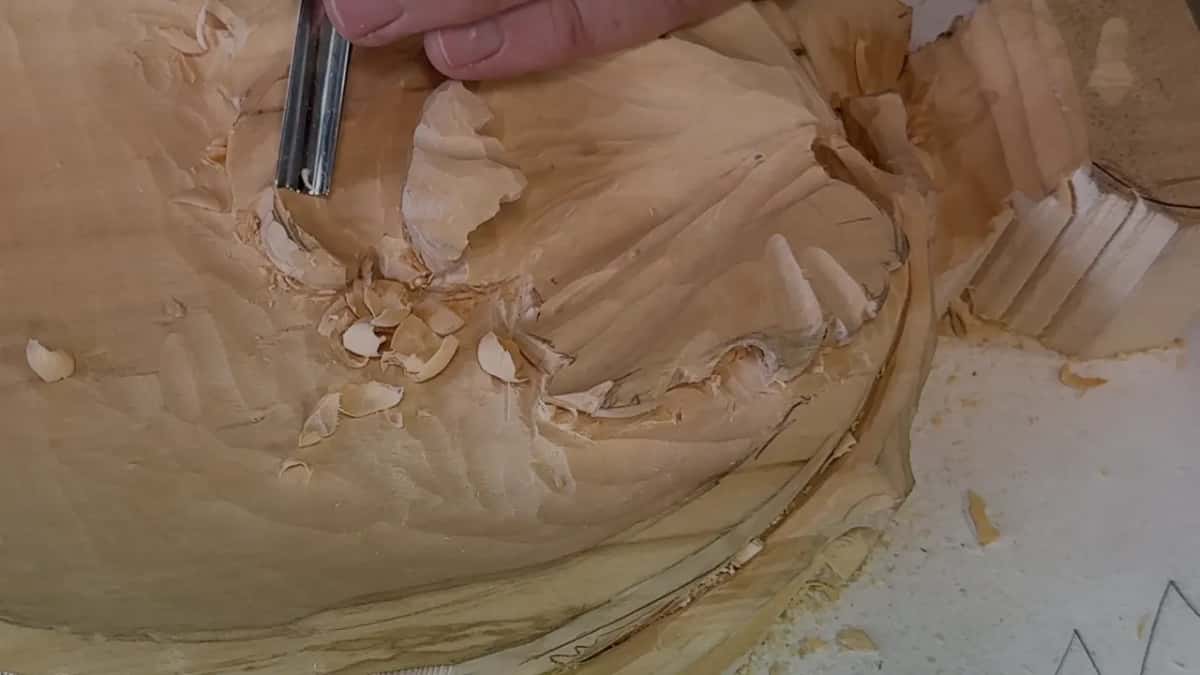
What gets marked and kept on the back first?
Three things, before the handle is touched at all.
First the rim. It stays about 3/8 of an inch, maybe 10 or 11 millimeters, and I said I can always take more later. You can measure it if you wish. I'll just eyeball it.
Next, the bottom of the bowl. It stays flat for now, a not touch zone, because later on we're going to use it again to glue it back. That way it's stable enough, and it's flat. You could excavate it slightly later, I said, but that's for later.
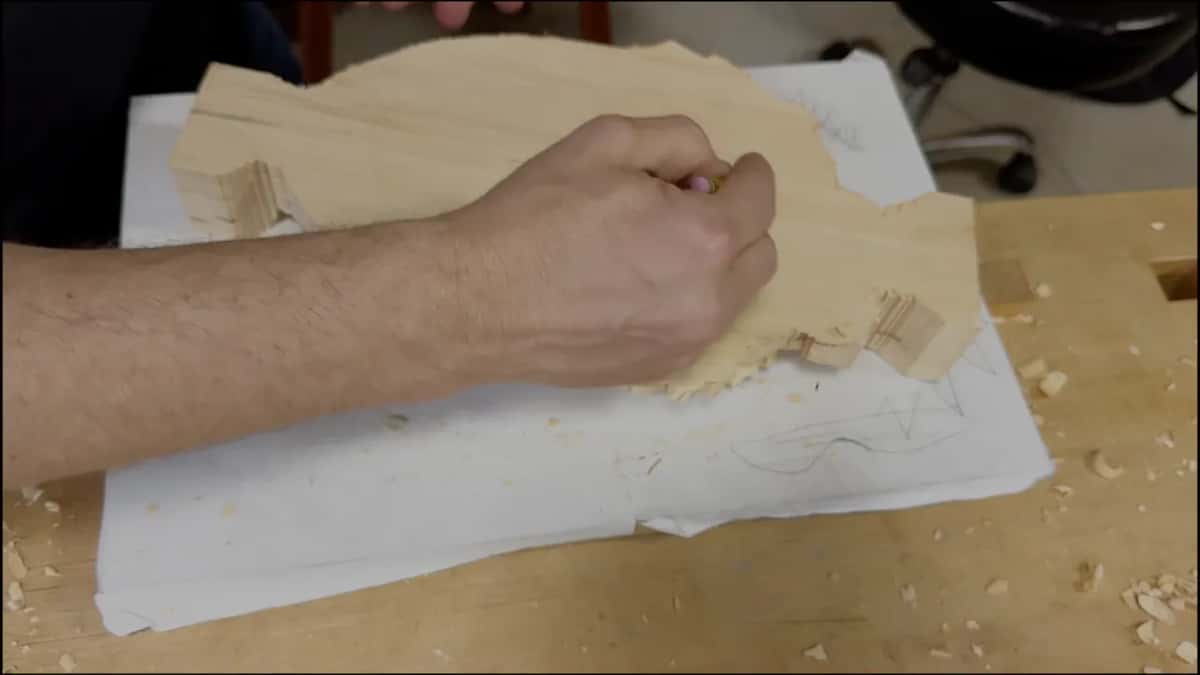
Third came the second stem. It goes toward the second leaf and hides. Most of it will be gone, and all I'm after is a partial illusion, a little bit of it sticking out.
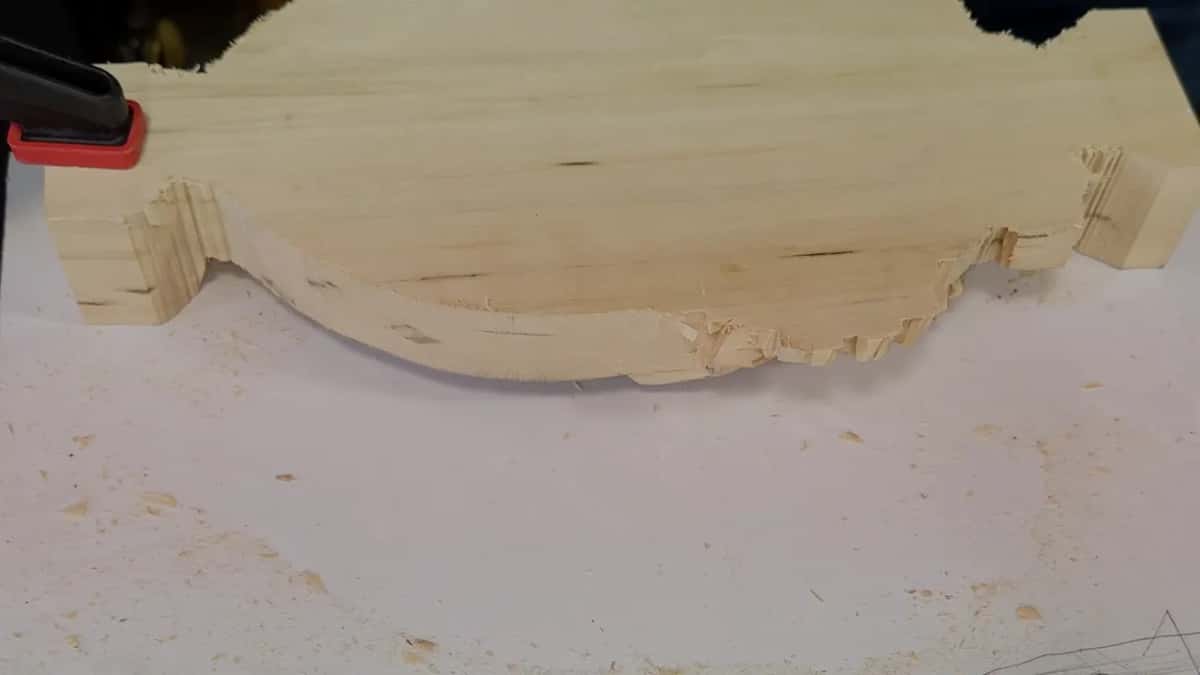
After that the undercut under the leaves began. For now I kept about one eighth of an inch there, about 3 mm or so, maybe less, because I can always clean that later. Now I don't wanna overdo it. One spot I chamfered toward the line, so later it would be easier to take out. I didn't want to lose the leaf either, and I double checked where it was. Right on the money, right on the line.
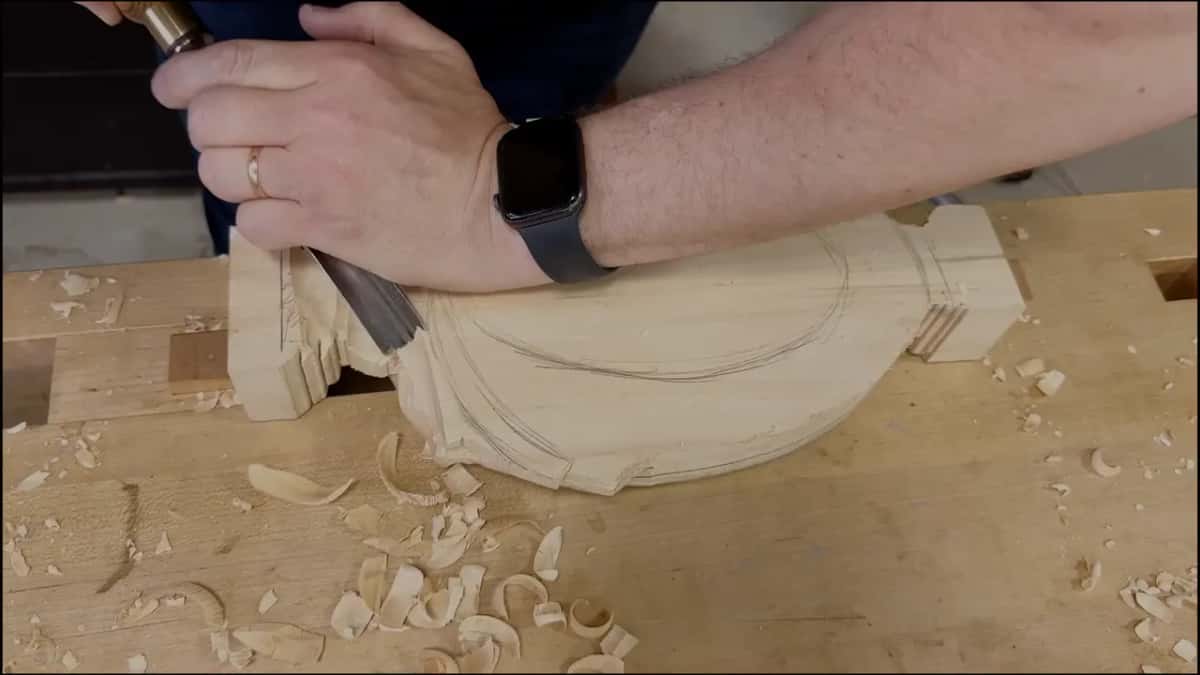
How thick do you leave a tray handle?
About 10 millimeters is what I kept, which is three eighths of an inch. This is going to be your handle, I said, so you don't carve more, and you keep that meat so you can grab it with the hand.
I'm not sure if it's clear or not, I said. I want to make sure you do understand what I am trying to explain.
I had said the same thing earlier. That was when the undercut under that piece started, and the main thickness would be three eighths of an inch. By the end the very edge gets close to a knife edge, almost, but the 3/8 stays, just because it's like a handle.
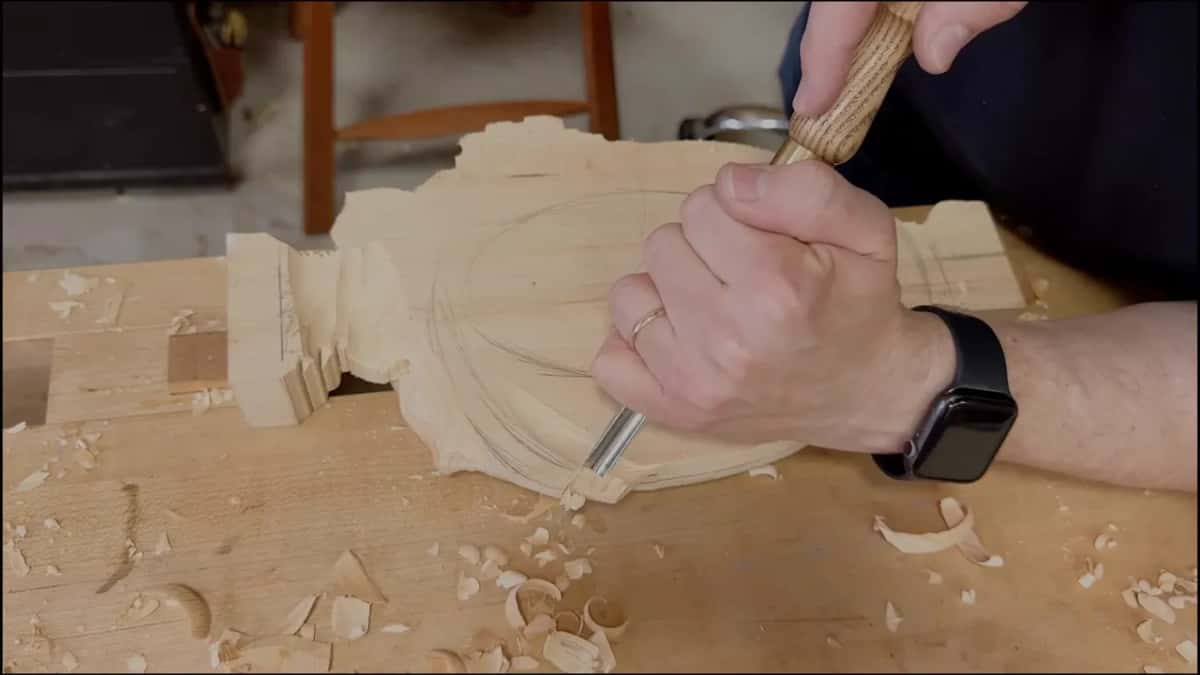
In the next part I said ten millimeters could go all the way to half an inch, about 13 mm. It's not a big deal.
Not that much work, either, and more like chopping on day one.
How do you hollow under a handle so your fingers fit?
Carefully, working outward, until there's room for a hand to grab it from below.
The tool was the same one we used on day one, a number nine of 20 millimeters, about 3/4 inch. On an undercut I go from the center toward the outside, the opposite of the front, where we worked from the outside in. See how solidly I place my hand, I said. That is the key.
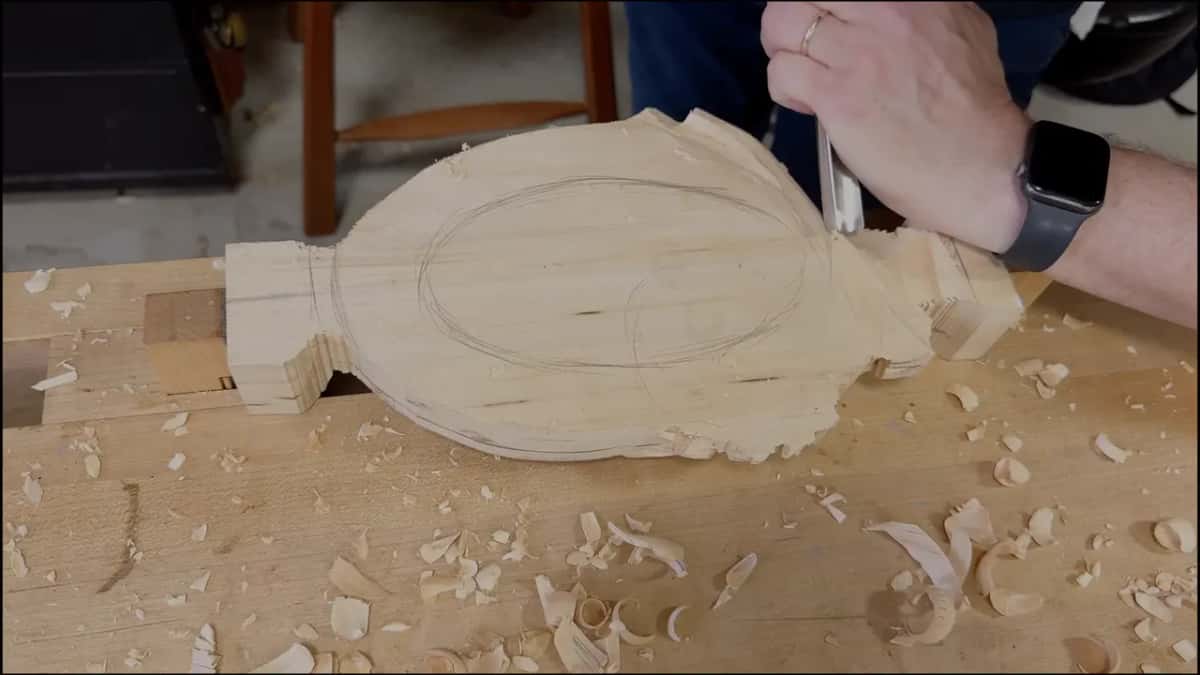
Across the grain, carefully, carefully, I excavated all of it. I kept an eye on how much material I was leaving. I never push. I always scoop it out with a rotation motion, slicing.
That's probably enough for me, I said. I'd just create enough for the hand to grab from below.
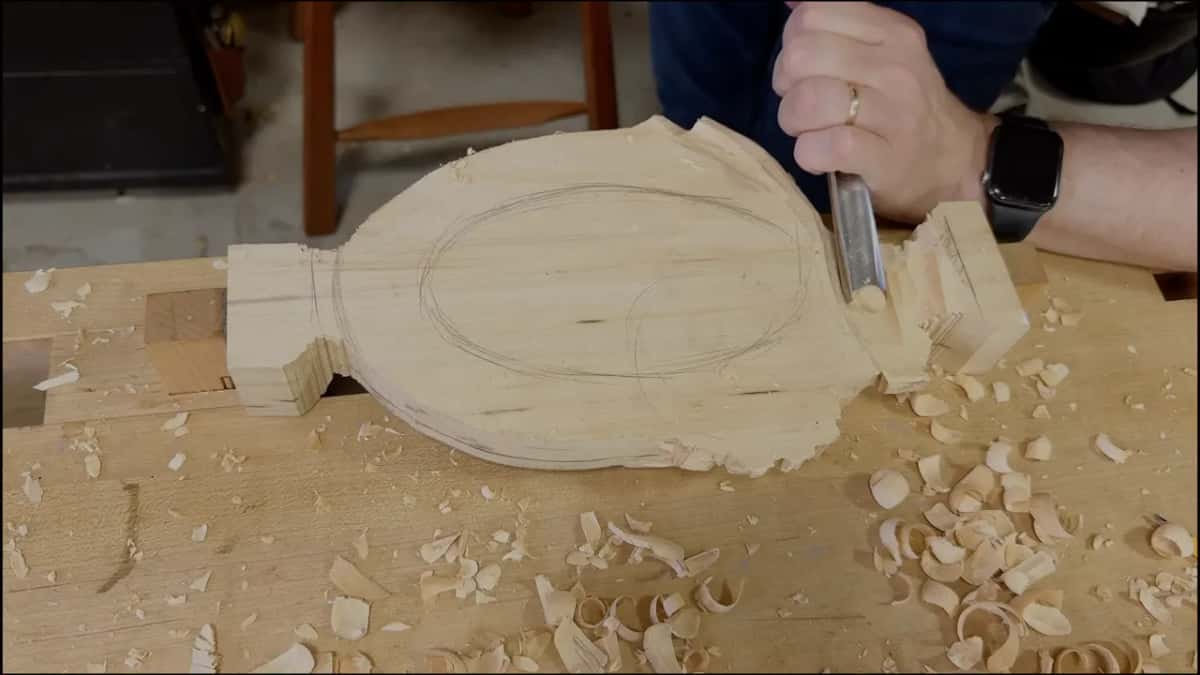
Maybe I'm going to twist this guy slightly inward, I said, while I was thinking about how I'd put my hand on it. Pretty much I'm creating the handle.
What else can I do in the center of that handle? I kept checking how much thickness I had, and I had plenty right there. I can create some kind of valley, I said, and that way it'll be even more comfortable.
These are the tools I named for the handle and the back, in the order they came up.
Tool | Work | Said |
|---|---|---|
Flat number one gouge | Took the tray off its board, working along the grain | That is why I really like it |
Big number nine, 20 mm | Hollowed beneath the handle, working outward from the middle | Same tool as day one |
Smaller nine, 10 mm | Started the thin look roughly three eighths in from the edge | Still have a thickness |
A chopper | Took most of the waste off the back of the main bowl | To save you time |
A 3 mm number 11 | Undercut inside, held at exactly the angle of the pass before | Grain direction runs that way |
Micro tool, half mm | Gets the junk and the fuzziness out after the bigger gouges, I said | One millimeter in your case |
Why does a thick handle look paper thin?
Only the last bit of it is thin.
Roughly 10 millimeters back from the edge I picked up my smaller number nine, the 10 mm one, and started that knife edge look. It's going to look like a knife edge, I had told them, but still have a thickness.
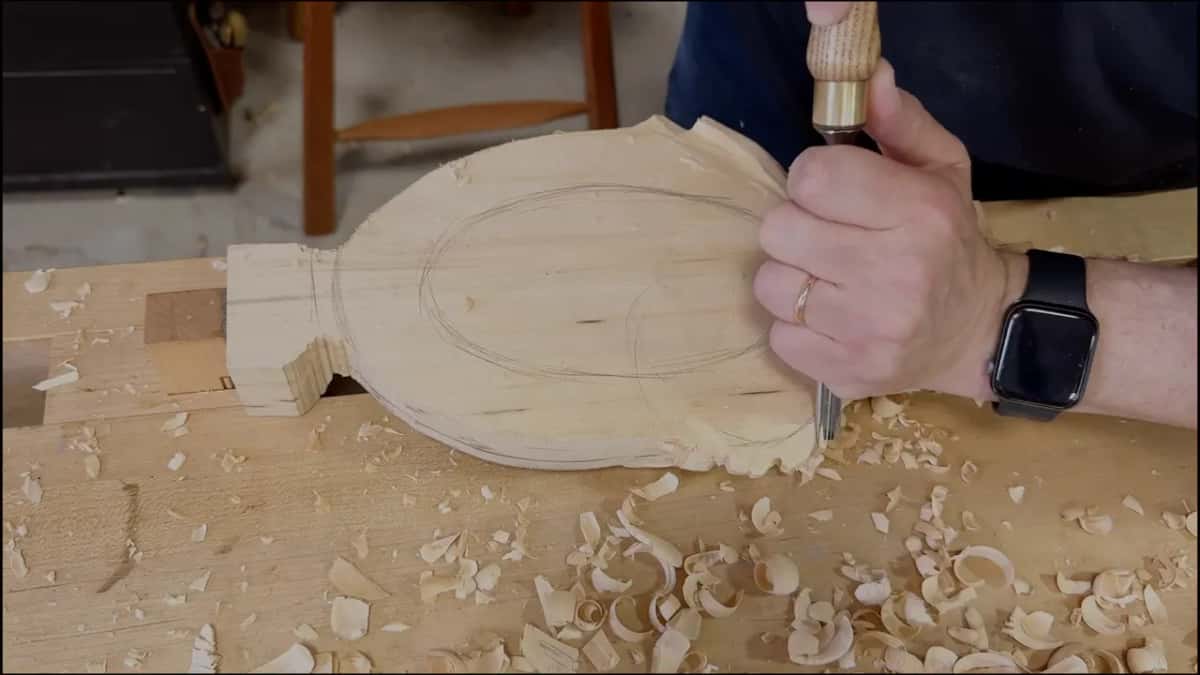
Don't stay too deep inside, I said in the next part, or it gets too fragile and you'll be able to break it. I stayed about 10 millimeters and then carved up to the edge. That way it looks really thin, but it's only visual.
Take a look. It looks really fragile, but it's not. Maybe a little too low, I said, and maybe I should keep it a little higher. But that's fine.
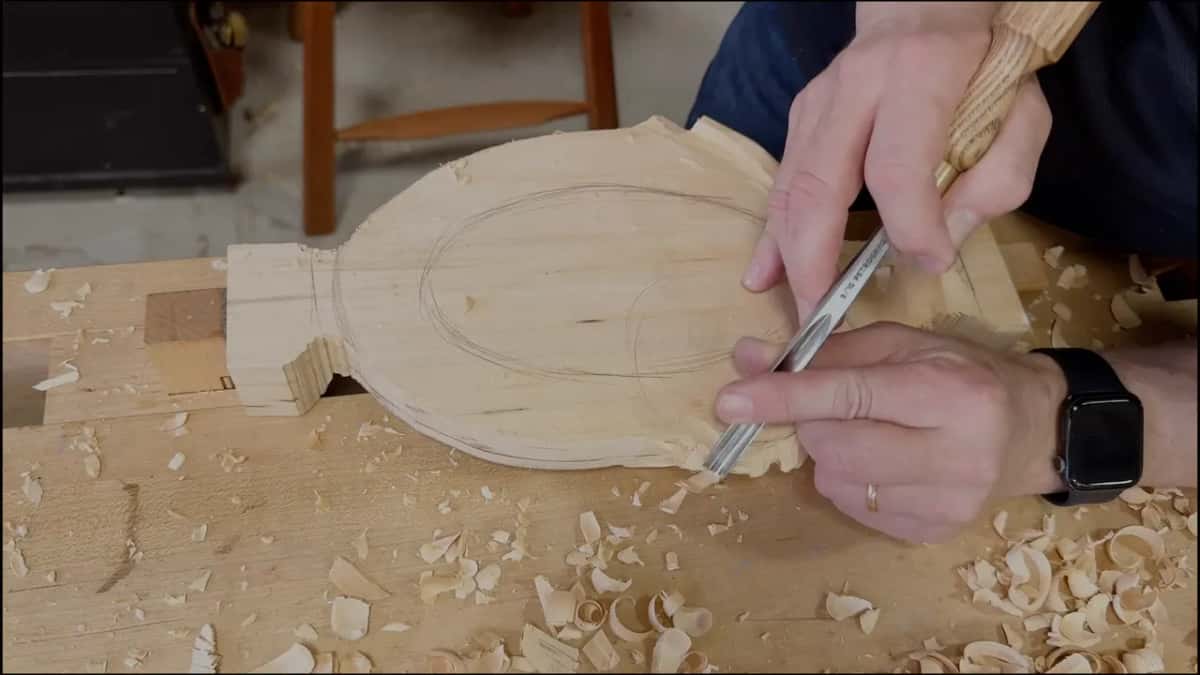
If this were a decoration for a wall, I'd do an extreme undercut. Not on this one. This one's gonna be a practical use thing.
For the back of a carving that really is fragile, my Techniques lesson has a simple tip on back cutting.
Where do your fingers go when you carve a fragile edge?
One finger stays on the wood as a support point.
Keep an eye on how I'm changing the position of the tool, I said. On a more fragile part, the less I have to take off, and that gives me more control. I still put my pinky down as a supporting point, and that is really important. Either the pinky or you can do it this way, I said, and you go pretty much all the way through the edge.
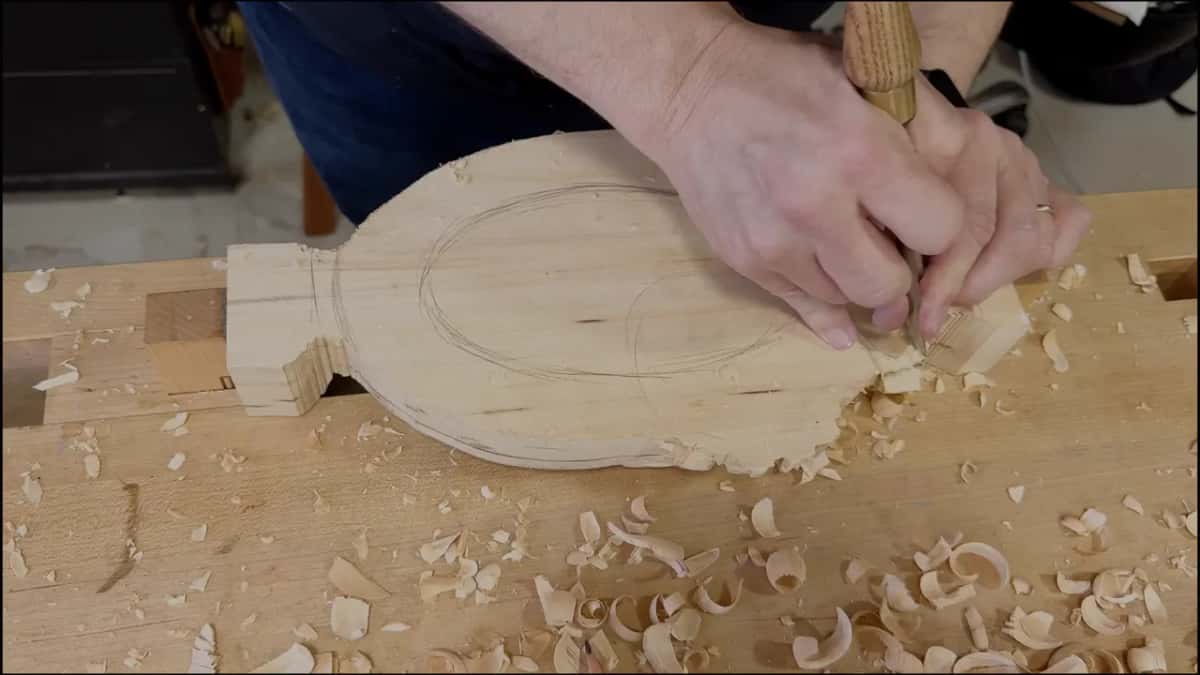
Marking the rim earlier, I used my middle finger. I butted it against the edge and used that as a guide.
On the front of the leaf, before the flip, the middle finger of my left hand had another job. I placed it to protect the wood, in case I slip somewhere. I think it's a more comfortable way to hold the tool, I said, in that case.
What can go wrong when you carve a tray handle?
Rushing.
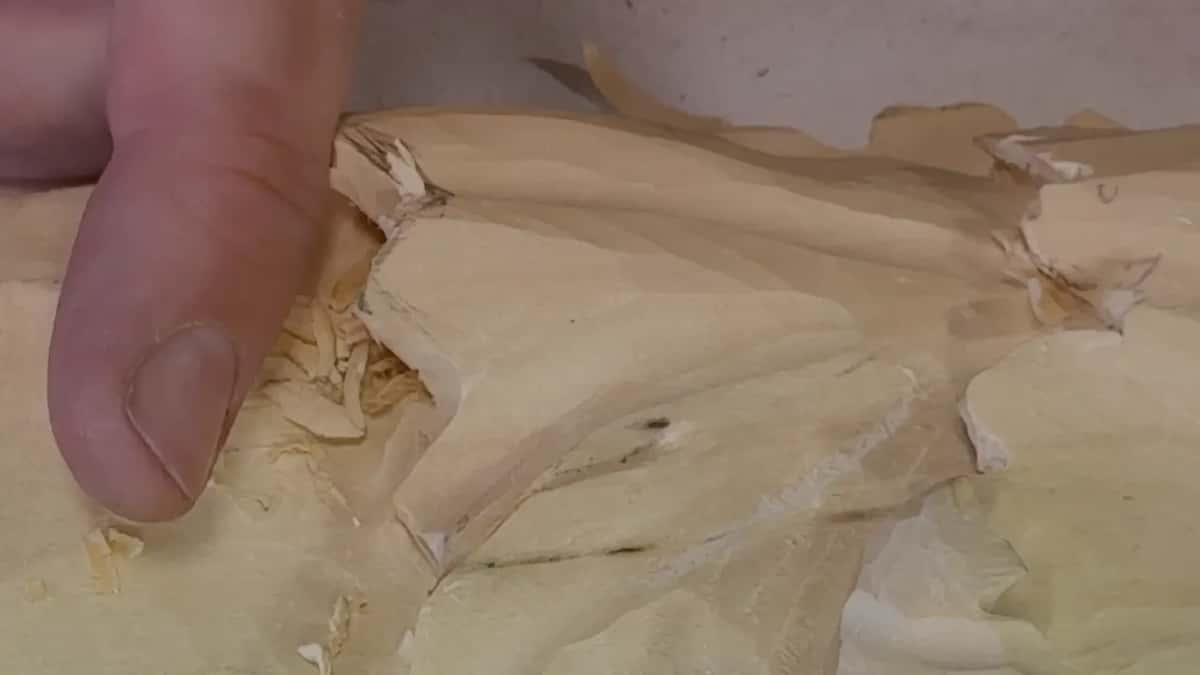
Let me double check, I said partway through the undercut, because I don't wanna lose my first one. I have almost made a mistake, so I've got to check that multiple times. Too much rushing.
The same warning came back at the handle. Just make sure you check how much thickness you've got. What I'm trying to say is, don't be too excited when you're carving like this.
Before the handle part, working on the vine, I said that is the time to work a detail like that, before you take those legs off. Once they're gone, you won't be able to lay it upside down.
Around the vine, later, I got into a danger zone. I could see I was catching that grain, so I had to change the direction I attacked it from.
What happens on the rest of the back of the tray?
Mostly rough work, and some more on the vine.
For the main bowl you can use the same number nine, 20 millimeters. To save you time I used a chopper. Approximately, that's how it's supposed to look, I said a little later. Take a look, it's becoming cleaner, and see how quickly I can remove that material. I could even use an axe, I said. I've done it in some of my videos, and if it's sharp, why not?
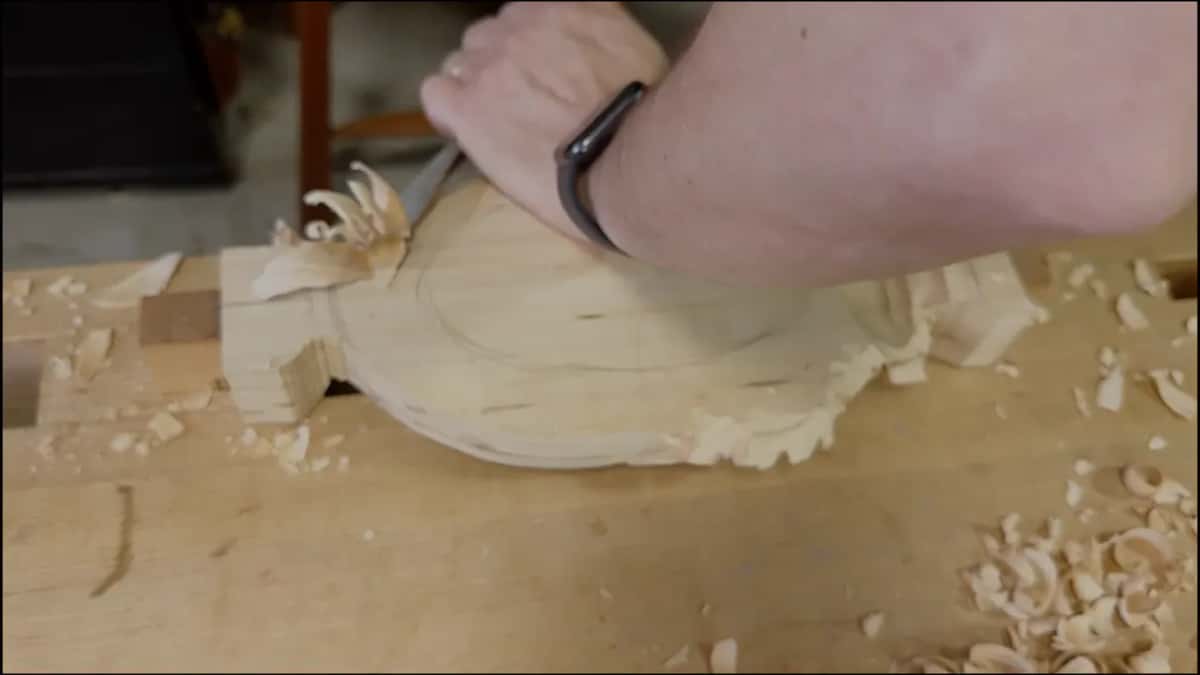
Then came the vine. I can excavate this section and make it look even better, I said. This one is gonna be sticking out, I said, and I have a connecting point right there. It should be okay.
With a 3 mm number 11 I set the tool at exactly the same angle as my previous pass and started undercutting inside. It shouldn't break, I said, because the grain direction runs that way. A number two came out on this side too, and that tool has a page of its own.
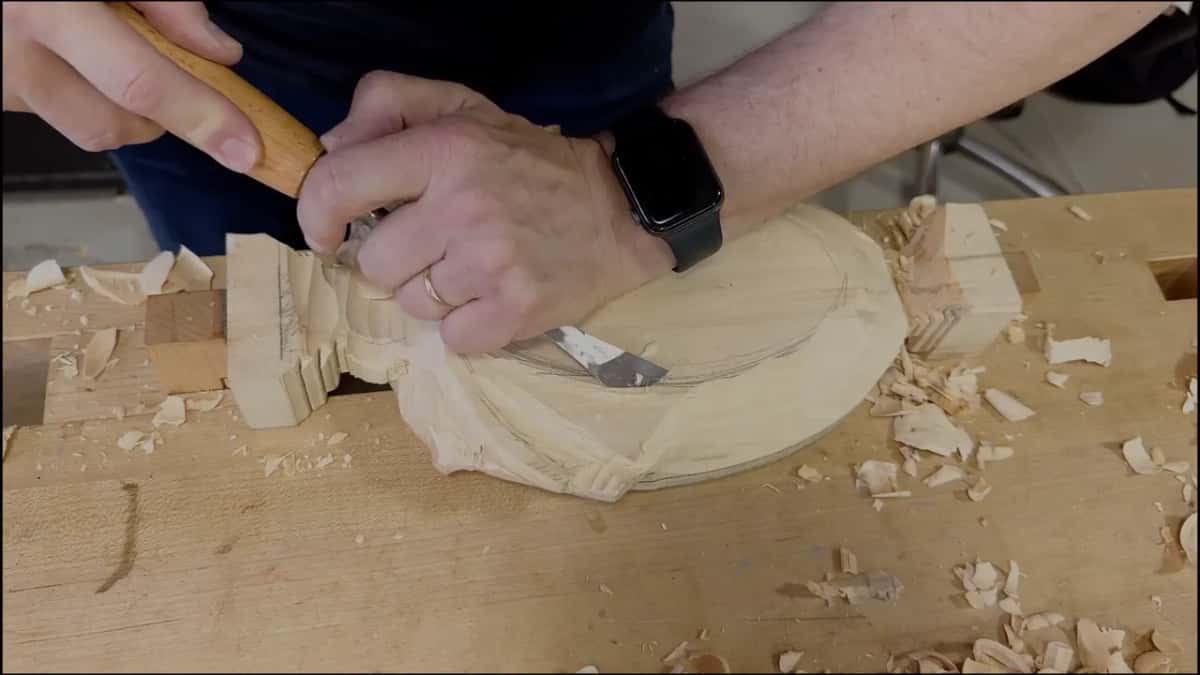
When you sit at a dining table, you sit from the side. From there, I said, it's supposed to look nice. See the beauty, I said. You can actually rotate it back and forth. That's why I said don't be afraid if you're not done with that.
With a 10 mm number nine I excavated from the backside, careful not to dip too much into the bowl itself, and it already creates the opening. The light is going to travel right underneath it.
I know it's a simple bowl, I told them, but it's gonna be gorgeous. I hope so. At least I always promise. Every project I do, I say it's gonna look gorgeous.
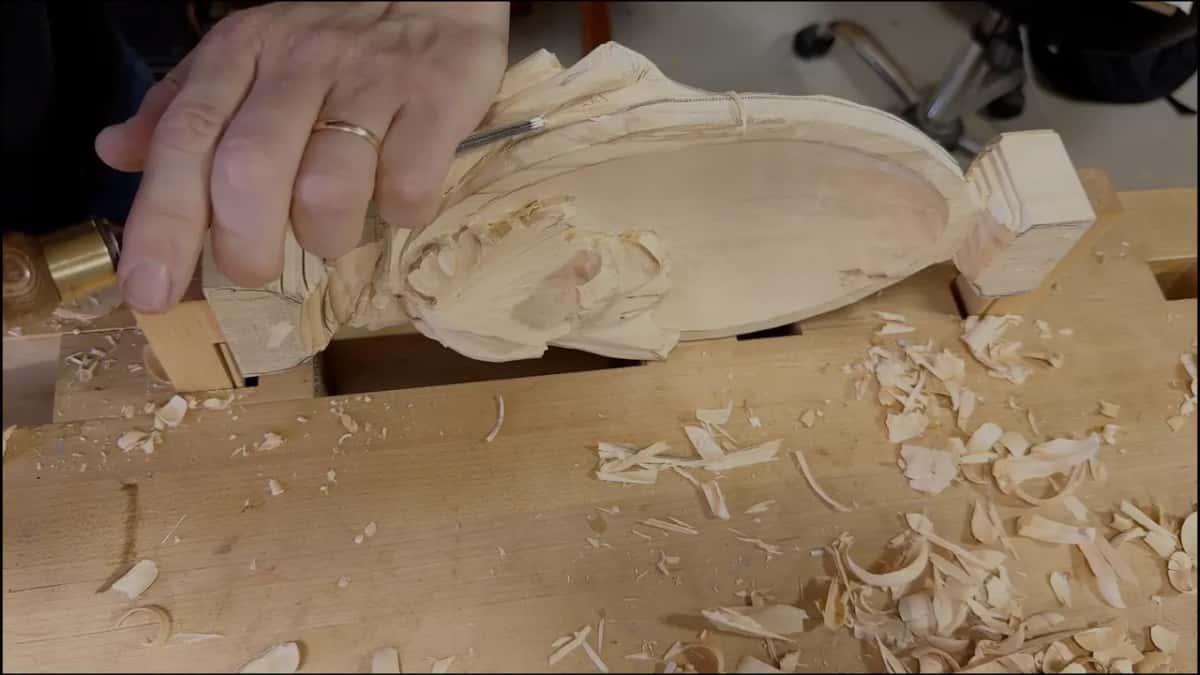
To get the last junk out you use a micro tool, half a millimeter, or one millimeter in your case, I told them, since that was the size on the list.
Keep flipping it. Sometimes you carve from one side and you don't really see what is going on on the other, so it's always better to flip and check. There's a page from the Venice Room about carving a part you can't see.
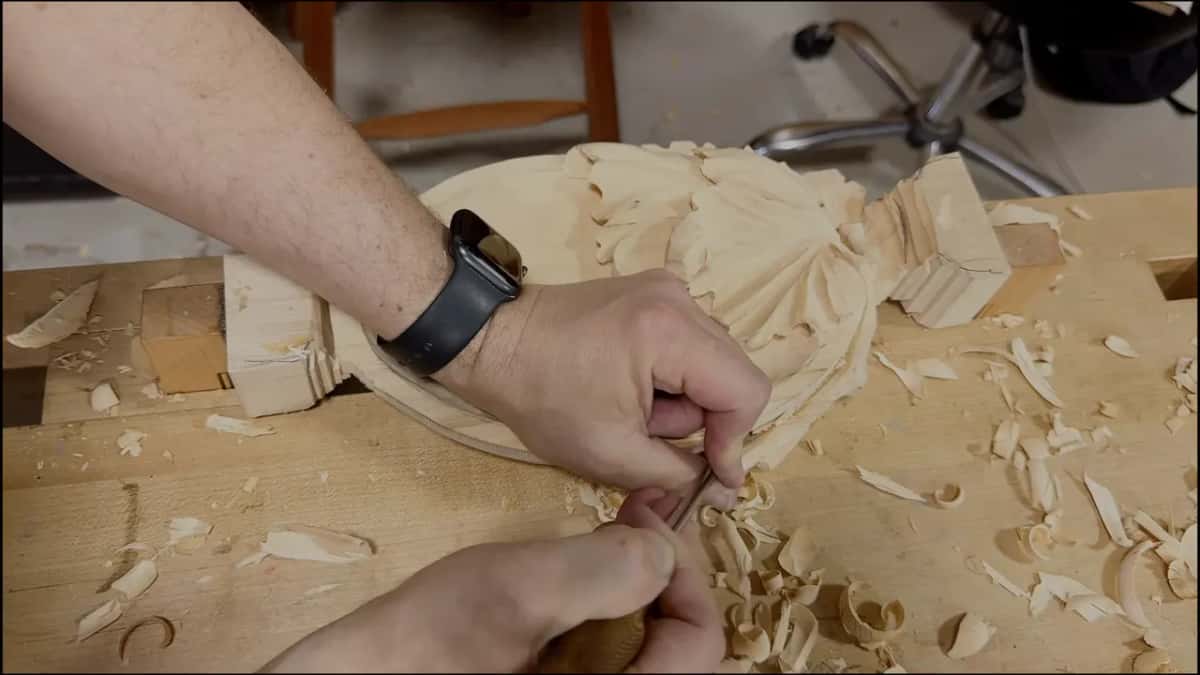
This part is the backside of the project, and it shouldn't take too long. Don't overwhelm yourself with the backside. Just get approximately that shape.
Can you carve a handle like this into your own tray?
Have you ever picked up something carved and felt where your fingers wanted to go? That place is what I carved in this lesson, carefully, with a lot of checking.
Every lesson of this tray course is open with Access, and this is the one where the leaf becomes something your hand can hold. If you've never held a gouge, First Cuts for Beginners is the course for that first one.
How it's done
- Free the tray and turn it over. Lift it from the board with a flat number one gouge, following the grain. Clamp it back down to that board upside down.
- Mark the rim with a finger. Butt your middle finger against the edge and use it as a guide for a rim close to 10 mm wide. Measure it if you wish.
- Keep the bottom of the bowl flat. Leave it alone for now, since it gets glued back later.
- Undercut where the hand goes. Work outward from the middle with a number nine of about 20 mm. Leave a good 10 mm of thickness there for the grip.
- Make room for the fingers. Hollow enough space below for a hand. A valley in the middle makes it more comfortable, and maybe a slight twist inward.
- Thin only the edge. From about 10 mm in, a smaller number nine takes it toward a knife edge. Rest your pinky on the wood and check the thickness often.
Frequently asked questions
How thick should a carved tray handle be?
Around 10 mm, or 3/8 inch, was what I left in this lesson so a hand has something to hold. I also said half an inch would be no big deal. Only the last stretch at the edge came down to a knife edge.
Which gouges hollow a tray handle?
In this lesson a 20 mm number nine hollowed out beneath it, and a smaller nine of 10 mm gave the edge its thin look. Before any of that, a number one freed the tray from its board. A number 11 of 3 mm and a tiny micro tool came later, on the rest of the back.
Do you carve the handle before or after freeing the tray?
After. The piece came off its board first, then went back onto that same board, clamped upside down. I worked the back in lesson 6 while the front could still wait, since there would be another chance to finish it.
What to carve next