
Alexander Grabovetskiy, woodcarver, School of Woodcarving · Published 2025
How do you carve a leaf that lies over the edge of a bowl?
Quick answer: A leaf over a bowl's edge, on my Tray of Blessing, is one that lies on the bowl's ridge while the ridge runs on under it, invisible. Its height was my floor. I dropped one side, kept one part high for the fingers, and planned a stem below the ridge.
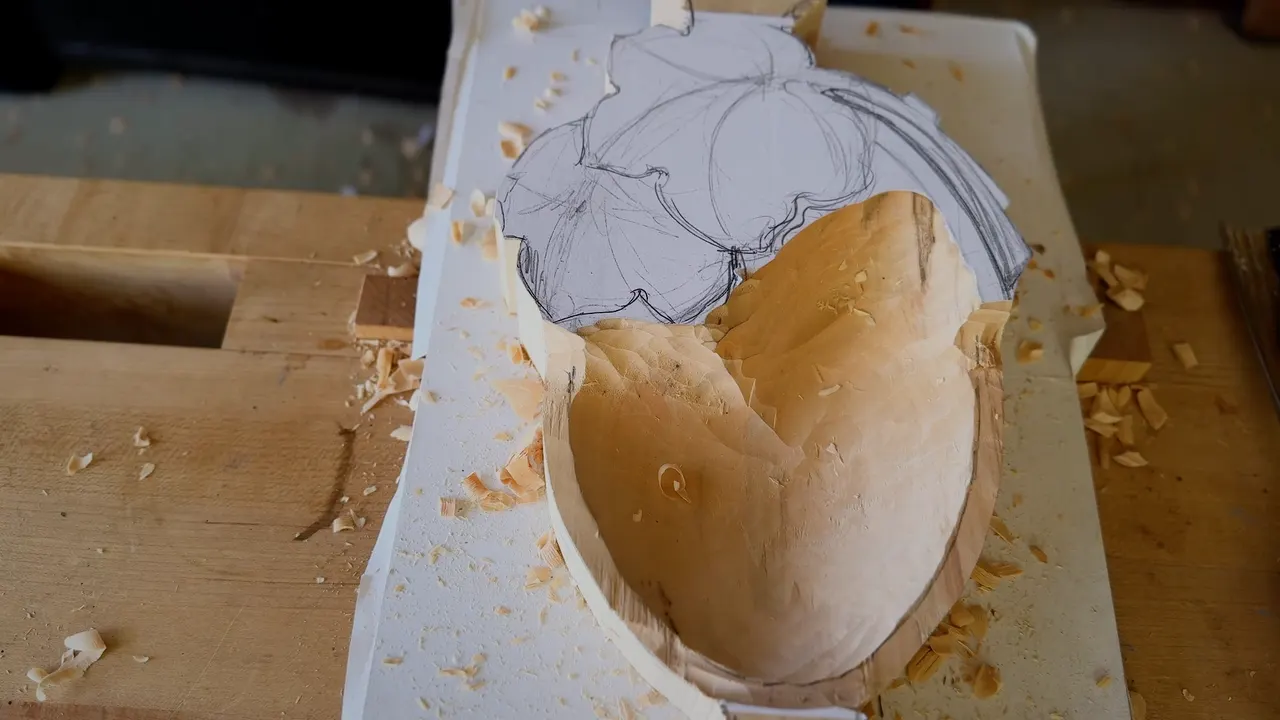
The leaf on my carved wood leaf tray lies on the ridge of the bowl, and the height of that ridge set how deep I could carve. The ridge runs on beneath the leaf, out of sight. Invisible was my word for it, and I still had to keep it in mind.
Want a leaf that looks as if it landed on the tray and stayed? Want one part high enough to get your fingers under? Then the ridge is the line to watch.
That was the job of the second workshop of The Tray of Blessing, a tray with a Cabernet Sauvignon grape leaf on it, filmed with a class. You'll get what I said there, the gouges by number and size, and the two spots I would not touch.
What the ridge decided on this leaf
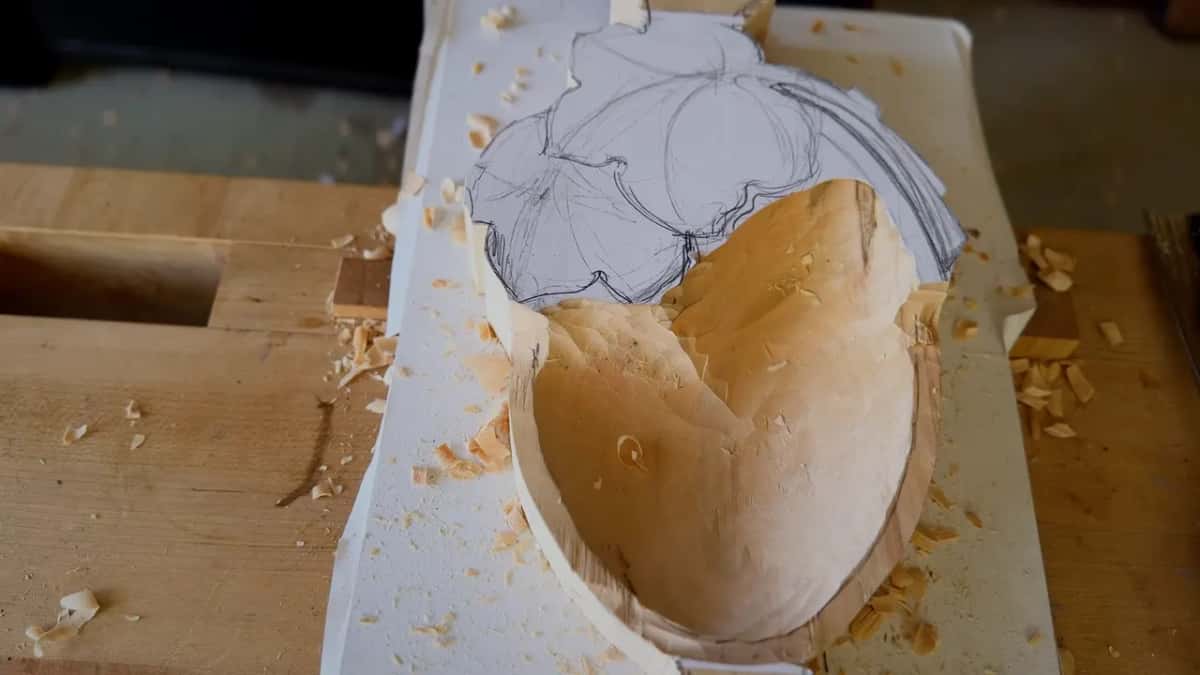
The leaf rests on the bowl's ridge, and that ridge keeps going beneath it.
Its height was my floor.
Each side I dropped was meant to fall a little and rise a little, not like a dome.
One part stays up, high enough for fingers.
Partway through, I said one part might go down past the ridge as the stem.
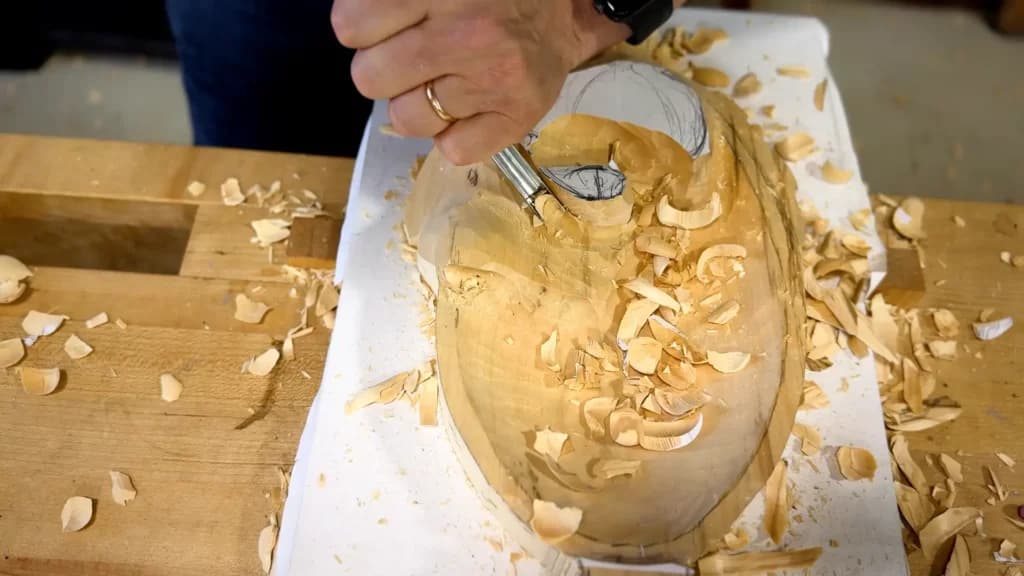
A number 9, 20 mm wide, did most of the digging.
What does it mean for a leaf to lie on the ridge?
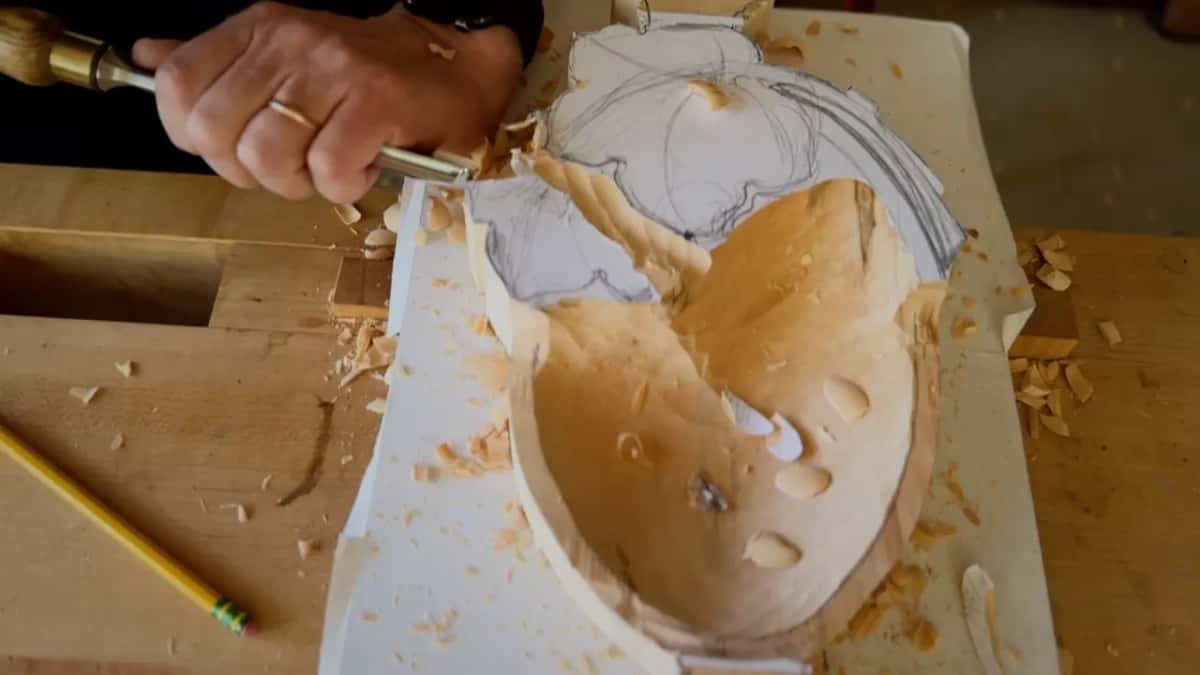
I asked the class to think of the leaf lying right on the ridge, with one part resting there and the second part falling slightly, then curving up slightly. On another part of the leaf, exactly the same was going to happen.
That drop has a limit. It would not fall like a dome, and we didn't want to drop it all the way, or it wouldn't look nice. The plan was to drop it, then raise it a little. The second side got exactly the same idea, with what I called an invisible curl.
Before any of that, this part had to sit lower than that one. And we would use the whole body of the material instead of leaving it lower and flat. Beside it lies the hollow of the bowl, dug out before this workshop.
Resting a leaf on flat ground is a different job, and I carved one like that in workshop 82 of the Venice Room.
When does the curl get decided?
On this leaf I left that open. At the start I said we could probably curl it up, curl it down, or just leave it flat, and that it depended on how we were going to do it.
What I did keep was space. I wasn't giving it a shape yet, only a preliminary one, because some kind of curl might come and I needed that space to do it. Maybe I'd watch how they did it, I said, and maybe we'd curl it something like that.
We could do it preliminarily, I said. Why not? Doing it right away, roughly, means you won't lose it.
A minute or so on, I told them to look. You should see how it develops. Later still came "See how it becomes something." And near the very end of the workshop, I was still deciding which side should drop. Maybe I should drop this side a little more, I said, because I thought it would look better.
Where does the ridge go once the leaf covers it?
It keeps going, under the leaf. My invisible ridge, I called it, and I had to keep it in mind while I carved that part. Later I came back to it out loud. "So that would be the ridge of the bowl."
I left enough wood above it, as much as possible, though I could always drop the ridge later.
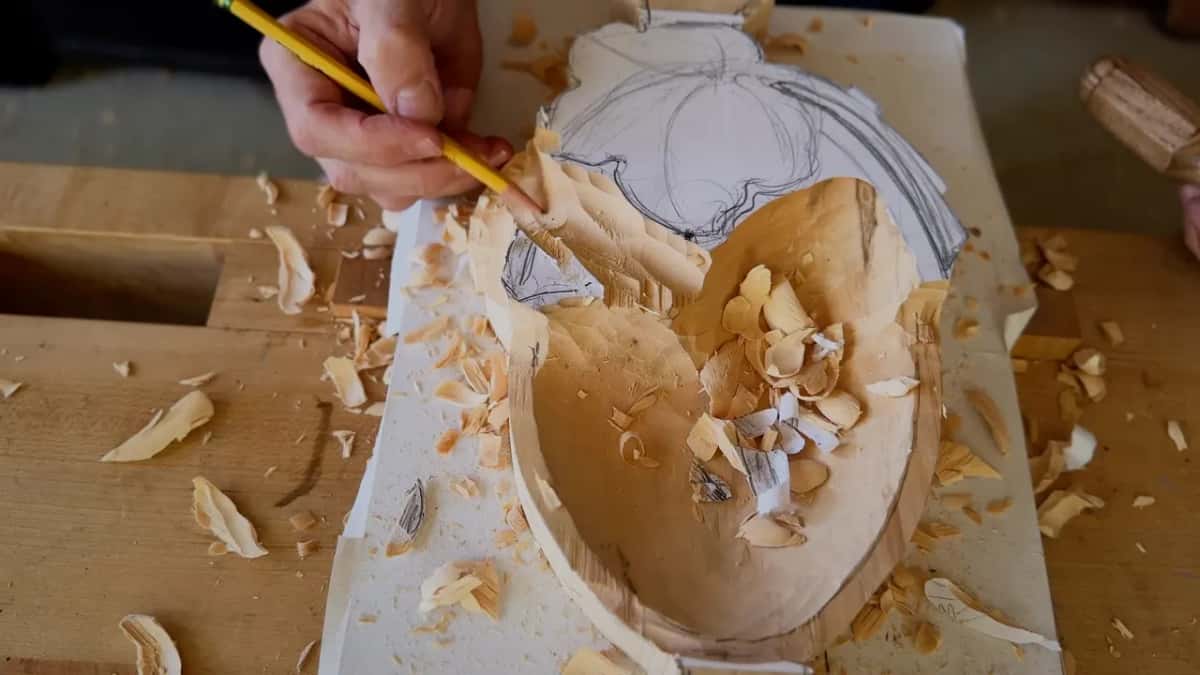
Once the details come, I'd grab a smaller tool and start undercutting really deeply. Then the leaf would look like it curls on its own, and it would still lay on that ridge.
One more part waits. It gets gouged out later, so you can see through, and it connects to those loops.
How deep can the leaf go on a carved leaf bowl?
On mine, down to the height of the ridge. "See the height of my ridge, it's approximately right there," I said. "So that means I cannot go deeper than that." Danger zone was my name for it, then no-no spot, and no touching was allowed.
A couple of minutes later I said it again, and once more after that. "I still stay away from that danger zone."
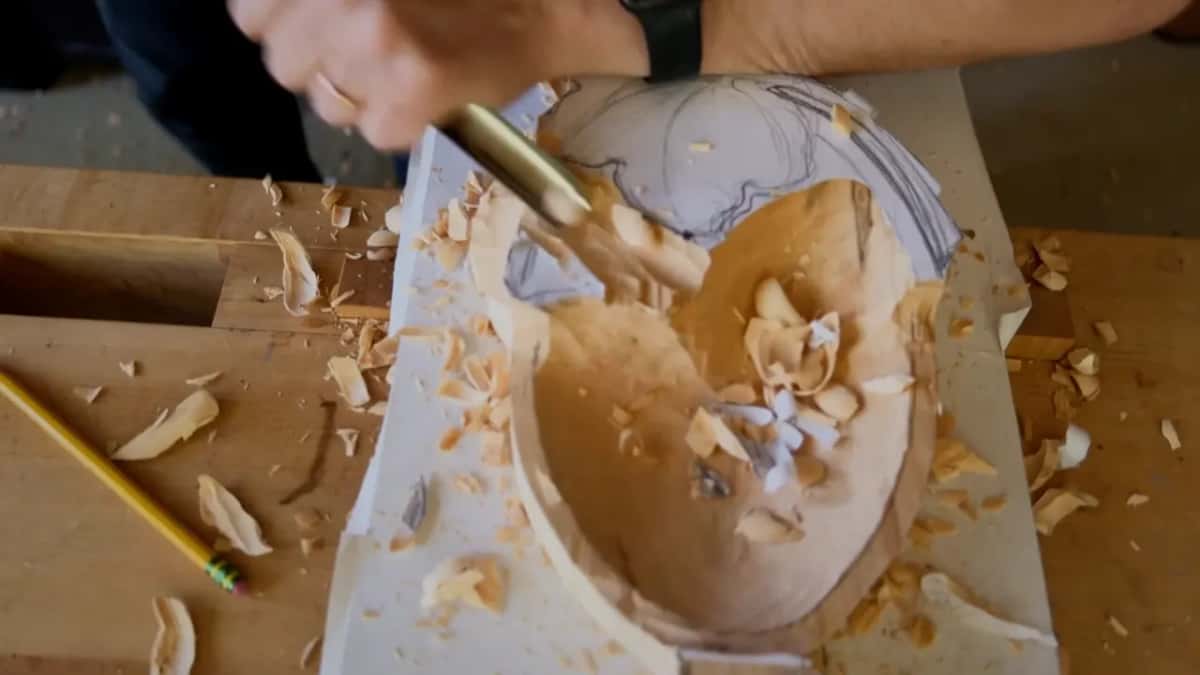
The depth I gave out loud for that drop was about 3/4 inch, 19 mm, below the surface. That was for one area, only part of it, and it came off bite by bite.
Where there was room, I said so. On the next side I was pretty safe, because I had plenty of space until that ridge, and I could probably drop it even more.
I wasn't afraid of losing the picture, either. As long as I stay pretty close to the line, I can bring that side back later, and around the flip I stayed slightly away from the line on purpose, since I can always come back to it.
I dug deeper here than I would on a wall panel, for the shadow, since a tray lies flat, maybe in your dining room, with the light coming from a window at the side.
Which section of the leaf stays high, and why?
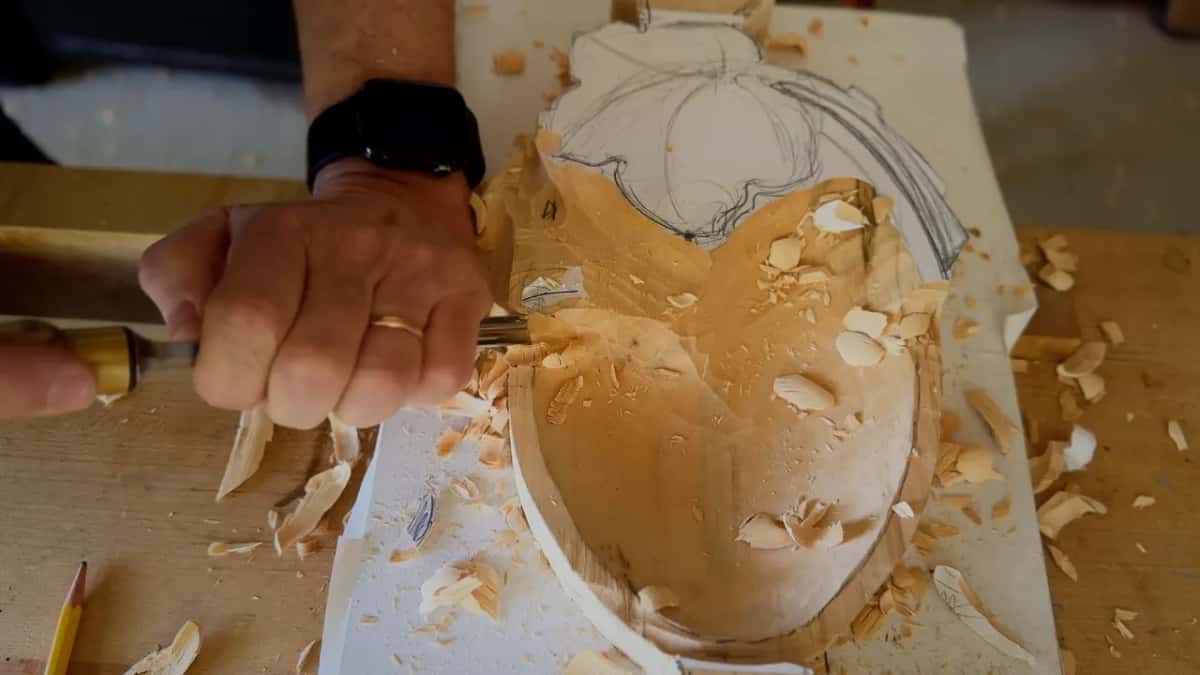
One part stays high because I planned to use it like a handle. "This one I'm not gonna drop too low," I said. "You can just take it and place it." When I asked if that was a good idea, someone at the bench agreed.
It would be high right there, and I thought it was a good height for the handle, for the fingers to get underneath.
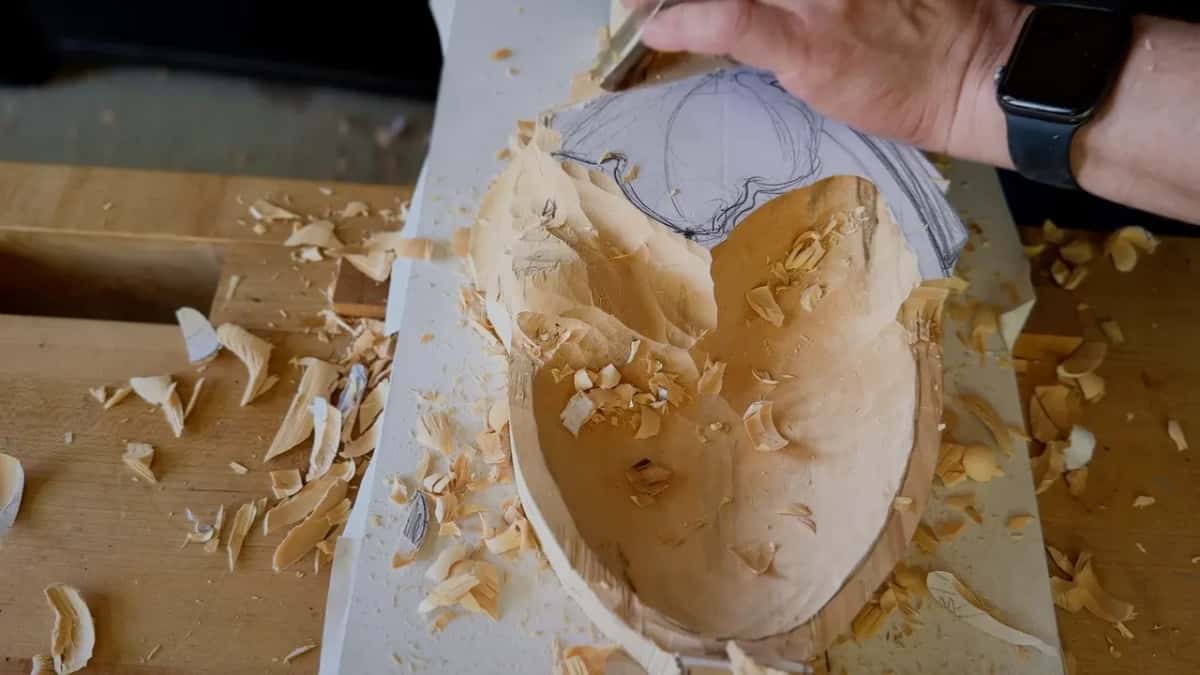
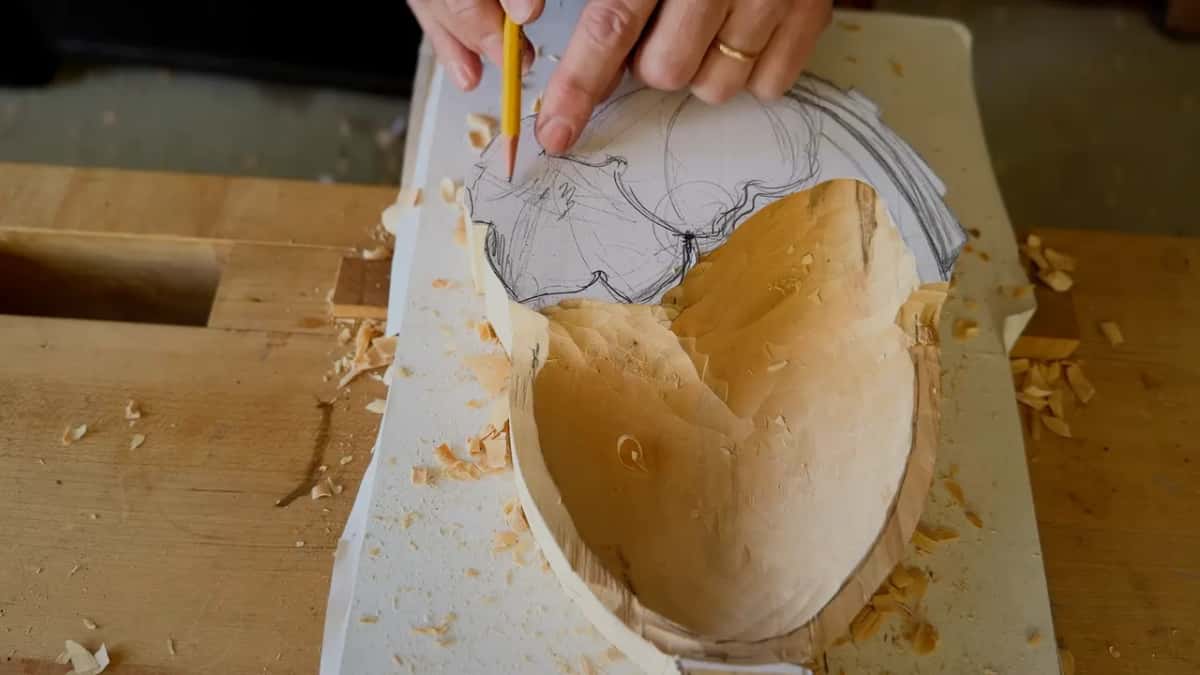
The first high spot came out of the drawing. Right at the start I went over a few points and asked if they could see the golden ratio, and that section of the leaf, I said, would be the main point and probably the highest spot. The rules behind that live in Principles of Design in Wood Carving.
In one spot I chose not to dig too much, though I'd still take some out. That part had to stay a little higher than the next, and I dropped the other way much more. Some of the paper stayed on top, too, so I'd know where my high spot was. Close to the flip, one line stayed somewhat high, and I pointed it out.
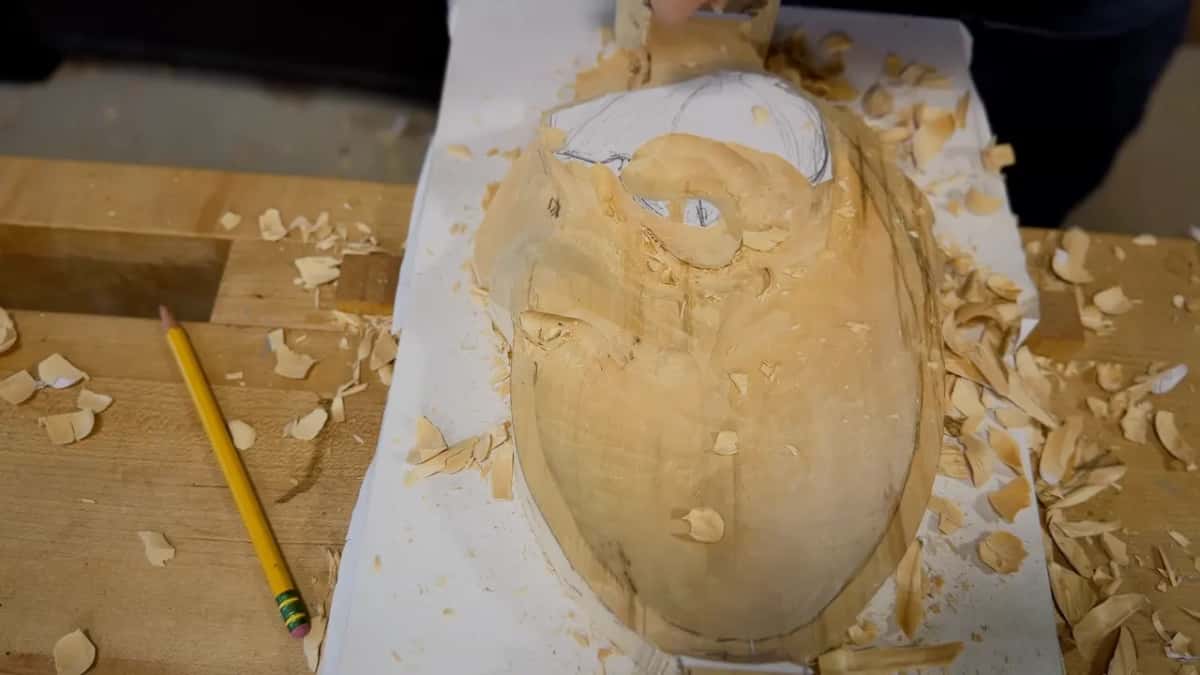
Why does the stem go under the ridge line?
I changed my mind as I carved. I had just said I'd outline that part right away. A little later came "You know what? Maybe not," and I said I might drop a part lower than the ridge, where it would be a stem.
That's what I do sometimes. I redesign right on the fly when I think it will look better that way, and then I have to be careful.
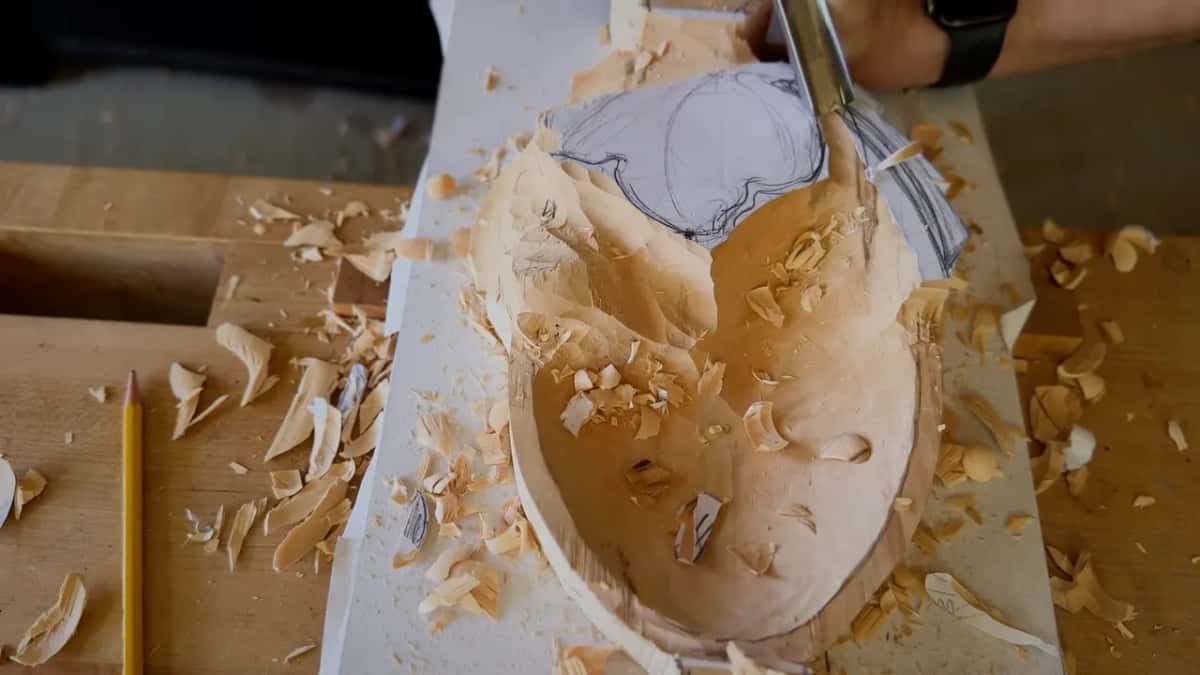
By the end of that stretch the class heard me say we didn't even have the complete shape of the leaf yet, since we had designed it on the fly, pretty much.
Which gouges did the digging?
A number 9 at 20 mm, three quarters of an inch, did most of it. The same tool pretty much all day, I said.
Where a curl needed room, I took the same sweep in 10 mm, three eighths of an inch, and made a preliminary cut right away. Then a number 2 put in the first preliminary curl, and a smaller tool came after it.
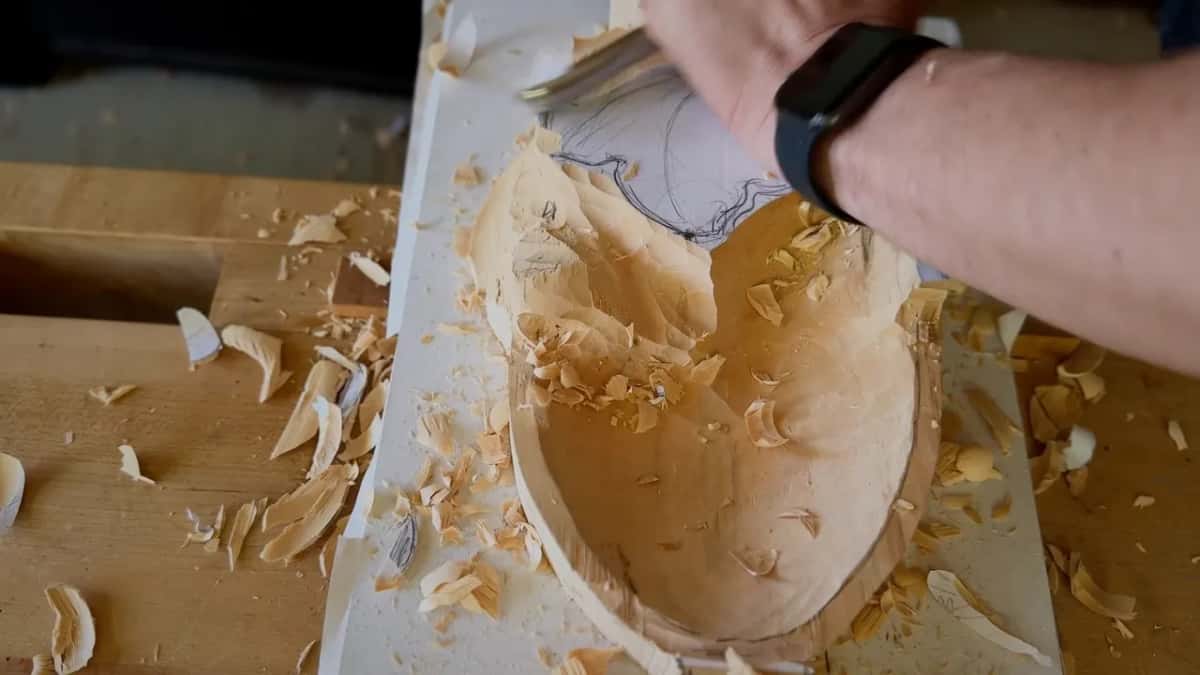
Around the flip I started from the back, though starting backward, the way we did before, is legit too. When I hit a roadblock there, a number 2 in 10 mm set the outline, and after that I had a preliminary idea of what would happen.
I rolled it underneath slightly with the number 2, safe with just that tool, though some people struggle to roll it.
Every pass was a slicing one. Even on the number 2, my hand wasn't pushing.
I showed the class my back stepping cut too, step back and carve, step back and carve, the way you would run a molding plane.
Tool | Job | Note |
|---|---|---|
Number 9, 20 mm (3/4 in) | Dropping both sides | The same tool pretty much all day, I told them |
Same 9 at 10 mm (3/8 in) | Space for curling | A preliminary cut right away, so I won't lose it |
Number 2, the size I didn't say | First preliminary curl | The curl would just curl on its own, I said |
A 10 mm (3/8 in) number 2 | Setting the outline | Right before the 10 mm number 9 went back in |
Why does the far end of the leaf turn the other way?
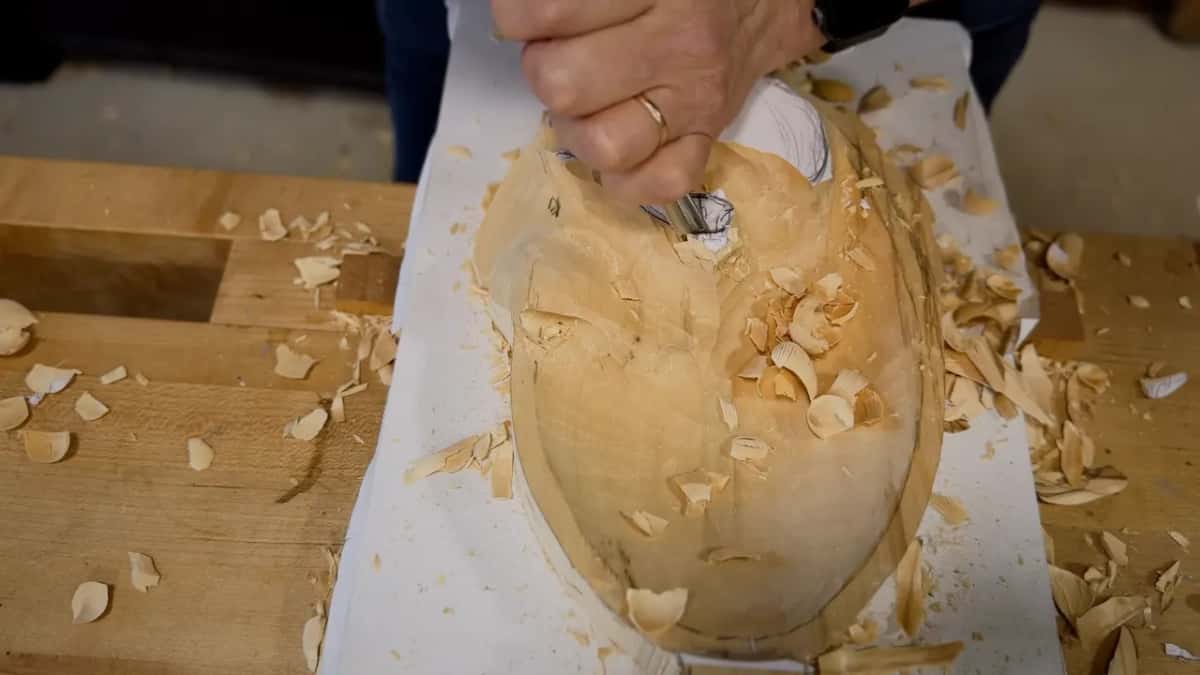
I saw a diagonal in it. Three spots on that part lined up on a 40/60 rule, still kind of on a diagonal, and that meant I could freely bring in the opposite movement. Upward was where it would curl.
There was plenty of wood there for a high spot, enough to dig around it and make it flip. I wanted it to flip to the side as well as up, and I might even turn it a little the opposite way. "You're gonna love it," I told them. "See that flip?" I asked later, and I hoped they did.
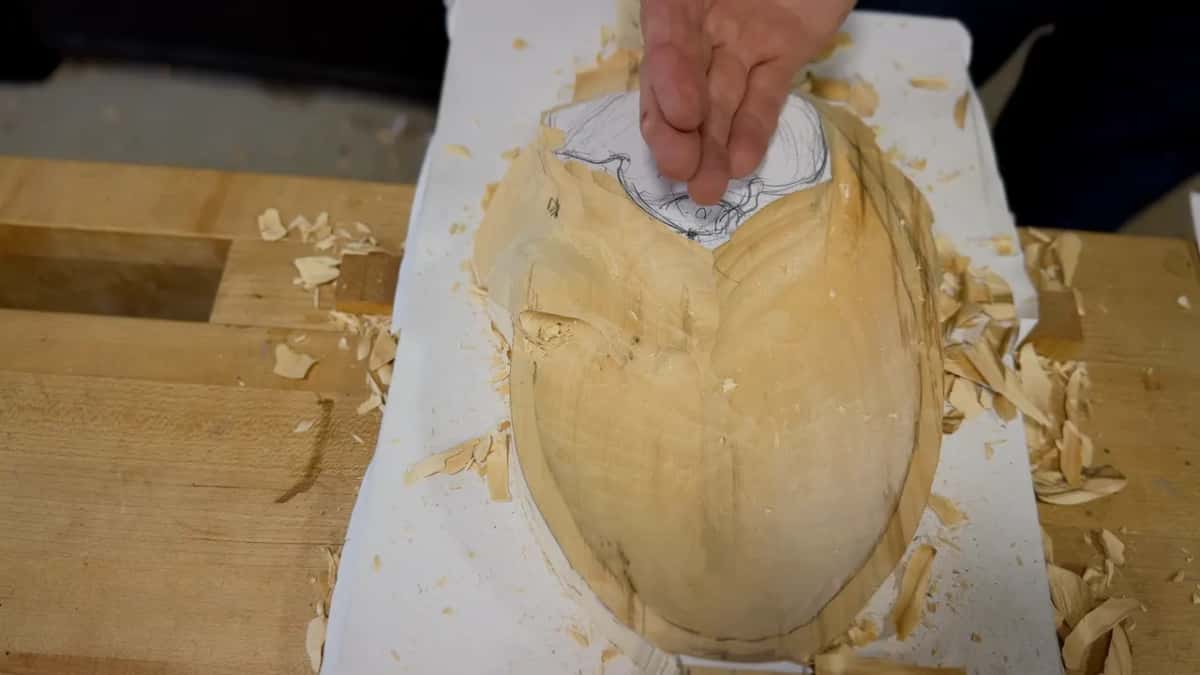
The flip was to be about 20 millimeters, three quarters of an inch, and I liked it because it gave me a really good shadow. What I said about undercutting it too soon is on the page about a preliminary undercut.
The more movement you put in, I said, the more organic it becomes. A twist, down on one side and up on the other, was the job on my Venetian rosette.
Toward the end I asked what you do if it fights you. Flip it, and attack from the opposite direction, so I turned the tray around and came at it from the other end.
Why stop before the leaf looks clean?
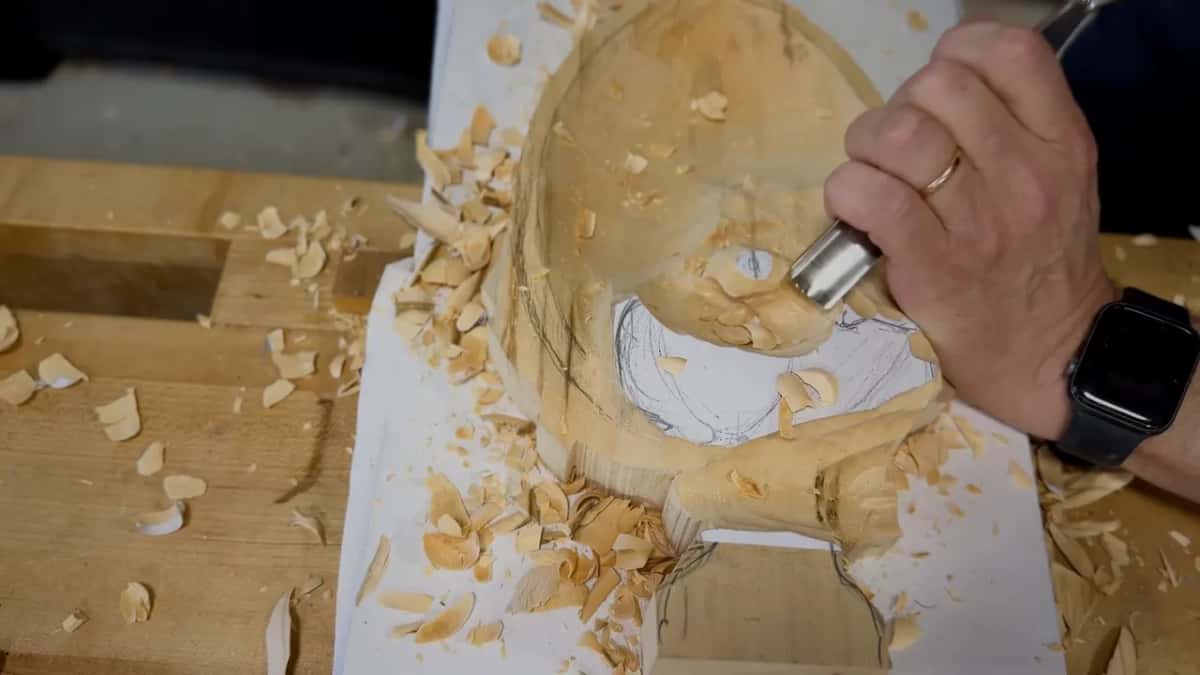
This workshop was for the main idea, blocking in and not working on details. That is the secret of 3D carving, I told them, one chunk at a time instead of every part at once.
I told them not to worry about making it super clean at this point, just to show the overall movements. Near the end I said it again. Don't dig too deep yet. Later on you'll be able to clean underneath, so keep it at about that shape and watch how it rolls.
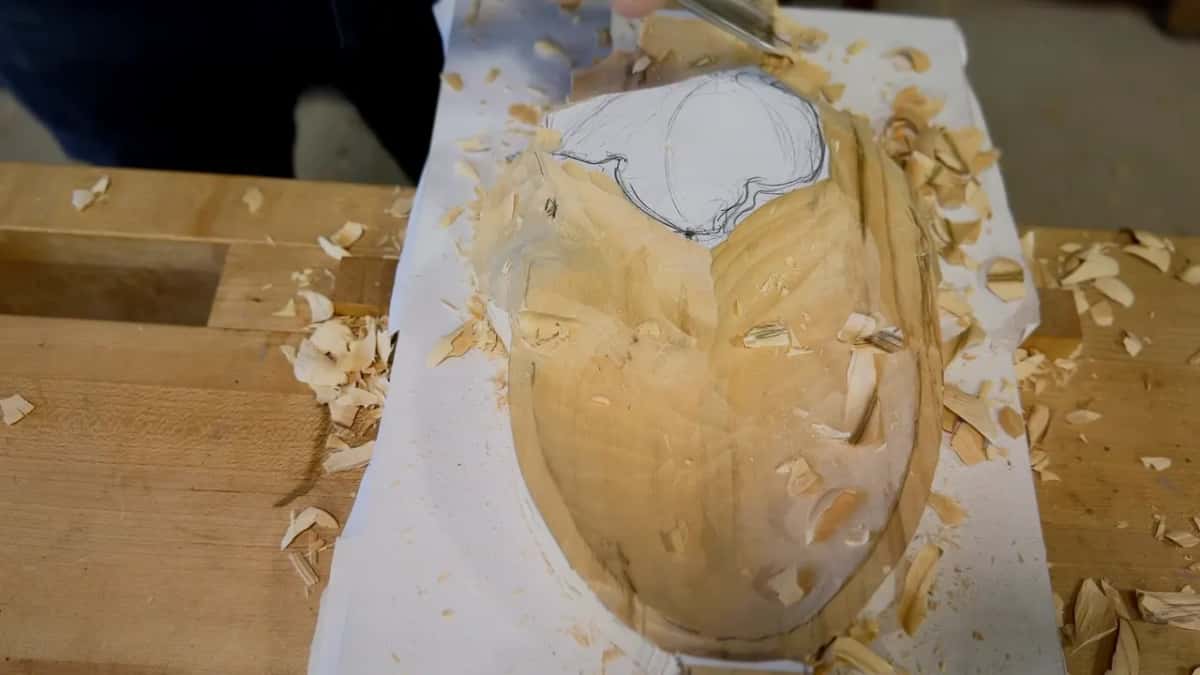
One spot I dropped a little lower on purpose, so it wouldn't need a deep undercut. I could have, but the tools we have set a limit. "I can be crazy with the design, but how we gonna undercut it?"
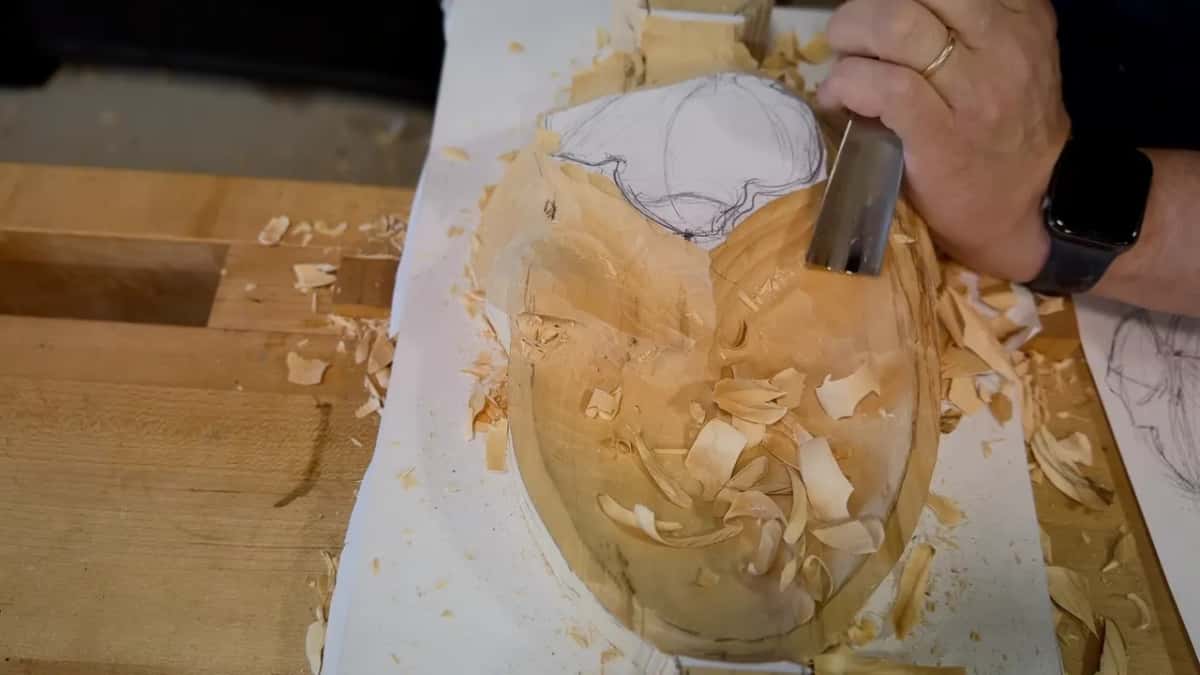
What did I warn the class about?
One warning was about my own hand. If I can't rest it on the piece or on that board, I still keep that support somewhere, or it creates a problem.
Another was the grain. Across the grain, in my opinion, is always safer, and coming at it from the outside in was my safer way here.
Near the invisible ridge I attacked from one side and took some wood off carefully. Then I said, "See what happened," and that this was why it's kind of dangerous, and better to go across the grain whenever you can.
Once one side was relieved, the wood flew out easily, just as I had told them about the grain. The left side of my tool still had a really solid block behind it.
Then there was the wall. Dropping one part means it will overlap its neighbor, so I warned against too much wall there, then decided it would be okay, since that side still had to come down.
We're not gonna touch the leg, I said, and dropped the next side along it.
Last, while I scooped near the curl, almost like carving a spoon, I asked them please not to raise it too high, or it gets really hard to escape.
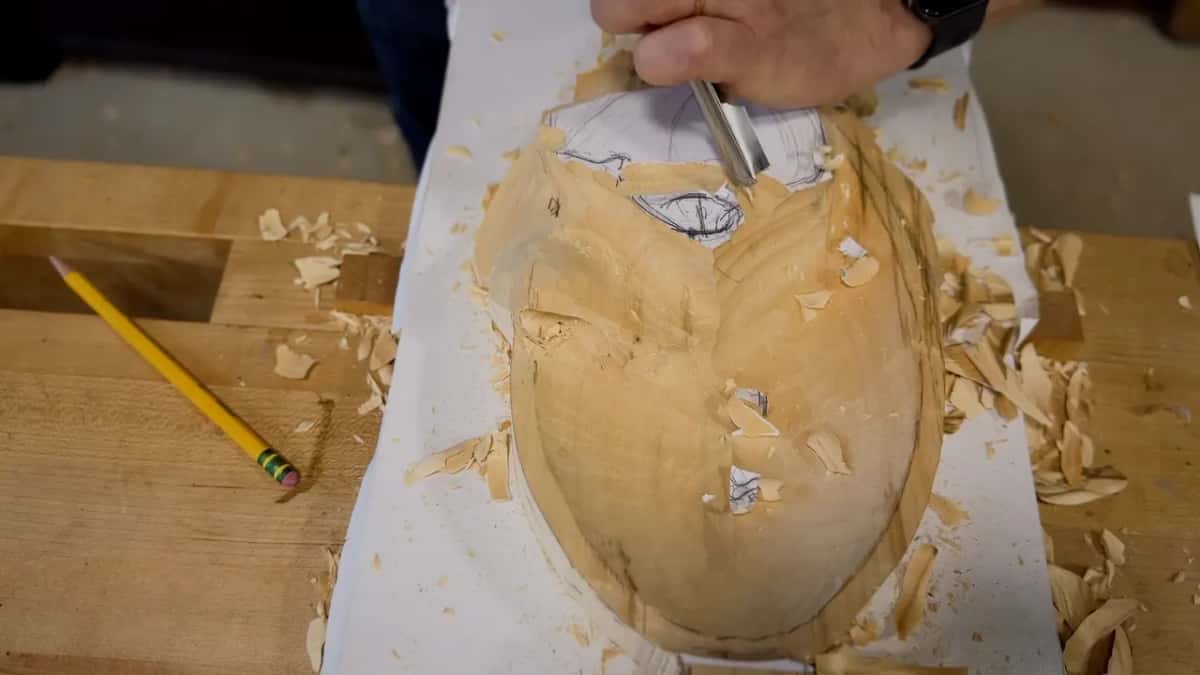
Where does the leaf stand when the workshop ends?
Rough, on purpose. Both sides are down along the ridge, and one part has started to flip.
My last question to them was short. Could they see it flip?
If you want more grape leaves, there's Carving Grape Onlay and the vase with grape leaves. People who have never held a gouge start with First Cuts for Beginners, and for the steel itself there's Carving Tool Sharpening and All About Tools. The lessons map lays out the rest.
Want to watch this leaf come down onto the ridge? Access opens every lesson of this course and the rest of the school.
How it's done
- Find the main point on the drawing. Go over the points on your drawing for the golden ratio, the way I did with the class. That section becomes the main point, and on my leaf it was probably the highest spot.
- Lay the leaf on the ridge. Let one part rest on the bowl's ridge. Drop the next part a little, then bring it up a little, and keep it from turning into a dome.
- Find the ridge height and stay above it. Check how high the ridge sits below the leaf. I treated that height as the floor, left as much wood over it as I could and took it down bite by bite.
- Leave the handle part high. Keep the part you will hold up where fingers can get under it. Mine stayed high on purpose.
- Take the stem down past the ridge. When a part looks better as a stem, take it lower than the ridge. I said so at the bench, partway through, and then had to be careful.
- Leave it rough for now. Show only the overall movement and don't dig too deep yet. Cleaning underneath can wait for a later session.
Frequently asked questions
How far down did the leaf go in this workshop?
About 3/4 inch, 19 mm, on one area, and only on part of it. Over the ridge I stopped at its height and called that spot my no-no spot. The ridge itself could always come down later, as I told them.
Why keep one part of the leaf high?
To lift the tray by. That part was going to work like a handle, so it wasn't going too low, and the height looked right for fingers to get under it. You can just take it and place it, I told them.
Do you hold the gouge square to the line?
On this leaf I held it at about 45 degrees to the direction I was carving, not at 90, and I said that way it comes out more accurate and much cleaner. Even with a number 2, I kept slicing instead of pushing.
What to carve next