
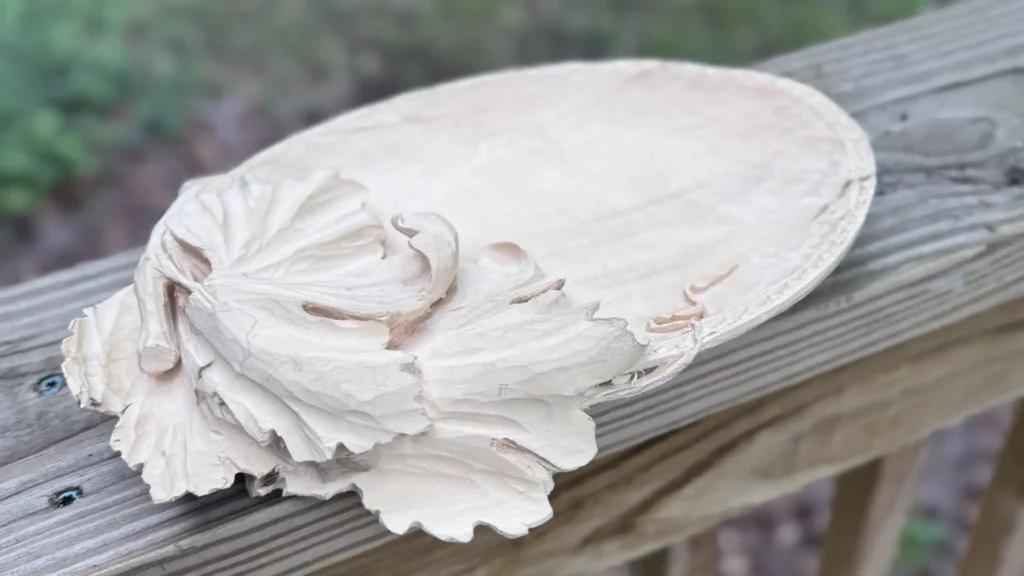
Alexander Grabovetskiy, woodcarver, School of Woodcarving · Published 2025
Why does my carved tray still look unfinished?
Quick answer: An unfinished look on a carved tray is, on my grape leaf tray at least, a set of leftovers no final pass had cleared. Mine had dips along the tendril, fuzz under the back, pencil dirt and a bowl floor not yet level. A curl also hid from above, and one lobe stayed dull until it went under its neighbor.
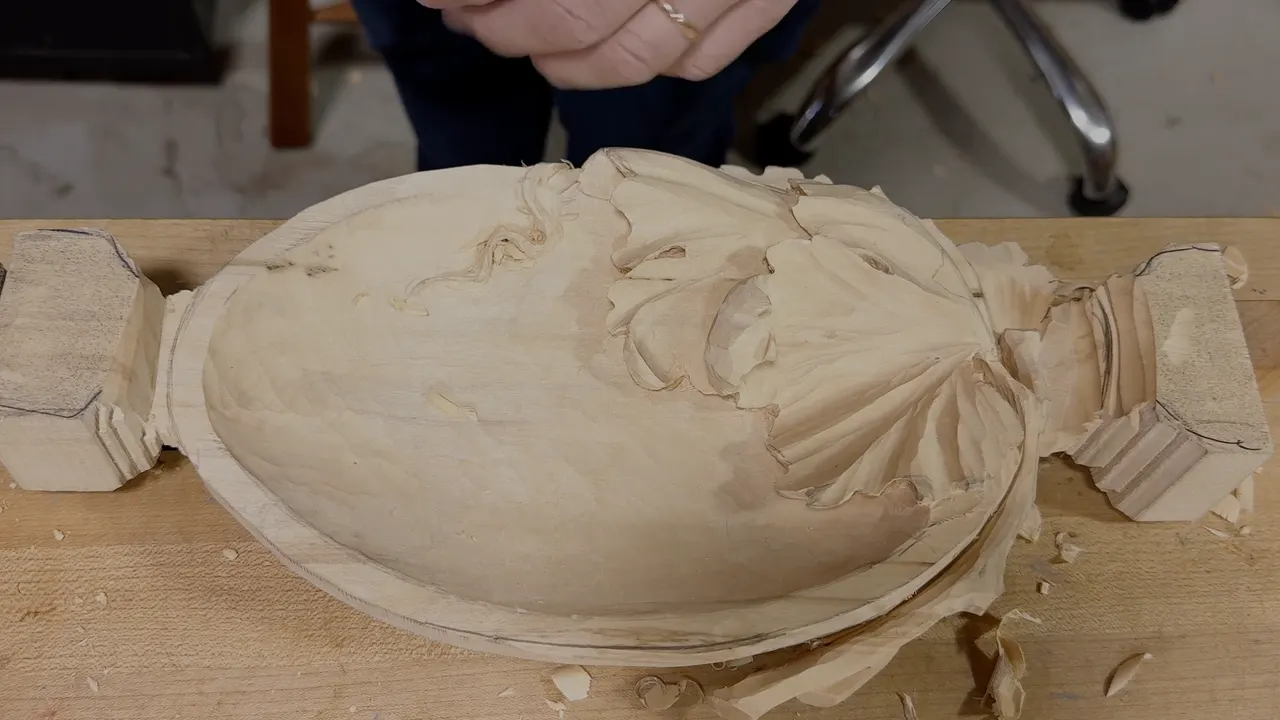
An unfinished look on a carved tray is, on my own grape leaf tray at least, a handful of leftovers the last passes hadn't cleared yet. Six of them were on mine, on camera, and I warned the class about three more at the bench. A hand carved serving tray gets looked at up close, across a table, so every one of them shows. All nine are on film in the eight lessons of The Tray of Blessing.
Have you ever finished a carving late in the evening and liked it less the next time you looked? Does one rough patch grab your eye before the whole leaf does? Then go over your tray part by part, the way I went over mine, before you call it done.
I'm going to be honest with you. Most of these are my own leftovers, not a student's. Below you'll find where each one sat on this tray, which lesson it lives in, and the fix I used or told the class to use.
Nine leftovers, part by part, with the fix for each
Dips beside the tendril, where I dug deep and hadn't blended yet, take many tiny passes to clear.
Fuzz on the back comes out with a 1 mm micro tool, and then a number 2 brings back the slope.
Too much pencil turns a leaf dirty, so mark only where a point will go.
My bowl floor still needed a flatter tool.
A curl that hides from above loses a small section, chopped away in little bites.
Send a dull lobe under the one beside it. Wait for the full barrel before you undercut a flip.
On the rim border and around the grapes, go slow, keep your distance, and don't press.
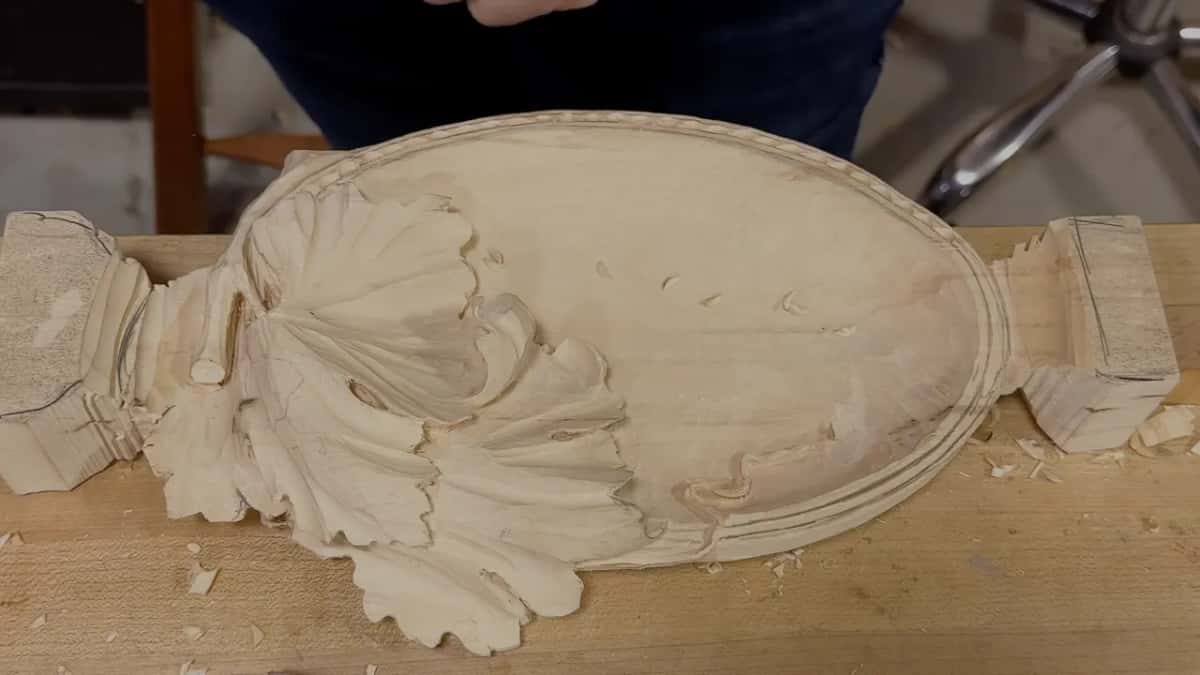
Why does a hand carved serving tray look rough up close?
Dips do most of it. Those are the deep spots a gouge leaves when nobody blends them into the shape around them. Mine sat by the tendril of my tray in lesson 7. I had dug in hard right there to get the tendril all the way through, and once it was through I said I didn't want that spot to look like just a dip.
Later in the same lesson the trouble came back. The goal for my tendril was a sixteenth of an inch, about 1.5 mm, and the problem was blending it. Right then it looked like a dip, and the bowl around it had to blend in. So the fix was lots of small, tiny passes all around. Really small ones.
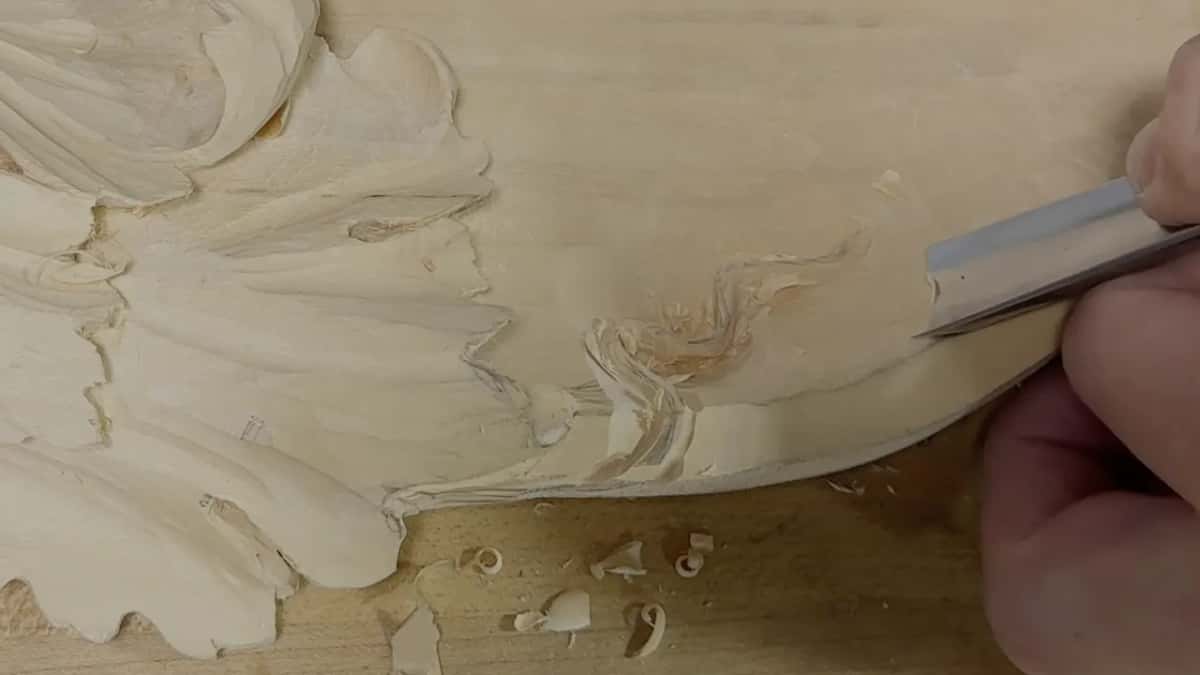
Some of the roughness came from the grain. Carving against it, I said out loud how rough that surface was getting. I changed position and came at it the right way, a little closer each pass. Sharpness matters here too. If the tool is not too sharp, I said, attack the way I did the first time and clean it.
One more warning from that lesson. Dig too deep there and you lose the overall shape.
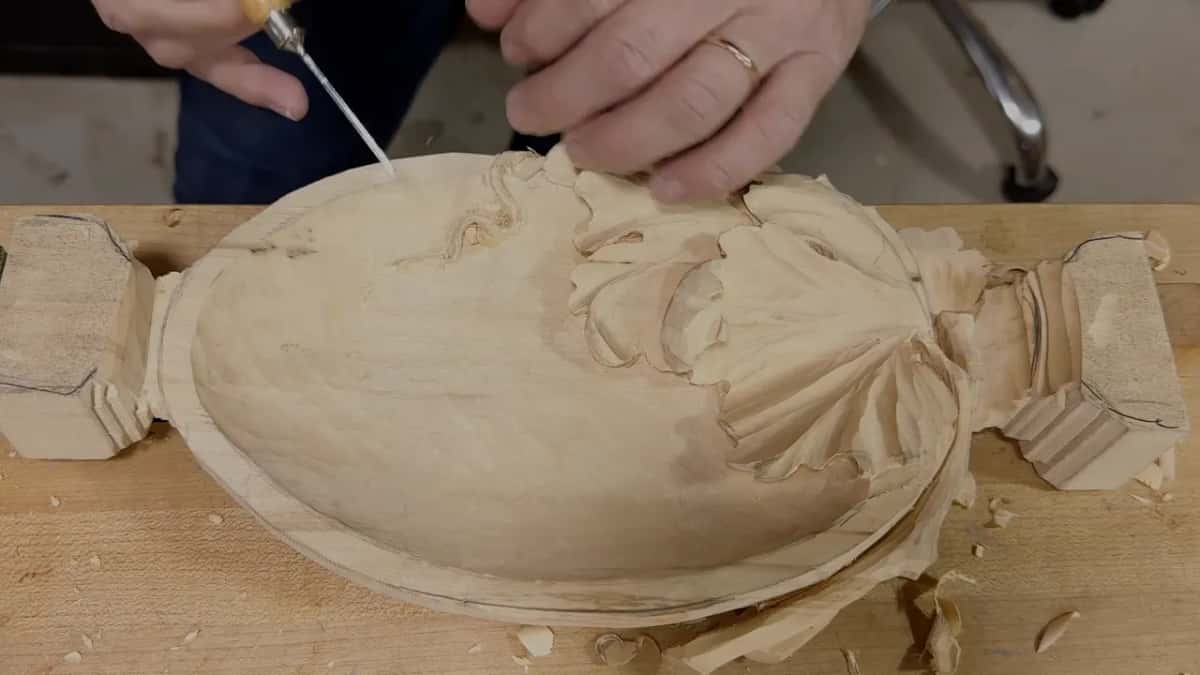
What is the fuzz on the back of a carved tray?
Loose fibers. That's the stuff I called junk on camera in lesson 6. Rounding the back with a number 2, 12 mm (1/2 in), I saw junk in there by the vine, turned the tool upside down and took it out a small section at a time.
The last of it needs a micro tool, half a millimeter or 1 mm (about 1/25 in). The class list had the 1 mm. Get the fuzz out with that, then take the number 2 to make the same slope as the wood beside it. After that, the 1 mm number 11 goes back in to clear what's left.
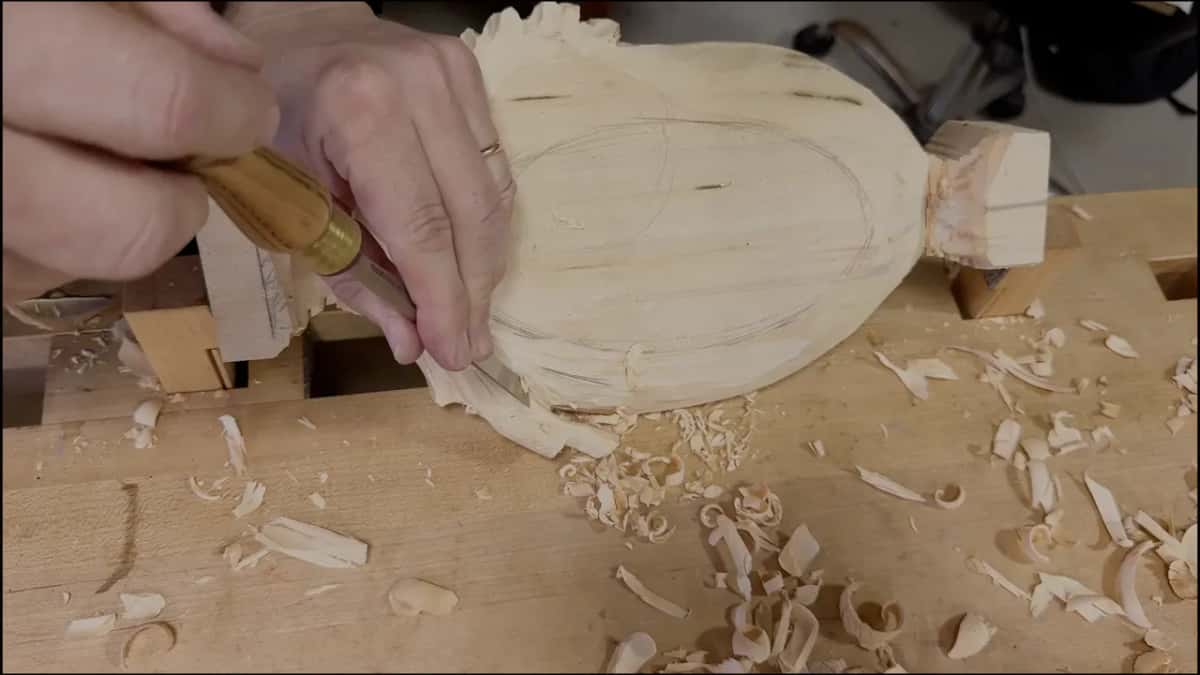
Keep flipping it while you work. You can carve from one side and never see what you're doing to the other, and maybe the problem is already there. Flip it again and you can see where you stopped, and which area still needs digging. Mine felt solid enough, and I said so. I also said to keep working until you're happy with the overall look from all of the sides.
What makes pencil turn a carved leaf dirty?
Too much of it. You could watch my leaf in lesson 3 going dirty. If you feel lost, I said, don't put too many marks on with the pencil. Mark where the point will go, and put the movement in roughly.
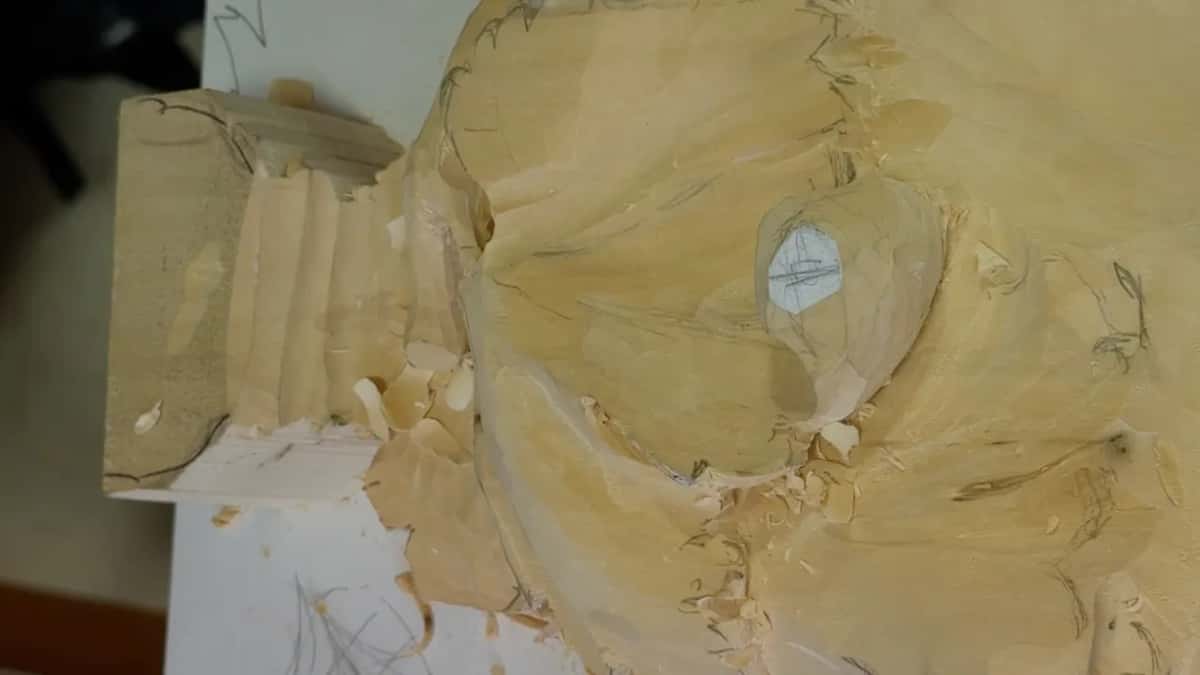
My second marker on that leaf was paper. Back in lesson 2, I kept a piece of the paper pattern stuck on top of the flip, so I knew where my high spot was. A lesson later, some of it came off. Take out some of the paper, I said. You don't need that anymore.
Does the bowl of a carved tray need to sit at one level?
On mine it had to, and in lesson 4 it wasn't there yet. I was carving along the line of my bowl beside the vine when I reminded the class the bowl wasn't flat. We'd clean it later with a flatter tool, a number 2 or a number 1, until it sat at the same level across.
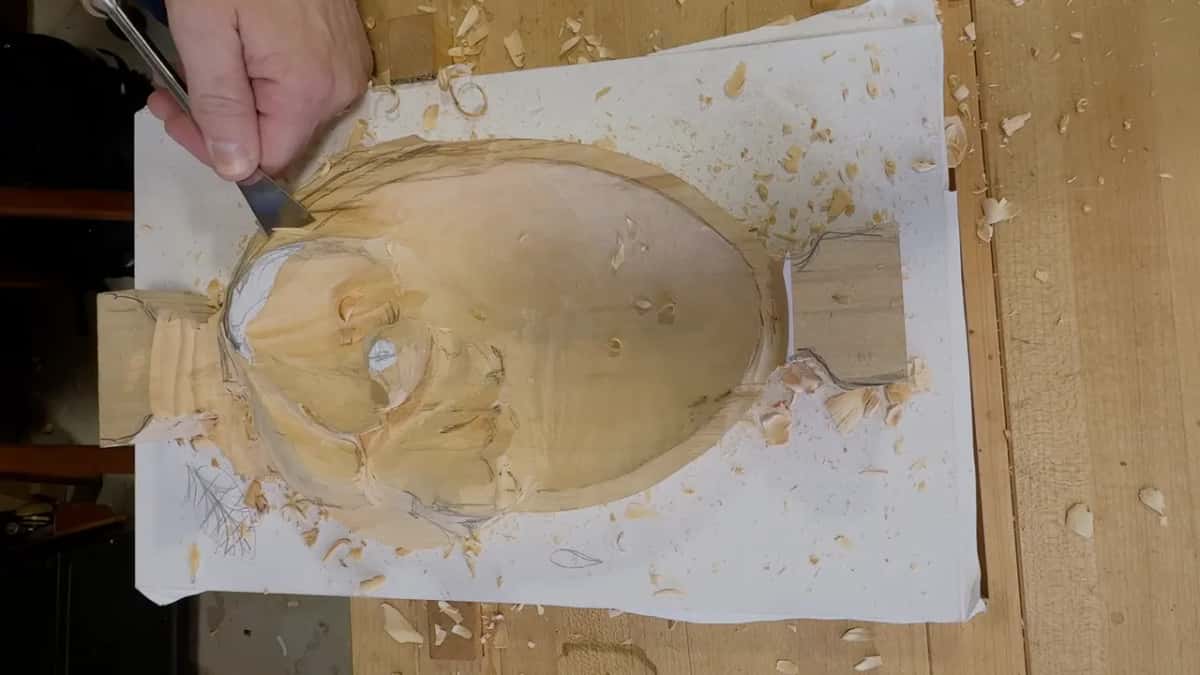
A skew leaves a really beautiful surface there, but it's hard to find, so it stayed off the class list. A minute later I said I wanted to be sure I didn't lose the sense of the bowl itself. The hollow itself came out back in the first lesson.
Later I dug from the back with the number 9, 10 mm (3/8 in), and said to be careful not to dip too much into the bowl itself.
What hid a curl on my leaf when I looked from above?
A whole day of looking at it. When you look all day long at a piece, it makes sense. Walk away. Come back after a while, and it can stop making sense.

I did that late, around 11 o'clock at night, the evening before lesson 6. From above, that part of the leaf didn't really show its curl. The next day I chopped a section of it away to expose the curl a little more. More pleasing, I said, in my opinion. Use a number 9 or the 11, and take small chunks. Make a relief cut first. Most people grab a number 2 right away there, and you're going to break it that way. My left middle finger was placed to protect the wood in case I slipped.
The tendril went the same way. I made it a little narrower because I didn't think it looked good from above. Someone in the class said I talk myself into things a lot. I know, I said. That's what I do. Then I chopped a bit too much, I guess, but now it looked like it wrapped around.
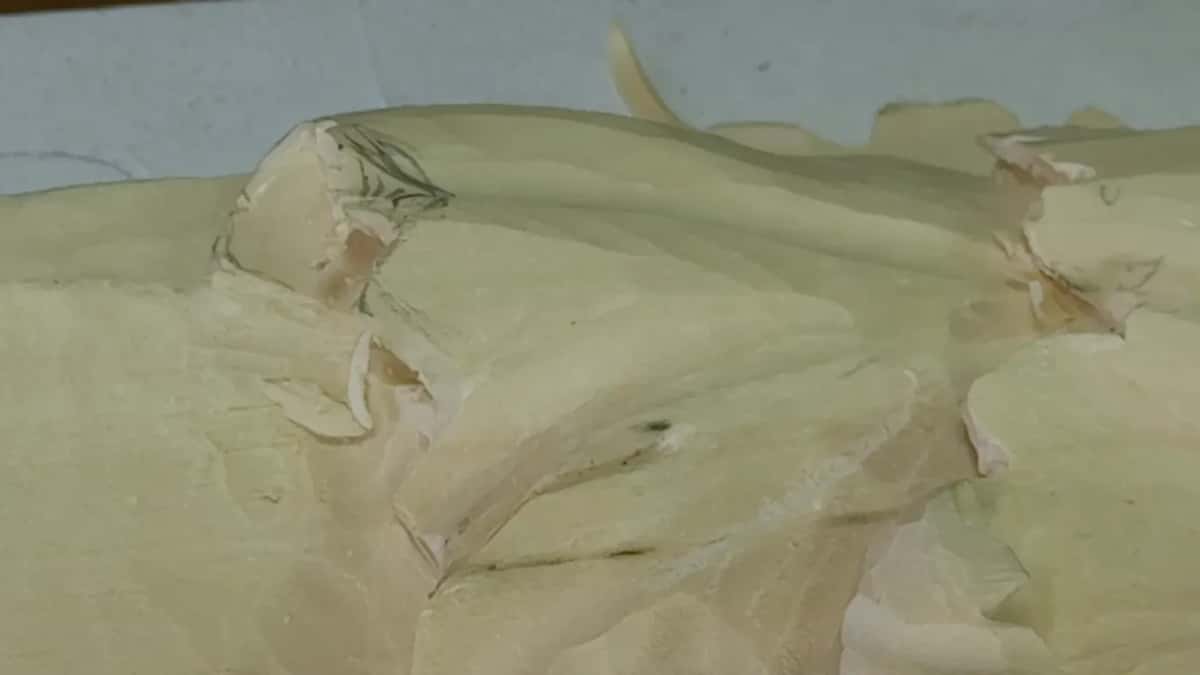
Seeing it from above is better, I said. You can always fix it from above, but keep going from one side and you really don't know what shape you have. Above is also where my 60 and 40 split on a lobe reads, the golden ratio, even when it isn't logical from the side.
What makes one lobe of a carved leaf look dull?
Poor motion, in my case. I said so about one lobe on my own leaf in lesson 3. The question was which lobe goes over which. Logic says the upper one lies on top, but here it wasn't that obvious, because on a dining table in the evening the light most likely comes from above. It could go either way.
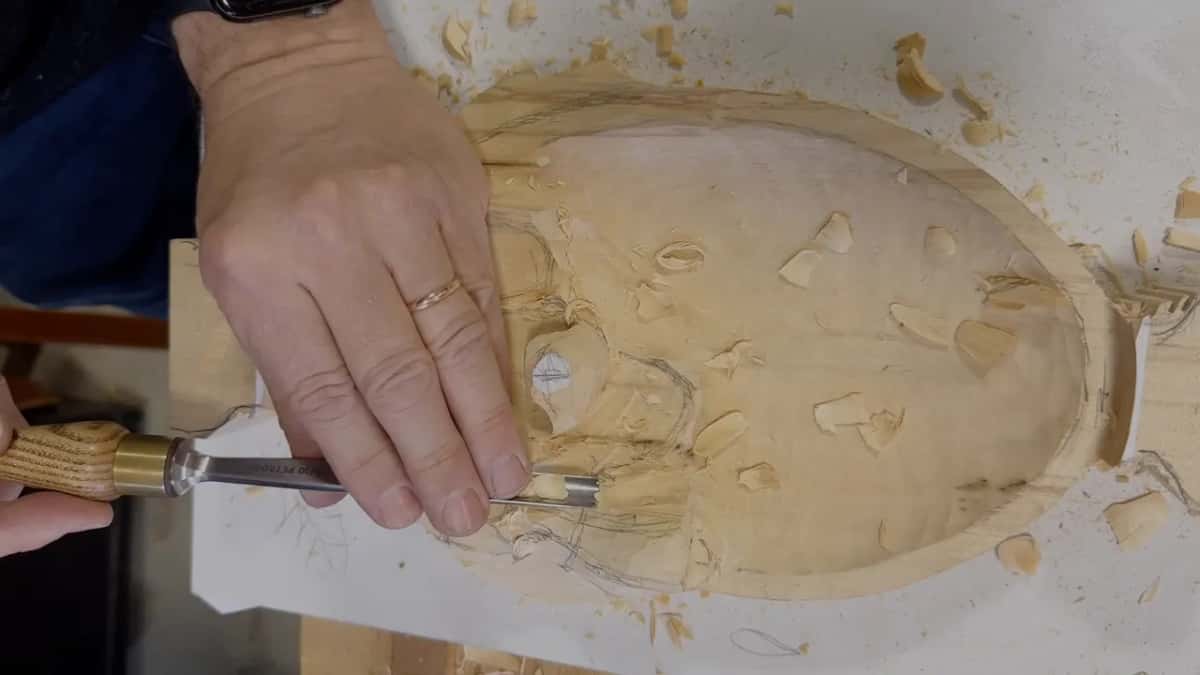
So I asked what I would like to see. This one was kind of dull, with no really good motion in it, so I sent that lobe right underneath its neighbor for a little more 3D look. A number 7 chopped it slightly, and the eye went in like a water drop. Every concave gives a shadow line, and that's what makes it beautiful. That spot gave me a good shadow already. Another one didn't, and I said it would once I dropped it even more.
When does an undercut leave a leaf looking squished?
The moment it comes too soon. I warned the class about it in lesson 2, while I was rolling the flip on my leaf. Get a smaller tool and start undercutting, fine. But wait until you can see a full barrel, a full block. Go under before that and it comes out squished. Not bad, I said, but it won't look like full 3D.
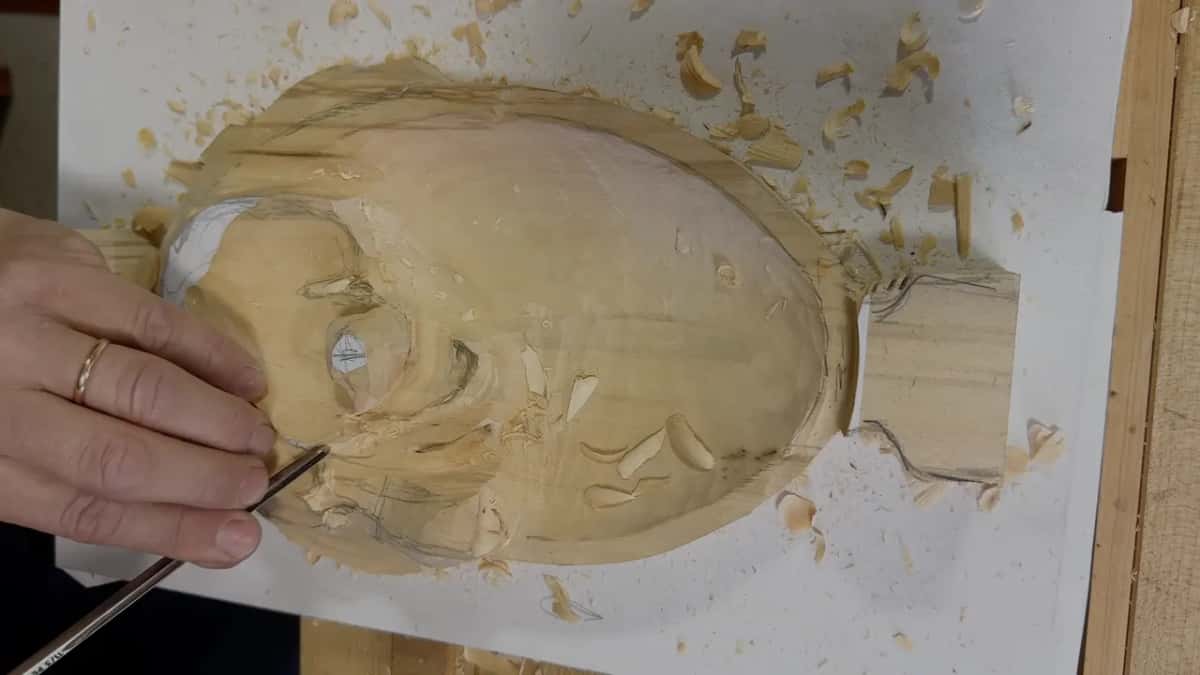
Height matters on the way under too. The third lesson had the other warning. Don't go down to the bottom of your earlier hollow. That would be a big mistake. Keep some thickness there, because more details come later.
And when you dig a little too deep in one spot, don't worry. I did it right there, on camera. I'm more after the 3D shape than anything else, and the tool I used before cleans it up.
Where each leftover sat on my tray
Leftover I found | Where it sat on my grape tray | Which lesson | What I did or told them |
|---|---|---|---|
Dips along tendril | Steps left where I dug deep through | Lesson 7 | Lots of small tiny passes around |
Fuzz on back | Junk around the vine on the back | Workshop 6 | Micro tool first, then a 2 |
Pencil on leaf | Too many marks when you feel lost | Third lesson | Mark only where the point goes |
Bowl not level | Floor near the vine, not flat yet | Fourth lesson | Clean with a 2 or 1 |
Curl from above | Made sense all day, not at night | Workshop 6 | Chop part away, small bites only |
One dull lobe | It gave me no really good motion | Lesson 3 | Tuck it beneath the next lobe |
Squished leaf flip | Undercut came before the full barrel showed | Second lesson | Let the full barrel come first |
Rim border points | The little points run together if rushed | Eighth lesson | Go slow, keep a consistent distance |
How do you keep a carved rim border from looking messy?
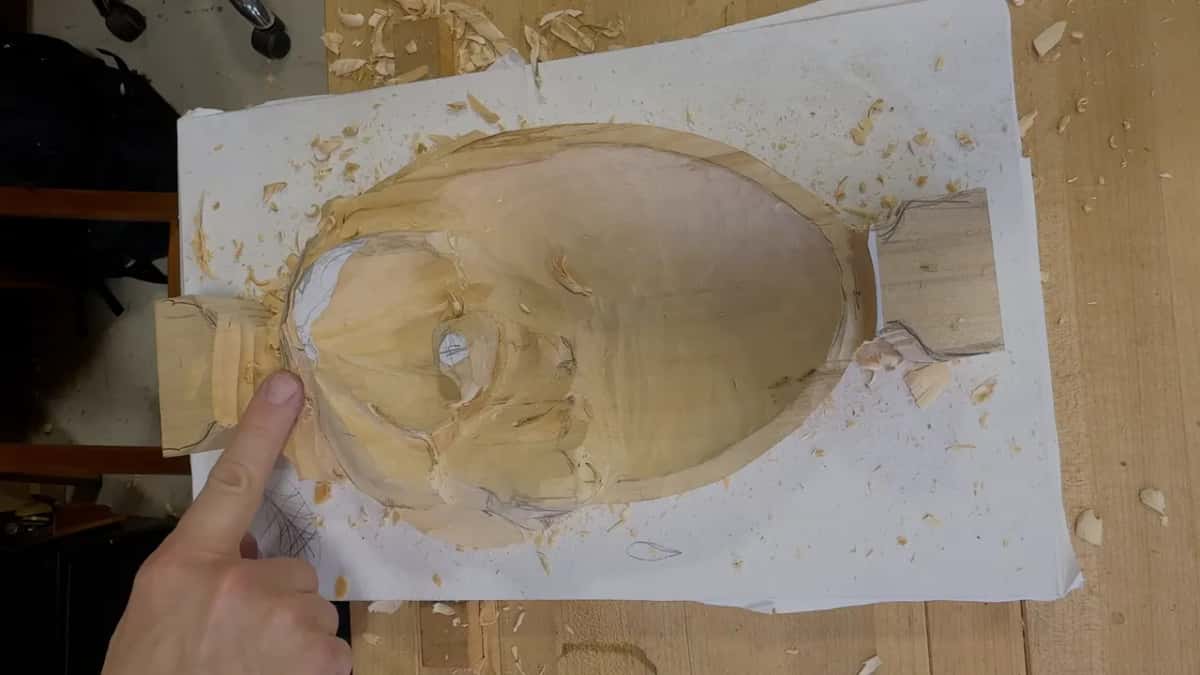
Slowly, with even spacing and a sharp tool. The border went on in lesson 8. By then the rim had been shaped by hand, so it wasn't perfect. In a perfect world you'd make it true first, then carve. Even this is going to be fine, I said, and the border kind of hides where the edge runs uneven.
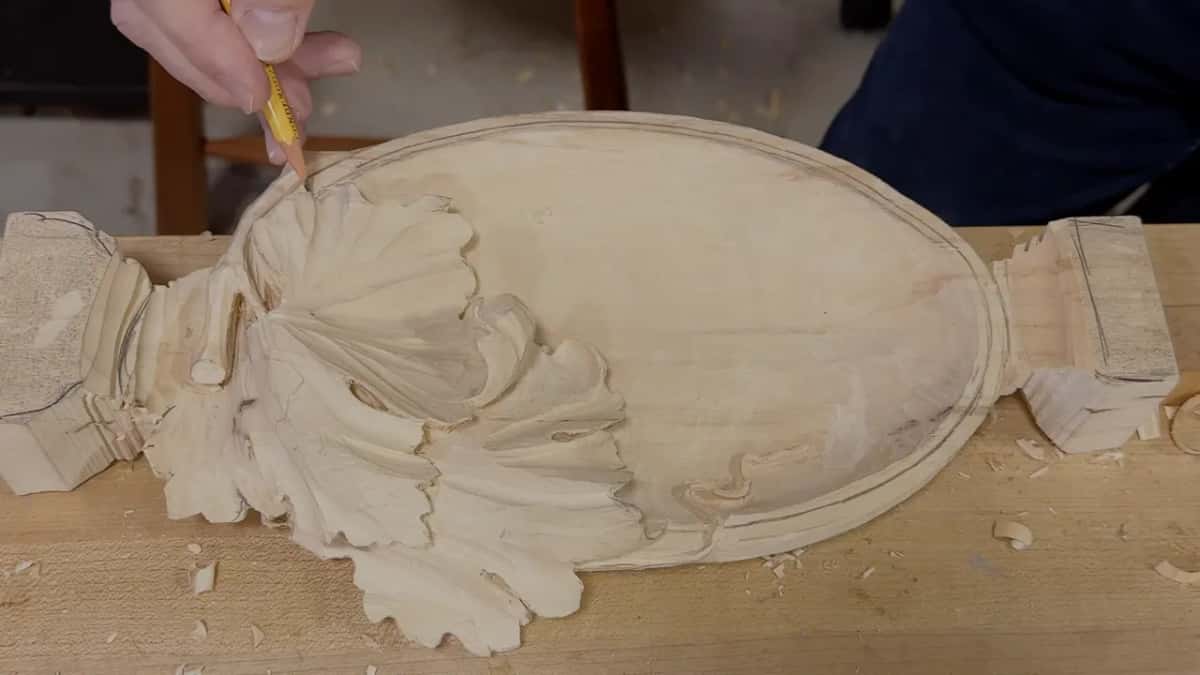
Hold the distance between your two lines even. Look several times. Move a line in or out if you need to, the way I had to move one of mine in and chop a little off that side. Use only the corner of the number 2, and don't chip it, especially on end grain. One finger steers the motion, and my pinky stays solid on the board. A knife is actually better for that first pass. A number 2 will do, though, and keep the same angle on both sides.
Before the number 9 went in, I took it to the strop and told them the tool must be sharp for this operation. If a chip doesn't fly out, don't force it. Recut with the number 2. And be really slow. The little points between the chips can end up joined, and that's not going to look good.
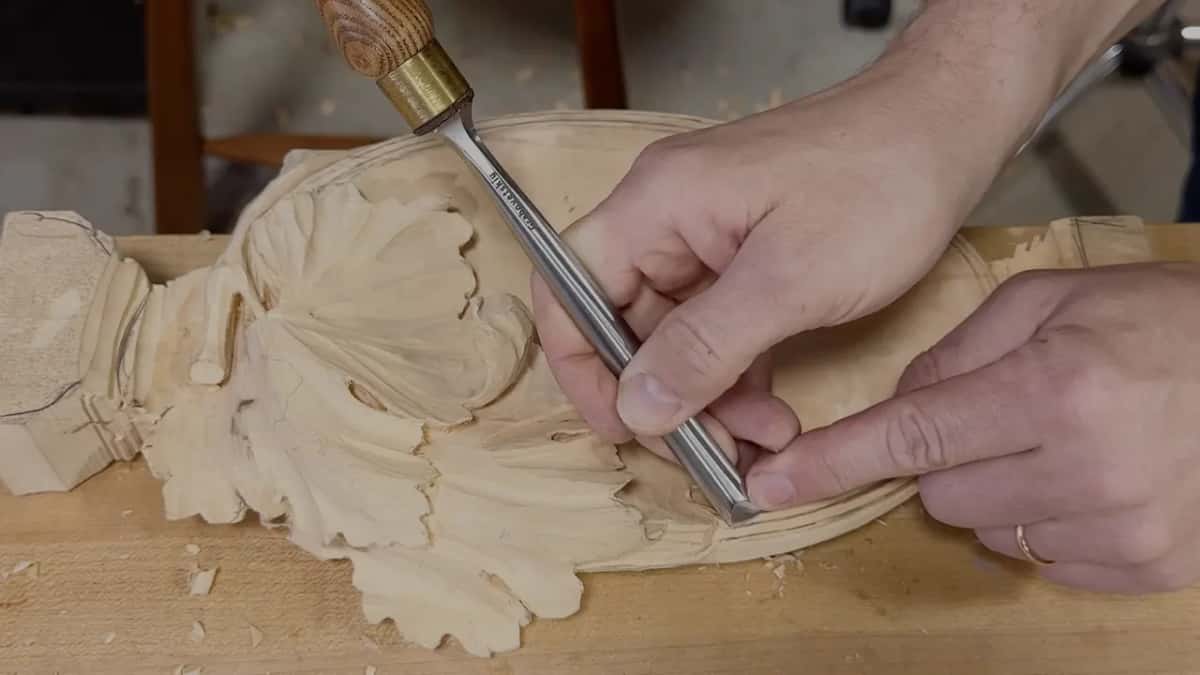
Somebody in the class liked the symmetry. Check again, I said, and if something doesn't make sense, clean it.
What if a gouge bruises the side of a grape?
Then it's hard to clean. I warned about it in the same lesson, digging around the grapes under my tray. Go too close and the side carries a tool mark, and that mark isn't hand work. Keep some material, and don't press too hard. Go around, go around. Change the angle as you go, and use only the corner of the tool. Grapes get a whole course in Carving Grape Onlay.
What does the last lesson of this course ask of you?
To carve. Its page is a short note from me. I filmed this course while I was teaching in Michigan. That's the last video, and I hope there's enough in it for you to follow along and carve a piece like this one, a Cabernet Sauvignon leaf lying over a bowl with a vine and a tendril. I hope to see your work soon. The page also takes one picture of your piece, and I review it.
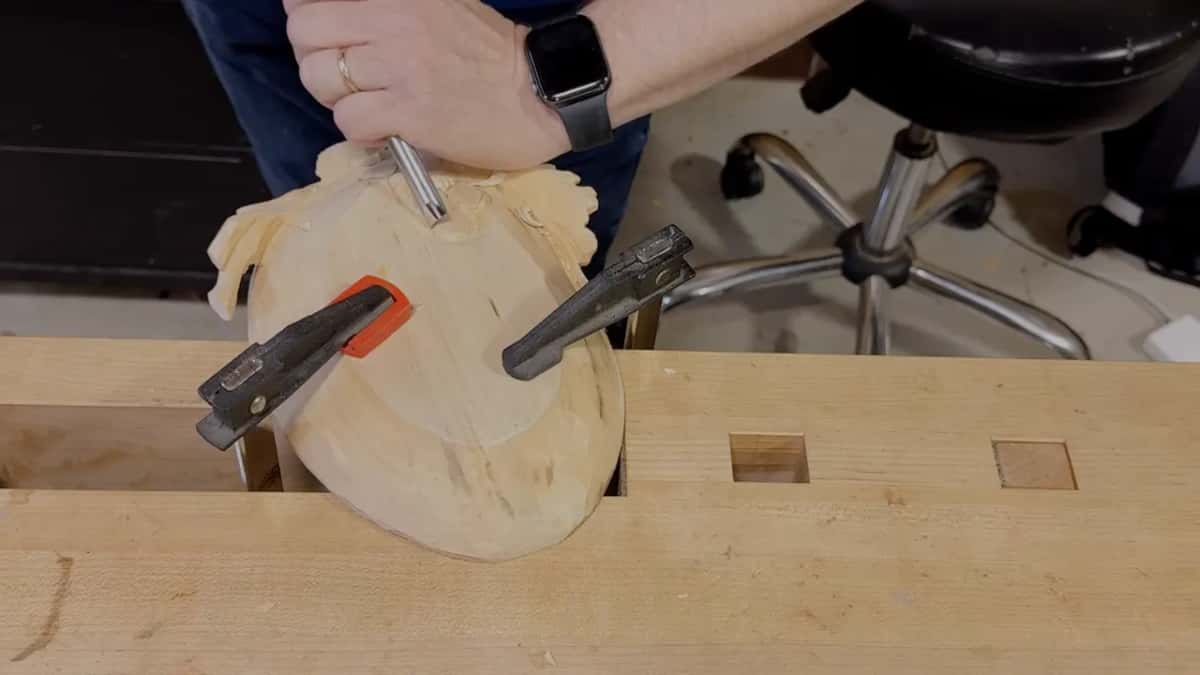
Sharp tools come first, and Carving Tool Sharpening covers them. Grape leaves wrapped on a round form are in the vase with grape leaves. And if this tray is your first relief with a bowl under it, the course page lays out all eight lessons in order.
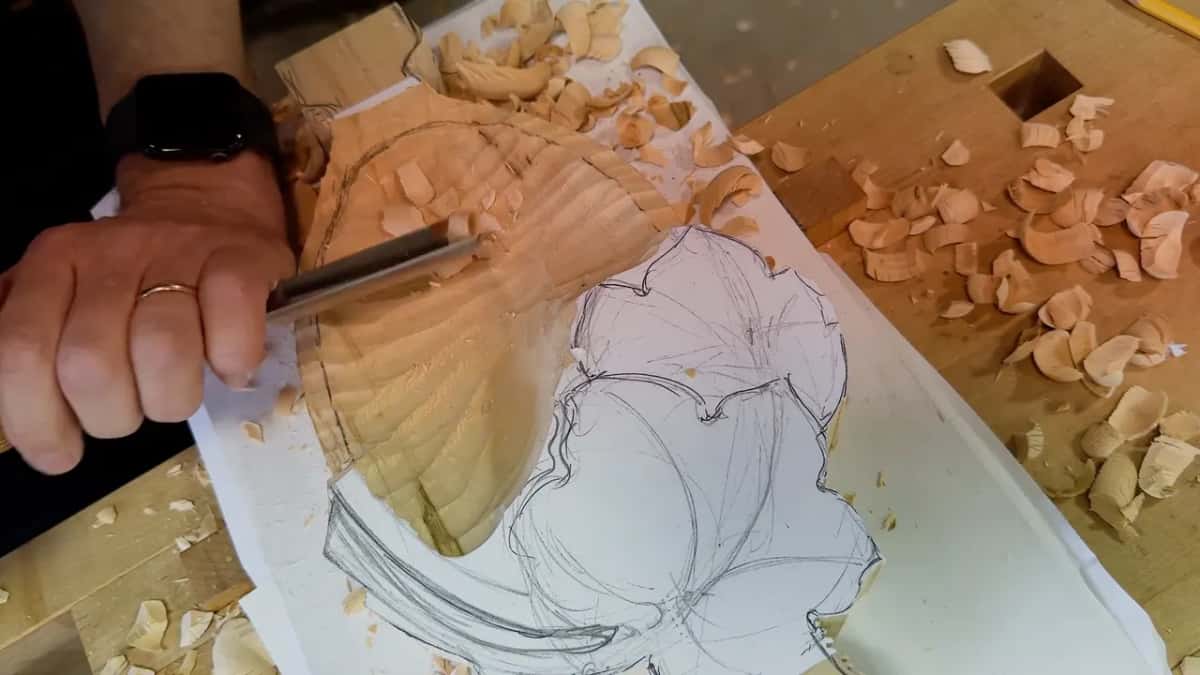
Would you like a leaf on your table that throws its own shadow? Can you spare a few evenings at a bench? Then the tray is waiting, and all eight lessons sit inside the school's Access.
How it's done
- Step away, then look down on it. Leave the piece for a while. Come back and look at it from above, the way I did late one night with my leaf, and see what still reads.
- Blend the dips by the tendril. Lots of tiny passes all around. If the surface rips, turn the piece and come in from the other side.
- Clear the back. A half or 1 mm micro tool picks out the fibers. Follow up using a number 2 so the slope matches, and flip the tray often.
- Bring the bowl floor to one level. Flatter tools, the 2 or the 1, until the floor reads as one surface.
- Walk the rim border slowly. Even gaps, a recut for any chip that sticks, and clean whatever doesn't make sense.
- Go easy beside the grapes. Leave some wood, press lightly, keep going around.
Frequently asked questions
Can a spot that went too deep still be cleaned up?
Mine could, in lesson 3. I dug a little too deep in one place and told the class not to worry, since I was after the 3D shape and my earlier tool would clean it. We had left plenty of material, so there was room to carve and carve again.
Do you need a magnifier for the smallest cuts on a tray?
On my tendril I said I probably needed one, then couldn't come up with the name of the kind I meant. Glasses, no. A helmet, not quite. The main tool there stayed the little number 11, 3 mm (1/8 in), and most passes were tiny, tiny ones.
How do you know how much wood is left under a carving?
By checking again and again. Before any grapes went under my tray I checked spot by spot: plenty here, not much there, so be careful there. While I dug around them I kept checking how much material I had left, constantly, and I said that's important for me.
What to carve next