
Alexander Grabovetskiy, woodcarver, School of Woodcarving · Published 2025
How do you shape the inside of a bowl you carve by hand?
Quick answer: Shaping the inside of the bowl on this tray is work for the eye. I went from the outside toward the center, came back from the other side, let my passes get shallower at a certain point, and stopped once my own edge got in the way, which marked the end of stage one.
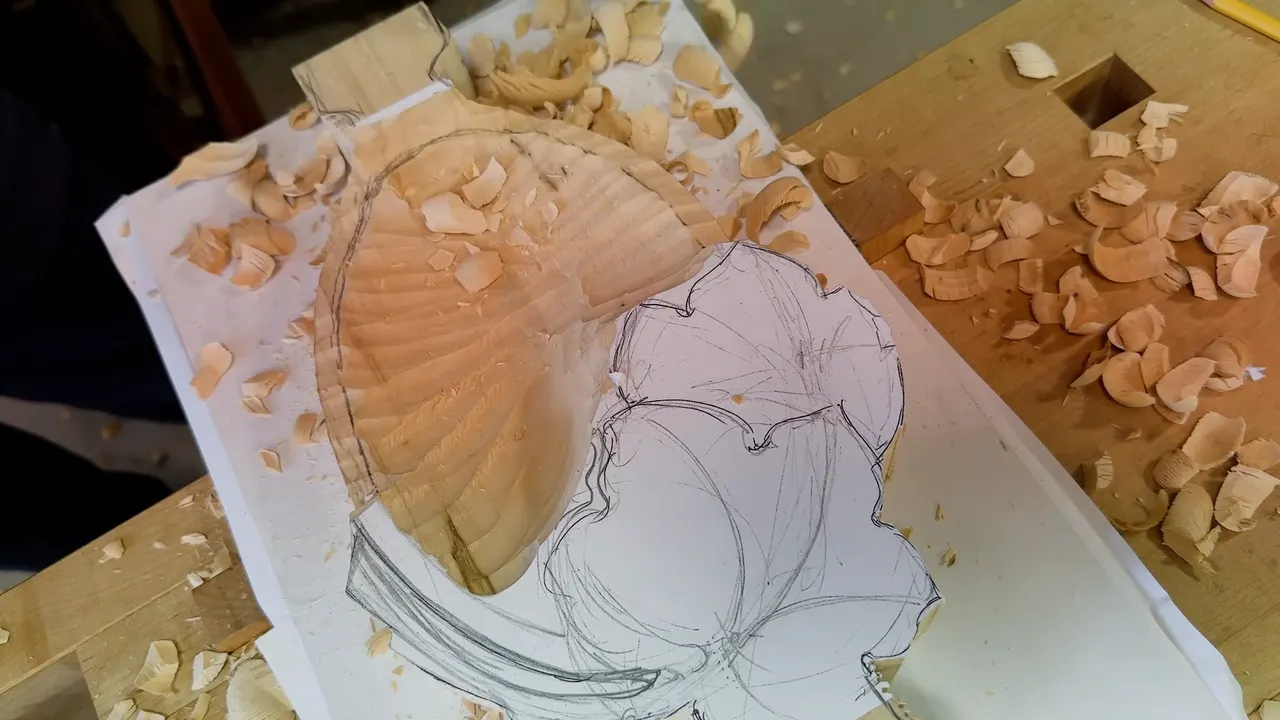
The inside of the bowl on this tray is a valley I shaped by eye, starting at the outside, heading for the middle first, then coming back at it from another side. I told the class I can't help them with that part. You have to feel how it looks.
That's lesson 1 of The Tray of Blessing, a Cabernet Sauvignon tray filmed in a class, with questions and jokes along the way. If you want to carve a bowl by hand, this first hollow is what I called stage number one.
Ever run your thumb around the inside of a carved bowl? Felt the hollow keep moving under it, with no ledge where one pass stopped and the next began? This lesson shows how that started on my tray, one pass at a time, right up to the point where I stopped.
Five lines on the first hollow of this tray
A number nine gouge came out first, the sweep that always makes about half a circle.
Passes worked in from the edge and went for the middle first.
After a while each pass got shallower, so I wouldn't take out too much, and later on I said I'd probably go deeper.
Stage one ended where my edge got in the way.
Some ridges stayed in the hollow, though I said a number seven could clear a few.
A student said I make it look very easy, and earlier I had slowed down to show a pass done slowly.
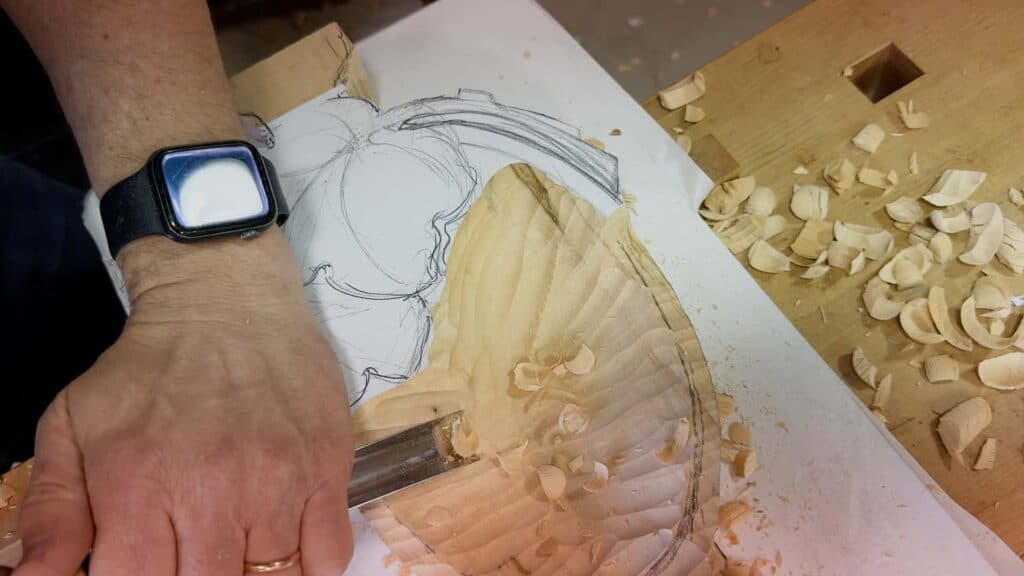
Where does the gouge start when you carve a bowl by hand?
On the outside, heading in. The gouge I picked up first was a number nine, and I told everyone a bigger tool is even better if you have one, then stuck with the same tool I'd put on the list. The two numbers stamped on it are the sweep first and then the width, I explained. Your first pass is really important, I told them. What I see a lot of times is people placing the tool flute up and pushing it.
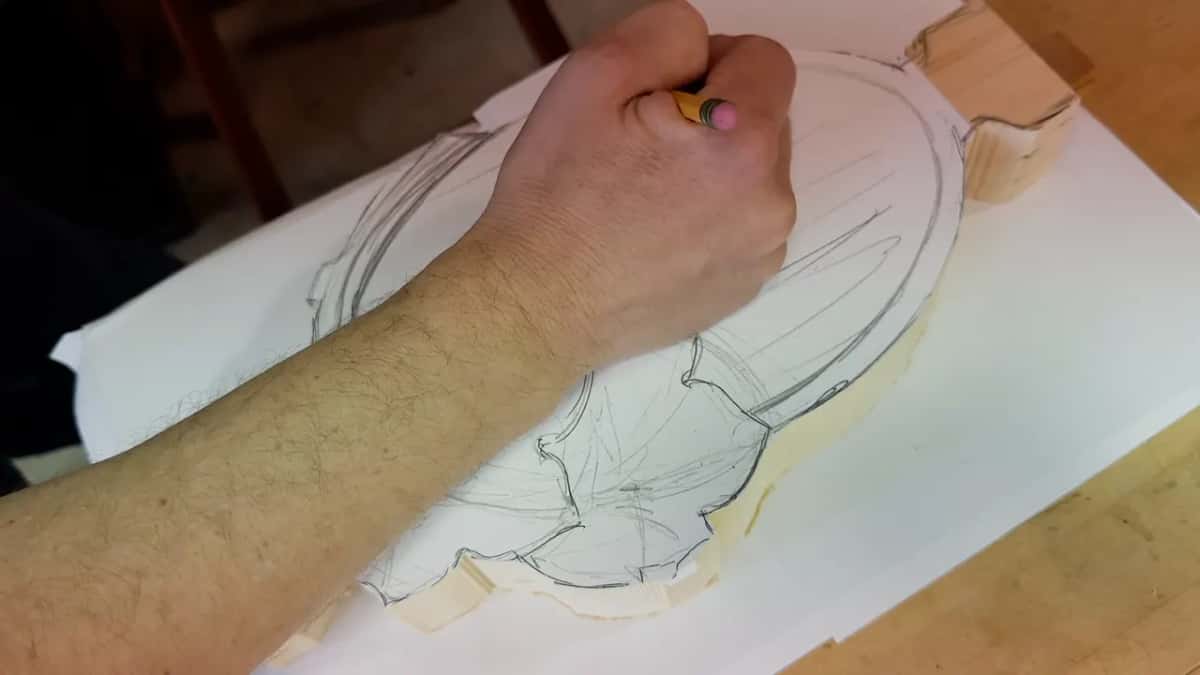
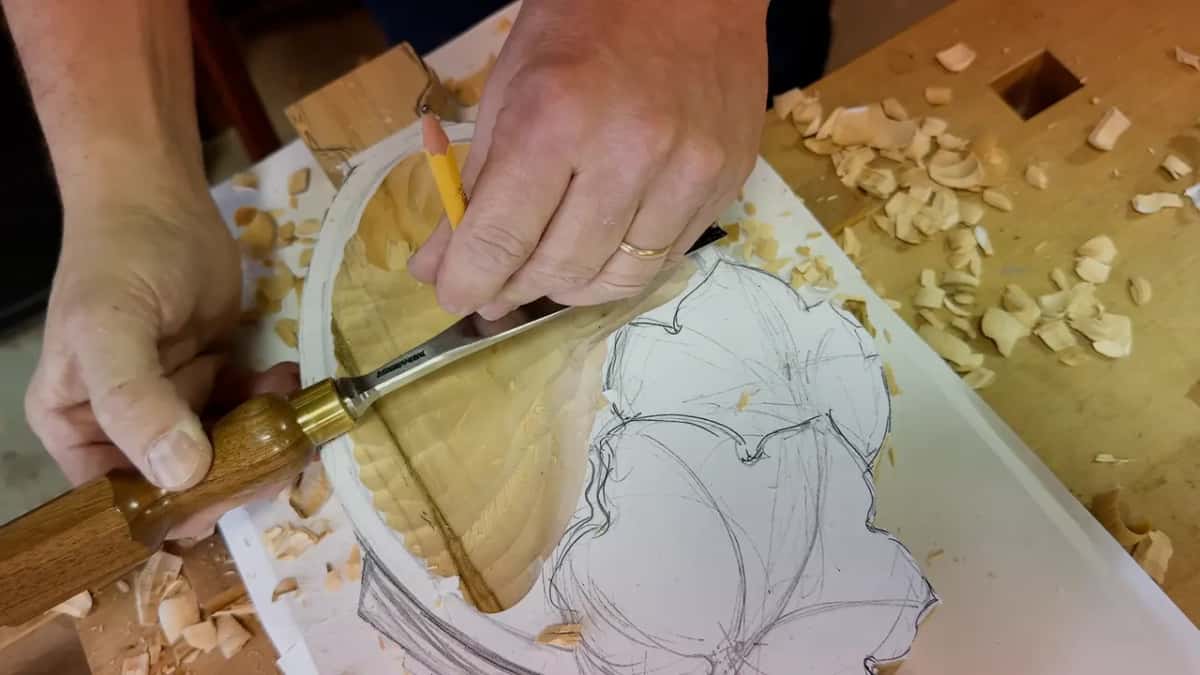
Before that first pass I drew a border line, set back from the edge and running all around the oval, and for now no tool touched it. The first marks went in near the oval's upper end, inside that line. Be careful not to destroy the edge, I warned later. Being perfectly right on it isn't needed, I said, but you still don't want to destroy it.
The piece sat between two bench dogs, and twice in this lesson, once at the start and again at the very end, I said to keep them low. My passes went across the grain, which I said is much safer, especially when you start.
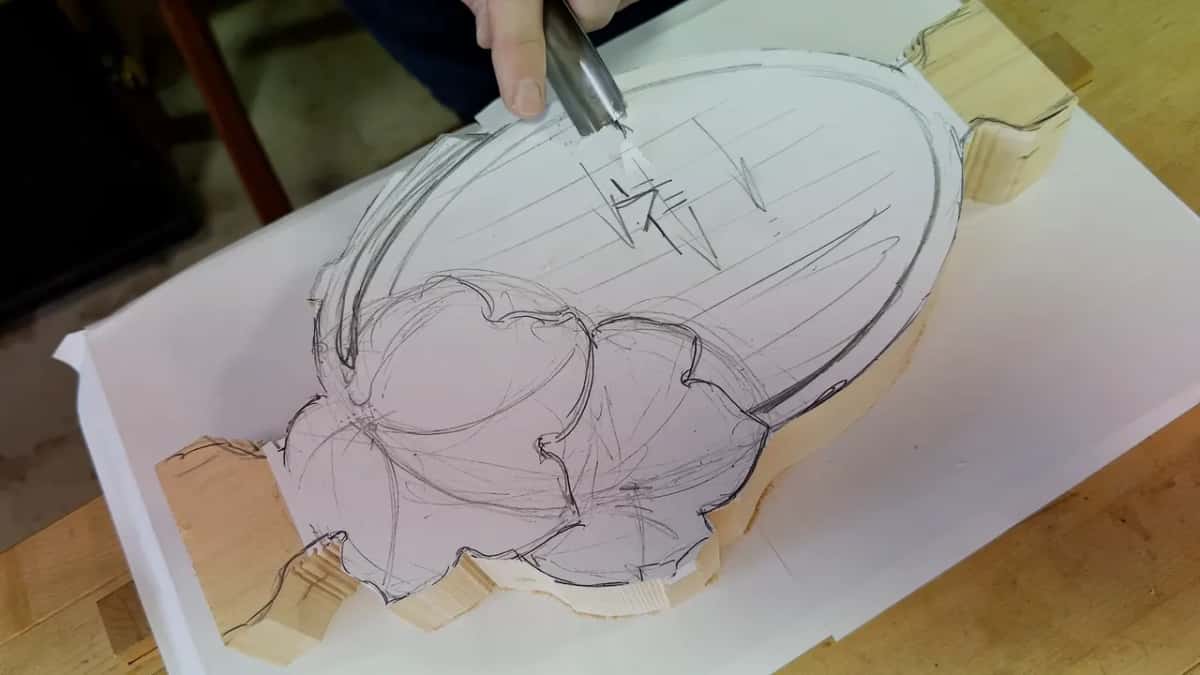
Every pass was a slice. It starts near one side of the edge, not all the way out at the corner, since right there it's not workable, and it rolls out at the other side, the rotation I show again in the slicing lesson. Each next pass started at the edge of the tool again, and I asked them to see how I'm rotating it.
My left hand stayed locked on the board, as it does in Carving Modern Acanthus. I know it's kind of redundant, I admitted, I'm saying it all the time, but it's super important.
Why go for the middle first?
The shape is supposed to flow. I asked the class whether flowing was a good word to say, then said it again, really flowing, which meant the hollow was never going to be one straight pass. That's why we went toward the center first, I said, and then from another side we would attack it again. Even the middle, I said, could still give up something from where I stood, before I moved to another side.
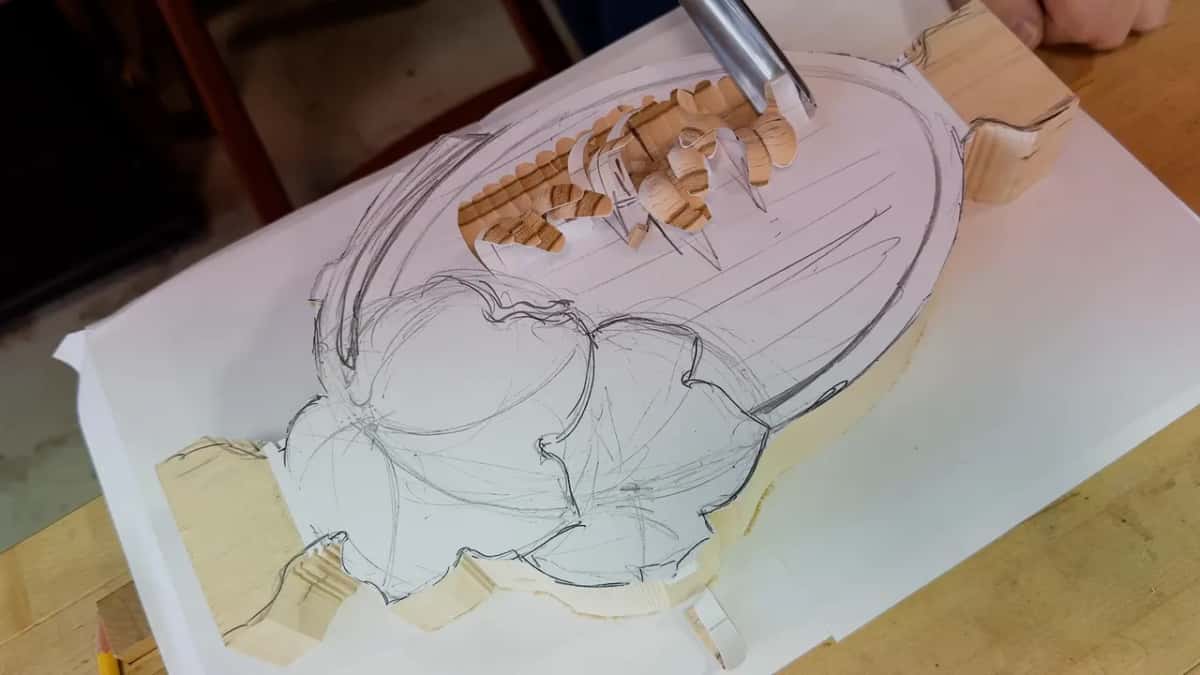
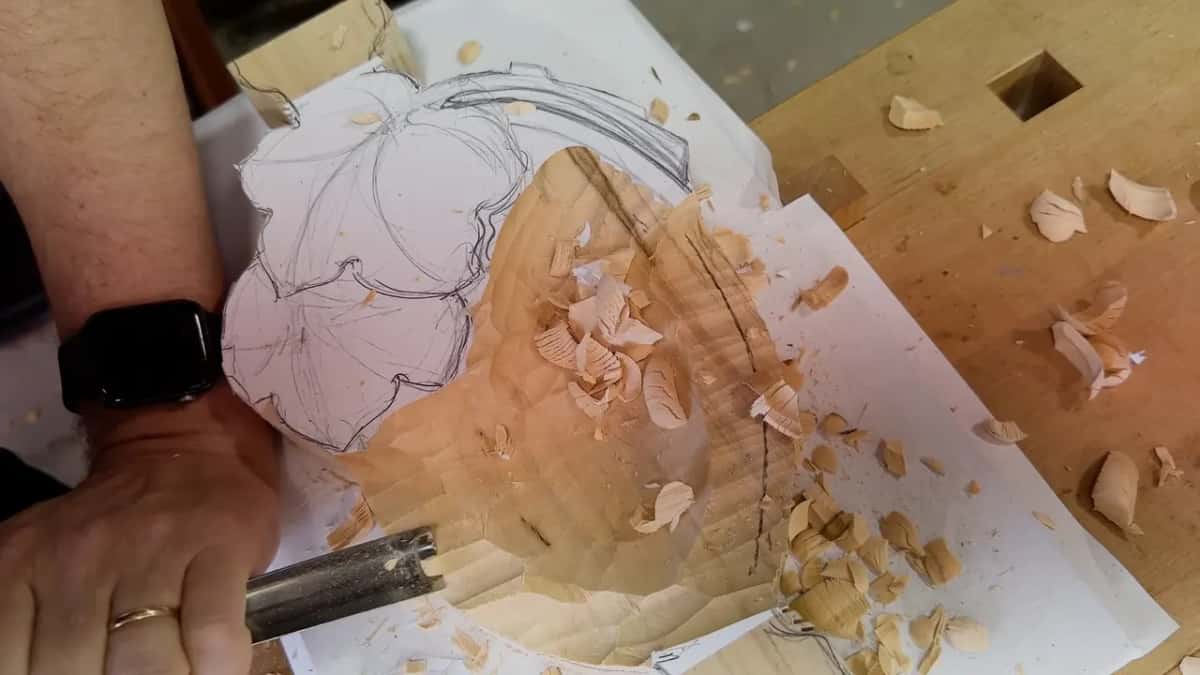
Then I flipped the piece and came at the hollow from its far end. Nothing in this lesson goes near a lathe, so there's no turned circle to follow the way there is in woodturning. The hollow follows the oval drawn on the paper pattern.
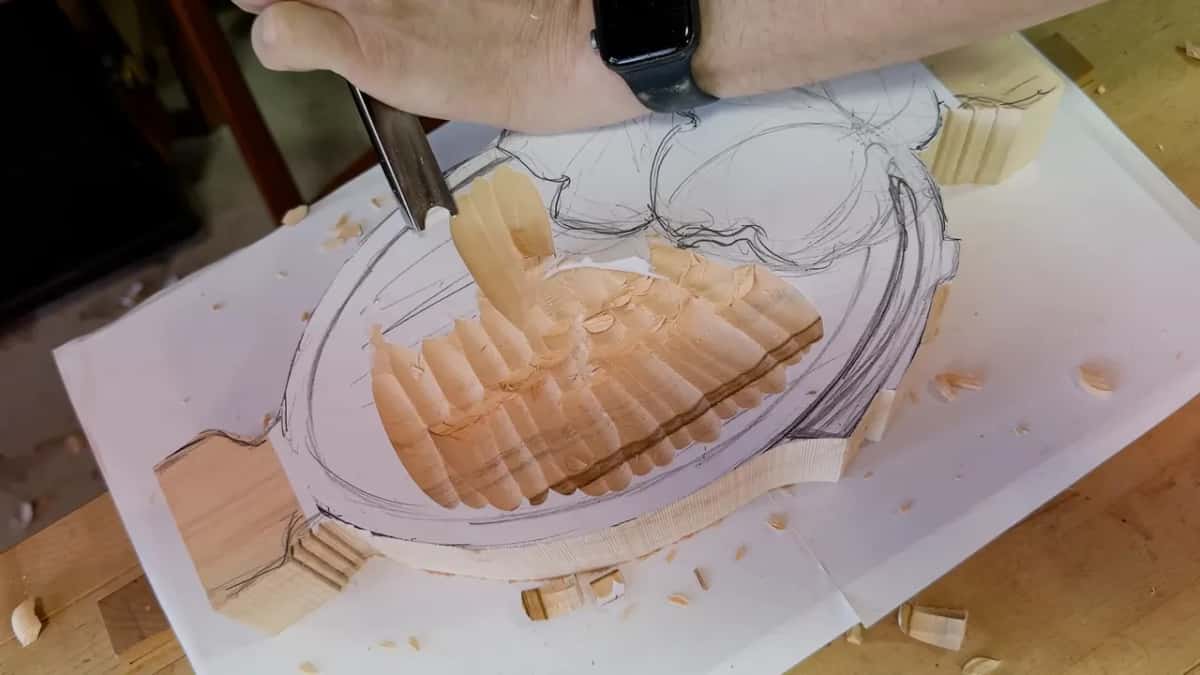
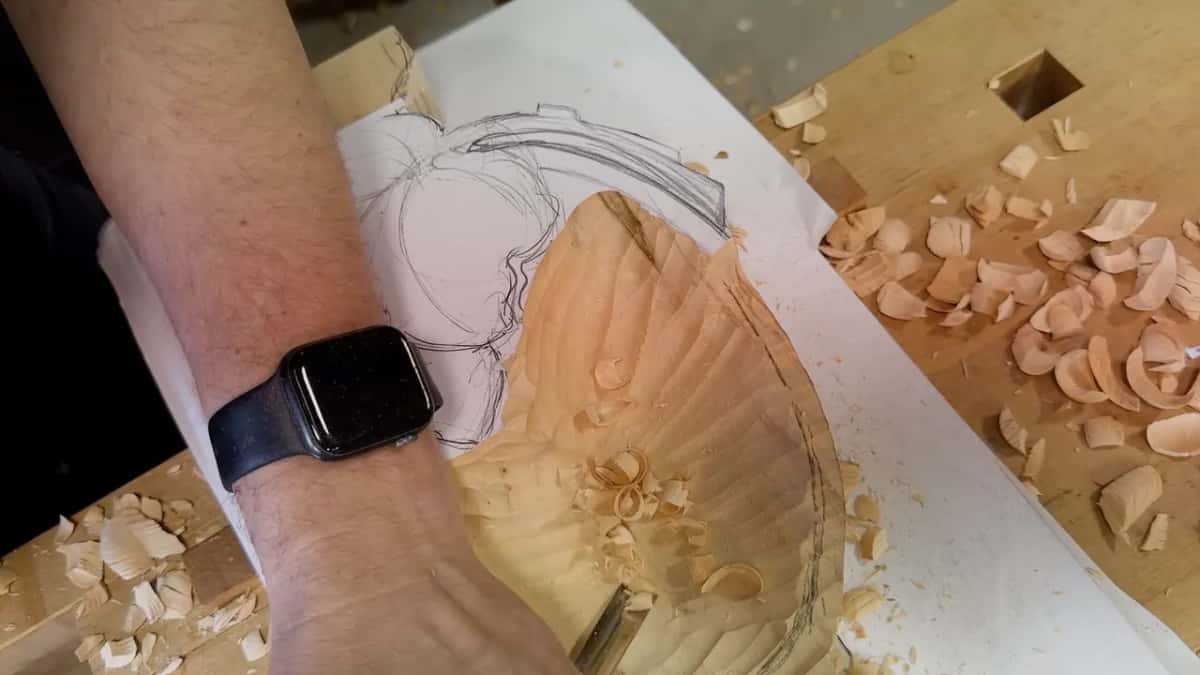
See how quickly I can excavate the material, I said at one point. By the time the blank was turned around, the hollow had become rows of ridges, and curls lay all over the paper and the bench.
How close to the leaf does the hollow come?
Close, but it stays off the design line. I didn't go all the way to that line, because a grape leaf is coming there, so I stayed away from it, and then you just go back, I said.
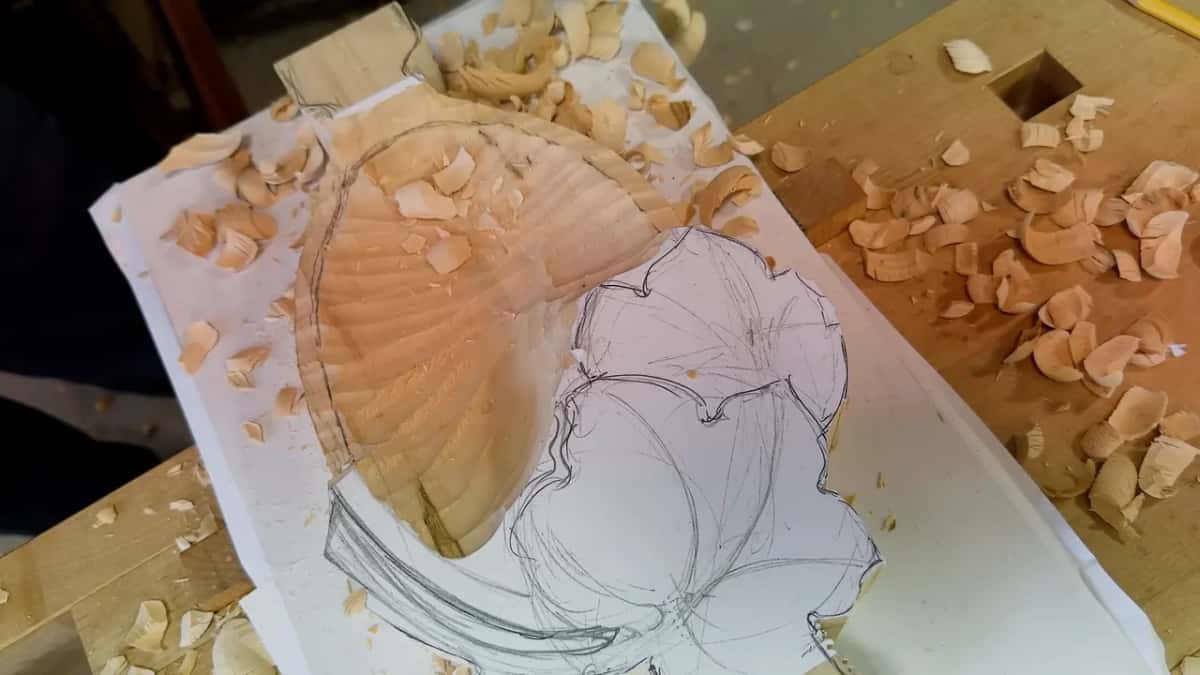
In the first pictures the paper pattern is still on the blank, with the oval of the bowl, straight pencil lines across it, and the leaf drawn below. Nothing in this lesson measures the curve of the hollow, and the numbers I gave were for depth, for lines and for the tool.
Can anyone teach you the shape of the hollow?
I said I couldn't help with that part. What I was making was a valley, or whatever you want to call it, the concave, an overall composition of the piece, and you have to feel how it's supposed to look.
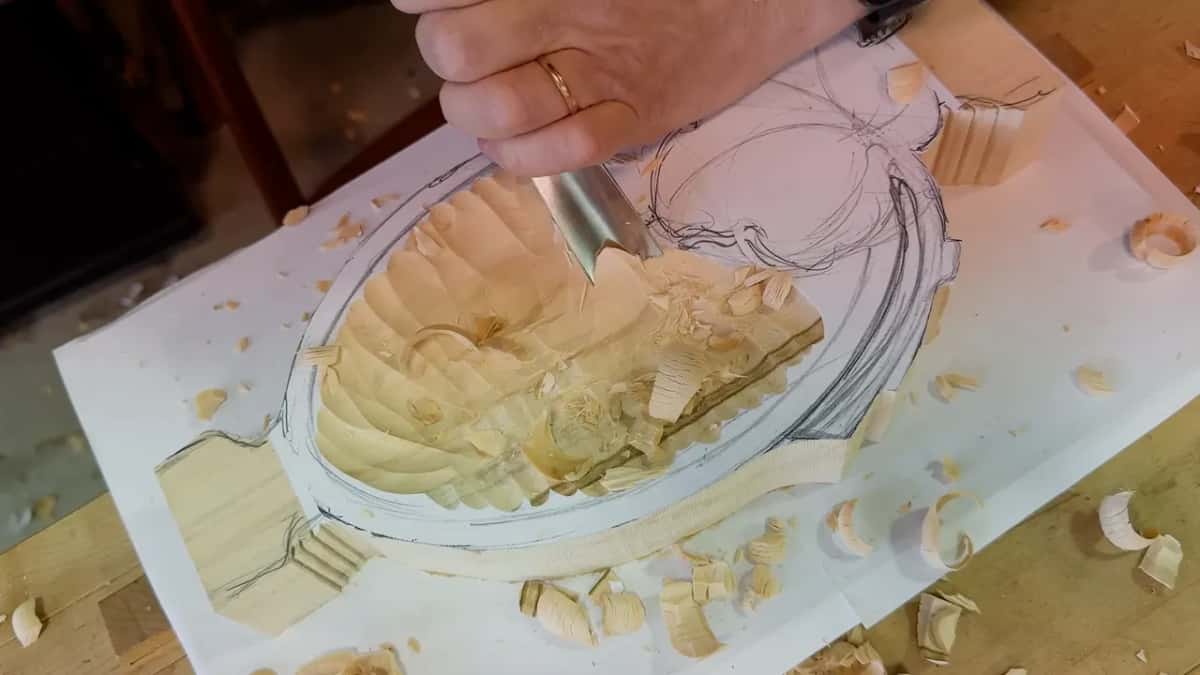
Even where on the edge a pass starts depends how you feel and what angle you attack from, I said, and either way is legit. I don't push the tool at all. I feel it, how it does the work.
Twice in this lesson I said a line doesn't have to be perfect, and both times I meant a line I was setting out, once for the next step and once on the far side. While I talked about that first line, a picture shows my fingers on the far rim. Near the end I checked how deep I'd got. Gotta be careful now, I said, because I'm getting really close, and you can't really tell exactly how deep that is.
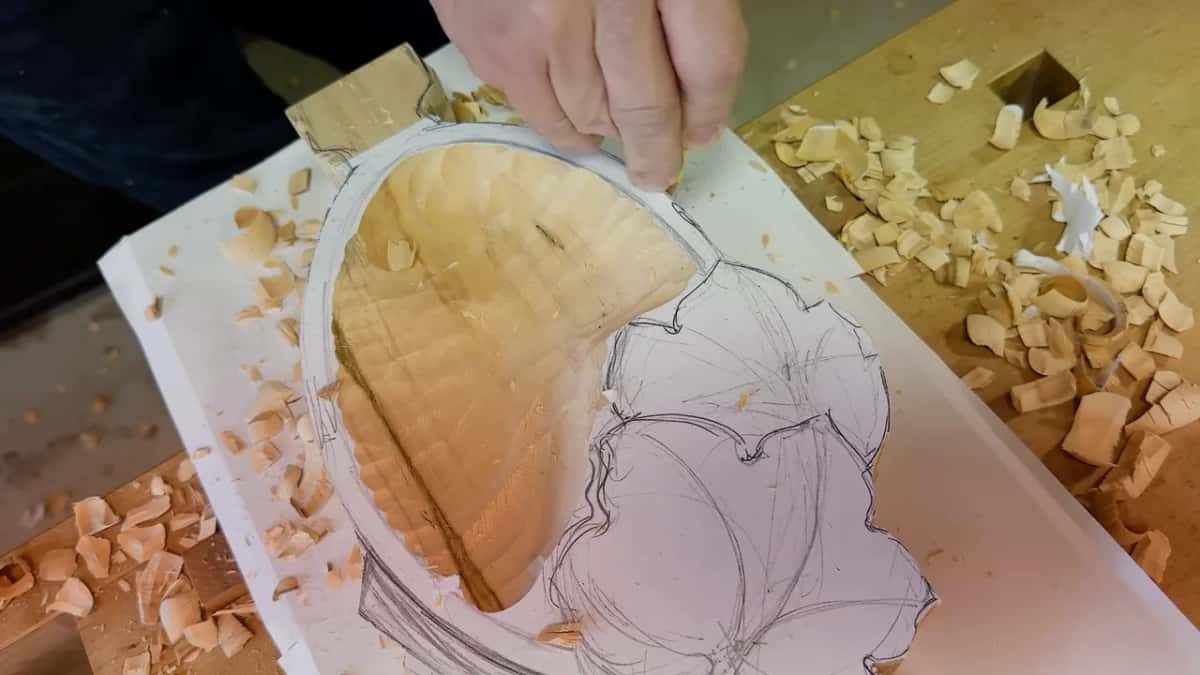
Why did my passes get shallower as I went?
I didn't want to excavate too much, so at a certain point my passes got shallower and shallower. I wasn't sure yet how deep I wanted it, and I said so to the class. Not too deep, I said. Later on I'd probably go deeper, but not as of now.
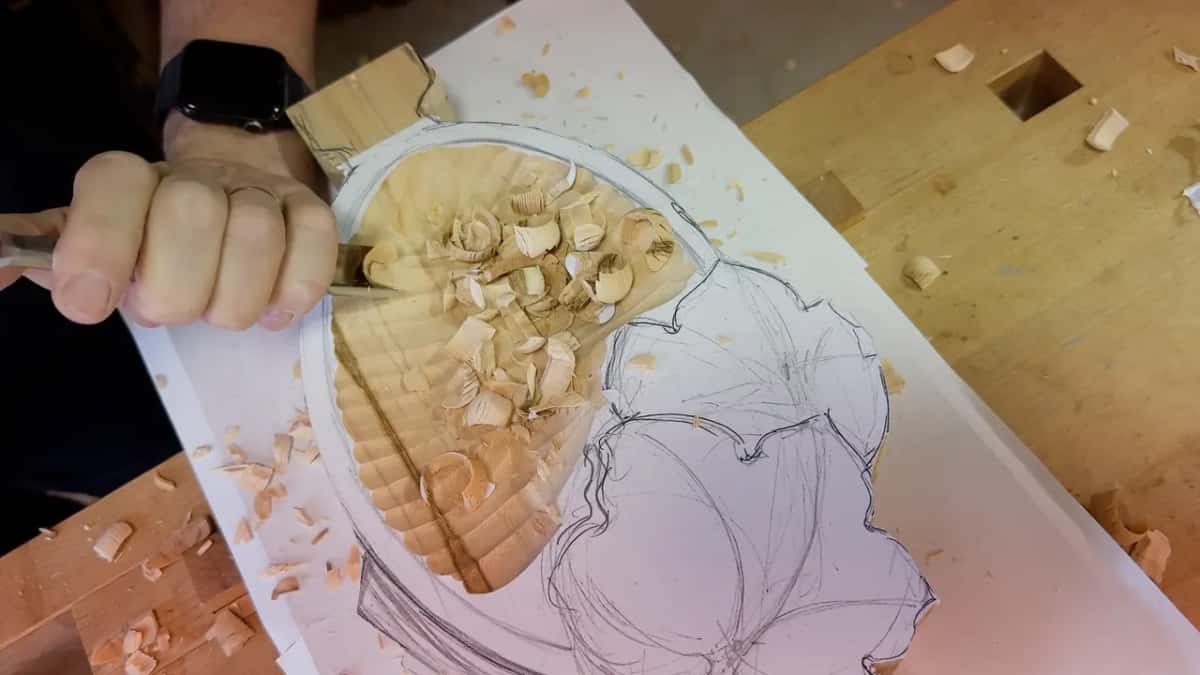
I'd try to show two steps at a time, I told them, so the class could keep working more than anything else. Several pictures from here on show a hand closed in a fist around the gouge. It sits low, close to the wood. While I carved that stage I said I like the idea of a cookie jar. This is a little inconvenient for me, I said once, but it's okay.
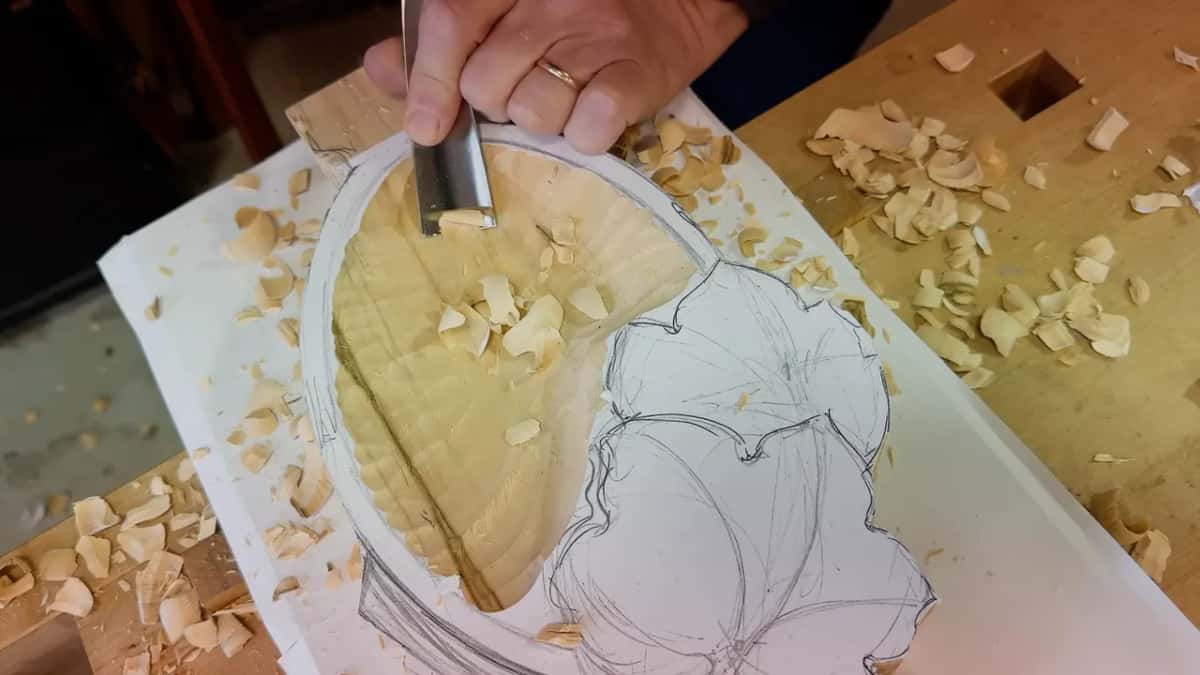
When do you stop deepening the first stage?
Once my edge was in the way, I stopped. That's probably the maximum depth I can go, I explained, because my edge is already on the way, and if I keep digging I create the problem. So I was ready for the second step. In the picture from that moment the gouge is held flat across the hollow.
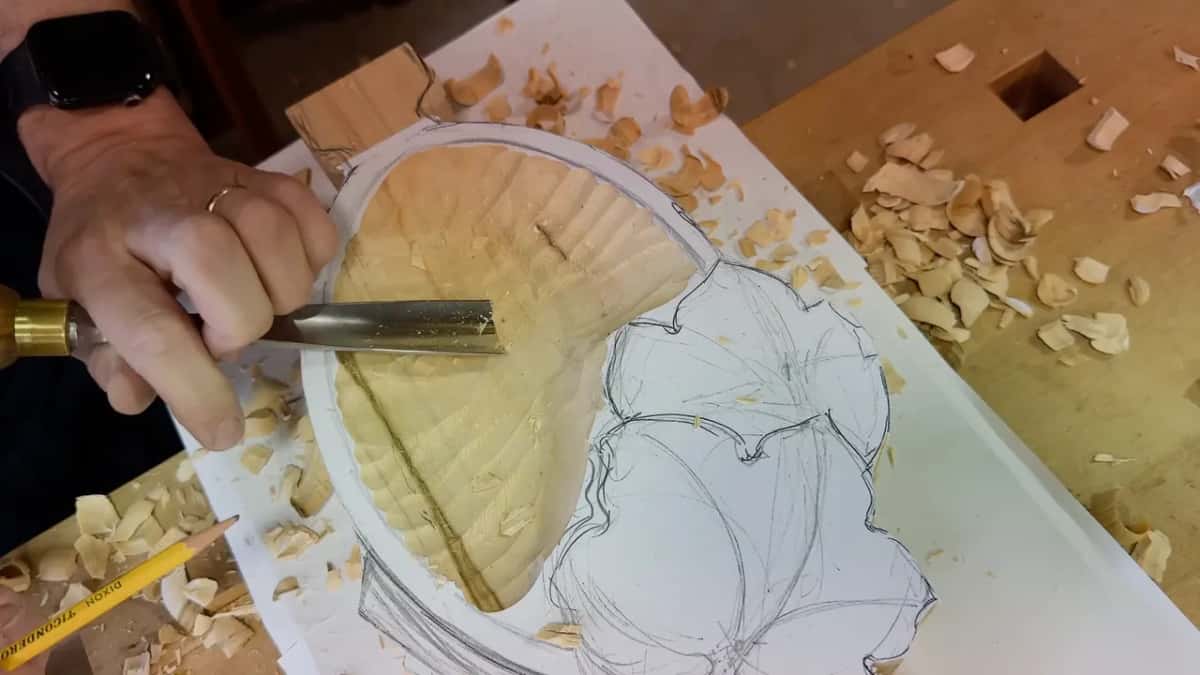
The edges got their own warning. Don't dig too deep at the edges, I said, or with a really high handle you dig in and make a kind of wall effect, and that's really hard to clean up. Let me explain that a little, I said, so you see a little more. Early on I'd told them to keep the handle down, since raising it makes the first bite too deep, which is hard to clean up as well.
That is step number one, I said, when the first stage was done. Right after it, a picture shows a pencil stood down in the hollow beside a gouge laid across the rim. For the second step I drew a line down from the top and said all that material was coming out. I could probably start right away, I said, then maybe not, I don't know.
When I began taking it off, I joked that if you asked me why, it was because I'd love to see you struggle with it. It's just about the technique, I said. How much wood to keep back for a concave you'll carve later is its own question, and lesson 129 of the Venice Room is where I answer it.
What did I tell the class at each point?
Six things, in the order I said them.
Moment | Words | Then |
|---|---|---|
First tool picked | number nine, close to a half circle | start outside |
Heading for middle | really flowing, never going to be straight | other side |
Rim edge kept | close is fine, just don't destroy it | careful there |
Passes getting shallower | so I don't take out too much | deeper later |
Edge in way | probably as deep as I can go | second step |
Ridges still showing | number seven could take a few off | not necessary |
Should a carved bowl stay rough inside?
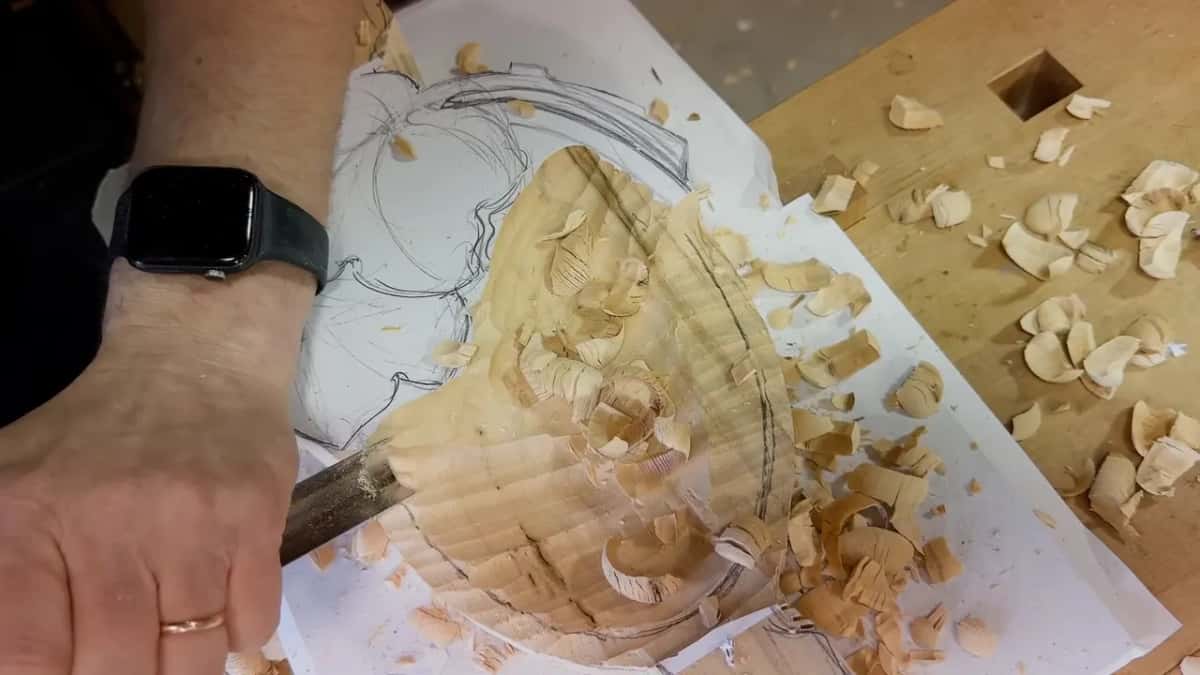
On this tray the ridges stayed, for now, from the one gouge I kept using. A number seven as a second tool could probably get rid of some of them, I said, but it's not really necessary for me. And some people actually like the more rustic look on the inside. That was stage number one, and then I asked them to start. A bowl or a tray like this belongs to the old family of treen, everyday household things made of wood.
What did the class say while I carved?
One student told me I make it look very easy, after I'd said to go ahead and say it out loud. Ours may not be that fast, the student said, so we'll be patient with ourselves.
I'd slowed down for them earlier in the lesson. I'm doing it quick, I said, but if I do it slowly, it looks like this. It takes a while to get the idea of slicing, I told them, but I really like that on this project you can practice and get a really good feel of it.
We still had the other side of the tray to carve, I reminded them, if we got to it, and if not we'd stick with one side. My tools went away from the work, too. I don't need them close by, I said, and for me it takes a couple of seconds to reach them.
At one point I asked how my beautiful shoulder was doing. I'm going to keep an eye on how you do it, I'd told them, and near the end I asked if we were clear so far in this stage.
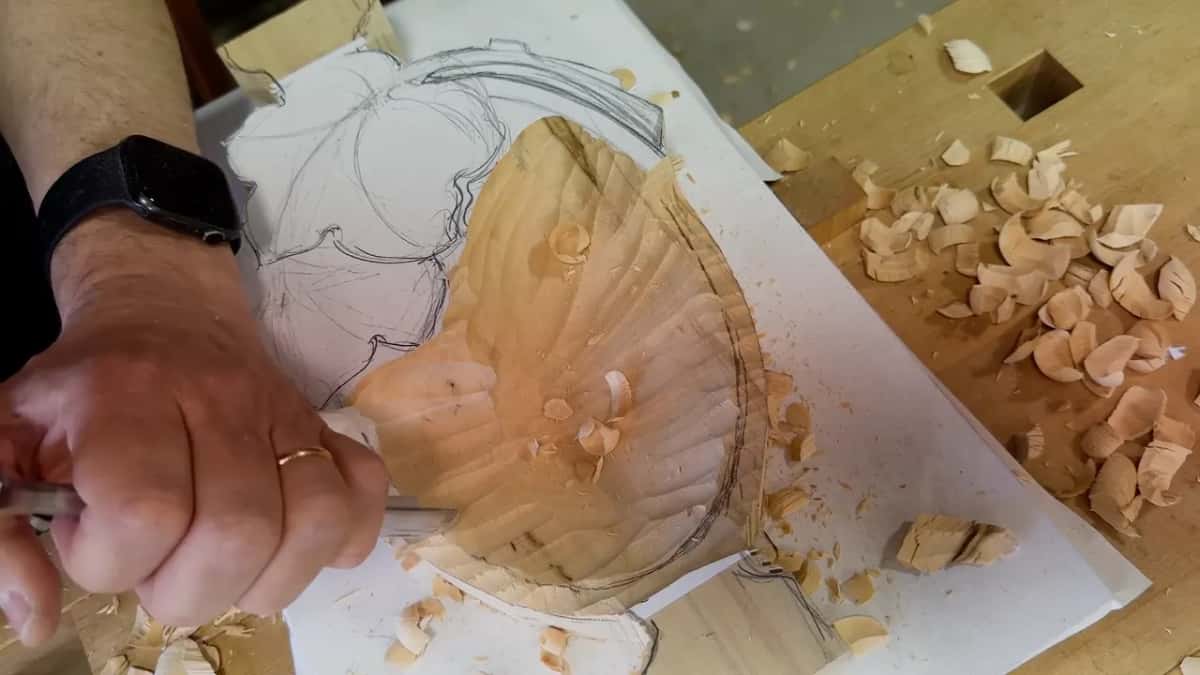
What does the hollow look like when lesson 1 ends?
Rough and ridged, with the border still standing around it, the way I'd asked. The last pictures of the lesson show the ridges of the number nine still in it, the leaf still only a drawing beside it, and curls on everything. I'd checked the depth more than once by then, and I still left some room for cleaning up.
Where else did I judge a shape by eye?
In four other lessons, on a flower, two lessons of one furniture panel and a plate. None of them is a bowl, so here is one line from each, with its lesson linked.
Lesson 2 of Carving Hashemi Flowers had me at what I called the high point of one detail, and I said I had to create a flow, gradually and nicely, really flowing and not just straight strokes.
Setting the middle line of a small leaf in lesson 19 of Carving Furniture Panel, I said I was just eyeballing it, with no need to measure.
Back in lesson 18 of the same panel course I was barely hitting the mallet, as I'd said many times, because I didn't want to create tool marks in that background, and then I said some tool marks are okay.
And on a plate, in lesson 11 of Carving Plate with Butterflies, following a line around it with a finger against its end, I said it doesn't have to be perfect, but close enough. Each of those lessons has a page of its own, linked here, if one of those pieces sits closer to what's on your bench. Back on the tray, the same eye decided where the valley went.
Lesson 1 ends with the bowl roughed and the class about to start on theirs, and the leaf and the rest of the tray come later in the course. Want to see the next stages come out of the same piece? Access opens every lesson of The Tray of Blessing and the rest of the school, and if grapes are what brought you here, Carving Grape Onlay has a whole course of them.
How it's done
- Start at the outside. Bring the gouge in from the outside of the hollow and go for the middle first. Later, flip the piece and come in from its far end.
- Ease off as it deepens. When the hollow is going, make each pass a little shallower than the last, so you don't excavate too much.
- Keep the handle down. Don't raise the handle, and don't dig deep at the edges. Up high, the tool makes a wall that I said is really hard to fix.
- Stop when your edge is in the way. Call the stage done right there, since digging on from that point only creates the problem.
- Choose what happens to the ridges. Leave the ridges of the first gouge, or take a number seven to clear some. I left mine for now.
Frequently asked questions
Which gouge did the hollow start with?
My first tool was a number nine, the sweep that always leaves something close to half a circle. A bigger tool is even better if you own one, I said, and I still kept the same gouge I had listed for the class.
How do you know when a hollow looks right?
By eye, the way I told my class. On this tray I was making a valley, a concave, the whole composition of the piece, and I said I couldn't help them with it. They had to feel how it looks.
When should the first stage of a hollow stop?
In this lesson it ended where my edge was already in the way. Digging on from there would only create the problem, I said, so that was as far as stage one went, and the second step began after it.
What to carve next